It’s been almost 5 years since we renovated our house, so it’s about time our ensuite got a cosmetic update and some extra storage. Bring on the mini bathroom reno!
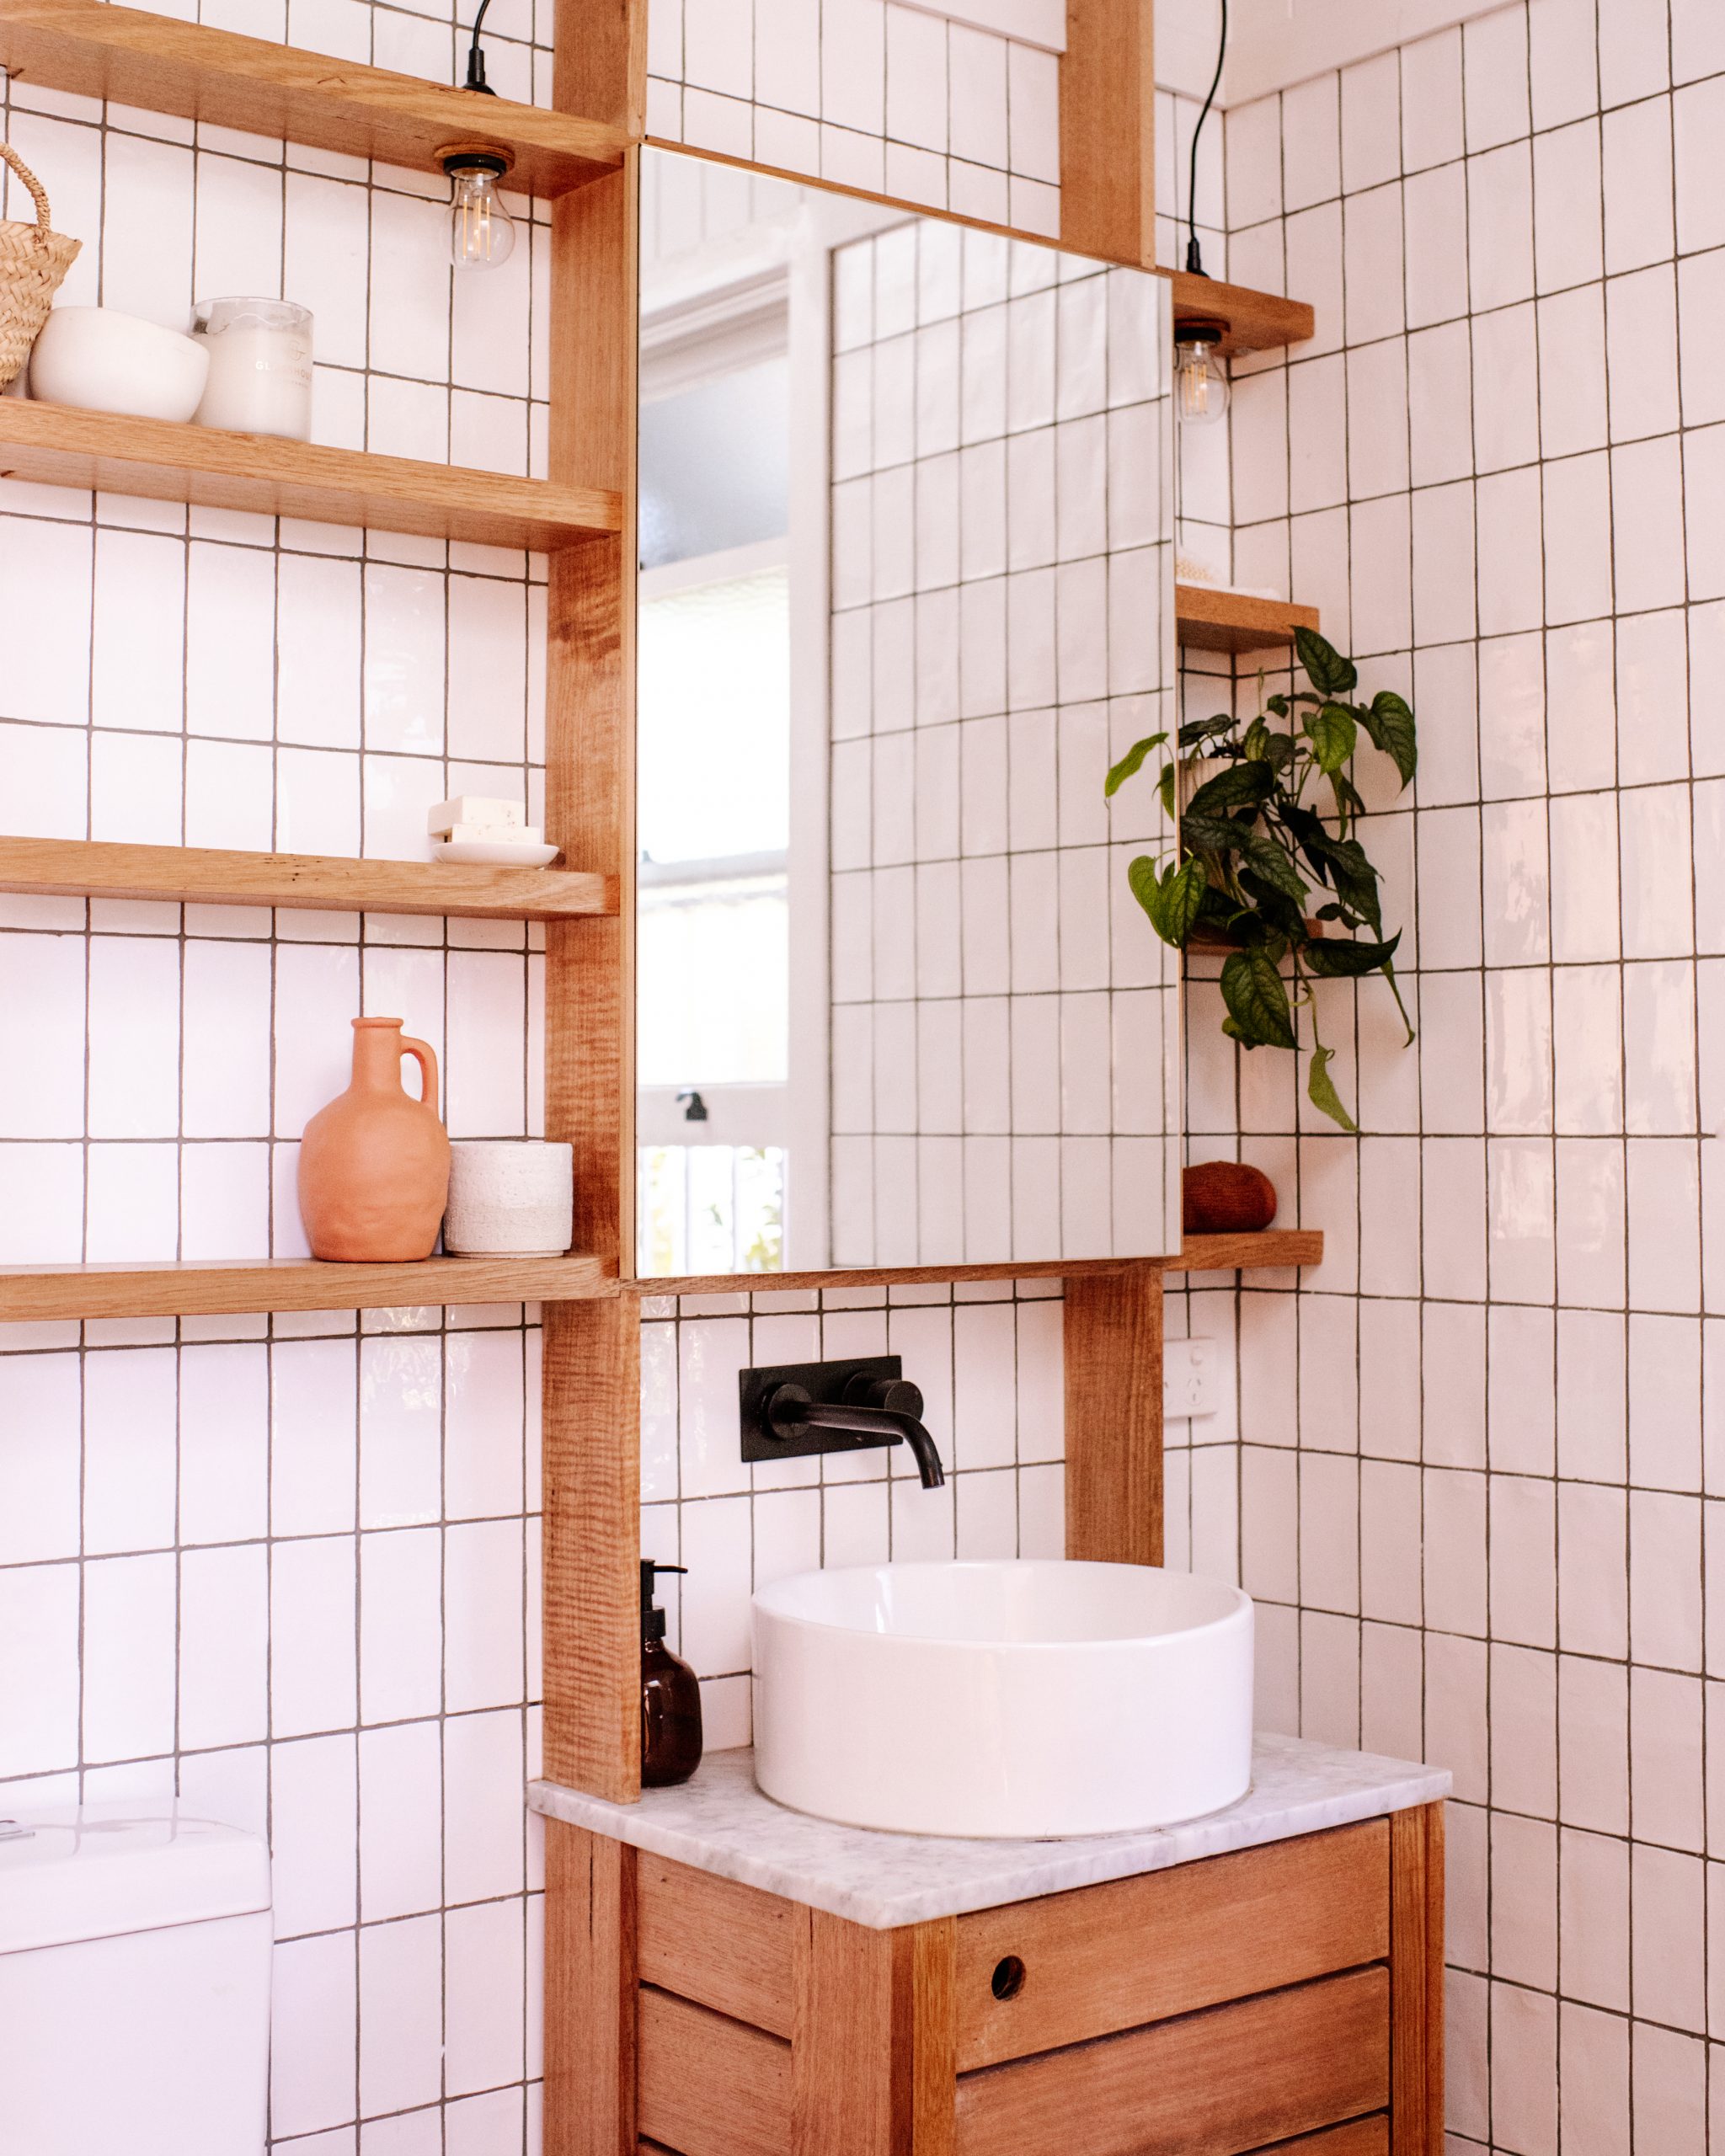
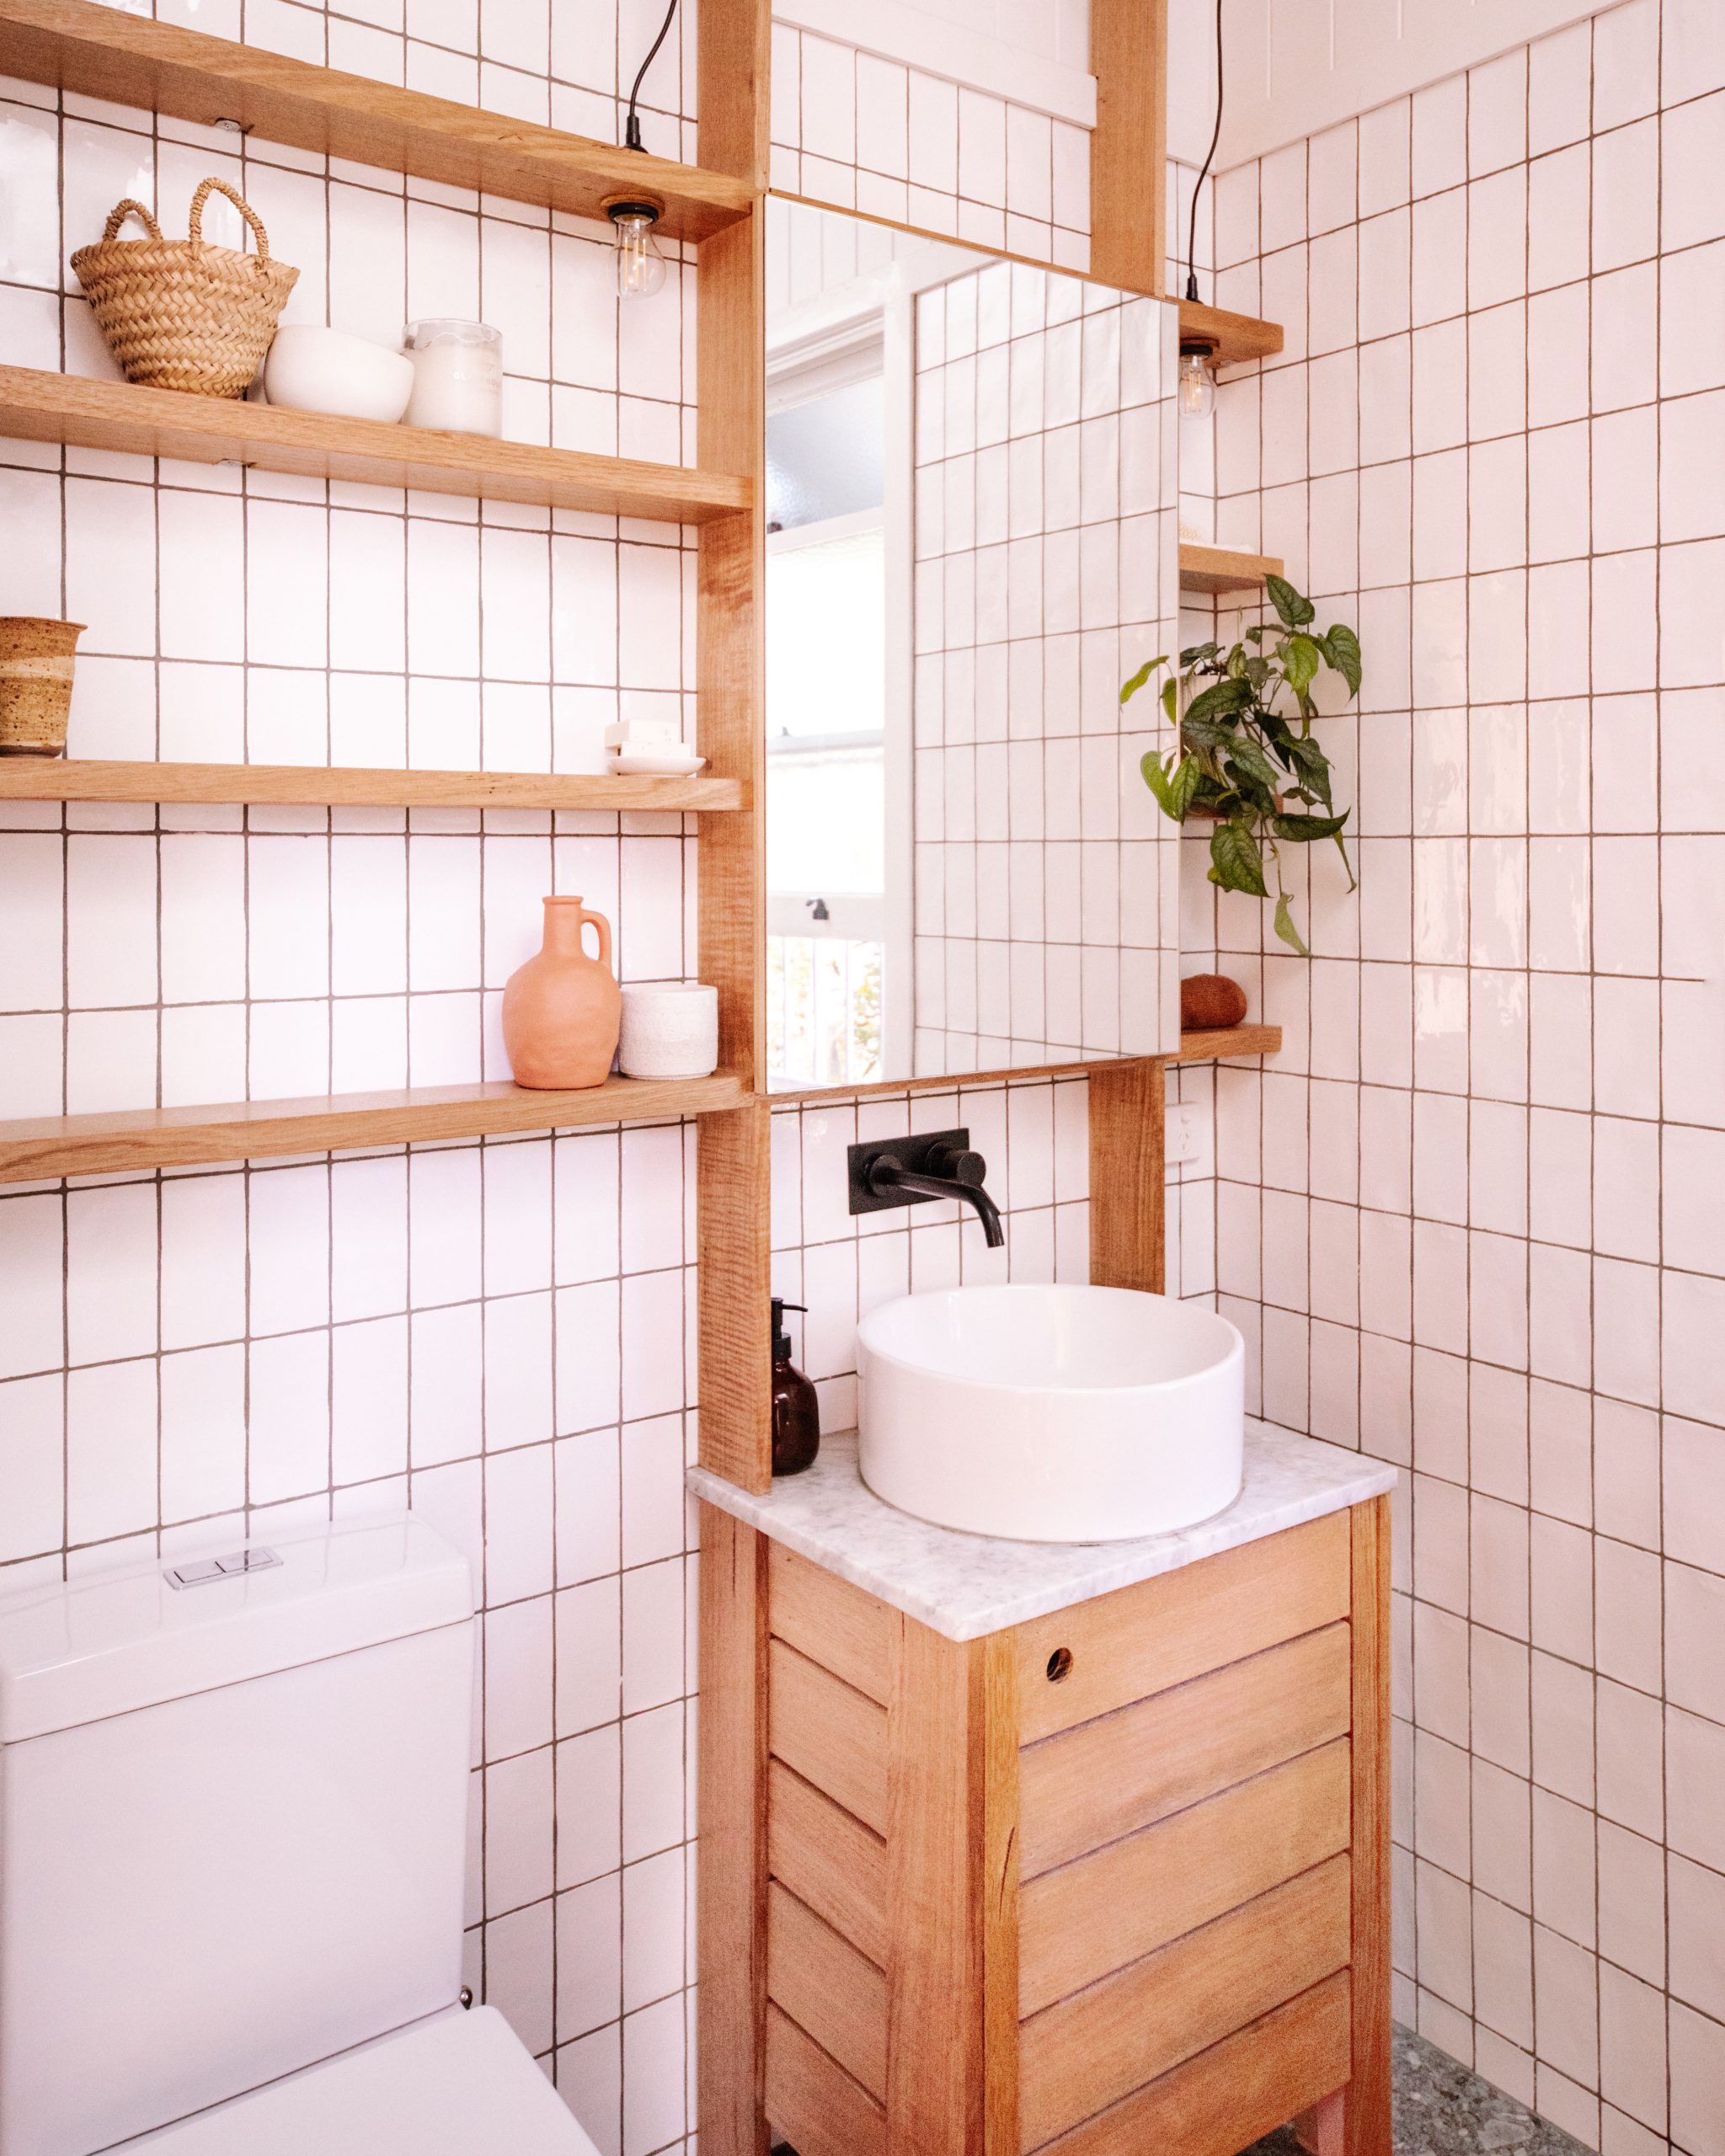
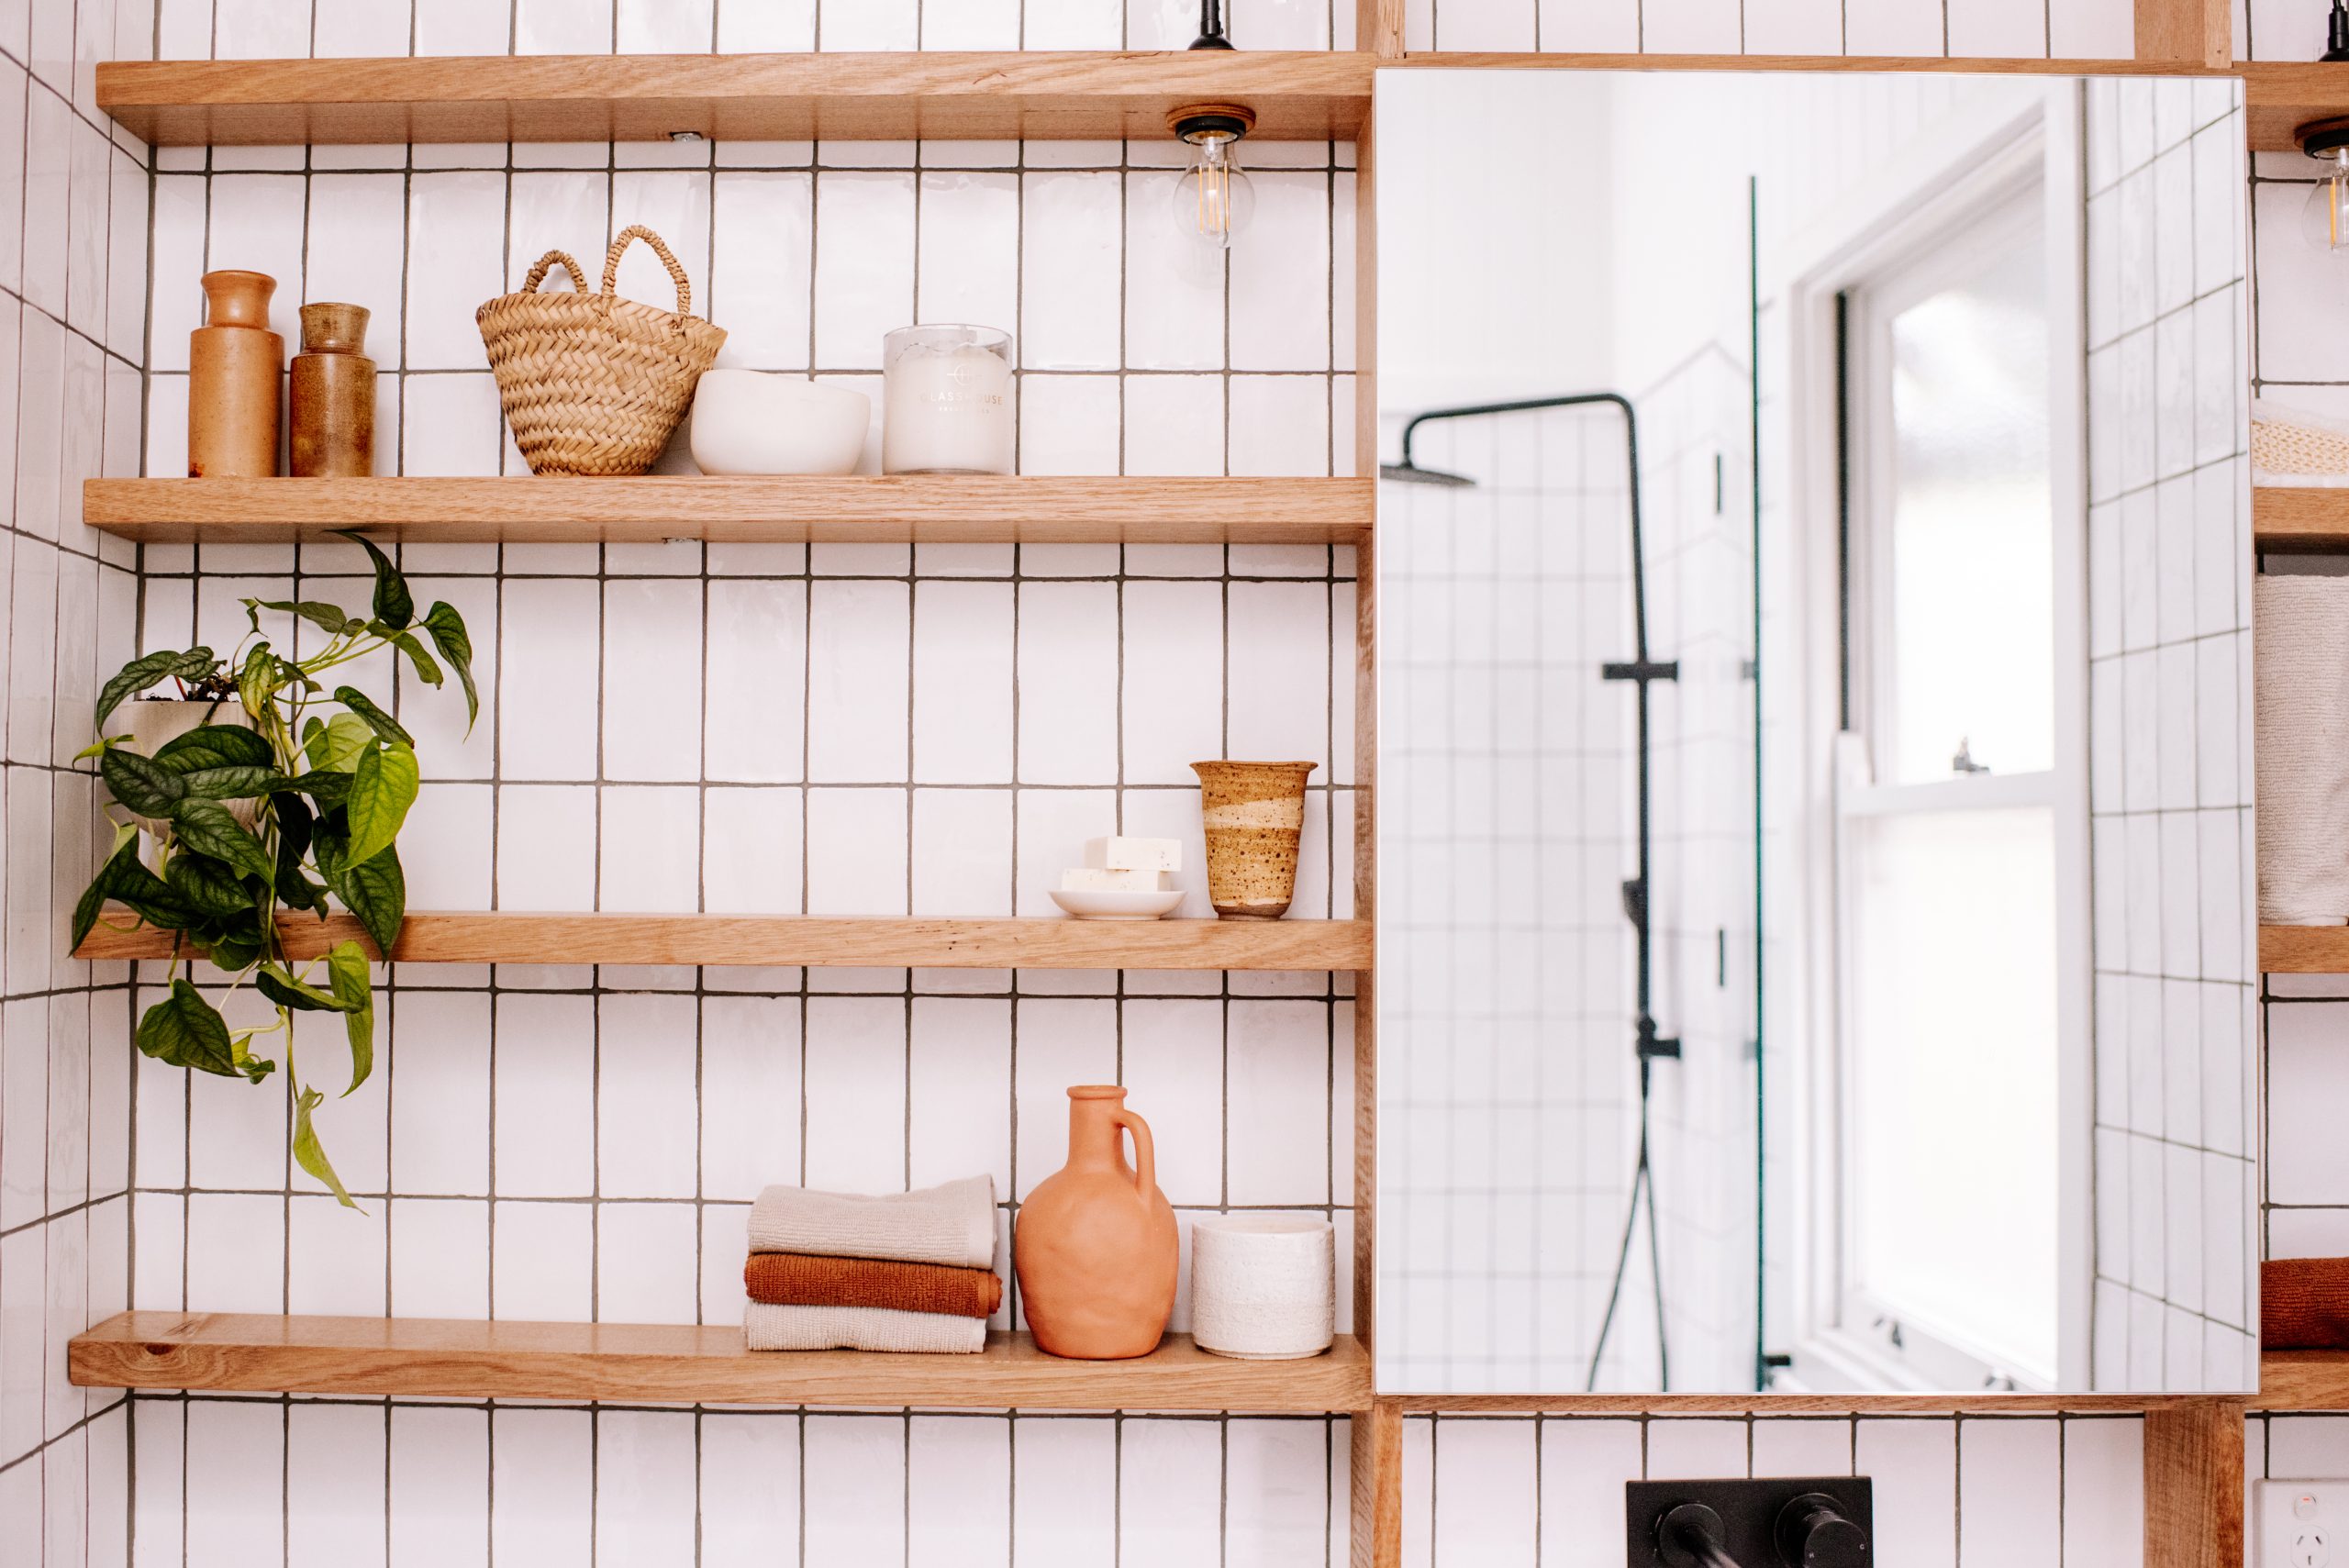
When we originally renovated, I wanted an old, character filled cupboard for the basin, and I loved the resulting vintage vanity. However, over the last few years we realised we needed a lot more storage, so we thought it would be good to do an update in this space. With the use of Tasmanian oak, a new mirror, and a few tools (all found at Bunnings!), we’ve been able to give the ensuite a much needed face lift… Anddd incorporate a whole heap of new storage at the same time. This project was simple yet effective as we were able to use the bones of the previous vanity, leaving the basin, bench top and cabinet, and build around it. Read on for a step by step.
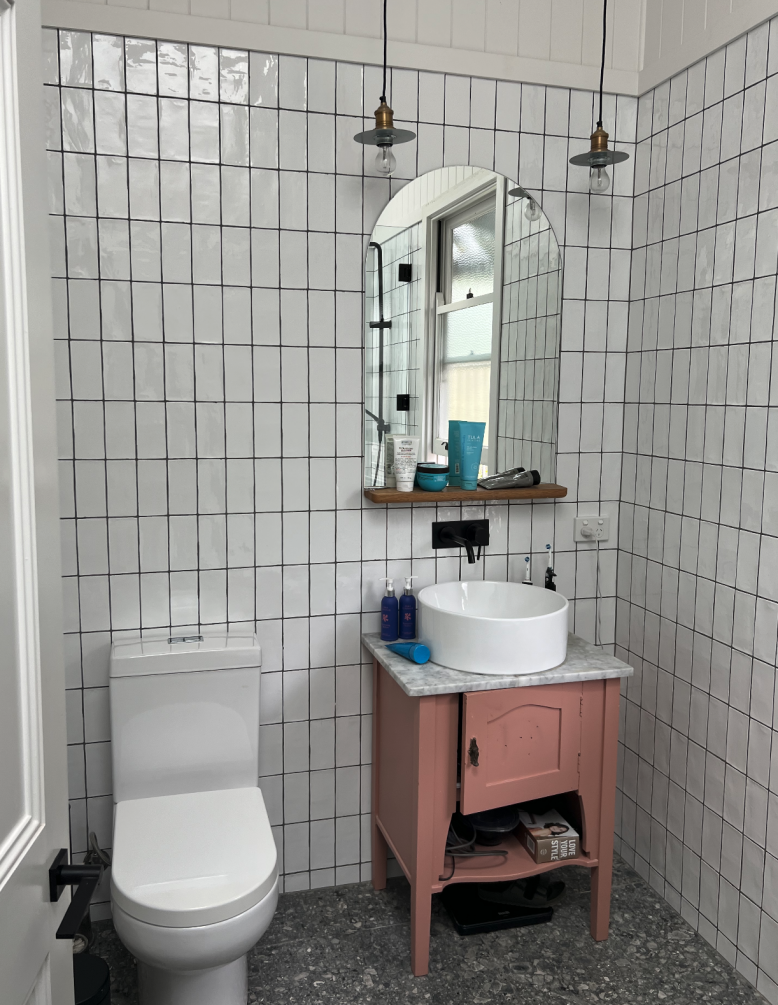
The Before
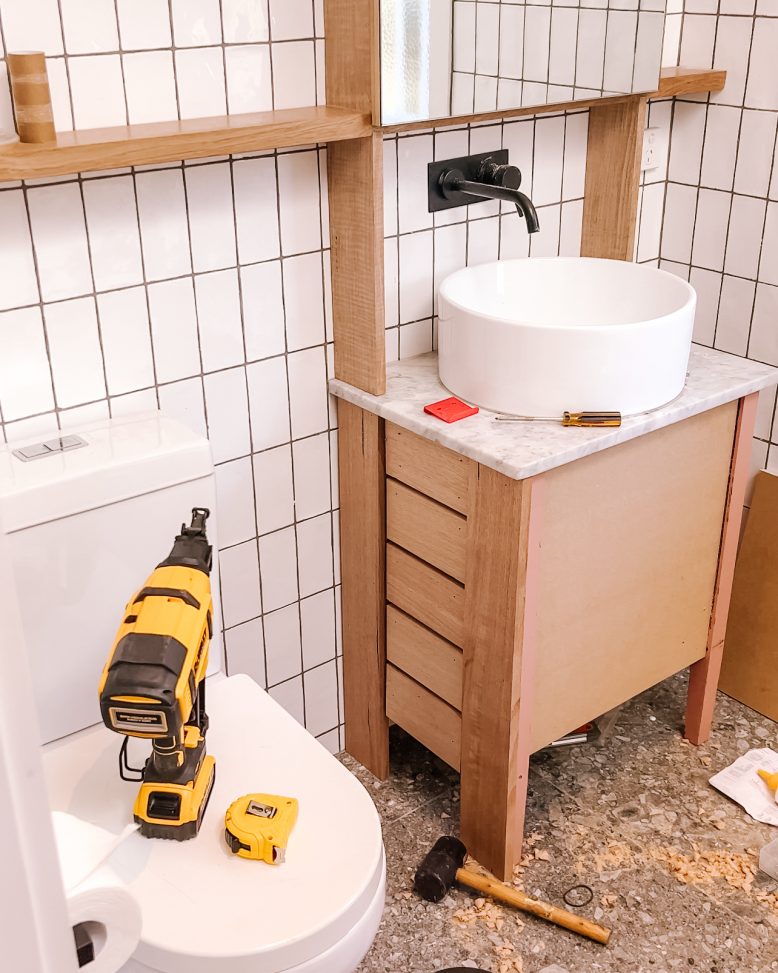
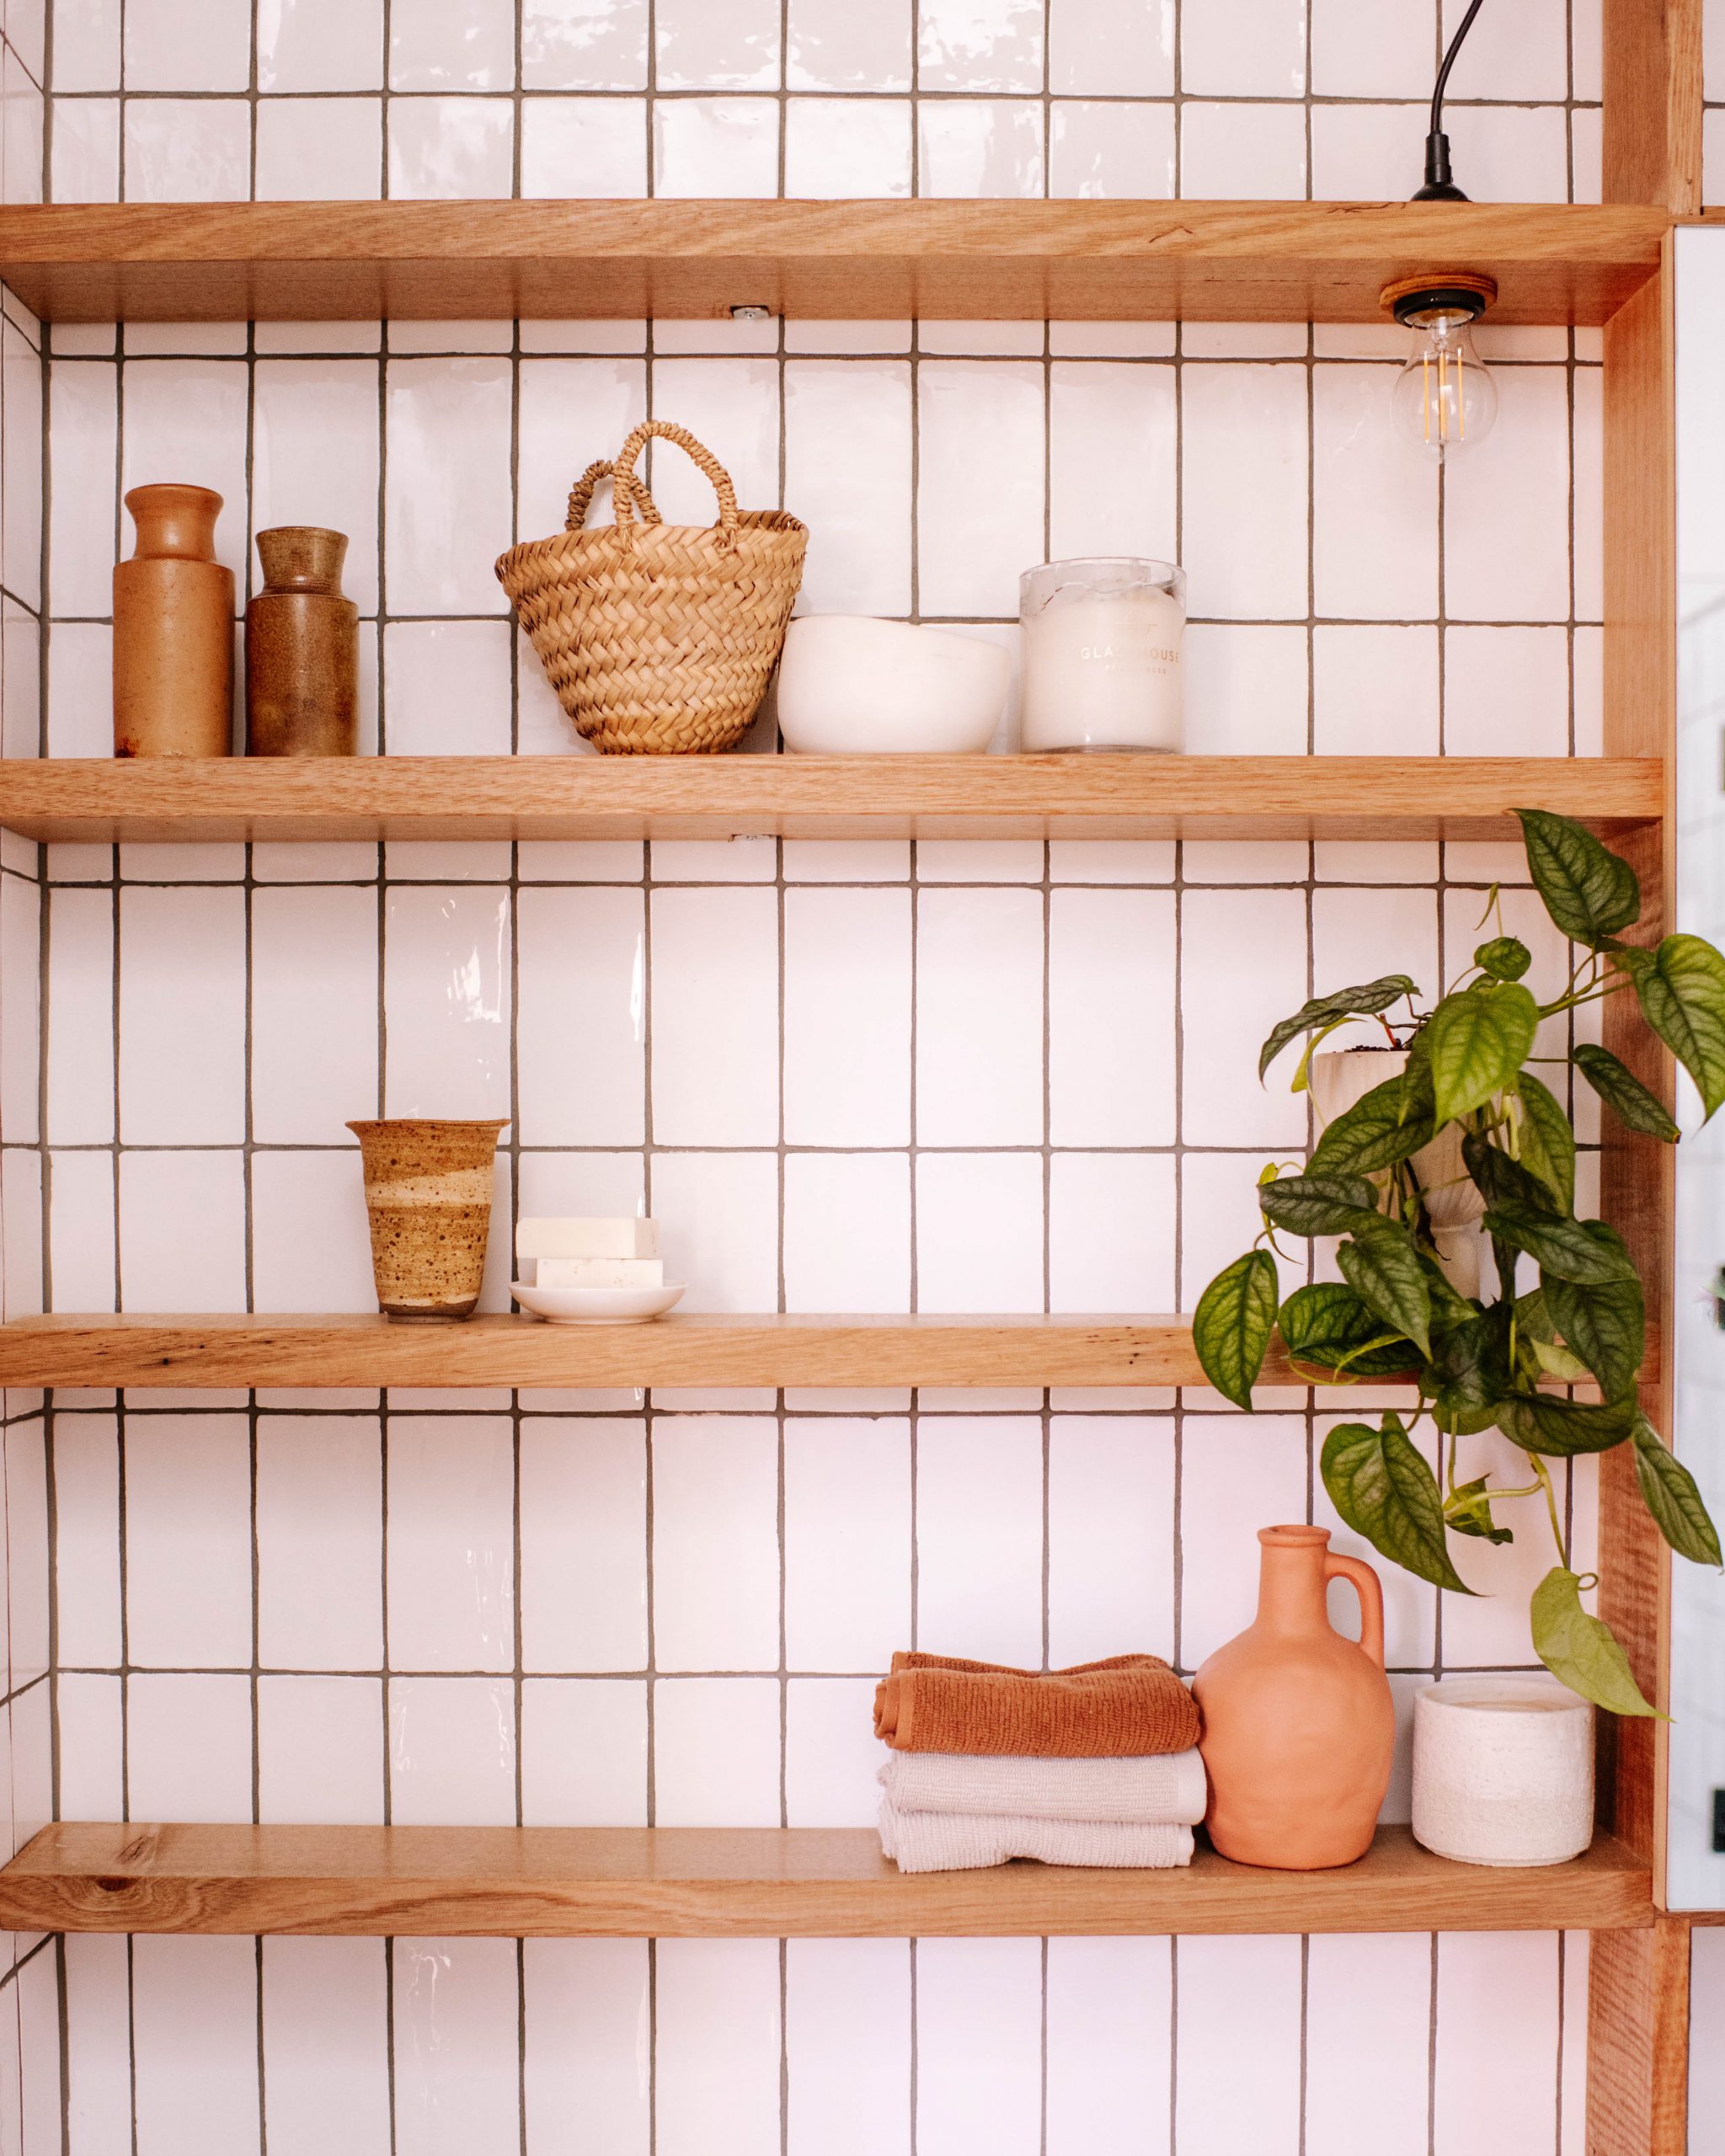
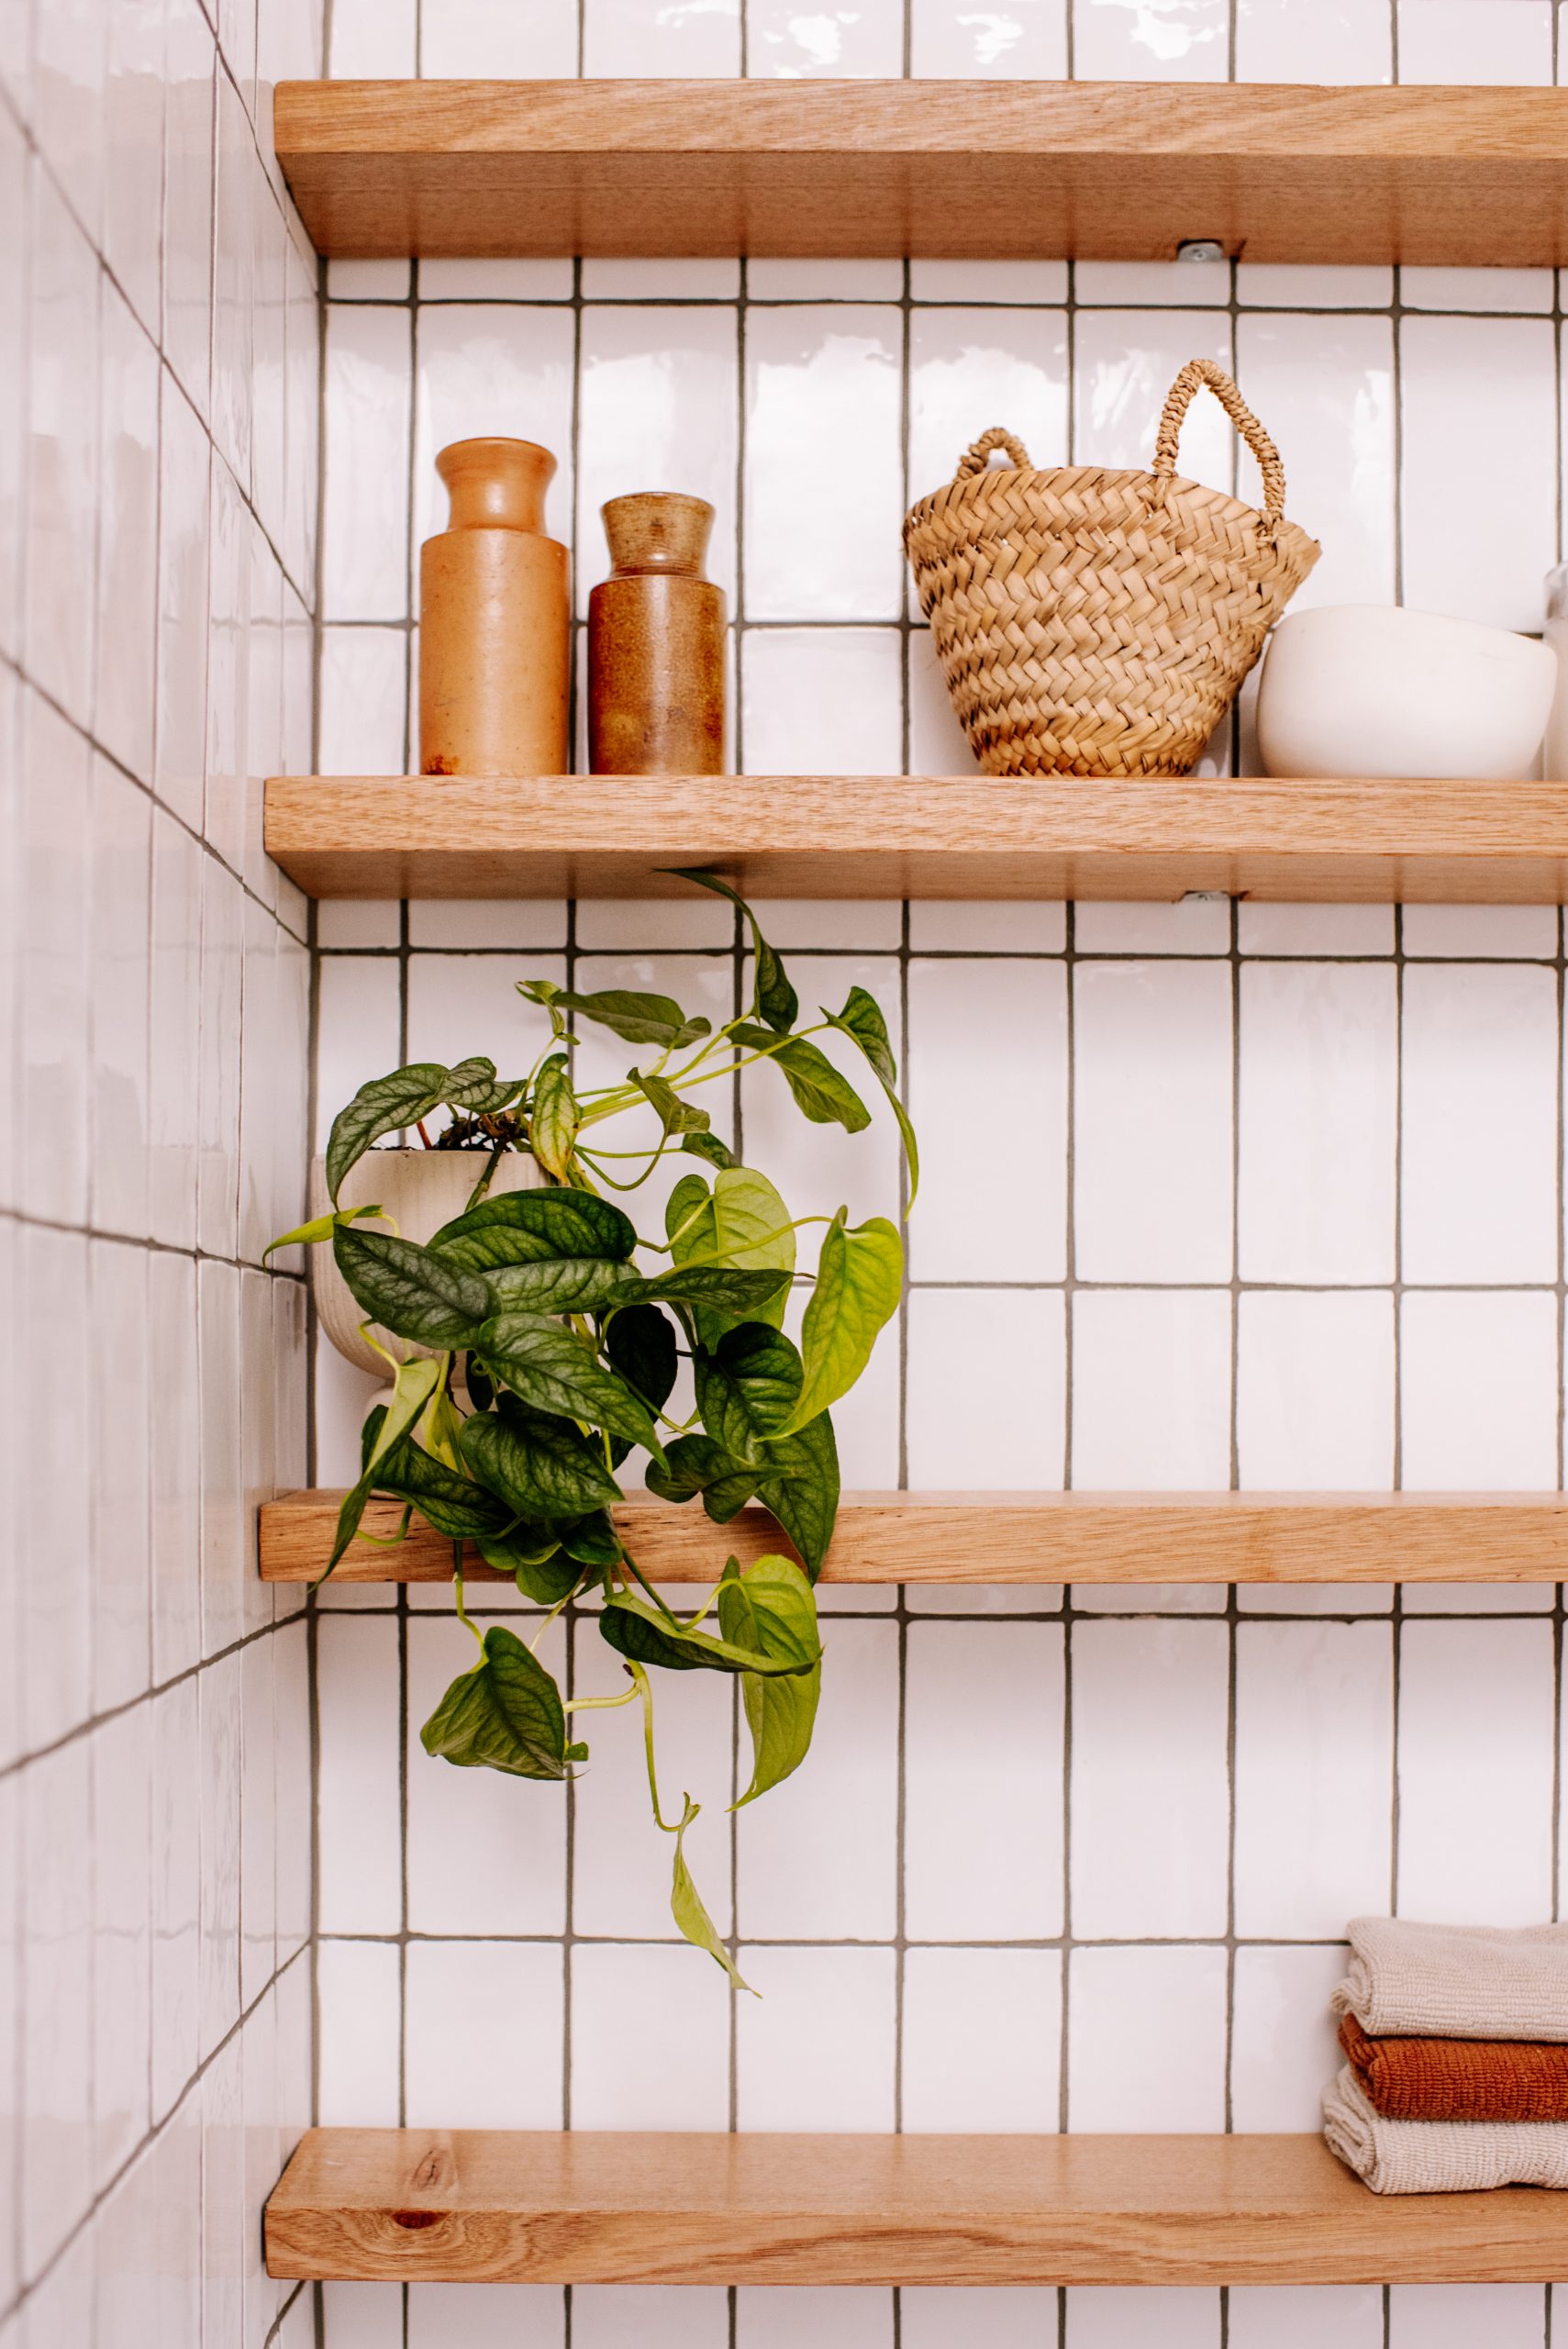
The original space had a very simple (but cute!) vintage vanity that I upcycled when we renovated, but we desperately needed more storage. We built shelves, added a mirror on hinges to create mirror storage, and kept the vanity but just clad it in the same Tasmanian Oak.
- Before
- After
Materials we used
- Tasmanian Oak
- Scandinavian Oil
- Living Elements Mirror
- Angle brackets
- Soft close hinge
- Ceramic drill bit
- Liquid Nails
- Drill, circular saw (or jigsaw), router
How We Updated Our Bathroom Storage:
1
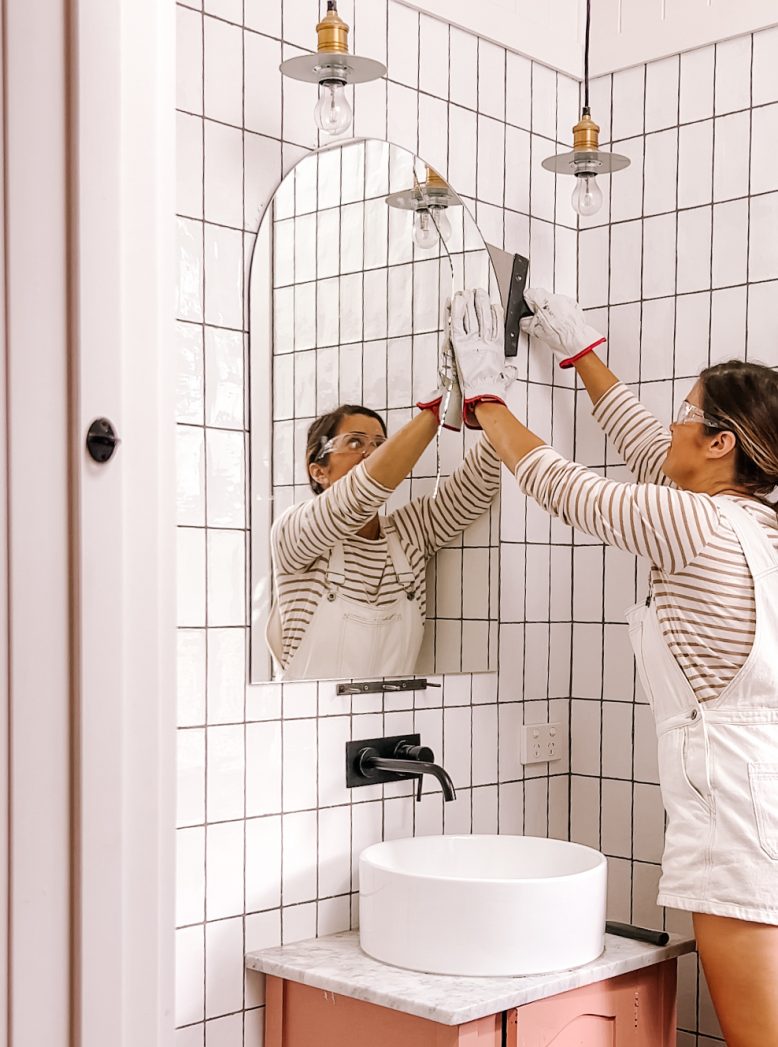
First, we sadly had to remove the old mirror to make way for the new shelving. We first used a hammer to break the mirror. Using gloves and a metal scraper we then removed the mirror from the tiles. We used a razor to remove any remaining glue off the tiles. Make sure to wear safety glasses and gloves during this step as you don't want any glass pieces in your eyes!
2
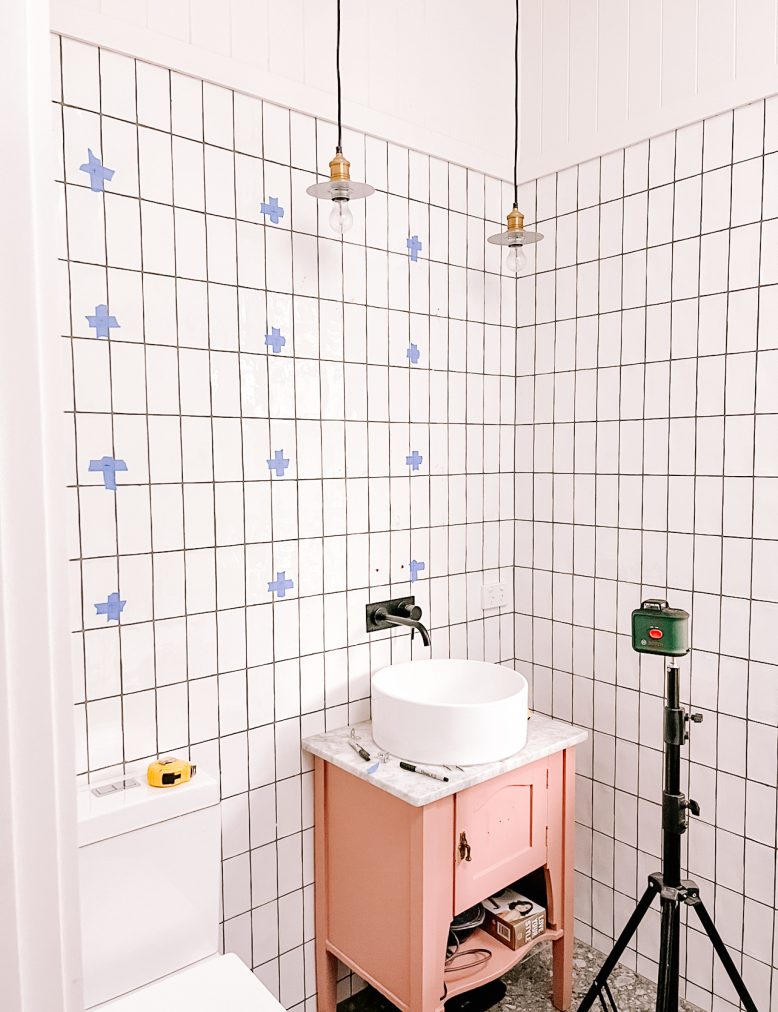
To work out where to place the shelves, we used painters tape and a laser level, along with a stud finder to make sure we were attaching the shelves into there studs. I marked the tiles with a cross 3 times along each shelf length, showing where the screws will need to go for the L brackets to hold up the shelves.
3
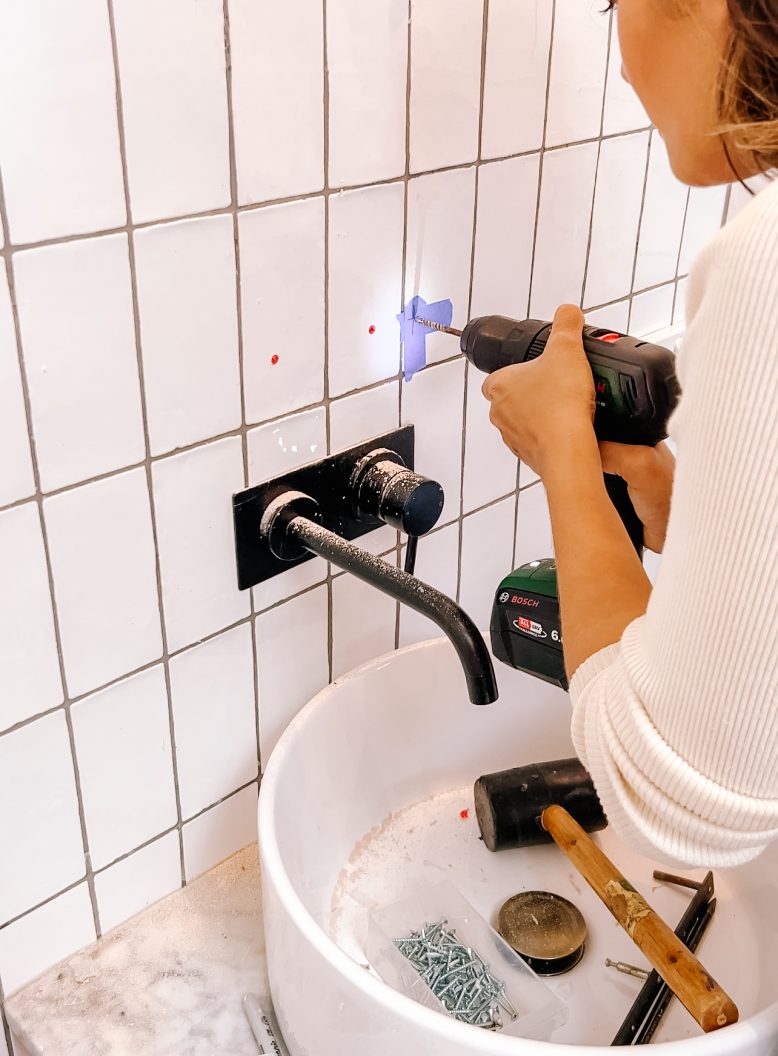
On the centre of each marking, I used a ceramic drill bit to create a pilot hole in the tiles. I then attached all 12 L brackets in to the wall, ready for the shelves.
5
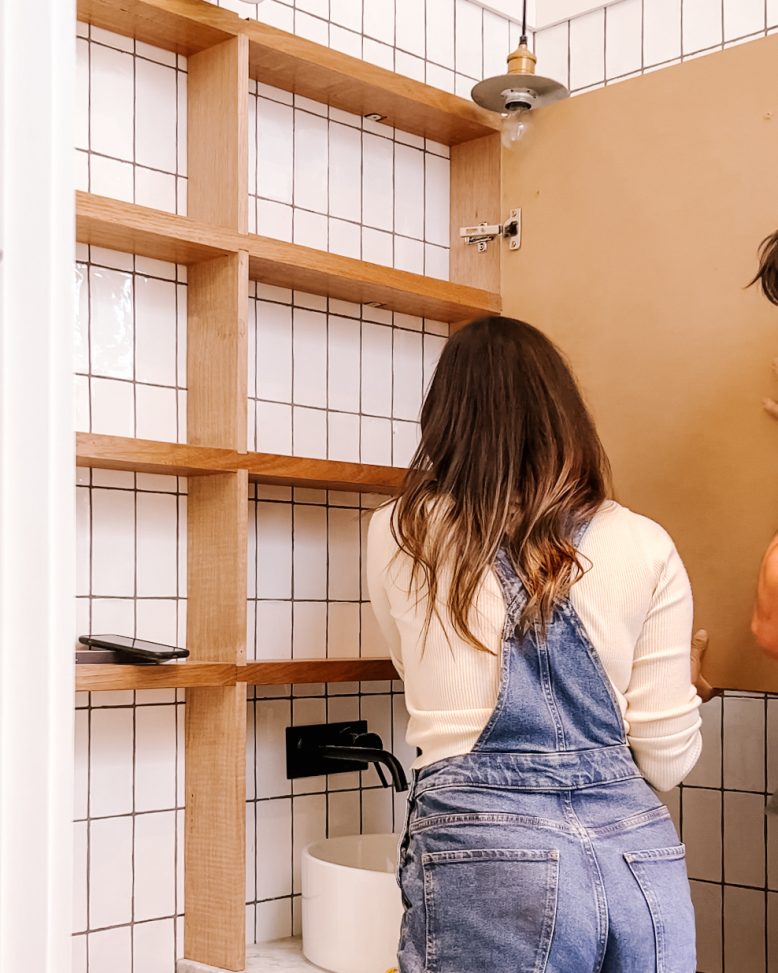
Once the shelves were up, we cut and oiled smaller pieces of Tasmanian oak to place on the wall horizontally, cross bracing the shelves. We used wood glue and nails to keep these pieces in place. This gave a place to hang the mirror and close in the medicine cabinet.
6
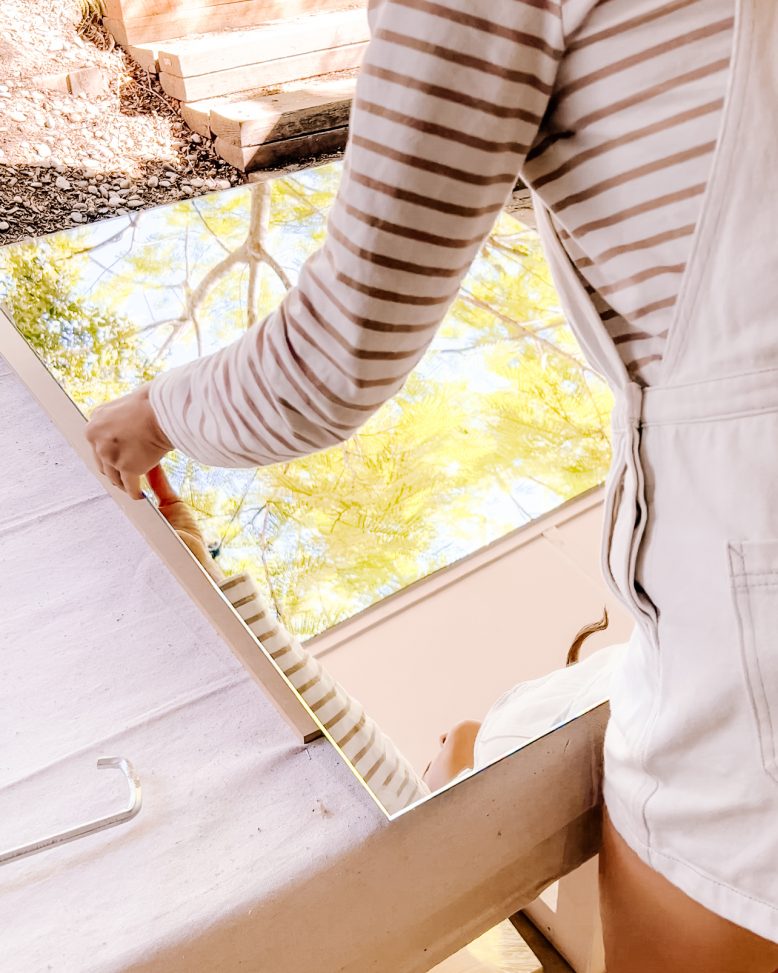
We wanted a mirror and some behind mirror storage, so the first thing I did was glue a mirror to some MDF toggle ti some structure. Ben then screwed in some soft close hinges into the back.
7
The shelves were now ready for the mirror! I glued a mirror on to some MDF and once dried, attached some hinges. We then hung the mirror in front of the cross bracing on the wall which created hidden storage behind the mirror (a medicine cabinet).
8
The final step was updating the old bathroom cabinet. We removed the old cabinet door to give it a more modern look, and used cut up pieces of the same Tasmanian Oak as the shelves to cover the old cabinet. We then created a new door using MDF, hinges clad it in more Tasmanian Oak to make it seamless with the rest of the space.
This post is in collaboration with Bunnings


