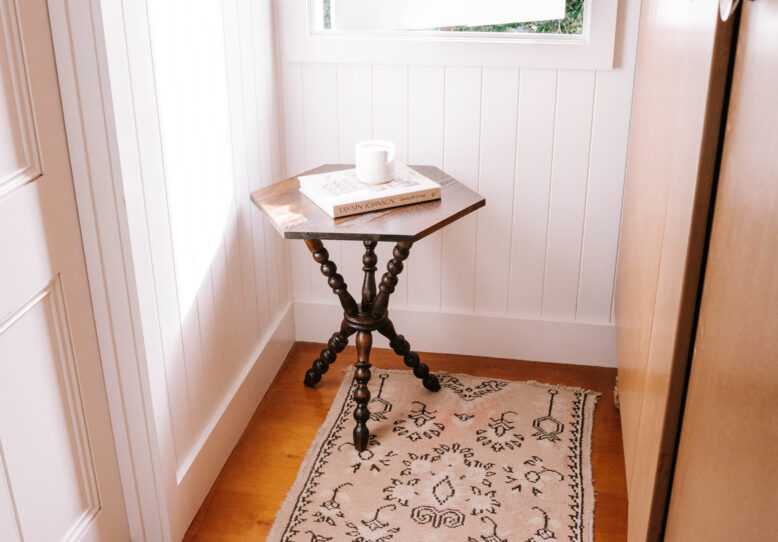
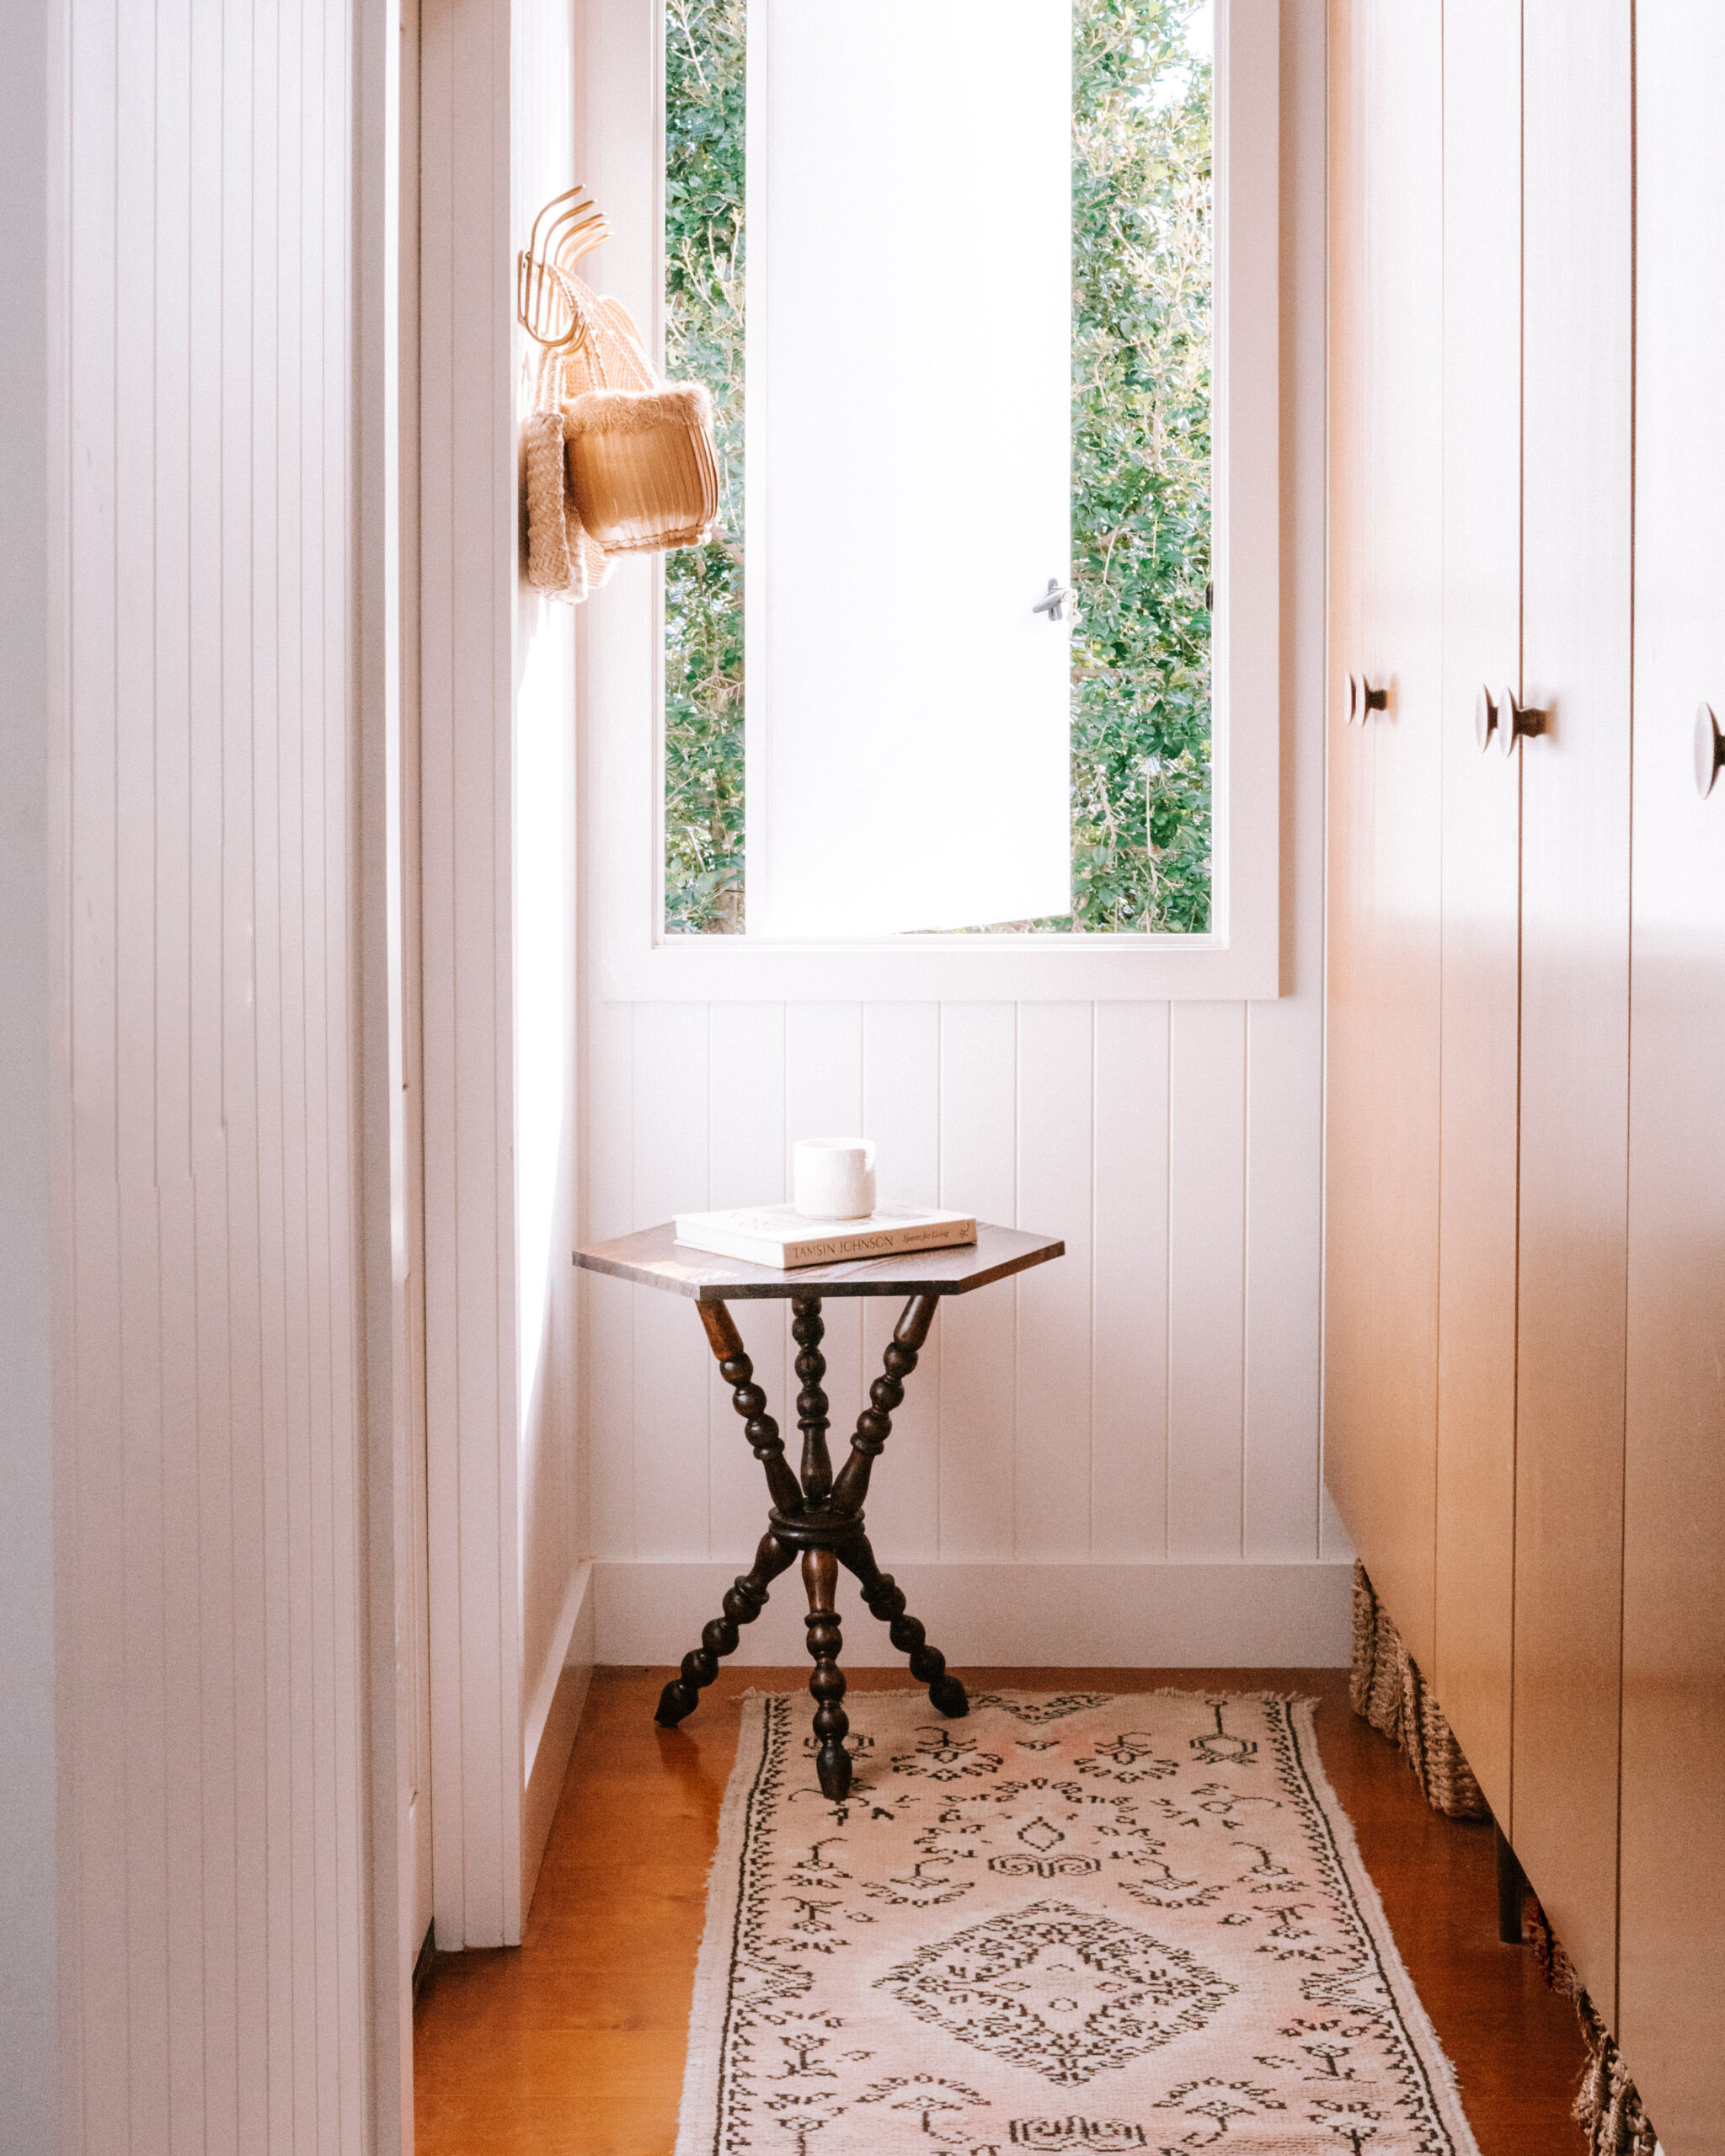
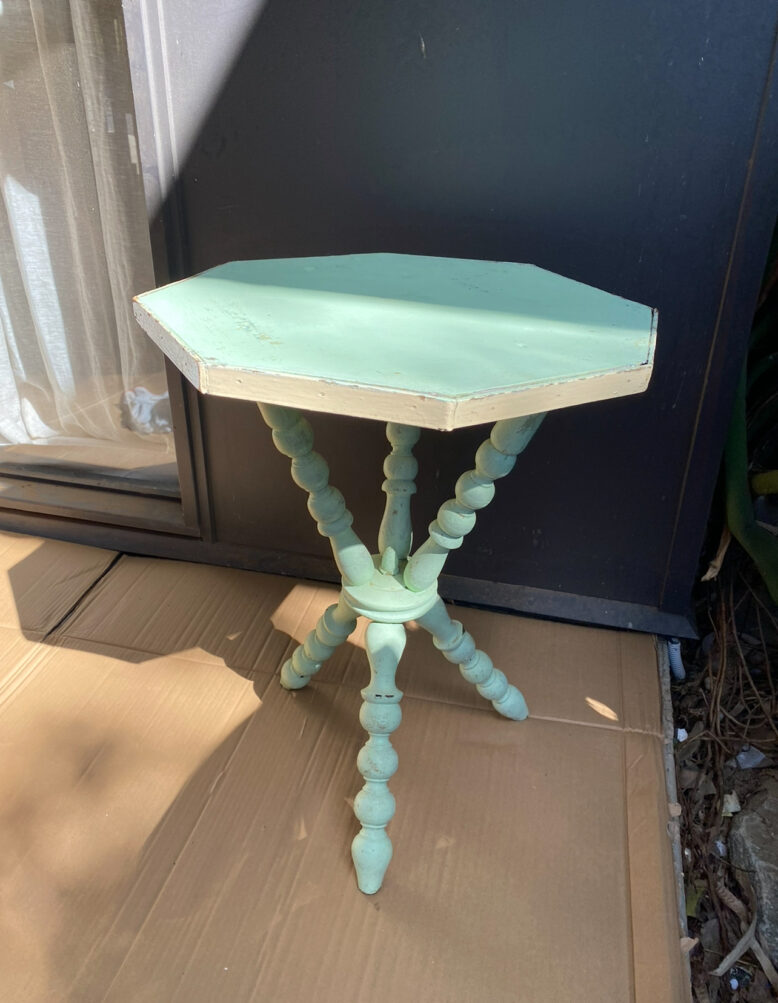
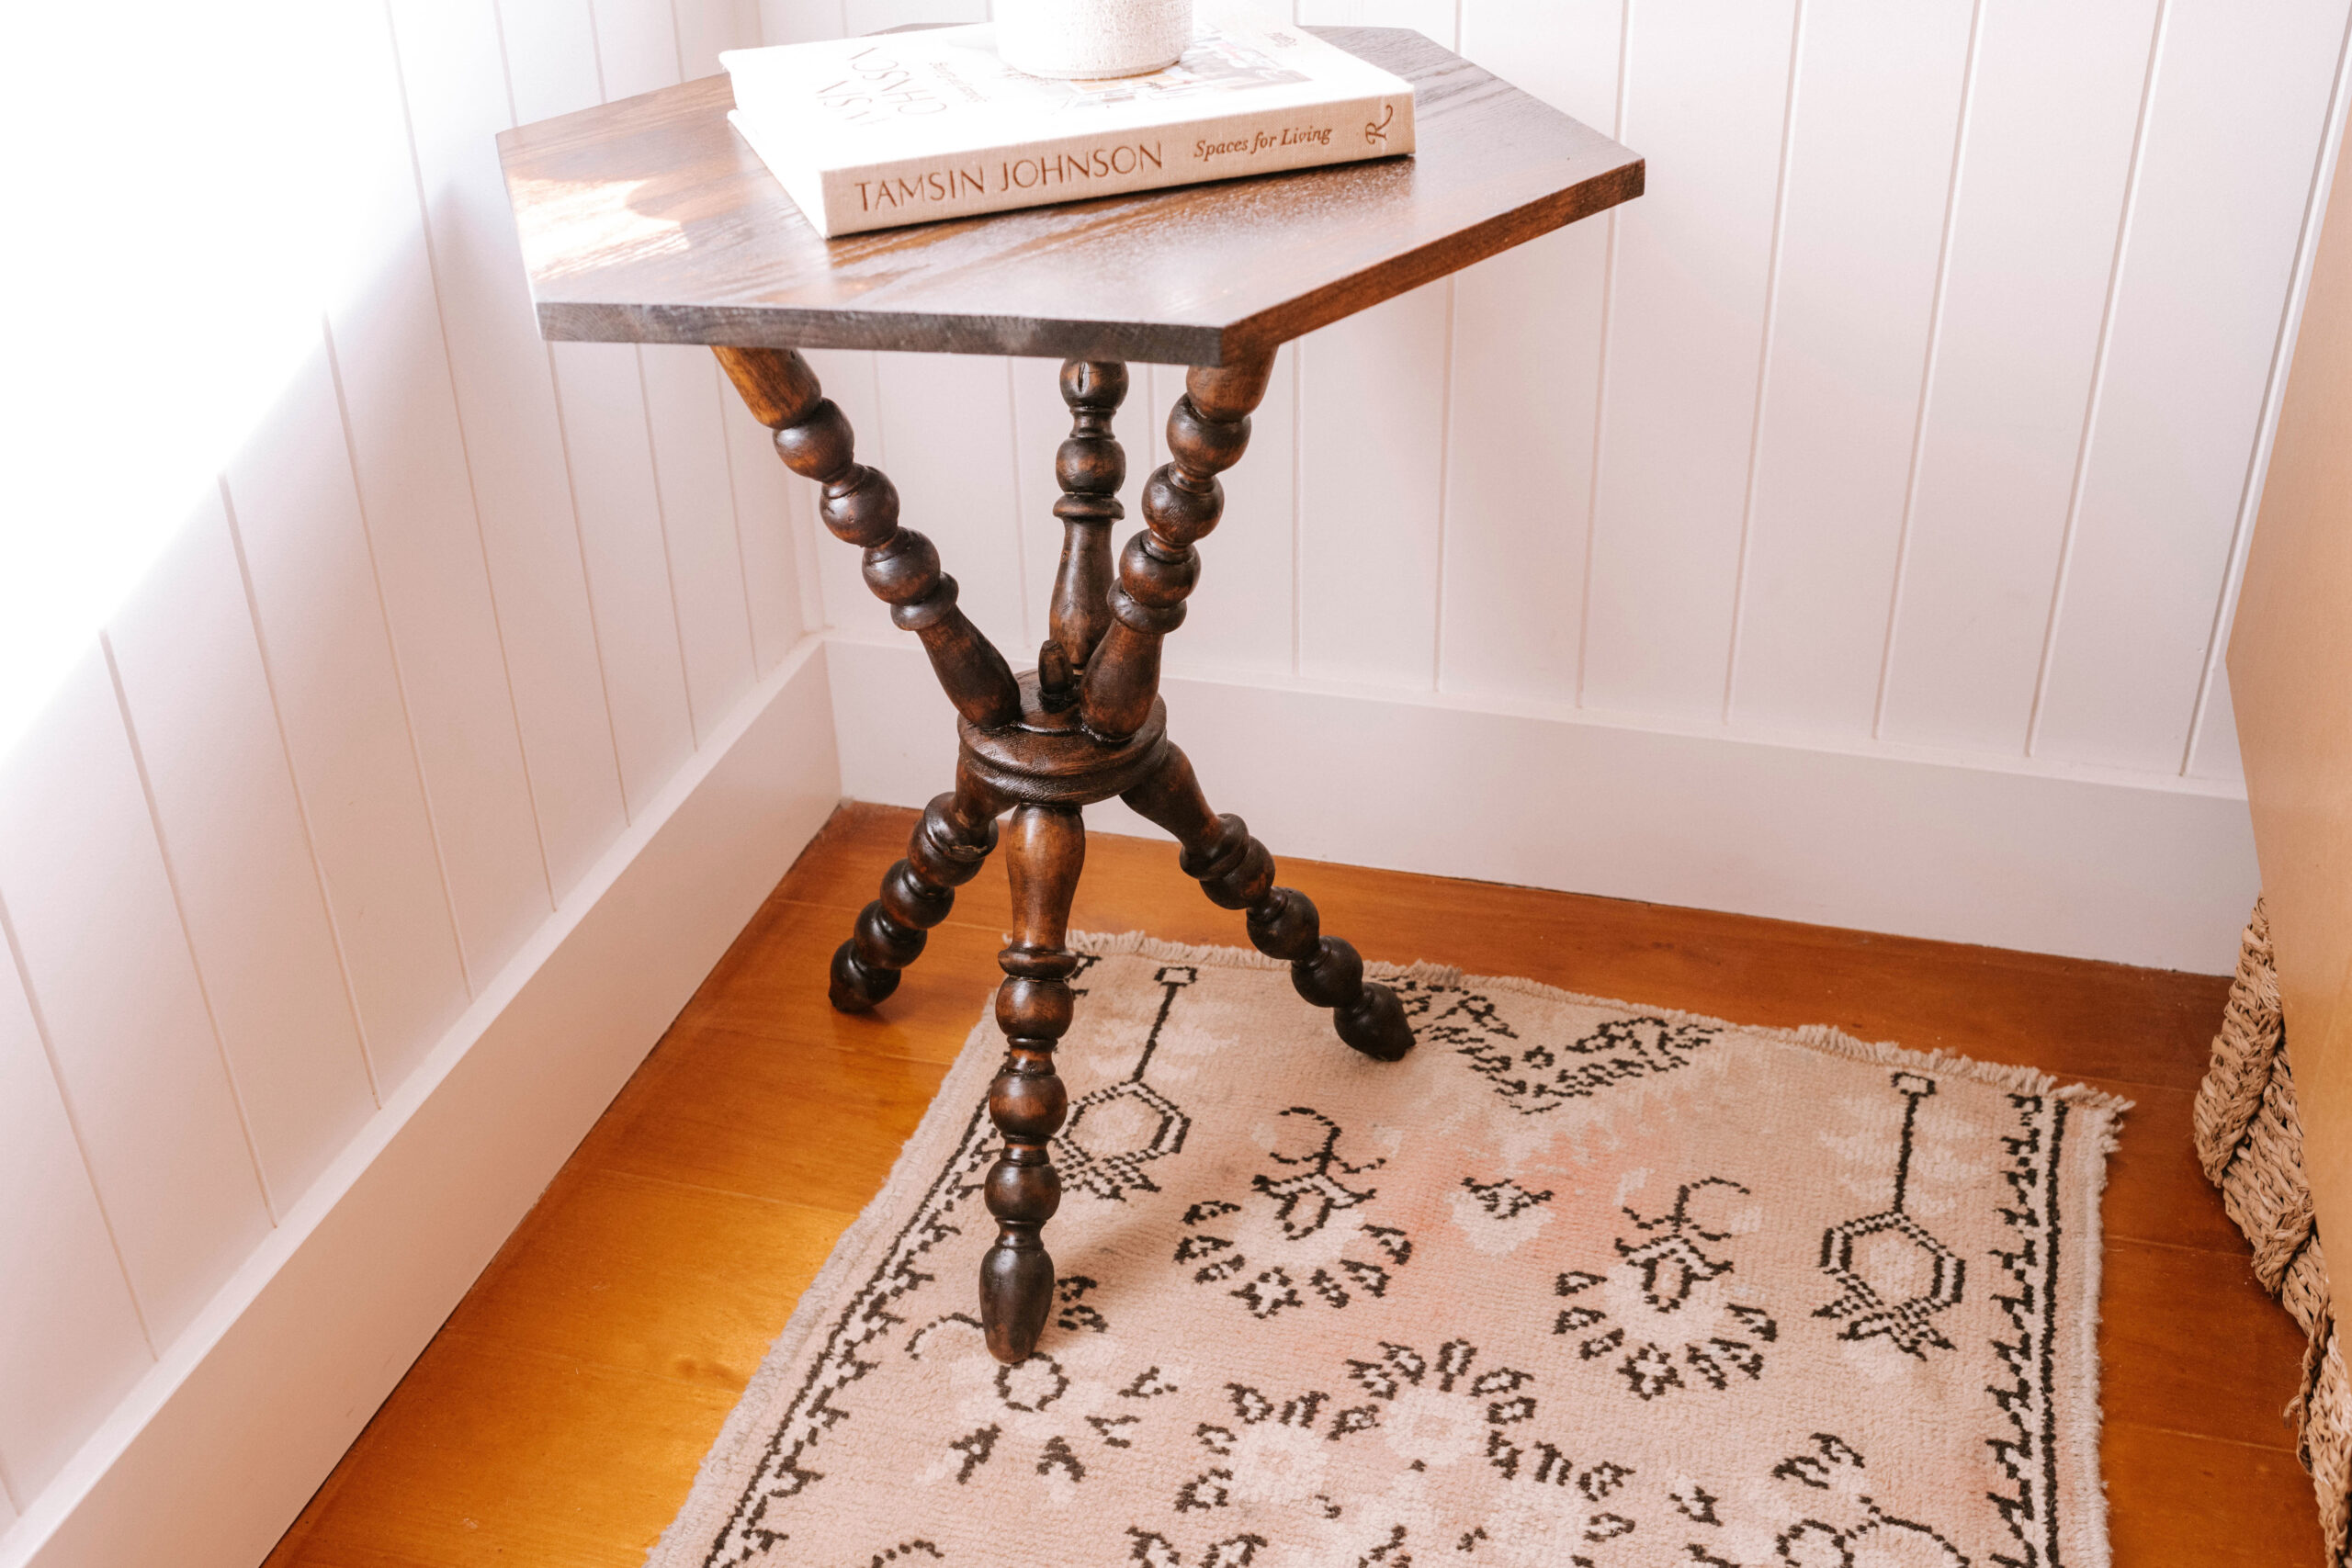
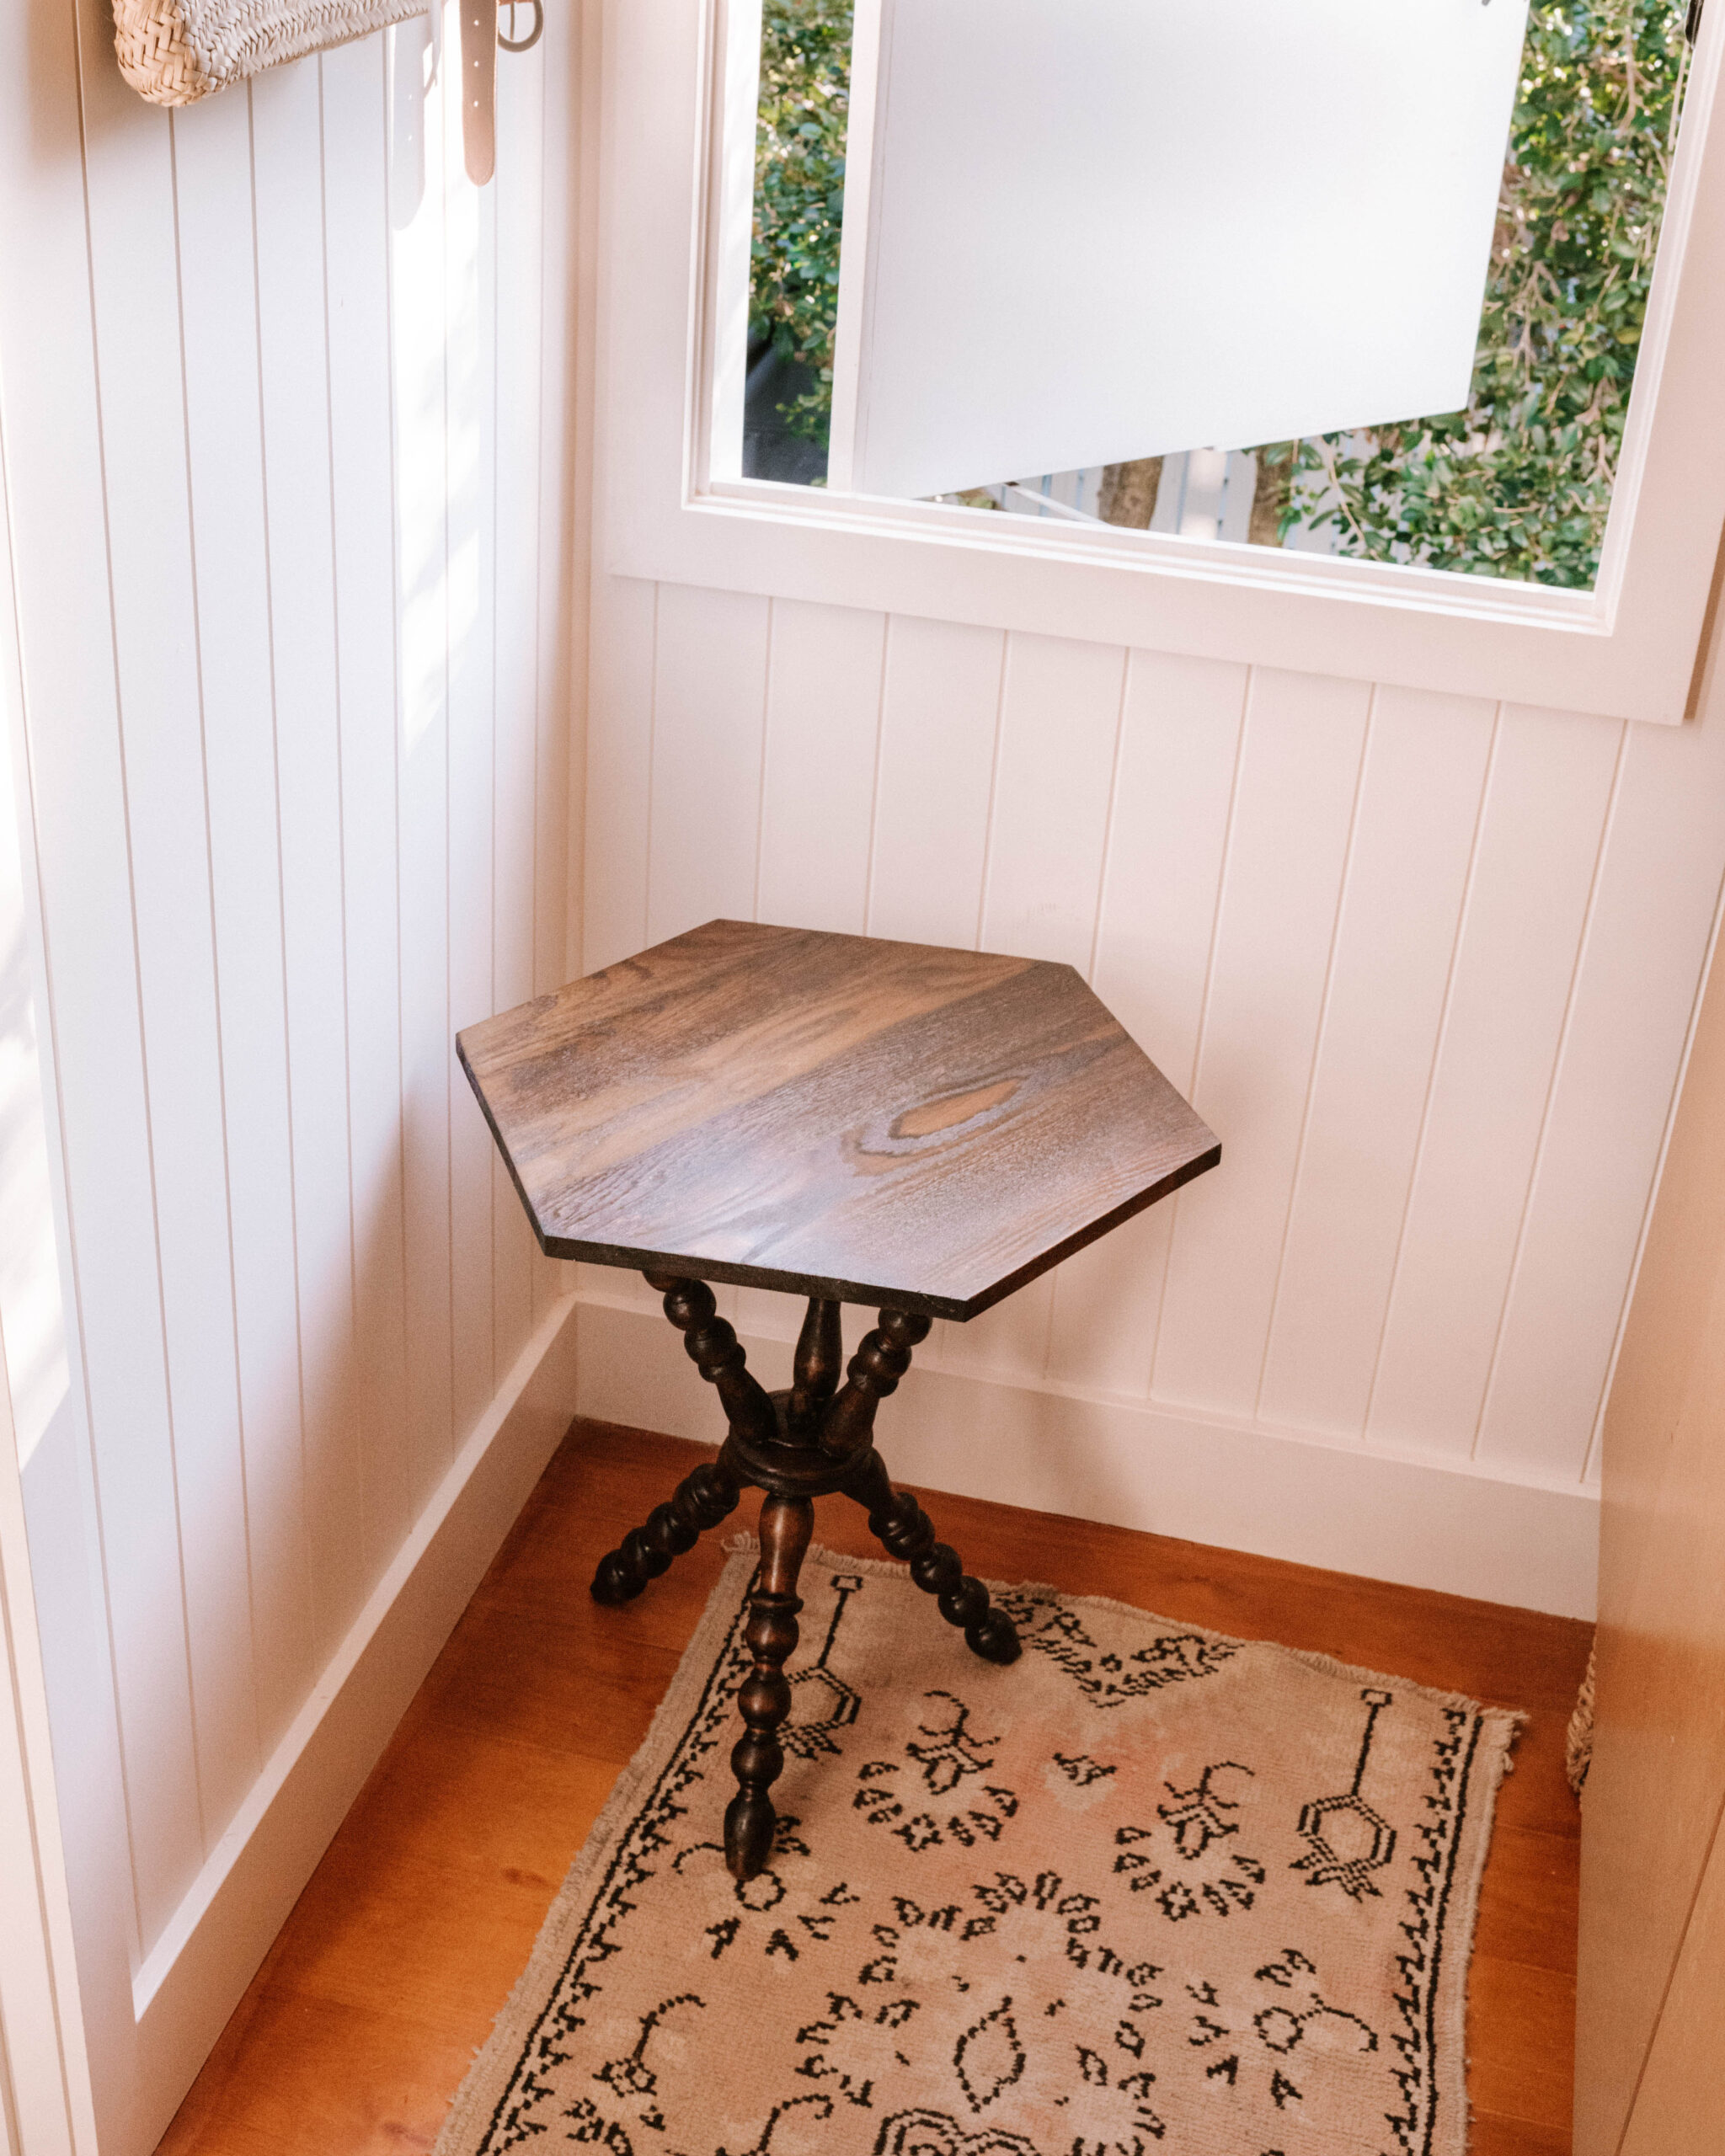
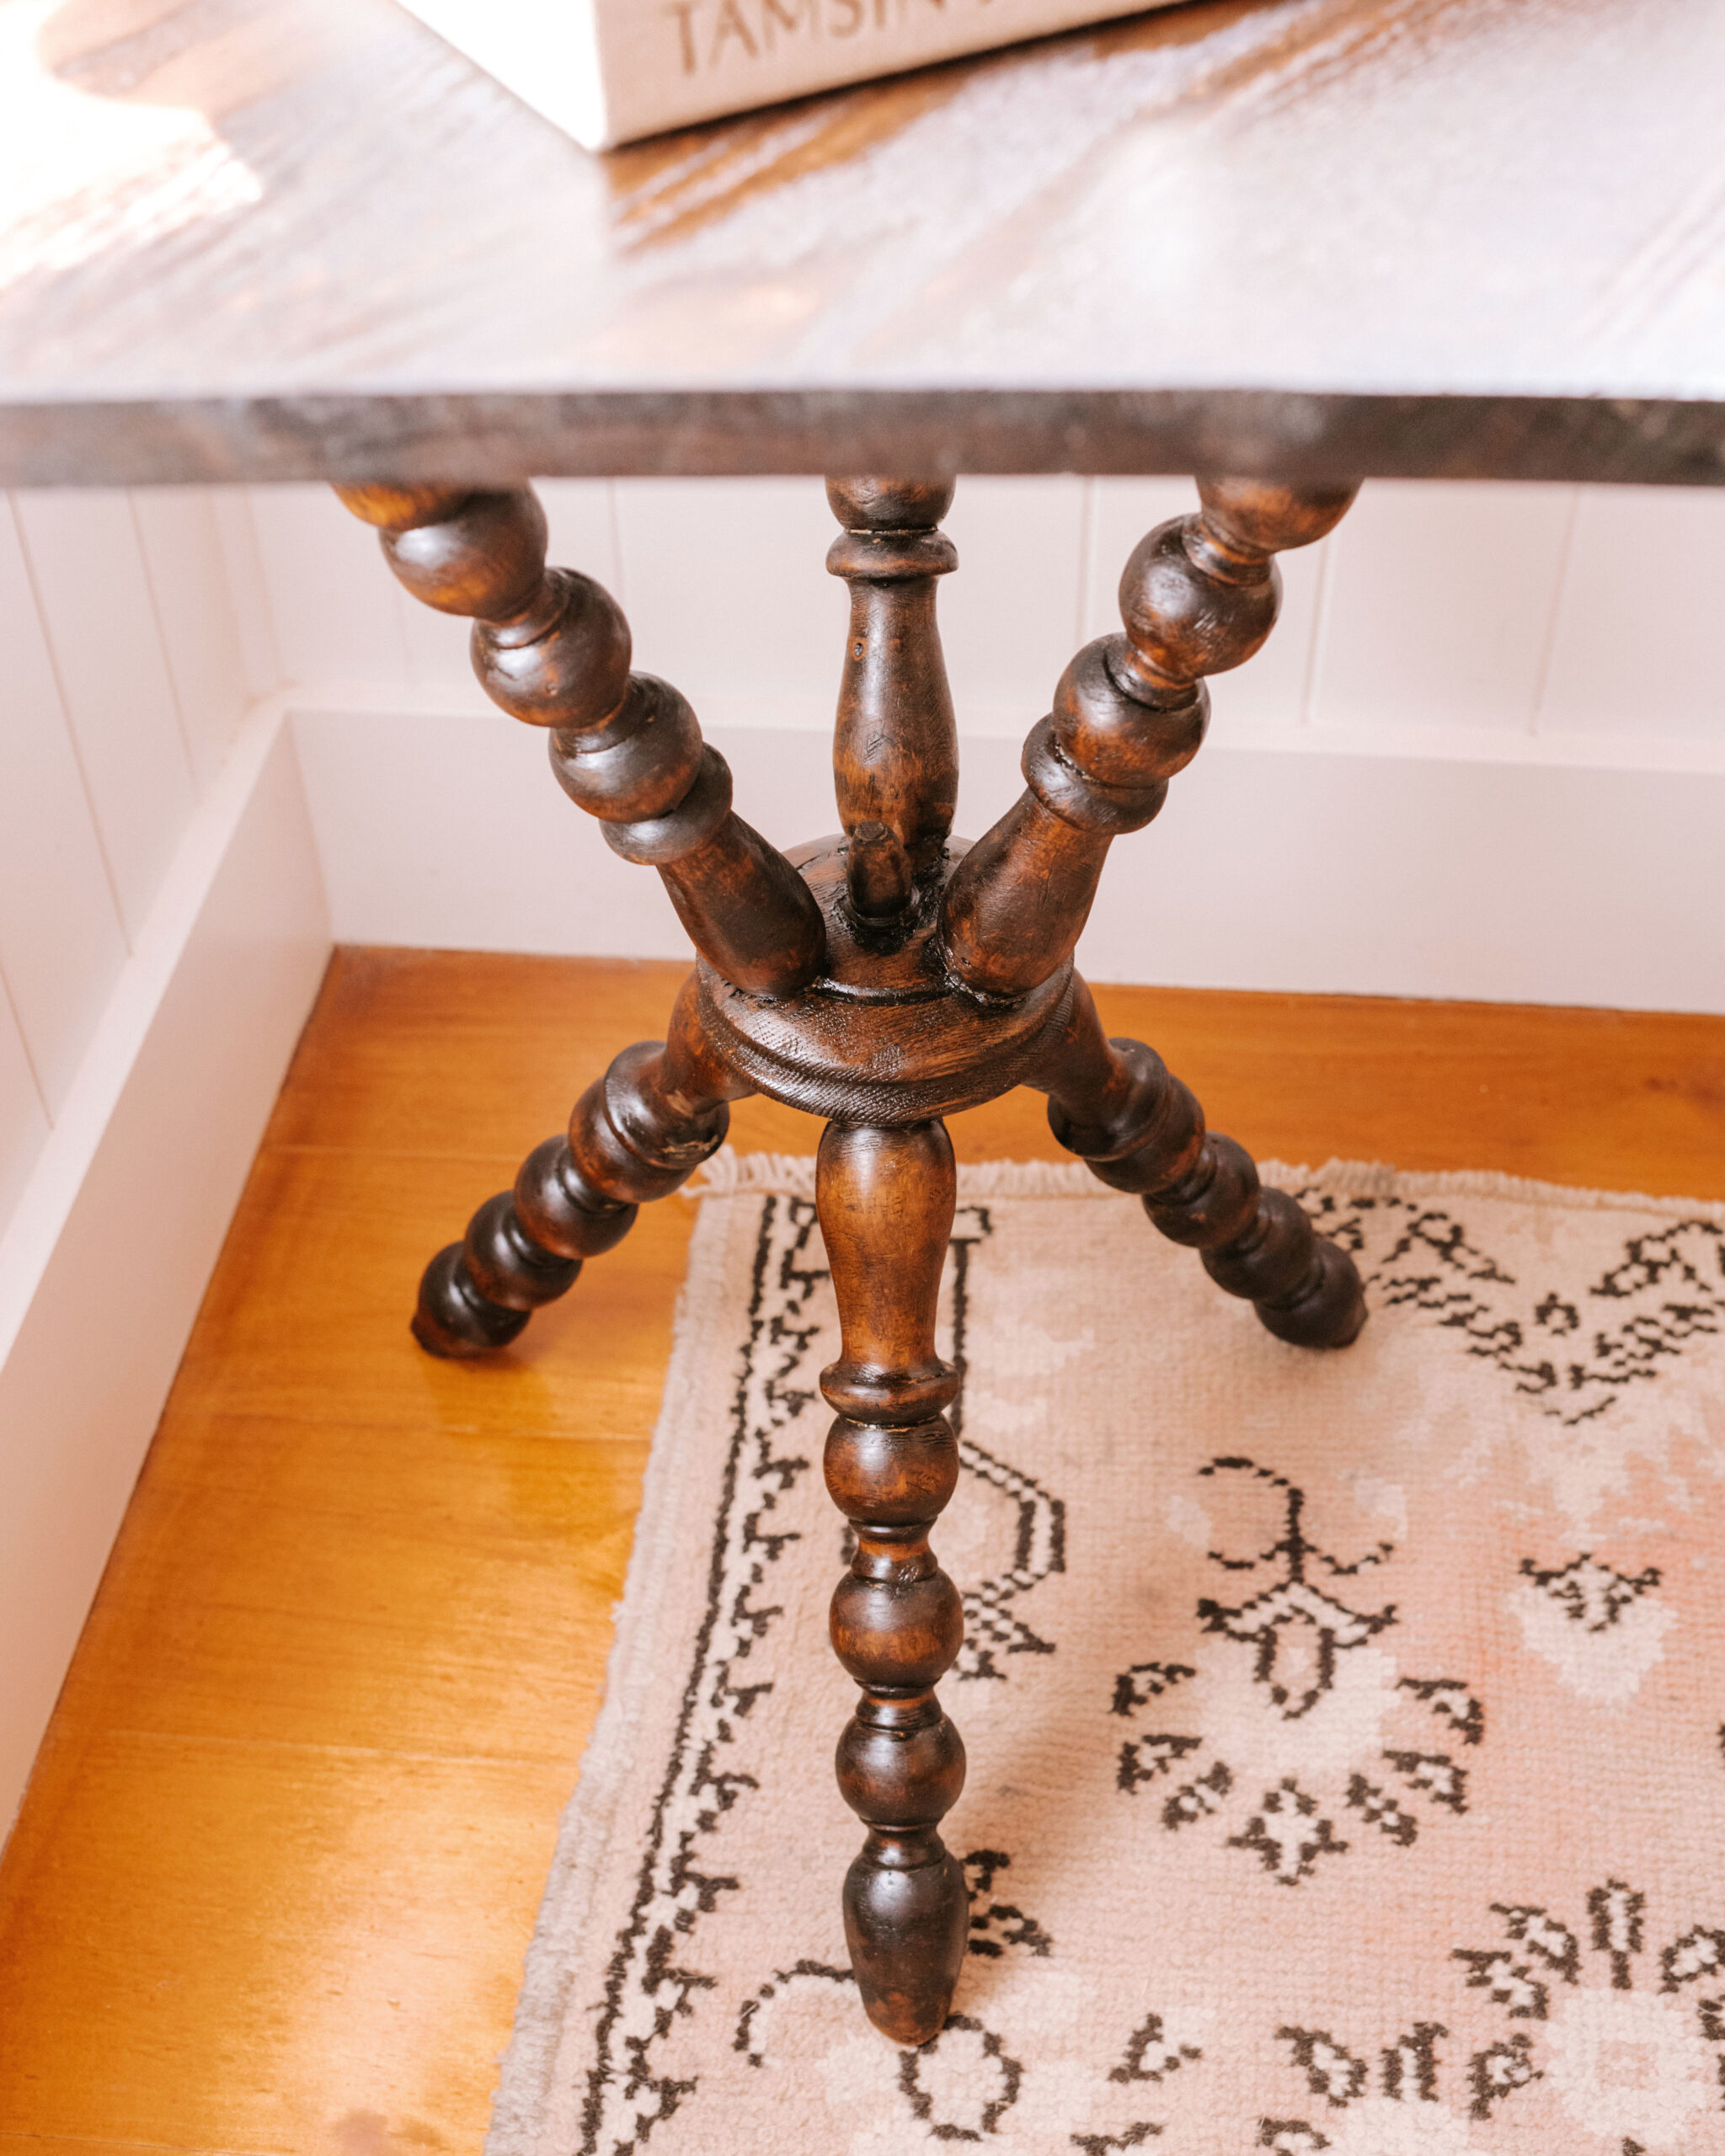
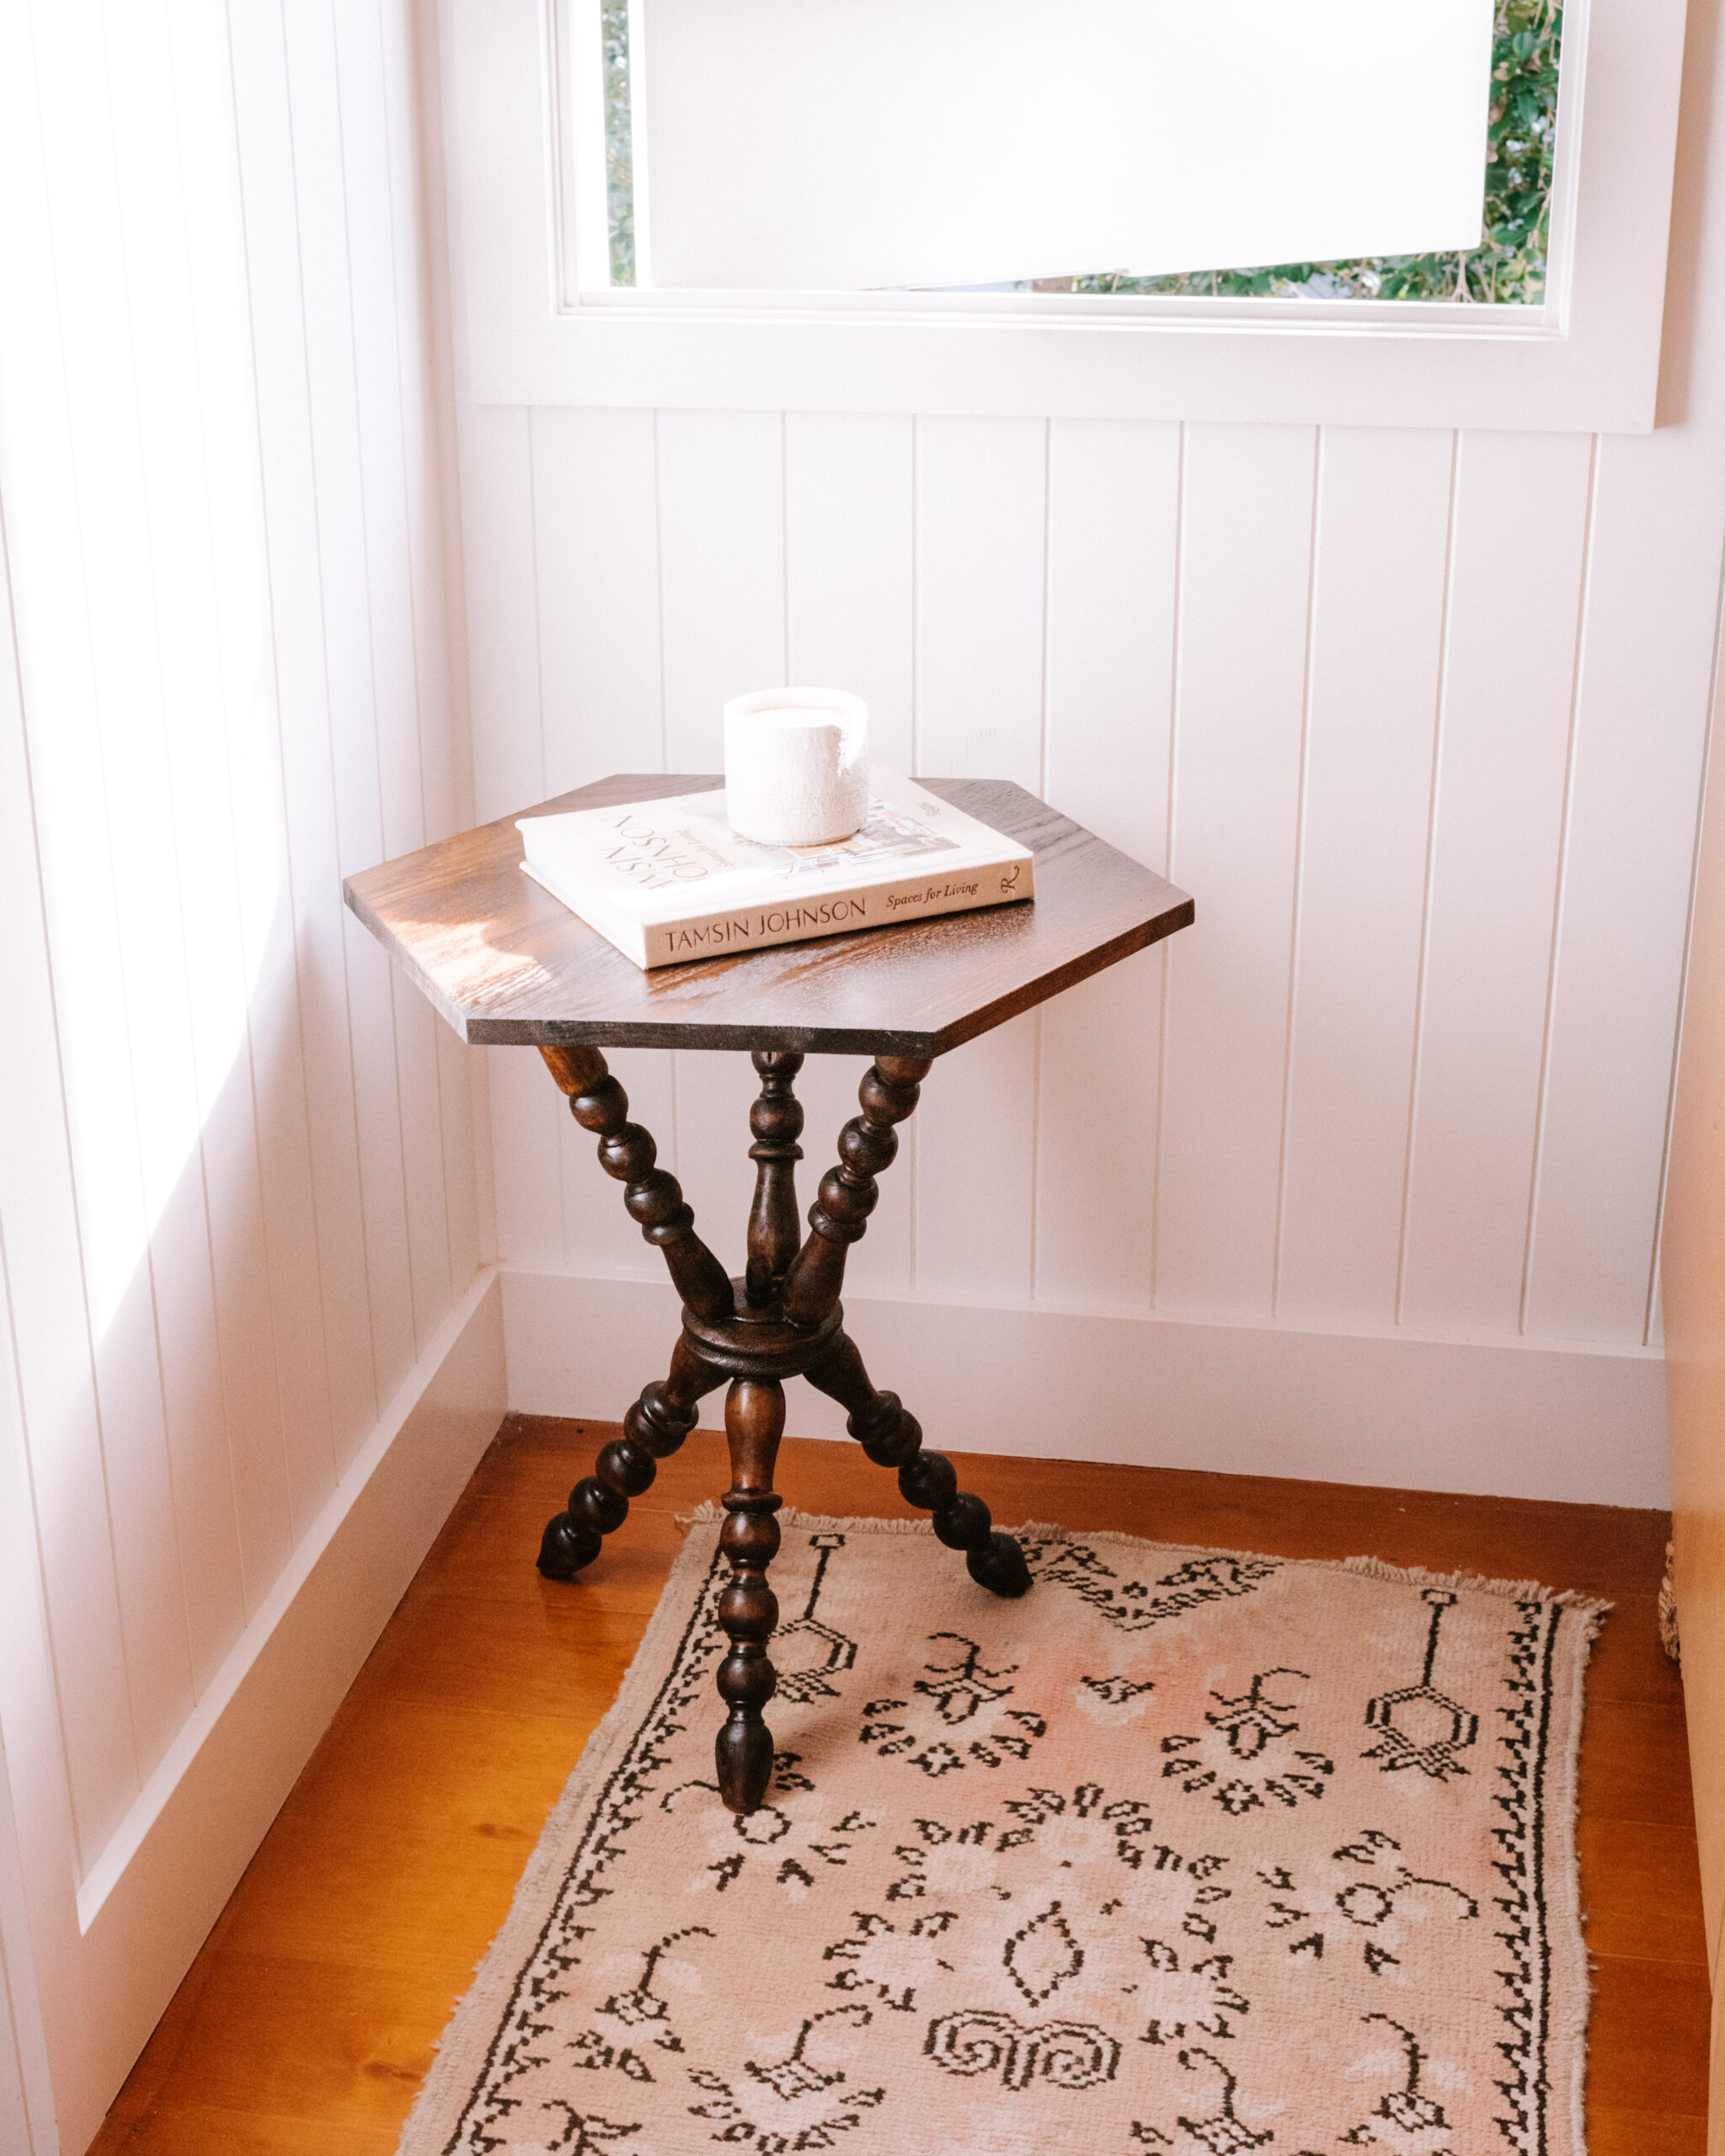
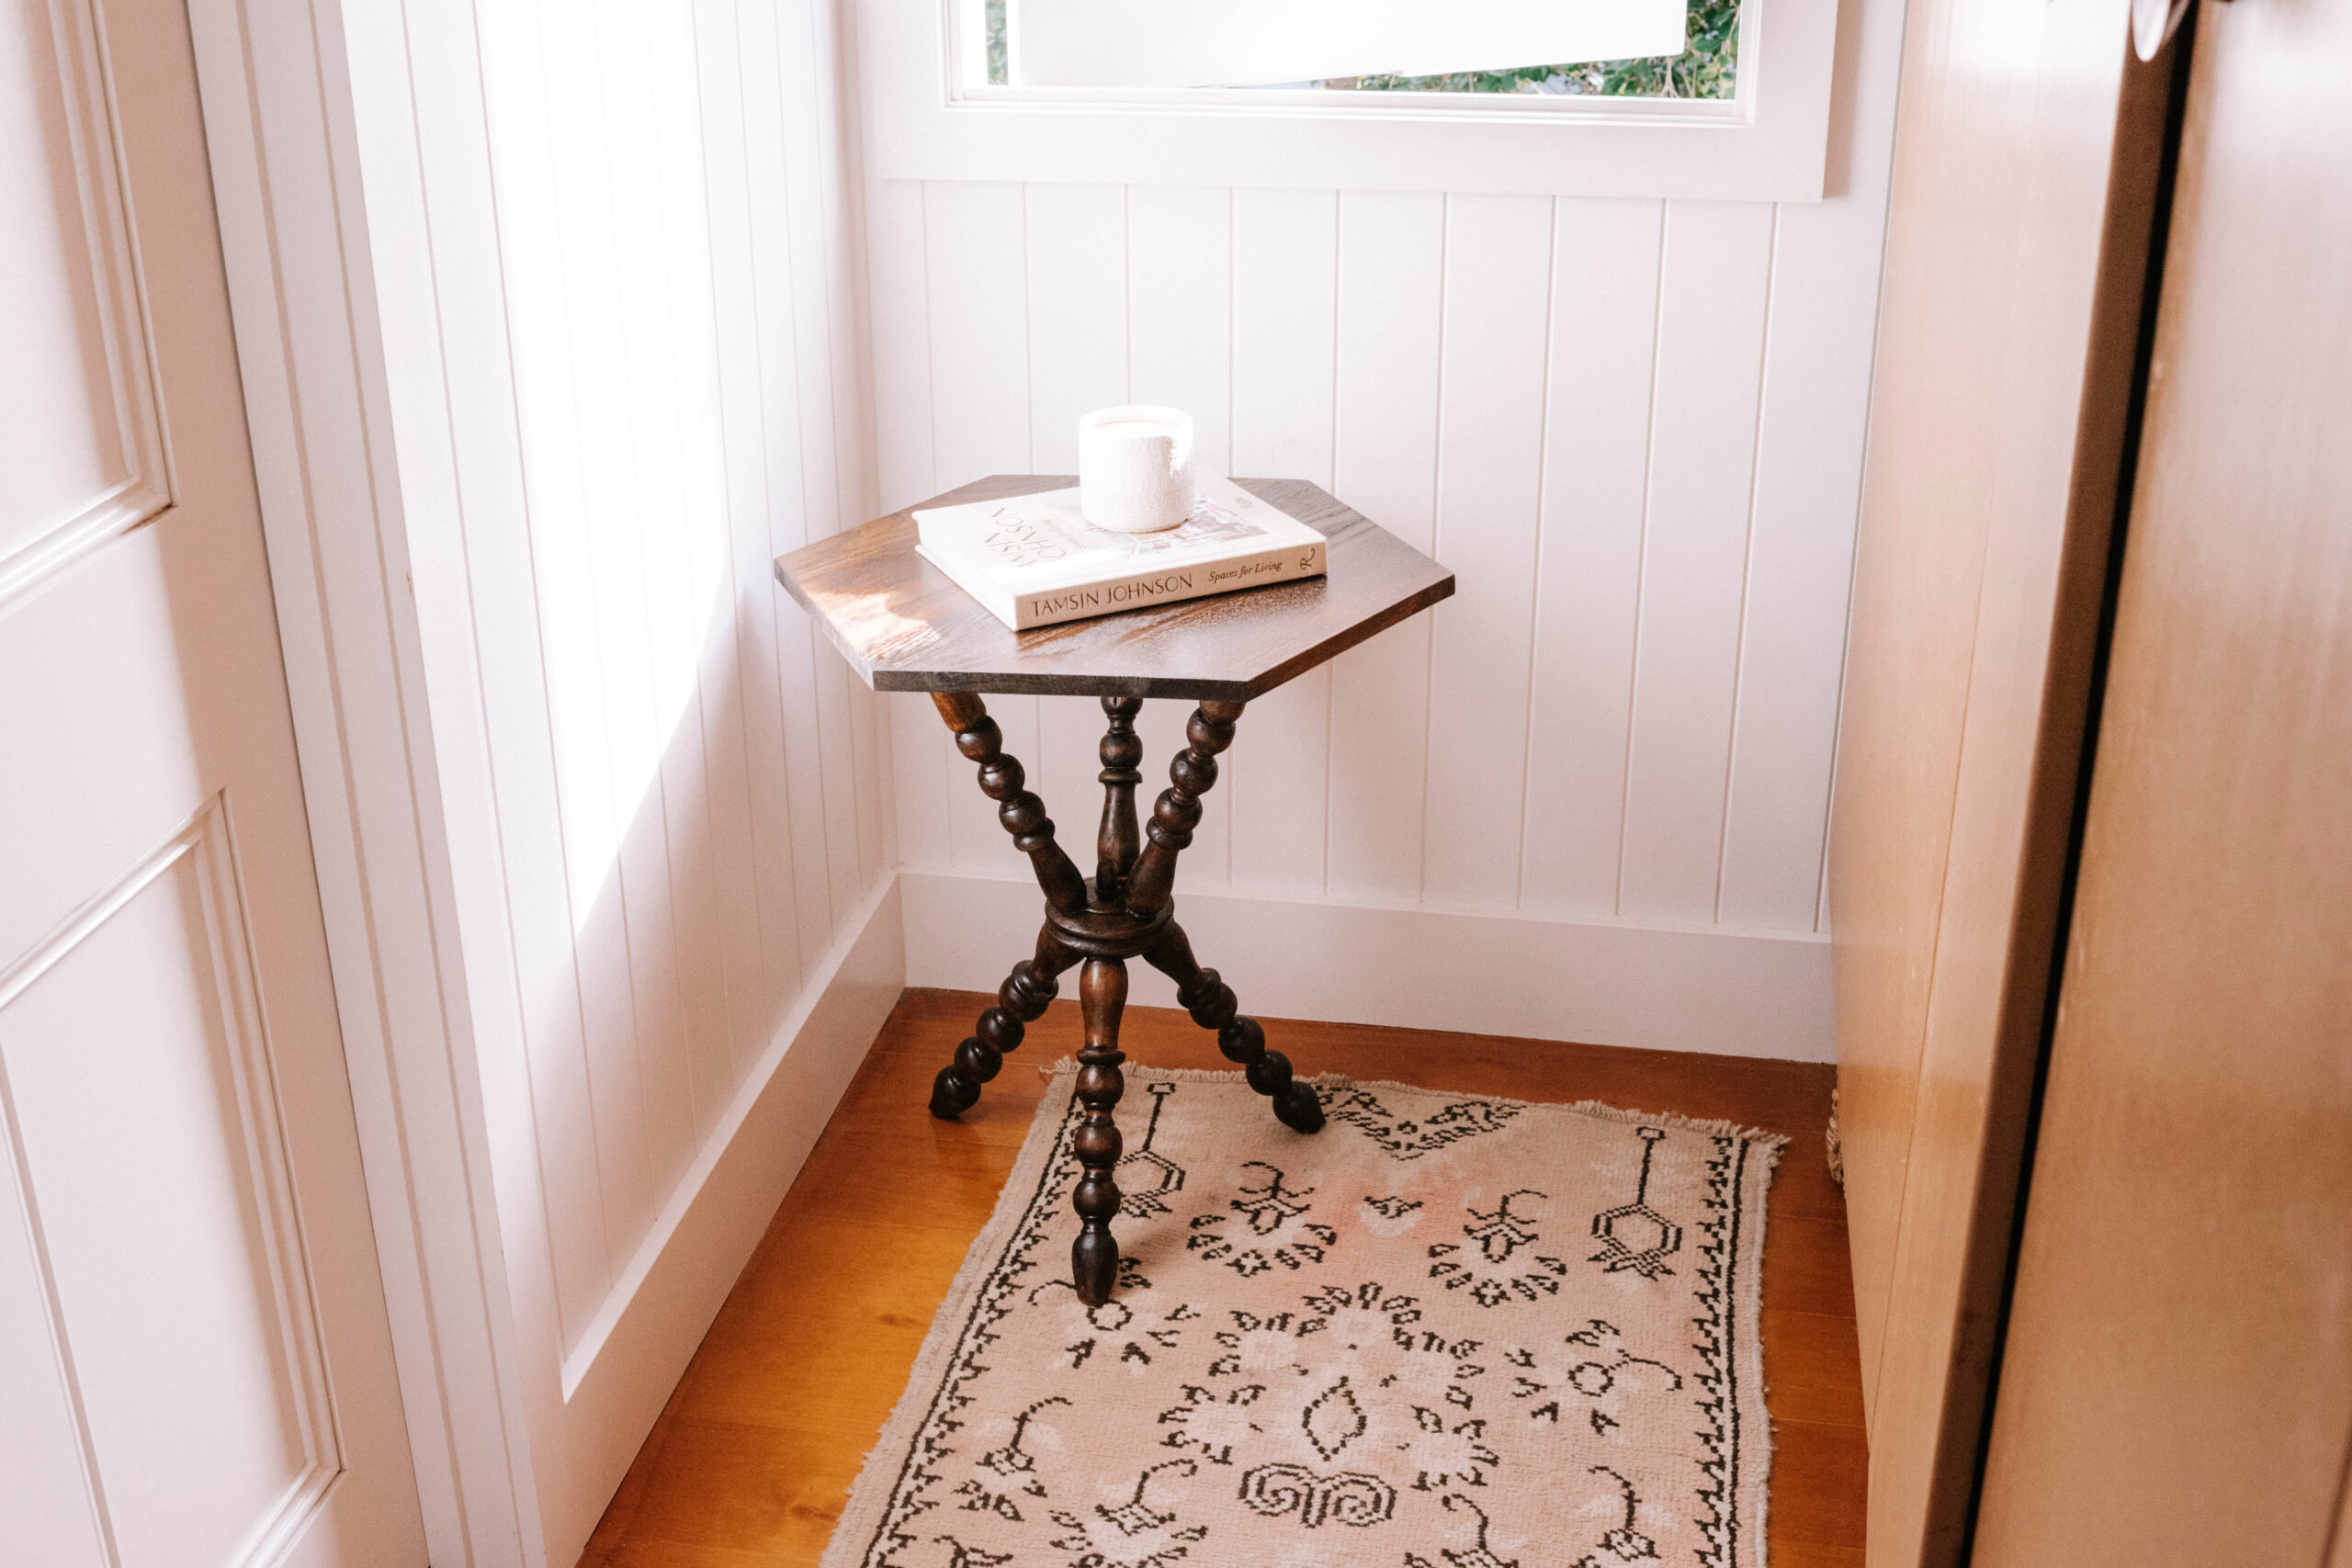
Finally! If you’ve been following me for a while you’ll likely remember this side table I found over a year ago on Facebook Marketplace for next to nothing. Since then it’s been a huge journey of DIYing and learning, but I’m so happy with the result.
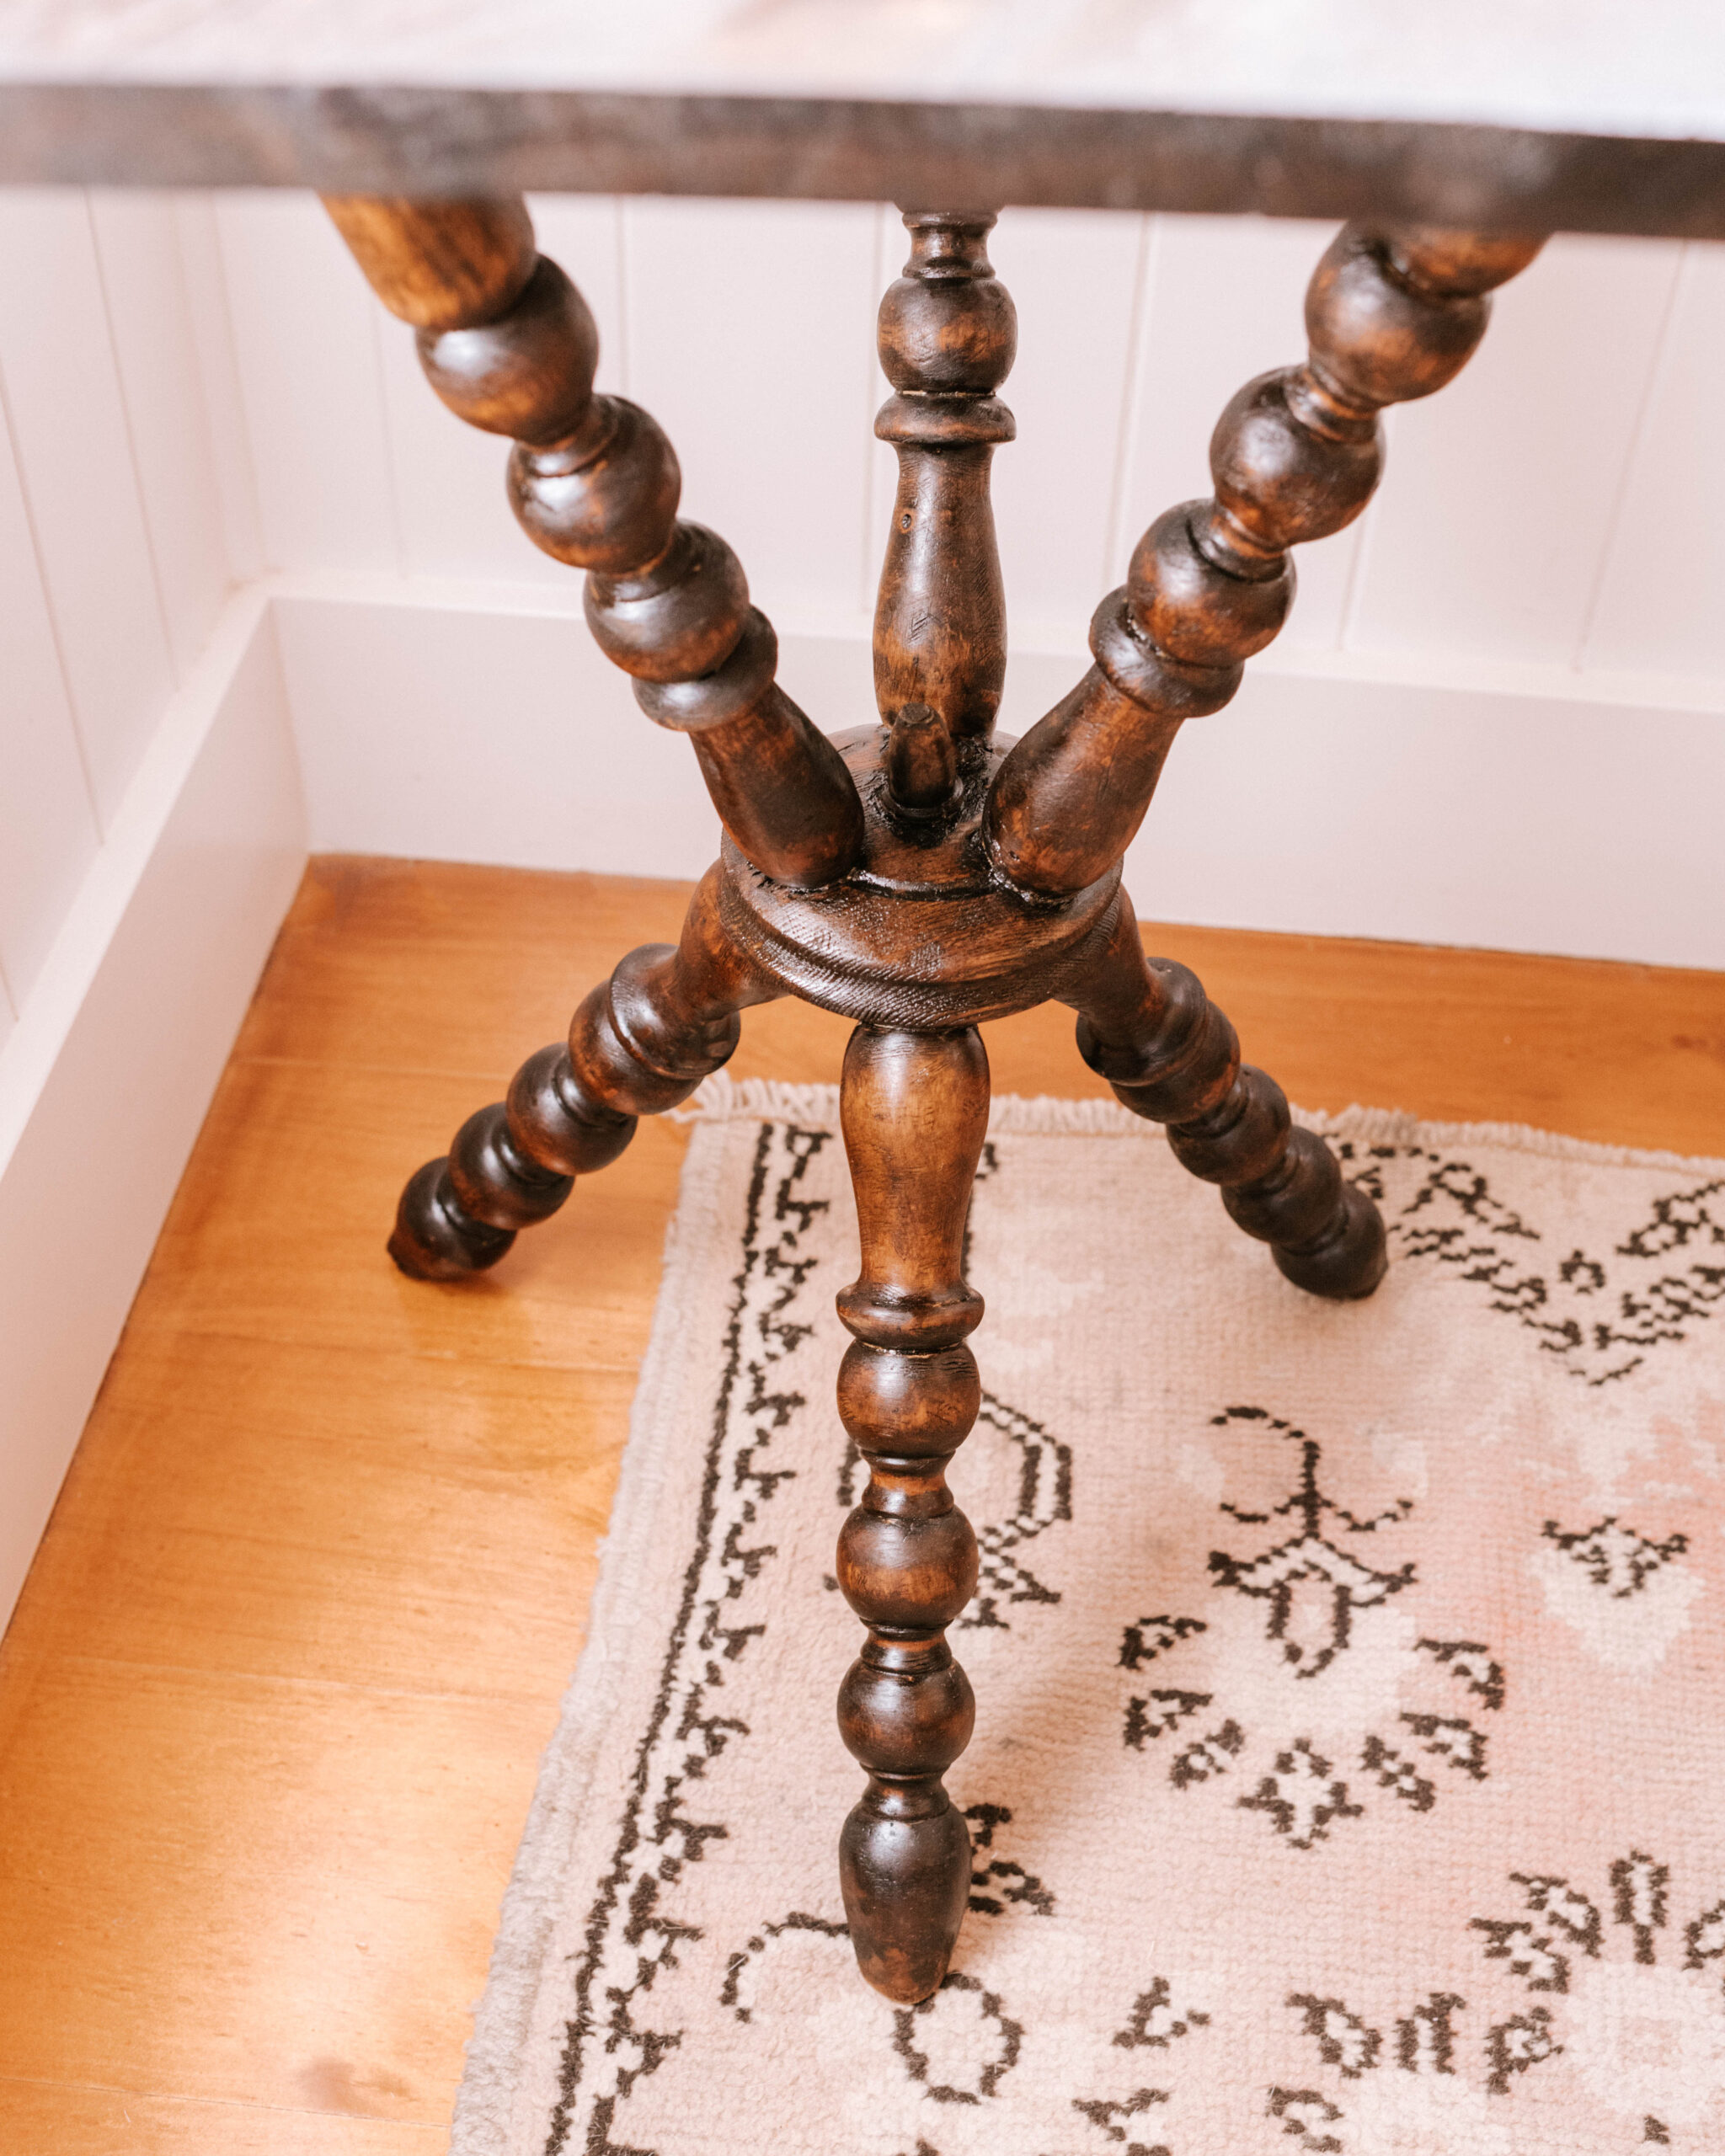
Now I know what you’re thinking. Geneva, why did this side table upcycle take you over a year to finish!? Wellll I’m not going to lie, this project has been a crazy rollercoaster. I fell in love with the amazing spindle/bobbin shape BUT it was this element that made the whole project just soooo hard to do properly. As much as it would have been easier to just give this old girl a coat of paint, I knew that it would just be soooo nice restored back to wood. So that’s what I did, but it took a while! I used more than 4 methods for stripping the wood back, and I have to say it was quite the learning curve. Not only that, but the top needed replacing when I realised it wasn’t made of wood but chipboard, and towards the end, I broke off one of the legs while I was doing a final sand, which meant I had the fun of fixing it using a dowel and wood glue. But in the end I’m soooo happy with what it looks like! Read on for more.
I’m so glad I finished this project in time for the launch of Feast Watson’s Relove project (remember last year’s upcycle?). This year there’s 10 x $500 cash prizes (the perfect prize to get you started on some amazing projects), you can see how to enter by doing your own project here.
- Before
- After
Materials I Used To Restore This Bobbin Table
- Intergrain timber stripper
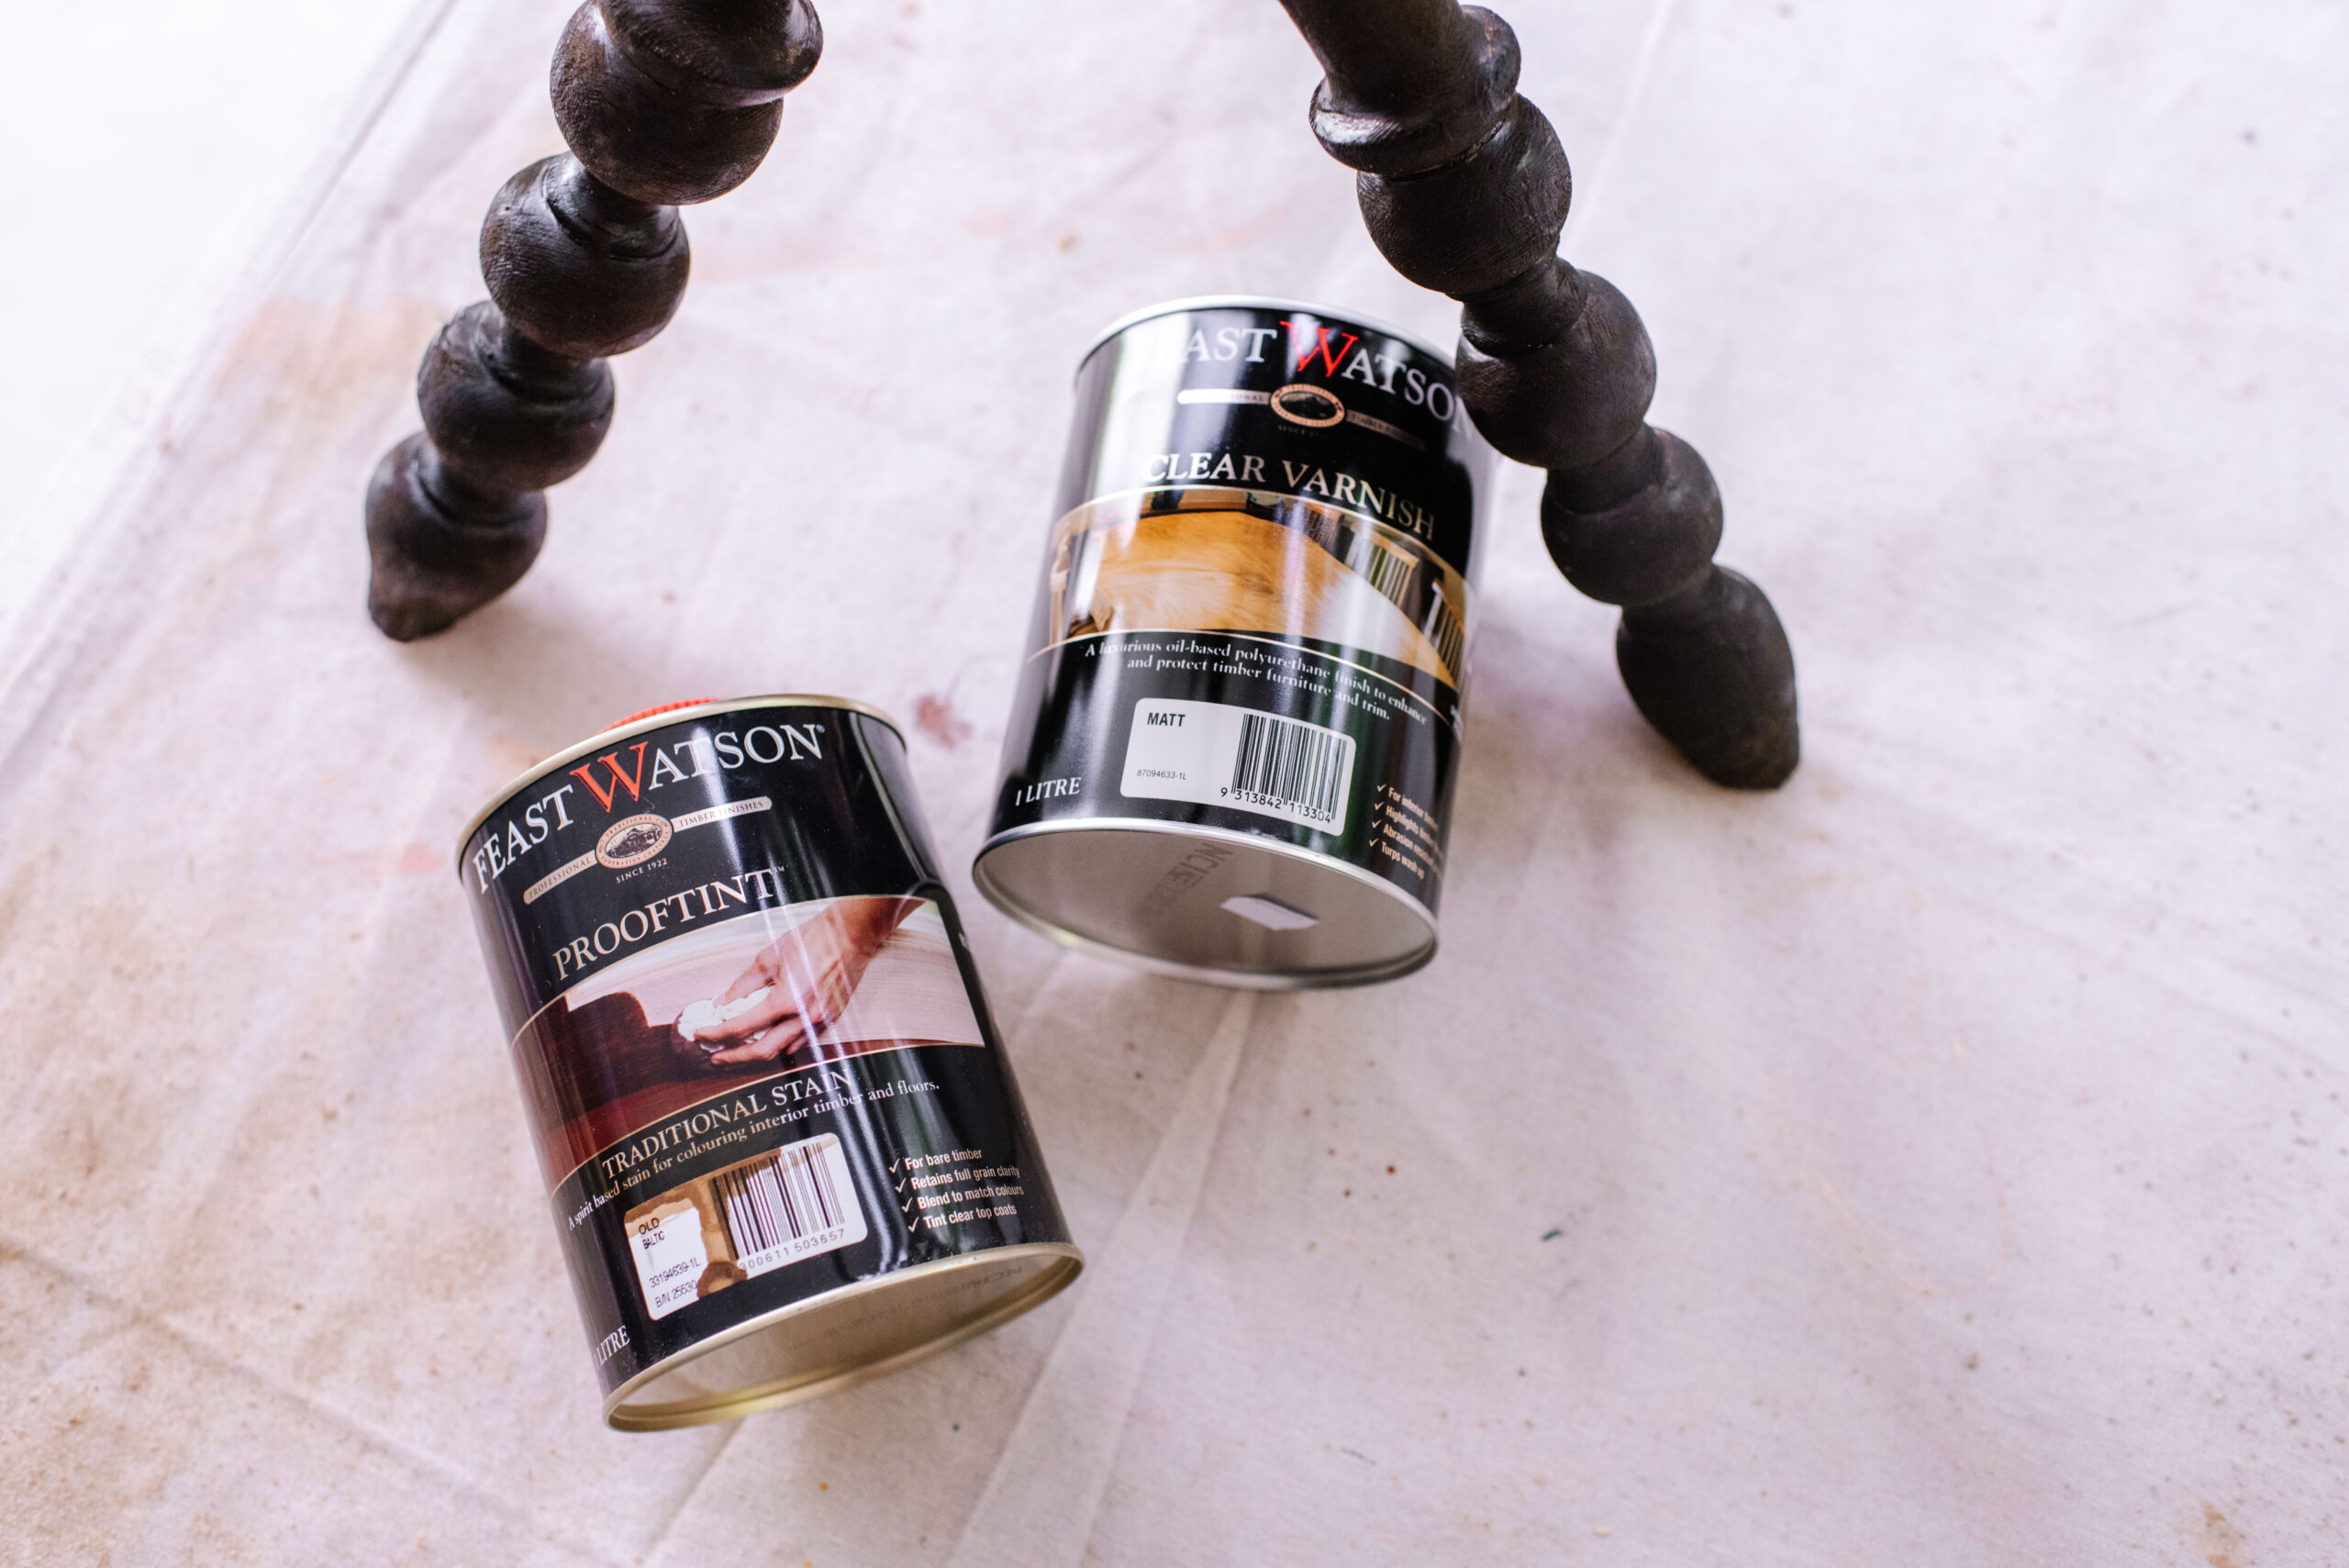
- Feast Watson Prooftint in Old Baltic and Brown Japan
- Feast Watson Varnish in Satin
- Timber round panel
- Drill
- Wire brush attachment for drill (this also works well)
- 240 grit sand paper
- Paint brush
How I restored An Antique Bobbin Table
1
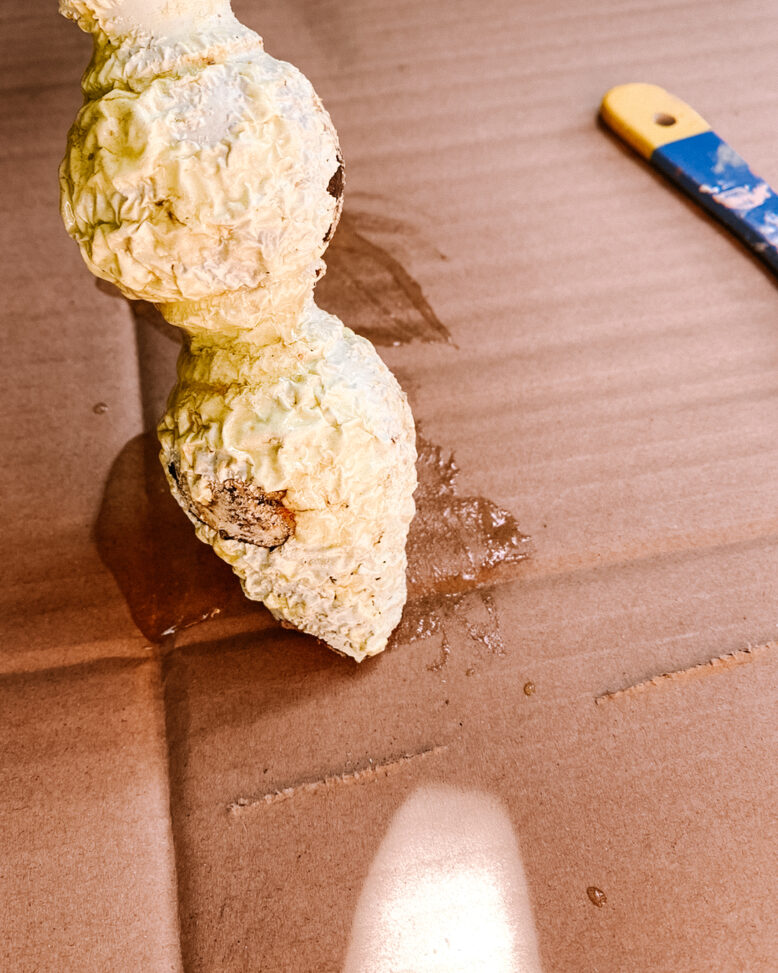
The first thing I wanted to do was remove the paint, so I applied a coat of timber stripper. It's always so satisfying to see it bubbling away.
2
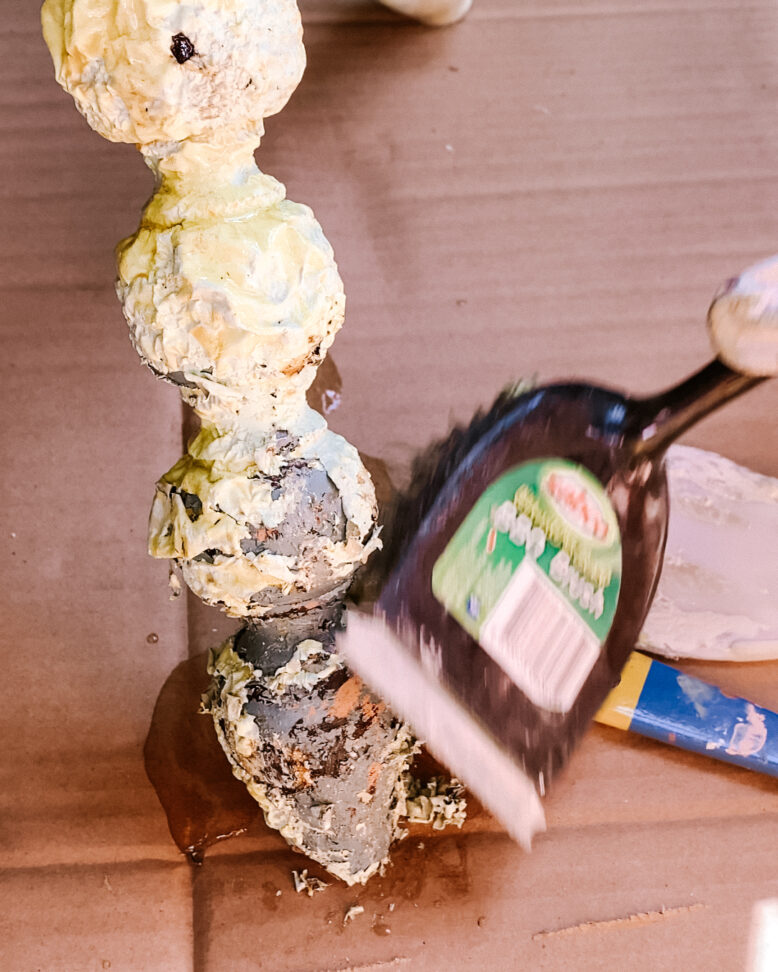
I then scraped the paint away. I used a BBQ brush for this as it gets into the gaps of the bobbin better than a metal scraper.
3
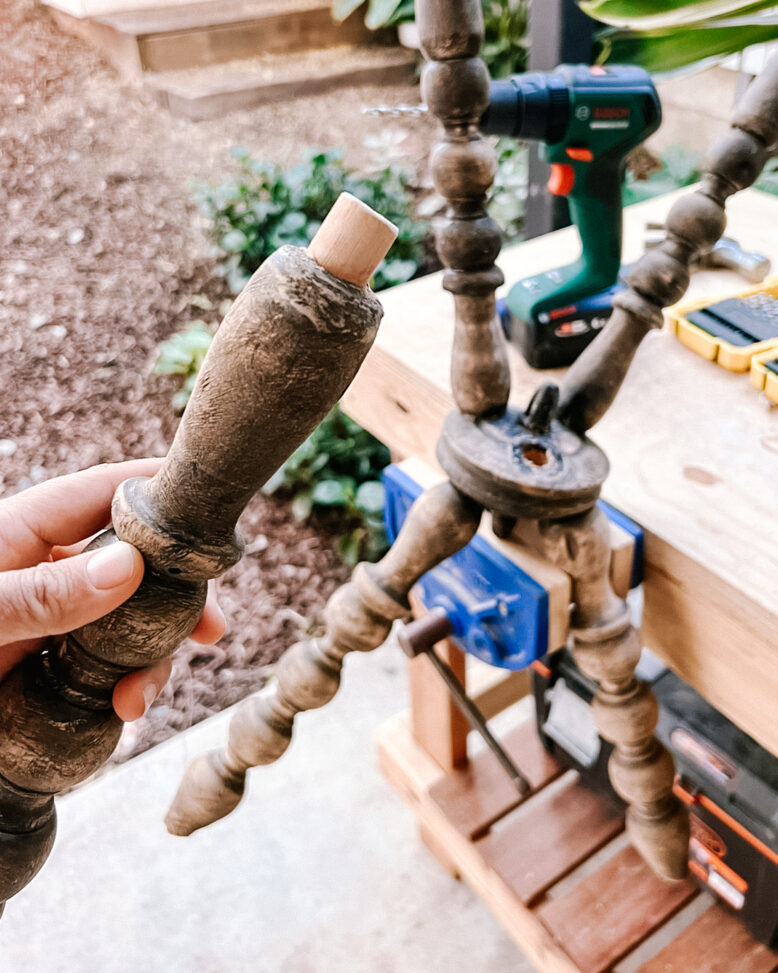
Once I removed the first few layers of paint, I got down to the wood but I noticed it had a dark varnish on it. I decided to try out using a wire brush drill attachment to remove that layer of varnish. You have to be really careful when you do this as it can scratch the wood if you aren't careful.
4
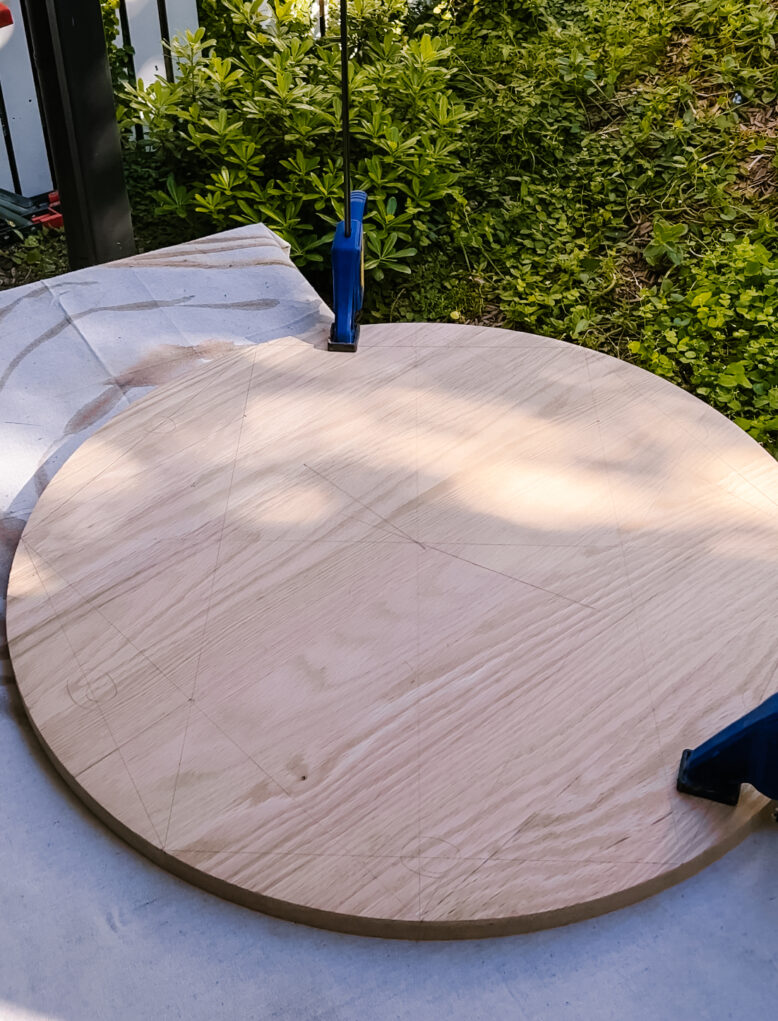
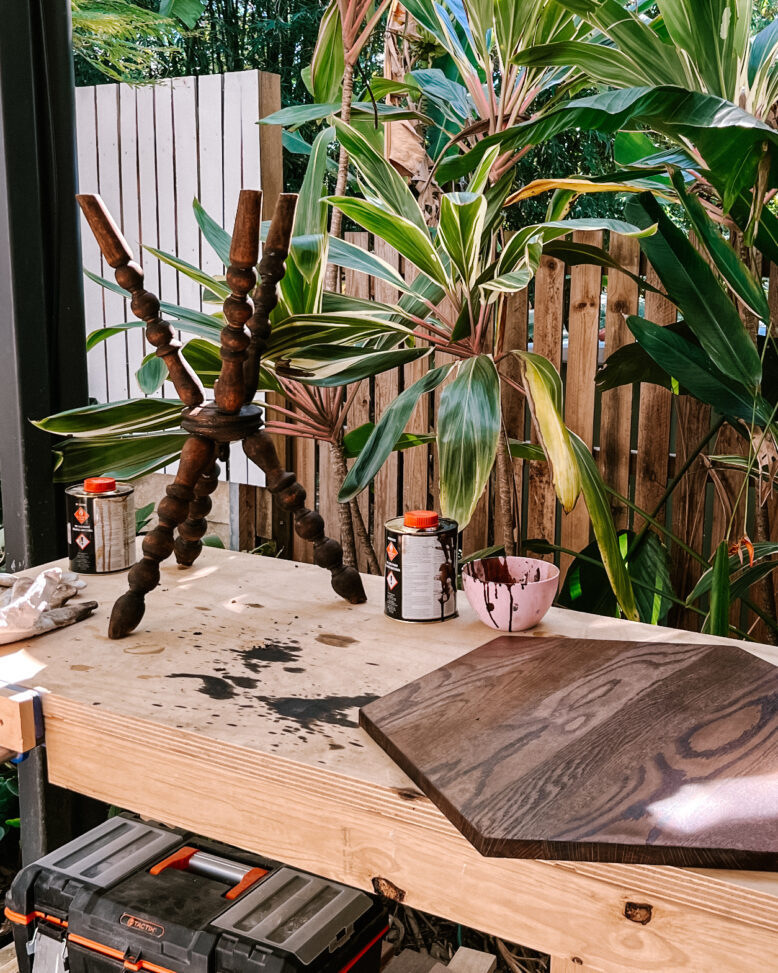
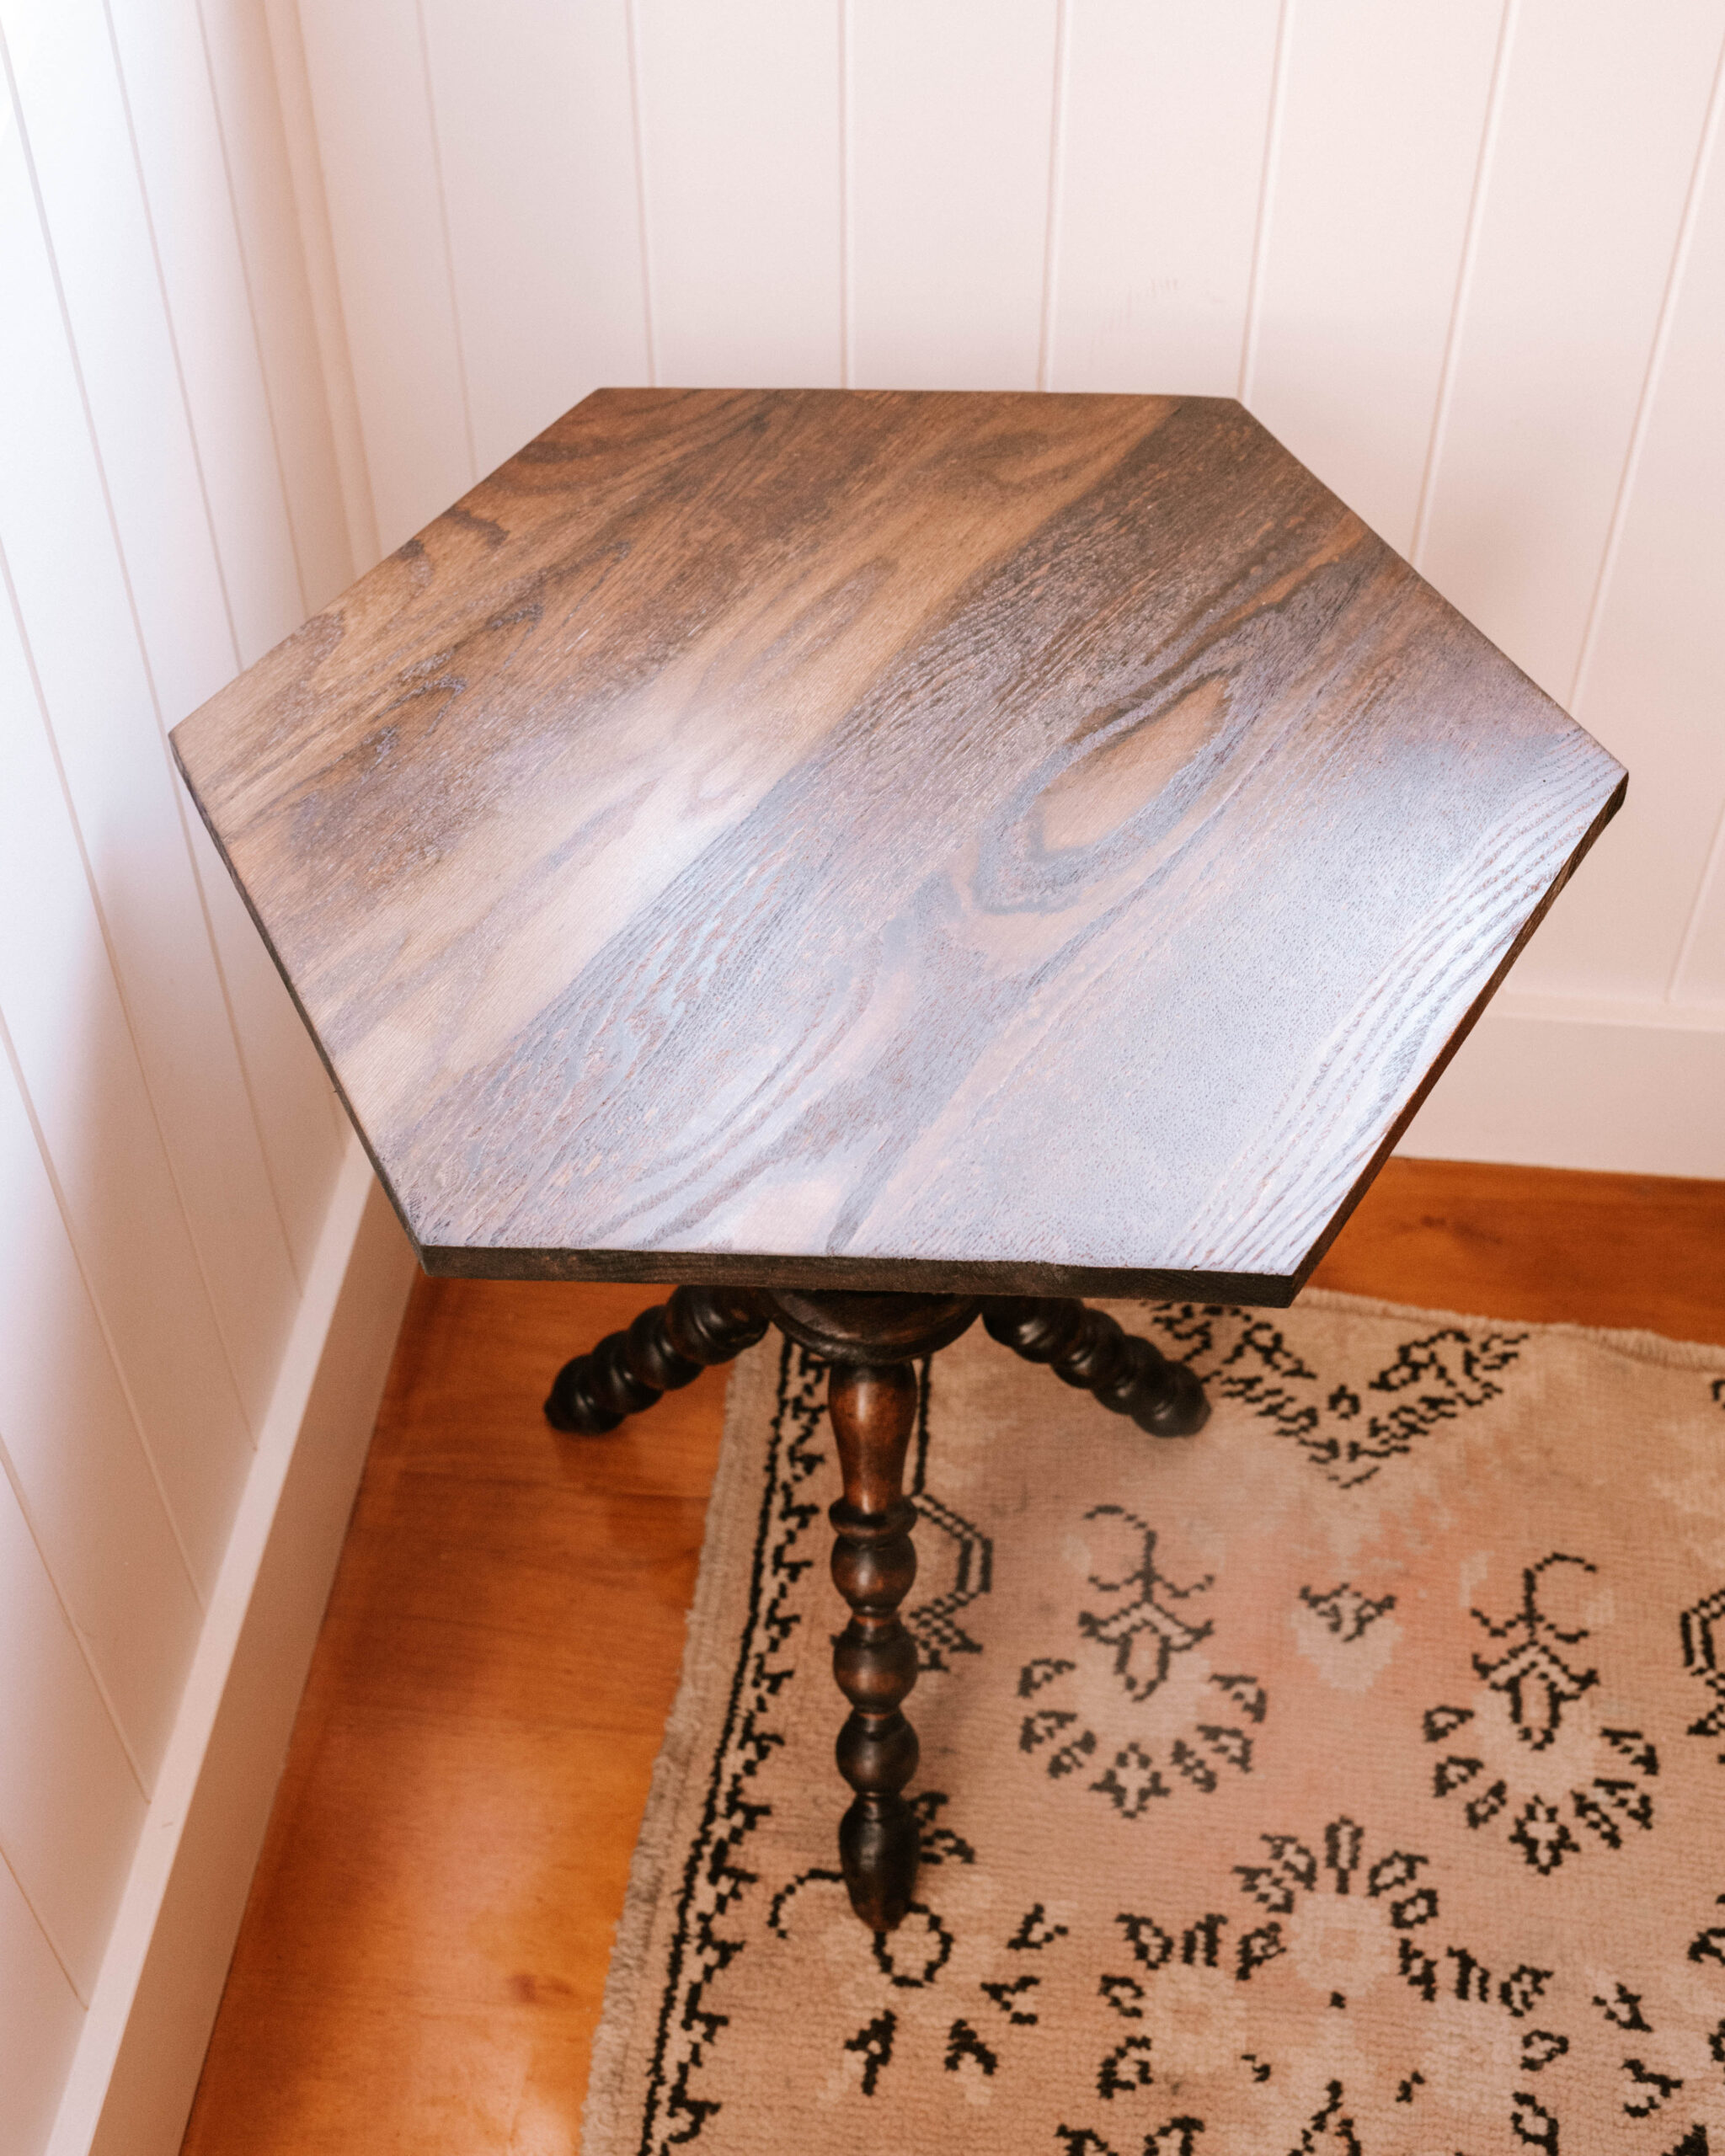
Unfortunately when I stripped the top of the table I noticed that it was made of chipboard and not wood, so I realised if I wanted to fully restore the whole table back to wood I was going to have to make a new top. First I removed the original top. Then I used a timber round panel and cut it using a circular saw to recreate the hexagon top in timber.
5
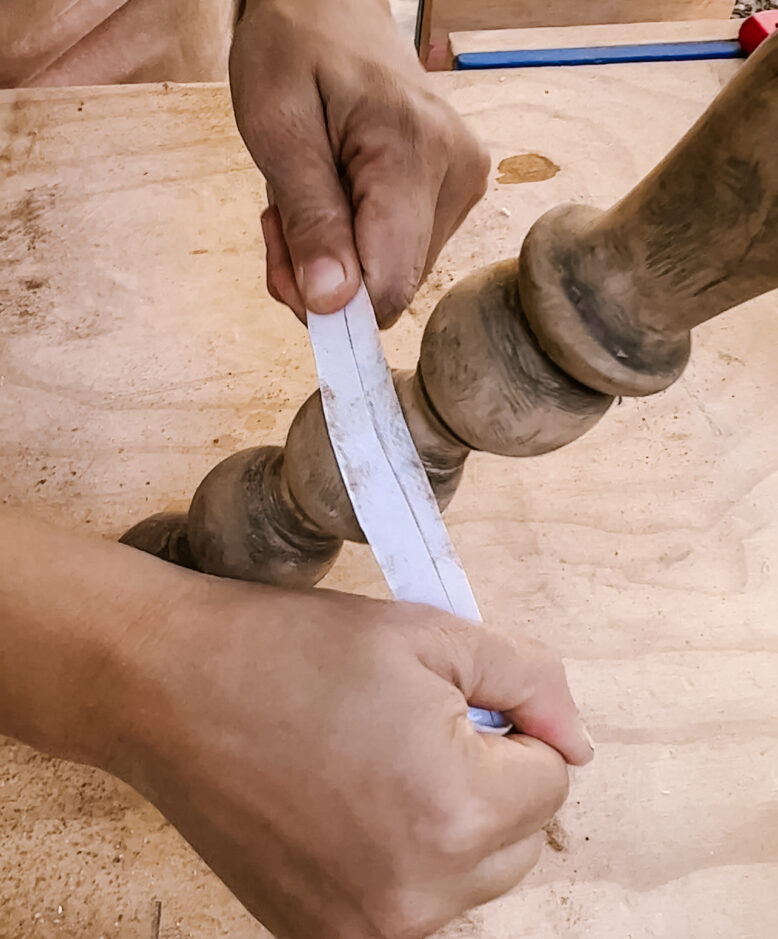
Once I had removed the varnish, I wanted to sand the whole piece with fine sandpaper because then it would have a really lovely finish when stained and varnished. Sanding a piece like this is notoriously hard, and I used an interesting hack, where I took a piece of sandpaper (240 grit) and covered the back in strips of electrical tape. I then cut the sandpaper into long strips and then used that to sand down the whole piece. The thin strips allowed me to get into the details of the piece and I found this really worked.
6
To make matters more complicated, mid way through the project I broke one of the pieces off the base, so I had to reattach it by drilling 19mm holes in the base and the leg, then using dowel and wood glue to attach them back together.
7
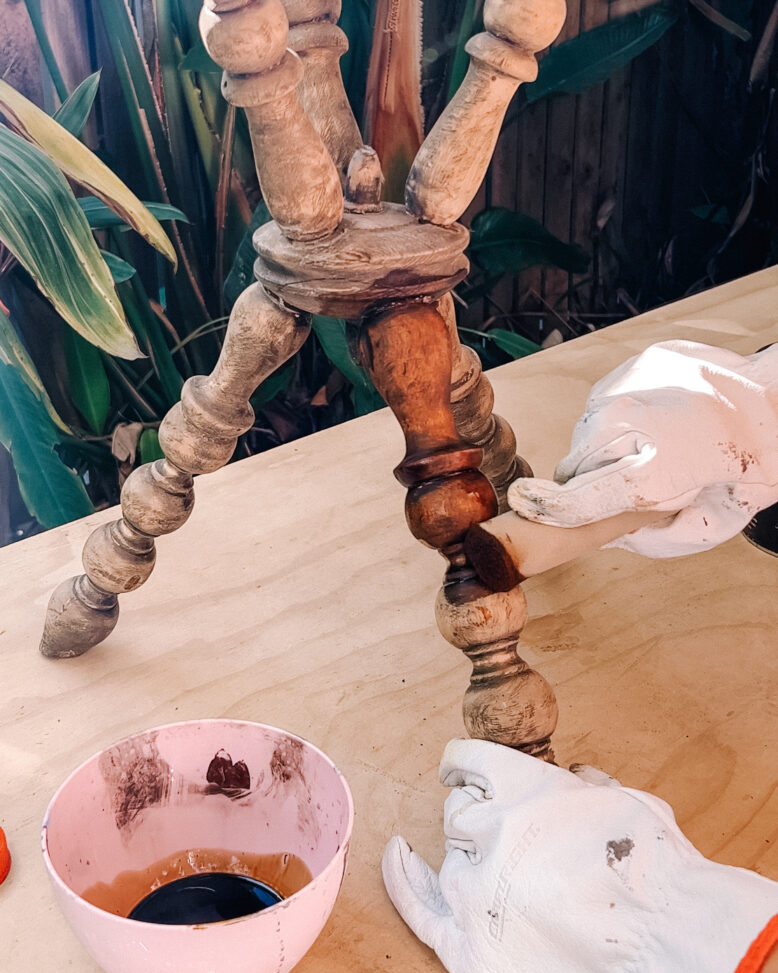
It was finally time to stain the base, and I used a foam roller attachment to do that so I could get into the grooves of the bobbin details.
9
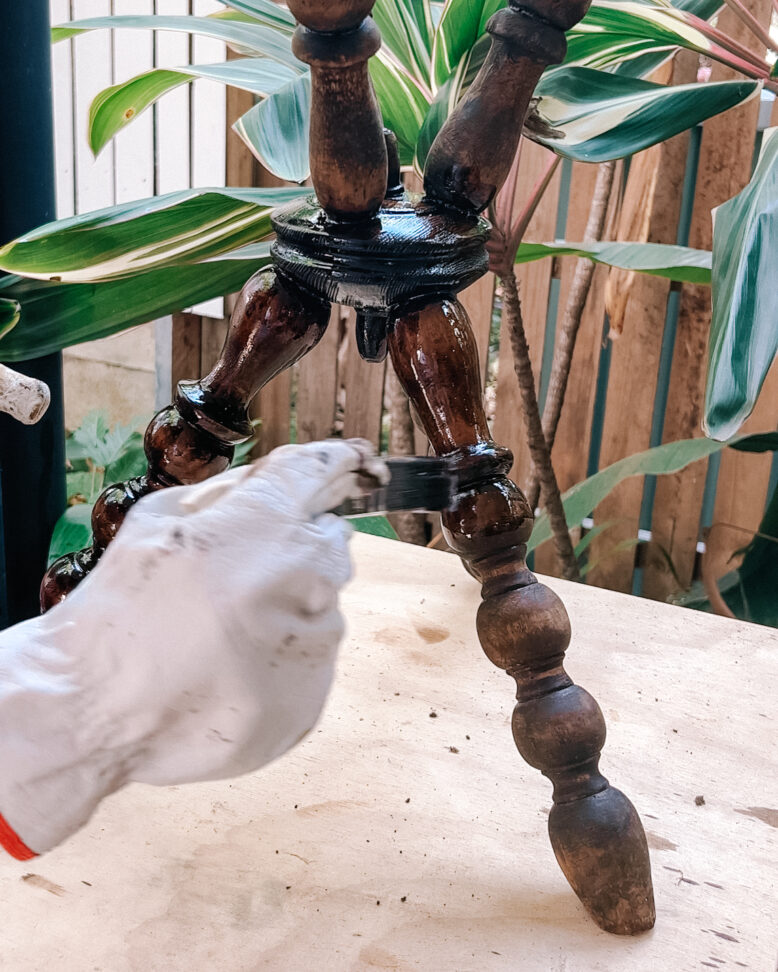
Once I had stained the whole piece and let it dry, it was time to do a protective coat. I n the end I decided to go with a satin varnish, which I applied with a brush to the top and bottom. Once the varnish was dry I screwed the top onto the bottom.
Voila!
This project is in collaboration with Feast Watson. Make sure to enter their amazing Relove competition!


