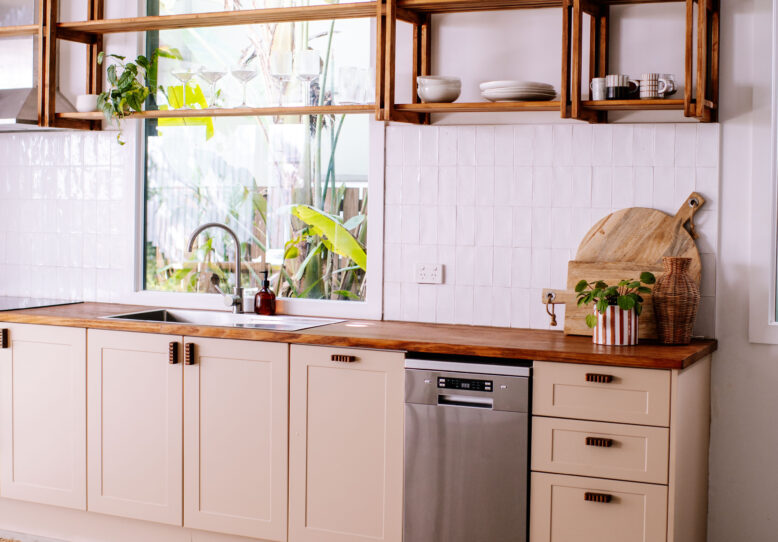
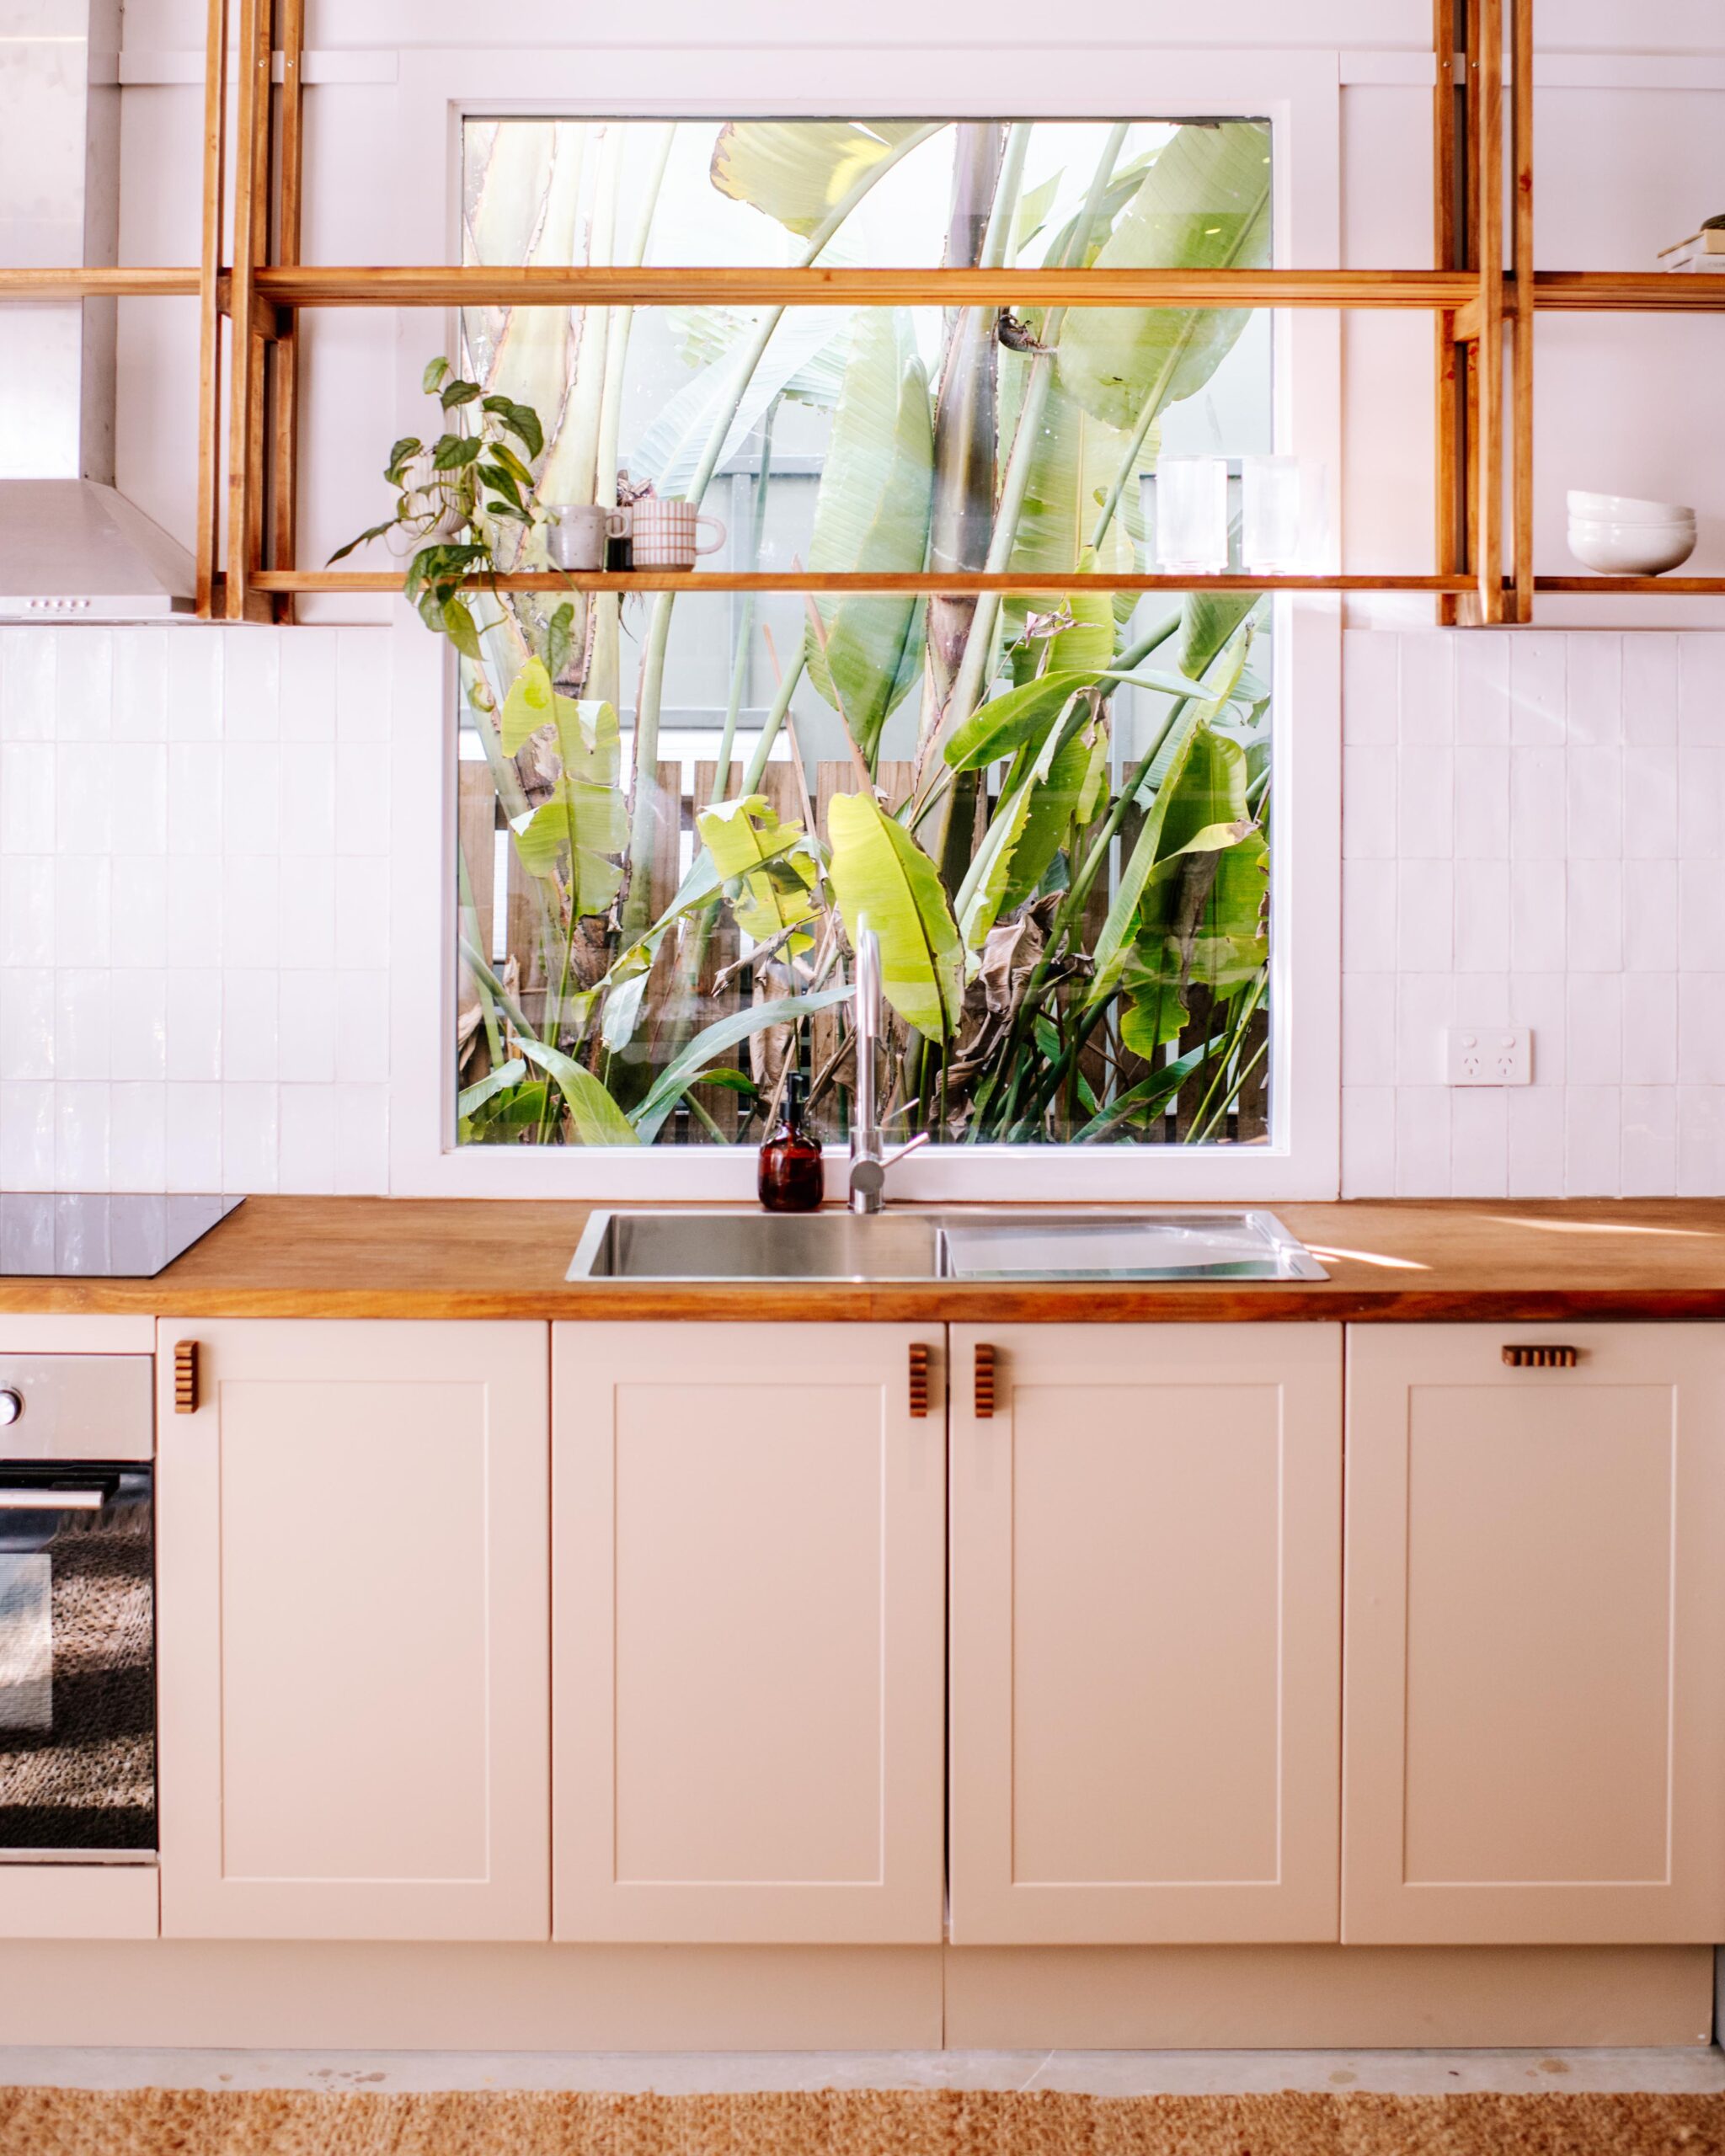
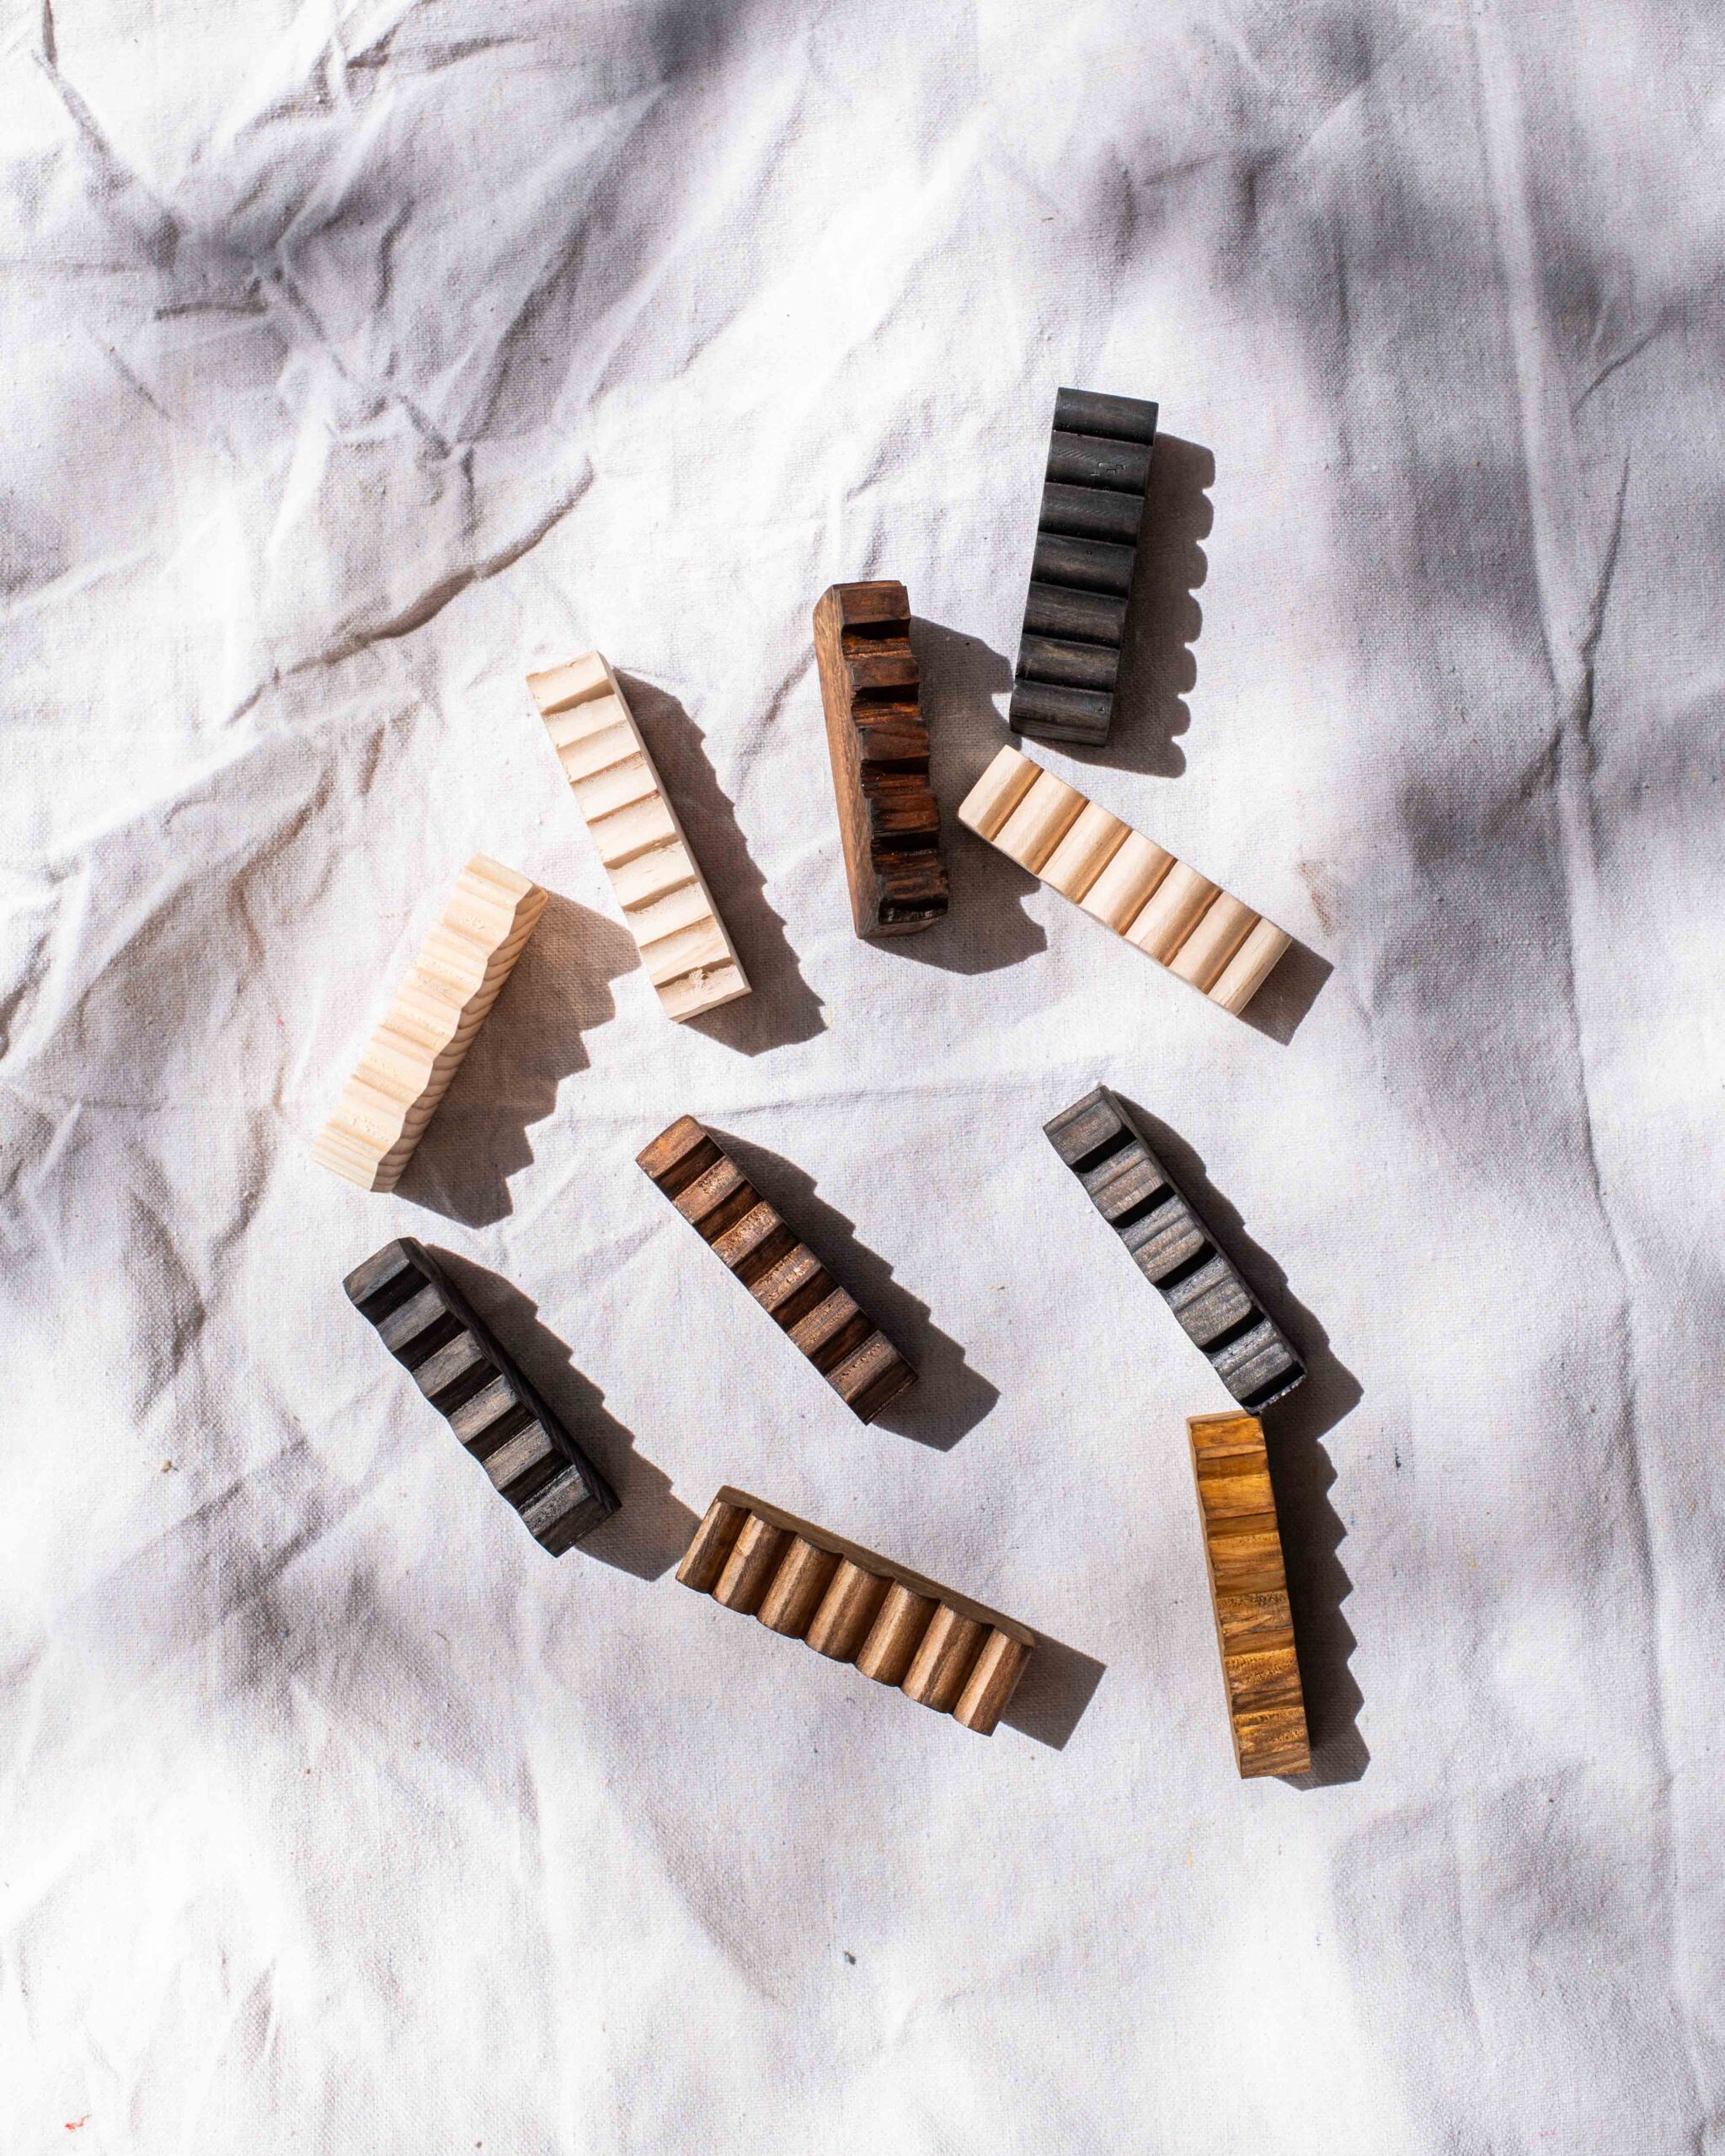
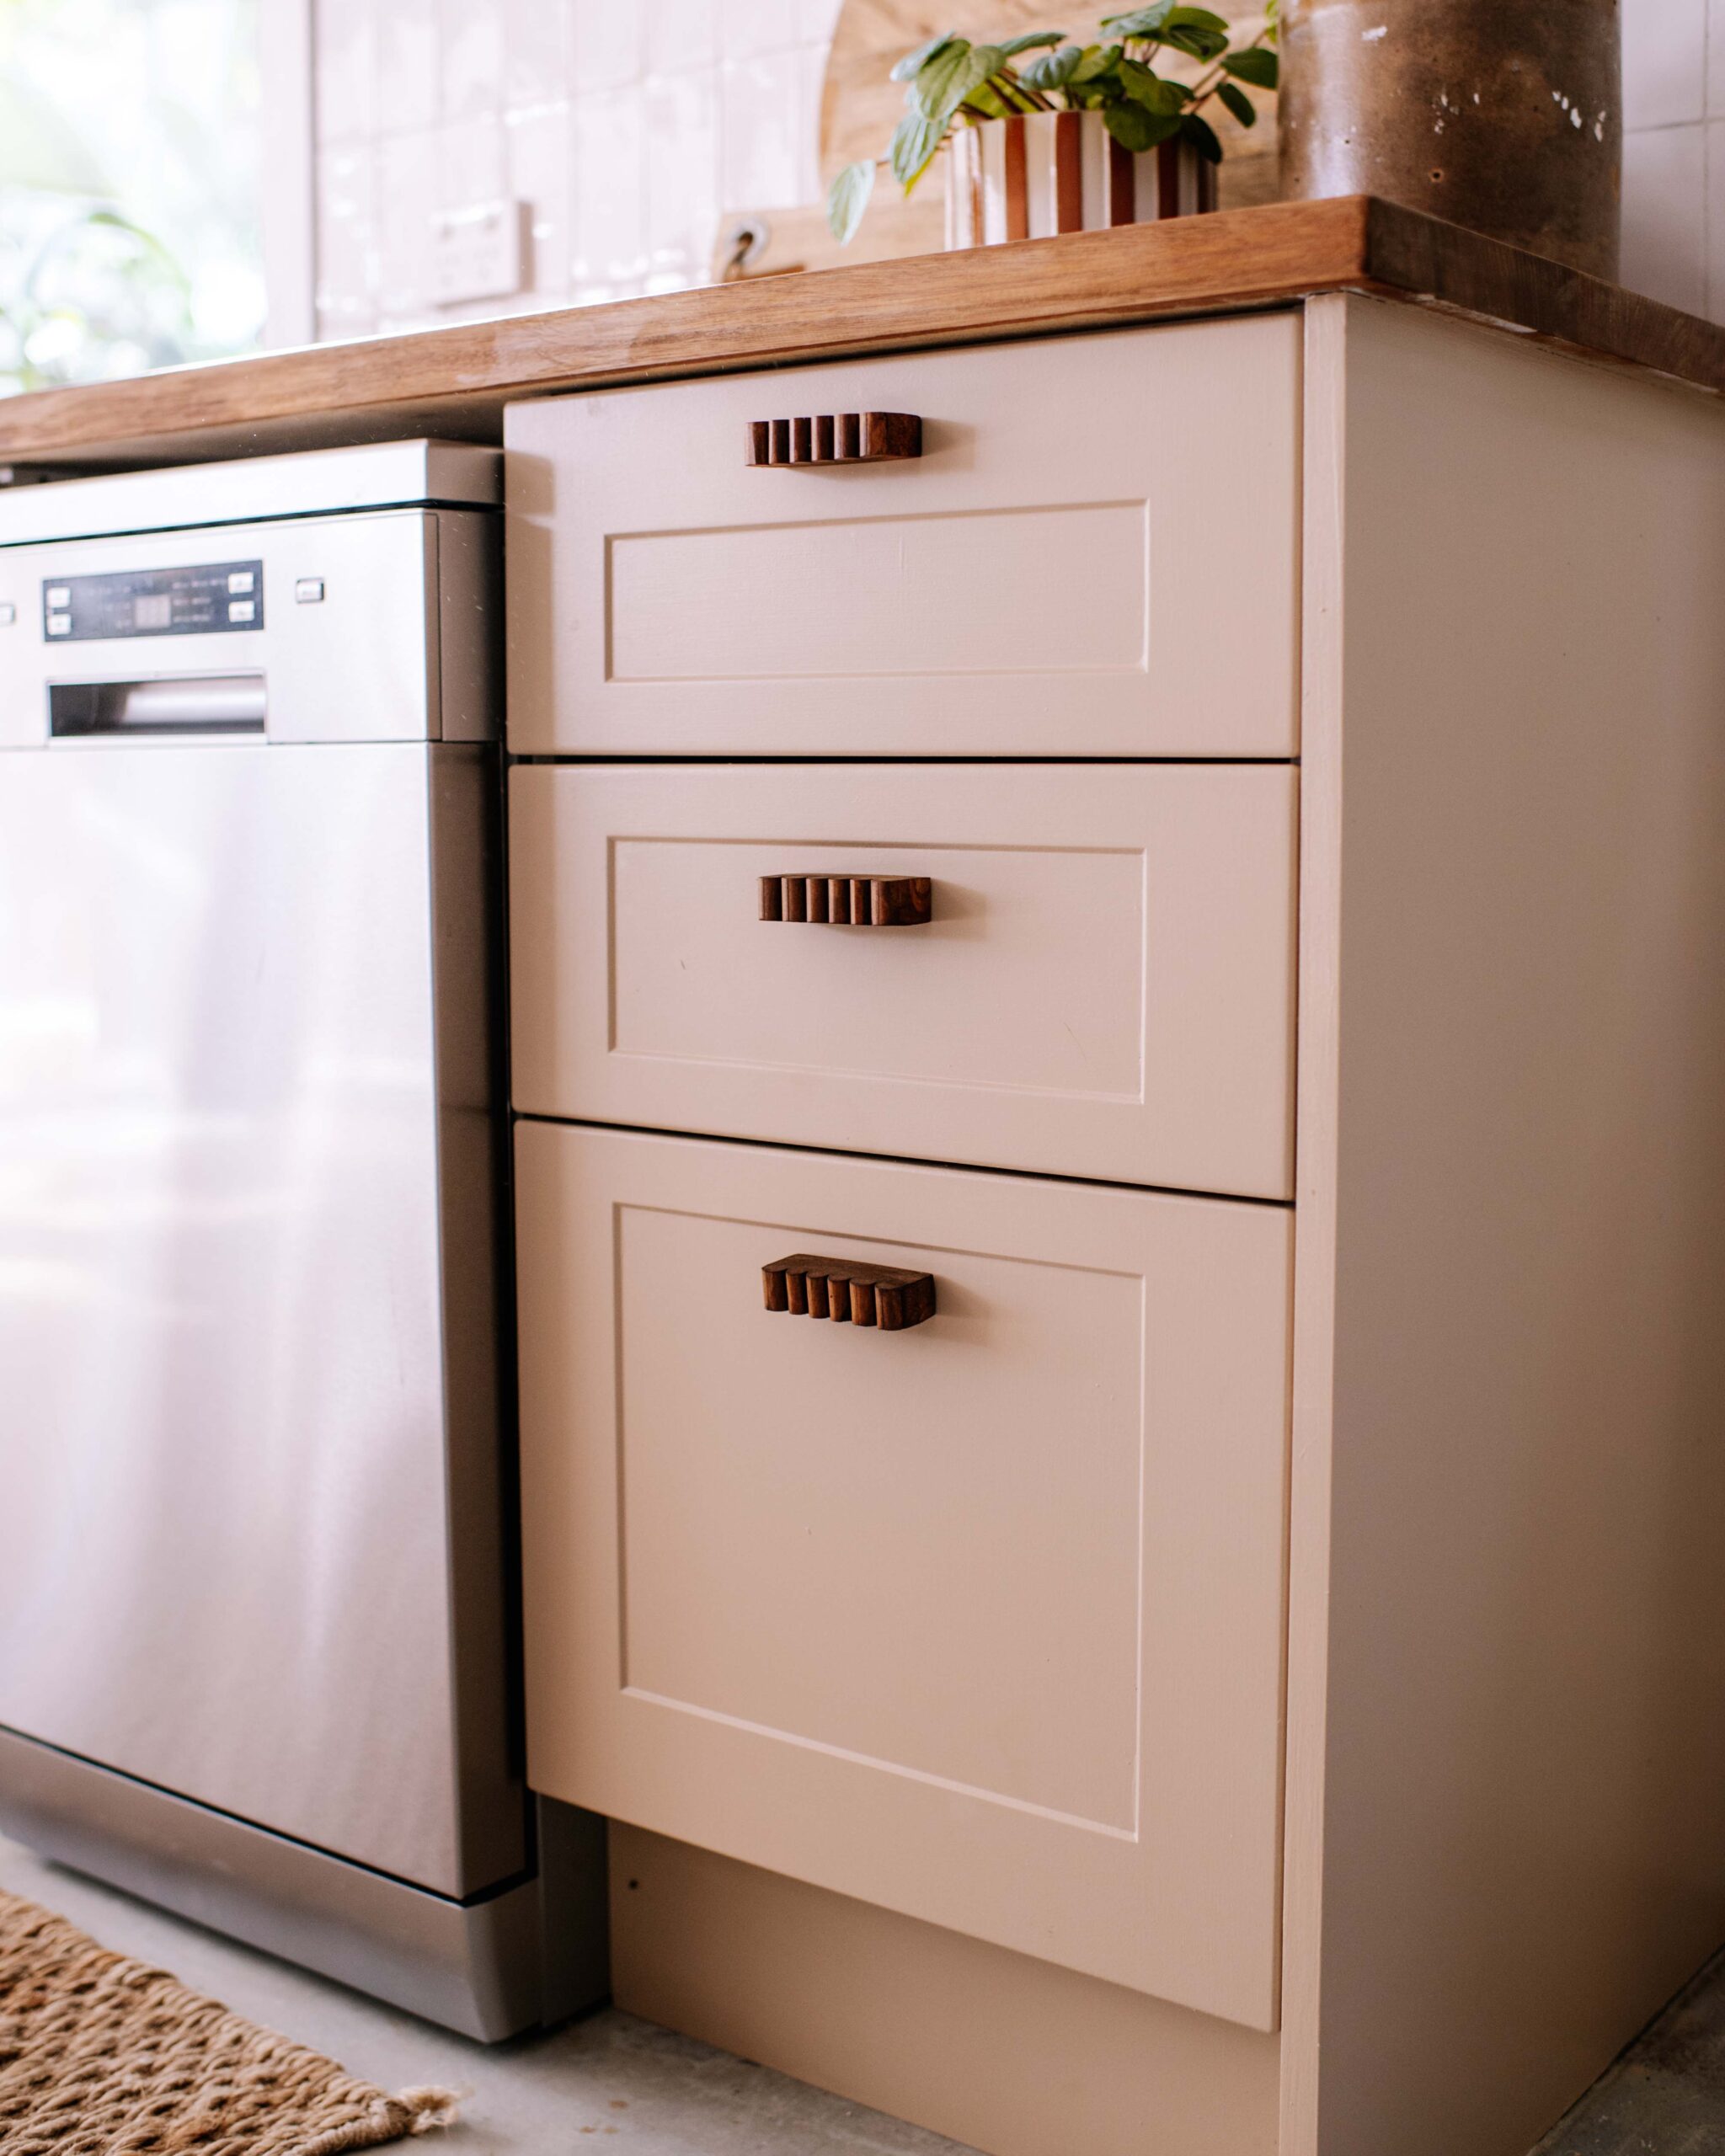
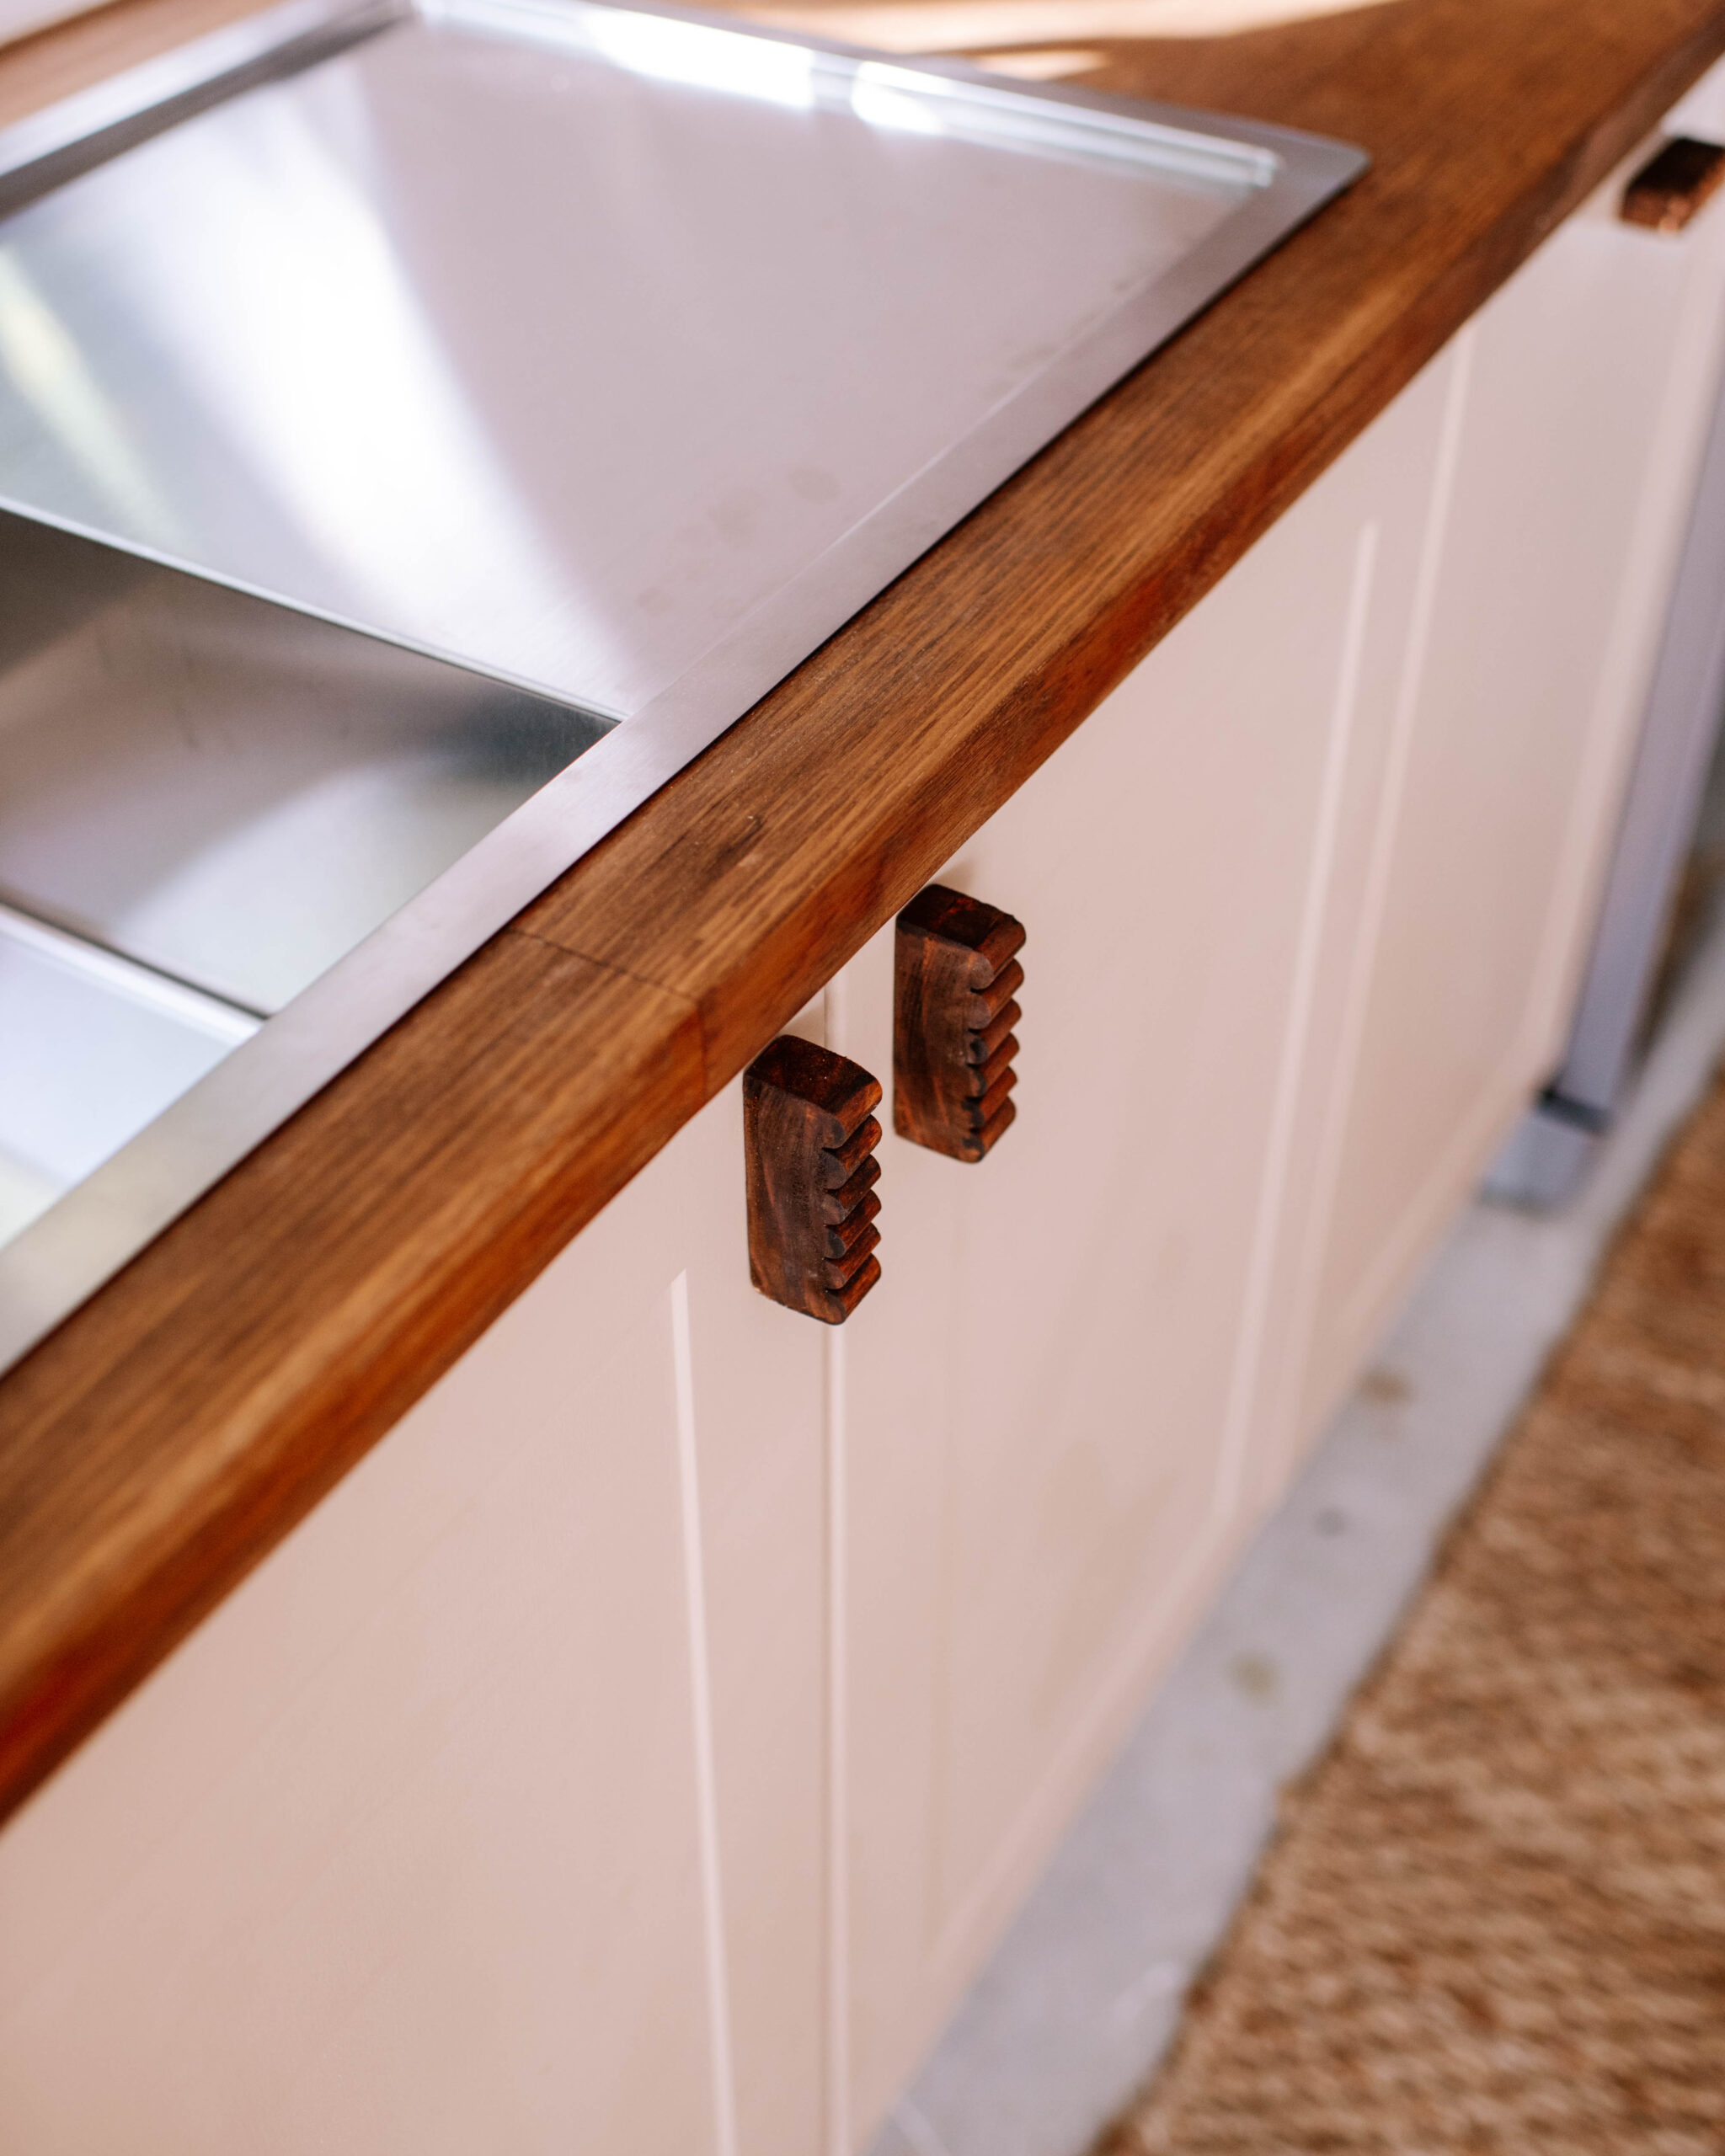
Wooden handles with a shaped detail for cabinets and kitchens look so great but the right style can be hard to come by (and also quite expensive!) so I decided to make my own.
Using a router and some thick timber I was easily able to make my own handles for my studio kitchen cupboards. So many of you asked for the tutorial so I thought I would share it here! Since mastering this, I’ve made so many different styles because routers have lots of different bits and it’s so fun to ply around. Now and am trying to find as many cupboards and drawer fronts as I can to put them on. The options are endless with the style and you can stain or paint them any colour you like!
Materials:
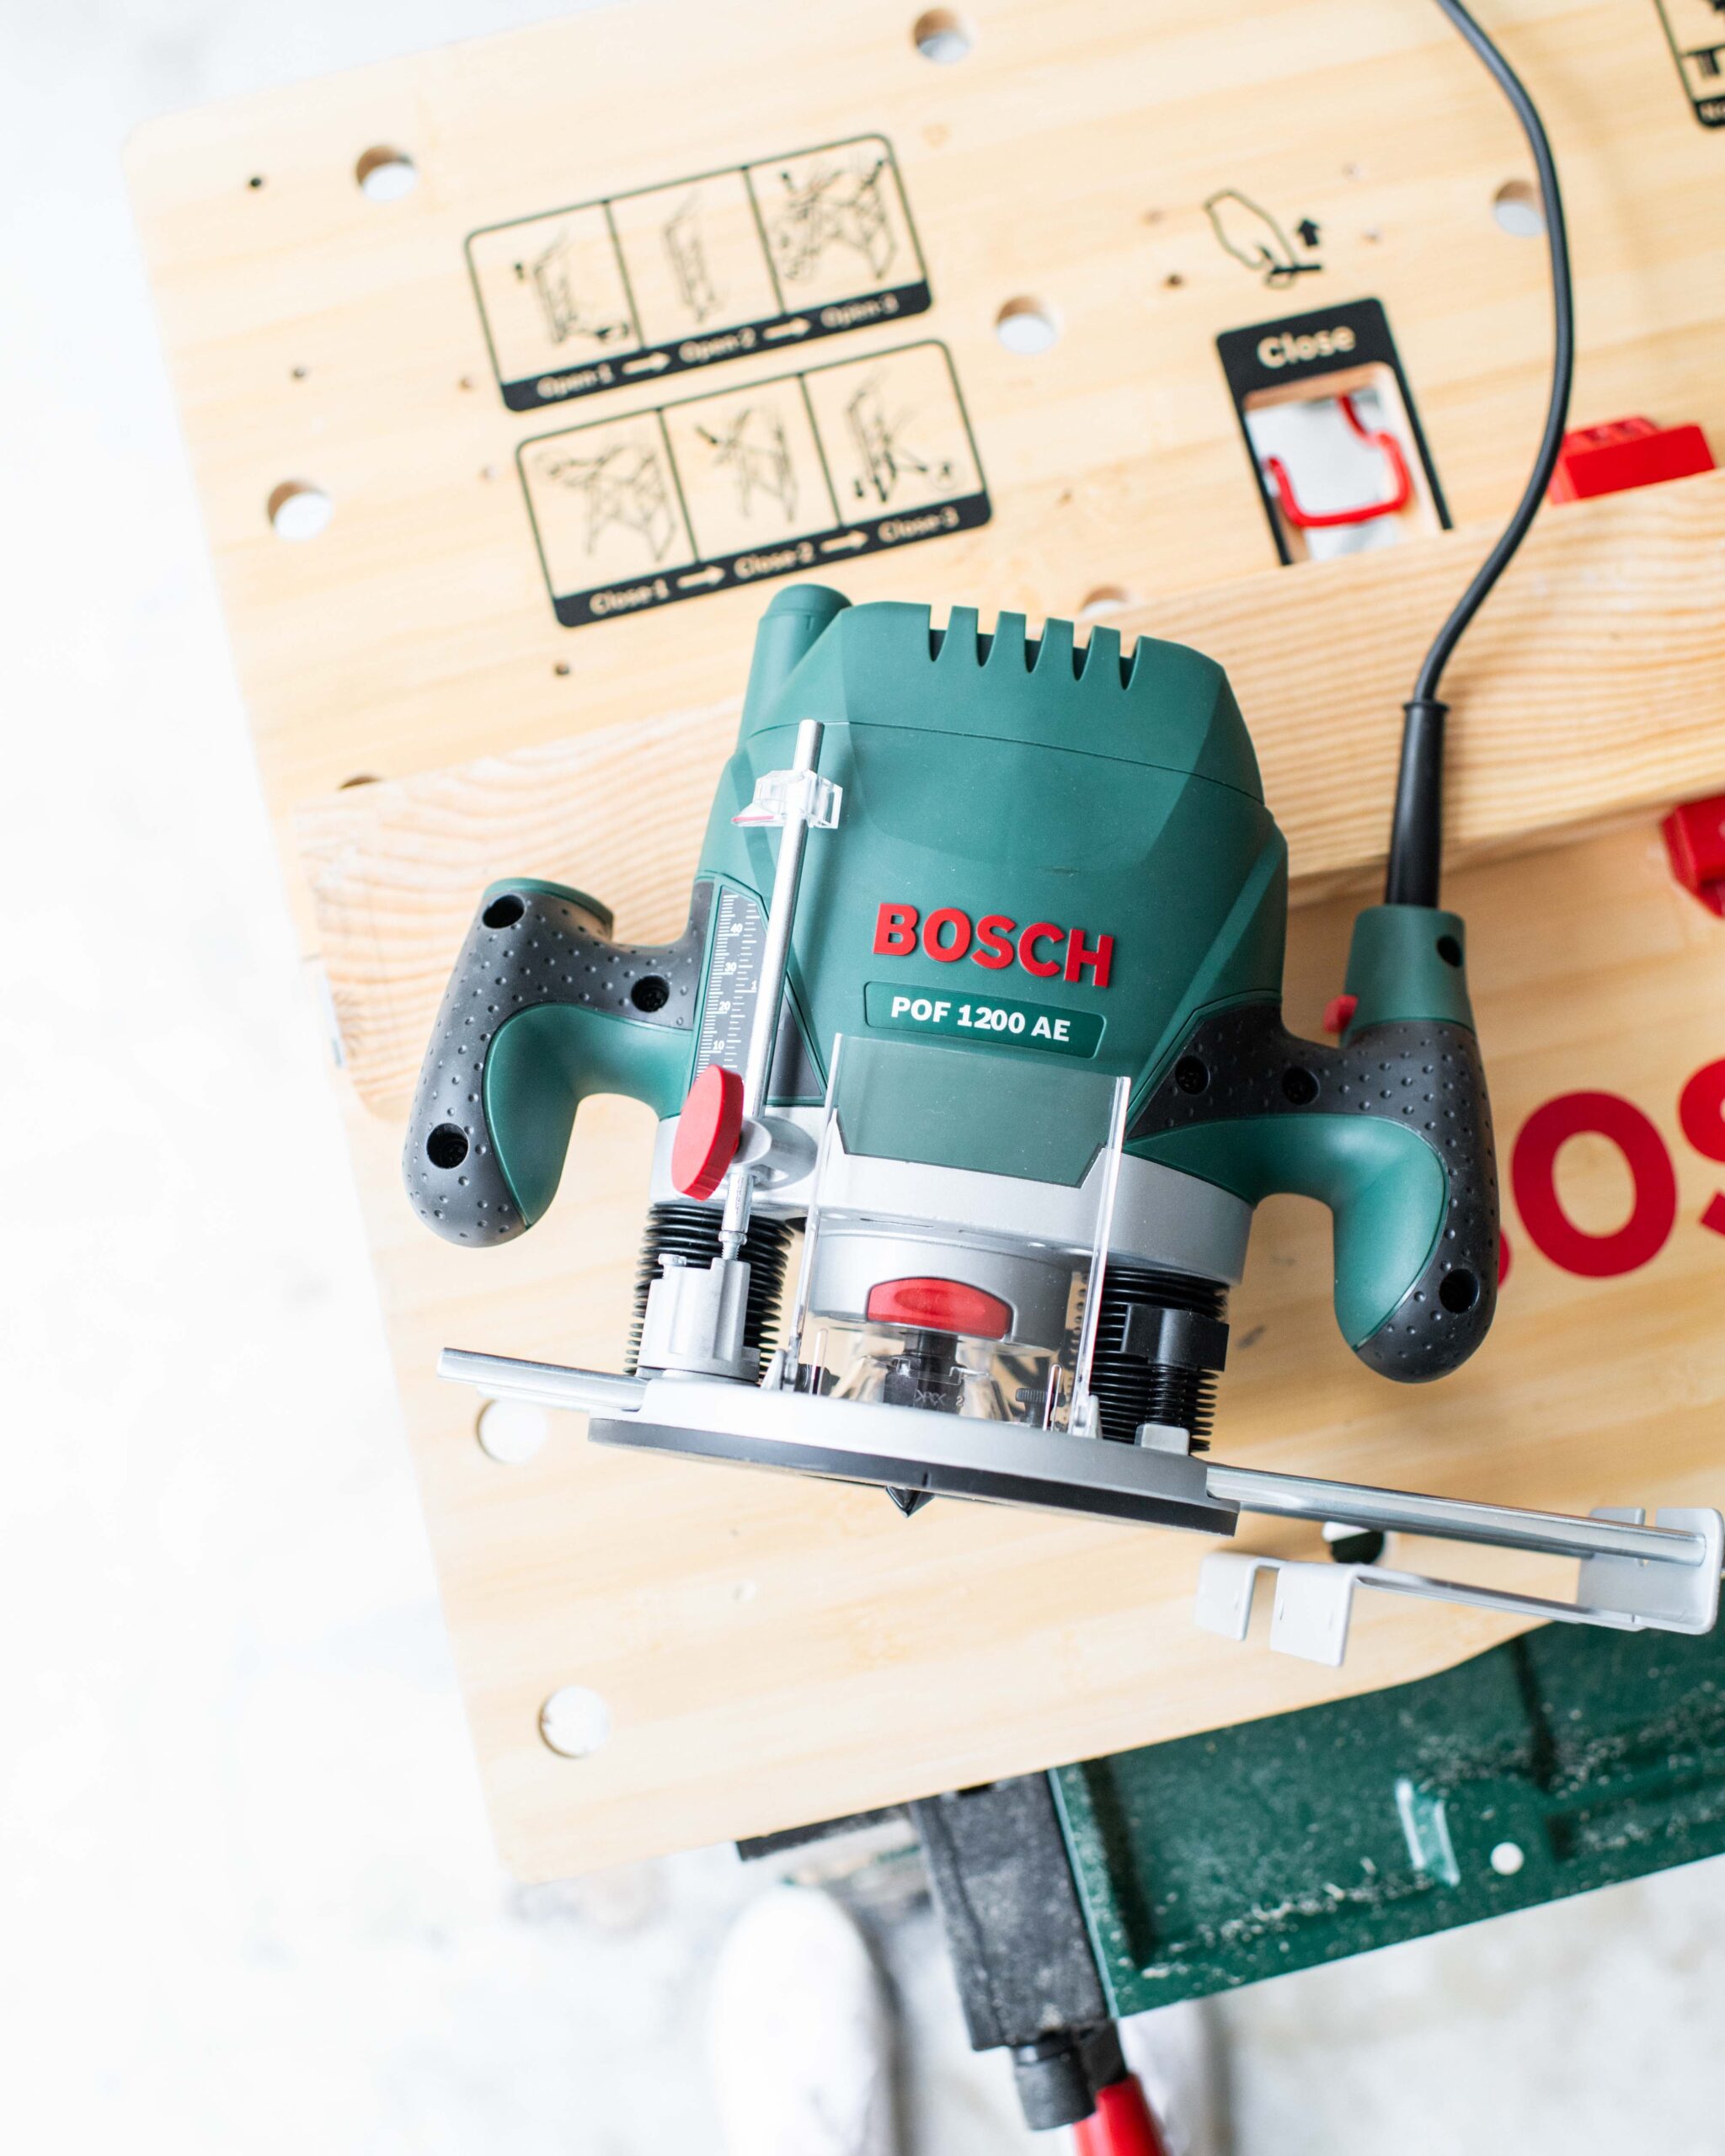
- Bosch Electric Plunge Router
- Pine (approx 70mm thick)
- Drop saw or circular saw
- Sand paper and sanding block
- Stain
- Drill
- Fluted Router Bit (TBF 8)
How To Make Scalloped Handles
1
I started with a piece of pine approximately 150mm wide x 200mm long and 70mm in thickness, however you could use a piece as thick or as thin as you please.
2
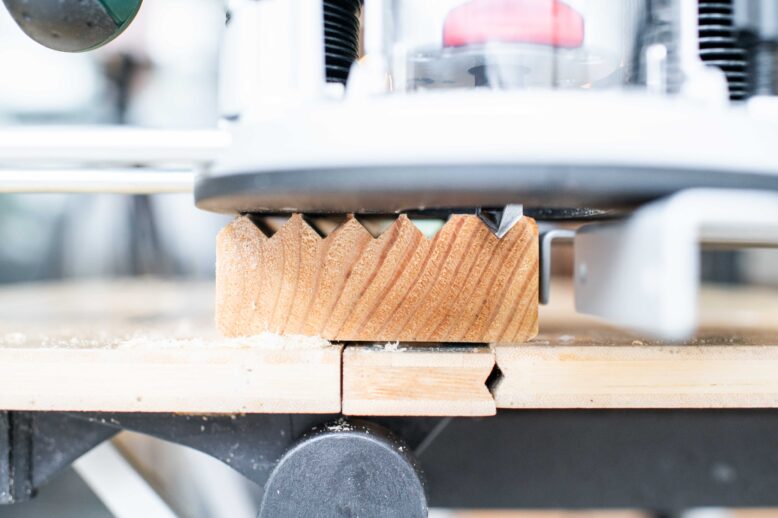
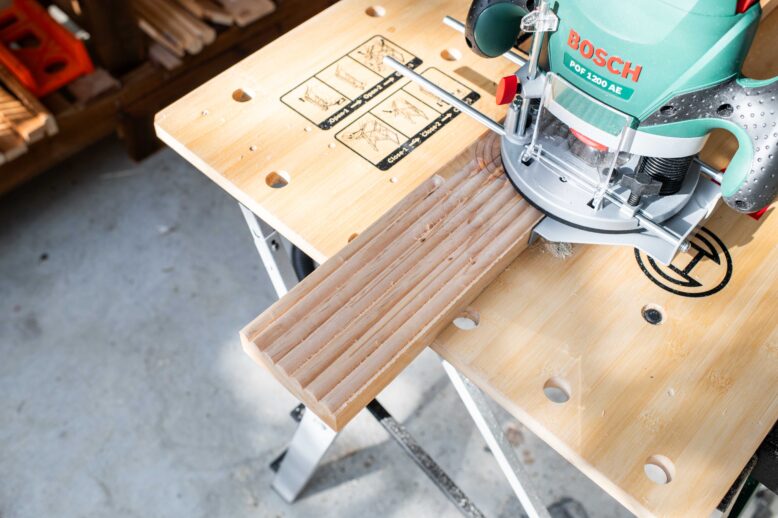
Routers use 'bit' that cut out a shape by plunging and drilling into the wood, I basically ran lines of the bit down the length of the timber (this shows the triangle bit and not the fluted one). The router has a metal guide that I adjusted as I went to move the router over and get it into position.
3
This created a large block of routed lines which was ready to be cut up in to handles.
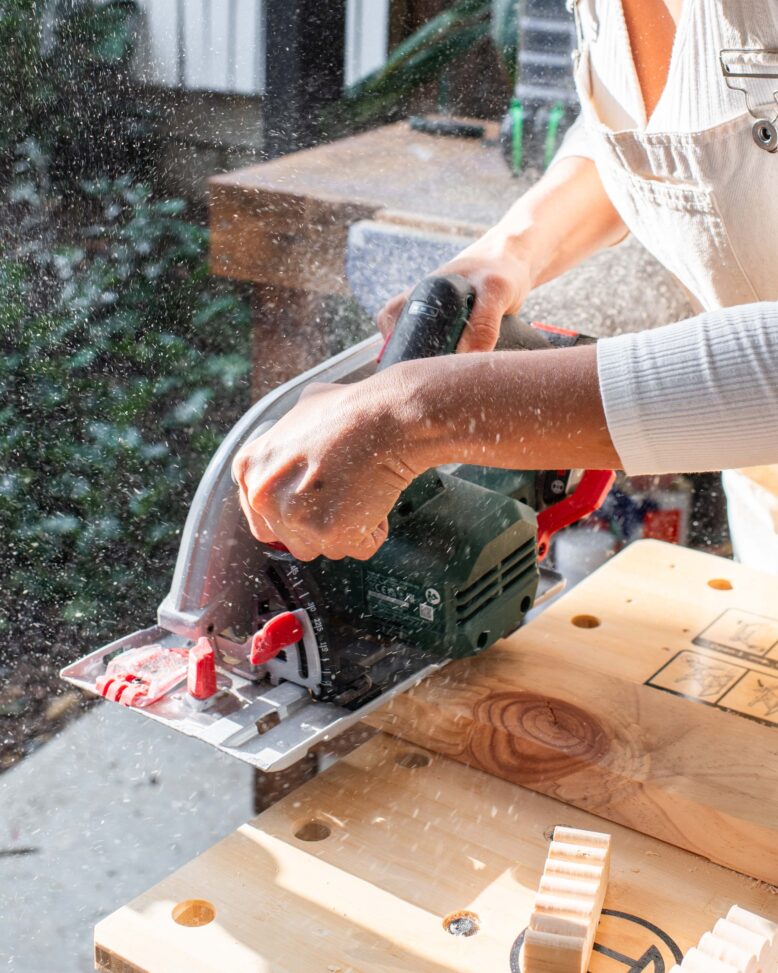
5
After this, I used a medium grit sandpaper (120 grit) and sanding block to sand down all of the cut edges and points. I finished with a fine grit (180) to make them really smooth.
6
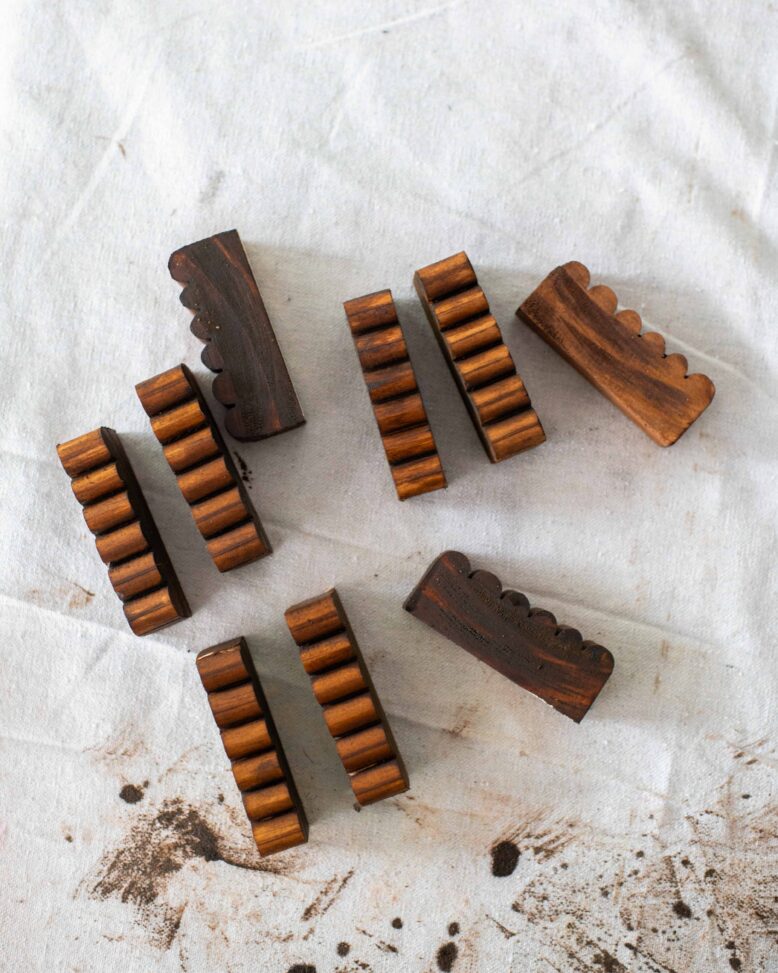
Next up, I stained the handles in my desired colour. I used Feast Watson Proof tint in Old Baltic, Oak and Black Japan, and then Feast Watson natural wax for the raw ones. You could use any stain colour or even paint them!
7
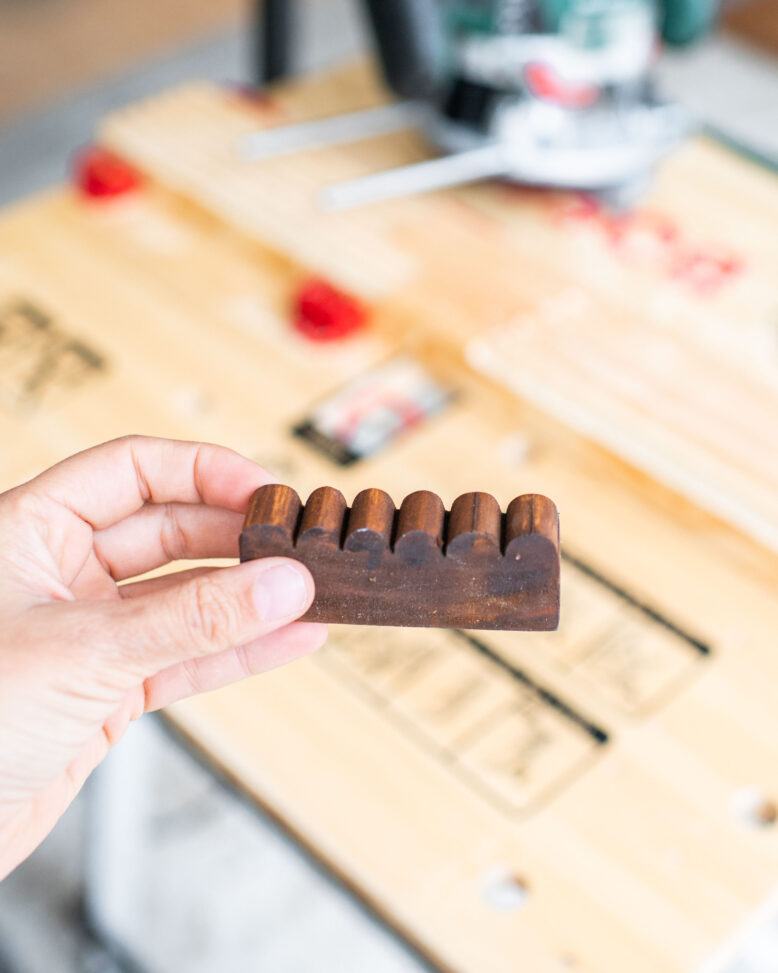
The handles were now complete and ready to be attached to a door or drawer. My favourite way to do this is to use double sided tape and press them onto the desired location on the cabinet, then use use a drill to drill directly through the cabinet into the handle, then screw in a screw. Handles like these need two screw so they don't spin around!
The best part is, once you have mastered using the router like this, you can make so many different shaped handles! Including fluted ones of various types (with and without gaps between the flutes) and triangle shapes and much more. So easy!
