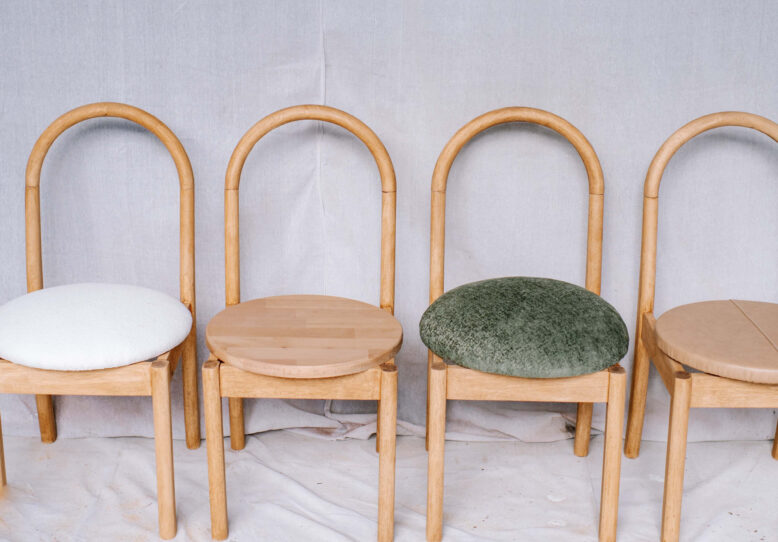
Honestly, this is such a huge transformation and I’m so excited about it!
I’ve been super into arched chairs and I recently realised that it’s possible to create your own using very simple chairs that I feel like are everywhere and perfect for an update. Updating these old, drab chairs was so easy and seamless with the use of the Bosch NanoBlade, I used it to cut down the backs and then cut up the dowel to reattach them. After this I sanded all of the chairs and gave them a fresh stain. The Bosch NanoBlade is so easy to use and is perfect if you’re just getting started as a DIYer, as it’s perfect for small cutting jobs in both the home and the garden.
Before & After
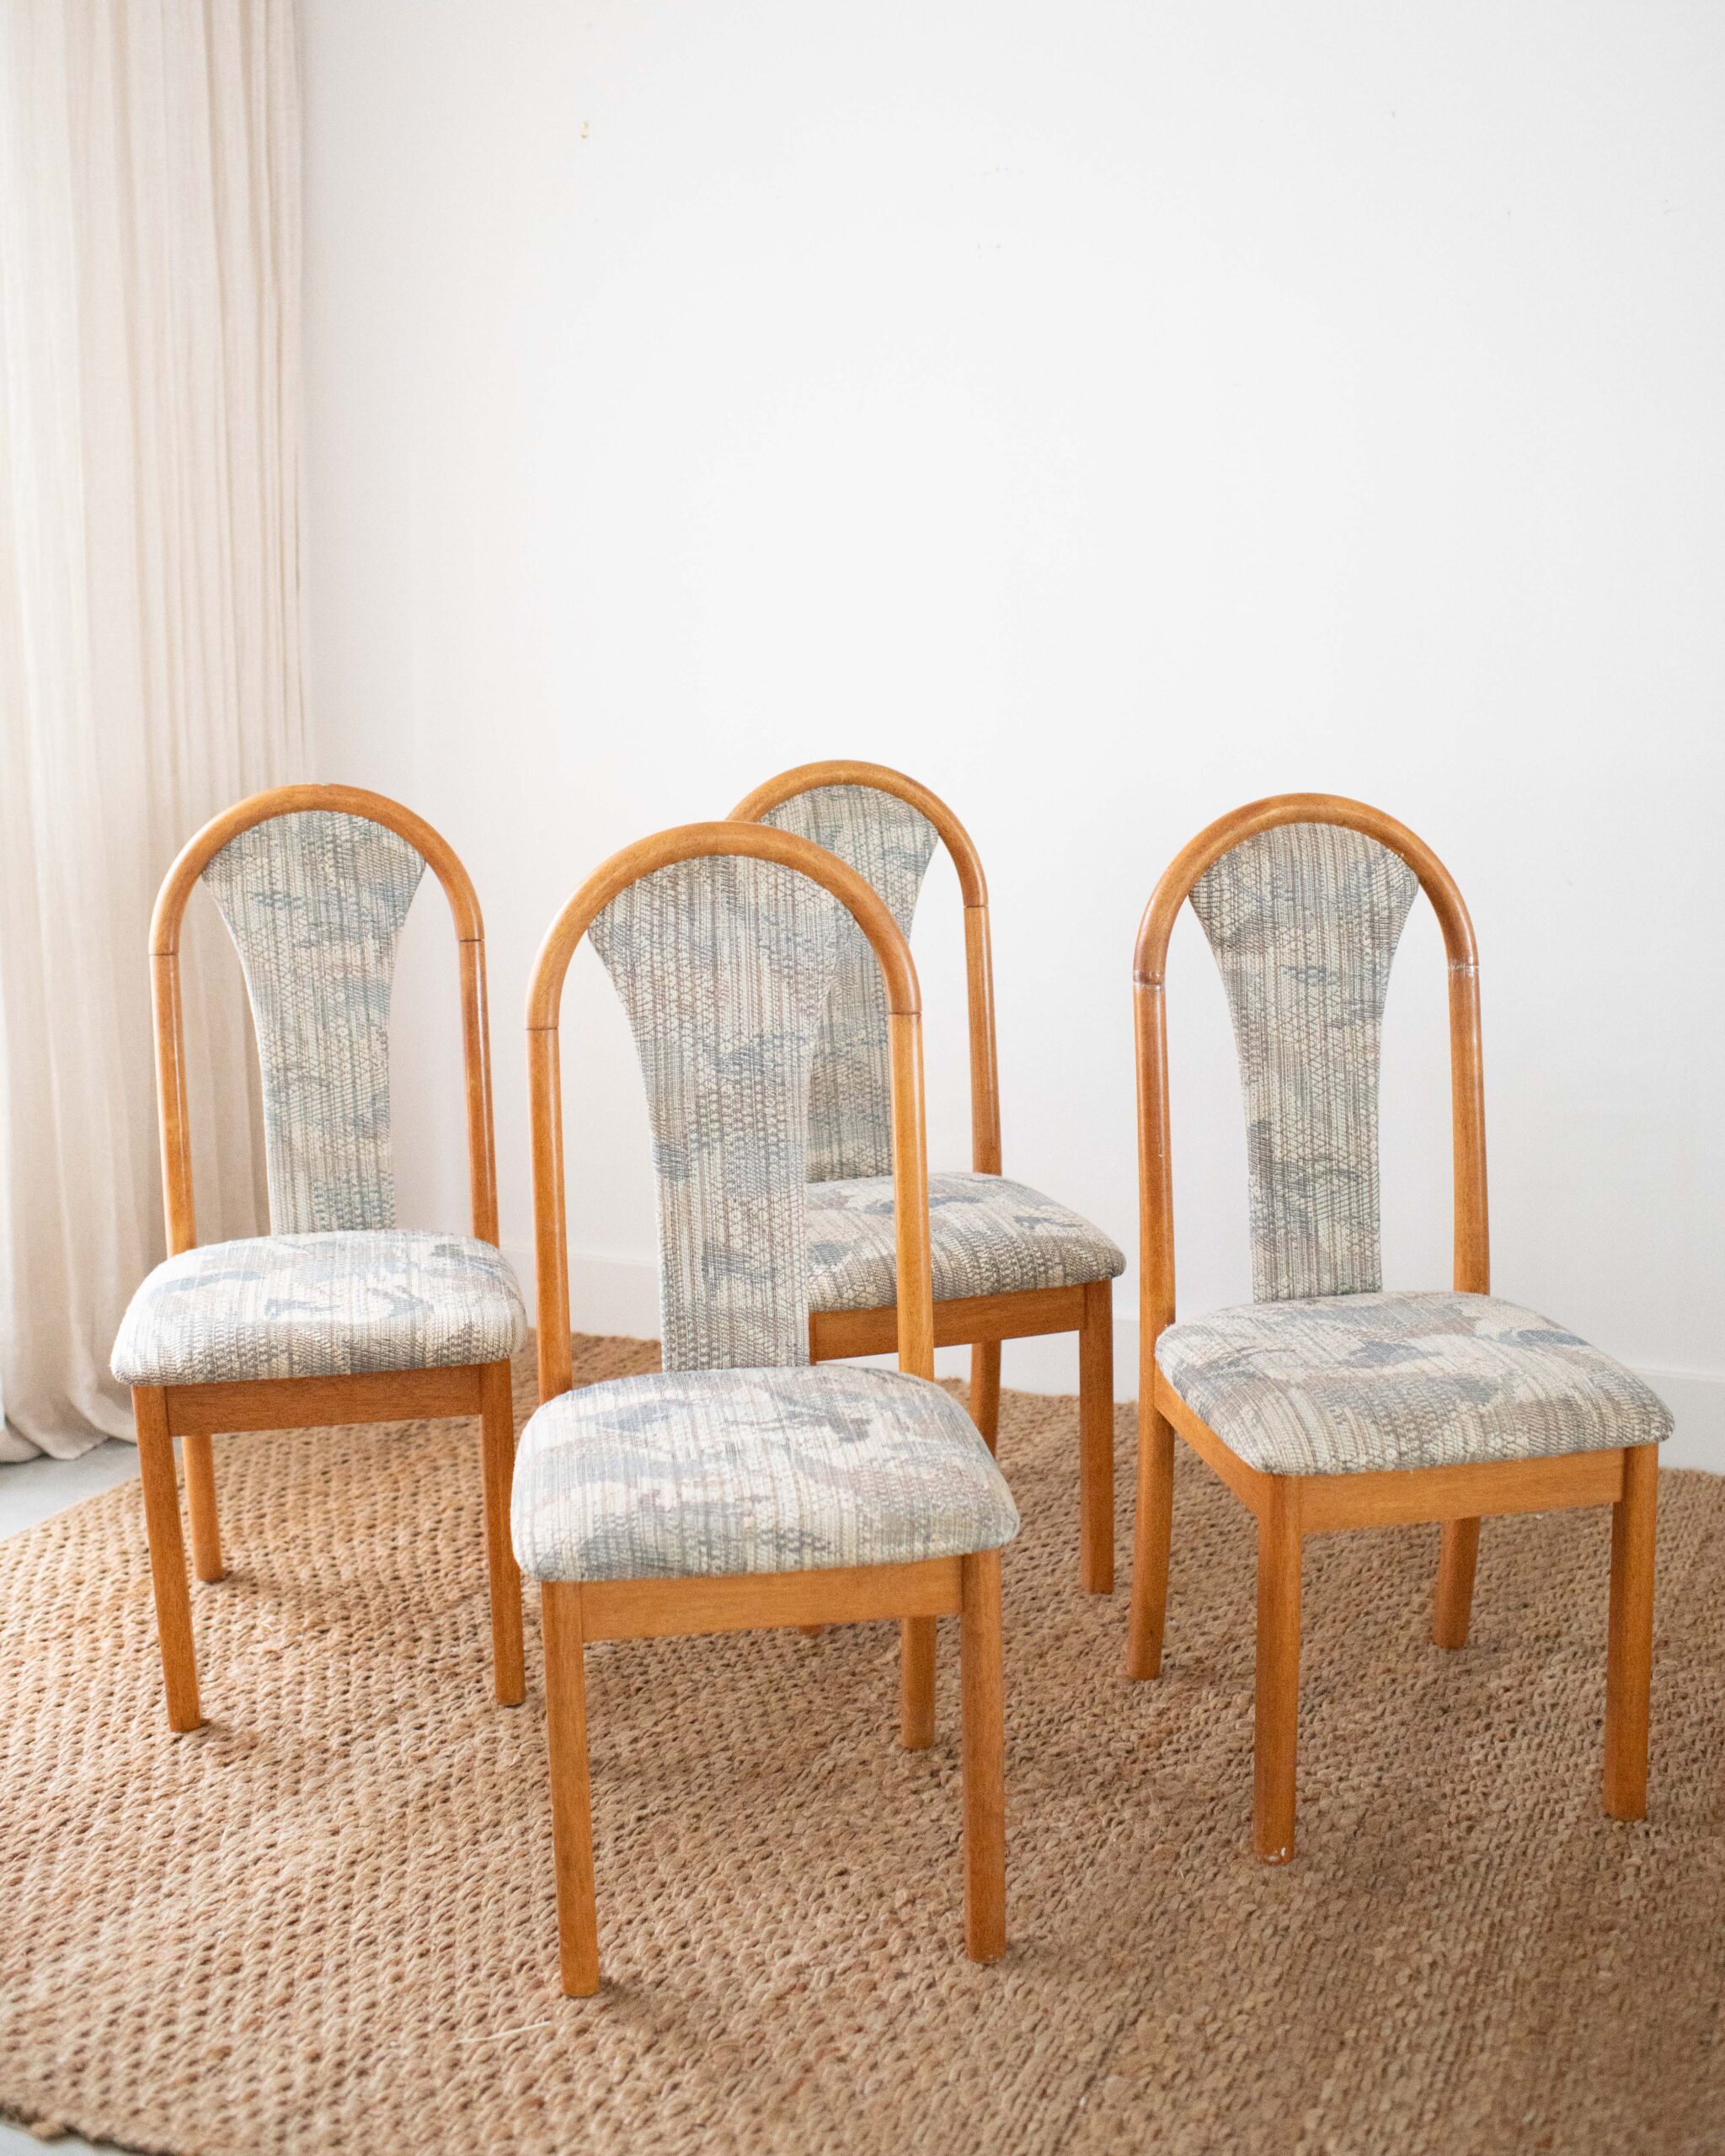
I’ve seen these old style dining chairs everywhere and have been wanting to upcycle a set into something fun and modern. I ended up finding this set on Facebook Marketplace for $40, and the little old lady who sold them to me was so sweet! She even suggested that maybe I should upcycle them 🙂
The Bosch Cordless NanoBlade
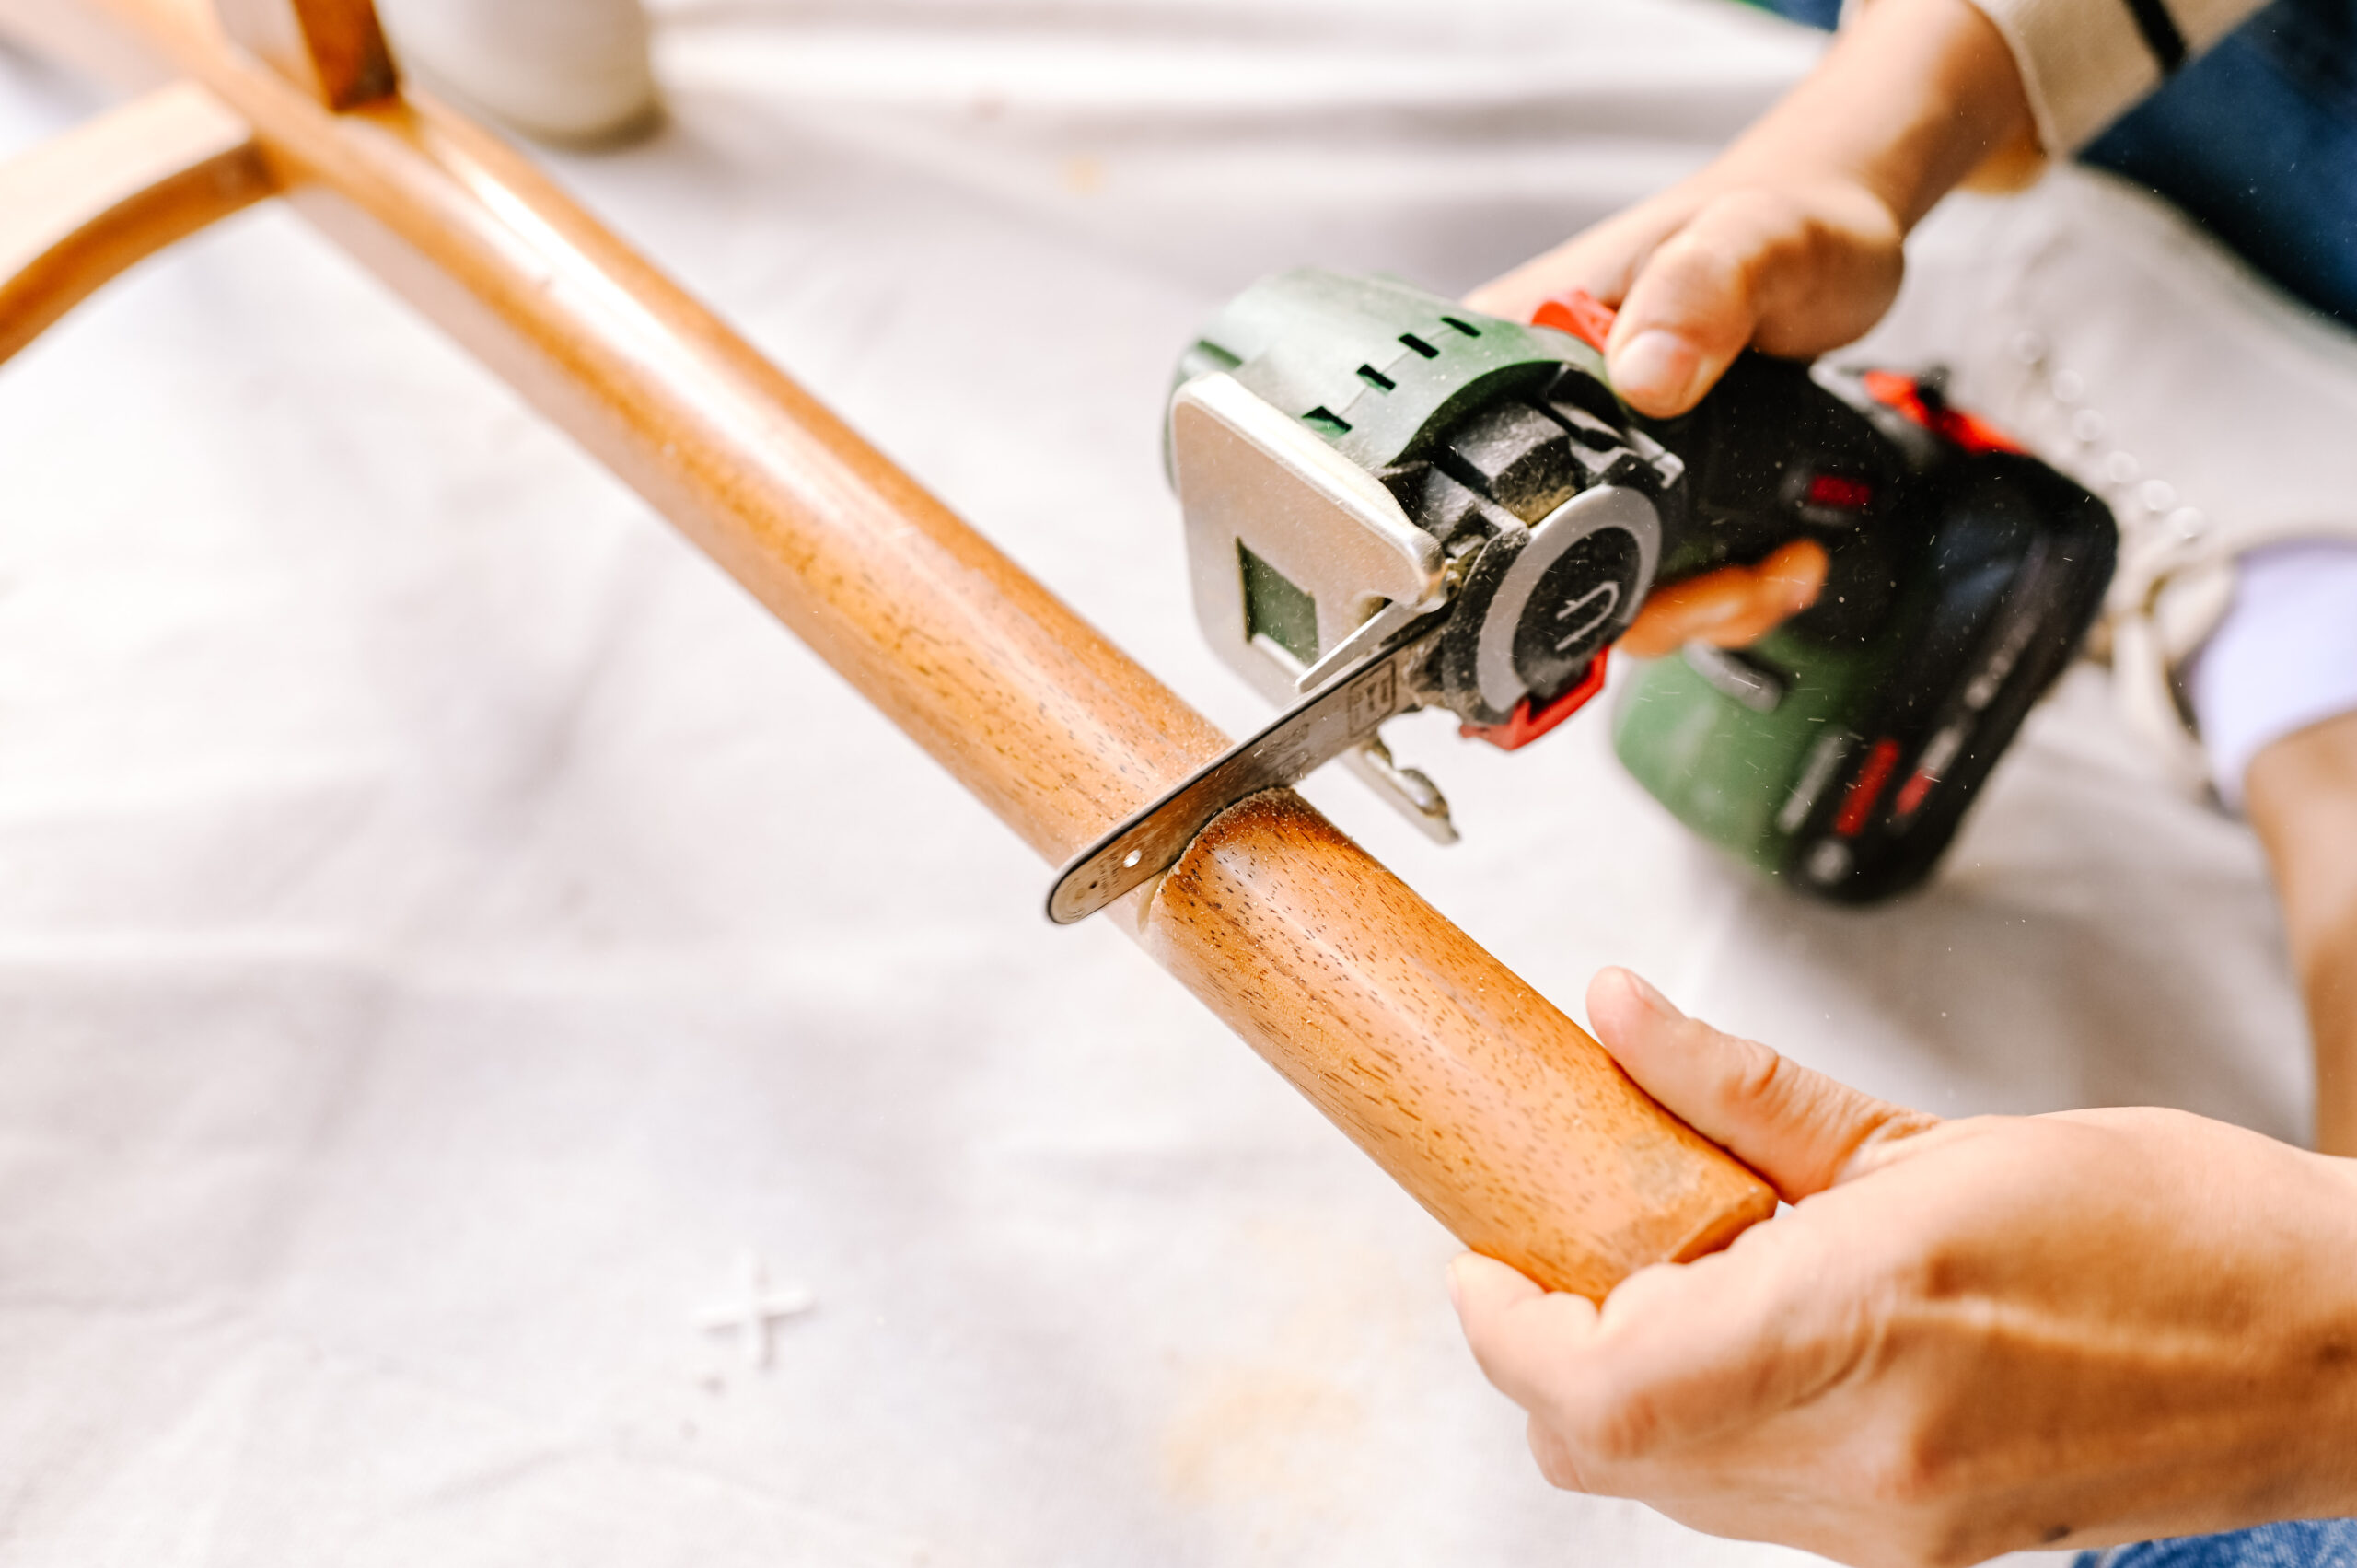
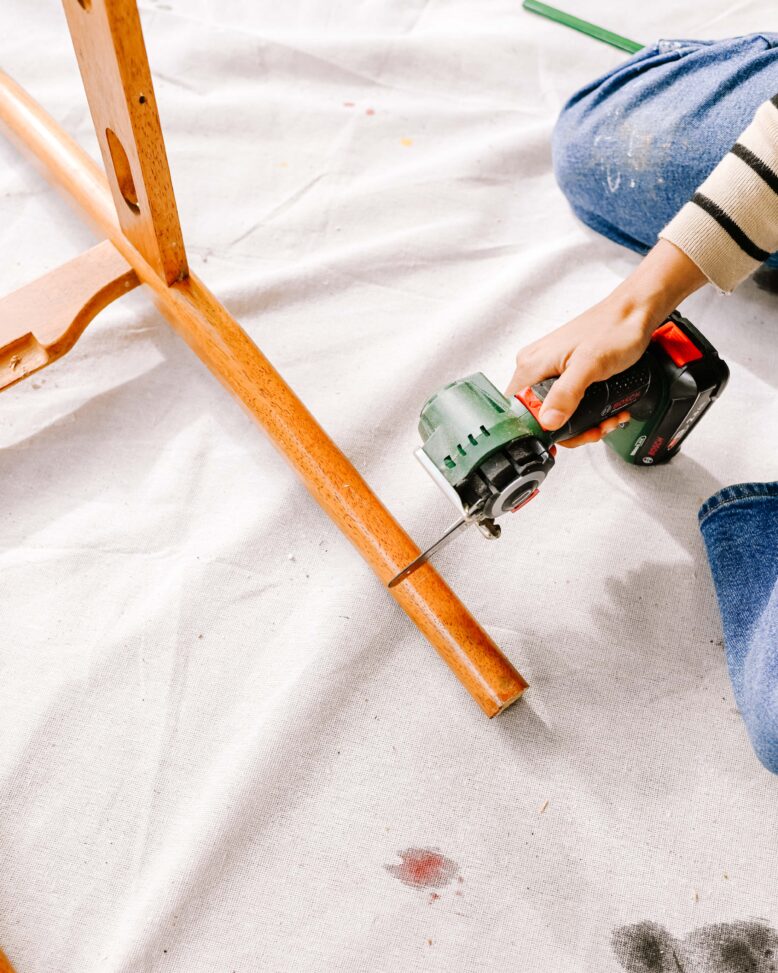
The Bosch NanoBlade is such an easy tool to use and a great one to have in your tool kit as an upcycler. It’s so compact and lightweight and is vibration-free, but works effectively at creating cuts and is perfect for a beginner who may be a bit apprehensive about a bigger blade. Just hold down the safety button and the on button, and you’re ready to start creating your own before and afters as good as this one!
Materials:
- 4 x old dining chairs
- Dowel
- Wood Glue
- 4 x 45cm diameter wood rounds (if you plan to replace the seats)
- Foam or batting
- Upholstery fabric (I used old leather, green velvet, bouclé and also a plain timber round which I stained the same and the chairs)
Tools:
- Bosch NanoBlade
- Bosch EasySander
- Bosch EasyDrill
- Spade drill bit to match the dowel size (I used 16mm)
How to:
1
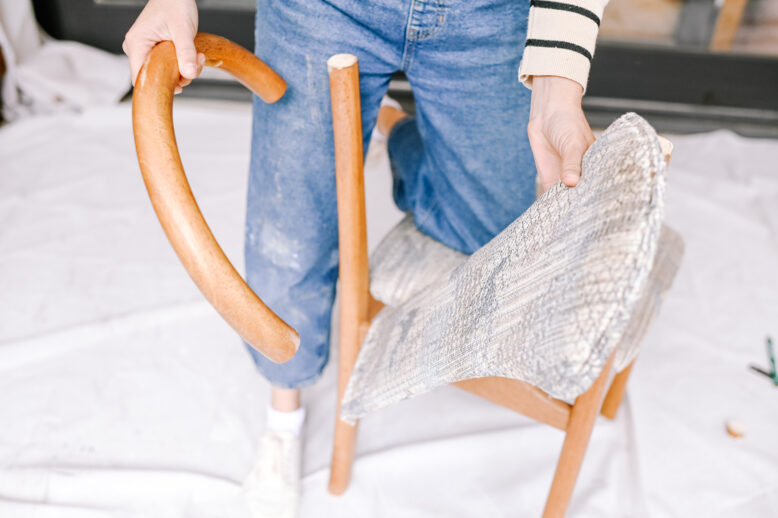
I knew that I wanted to create a clean arch, but to do that I would need to lower the wood part of the back to make it a more comfortable height. So to start, I cut the arch where the existing join was. This was quite straightforward and clean thanks to the NanoBlade.
3
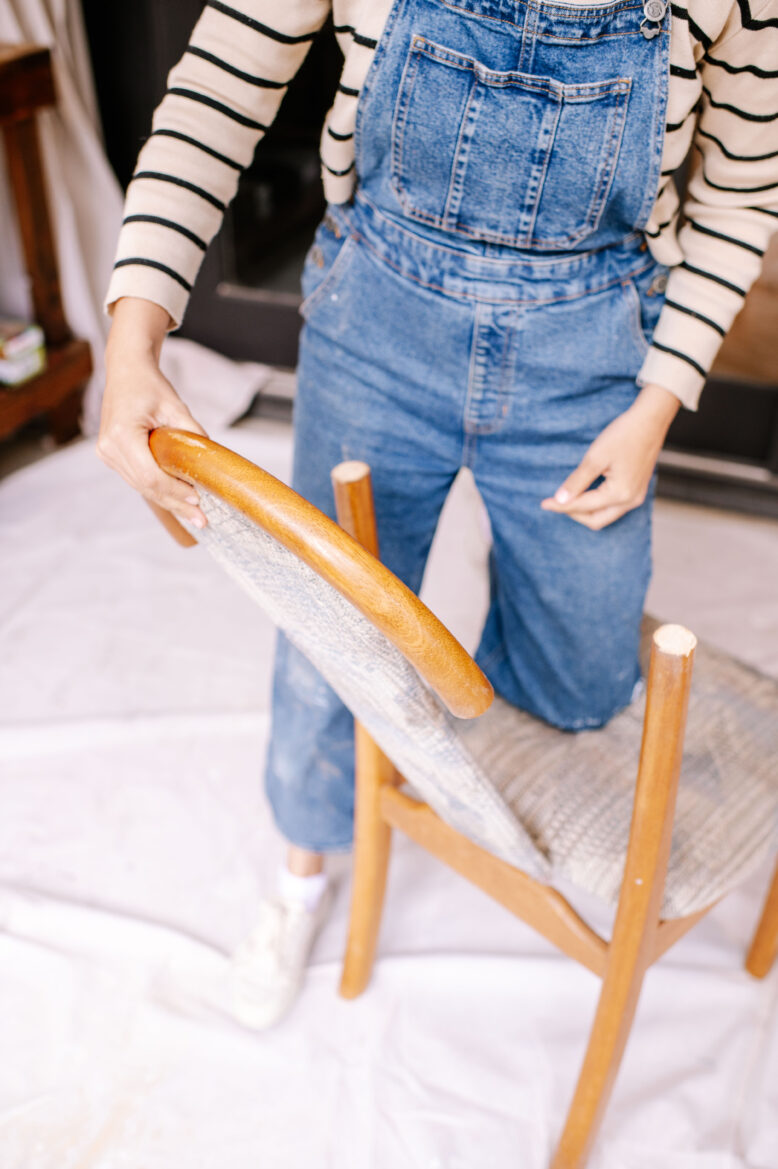
I was so happy when it was so easy to remove the arch from the upholstered back, I was expecting it to be glued in but it wasn't which was great.
4
I then measured and marked the remaining back of the chair, and using my NanoBlade, cut at the mark to lower the back. I wanted to create a back height (at the top of the arch) that was between 30cm - 40cm above the top of the seat. That's from the floor, about between 78 - 84cm.
5
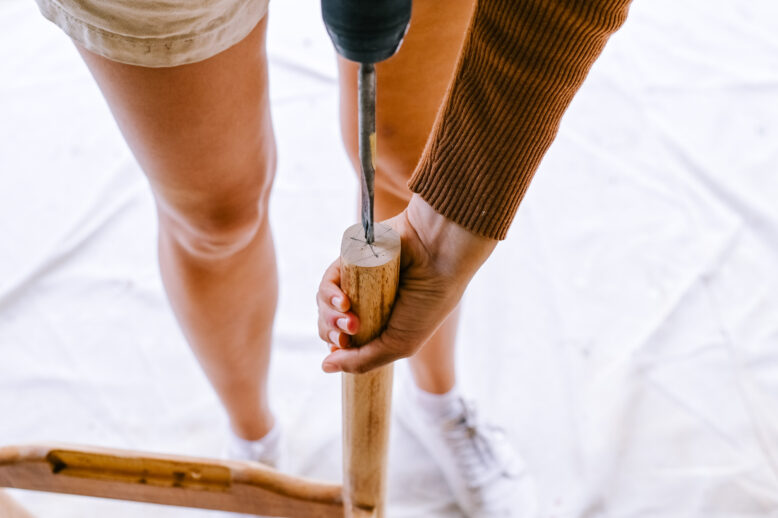
To reattach the arch, I first measured the centre of the circle of both cuts from the arch and the remaining back. I then used my drill with spade drill bit attached to drill a hole in the centre of all pieces.
7
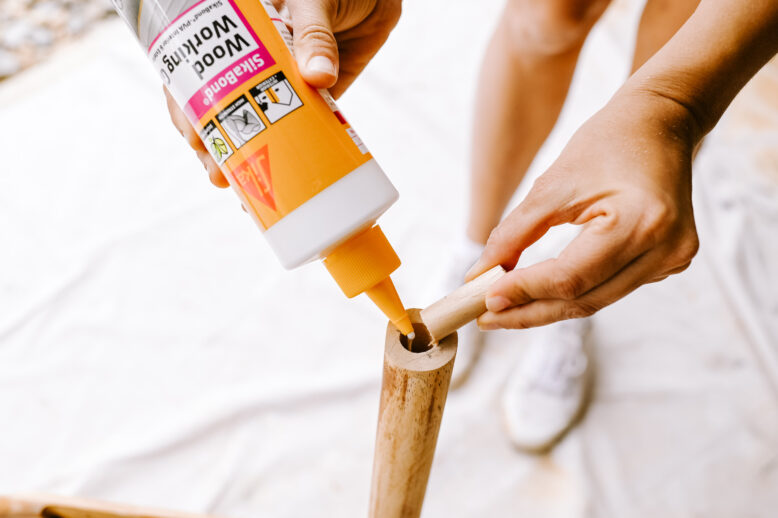
I then added some wood glue in to the holes on the chair and pushed the dowel pieces inside.
8
Next, I put some wood glue inside the holes in the arch, lined them up to the dowel and reattached the arch. I then left the glue to dry overnight so that the arches were sturdy.
9
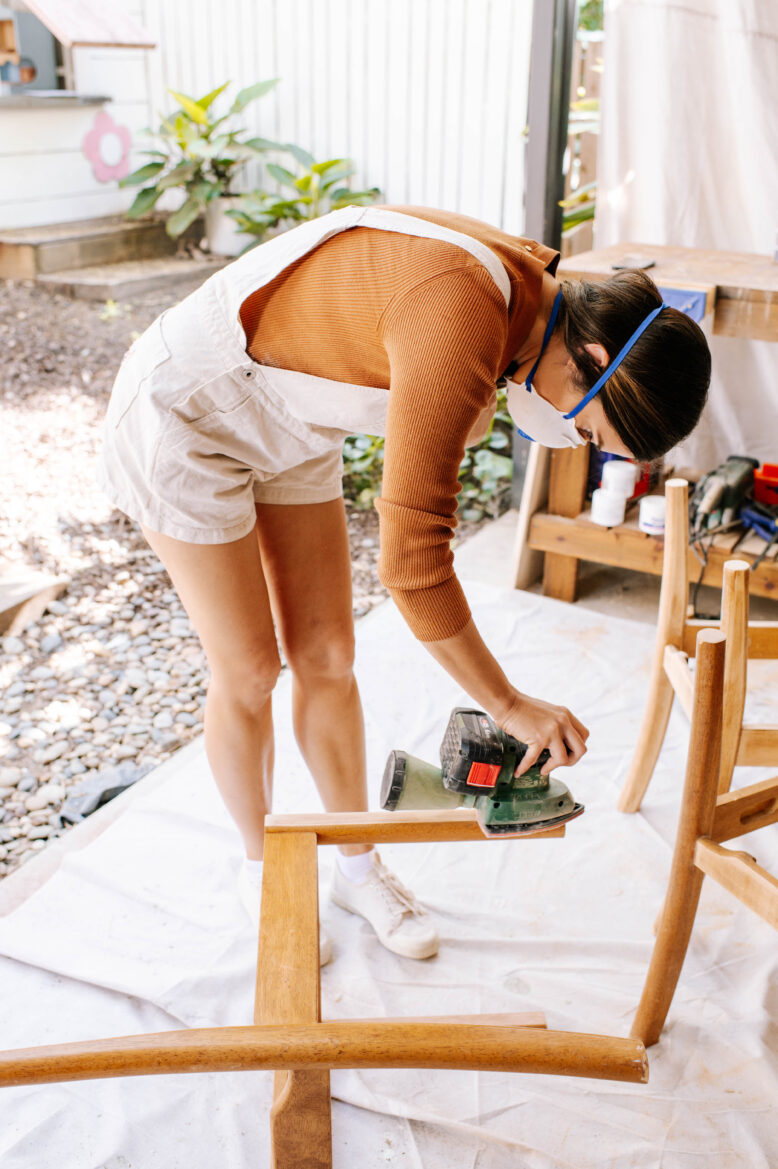
To finish off the chairs, I gave them all a really good sand to remove the orange varnish. I also sanded the joints of the arch so that they were nice and cohesive. I did consider adding wood filler, however, I tried it and it didn't result in the look I was after.
11
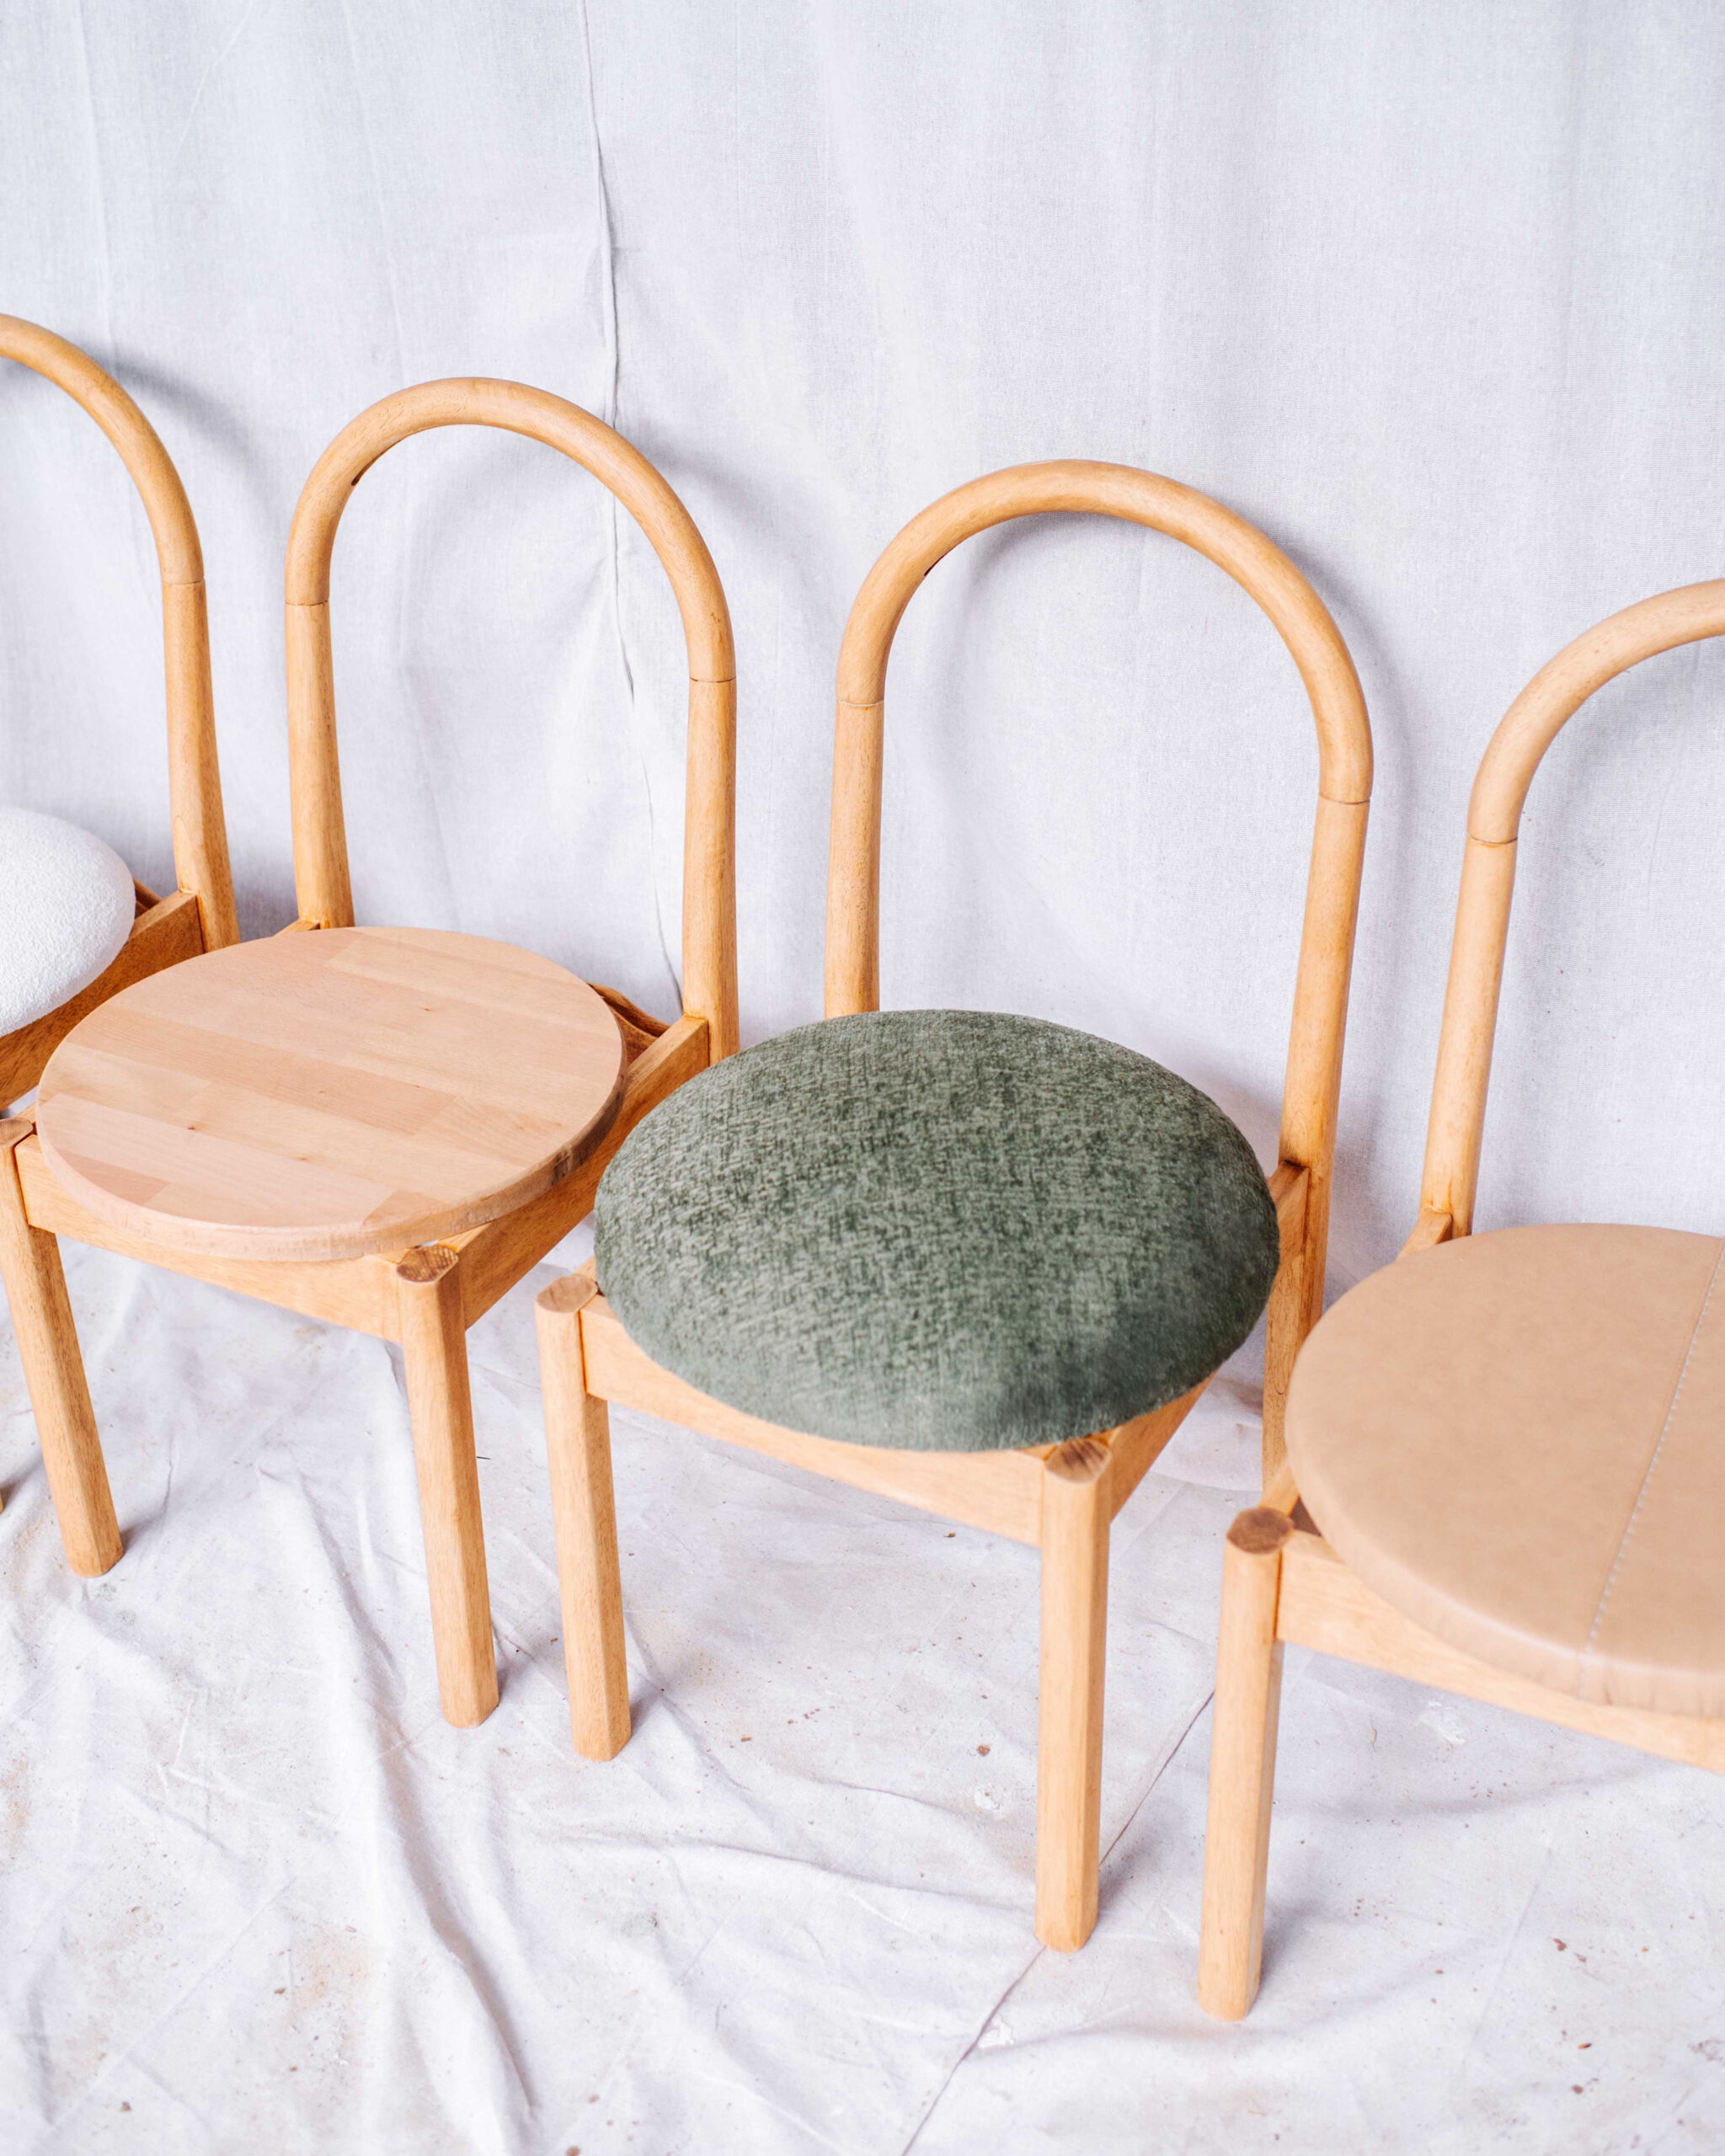
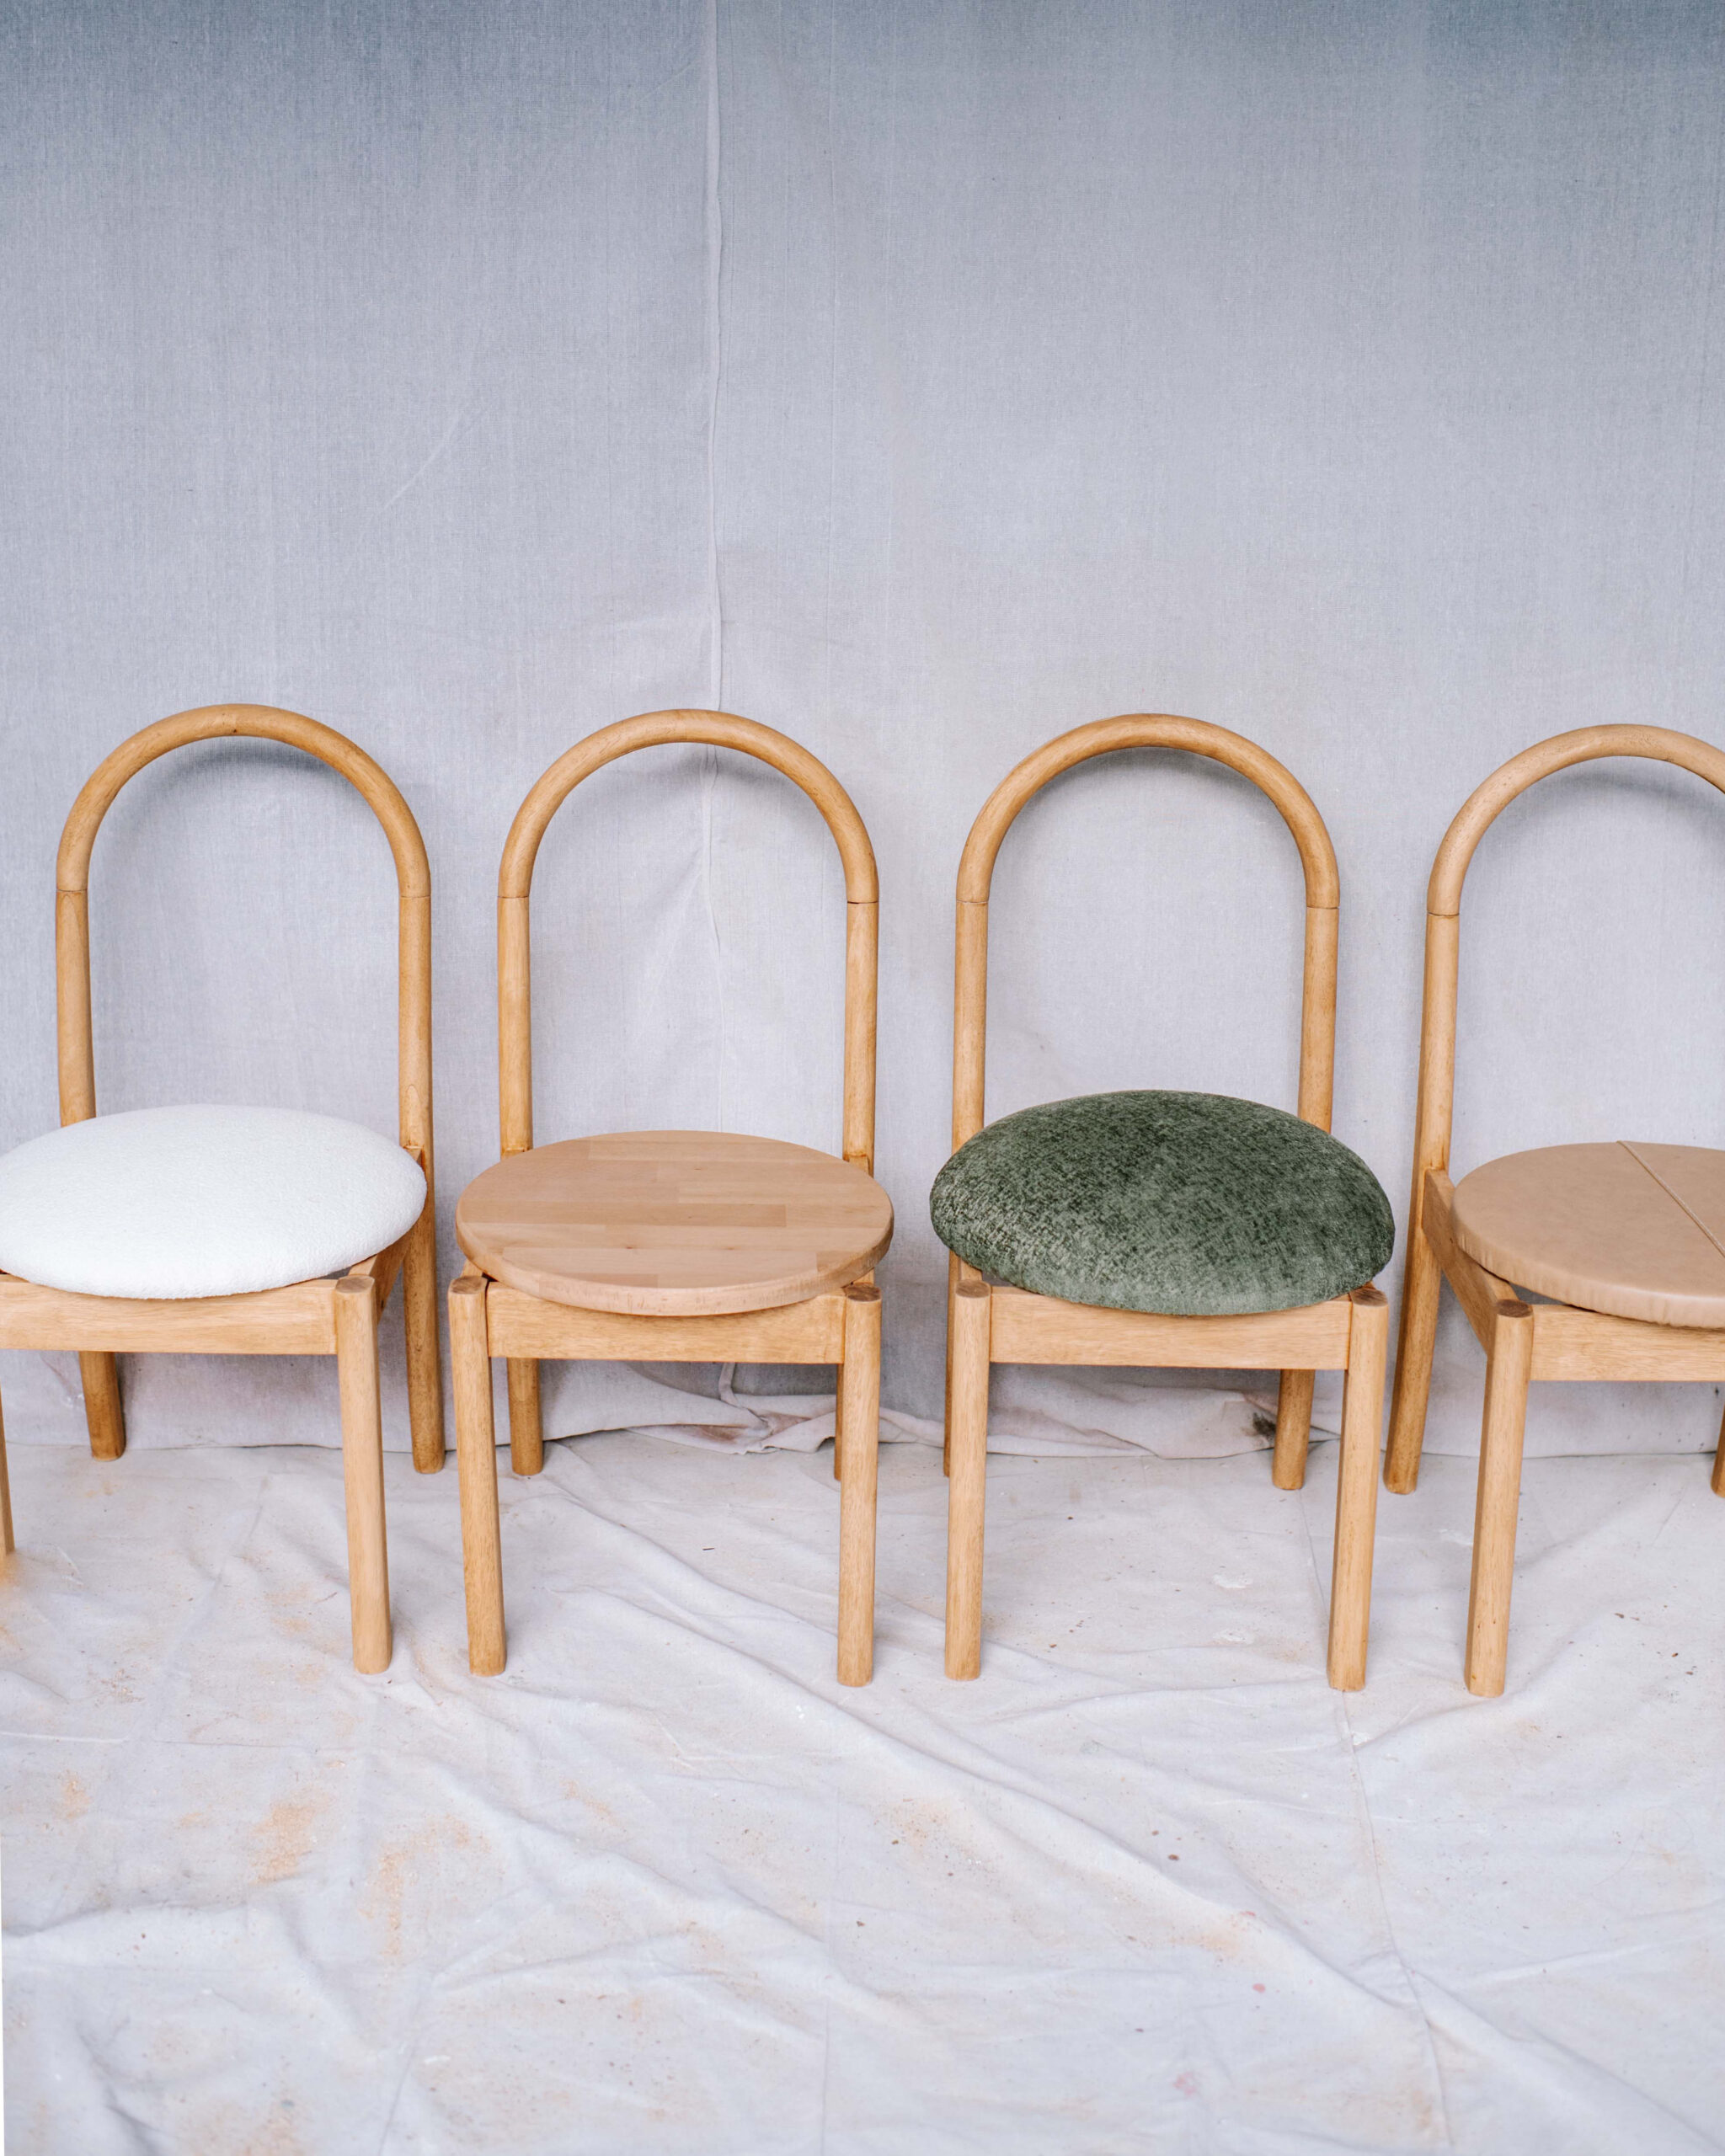
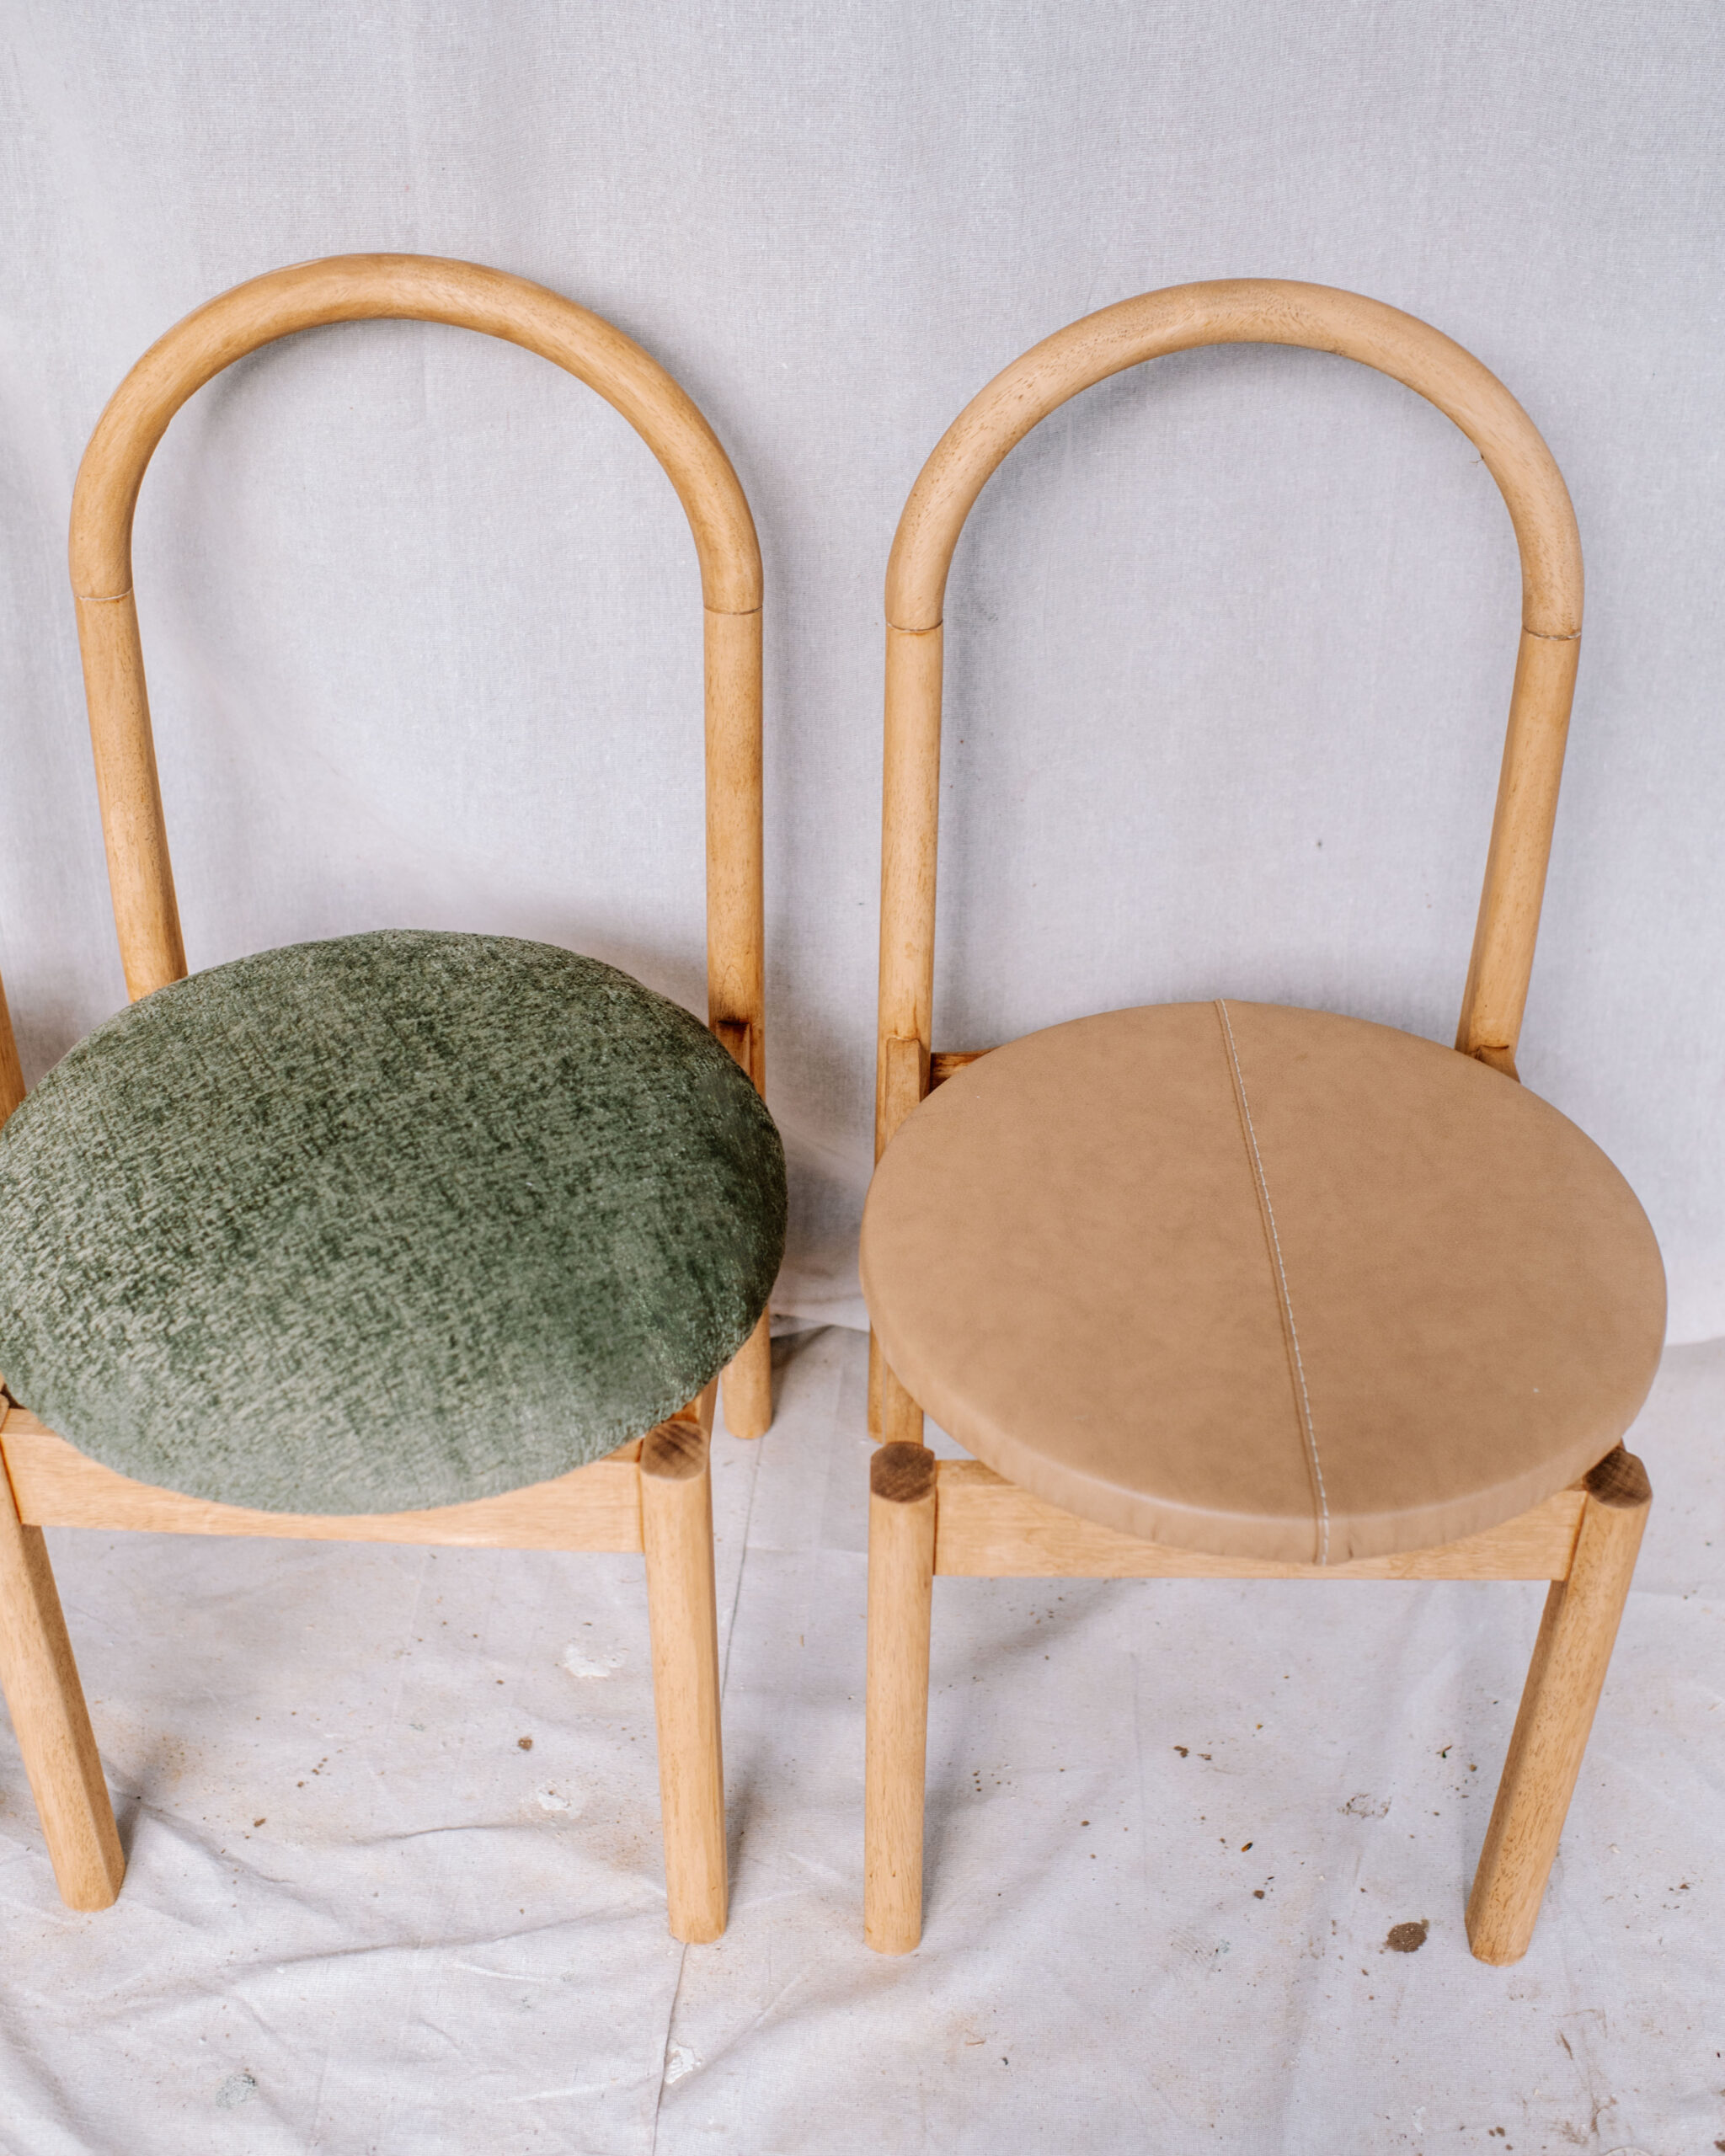
For the seat of the chairs, I wanted a really modern look so I decided to replace the rectangular seat with a round seat. I simply used a round panel of wood and did a few options: one recycled leather, one in green velvet, one in white boucle and one wood option with no upholstery. To finish, I screwed the seats in from the underside using the original holes and screws.
This project is in collaboration with Bosch
