If you’re looking but a seriously cute update to a basic piece of furniture, this one’s for you.
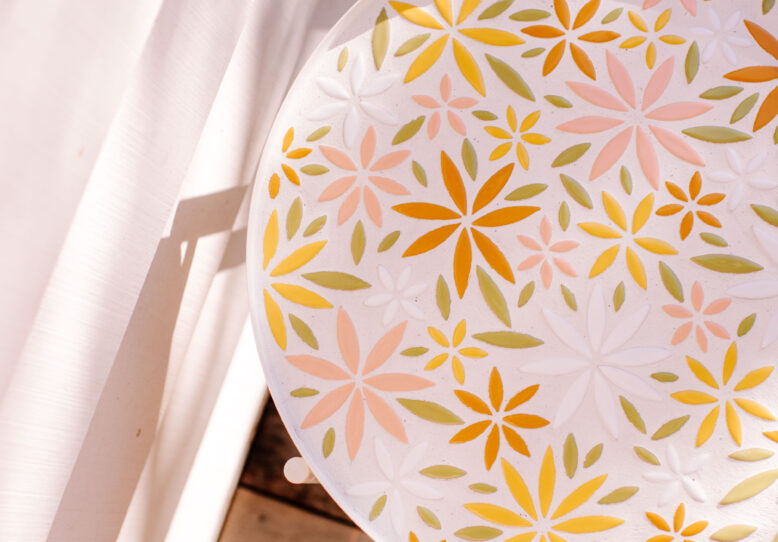
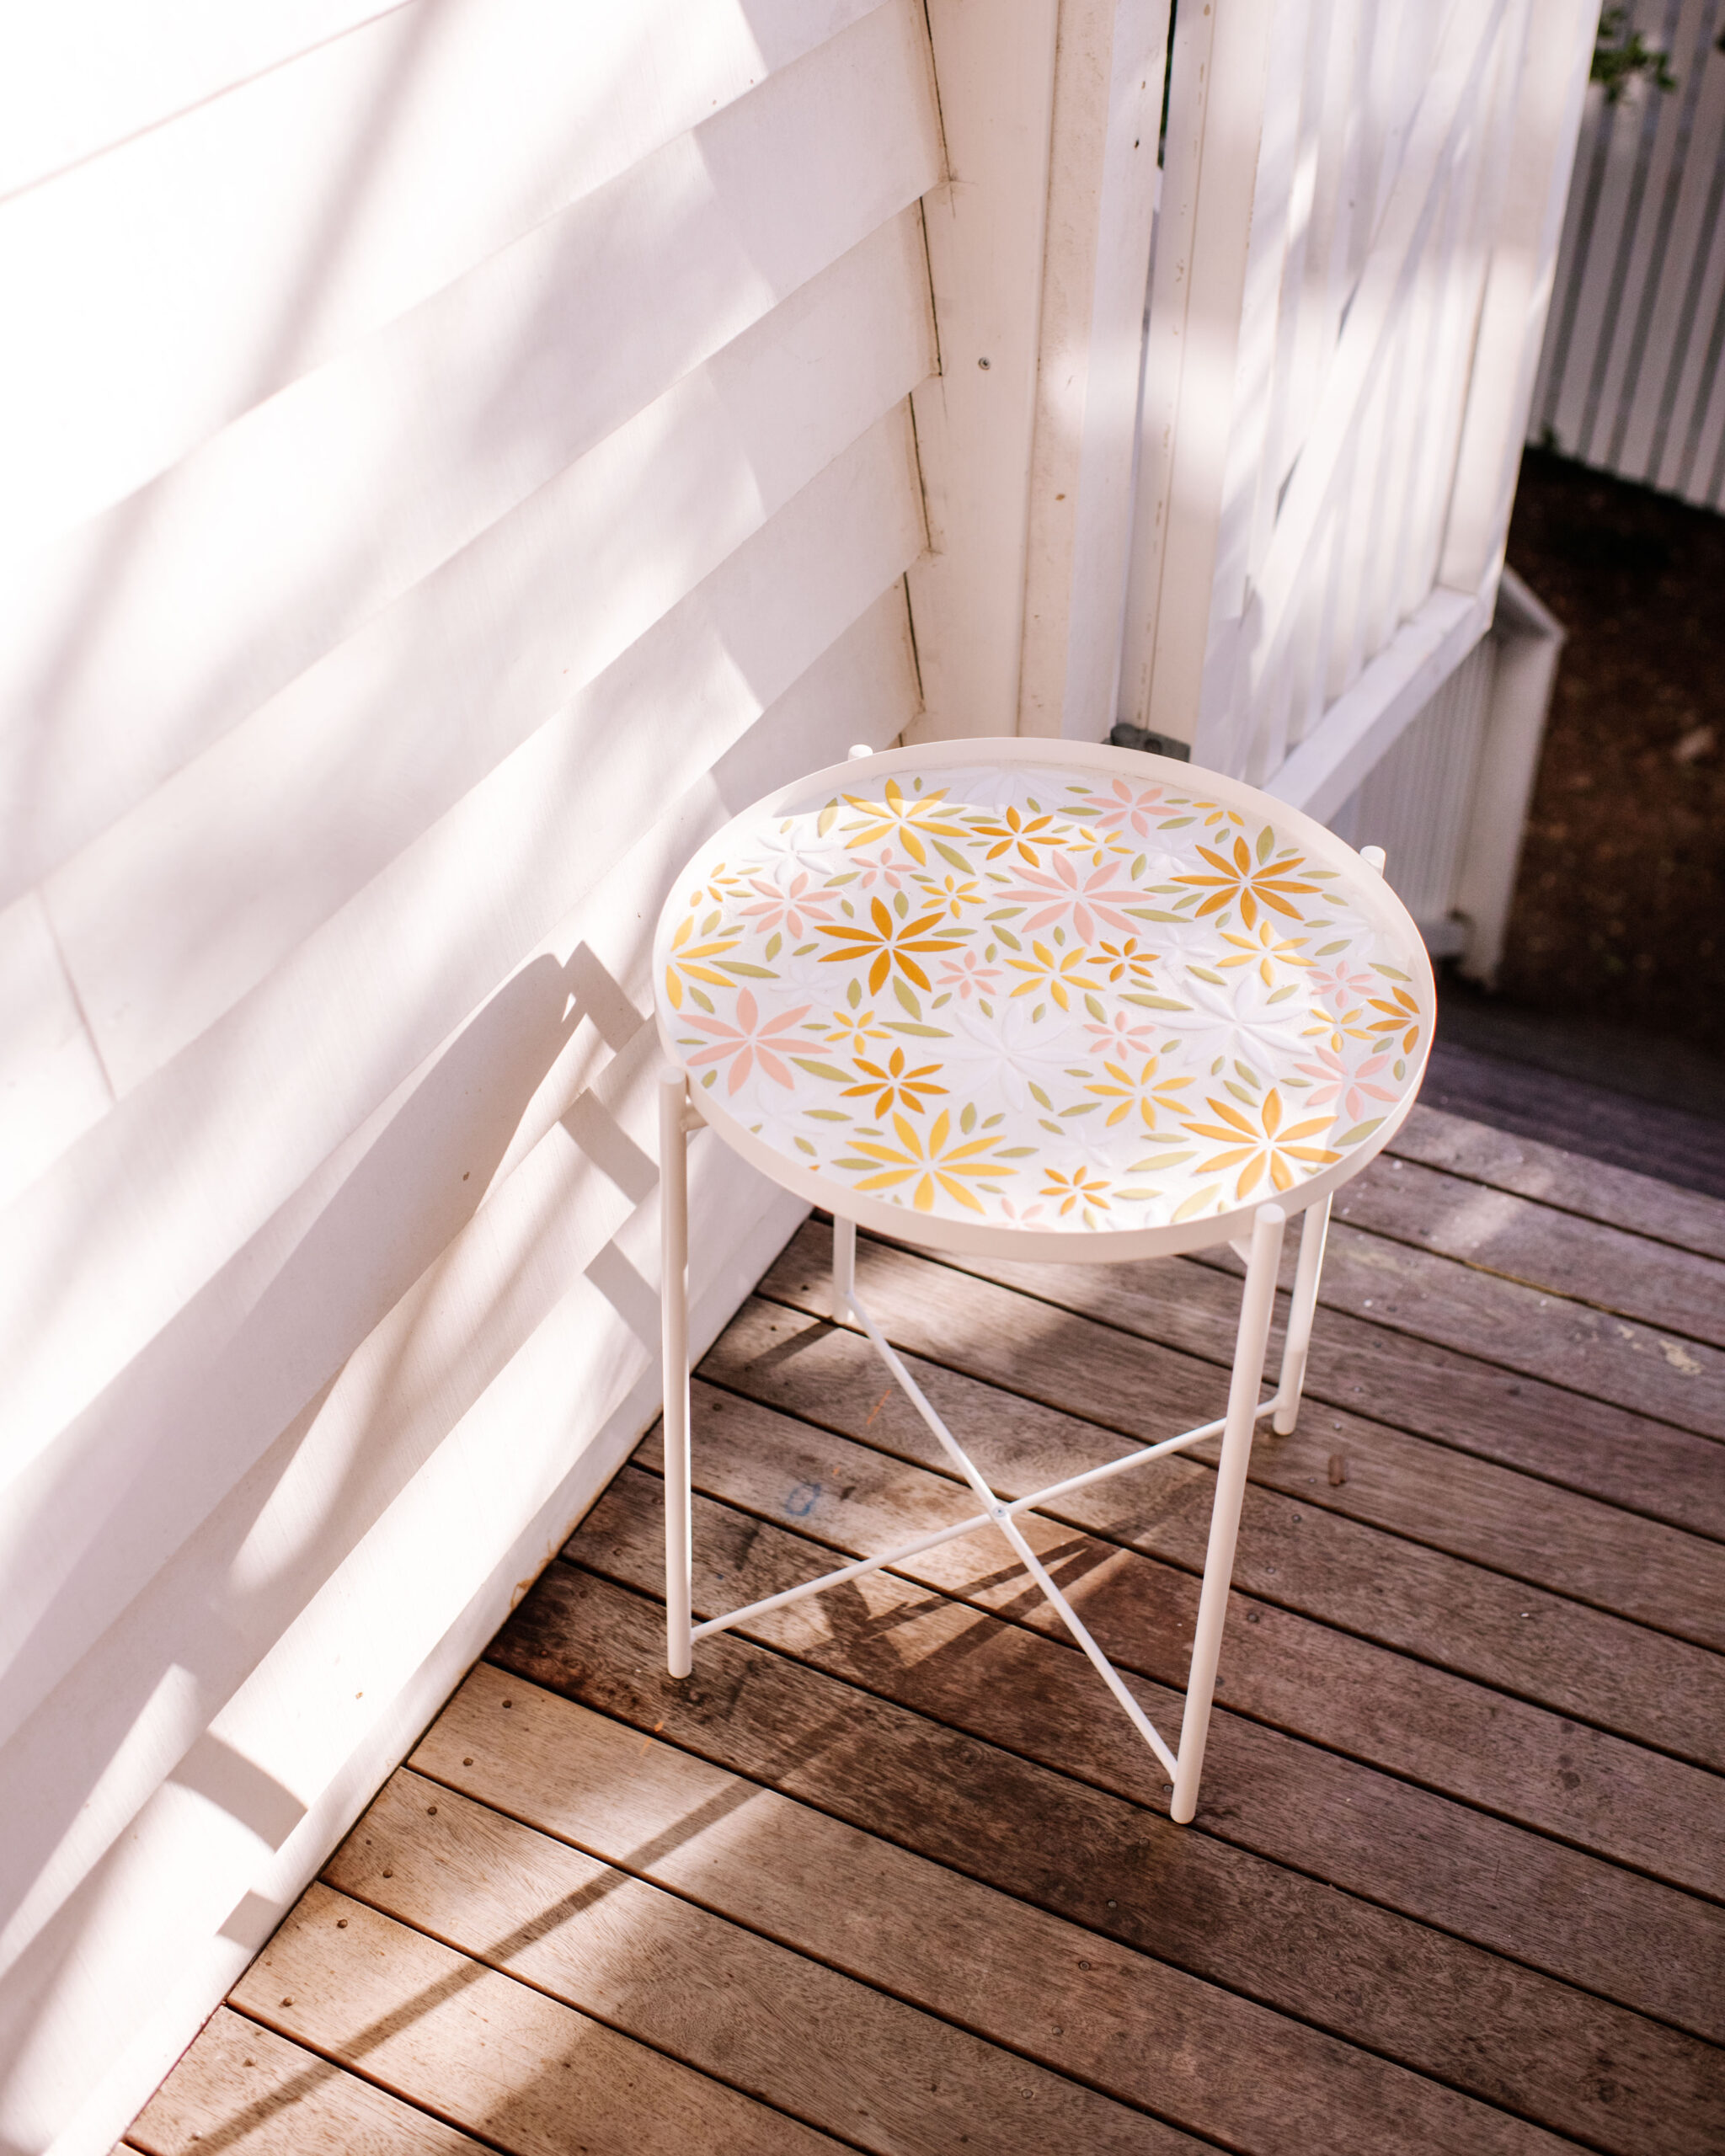
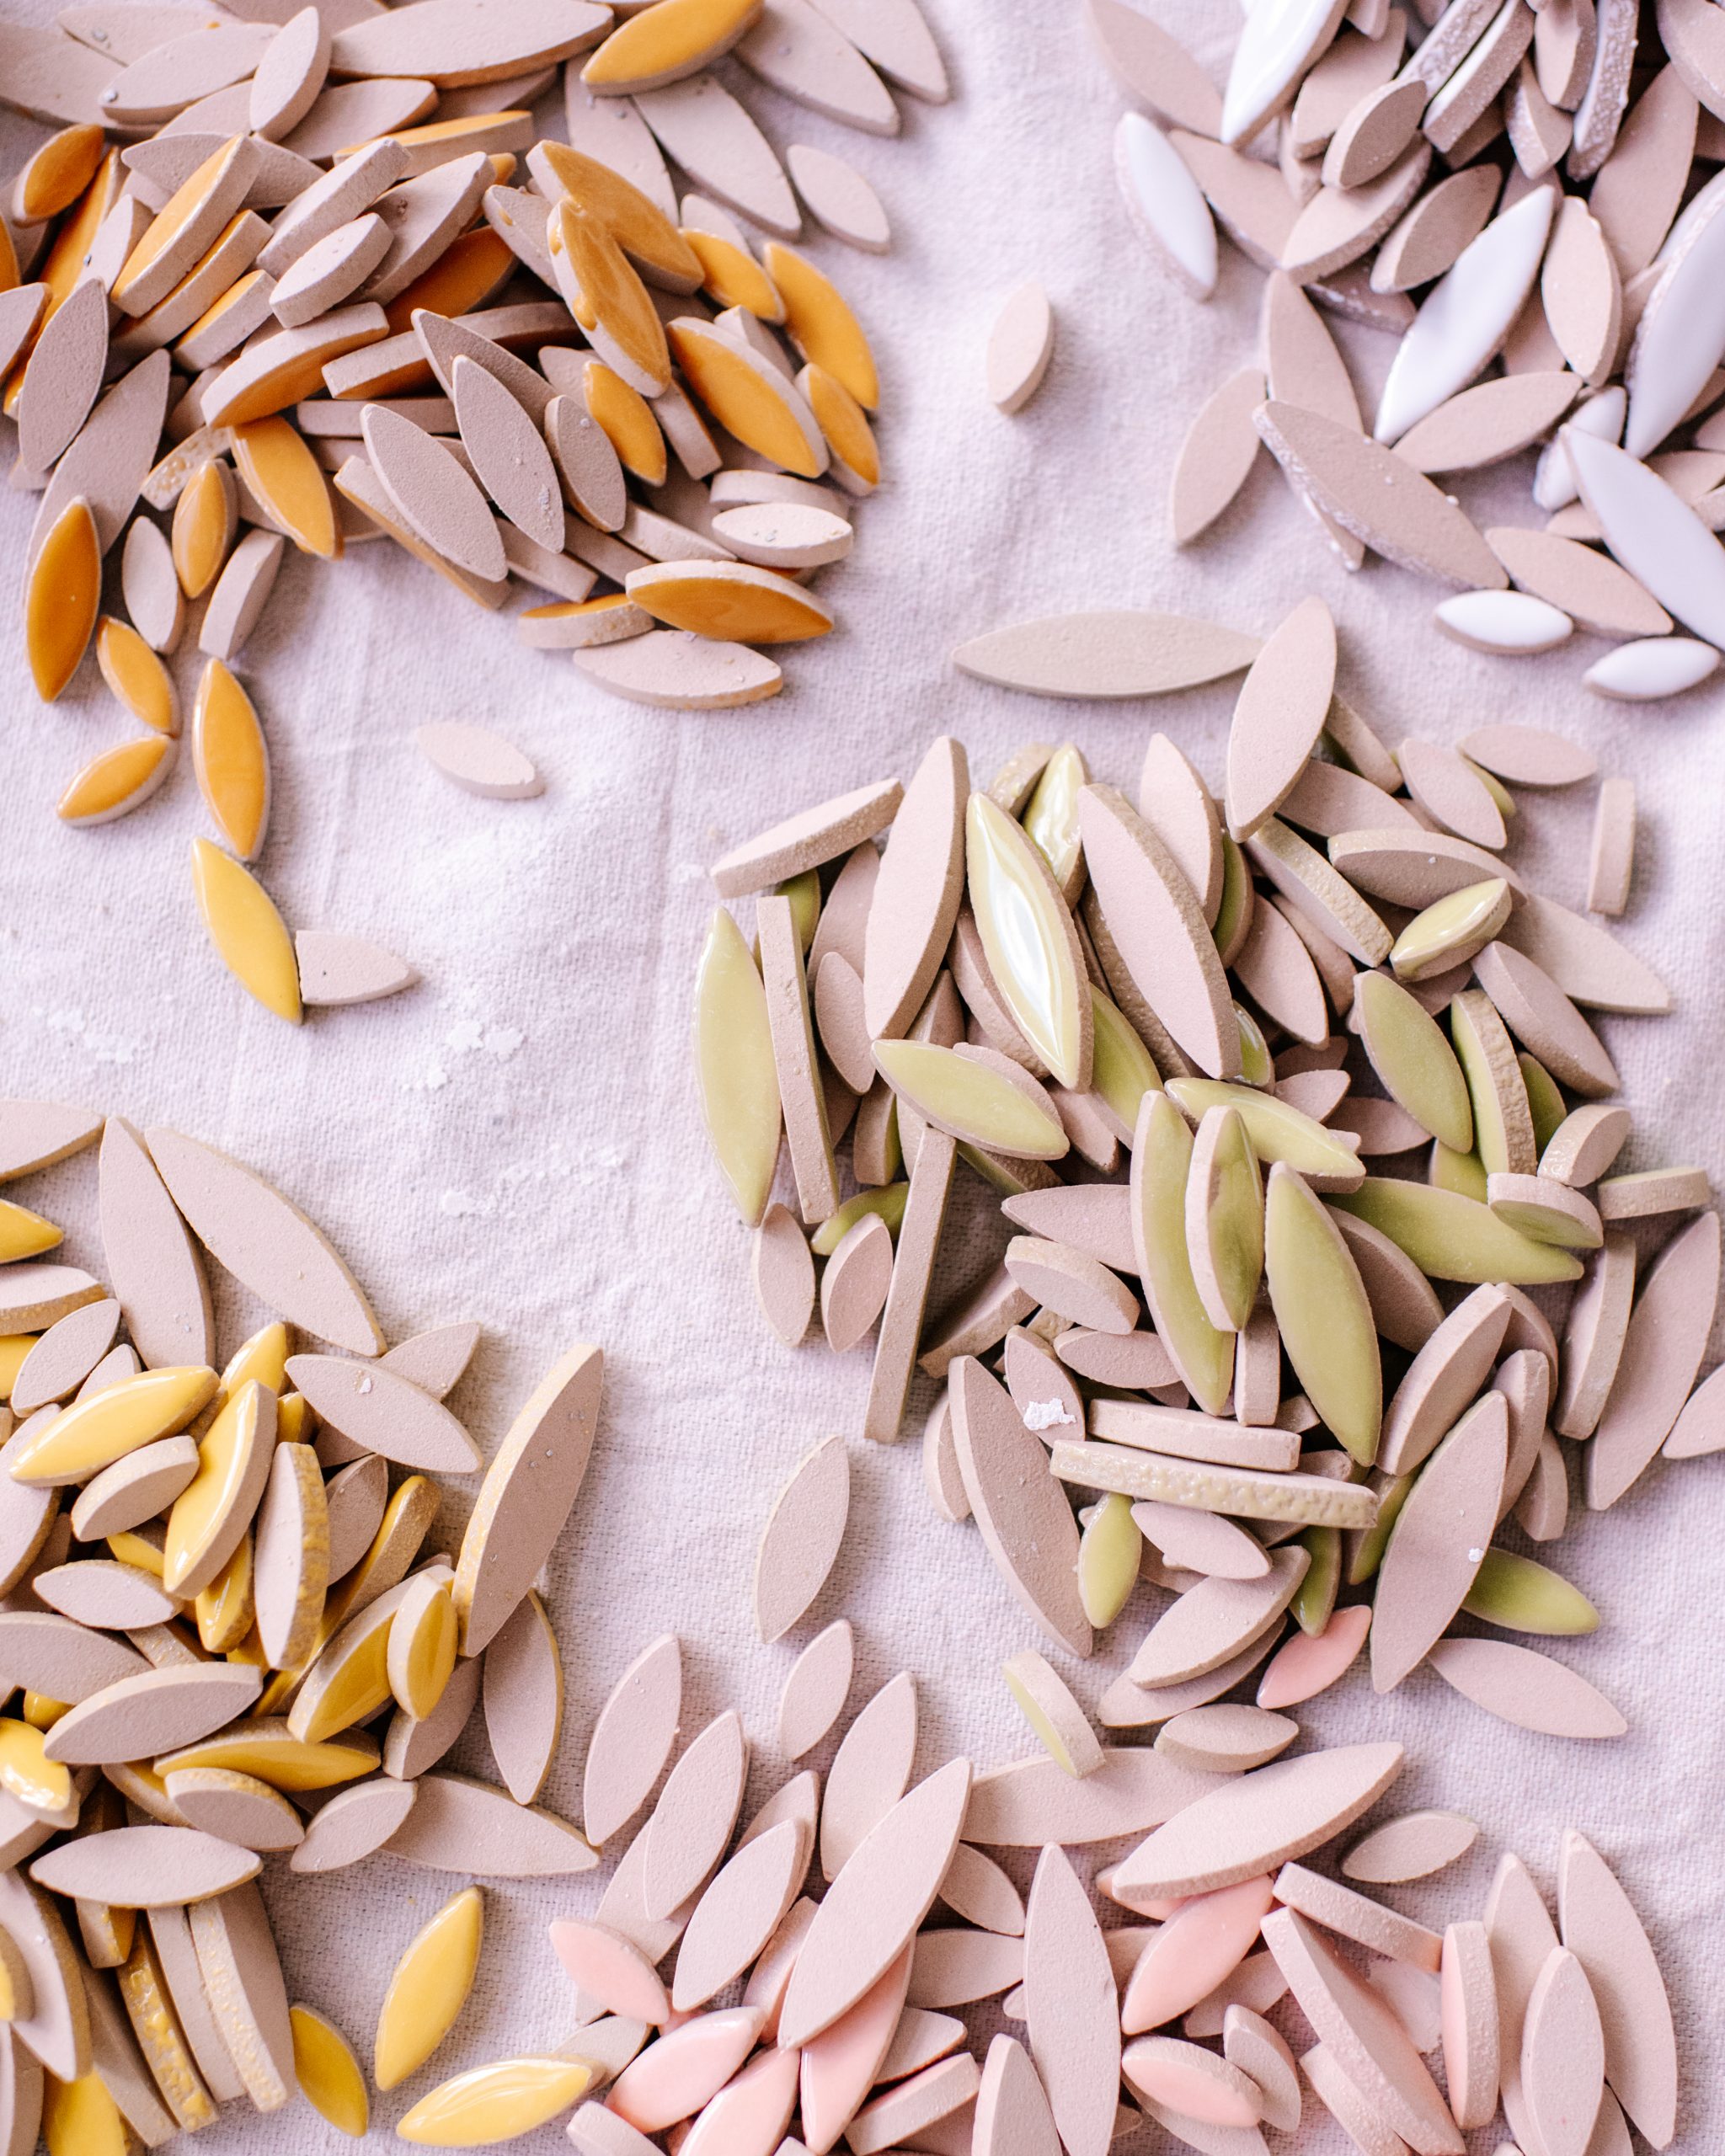
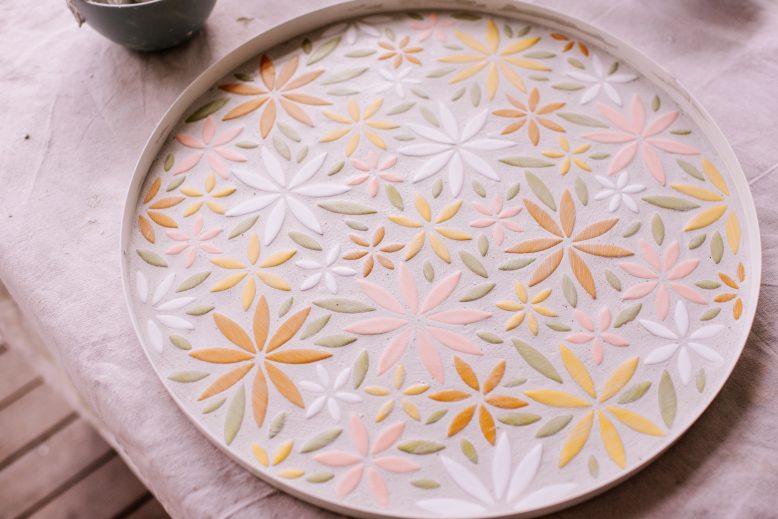
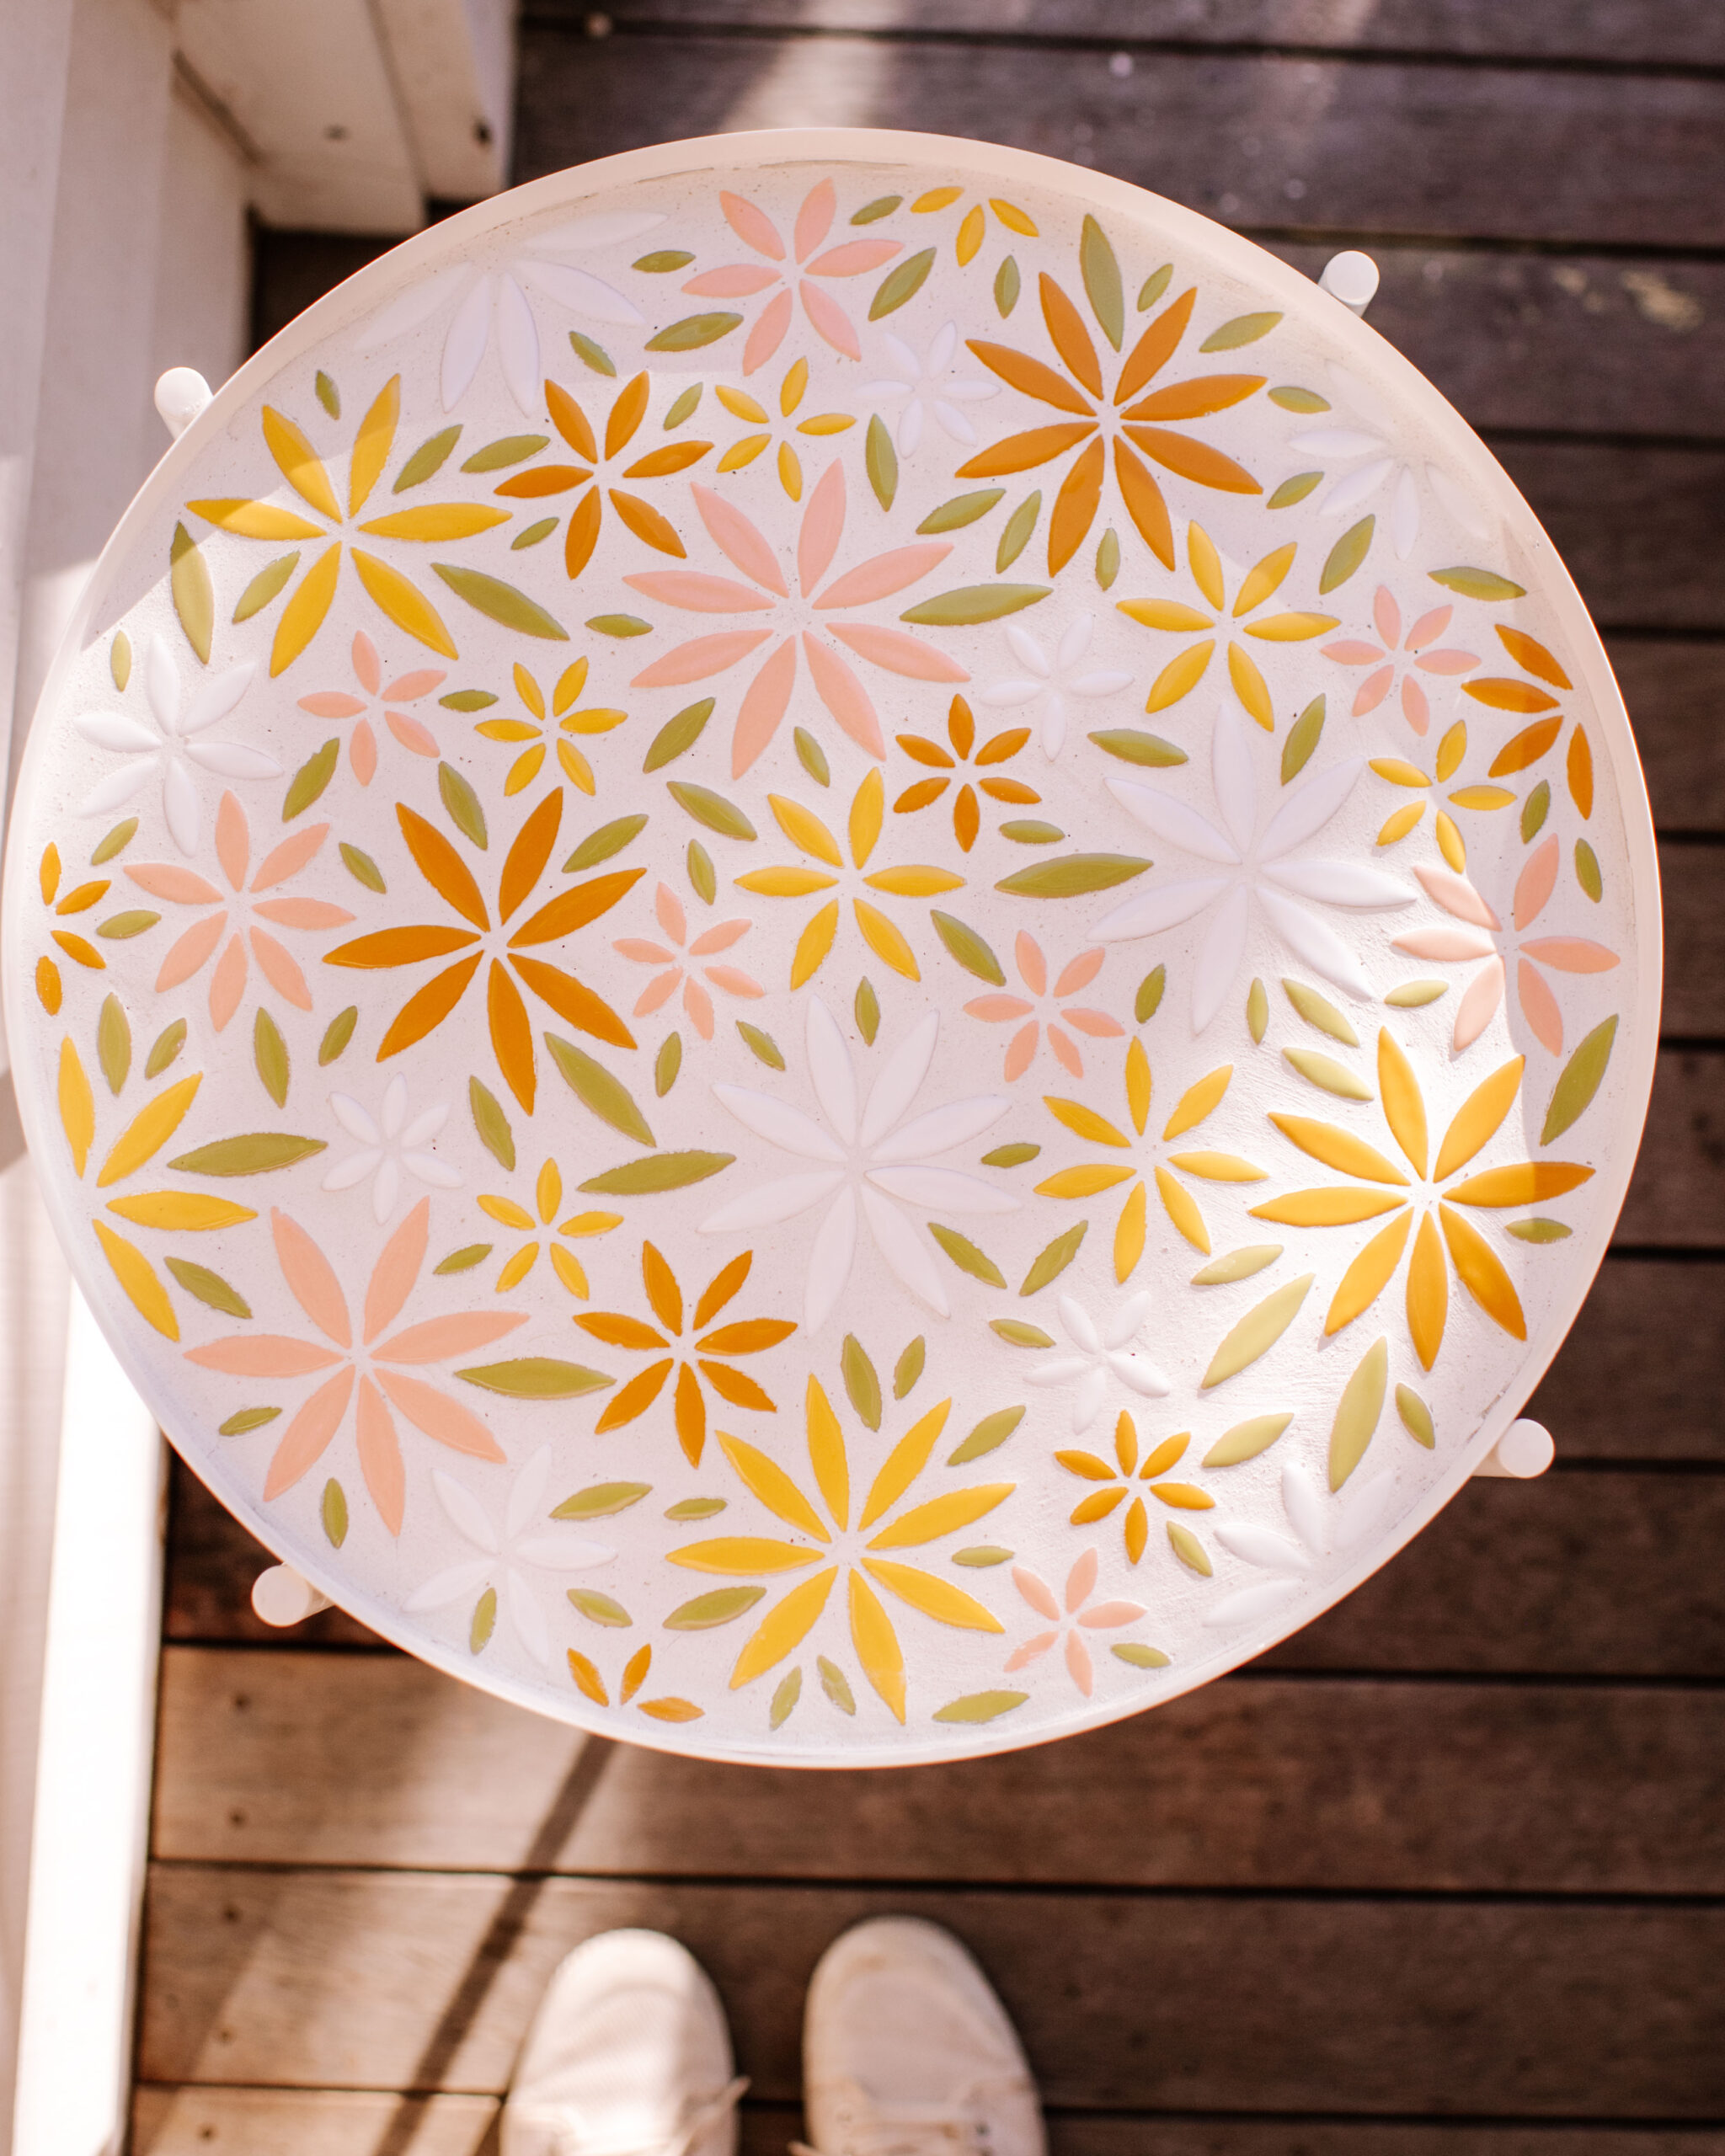
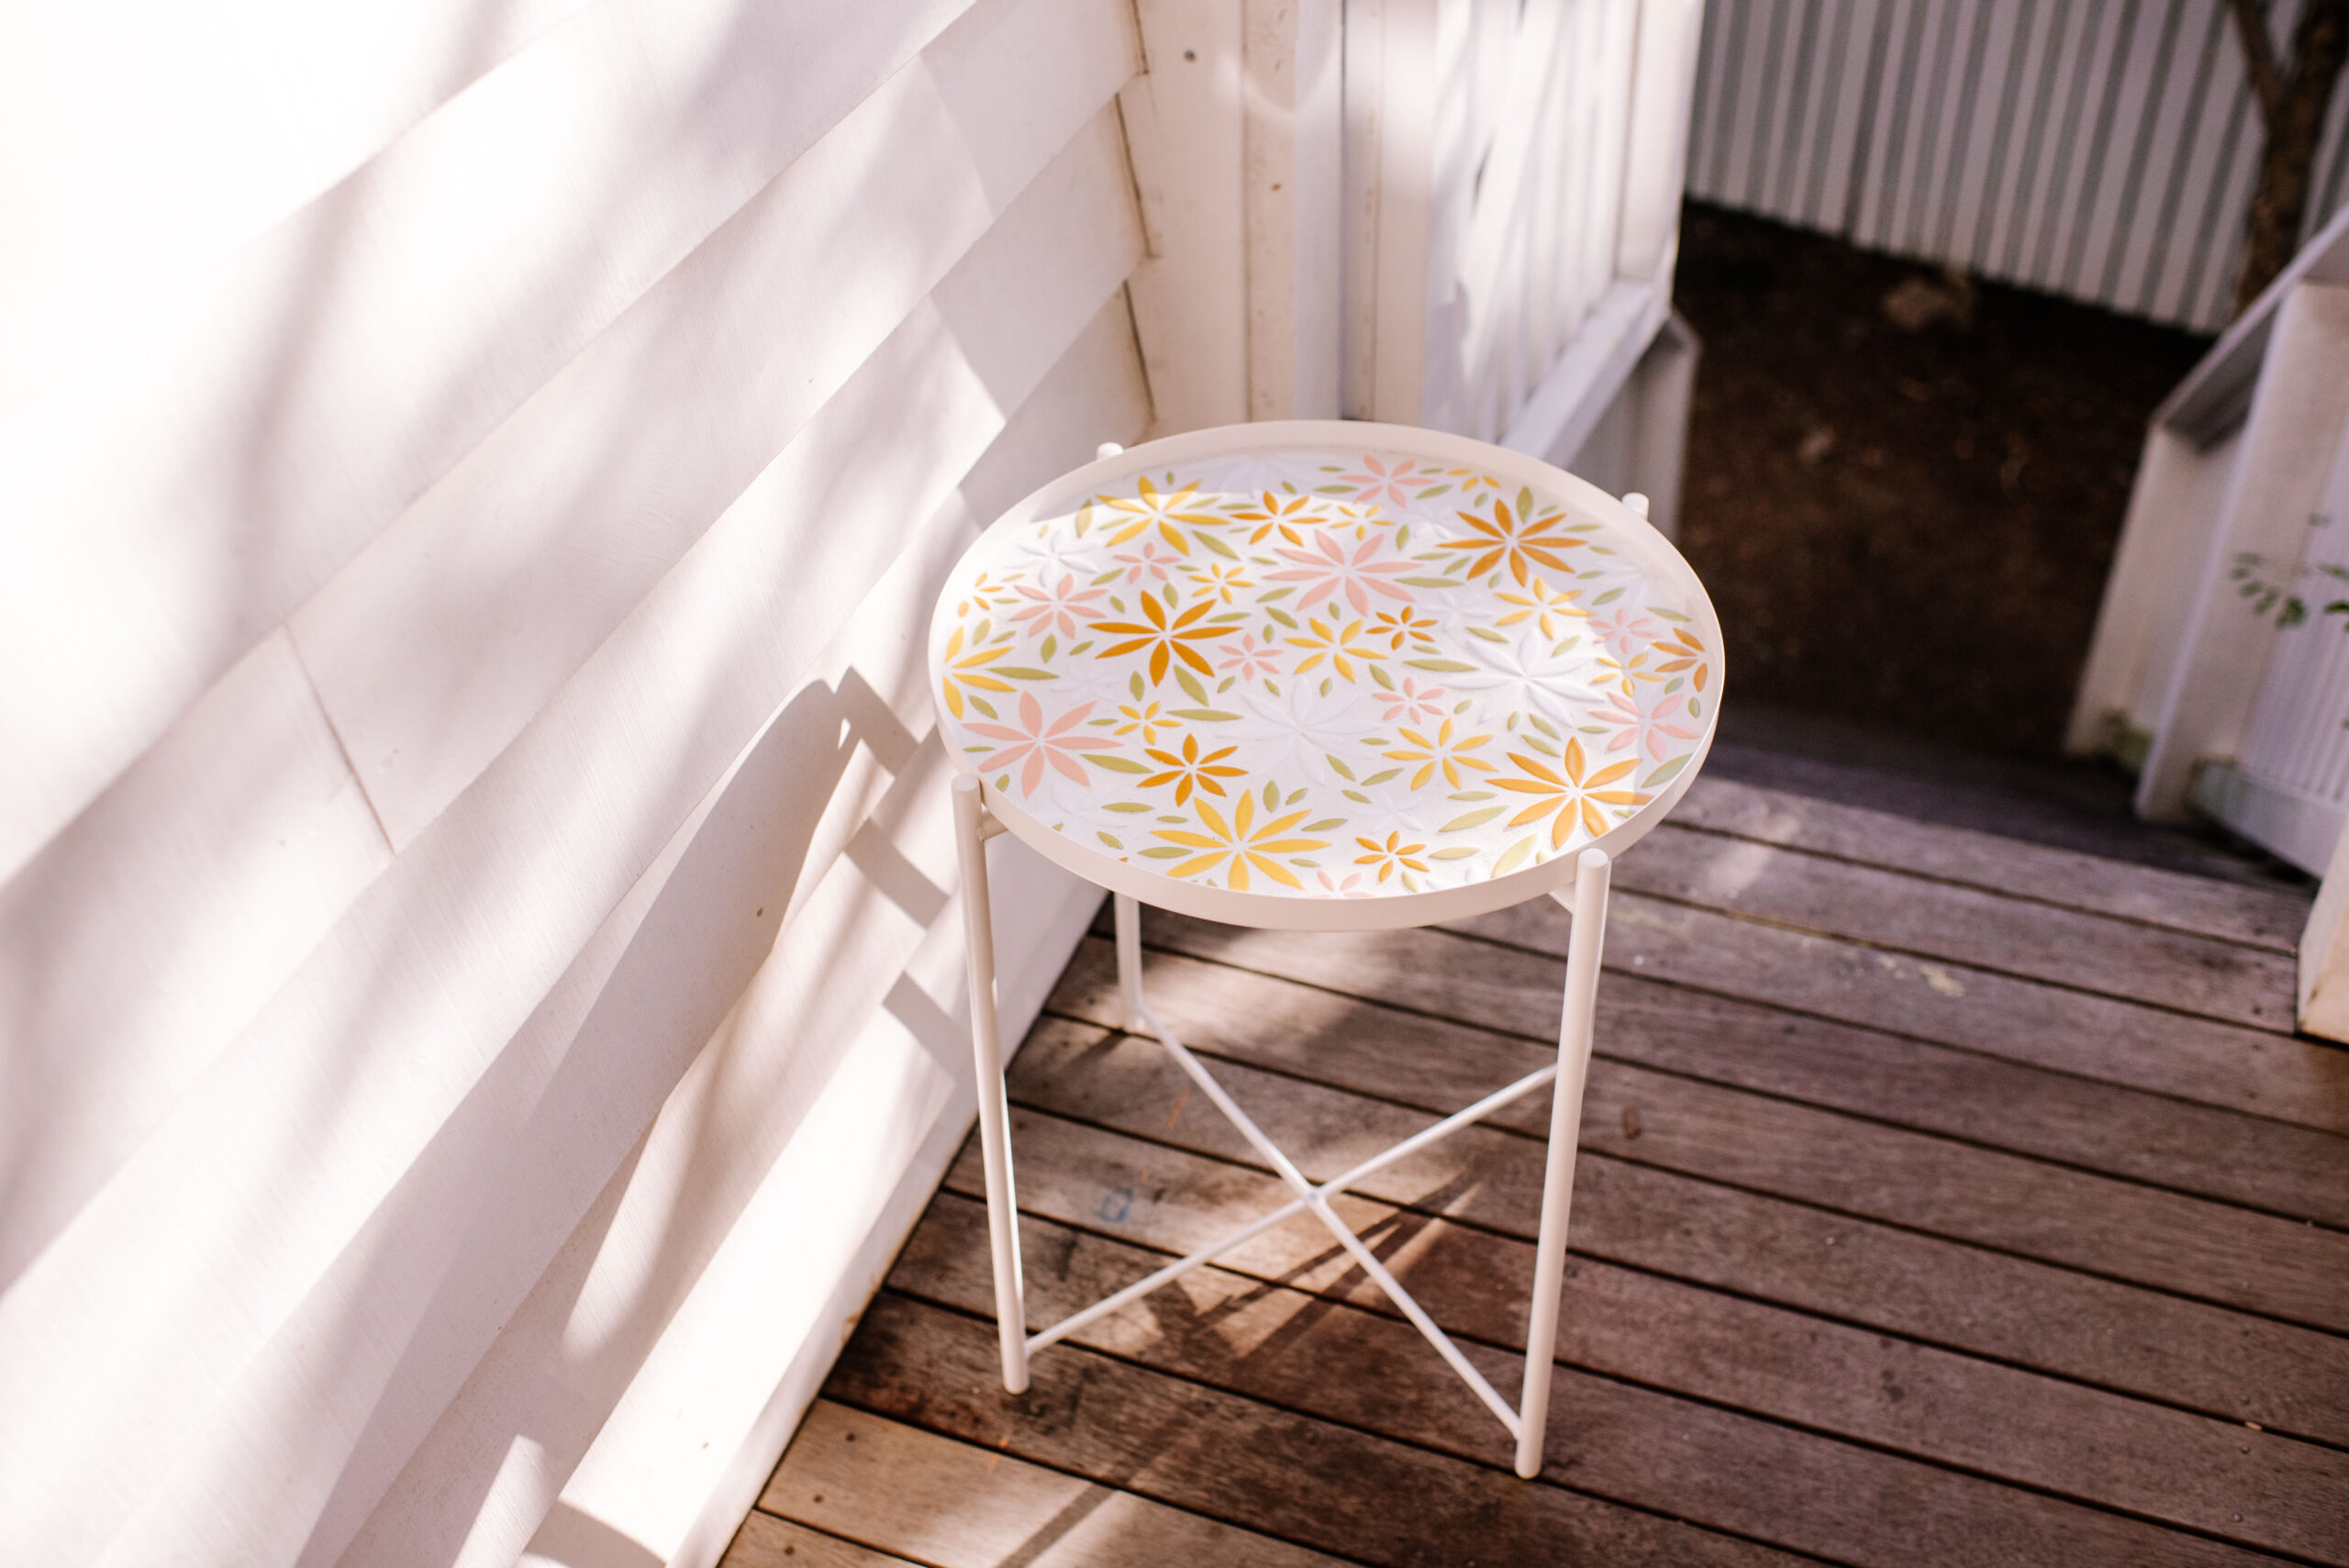
Ok so by now you know I’m kinda into mosaics, I made a lamp recently and yes, unlocked a new addiction. A few of you wanted to see a side table or coffee table, so I decided to give it a go! I’ve had this simple round side table (it’s the IKEA Gladom that I know a lot of people have) for awhile and have been wanting to give it a facelift. I was feeling uninspired until I came across these beautiful ceramic leaf petal shaped tiles from Mandala and knew I could make a gorgeous feature out of them. What an easy way to change the look of so many different types of furniture!
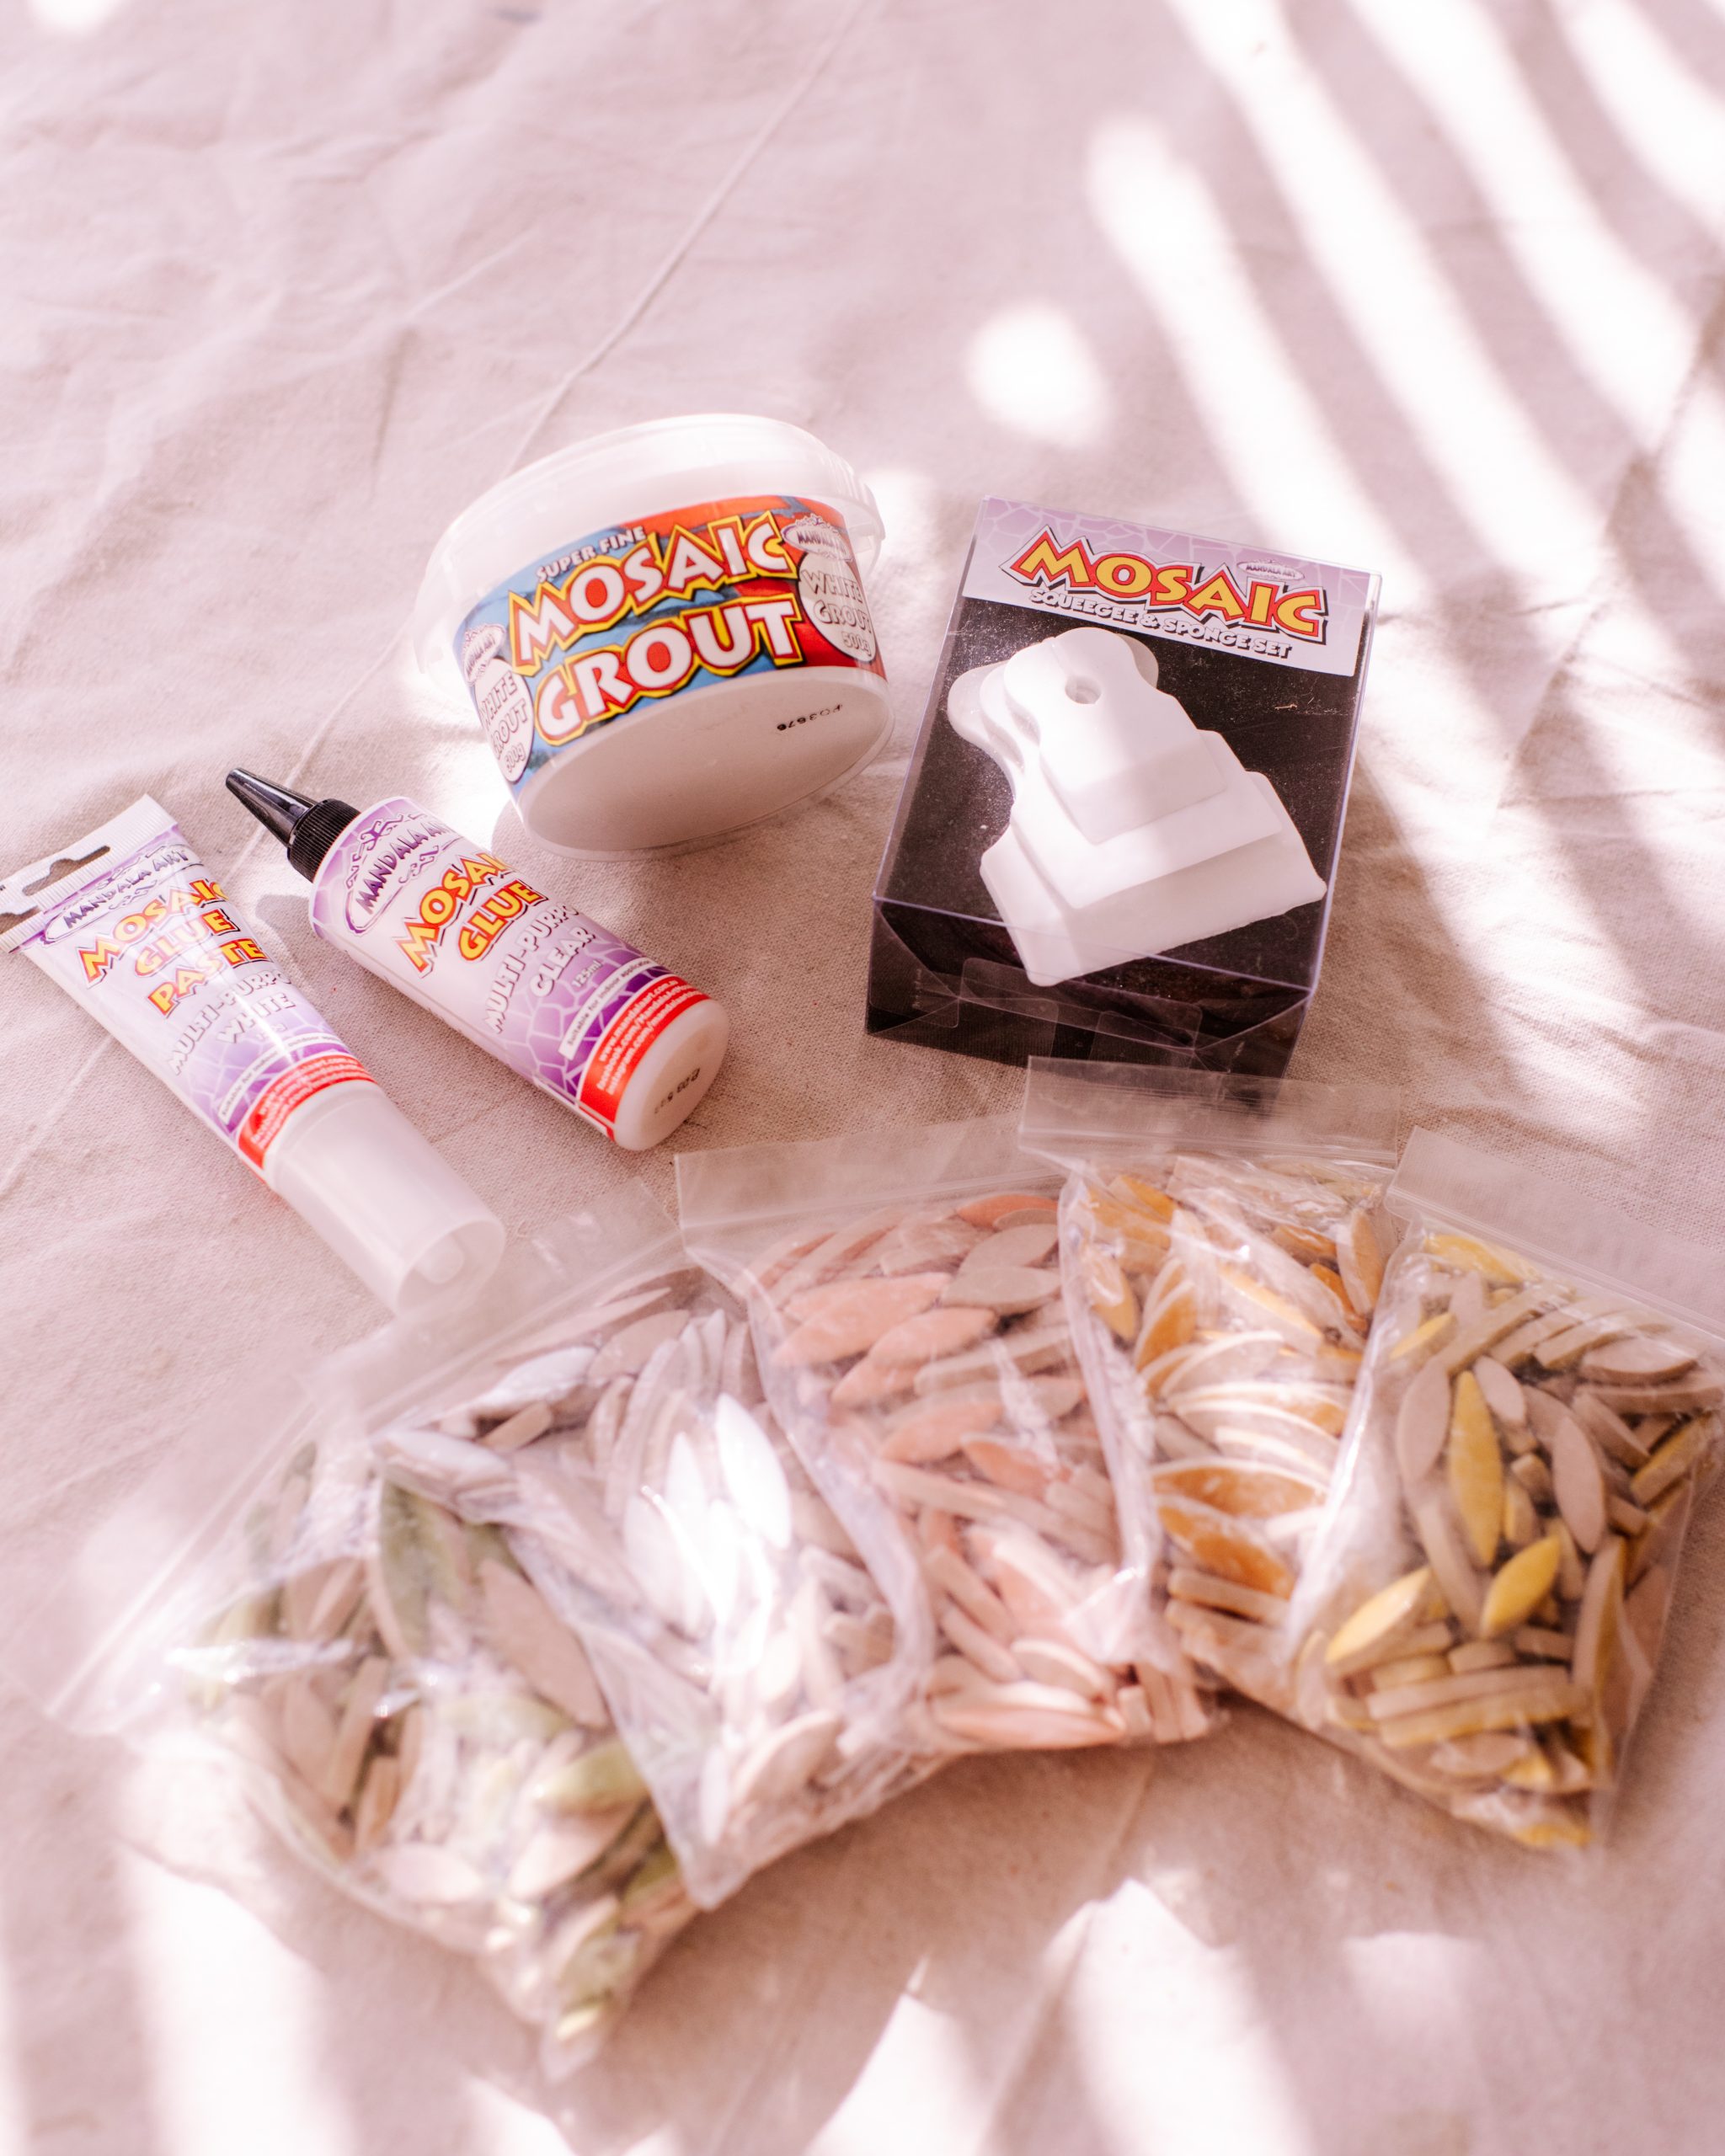
Materials:
As an FYI I bought a 250g bag of Light Green, Marigold, Yellow, Pink, and White. But I only ended up using about half of each bag for this project. If you wanted to make this a little more affordable you could halve the number of colours you include, and use the whole of the bag. I know I’ll use the leftovers for lots of there projects so I was happy to do it this way.
How To Make A Floral Mosaic:
1
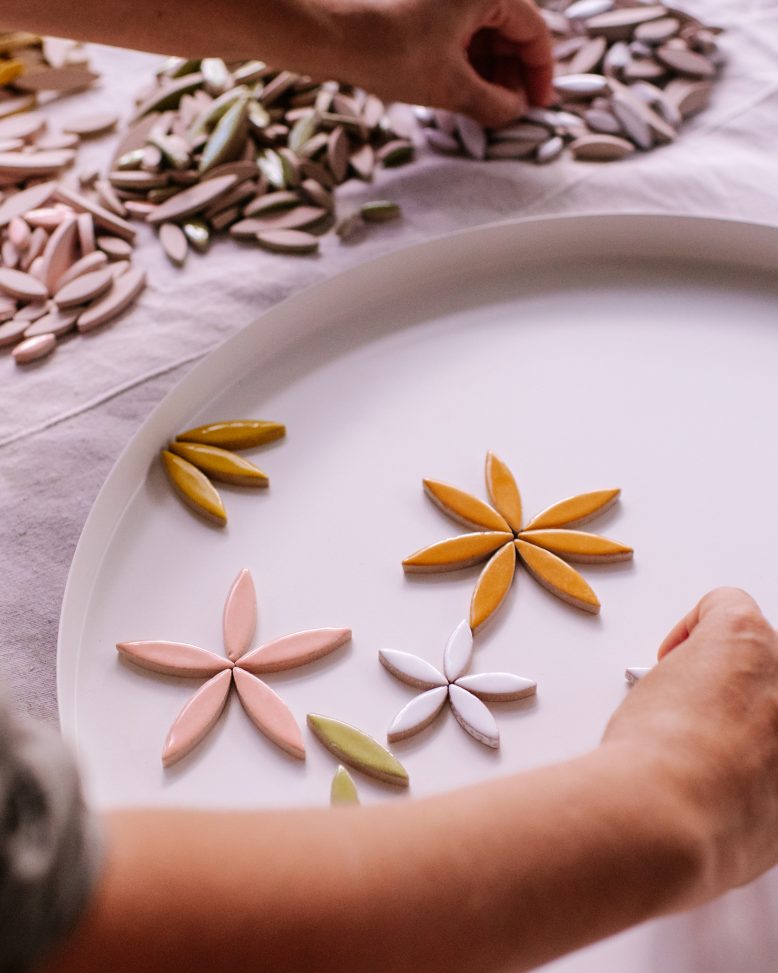
Firstly, I played around with my pattern to find what I was happy with. I started on the edge and continued making flowers in different colours and sizes until the whole surface was covered. I moved them around a little bit, added some more in where I could and then filled in the gaps with the green ones to make the flower leaves. Leave at least 2-3mm between each tile to allow for grout, and make sure the gaps aren't too big either as you don't want large sections of grout.
2
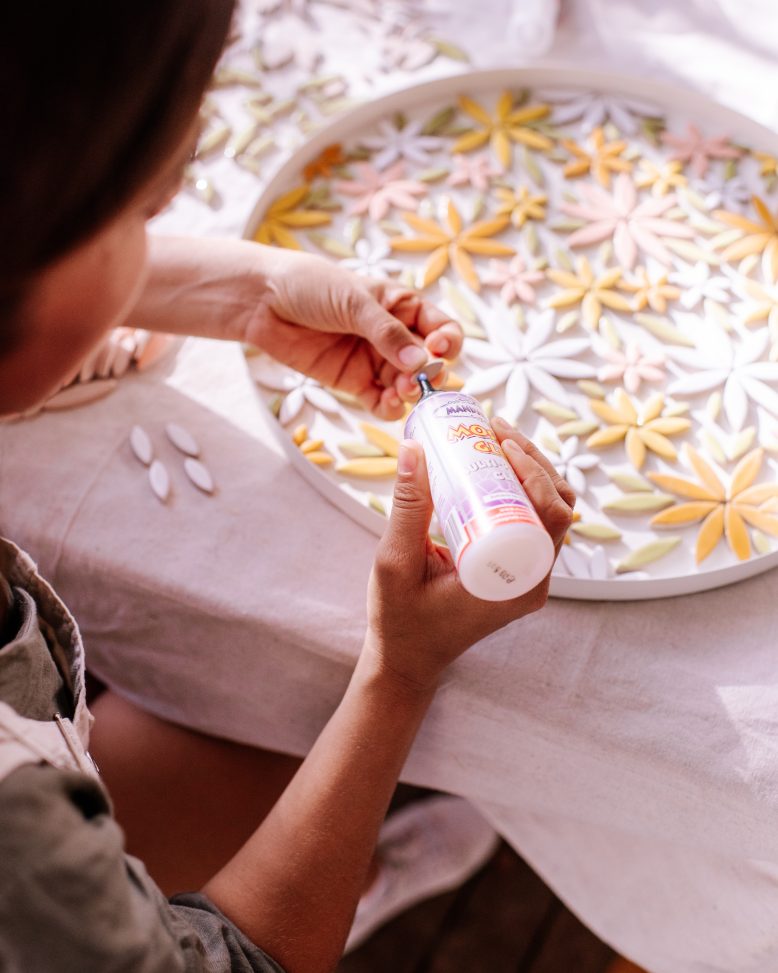
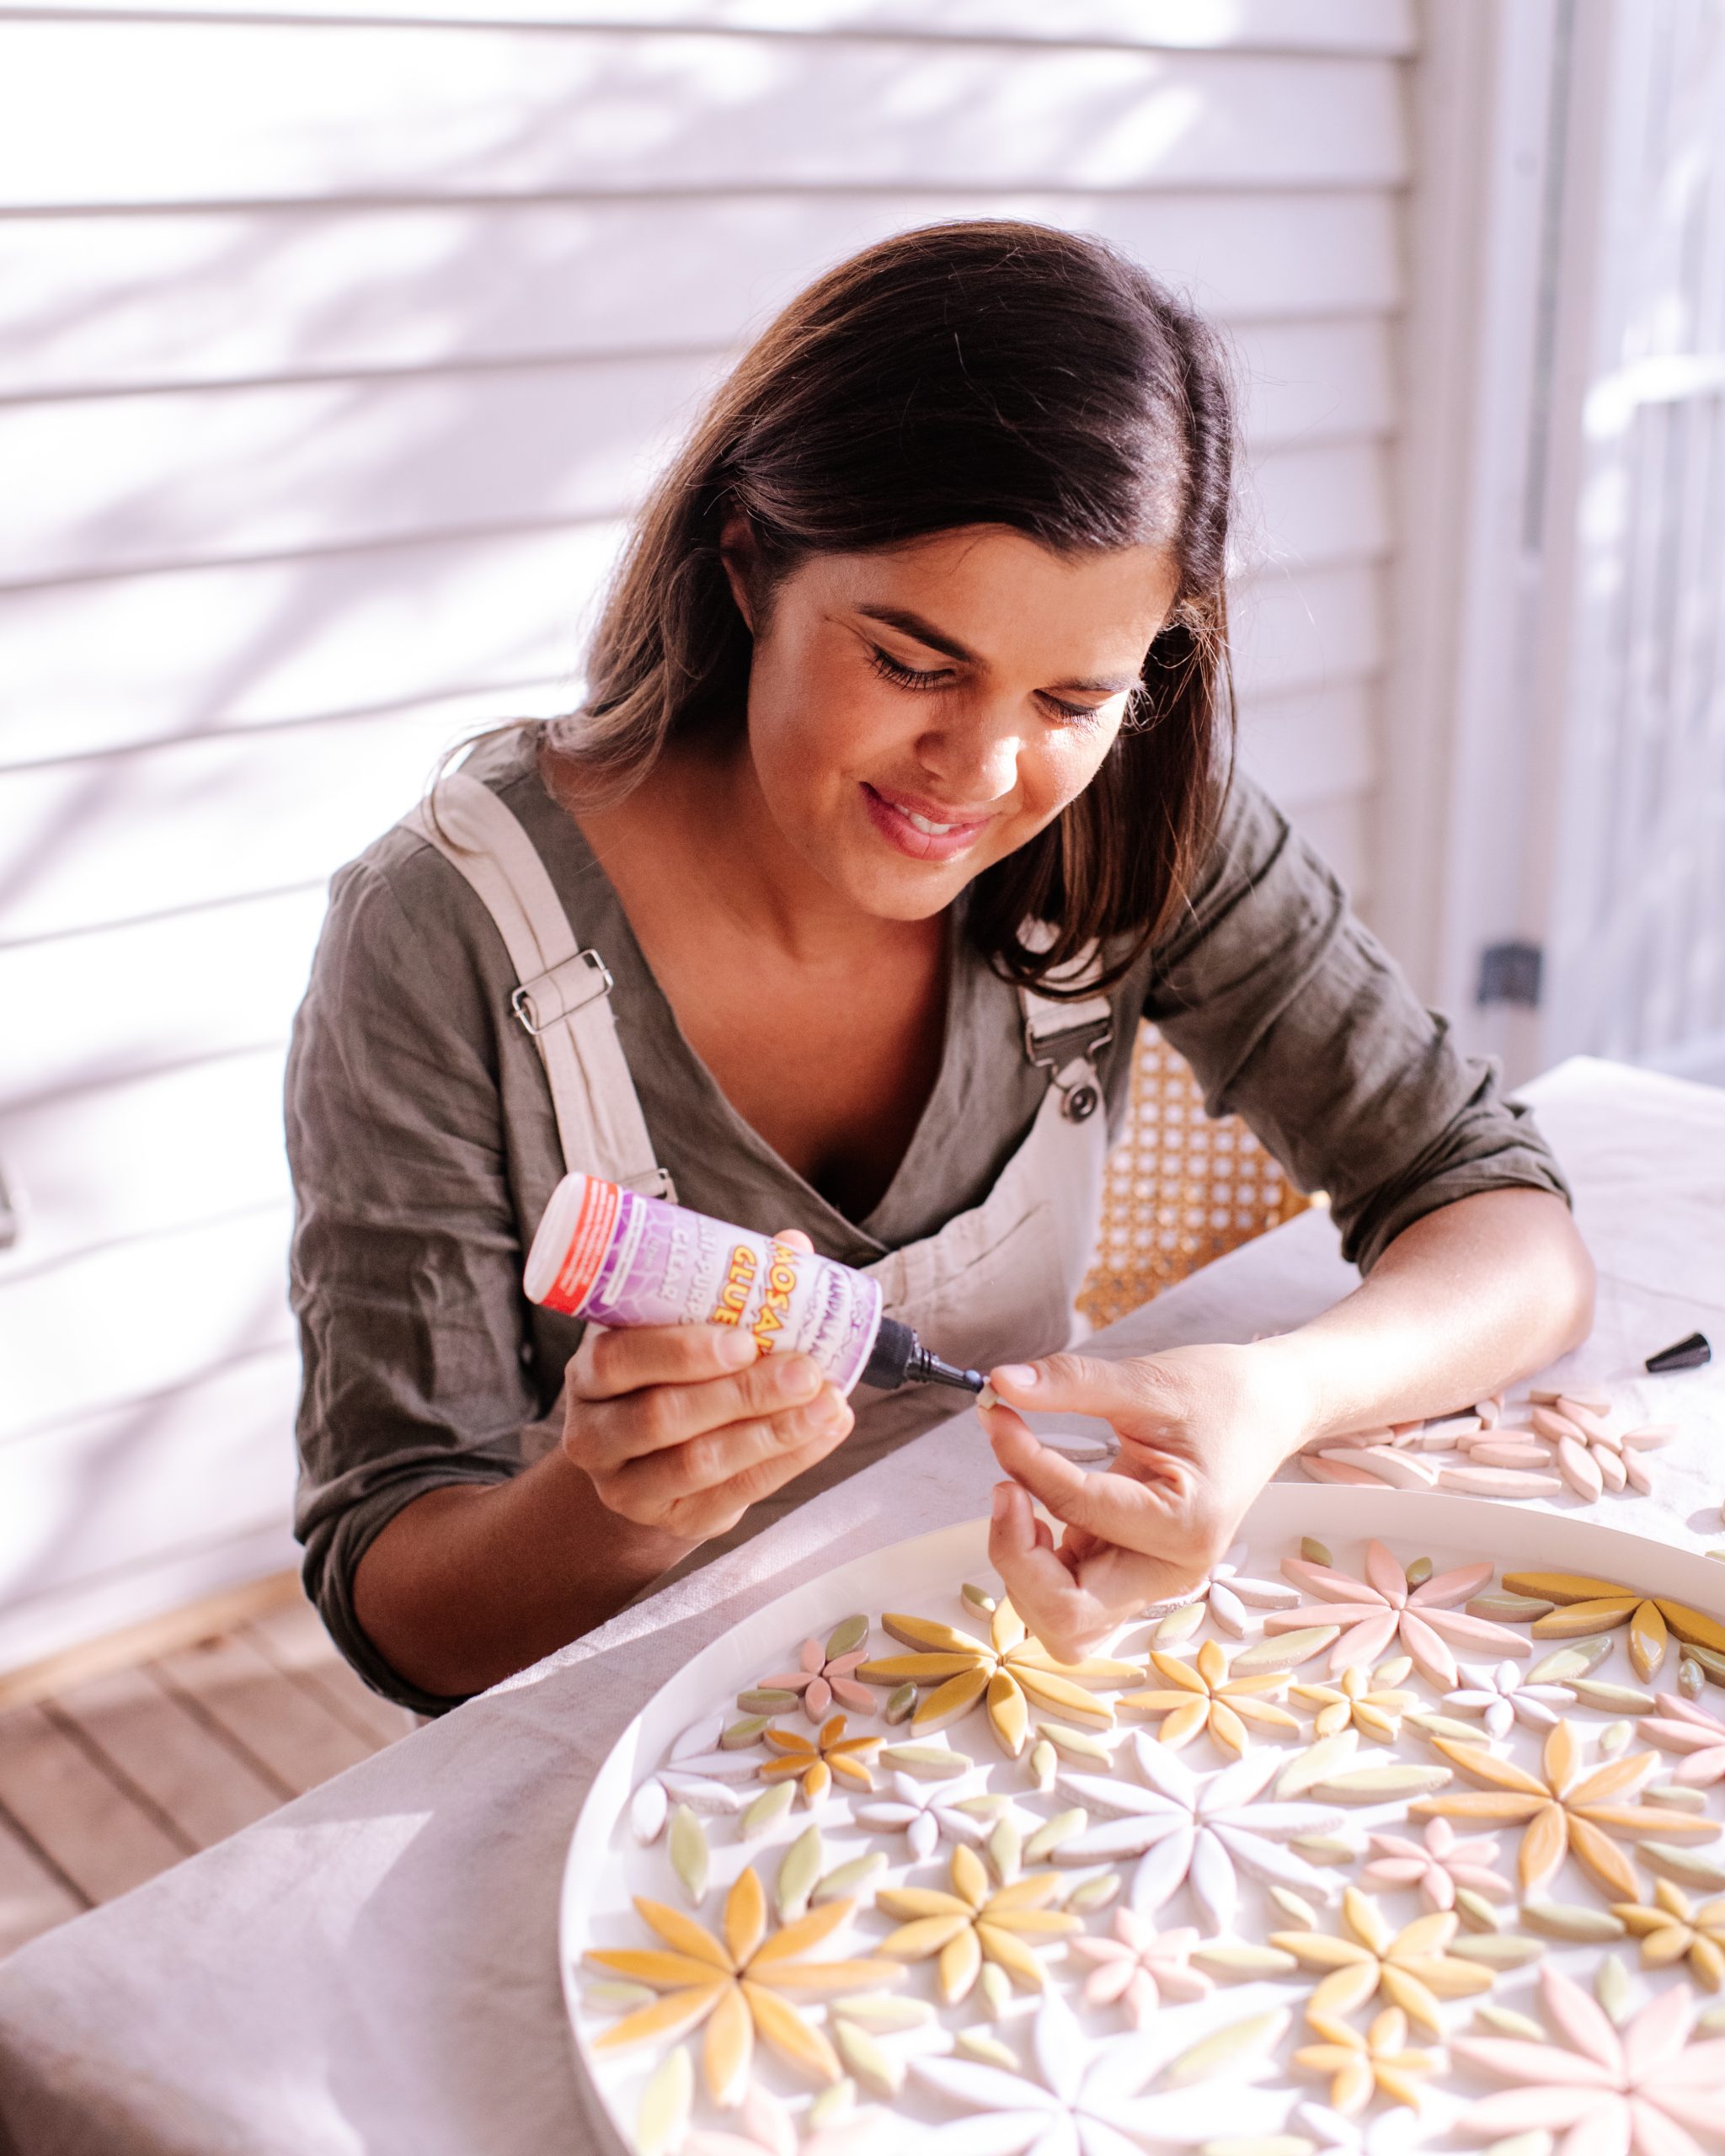
Next up, I glued all of the tiles down. Starting at the edge, I picked up each tile, put some glue underneath it and gently pushed it down, making sure that the glue didn't squeeze out from beneath. I then left it for one hour while the glue set.
3
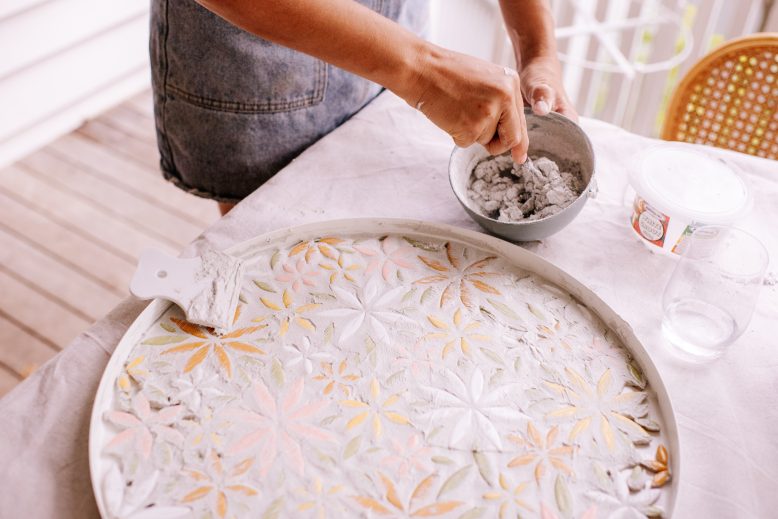
Now it was time to make the grout mixture. I poured the powder in to a bowl and added small amounts of water whilst mixing until it became the consistency of toothpaste. A rough guide is 150mL of water to 500g of grout powder. (Make sure to follow the safety instructions when making the grout!).
4
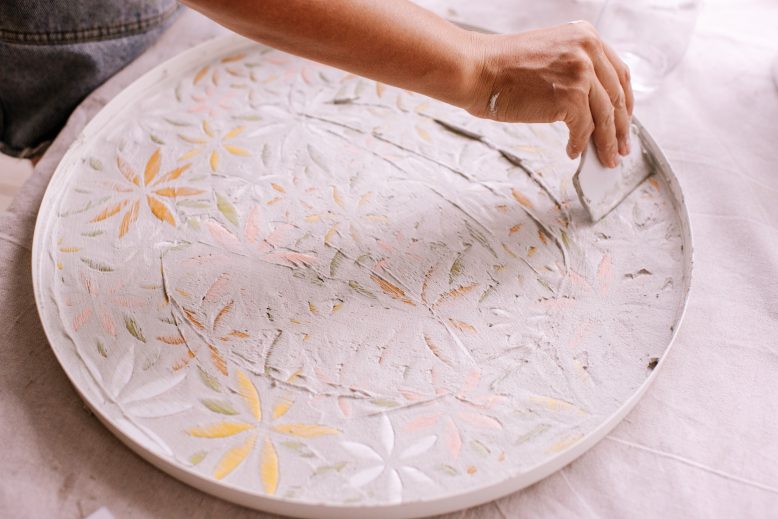
Once the mixture was ready, I applied the grout to my piece. I used the Mandala squeegee to put the grout on the tiles and smooth it out, ensuring all of the gaps are filled up. Don't worry if there is a little bit of grout on top of your tiles, it will come off!
5
After this, I waited for the grout to dry slightly and then used the damp Mandala sponge to wipe away the excess grout from the top of the tiles. You may have to do this a few times! Finally, I allowed the grout to completely dry for 1 hour and used a slightly dampened cloth to polish the surface.
Voila!
This project is in collaboration with Mandala.


