


OK so hear me out. Everything is better tiled. Let me explain!
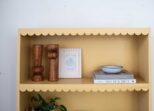
I’ve been needing a little shelf for a while, and found this $15 floating one. But it was quite plain and I knew – tiles to the rescue! Specifically these gorgeous Mandala Art porcelain ceramic tiles. They’ve got a bunch of amazing colours, so I decided to make two. Read on to learn how to make your own.

The most important thing to know when tiling a little project like this is whether the tiles fit or if you are going to have to cut them or modify the basel. Luckily these tiles fit on this shelf well, with only a little bit of overhang on the bottom where it’s not noticeable. I always prefer to not to have to cut the tiles, firstly because it’s time consuming but also because it can look a bit out of balance, so spend some time working this out for the best results. Pssst… if you’re looking for more tips about tiling furniture, there’s a whole module on just that in my Furniture Upcycling course!

Materials
- Mandala Art Porcelain Ceramic tiles (approx 50 for this project, I used 48mm ones in salmon and gum leaf)
- Flexispace floating shelf
- Tile glue
- Tile grout
- Sponge + water
How to
- Start by laying your tiles out on the base to check that fit well. Once you’re happy with the layout and how the corners come together (this can take a bit of thinking!) use tile glue to glue them down. Allow that to dry overnight (or based on the drying time of your glue).
- The next step is to grout the tiles. Mix up your grout and use a grout applicator to push the grout between the tiles.
- Using a wet sponge, carefully remove the grout from the surface of the tiles. You can let the grout dry for 15 minutes before doing this so it’s less likely to pull from between the tiles. You’ll find you may need to repeat this step a few times to fully remove the grout from the tiles.
- Allow the grout to dry and then take a damp cloth to fully clean the grout off the tiles.
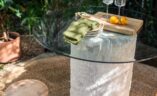
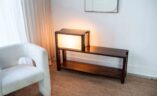
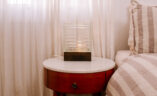
- Once the tiles have dried you can attach the wall hardware to the wall and then slide the floating shelf on. You can also use these as cute trays on a table or cabinet!


