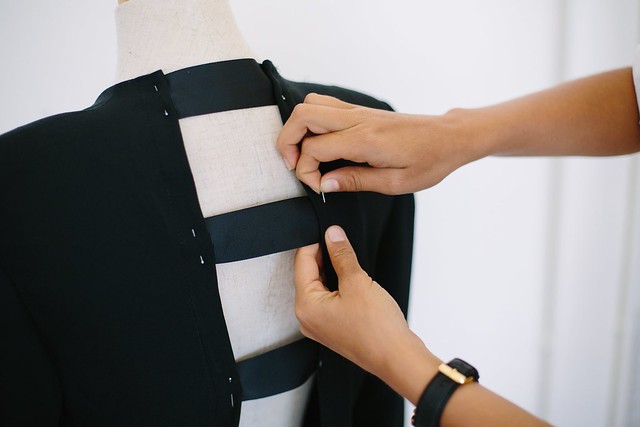
Another video DIY! I’m finally getting into youtube. If you’re all about a party in the back, this one’s for you. Because who doesn’t love turning something boring and oh so corporate into a little celebration? This piece is also great because it’s perfect for all those ill fitting blazers in your local thrift shop… or even in your own closet! With the help of scissors, ribbon/elastic and some thread, that blazer will look a million bucks.
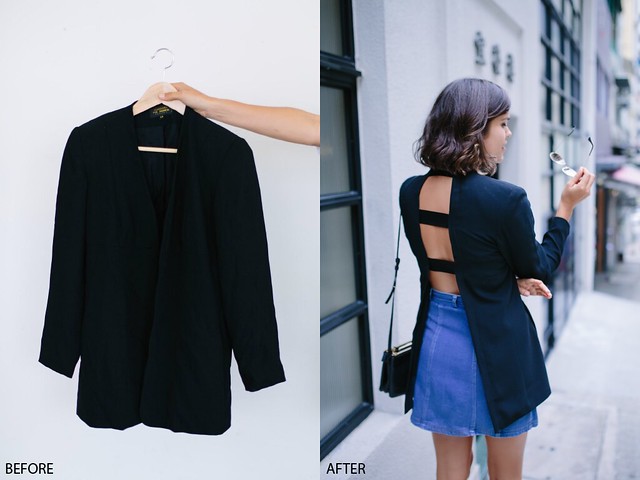
This is the before and after.
Watch the video here:
How should you choose your blazer? Pick one that fits on the shoulders, even if it’s a little too big in the body. This one didn’t have a lapel which made it kinda weird, but worked perfectly for this revamp. Collar on, collar off, it doesn’t matter all that much though. When looking for the right one, think about whether you want to wear this with your back showing or with a top underneath, if you want your back showing, you’ll need to choose one like I did that has quite a high button at the front so it covers your bust. Mind actually had no buttons at all so I added a snap button on the inside quite high up so my boobs did spill out a la posh spice.
DIY Open Back Blazer
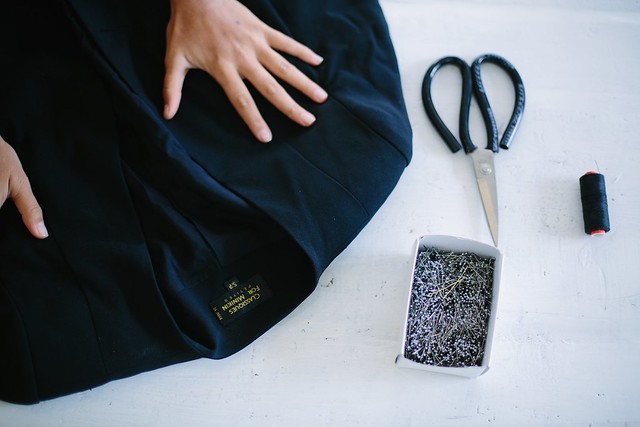
You need:
- A blazer or jacket
- Thick ribbon or elastic
- Pins
- Scissors
- Sewing machine or needle and thread
I’ll keep this short and sweet because you can see most of it in the video.
How to:
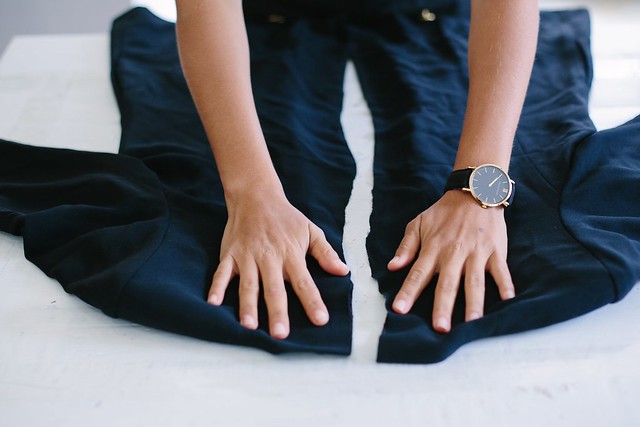
1. Cut the back of your jacket in half down the middle.
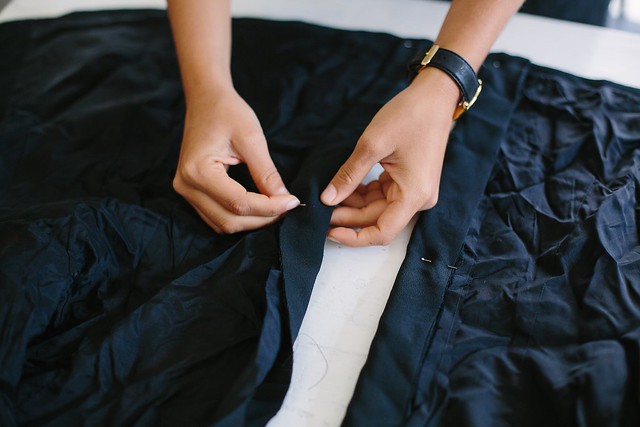
2. Pin the edges inside to create the hem.
3. Sew and iron down.
4. Cut your pieces of ribbon to the right length and then pin in place. Here’s a hint, if you want to cover a slip bra strap, just make sure that you put your ribbon in line with where your bra will sit.
5. Sew the ribbon down. You can do this by hand but for time reasons we did it by machine.
Voila!
Wearing: DIY jacket, vintage skirt, Witchery heels, Celine bag
You can see I buttoned it past the cleavage so there’s not too much boob – party at the back being the emphasis.
Head over and subscribe to my youtube page to see more video content!
Photos by Nicola Lemmon


