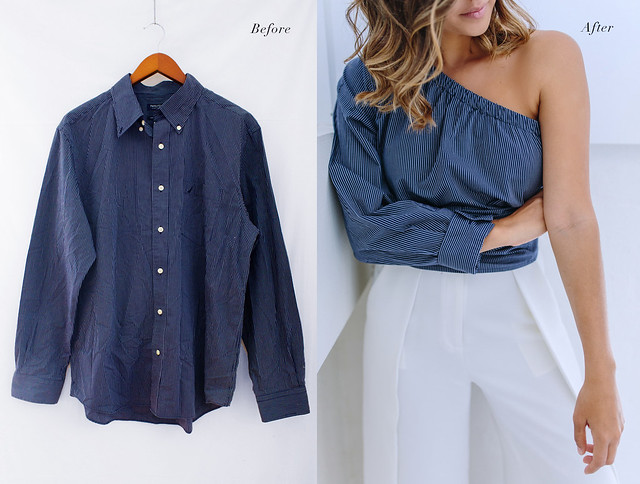
Men’s shirts, they’re just the gift that keeps on giving aren’t they? Even if they’re often less of a gift than something you sneak out of your dad’s/boyfriends/brother’s closet…. You snooze you lose buddy! But whether they’re pilfered or acquired through honest means, either way they happen to be be pretty much all the materials you need to make something new. This one shoulder top is the perfect example of that, read on to see how to make one yourself.
DIY One Shoulder Wrap Top
So you understand just what we did here, we took the shirt and turned it around (so it’s being worn backwards), we then cut one of the shoulders and neckline off to create the one shoulder style, adding elastic to keep it in place. Finally we cut the bottom off and resewed it as a wrap. It sounds like hard work but it really wasn’t and it turned out to be such a unique piece!
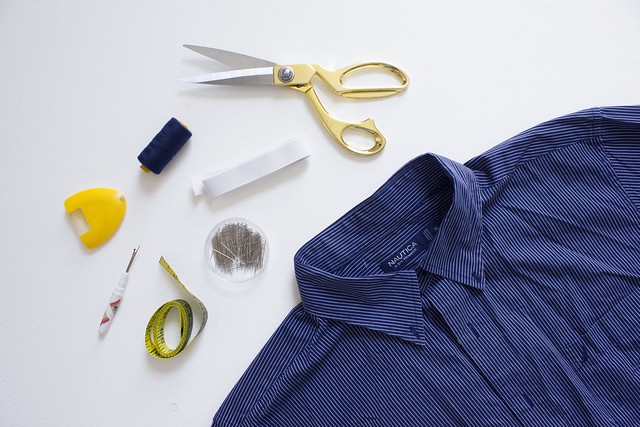
You need
- A men’s shirt
- Fabric scissors
- Chalk
- Elastic (2cm wide)
- Measuring Tape
- Unpicker
- Pins
- Sewing machine and thread
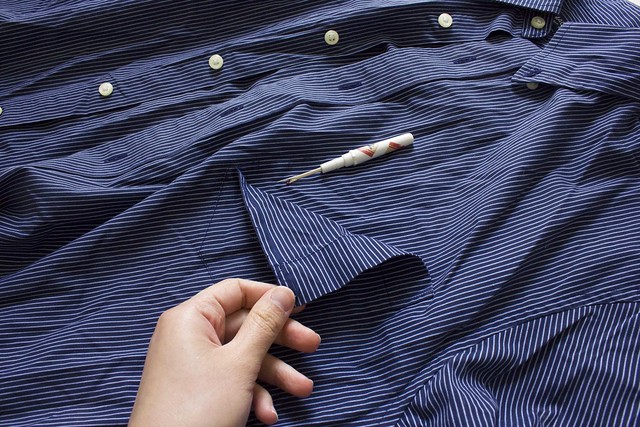
- Unpick and remove any pockets and buttons from the shirt.
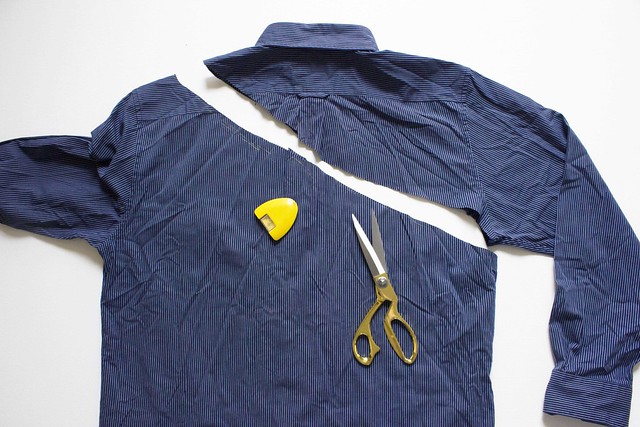
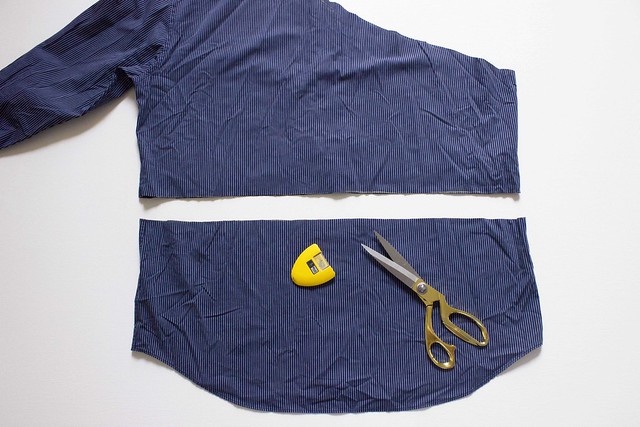
2. Turn the shirt around with the back facing up. Cut off one sleeve diagonally through the shirt to create the one shoulder look.
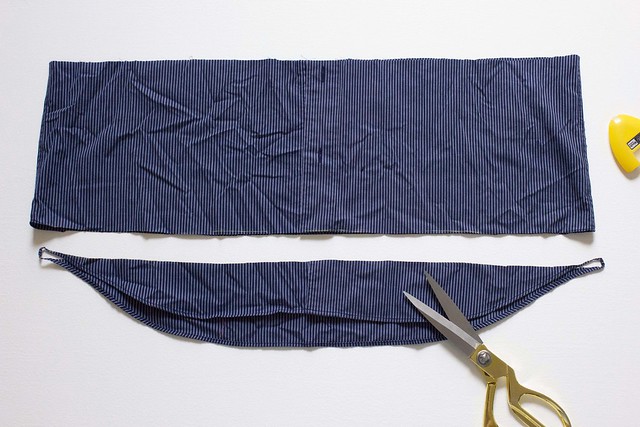
3. Cut the shirt to the desired length, saving the off-cut from the bottom for the wrap section which we will create later on.
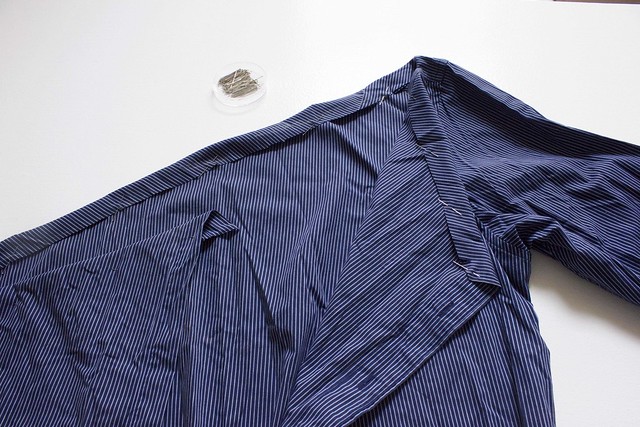
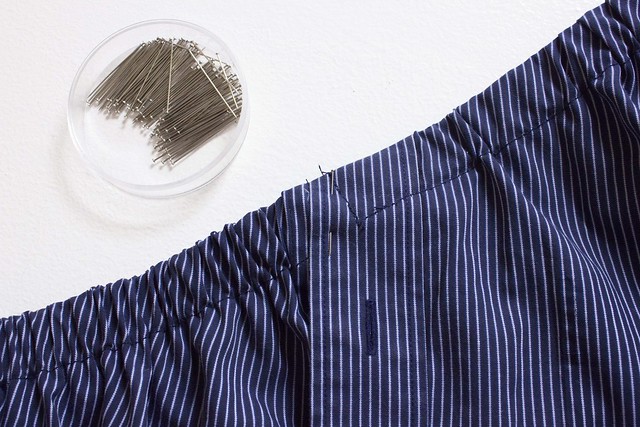
4. Fold and pin the top raw edge of the shirt down 2.5cm (the width of the elastic + 0.5cm) to create the tunnel for the elastic to go through.
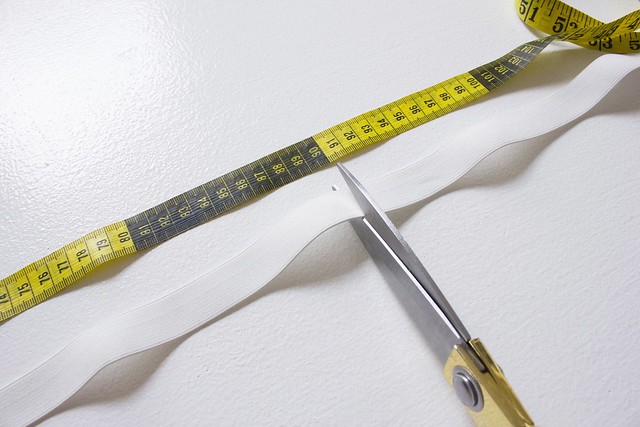
5. Measure from the top of one shoulder to the under arm of the other and back around. With this measurement, cut the elastic to length about 5cm shorter than this measurement (this is to make sure the elastic is tight enough so the top won’t fall off).
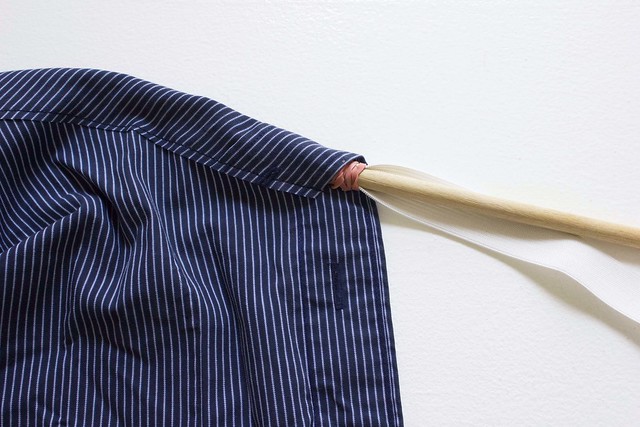
6. Using the help of some chopsticks and elastic (or anything similar you can find around the house), thread the elastic through the tunnel then secure the ends by sewing it down at the openings.
7. Sew the two ends of the elastic together through the fabric to create a continuous circle at the top of the shirt. I sewed down about 3cm and left the rest of the shirt open.
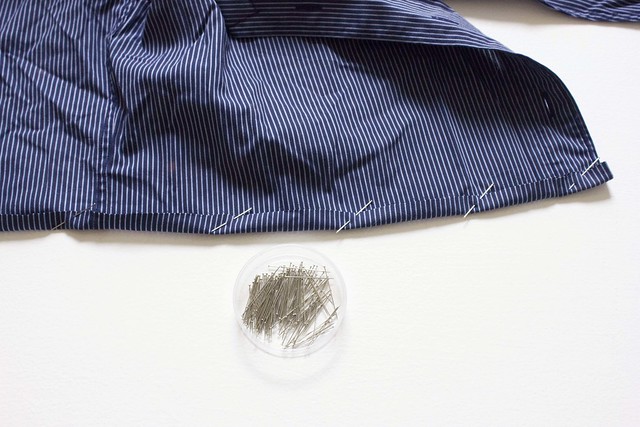
8. Pin and sew the hem up 1cm.
9. Using the off-cut from the bottom of the shirt in Step 3, trim the off-cut into a rectangular piece. Then pin and sew the raw edges down with a 0.5cm seam allowance.
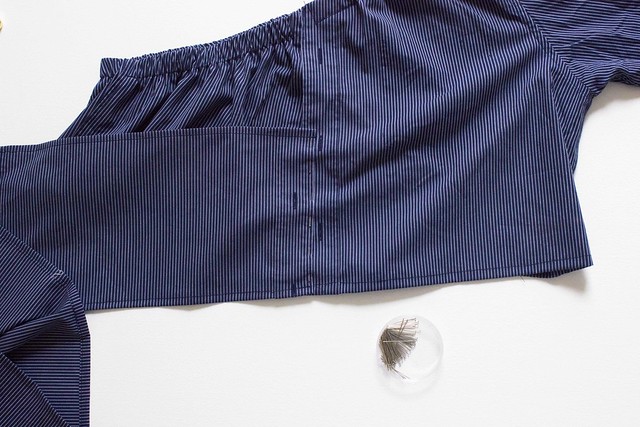
10. Pin and sew one edge of the wrap onto the back of the shirt and you’re done!
To wear the top, all you have to do is slip it on and then wrap the fabric around your middle, tucking it underneath the wrapped part so it’s nice and secure.
Loving men’s shirt overhauls? Head here and here for other ones you should try!
Photos by Nicola Lemmon


