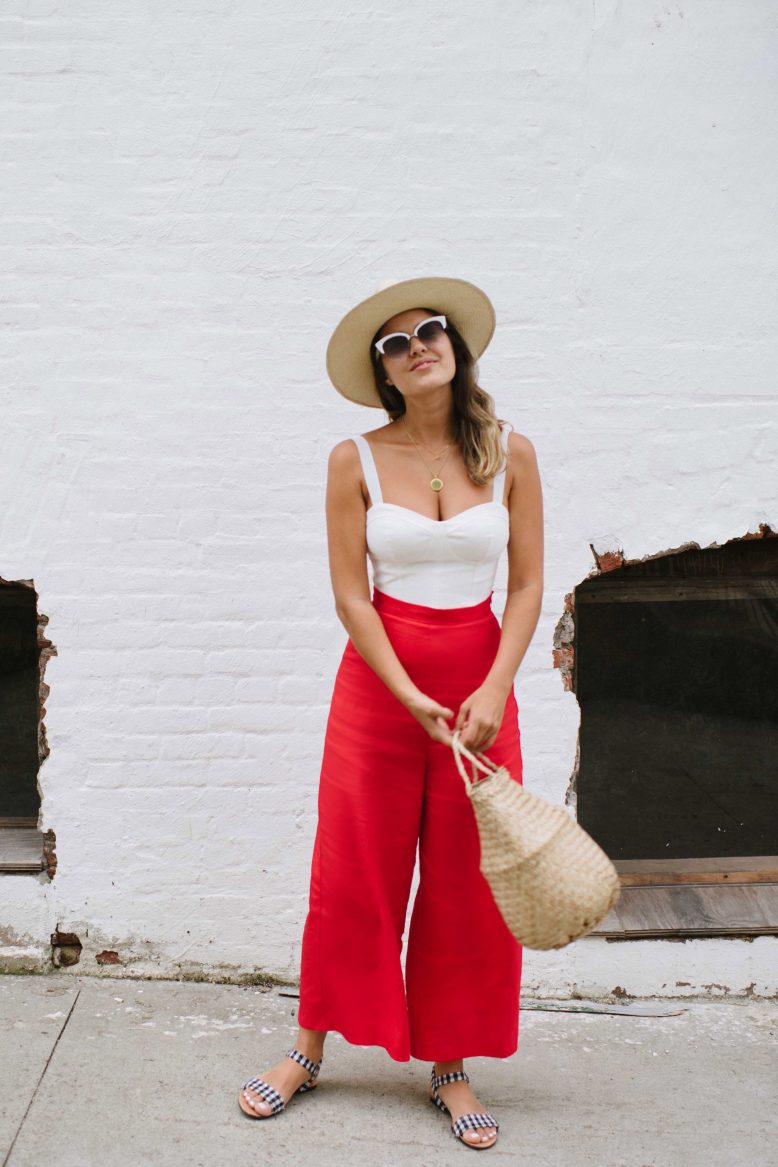
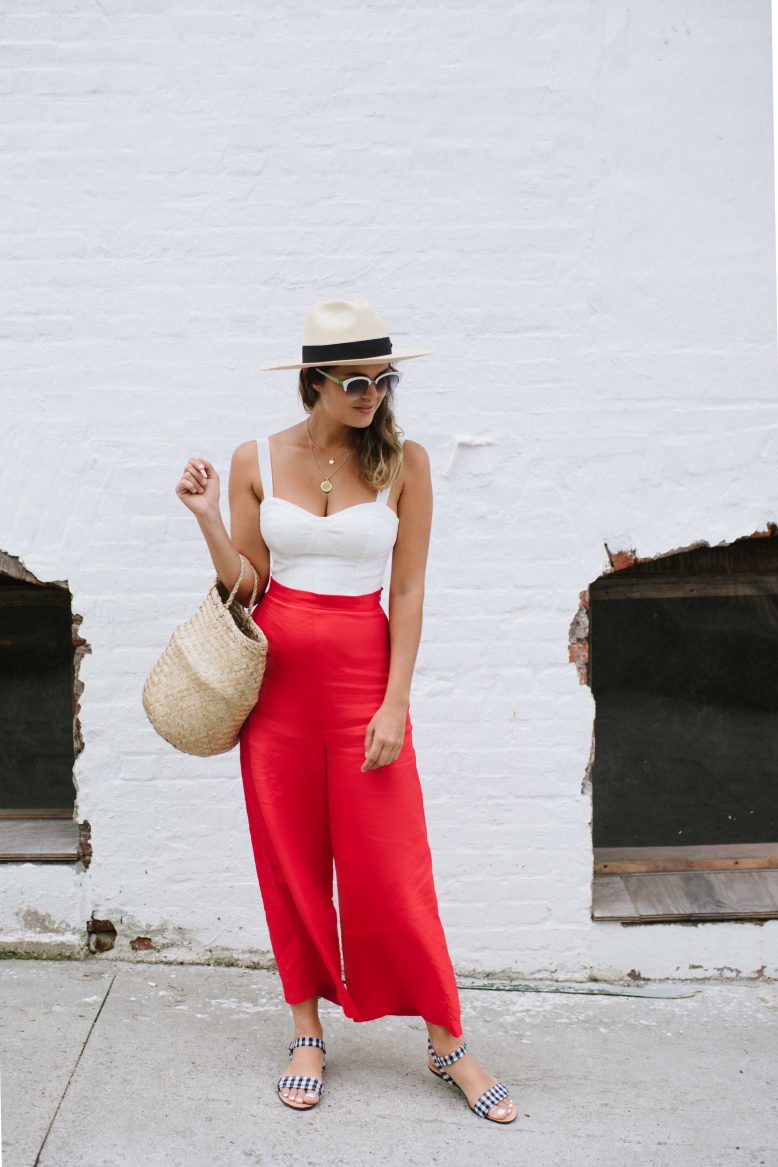
At the moment I’m into all things flowy – breathable fabrics in billowing shapes that keep me cool. I’ve been wanting to make a pair of beautiful trousers with lots of movement for a while, and so I’m excited to share with you these DIY Wide Leg Pants.
If you’ve been following my trip to New York on Instagram you’ll have seen a few of the pieces that I’ve been wearing on my trip (remember I asked you about DIY projects?) – these trousers have turned out to be the best style for travelling! The swishy light linen fabric makes you feel a little fancy, while the style itself is comfortable and perfect for pounding the pavement. You’re totally going to want to make a pair of these for yourself!
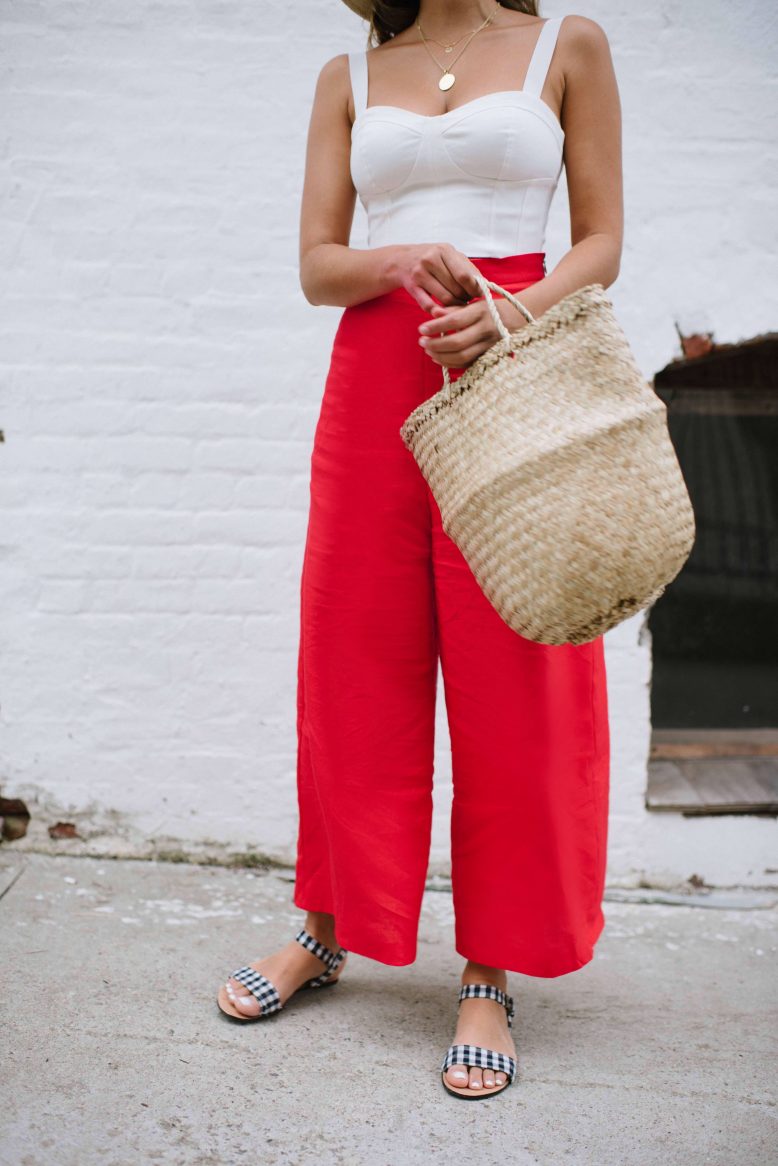
Wearing: DIY Wide Leg Trousers, Club Monaco Crop Top, Bella Blu hat, The Simple Sandal in Gingham (stay tuned!), bag from Brooklyn markets.
DIY Wide Leg Pants
These are very simple to make using a pattern from a pair of trousers you already own. So easy! They’re very similar in fact to these ones I made many moons ago, but this time we’re taking it up a notch with a zip and a flat waistband… Enjoy!
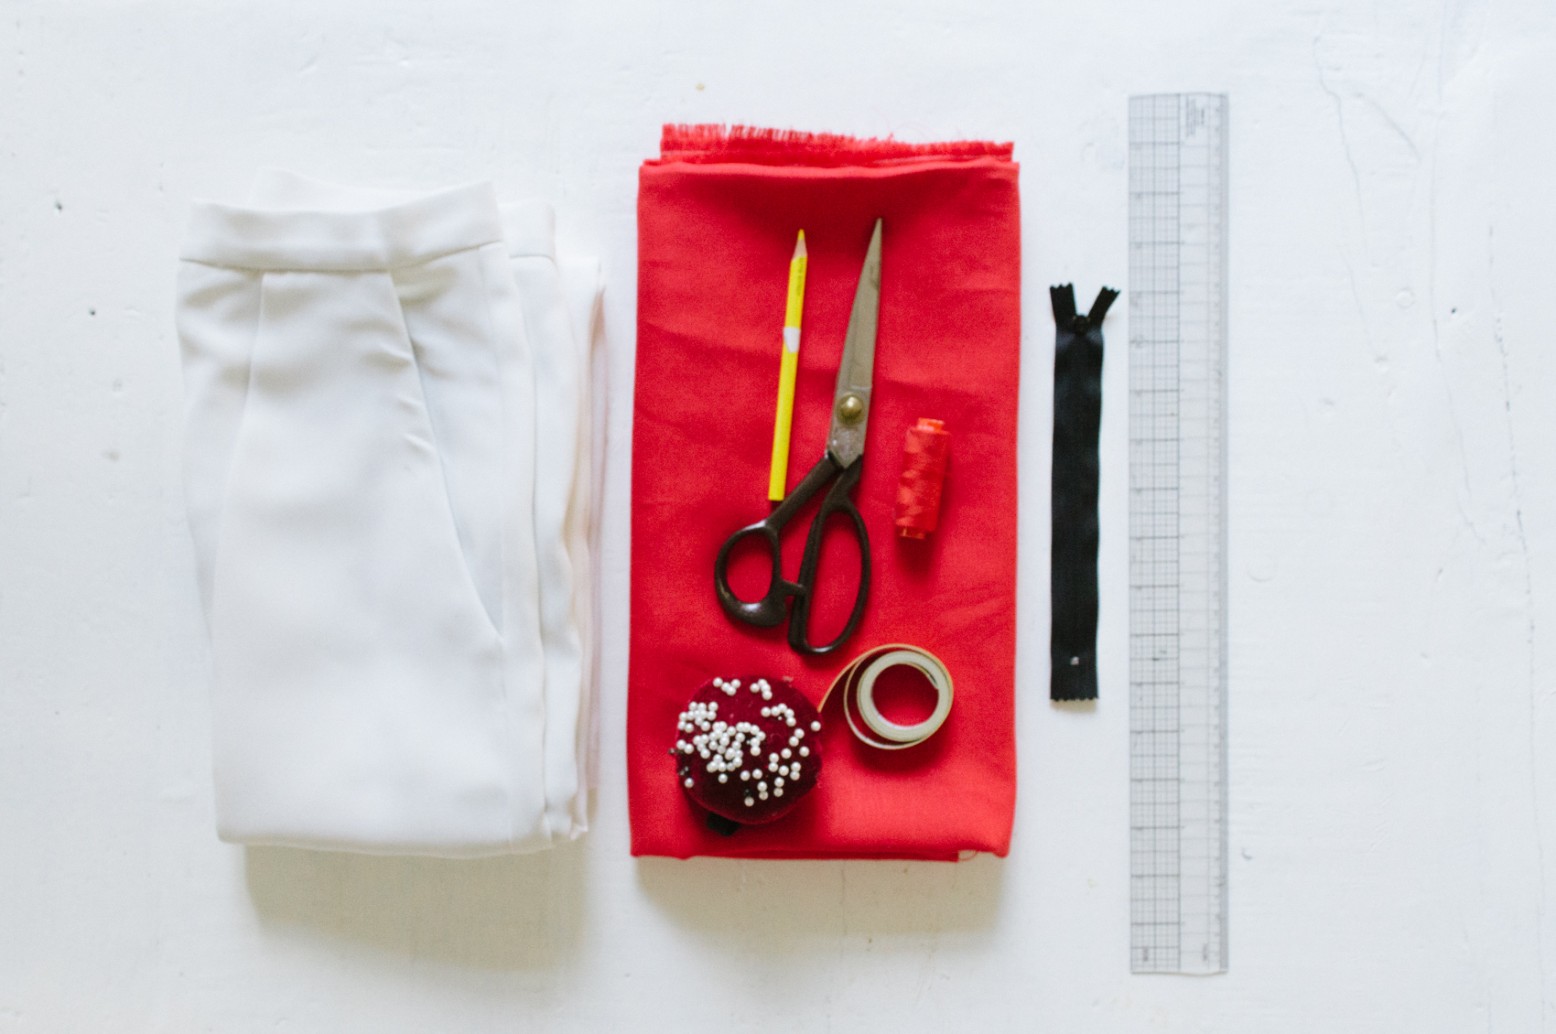
What You'll Need
1
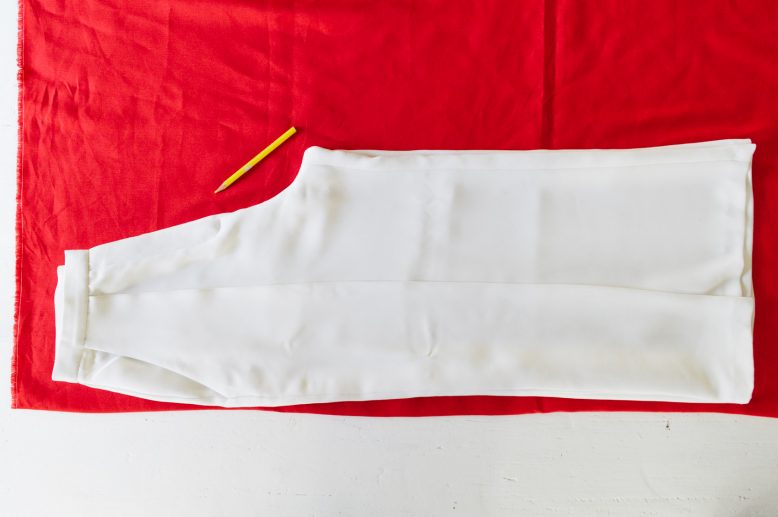
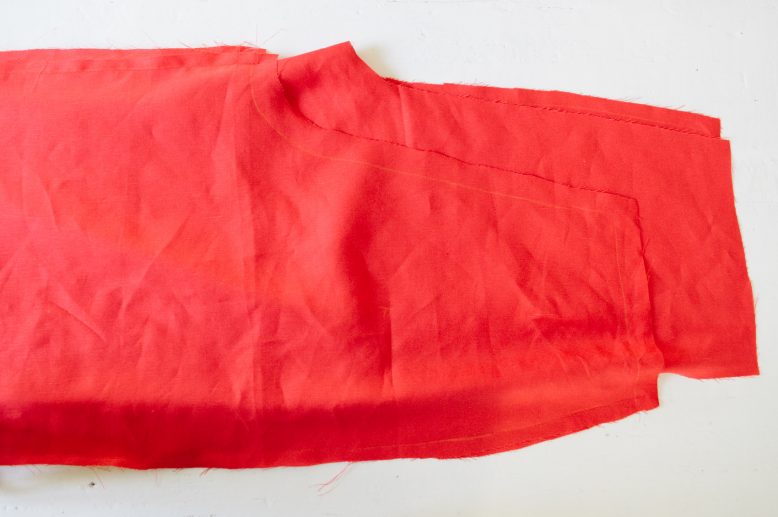
Start by copying the pattern off a pair of wide legged pants. Fold the trousers in half and trace around the edges. You'll need to do this for both the front and back panels. And you'll need to copy the pattern twice for both the panels, where you'll end up with mirrored pieces after tracing and cutting.
2
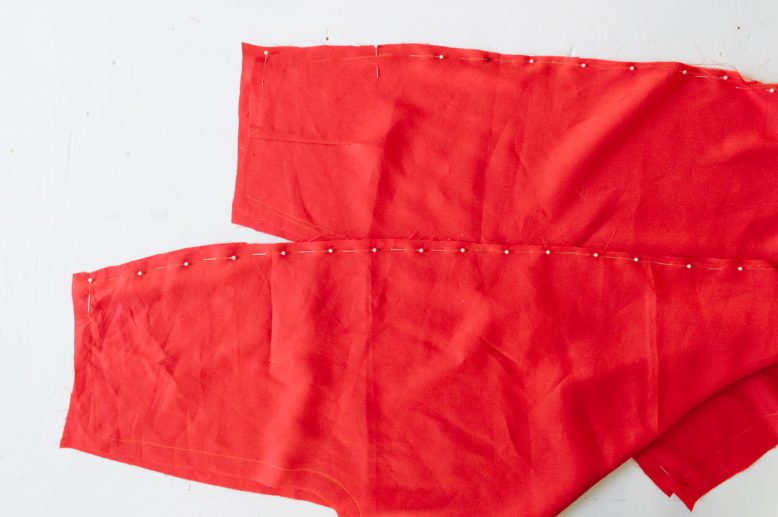
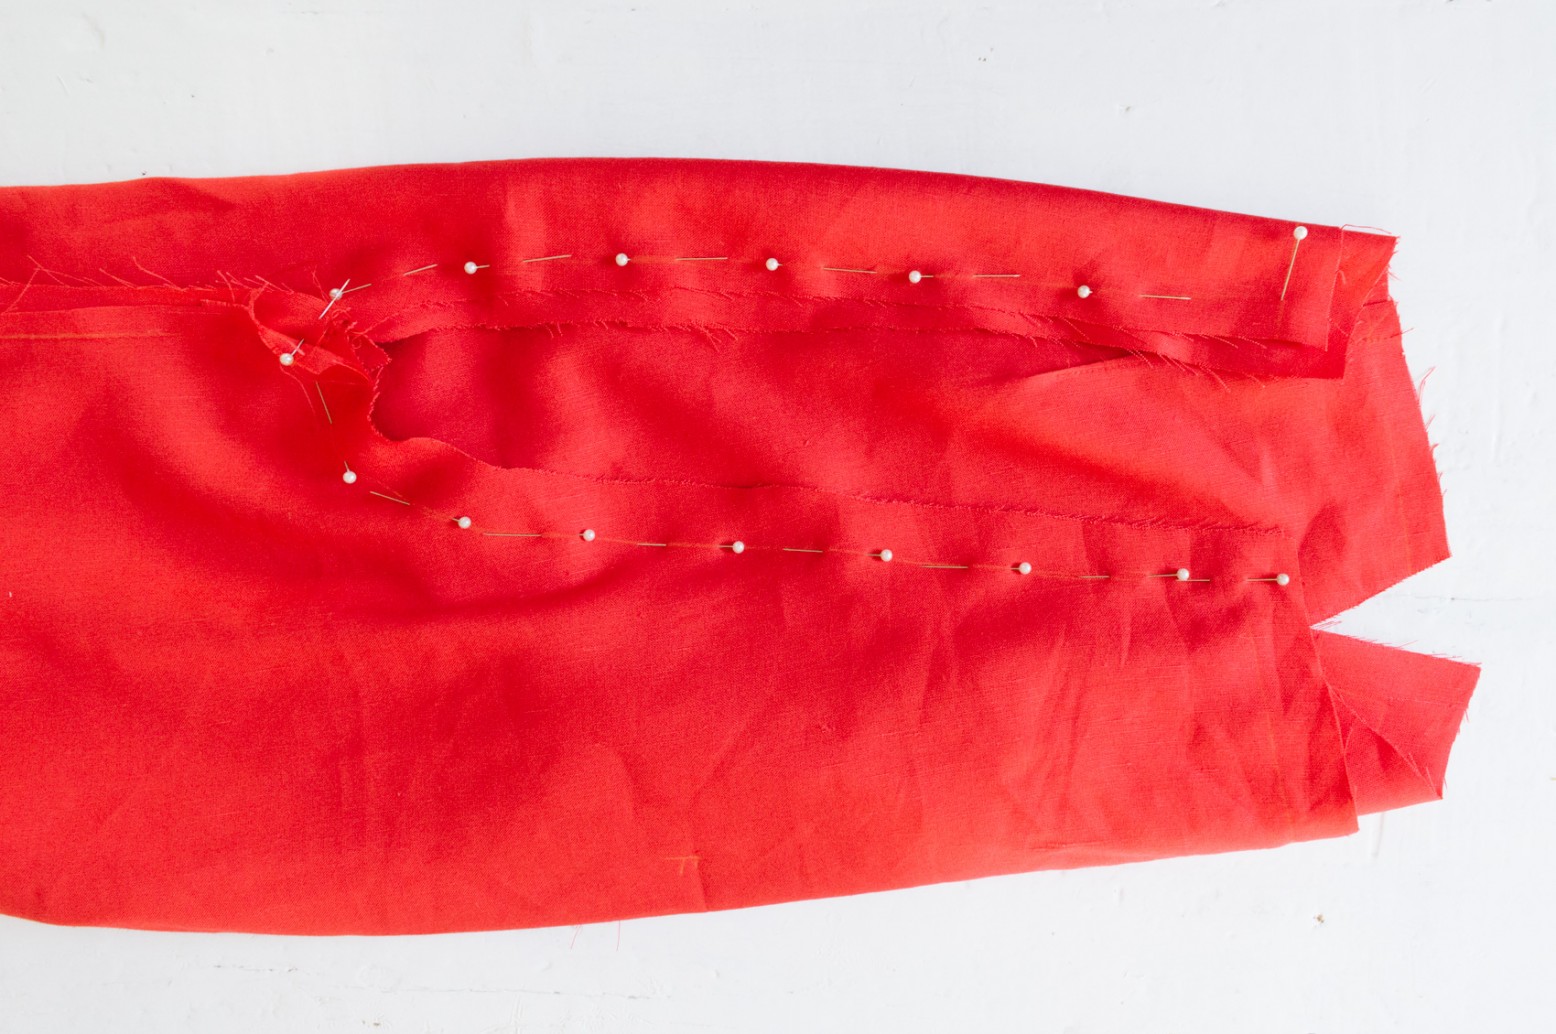
Start sewing your pants together by first pinning down the side and inner seams. Pin and sew the front and back pieces together for each pant leg.
3
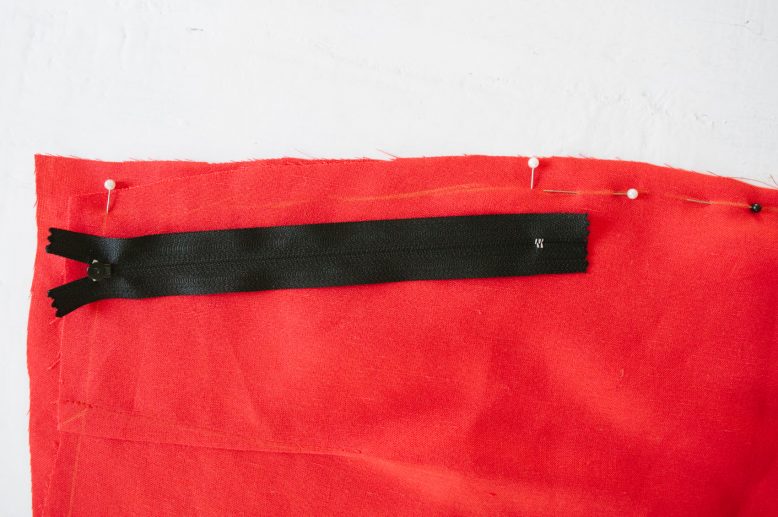
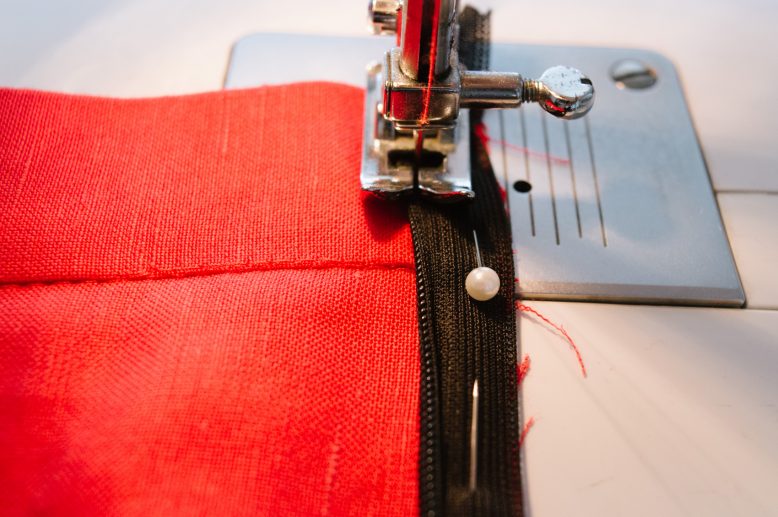
We set my zipper on the side seam, so we left an opening the same length as the zipper on the side seam. Setting the zipper down the side seam is a personal choice, you could always set it down the front or back.
4
After sewing down the side and inner seams, turn one of the pant legs inside out, and slip it into the other unturned pant leg.
6
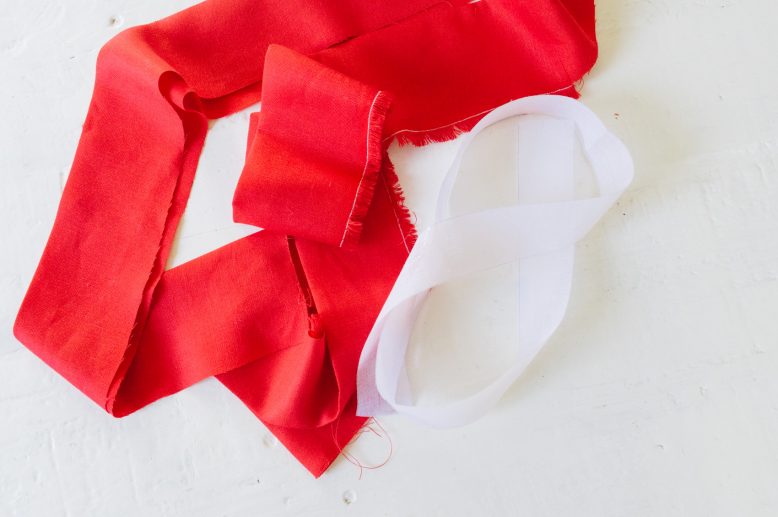
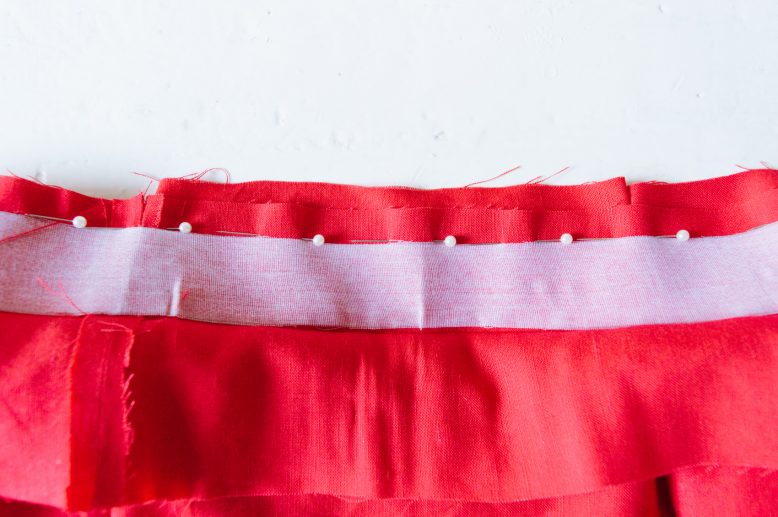
Now for the flat waistband! Prepare a strip of fabric the same length as your waistline, plus allowance for the seam. My waistband is to be 4cm (1.5 inches) wide, so my fabric strip needs to be 8cm (3 inches) plus seam allowances, it will then be folded and sewn to the pants. We used interfacing for this too, so it had a little stiffness. The interfacing strip only has to be the same length of your waistline and match the width of the waistband.
7
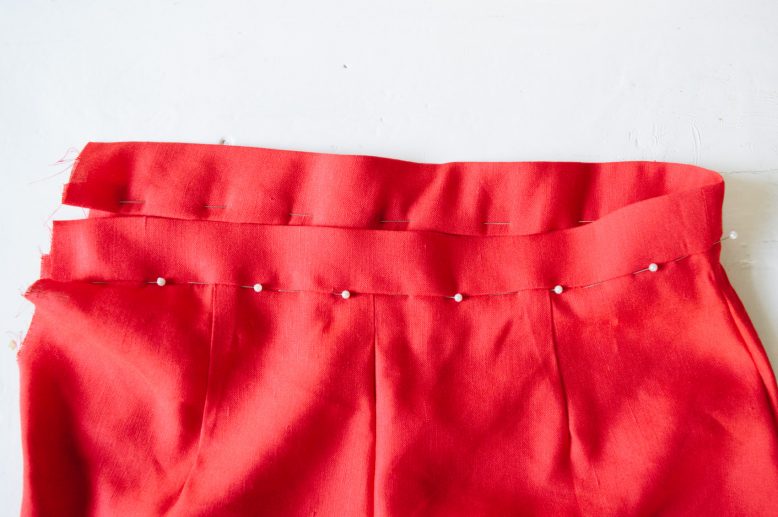
Iron the interfacing to the waistband strip first. Then pin the waistband to the pants, with the raw edges facing the same direction, then sew.
10
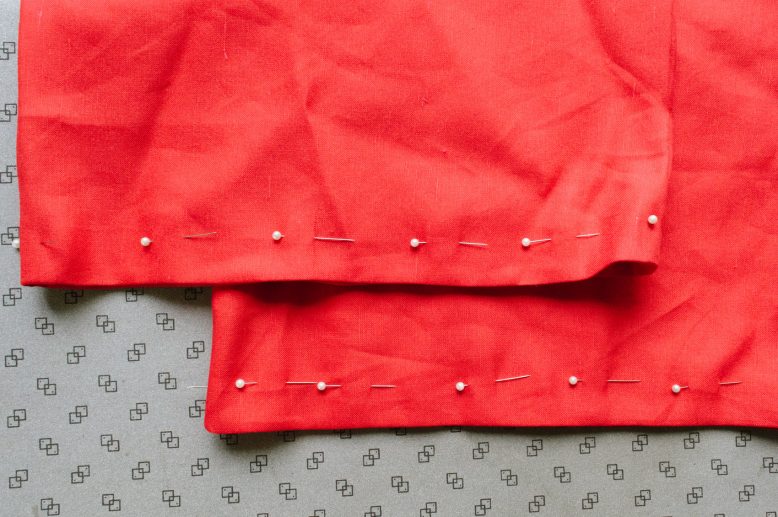
The final step is to finish off the hem of the pants. You can just do a visible straight stitch, or even sew an invisible hand stitch if you're up for it. We finished my hem using fusing tape to avoid having visible stitches on the hem.
Voila!
As I mentioned they’re come in handy in New York, and even though they might look too hot for summer they’re actually very airy – just make sure you use a nice natural fabric, otherwise it’ll be sweaty town, population you.
Also Using Fabric
Like this project? Why not pin it for later?
Liked these pants? You’d like these too: Easy Wide Leg Trousers | Printed Palazzo Pants


