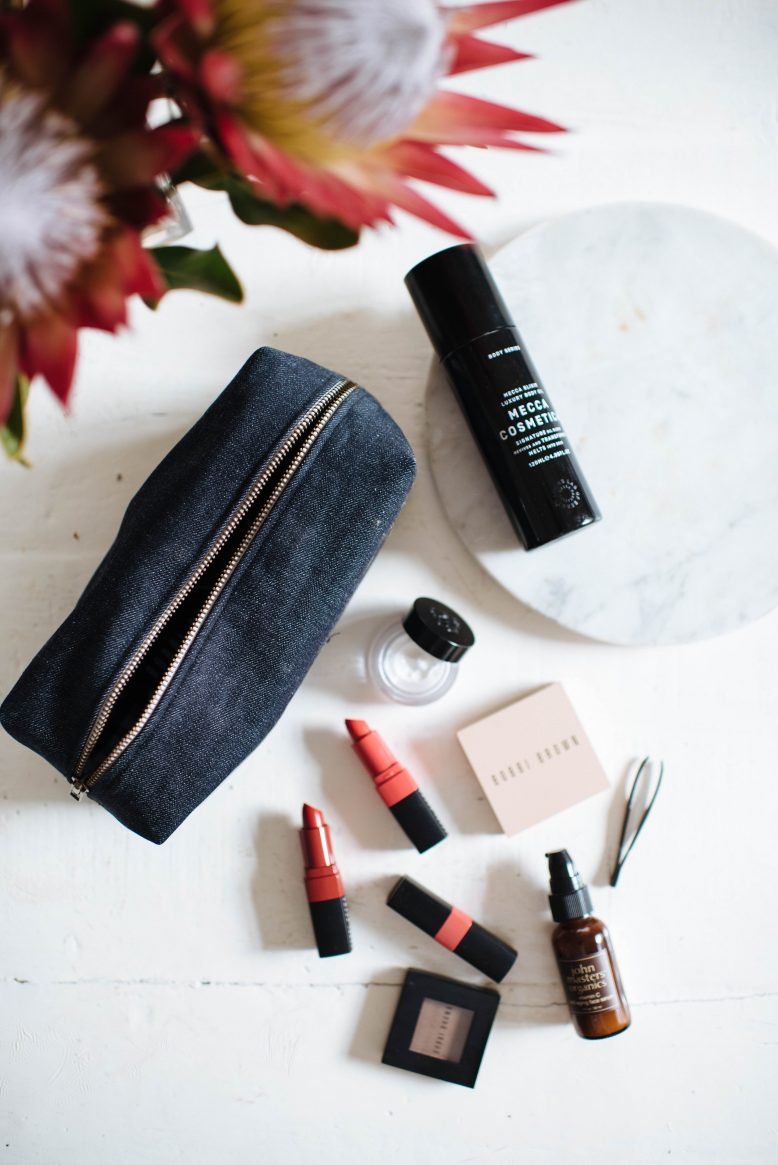
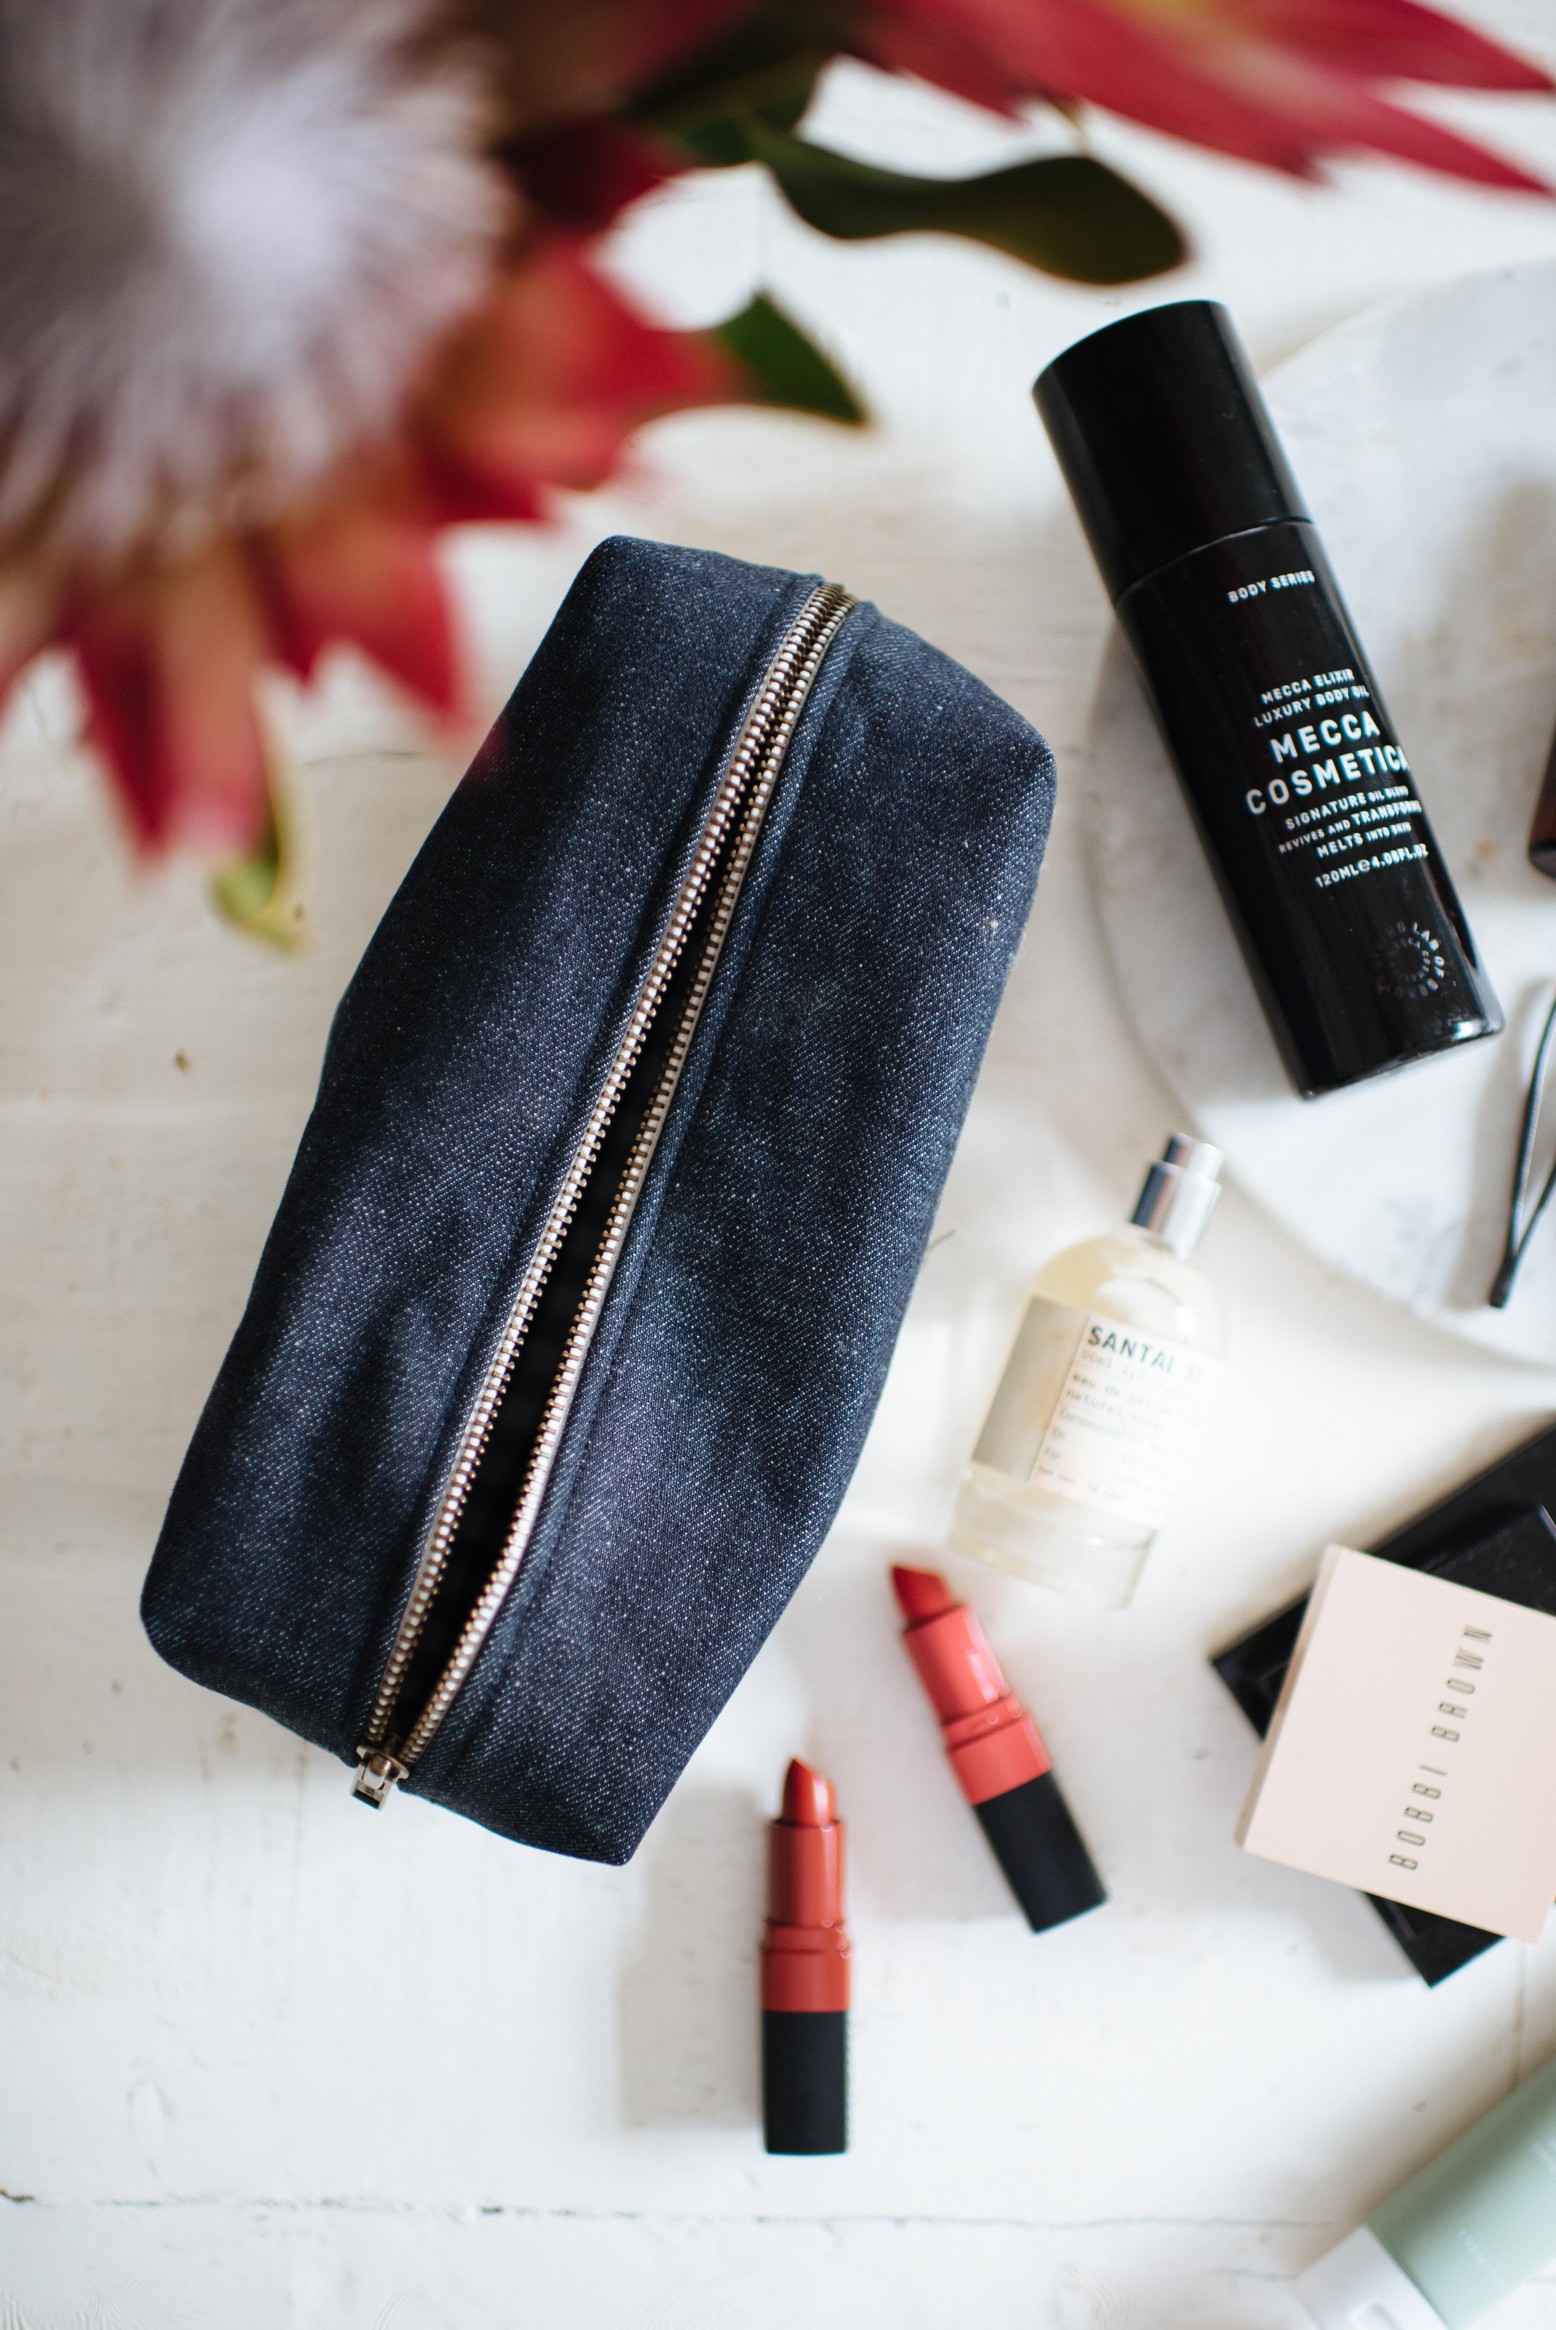
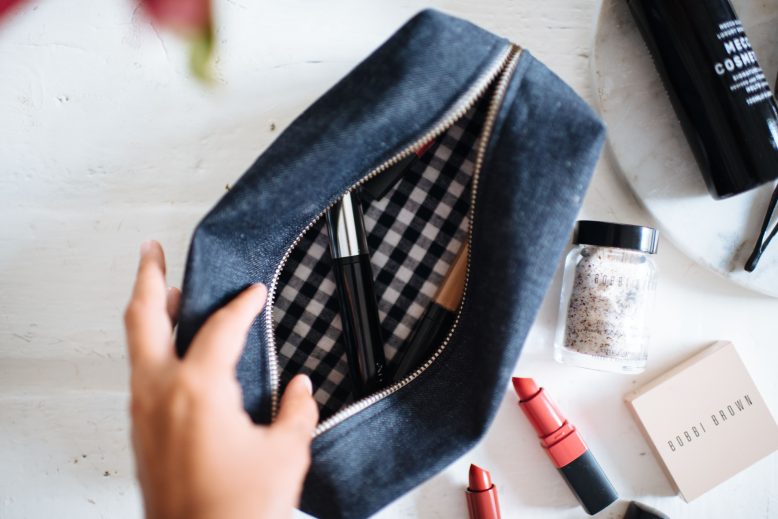
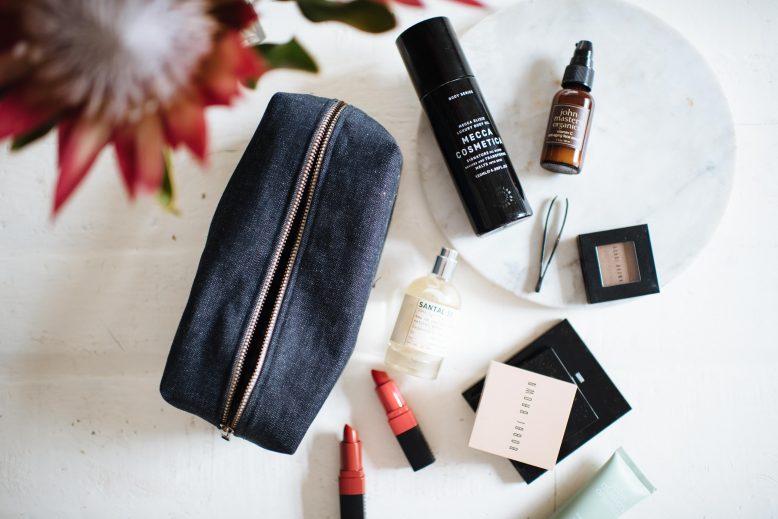
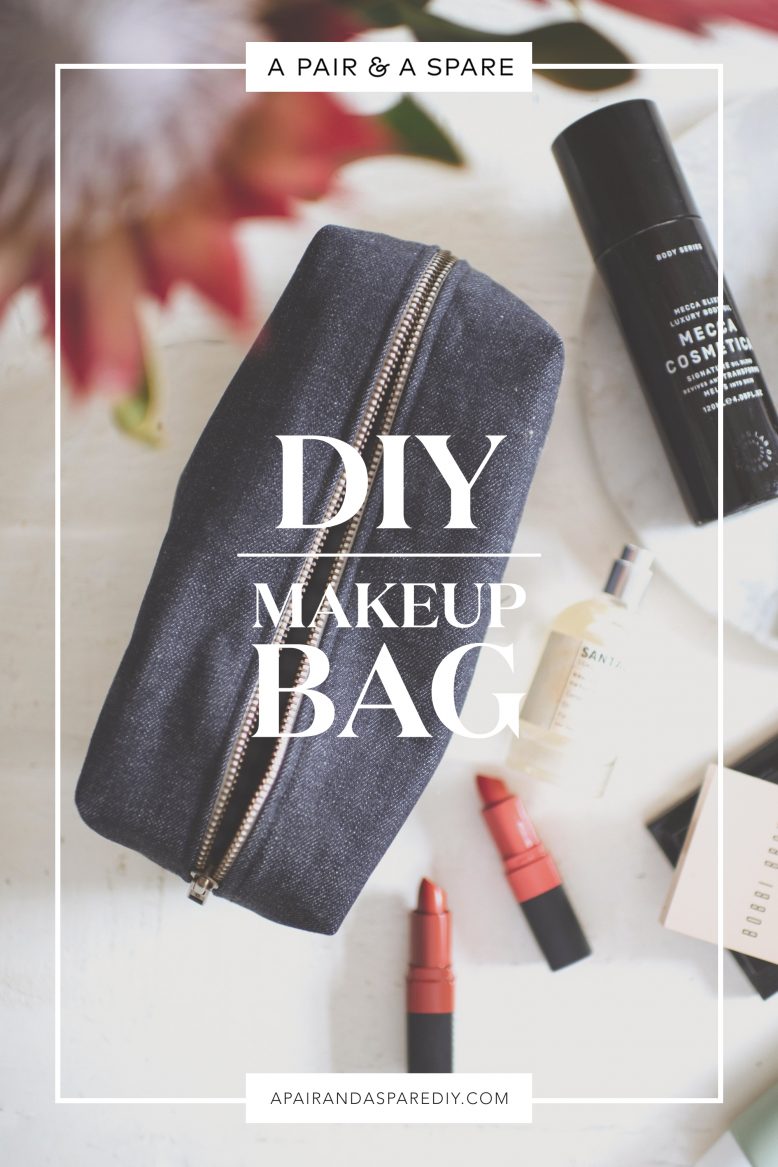
Are your beauty products all over the place? Me too! Why not get crafty and make this simple make up bag?
Happy Monday guys! Although I admit to liking weekends more than workdays (who doesn’t?), for me Mondays aren’t all bad. That’s because Monday can be just the clean slate I need to get things done, and often gives me the encouragement I need to get organized. With my weekly list but also with those personal things at home that have got out of hand – like the overflowing bikini draw that needs sorting or the beauty cabinet that needs sifting. Weirdly I find myself tackling these things on a Monday night! Last week it was the handbag clean out, complete with lip glosses, eyeliners and all those other beauty bits and bobs that like to cluster at the bottom. A ‘what’s in my handbag’ wasn’t such a pretty sight in my case! While I was doing the clean out I realized that a lightweight make up bag was just what I needed in my handbag to put keep all these daily items organised, after I gave them a good wipe down that is! Read on to see how to make one for yourself.
DIY Makeup Bag
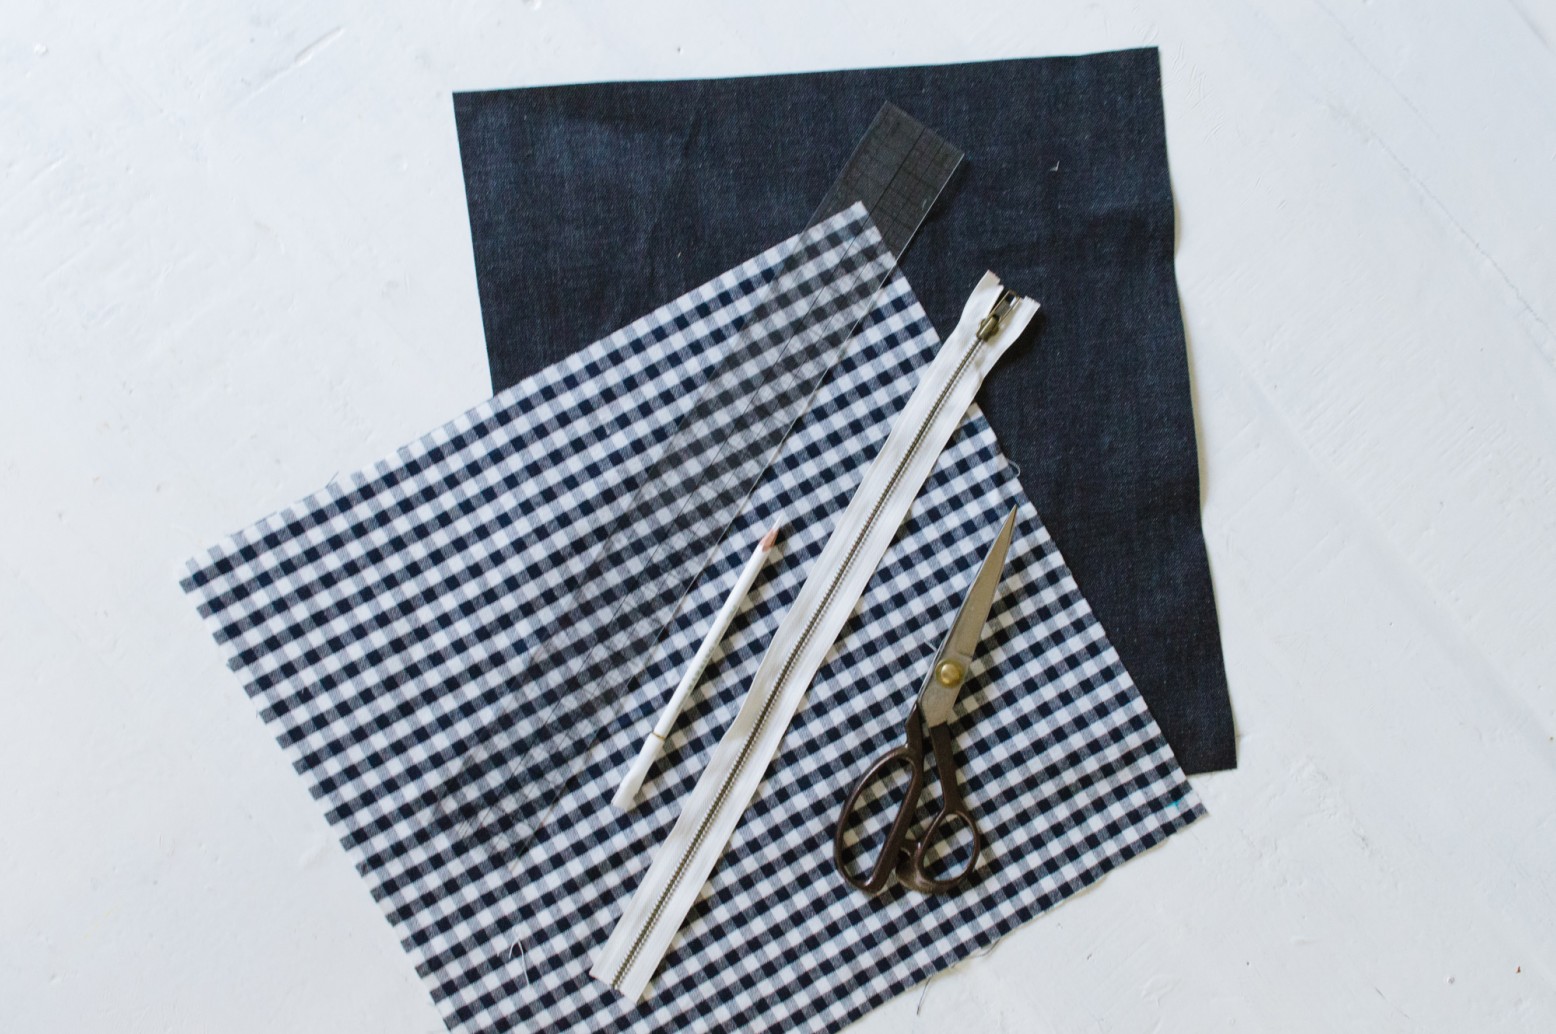
What You'll Need
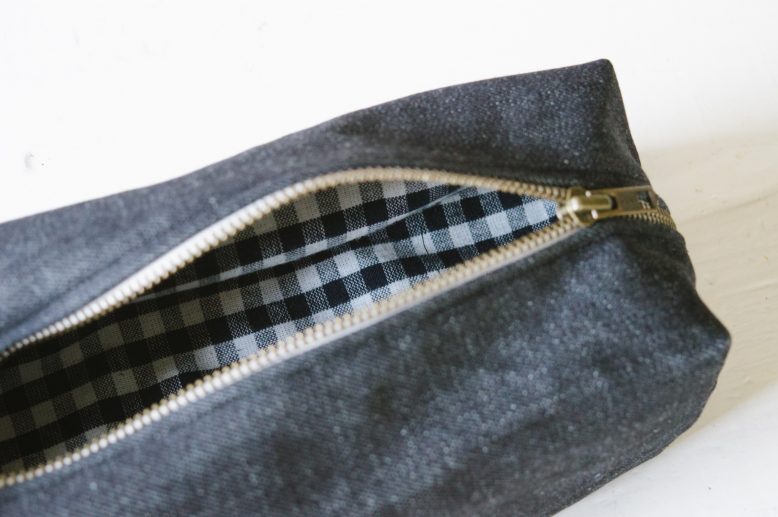
This make up bag uses just two square fabric pieces that are 15” (38cm) x 15” (38cm). We used denim for the outer fabric and a cotton gingham for a contrasting lining. We suggest using a stiffer fabric so the bag can hold its shape, but if you choose a lighter weight fabric, you can iron it with a stiff interfacing.
1
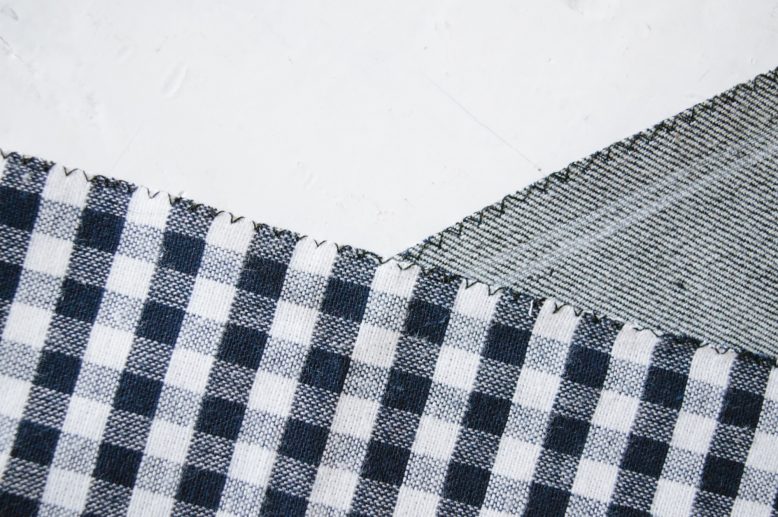
Serge the edges of your fabric pieces first, to prevent fraying.
You could use an overlock machine for this step, or just use a zigzag stitch on your sewing machine.
2
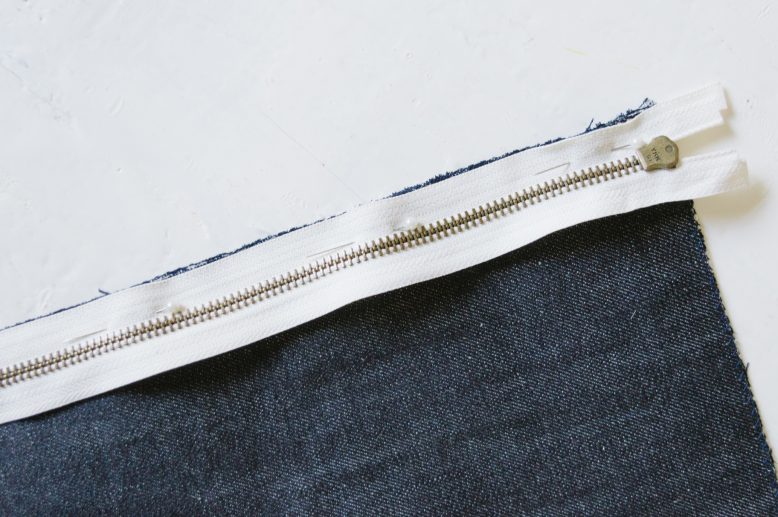
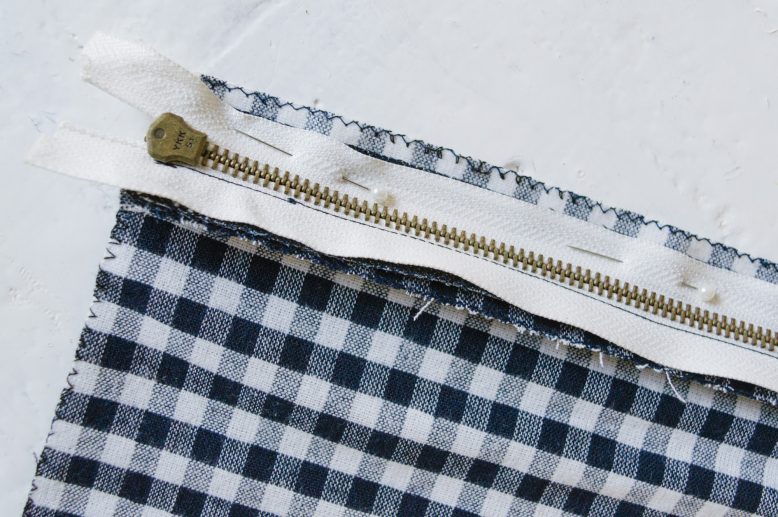
Place the wrong sides of the fabric together, then lay your zipper on one edge, pin and then sew.
3
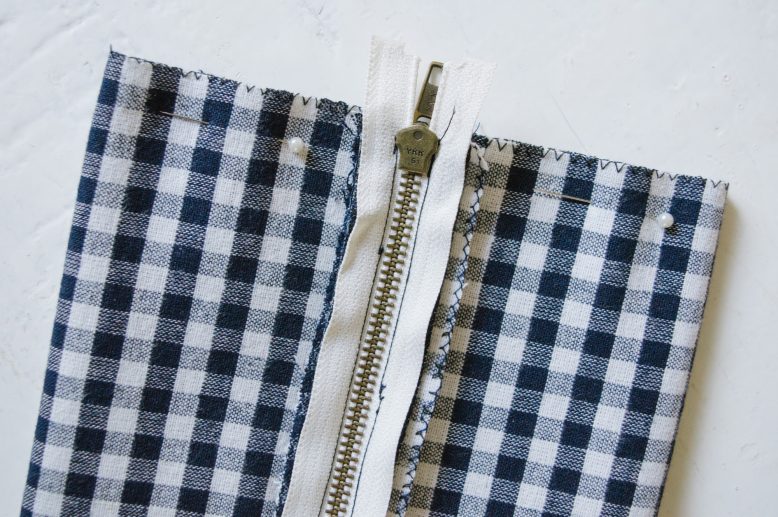
Fold the fabric to the other side, and lay the zipper on the other edge again, face-down.
Pin and sew once more.
5
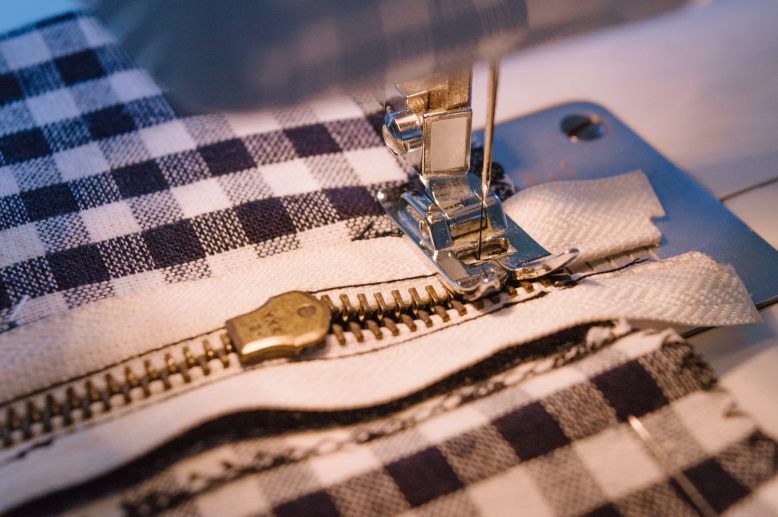
Pull the zipper down halfway, then sew down both sides. Be careful when sewing through the zipper teeth and avoid hitting them with the sewing needle.
6
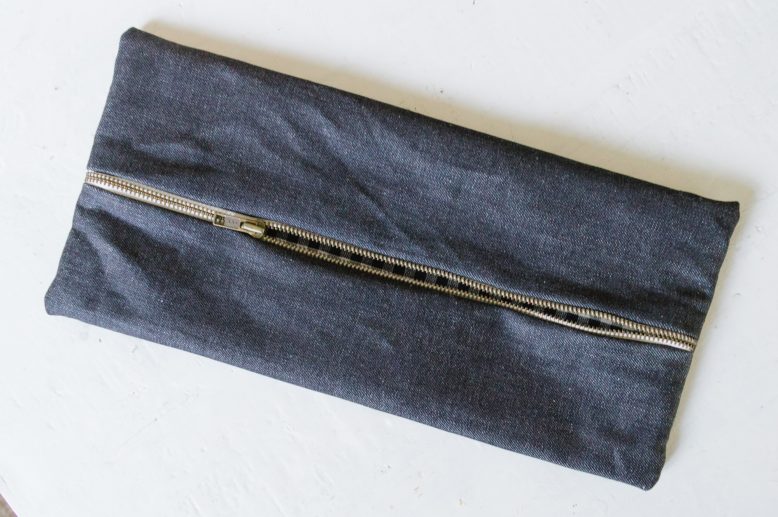
Flip the pouch out through the zipper, and this is what your pouch would look like at this point.
8
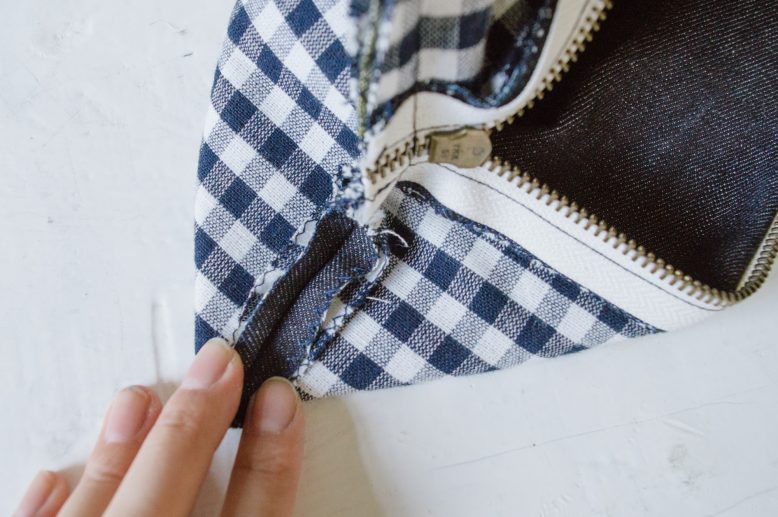
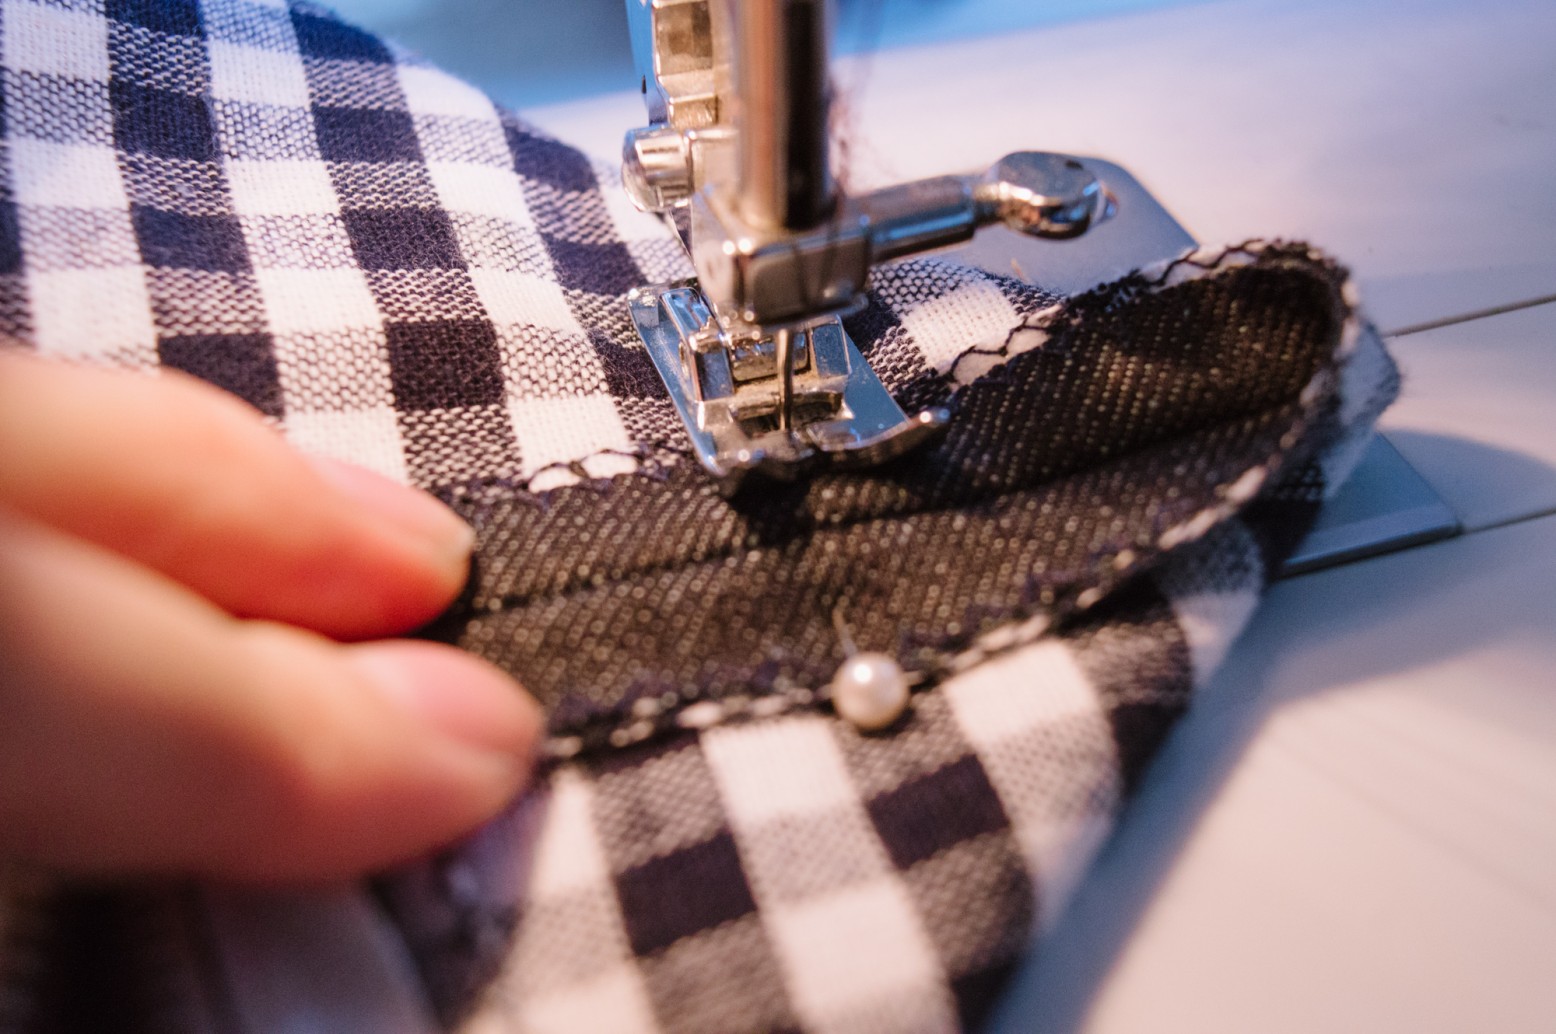
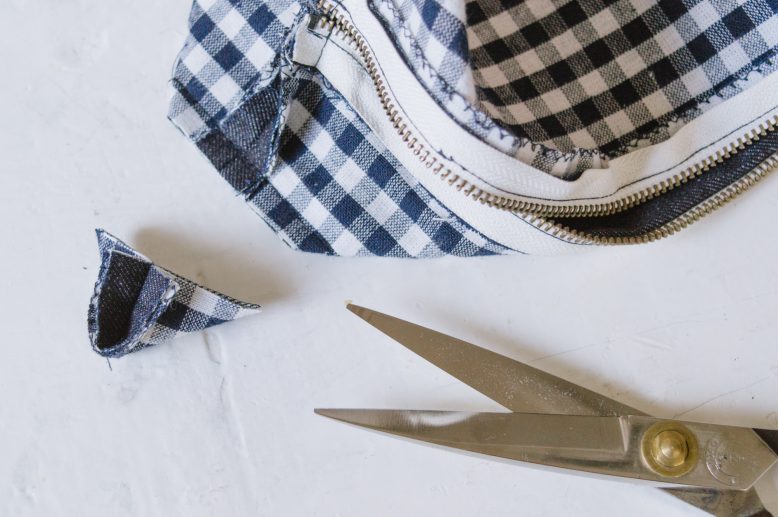
Sew across the corner, with the sewn line being 2.5cm (1' inch) away from the corner. This will create the box-shaped base.
10
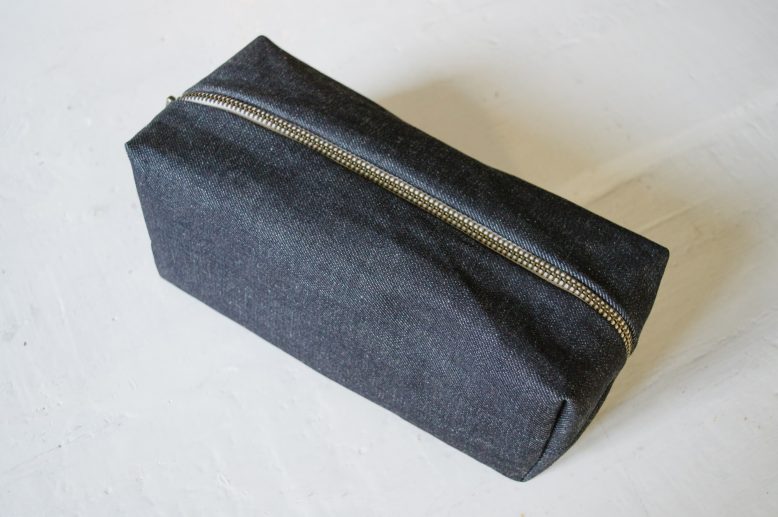
Flip the pouch back out again, and you'll end up with a box shape, aka a make up bag!
11
The steps are the same even if you choose not to use a contrasting fabric for the lining and merely use one layer of fabric.
Voila!
Like this easy makeup bag DIY? Pin it on Pinterest!


