For the pooch in your life!
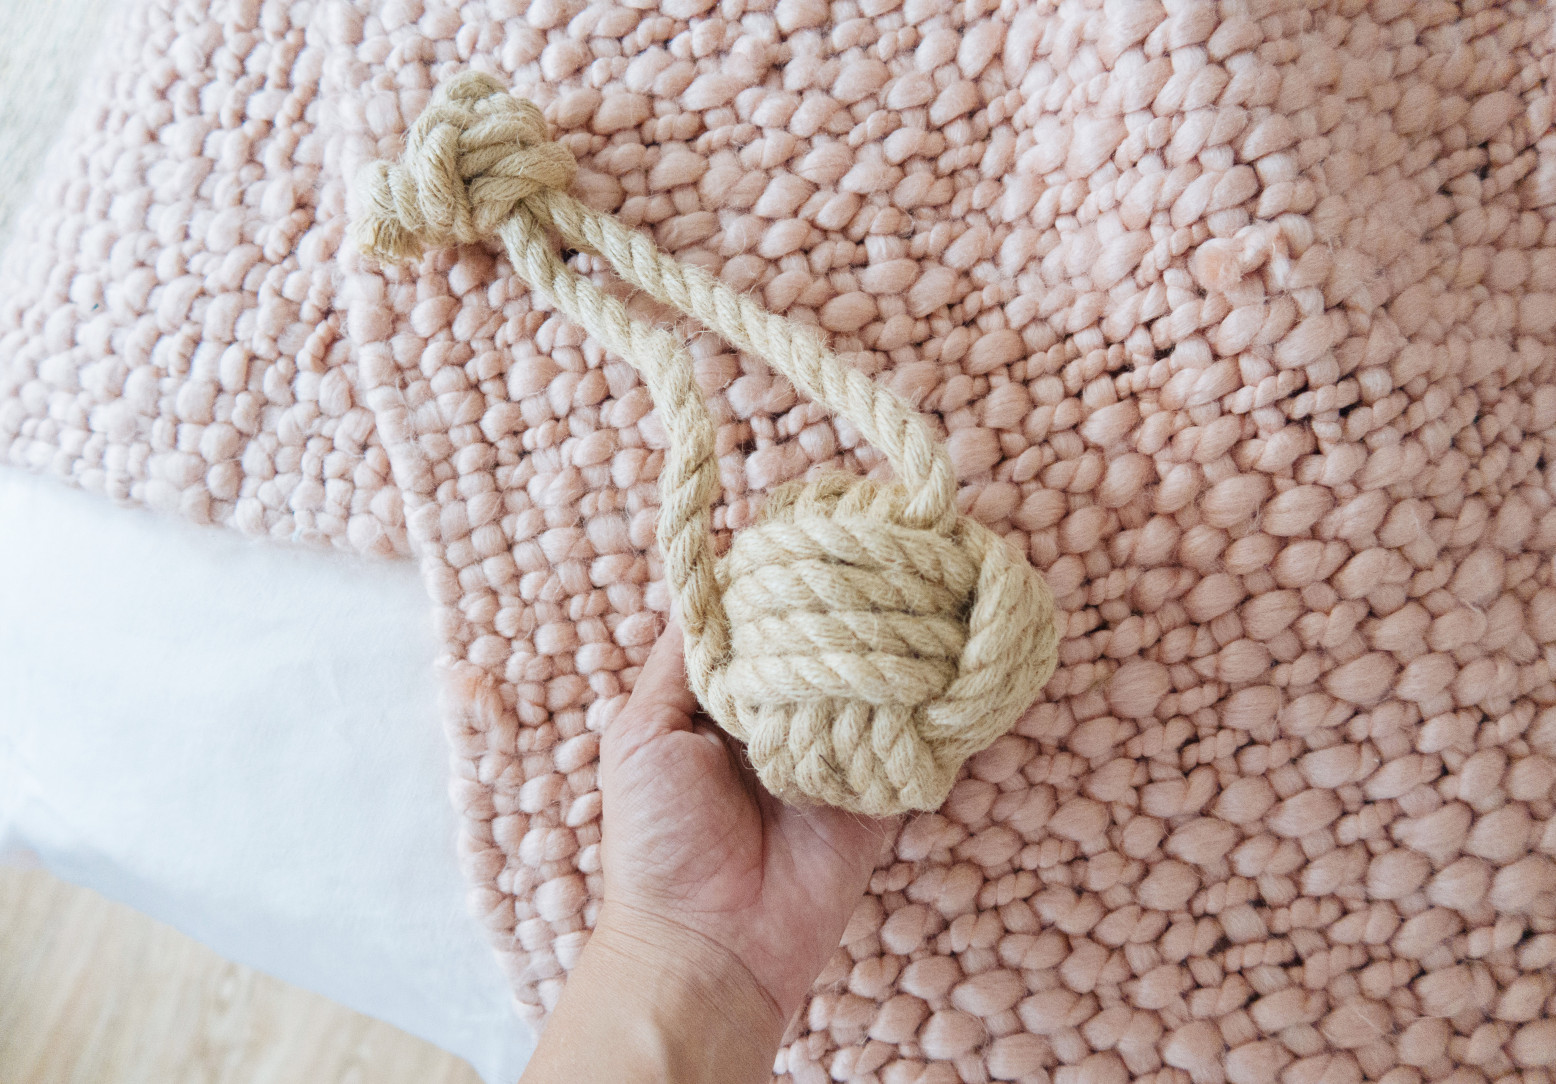
I’m happy to say that Ollie has finally settled into his role of big (dog) brother to Frankie. We were a bit nervous about how he would react to being replaced as number one, but as she’s grown up I think he has realised she’s a human, and not a puppy come to completely usurp him. They’re getting on well! Frankie likes to grab his tail and drop food on the floor for him, two things that I think balance each other out. As a treat I decided that he needed a new toy, I’m sure he’s sick of new ones coming through the door for the baby constantly! There was some spare rope in the studio, and with the help of a somewhat simple monkey’s fist knot, we made this!
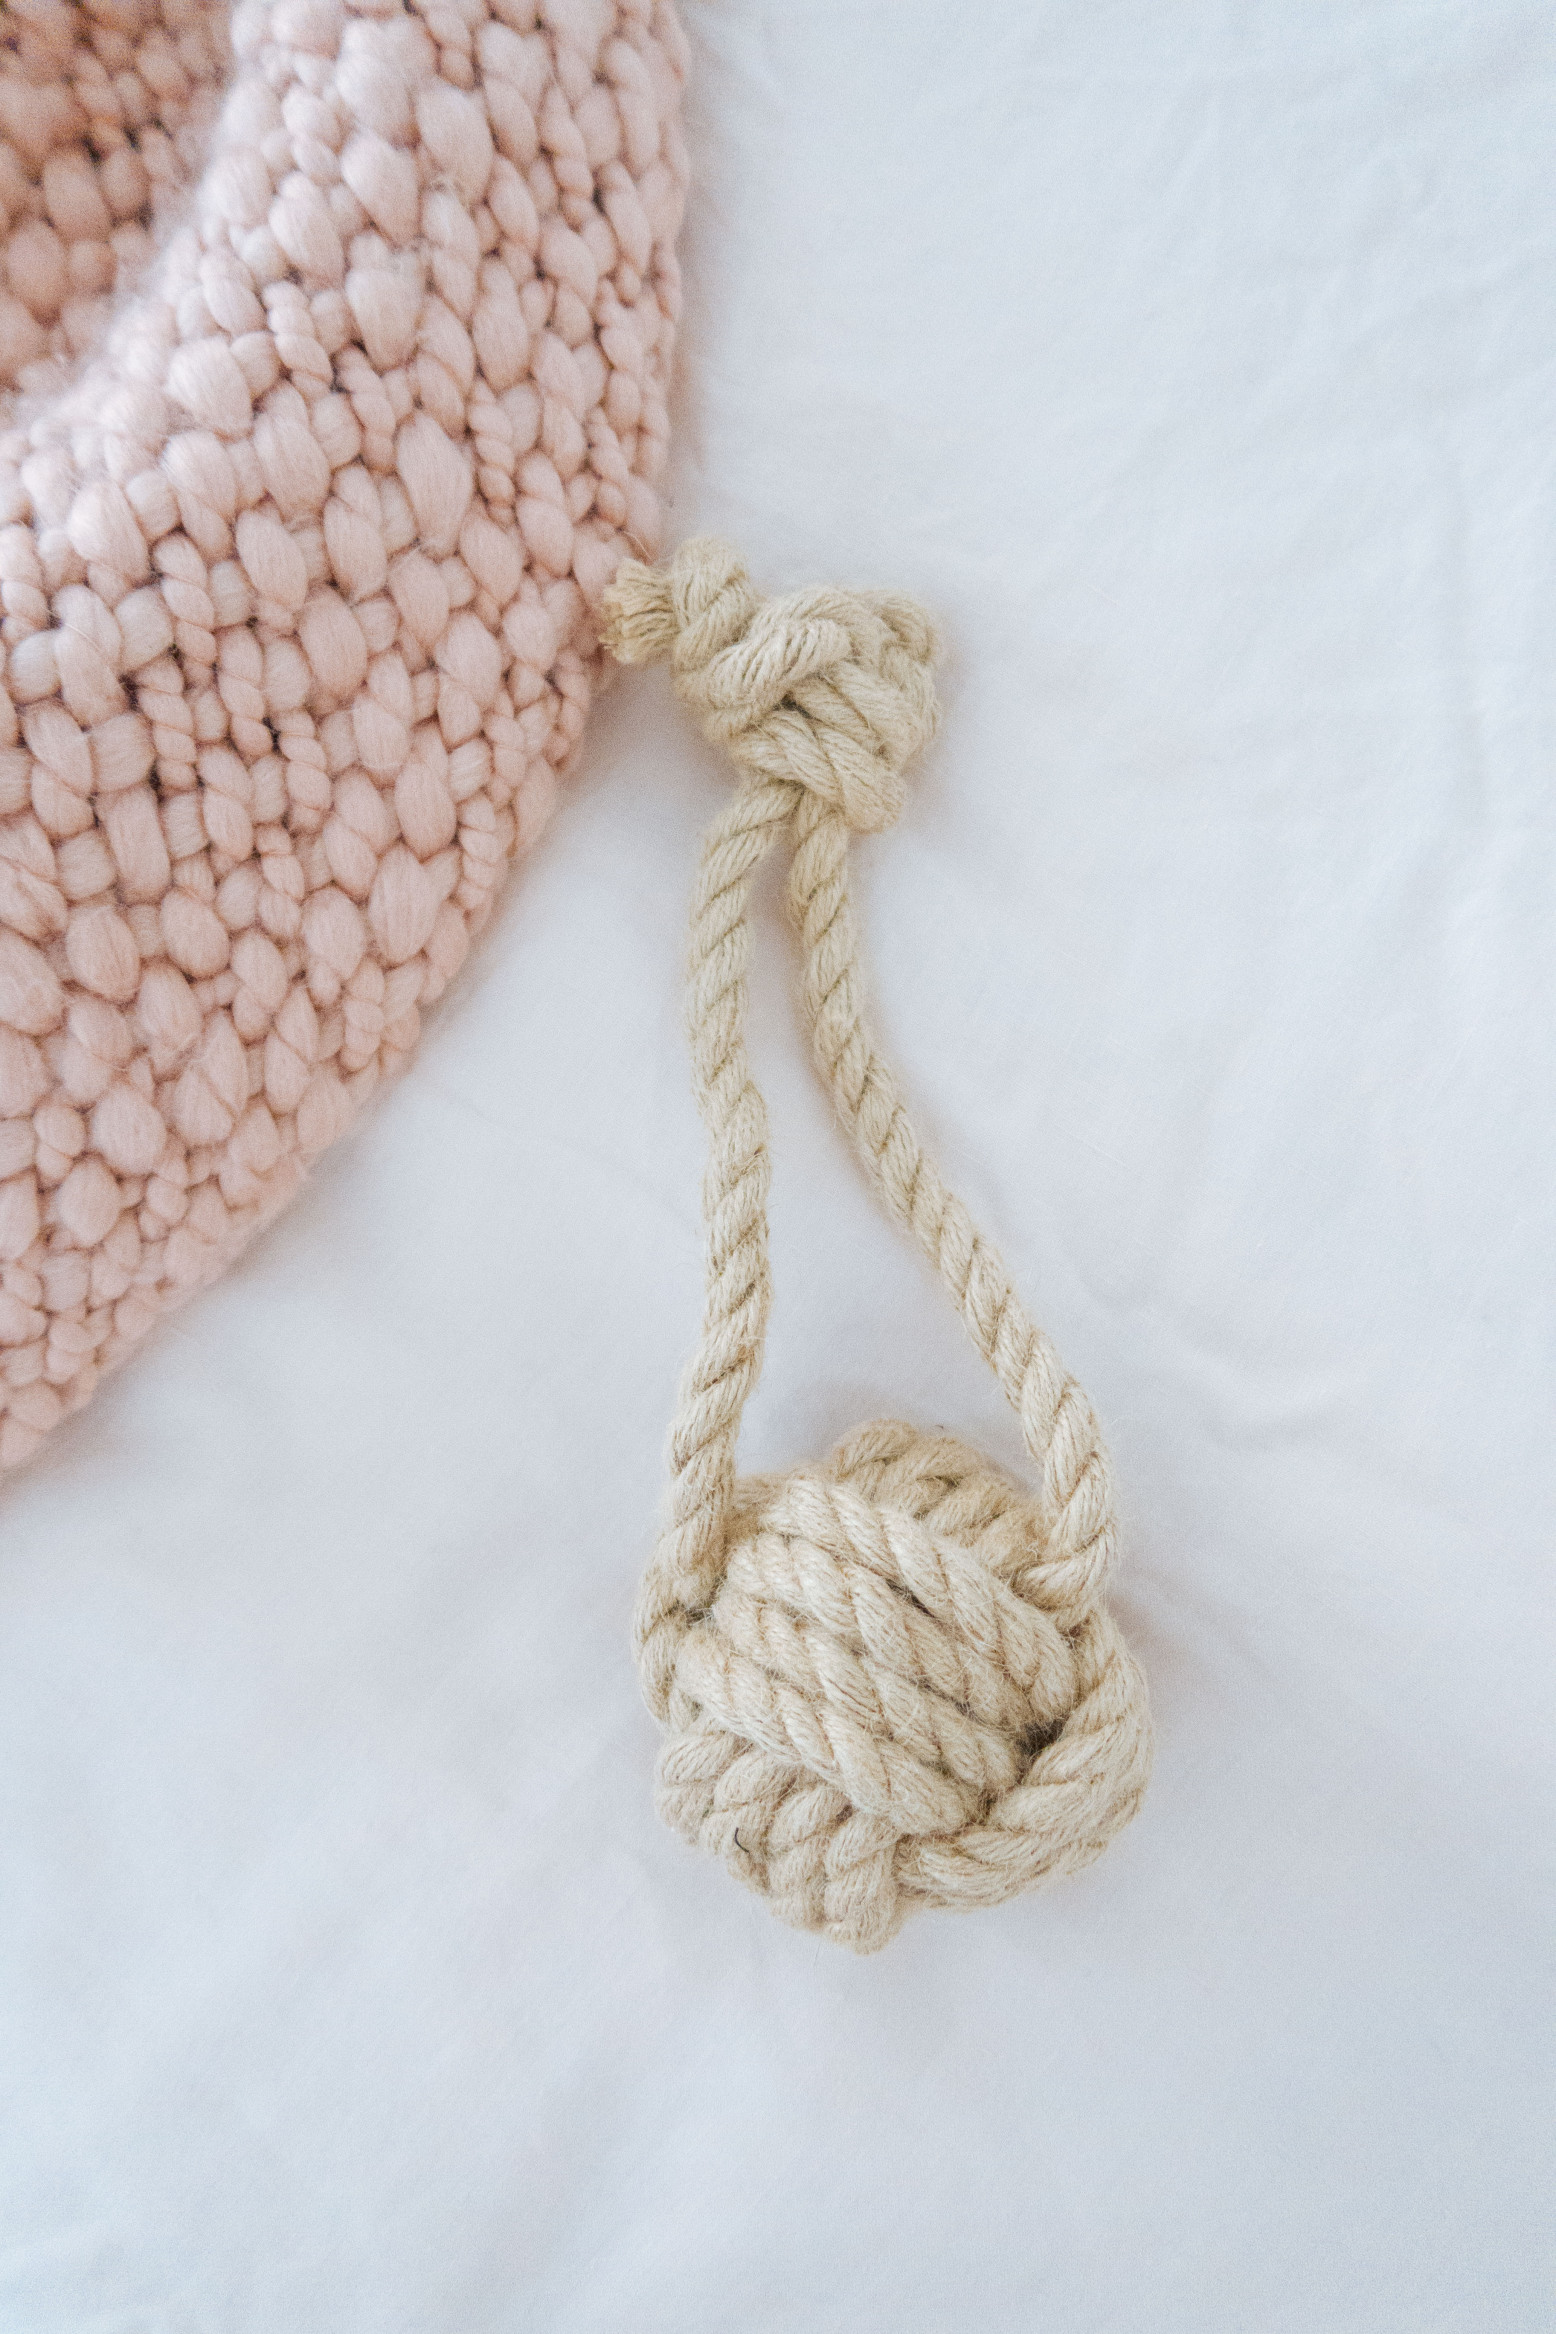
For reference, the twine rope we used was 1/2” (1.2cm) thick, and we used 6 meters of it to create this knot doorstop.
1
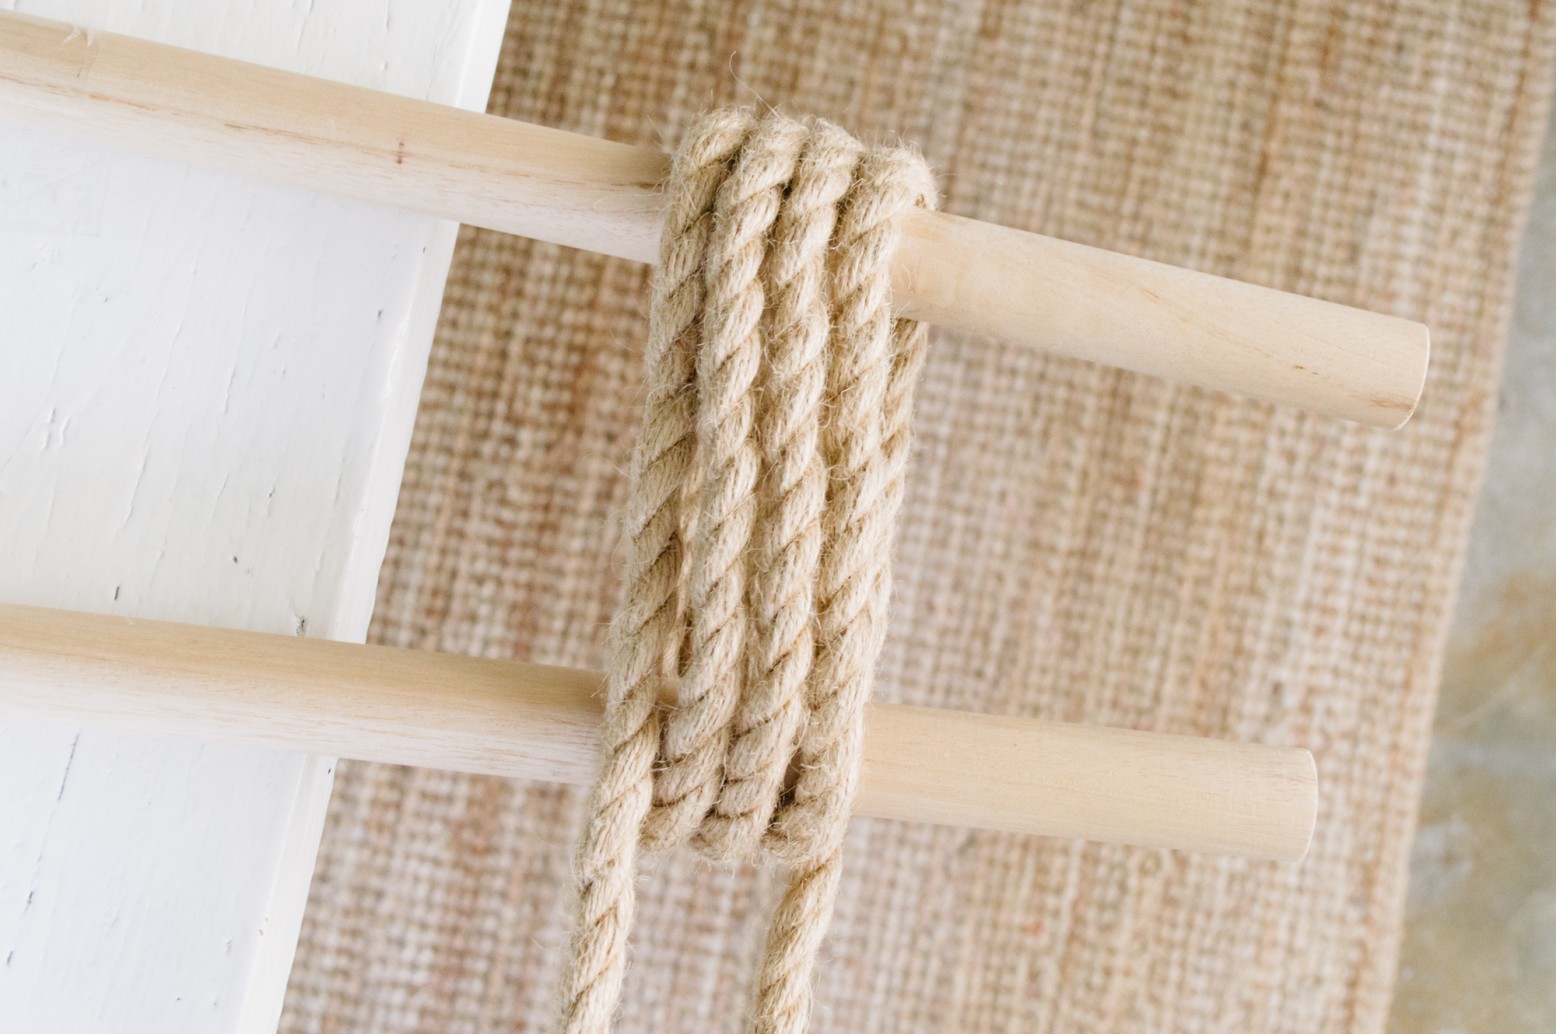
You'll need to find something to knot the rope around. We taped two wood sticks onto the table and used it as an anchor for knotting.
Begin by wrapping around the anchors 4 times, remember to leave extra on the ends.
2
You're then going to need something to create the bulk of the knot.
I used a knot made out the same rope for this, but you can always use a a tennis ball.
5
Do 4 loops for this step, and make sure the wraps are tight enough so that the knot or ball inside will not slip out.
9
Repeat the loops 4 times, and make sure that the rope does not overlap over each other during the process.
10
You'll then have to tighten the knot. Follow the direction of the ropes and tighten them, letting all the ease out through the two ends of the rope. It will take a bit of time and patience until your Monkey's Fist knot is completely tight, but keep at it!
11
To finish the open ends of the rope, we're going to do a loop knot.
Place the ends of the rope together, and create a loop with either one.
14
Thread the end of the rope through the loop, then tighten it but pushing the wrapped piece towards the loop.
15
We also knotted the ends of the ropes so that they will not slip from the knot.
And the knotted doorstop is done!


