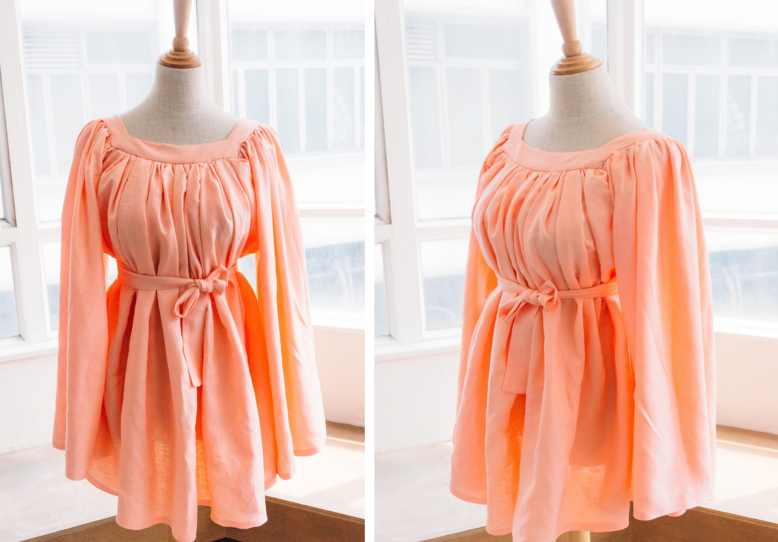
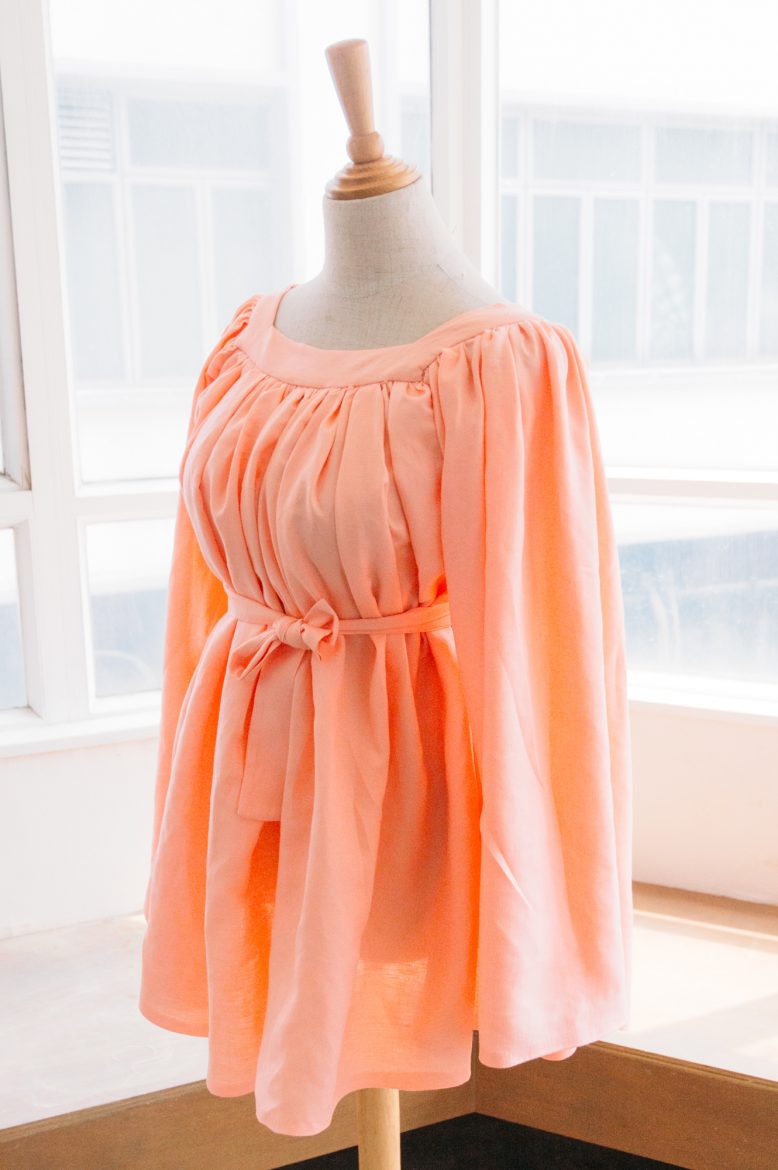
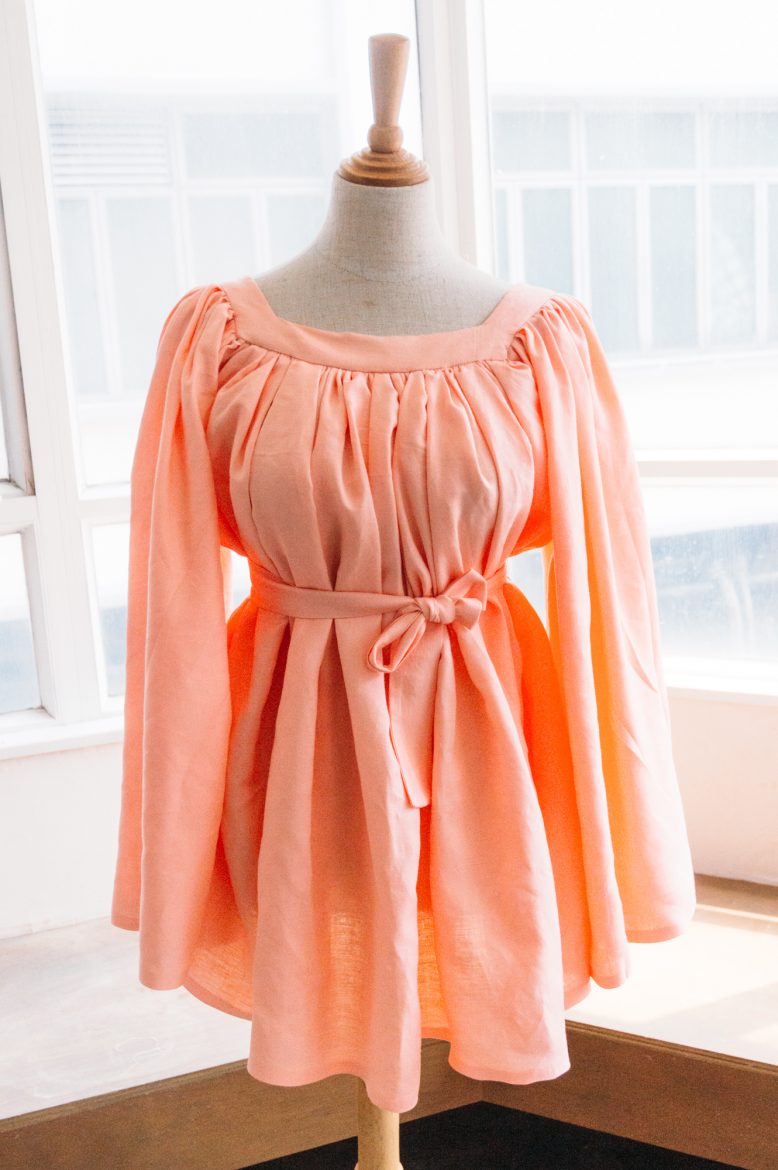
There’s nothing I love more than a shock silhouette – gathered at the chest and then flowing out to a wider short skirt.
So I thought it was high time to share with you how to make one of these yourself! For this style we went with a peasant style square neckline, because it’s not something I’ve shared with you before. We crafter it out of apricot linen, perfect for that vacay!
Linen or cotton is the best fabric for this project, as it has a nice fall and is also breathable, which is useful when you are wearing a wider silhouette like this.
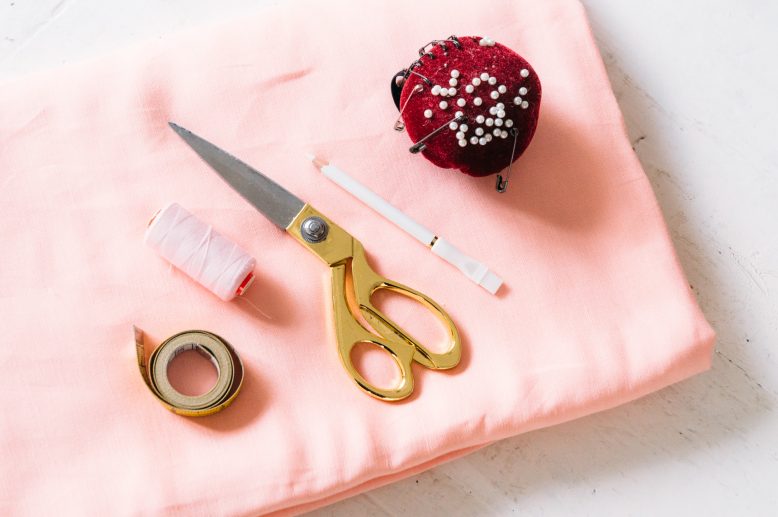
What You'll Need
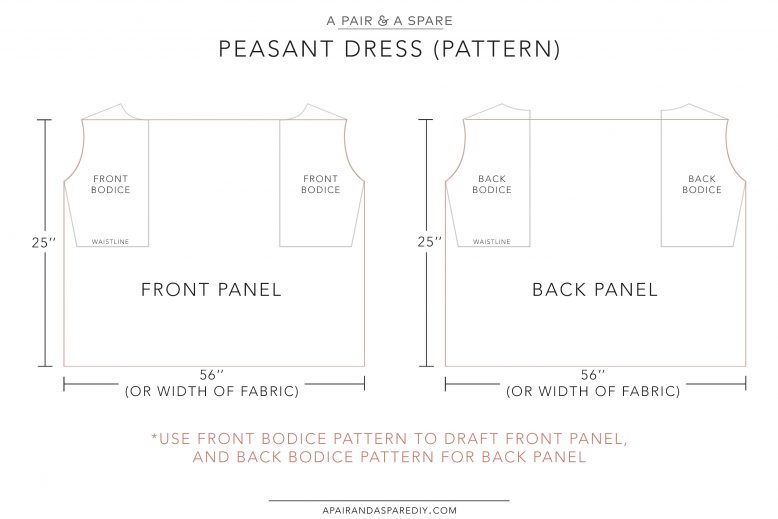
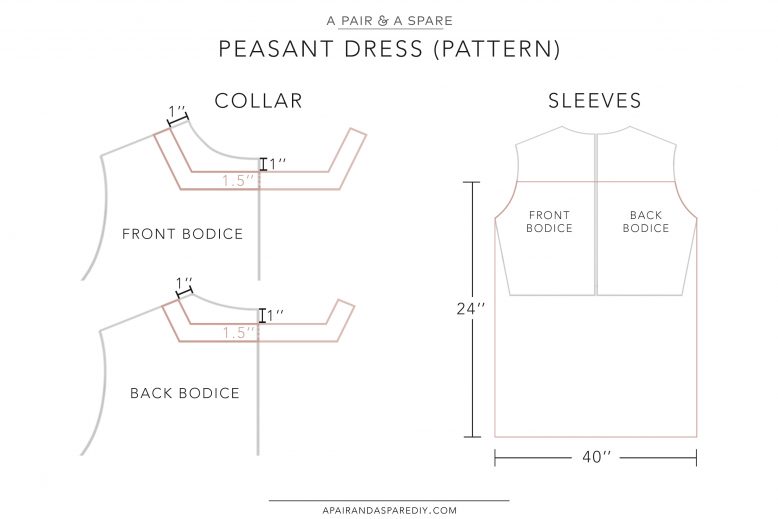
See below for the pattern for this project.
How to cut out the pattern
Since all the panels will be gathered, we’re going to use the entire width of the fabric for the front and back panels to prevent wasting our fabric, we used 56 inch wide fabric (140 cm) for this.
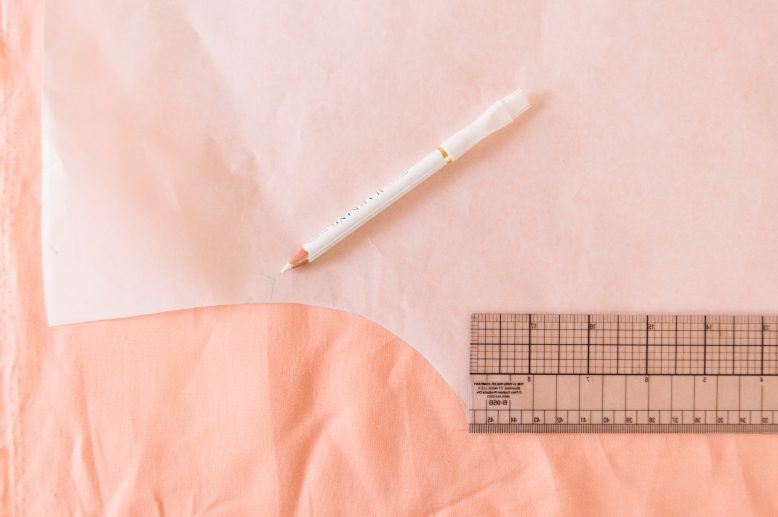
Place your basic bodice patterns against the top corners of the panel, and trace the armhole curves. You should use a front bodice pattern for the front panel, and a back bodice for the back panel.
We made the length of our dress 25 inches (63.5cm) long, but you can do any length you like.
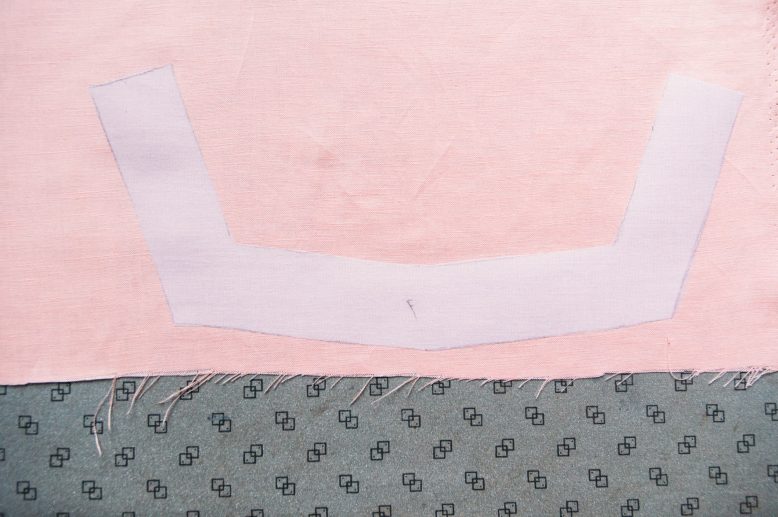
To create the custom square collar, measure 1 inch (2.5 cm) from the shoulder point and down the center front/center back, and draft a collar strip that’s 1.5 inches (4cm) wide. The important thing is that your front and back collar pieces should match at the shoulder seams.Trace and cut two of each of the collar pieces, one set will be the front of the collar, and the other set will be used as collar facings.
To create the sleeves, draft a rectangle that’s 24 inches (61 cm) wide and 40inches (102 cm) long. Using a set of the front and back bodices, trace the front armhole to one corner, and the back armhole to the other.
Reverse the placements of the bodices and draft another sleeve. You should now have a left and right sleeve piece.
To determine which sleeve is the right or left sleeve, the front armhole on the sleeves should match the front bodice when you set the sleeves.
2
This step is optional, but we suggest adding interfacing to the front and back collars to help it retain shape.You don't have to do this for the collar facing pieces though.
3
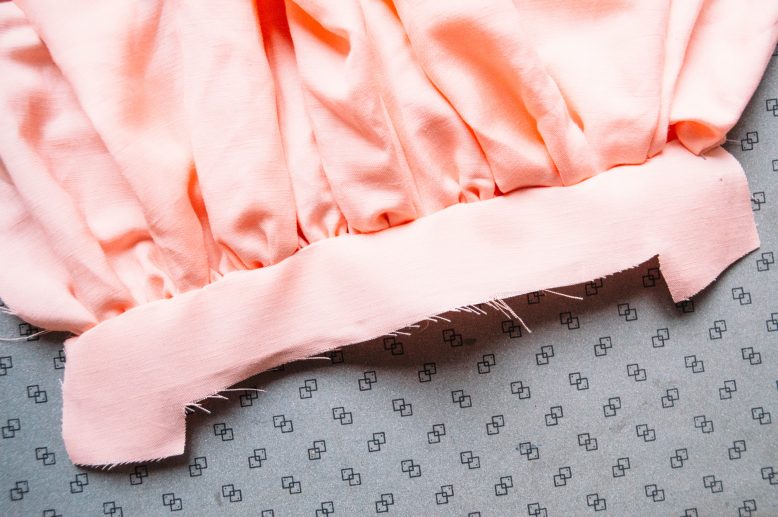
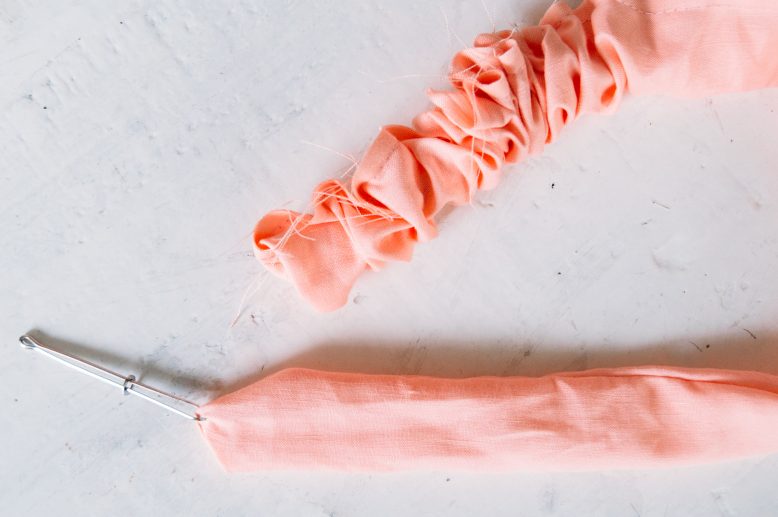
Finish the raw edges on the bottom of your pieces first ,then sew a straight line on the top edge of the front and back panels, gather the edge, and sew it to the bottom edge of the collar pieces.
4
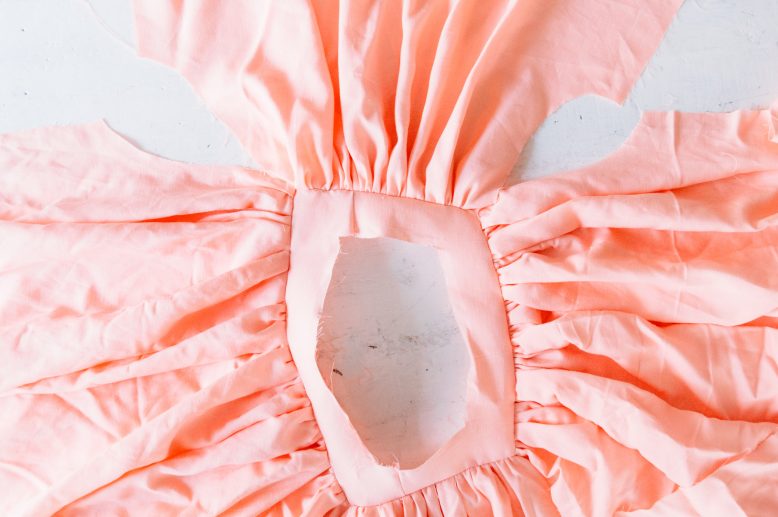
Sew the front and back collars together first, then gather the top edges of the sleeves and sew them to the side edges of the collar piece. Your dress should look like this after you attach all the panels to the collar. Then, match up the armhole curves at each corner, and sew them shut.
5
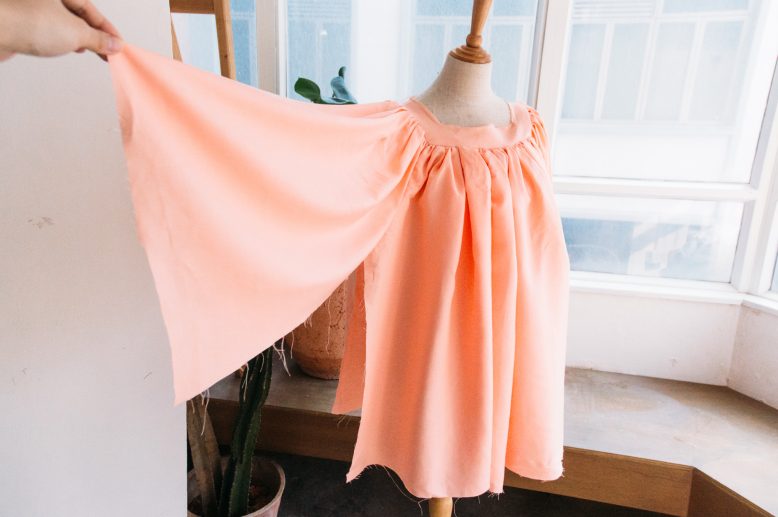
Your dress will look like this once the armhole curves are all sewn together. The next thing you'll need to do is to then sew the sleeve closed and then sew down the side seams of the dress.
6
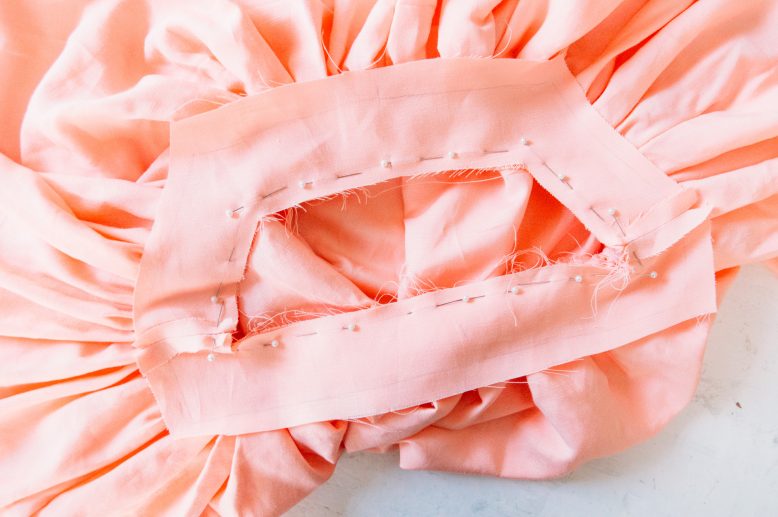
The final thing to do is to finish the collar of the dress by adding the collar facing. Sew the facing pieces together first at the shoulder seam, before pinning it to the collar on the dress (right sides together). Sew around the inner edge, snip the corners and flip the facing to the inside. Use a zig zag stitch, pinking shears or an overlocker to finish the inside edges.
7
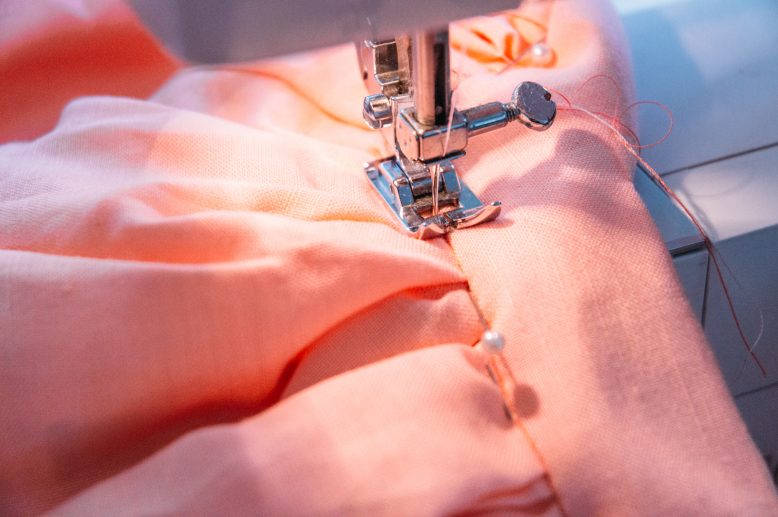
Once the facing is folded in, you can secure it by sewing around the bottom edge of the collar.
8
We also made a matching tie belt. Cut a piece of fabric that's 1.5 inches wide and 56 inches long, add seam allowance and cut. Sew down one short edge and the long edge before turning the belt right-way out and closing the remaining short edge.


