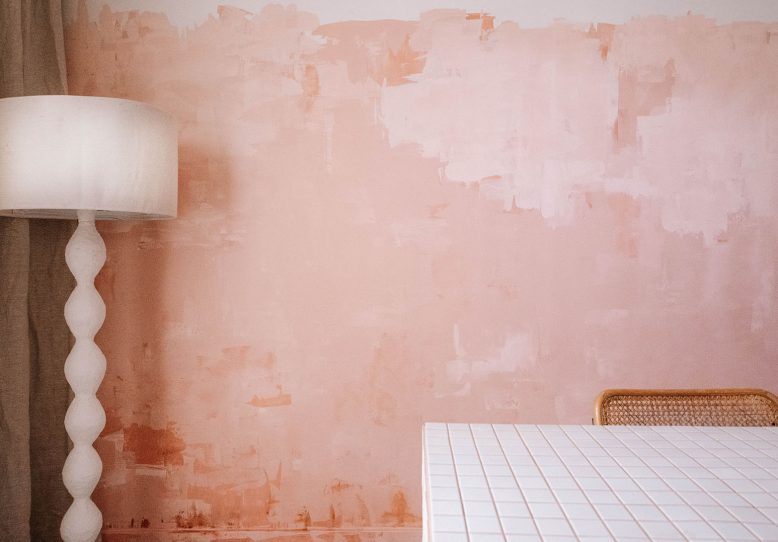
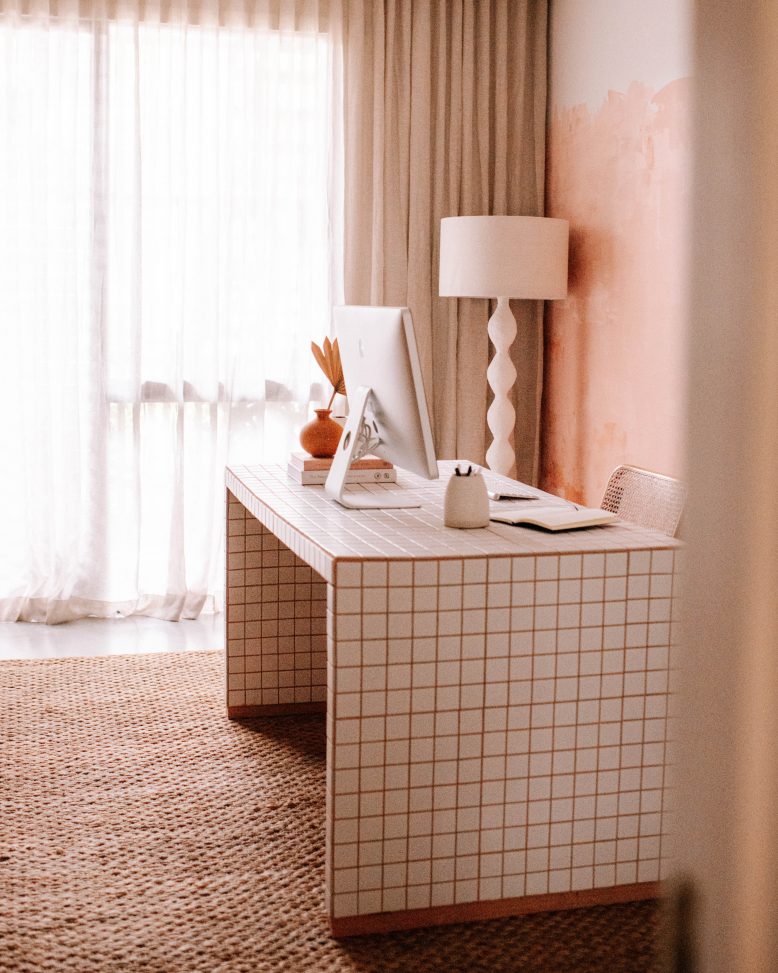
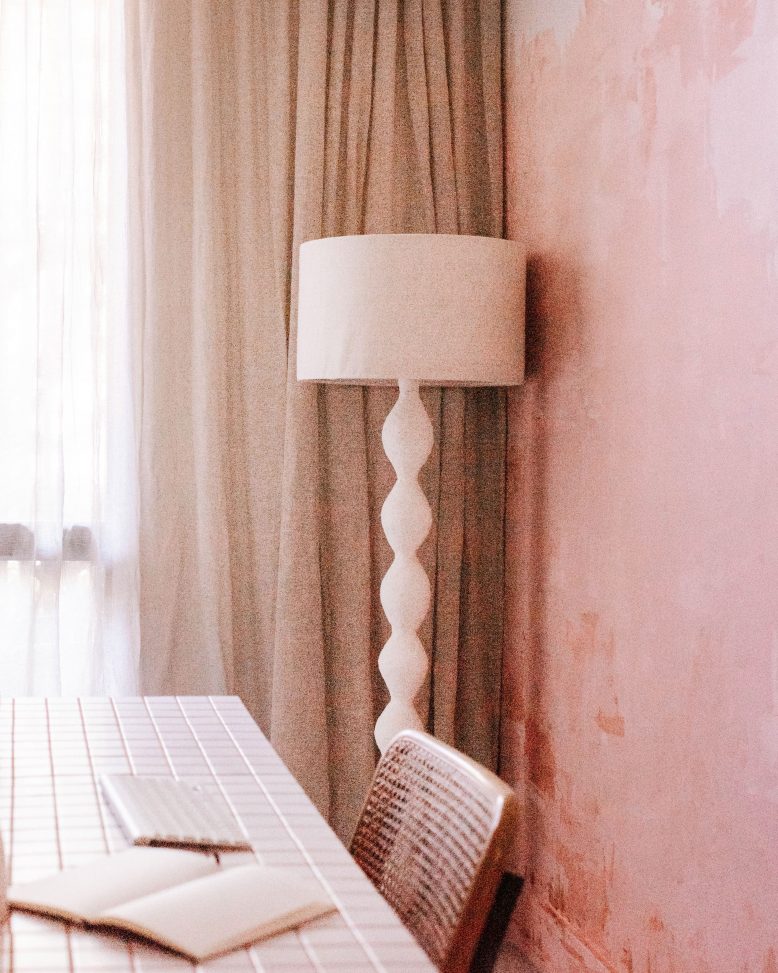
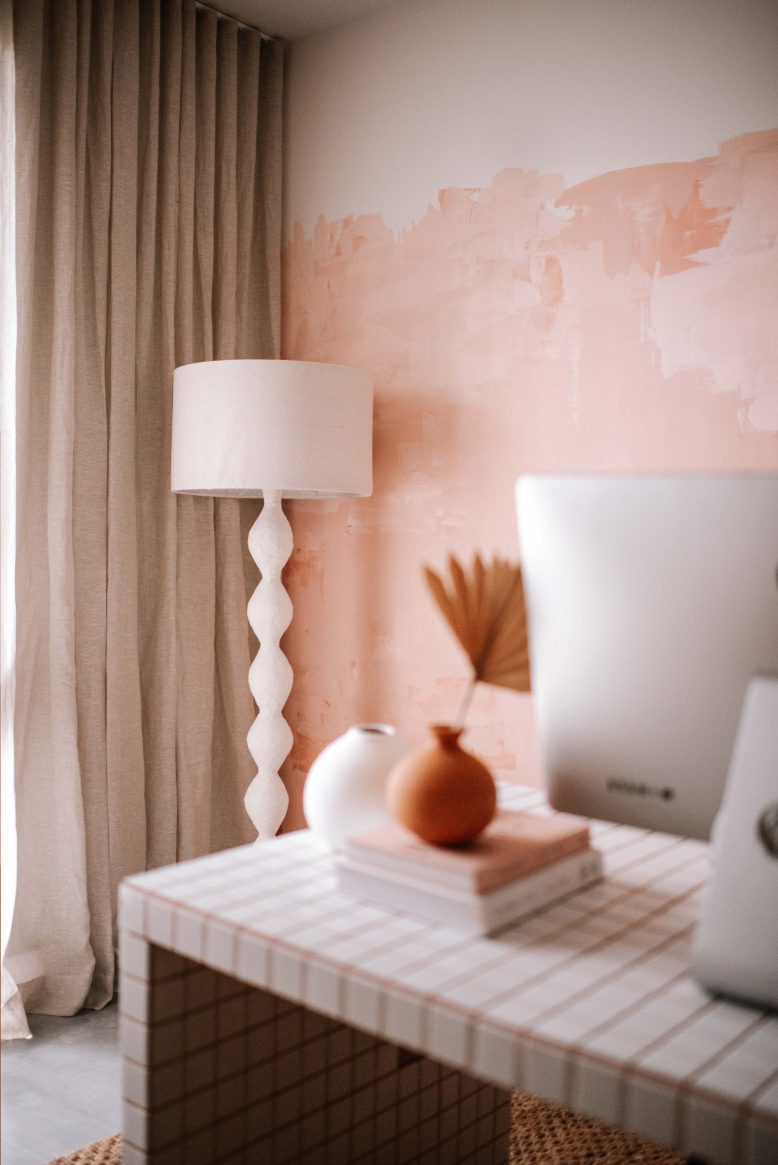
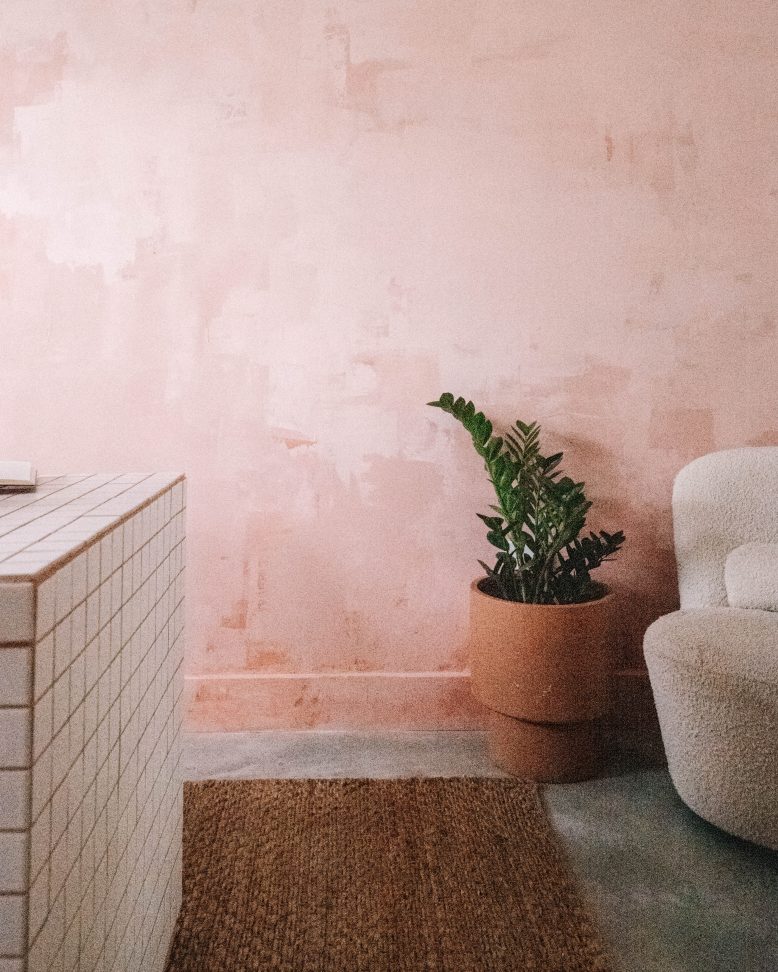
I’ve been wanting to give my office a refresh for a while now and finally decided to try something quite different because, well, why not? It was a gamble, but so fun to create a faux plaster wall using paint!
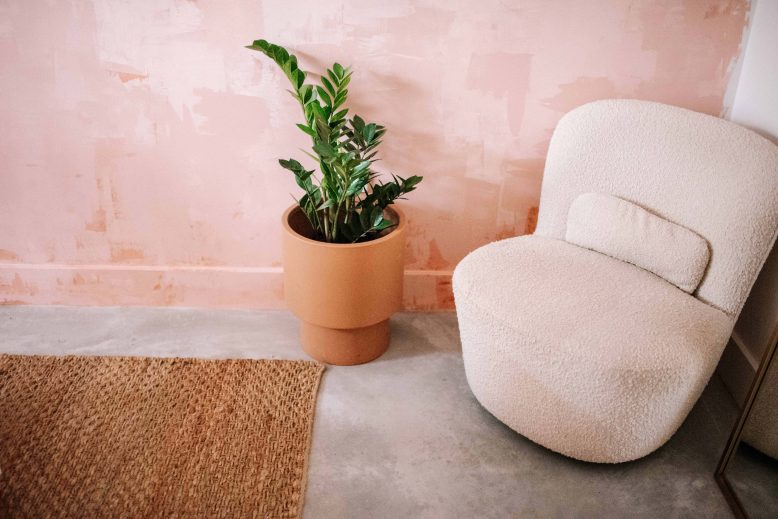
I wanted it to look like an old, aged plaster wall, with a beautiful patina look, like some I have seen in my travels to Sri Lanka. I have to admit, it felt a little daunting to create something that’s such a big statement, but painting this was surprisingly simple. Layer by layer, adding details and stepping back to assess, I took my time and slowly covered the whole wall in this layered paint effect, that ended up looking like beautiful aged plaster! Read on for how to create a faux plaster wall using paint.
The Inspiration
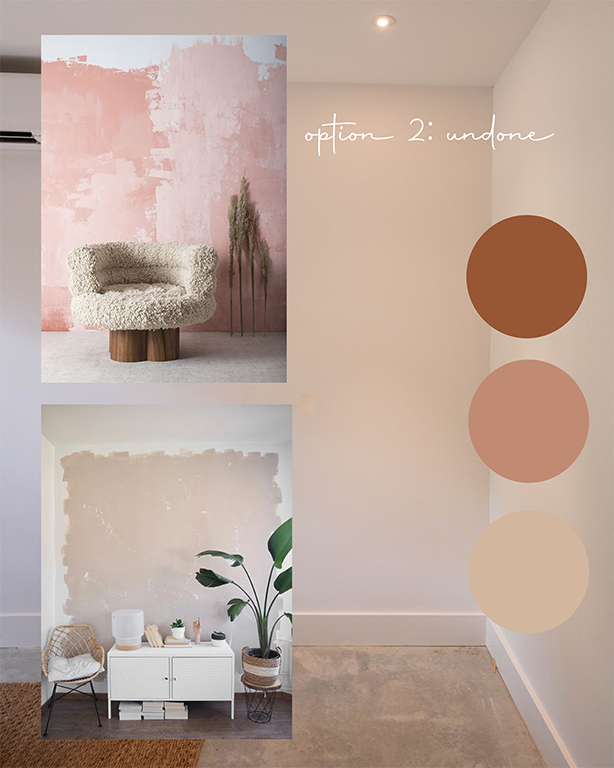
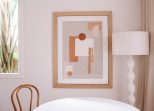
I spent a fair amount of time workshopping what I wanted to do in this space, I even took it out to a vote over on Instagram, sharing a few different options. Resoundingly you guys liked one inspiration image I shared in particular (via this design studio). So I set out to create something inspired by that!
Choosing the Colours to create a faux plaster wall using paint
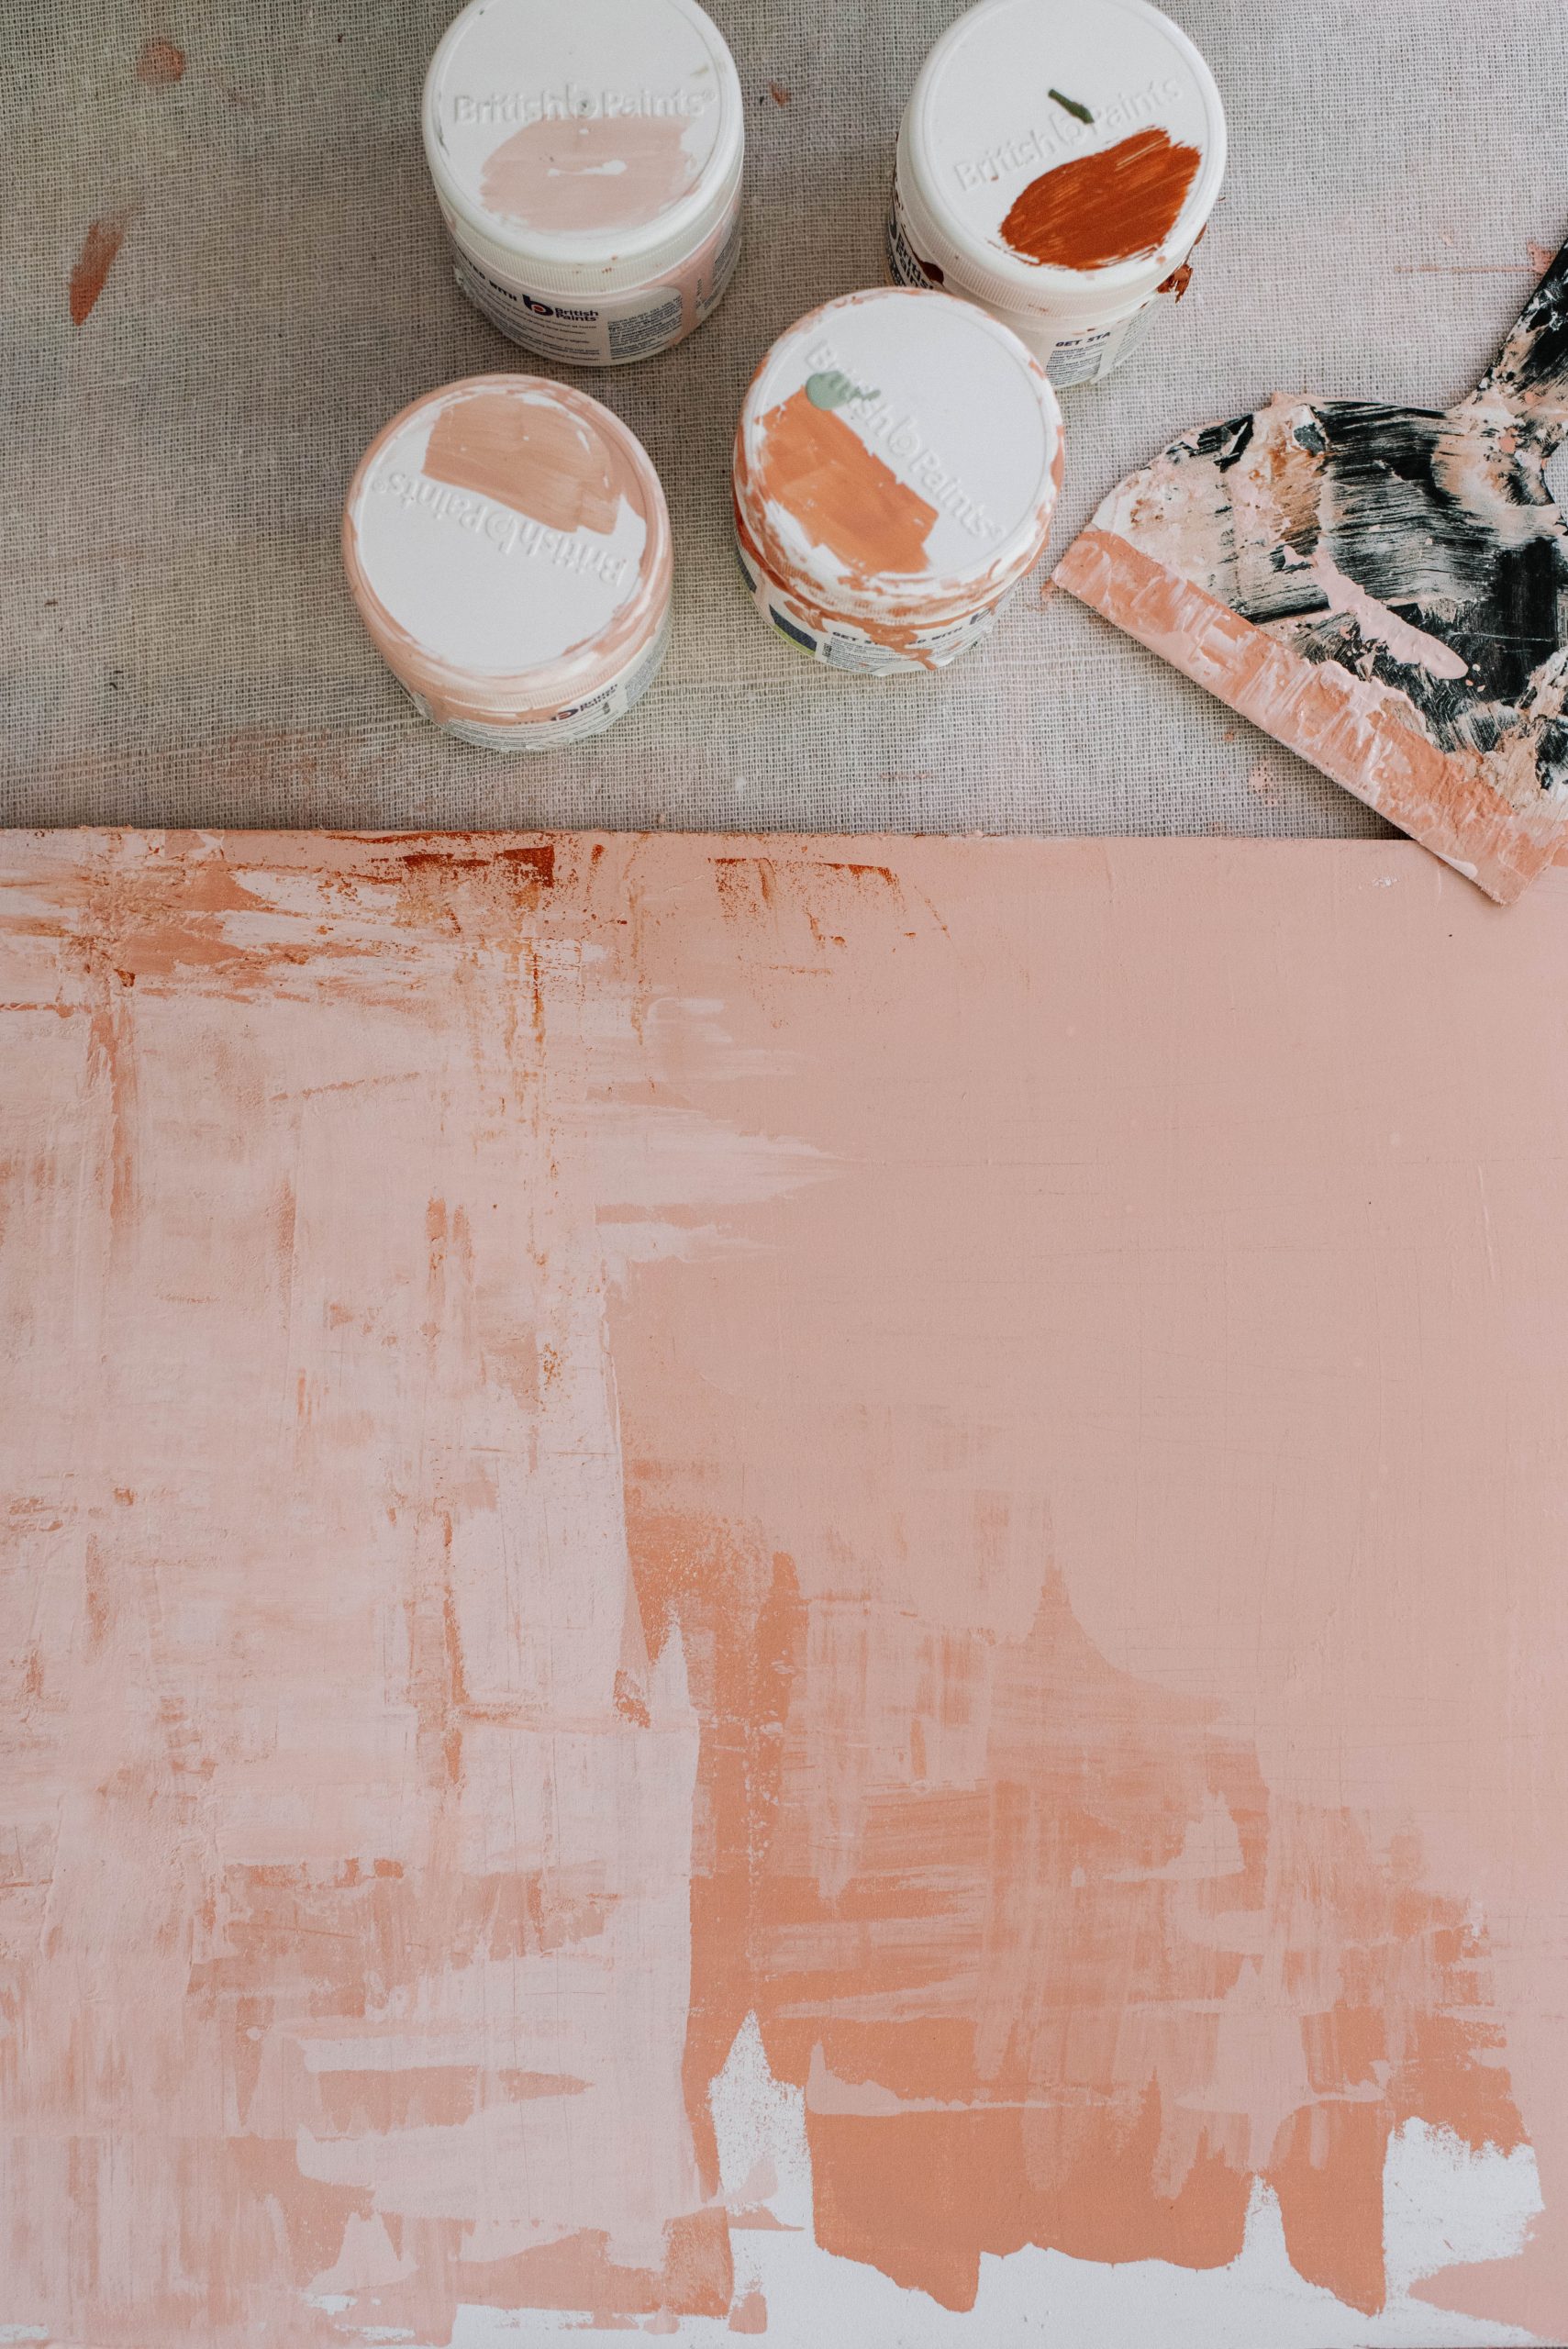
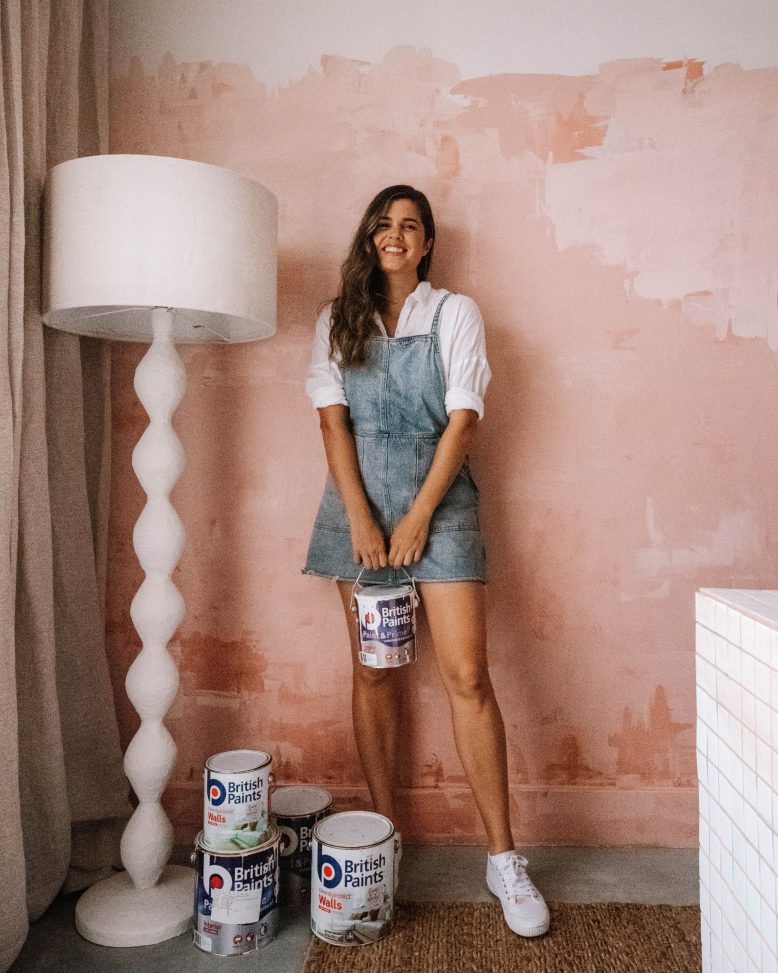
I worked with British Paints on this project and spent quite a bit of time testing their colours to make sure I chose the right ones. In the end I chose Forever Peach, Rose Candle, Ballet Princess and Natural Paprika. I decided to use 3 different shades of pink and then one darker colour just to add a small amount of detail at the bottom. I think it’s important when creating a plaster/aged finish with paint that the colours are quite similar.
Testing the Technique
Before starting on my wall, I did a practice piece on some plywood to try some different techniques. Because I did this and figured out what tools work, you don’t necessarily need to do one yourself, but a trial on a piece of paper or wood is always valuable for getting used to the technique or testing colours.
How to paint a faux plaster look using a scraper
Materials you need
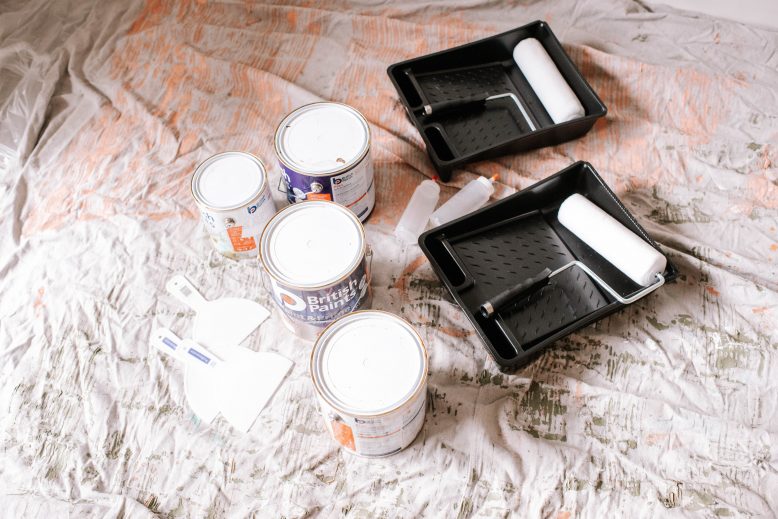
- 1 small can of each colour of Paint (I love British Paints ‘Paint and Prime‘ because it cuts painting time in half!)
- Plastic scraper
- Paint trays and rollers
- Small paint roller
- Paint stirrer
- Drop cloth and painters tape
How to
1
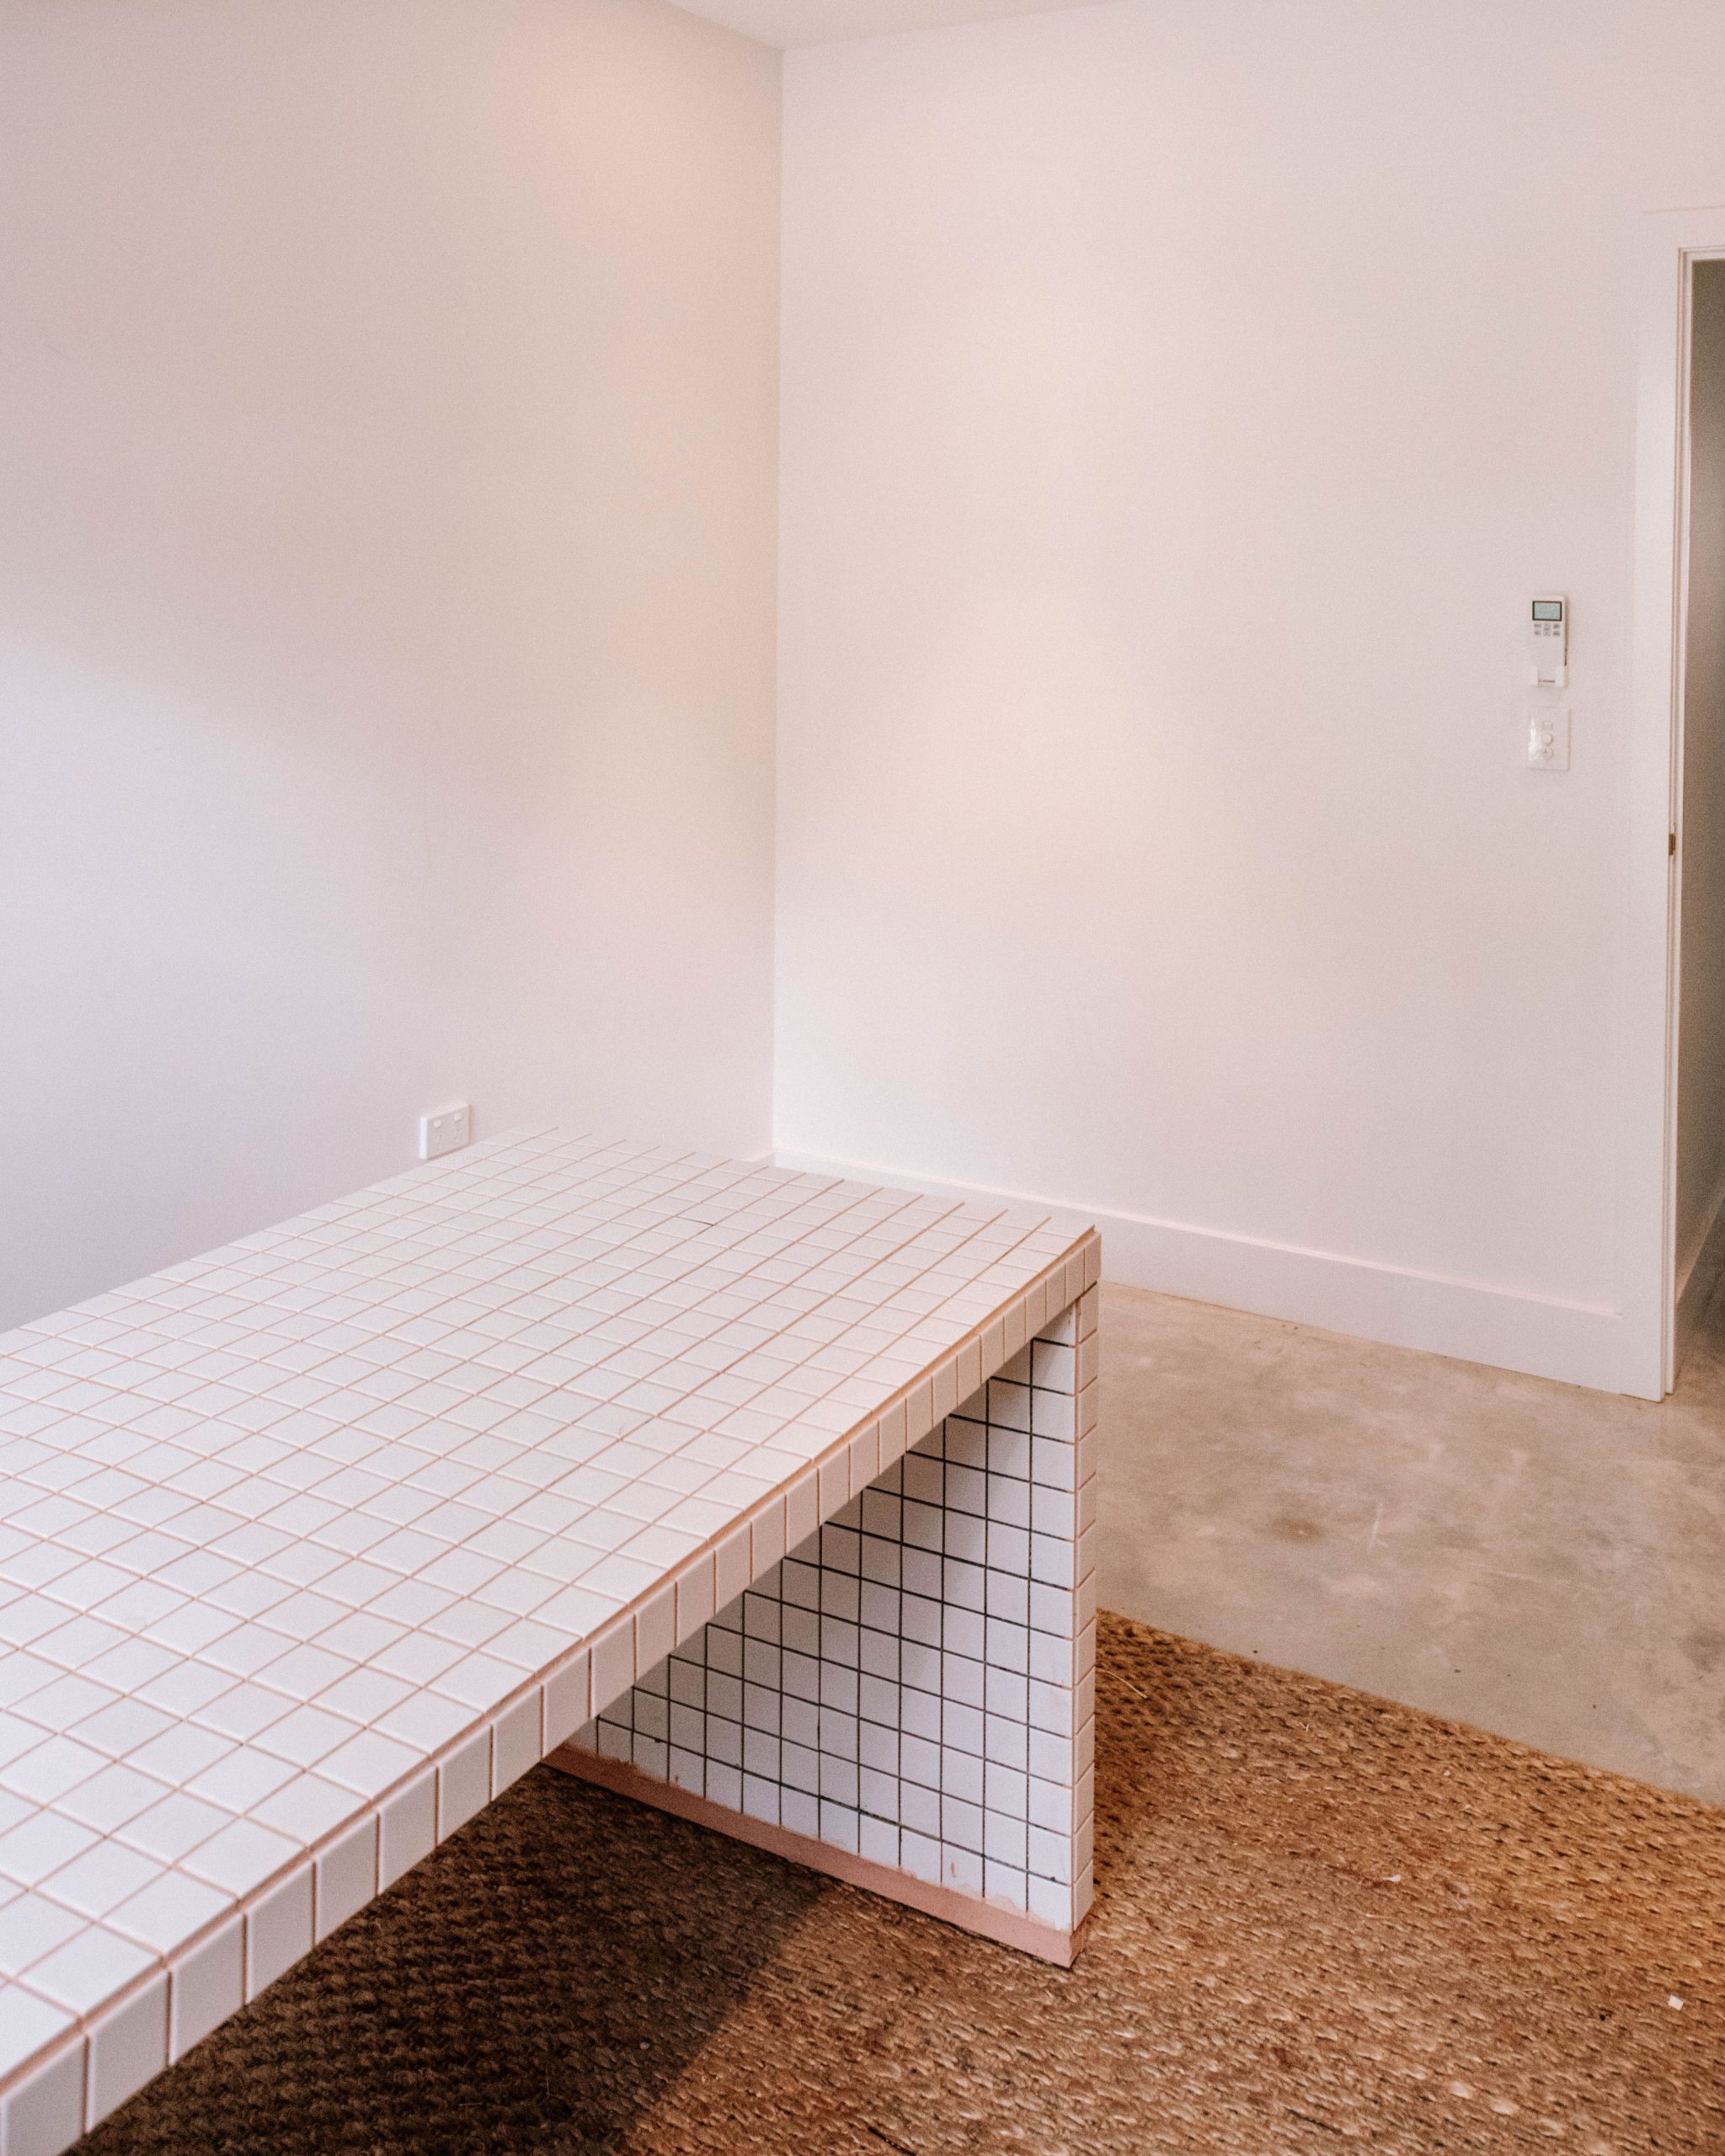
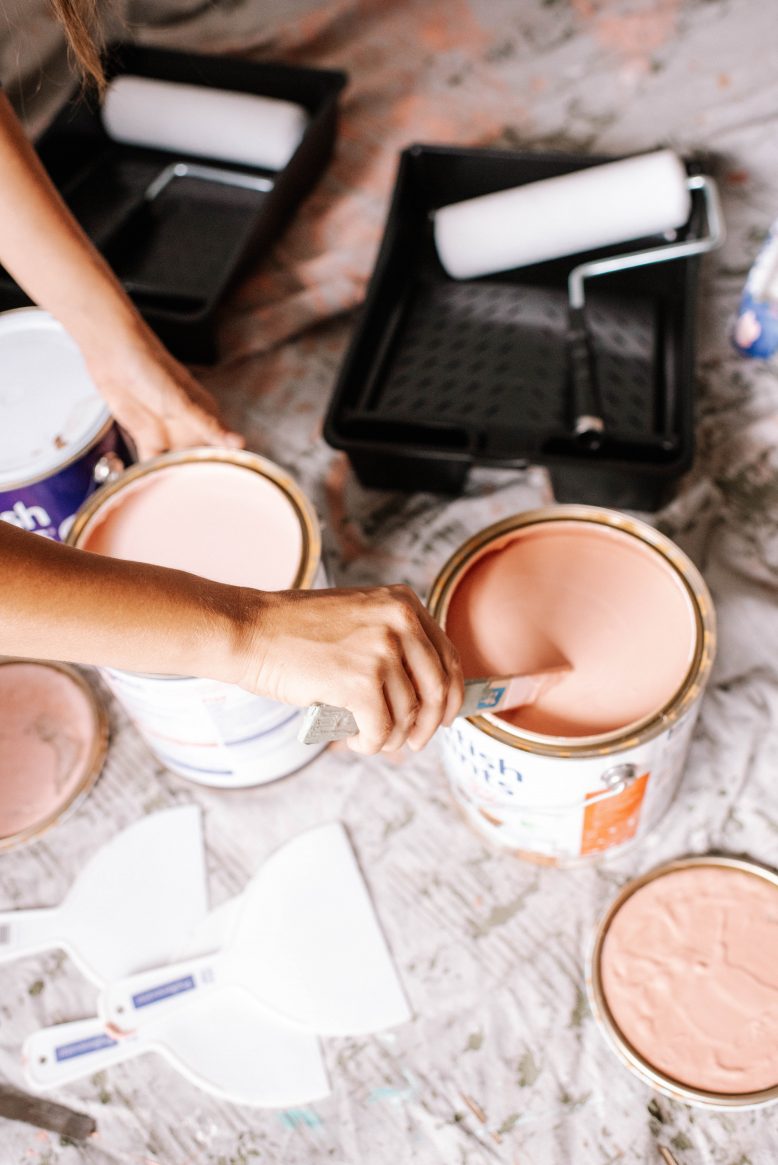
Begin by prepping your area - lay down drop cloths, tape along the floor or skirting board and give all your paints a really good mix. Having everything ready and prepared always makes the process much smoother!
2
I began by rolling on some big patches of colour to cover the bulk of the wall. Rolling the first layer gives a nice consistent base for the rest of the scraped layers. I also decided to do a 3/4 wall like my inspiration photo, and because of the aid conditioner that's in the room and wouldn't have fit into the painted section.
3
I then rolled another section of the next darkest tone, and tried to blend the colours well along the edges. I also painted the skirting boards for this, but you can also leave them unpainted if you prefer. Next I found that swirling a very small amount of a different colour through the paint tray before rolling helped in adding a little bit of depth to the block of colour. Having said that, one thing to remember with this paint finish is that you can always cover and add layers as you go so don't worry too much about the finish at this stage.
4
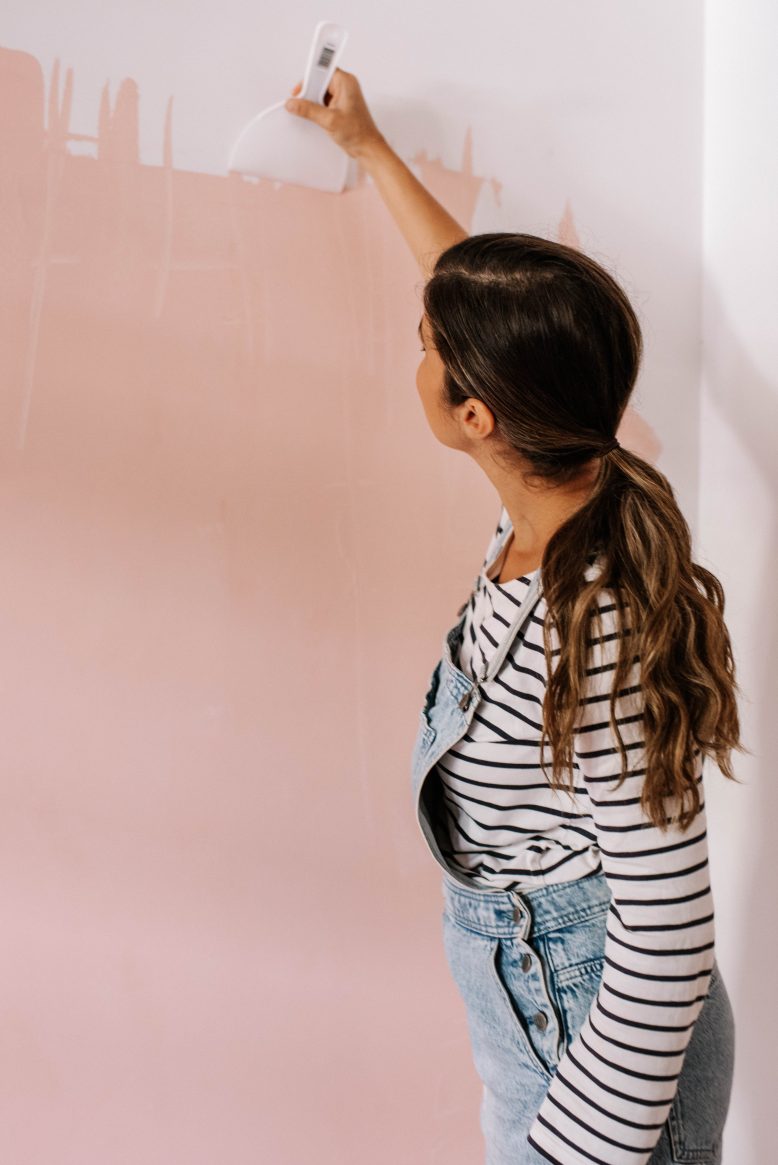
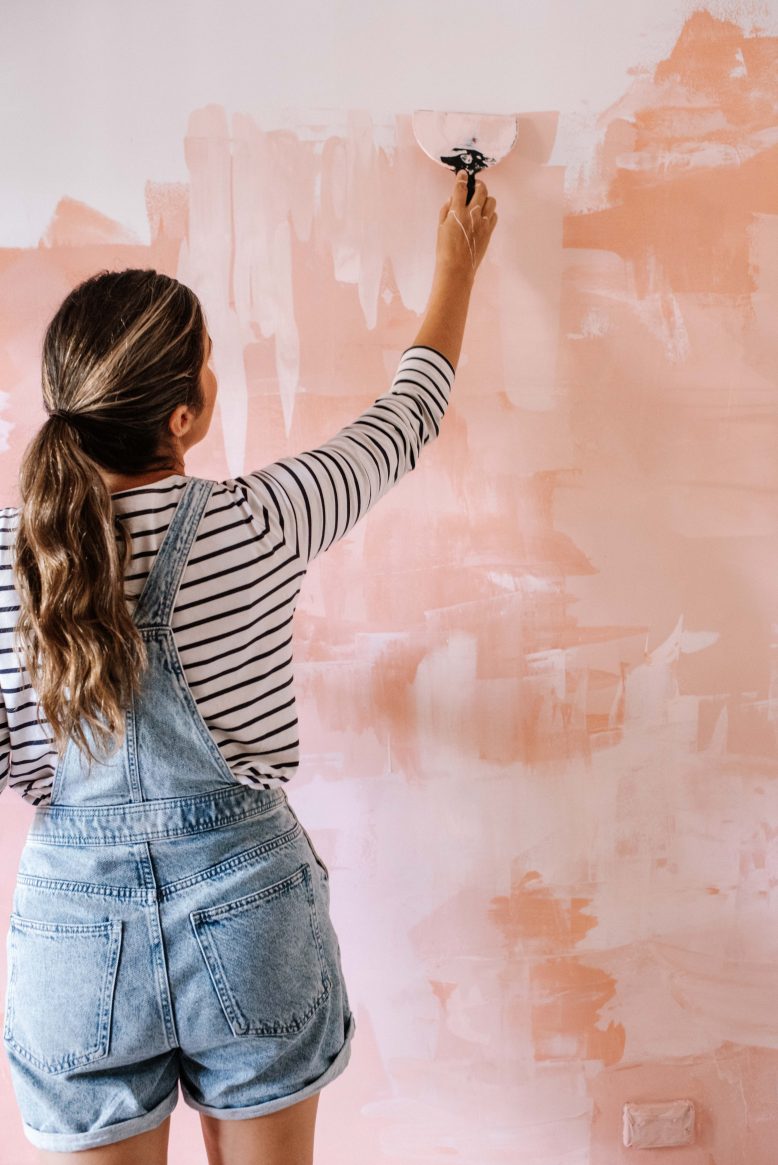
I then started scraping out the edges so they didn't look like a flat rolled edge. First I simply used the wet paint that was already there to soften out the edges, and then I found dipping the scraper into the paint tray and then pushing out the paint in different directions worked well.
5
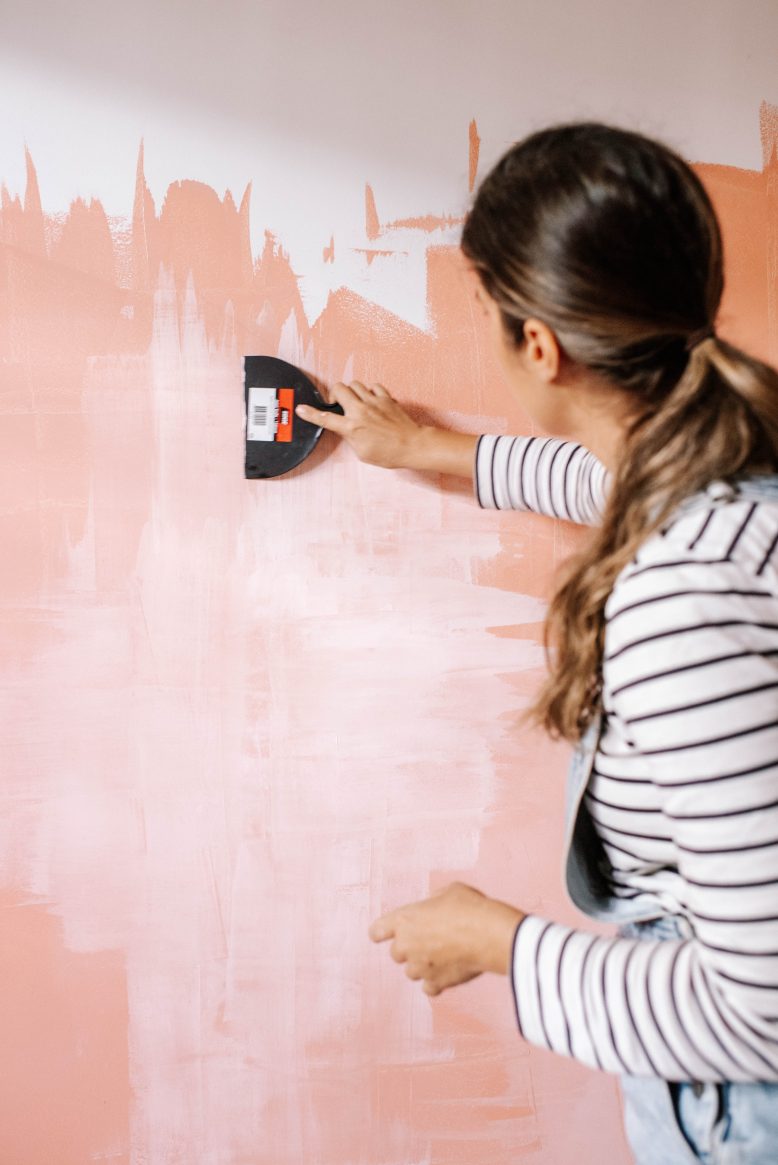
Now it's time for layering, the fun part! Using the scraper, I dipped it in paint before scraping it across the wall. The more paint you use the more solid the look, and the less paint on the scraper, the look will be lighter and more transparent. Holding your scraper flat against the wall will also give texture to the look. Working in sections, I simply scraped on paint, in places allowing it to mix and in other keeping it more of a block.
6
I did one 'coat' of layers, simply alternating colours as I went along. Then I took a break and let it dry so that I could see the true colours and decide what more was needed. I ended up adding larger blocks of single colour to the wall during my second painting session, to make it a little more simple.
7
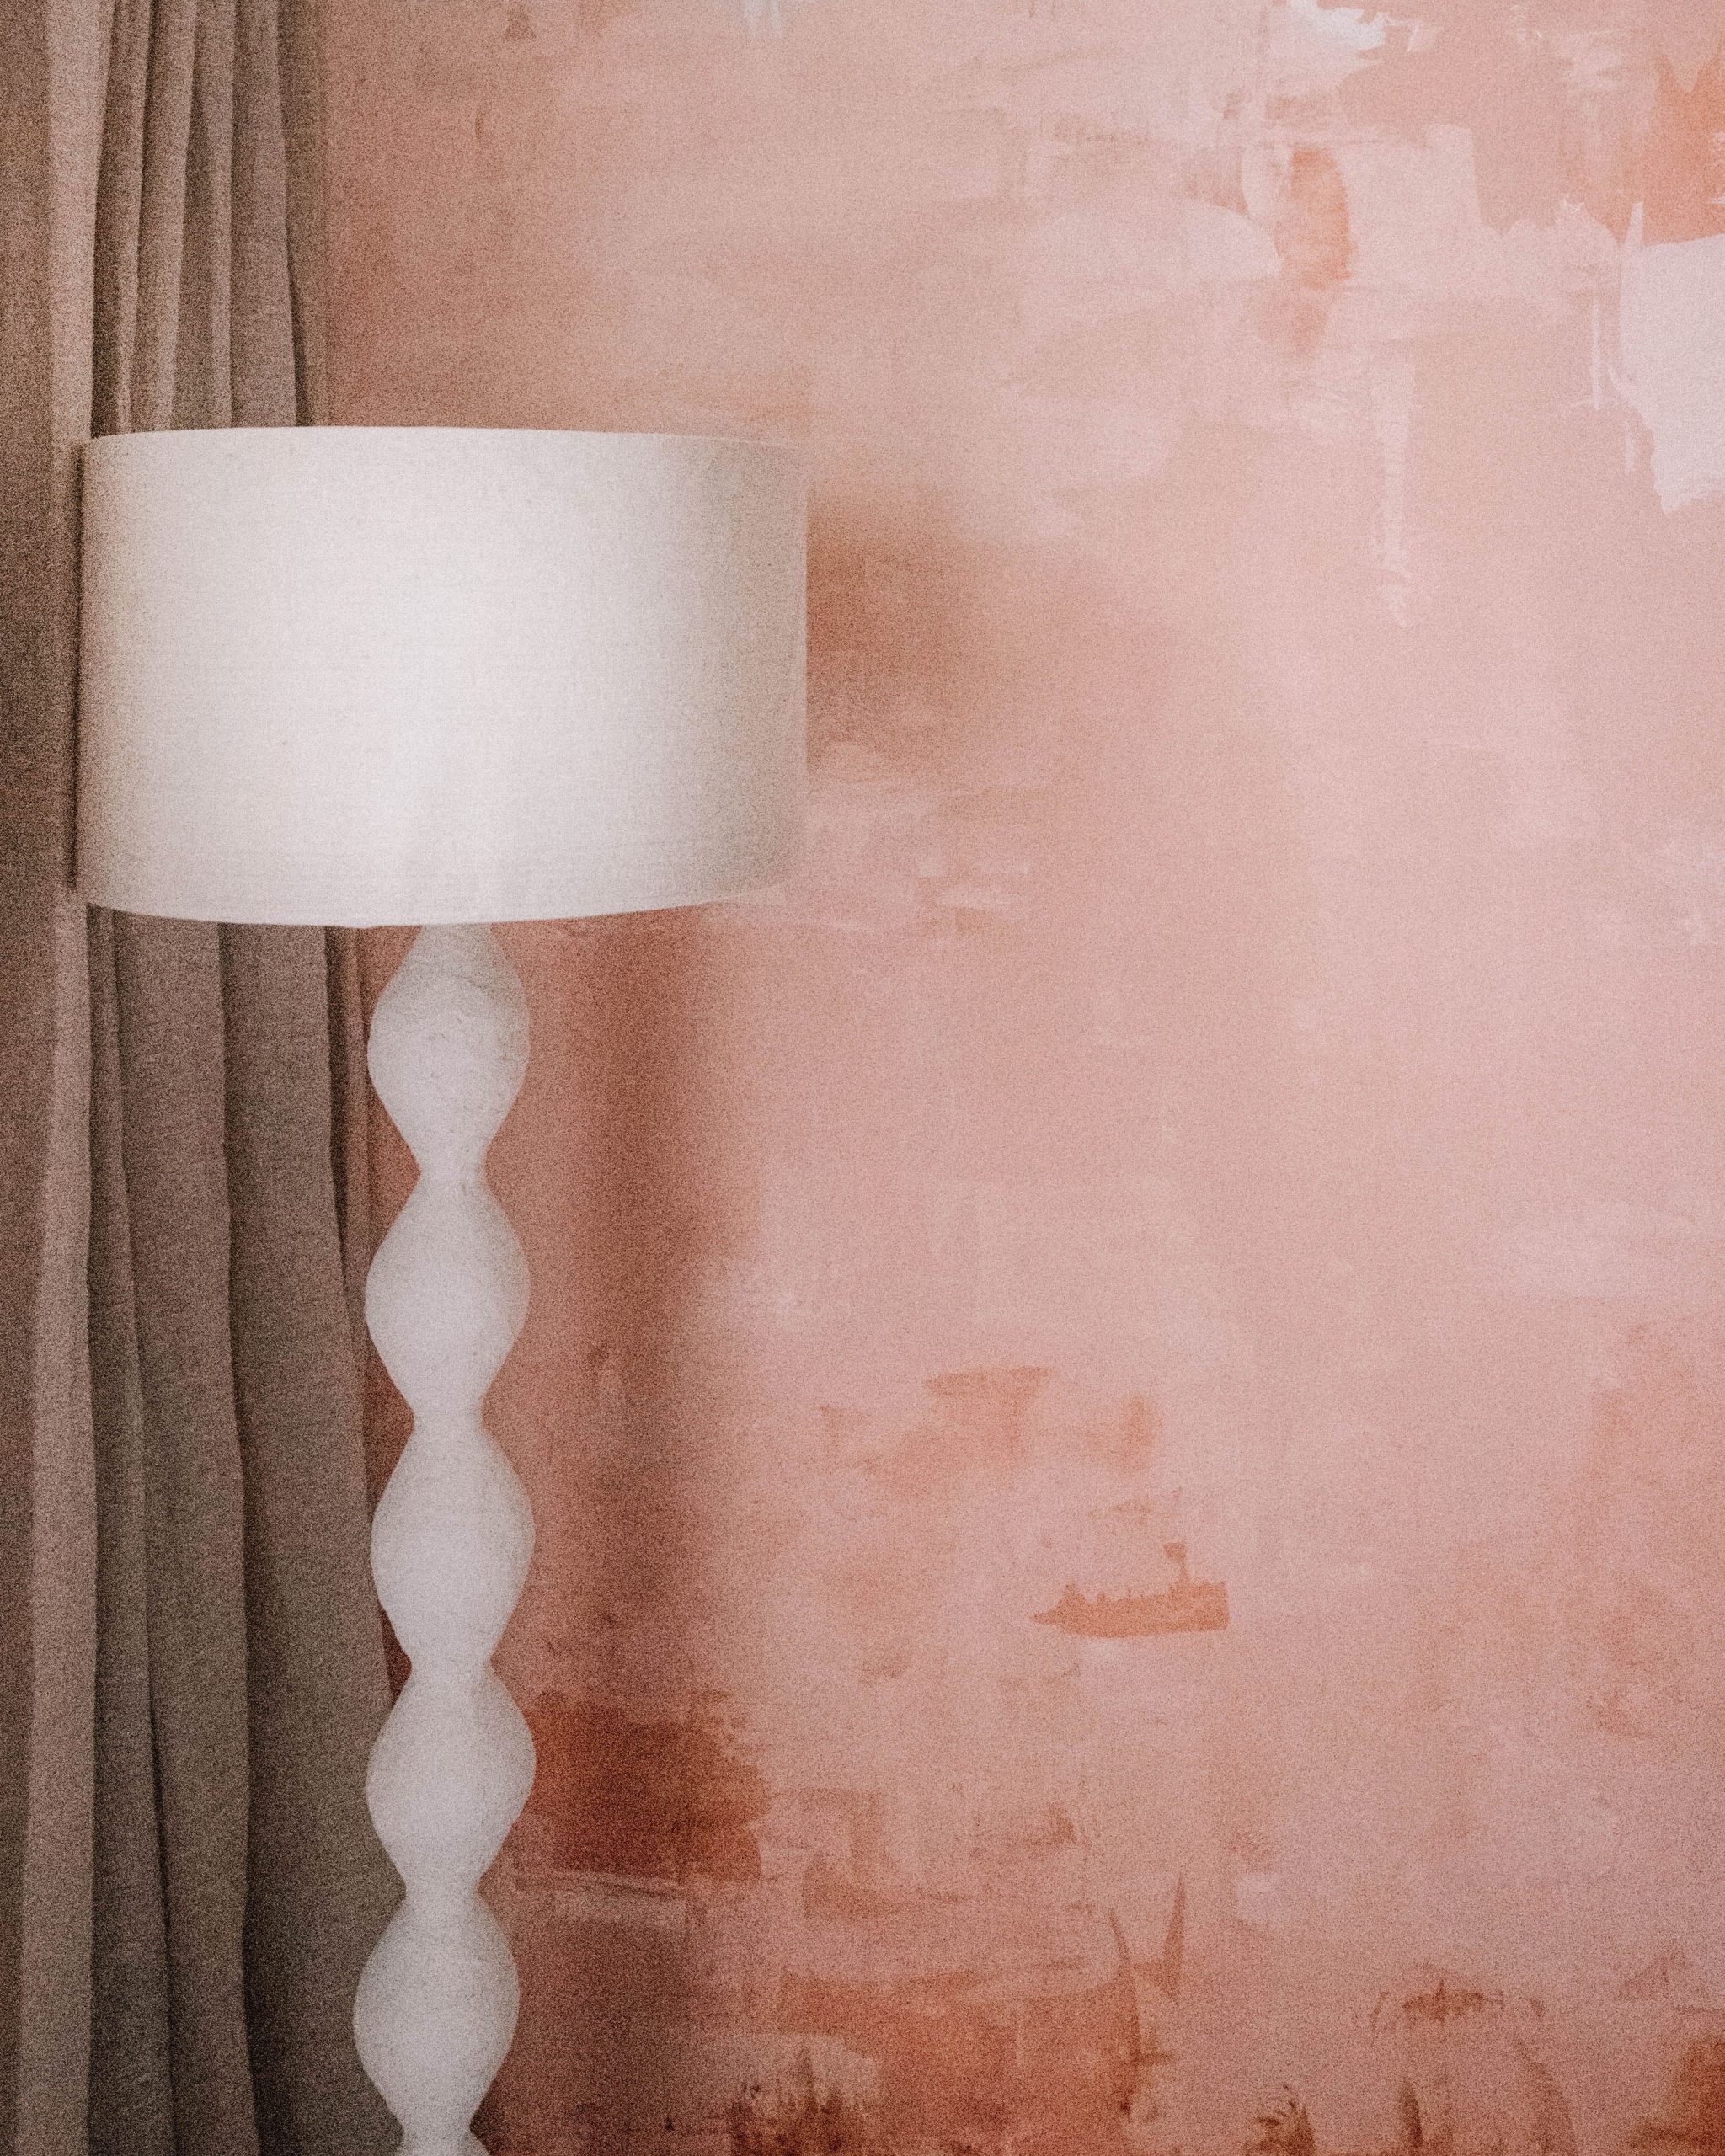
I also added a few lighter tones of pink at the top and darker tones of pink at the bottom, to ground it a little more, without being too ombre. Once I was happy with the pinks, I added a very small amount of Natural Paprika, scraping it up from the bottom and sides of the wall. Less is more with this, I just wanted to add some depth and ground the wall, almost to make it look more aged.
Voila!
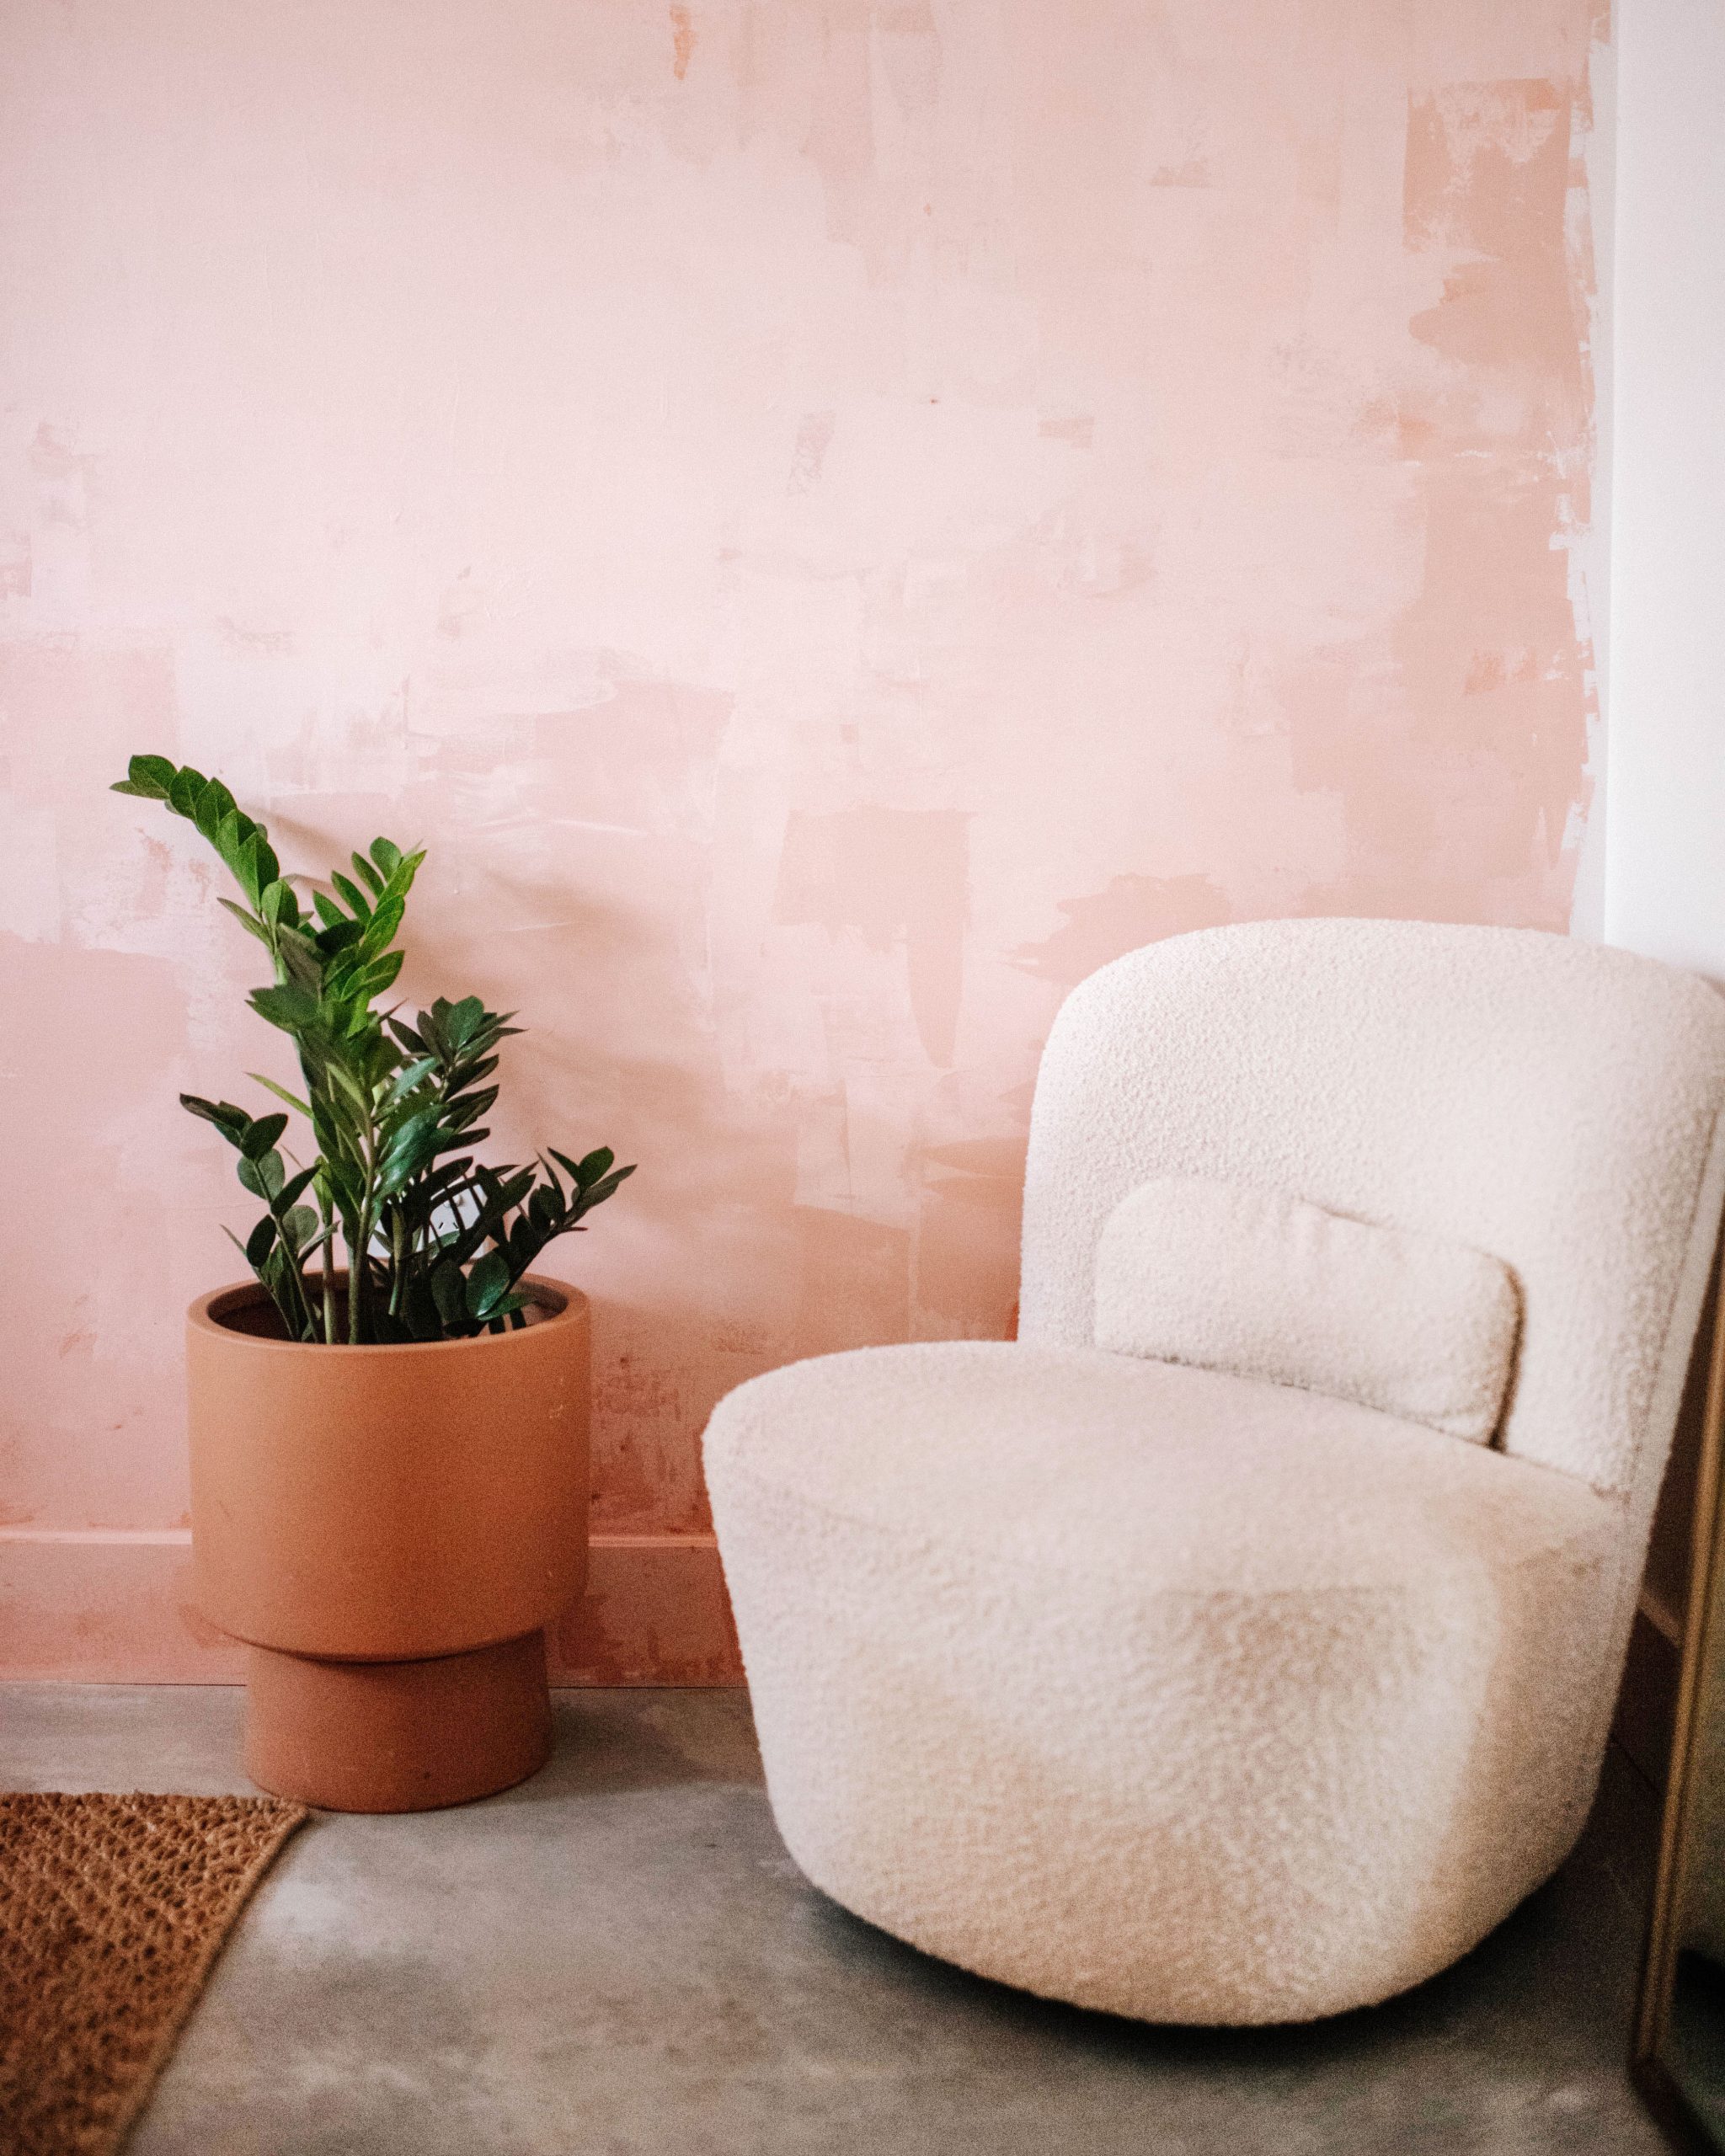
Honestly I am so happy with this design! It’s A LOT I know, but I think it has really lifted the space and made me look forward to sitting at my desk. I think this technique would work so well in different colours, even in lighter tones for a really neutral, plaster look. I can’t wait to experiment some more with it!
This post is in collaboration with British Paints


