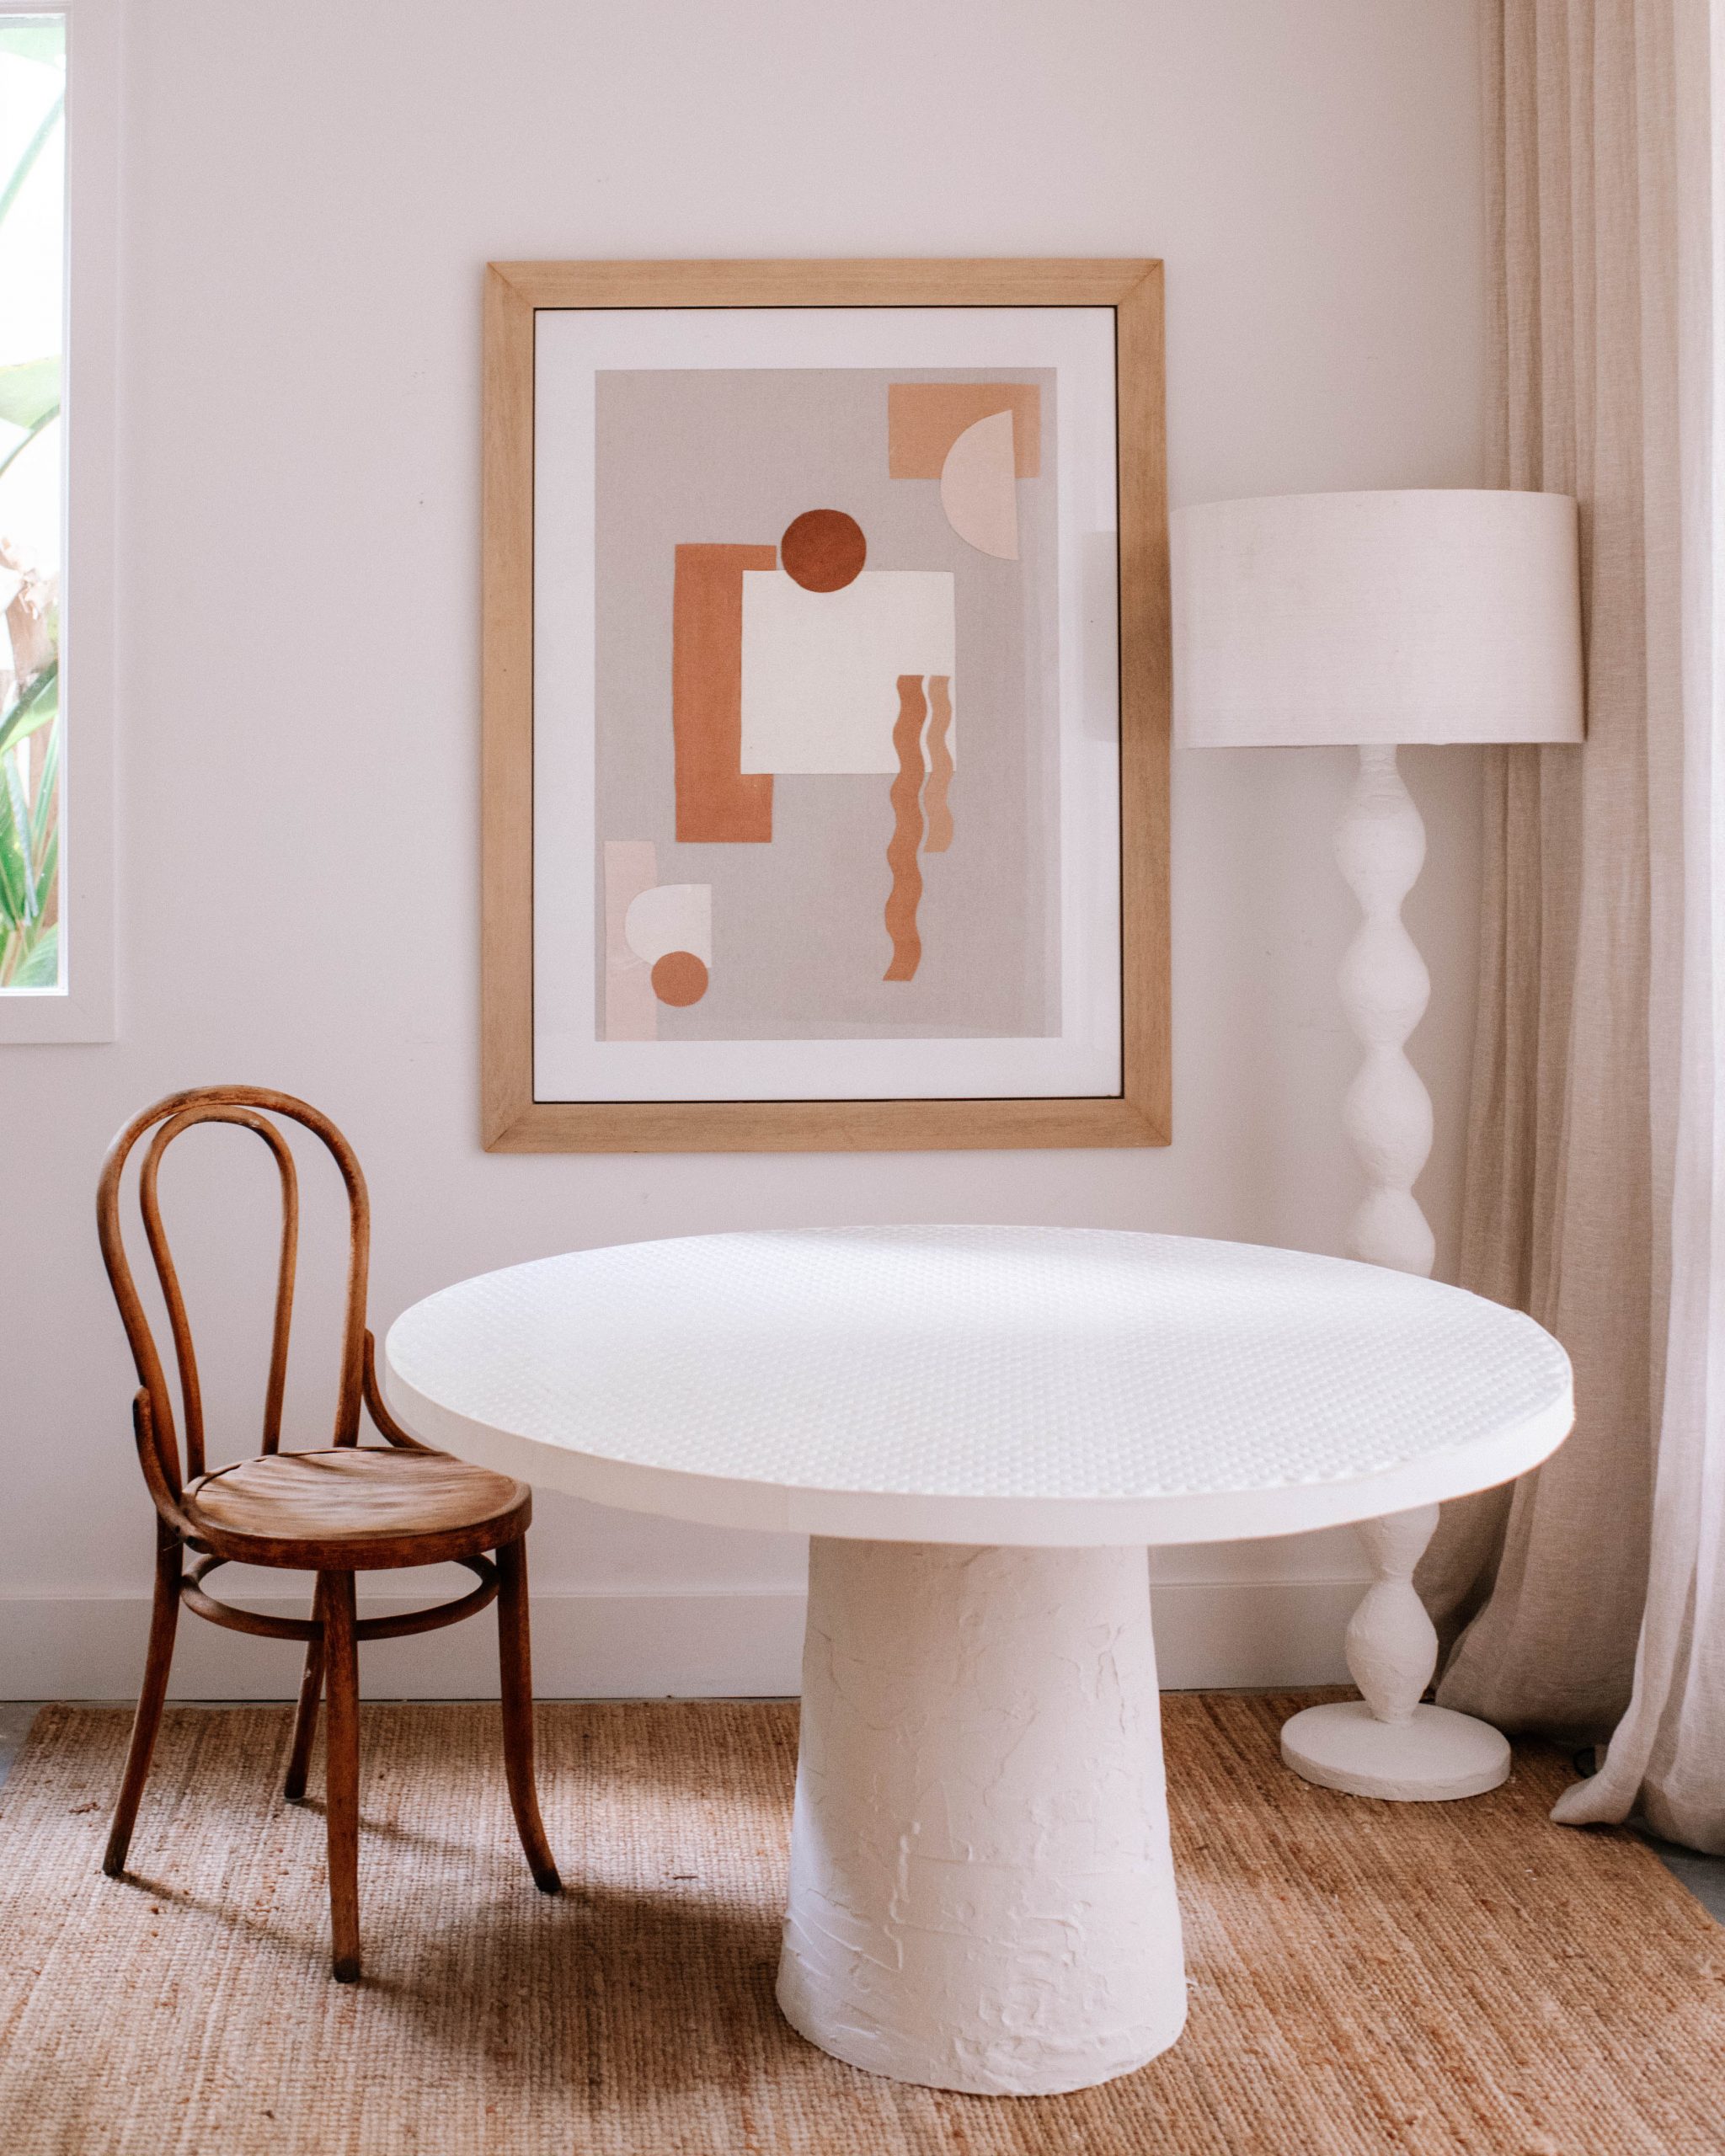
I’ve always loved the look of large scale art. It’s so striking hanging on a big wall and it always makes the space look so expensive.. Oh wait, that’s because usually it is!
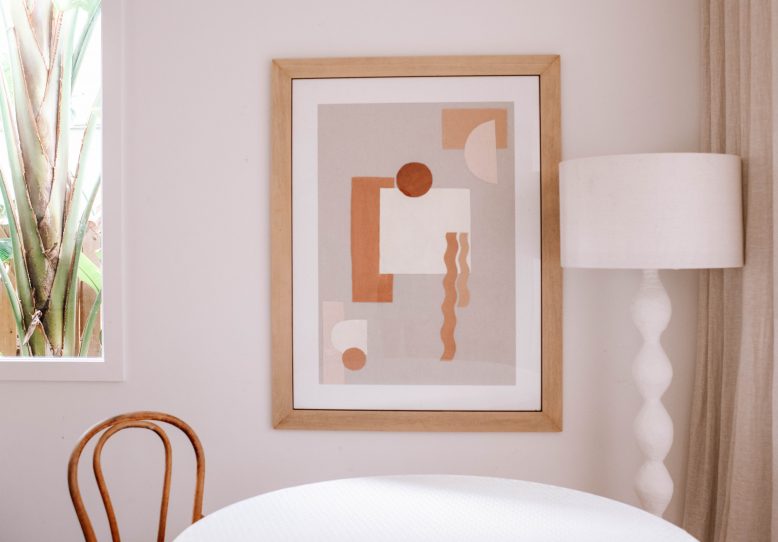
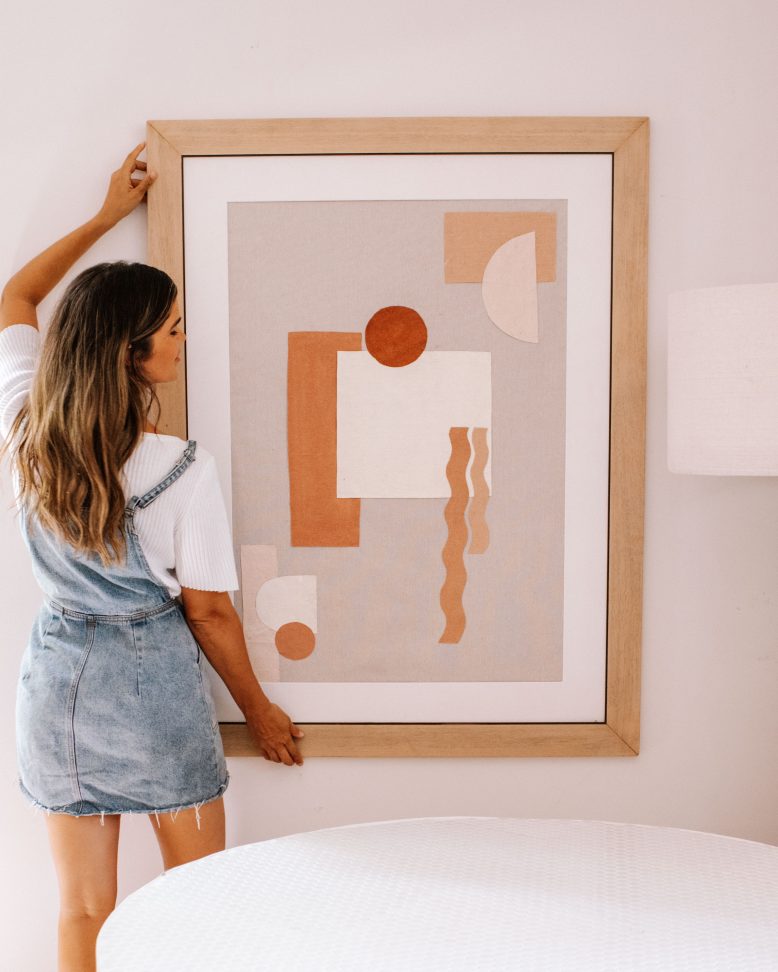
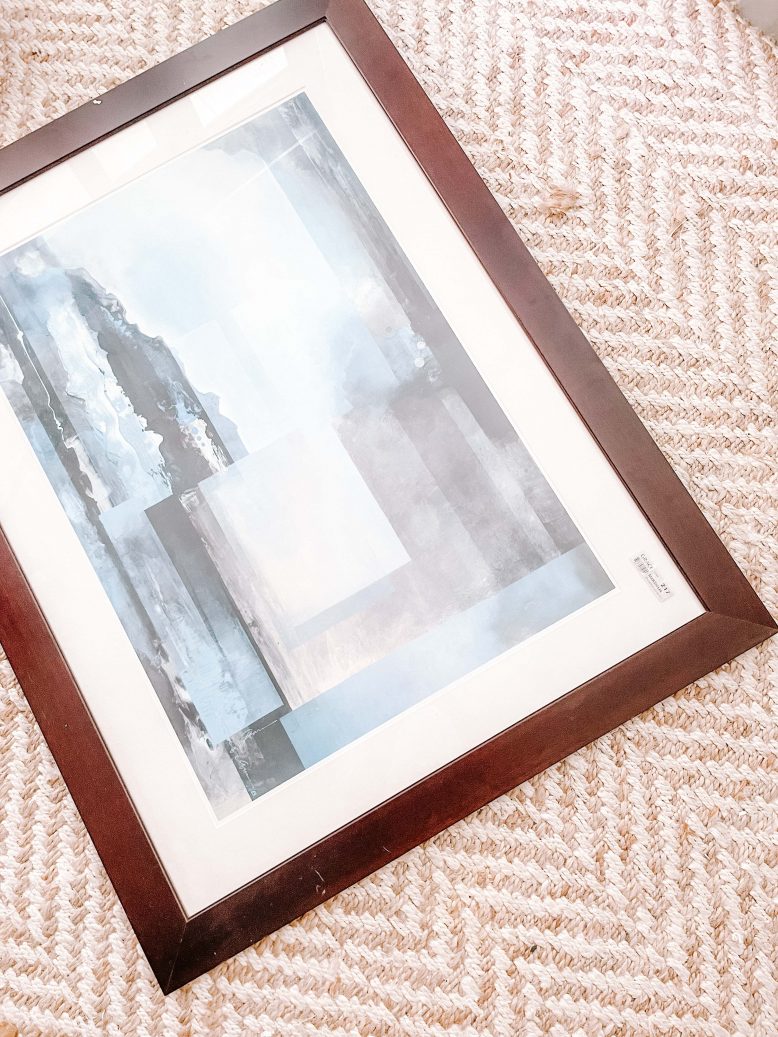
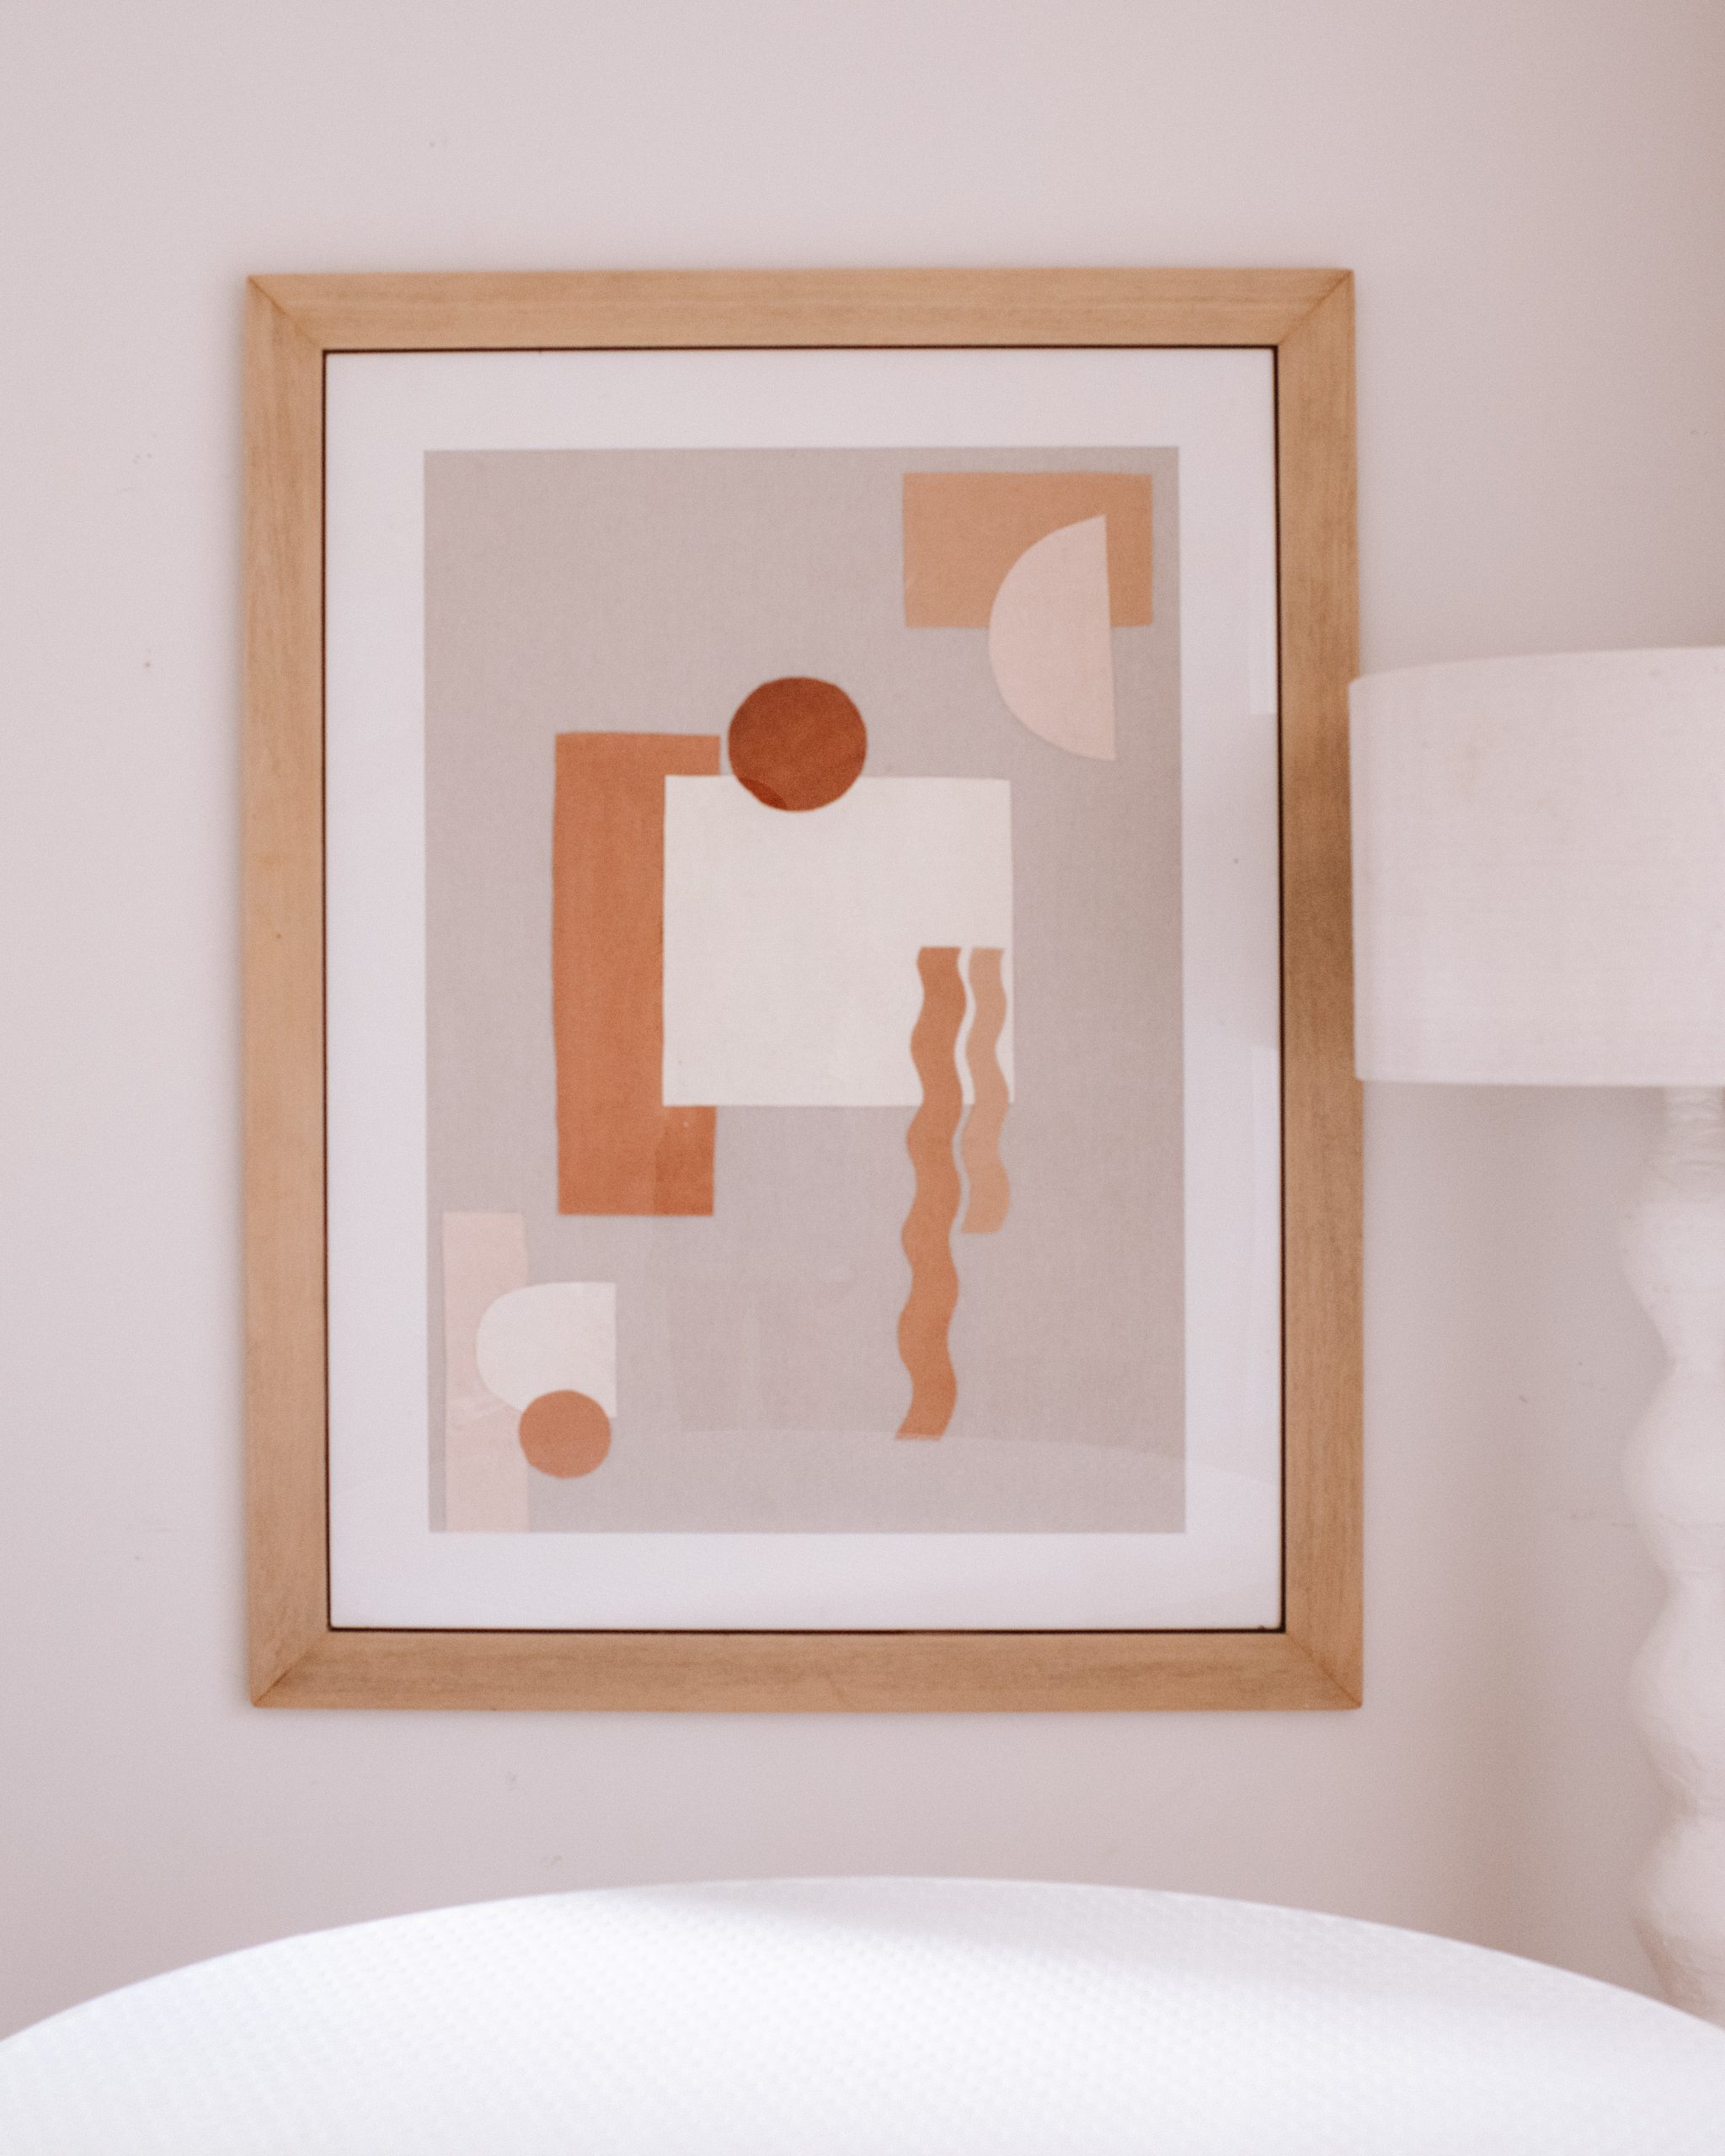
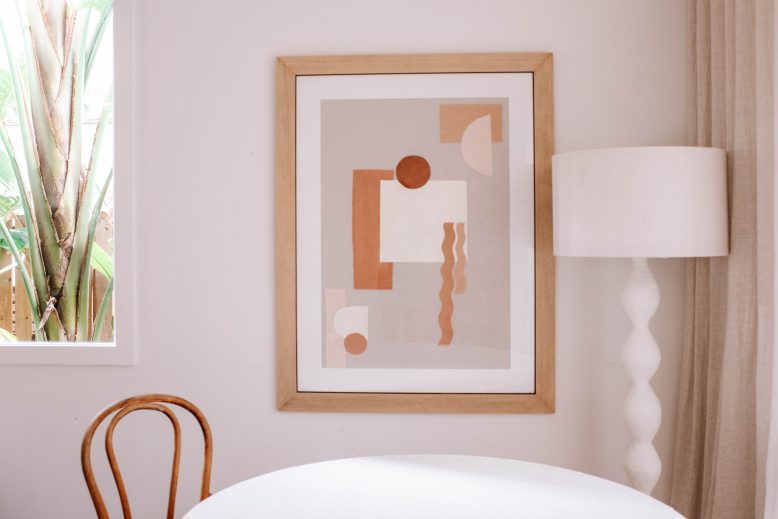
Framing alone can cost an arm a leg so I’ve been keeping an eye out for a large piece of secondhand art that I can give a bit of a glow up to. When I stumbled upon this huge framed print I knew I’d found what I was looking for, and it was the perfect final piece in my Aisle Upcycle series with Bunnings. Keep reading and I’ll show you how to make upcycled geometric art, using simple, unexpected materials, that won’t break the bank.
Materials you need
- Large-scale framed art that needs a new life
- Sander
- Drop cloth
- Paint (I used sample pots I already had)
- Paint Brush
- Hot glue gun
- Scissors
- Staple gun
How to – making Upcycled Geometric Art
1
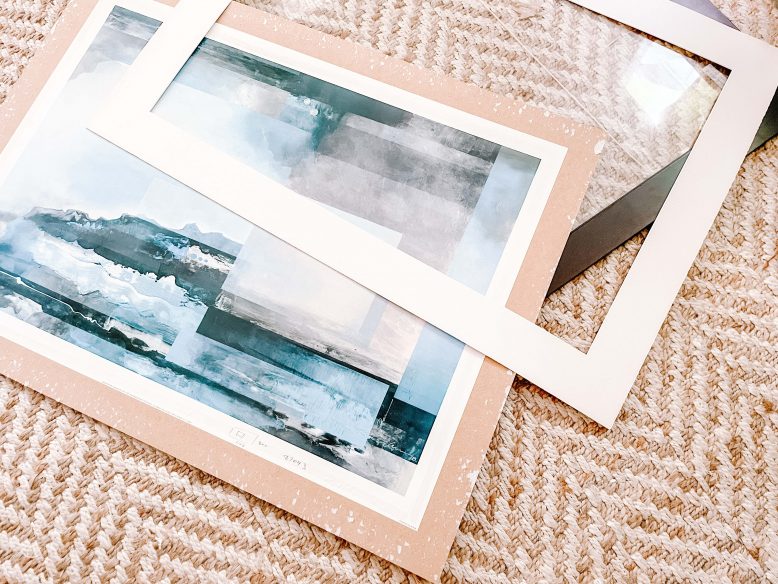
Begin by preparing your frame. I removed the print and the matting from the frame. If your matting is a little yellowed from age like mine, you can give it a coat of paint to freshen it up.
2
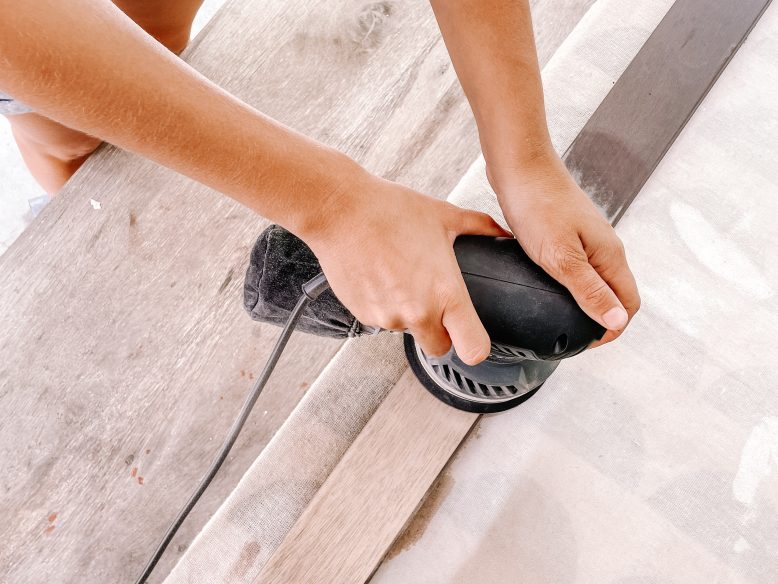
You may like to remove the glass from your frame next. Mine was stuck so I left it in and was very careful not to scratch or break it. My wooden frame sanded down to a really nice light wood tone. When I buy things secondhand I'm always prepared to change the plan if things are different underneath to what I'm expecting, so if you aren't able to sand yours down, simply paint the frame.
3
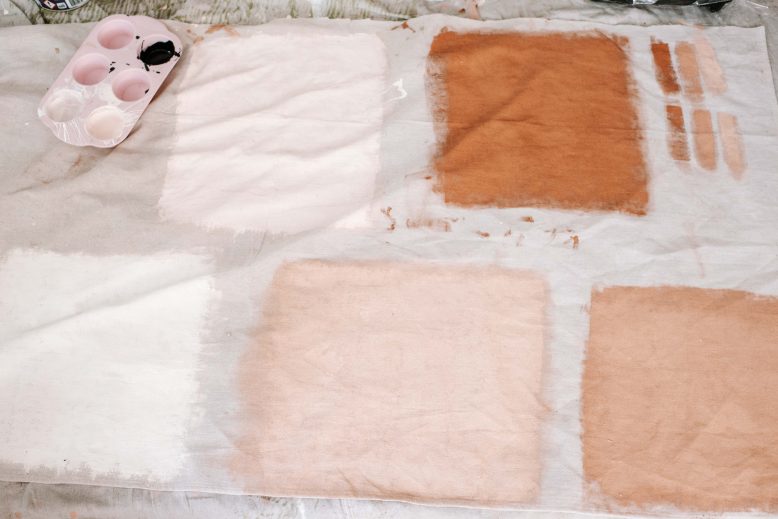
Next it's time to play with some colour and shapes. I painted blocks of colour on a drop cloth in different pink and brown tones. I find it's good to stick with a few similar colours to keep in simple and cohesive.
4
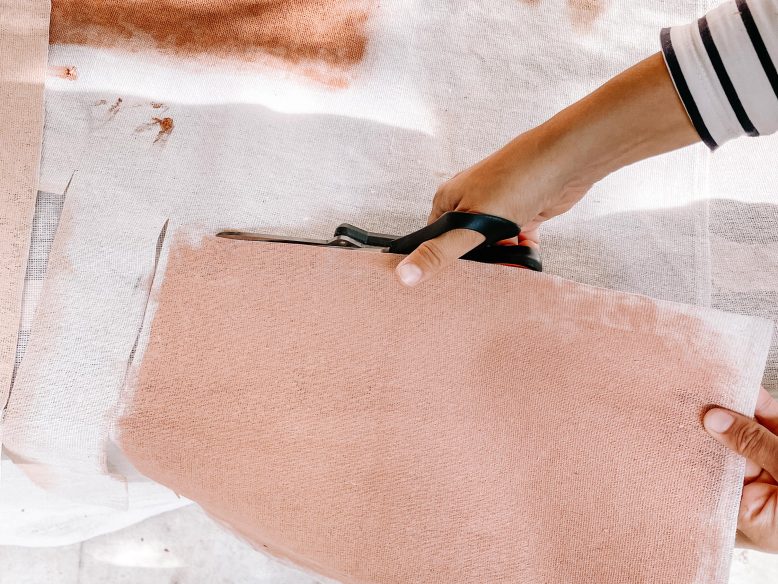
I then cut out different shapes in various sizes from each colour. You may like to cut more than you need so you have different options to play around with.
5
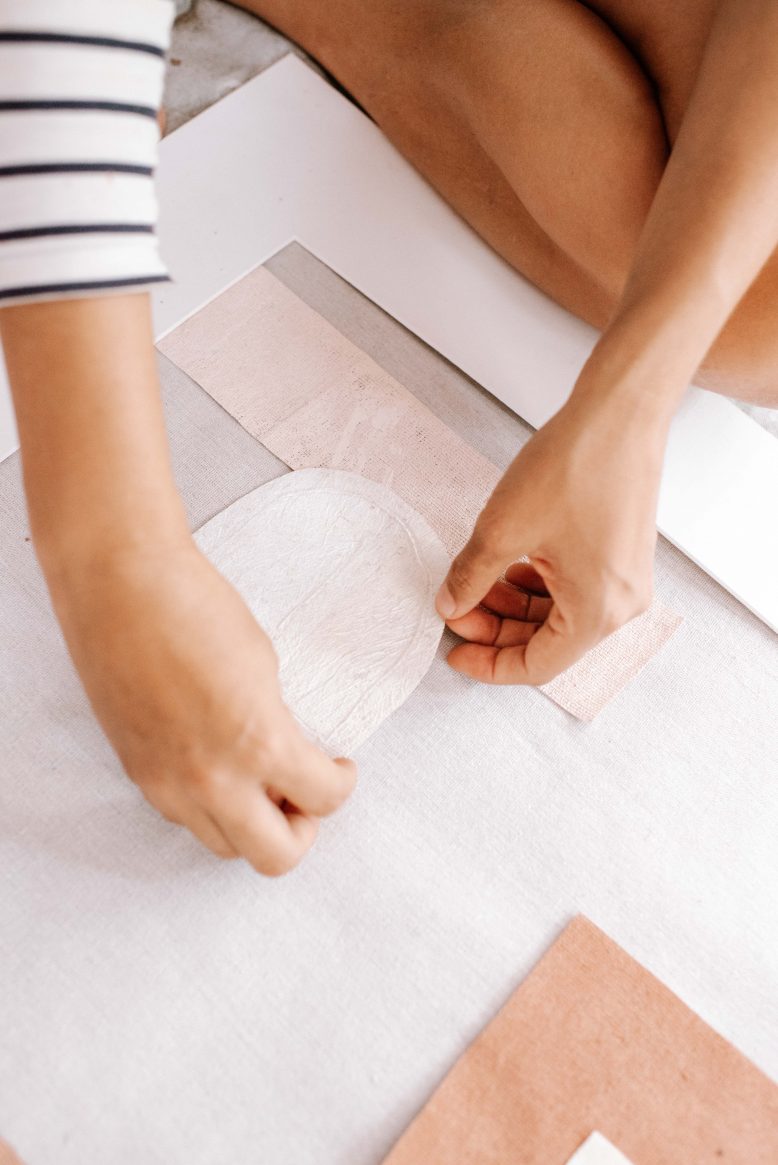
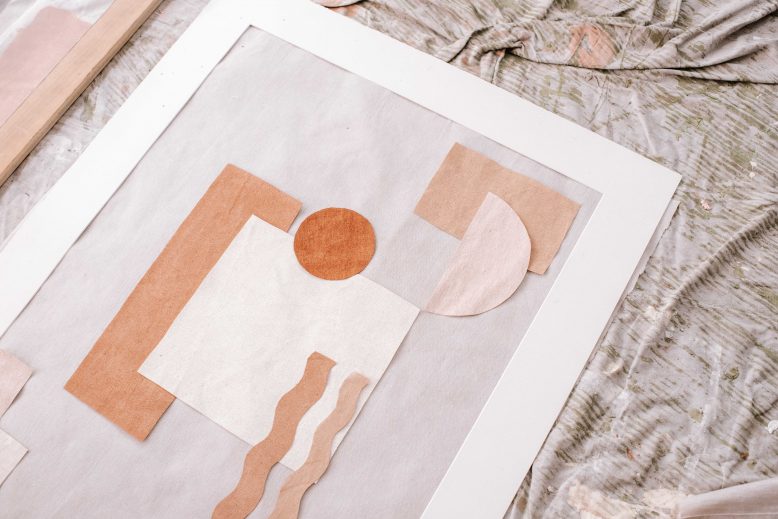
Cut a piece of drop cloth the same size at the original art. Add your shapes onto the backing and move them around until you get a look you're happy with. For this type of thing I like the do a few combinations and take a photo of each so I can look back and decide which was the best.
6
Remember to take into account the matting when placing your shapes. I laid mine over to check I liked how it all looked.
7
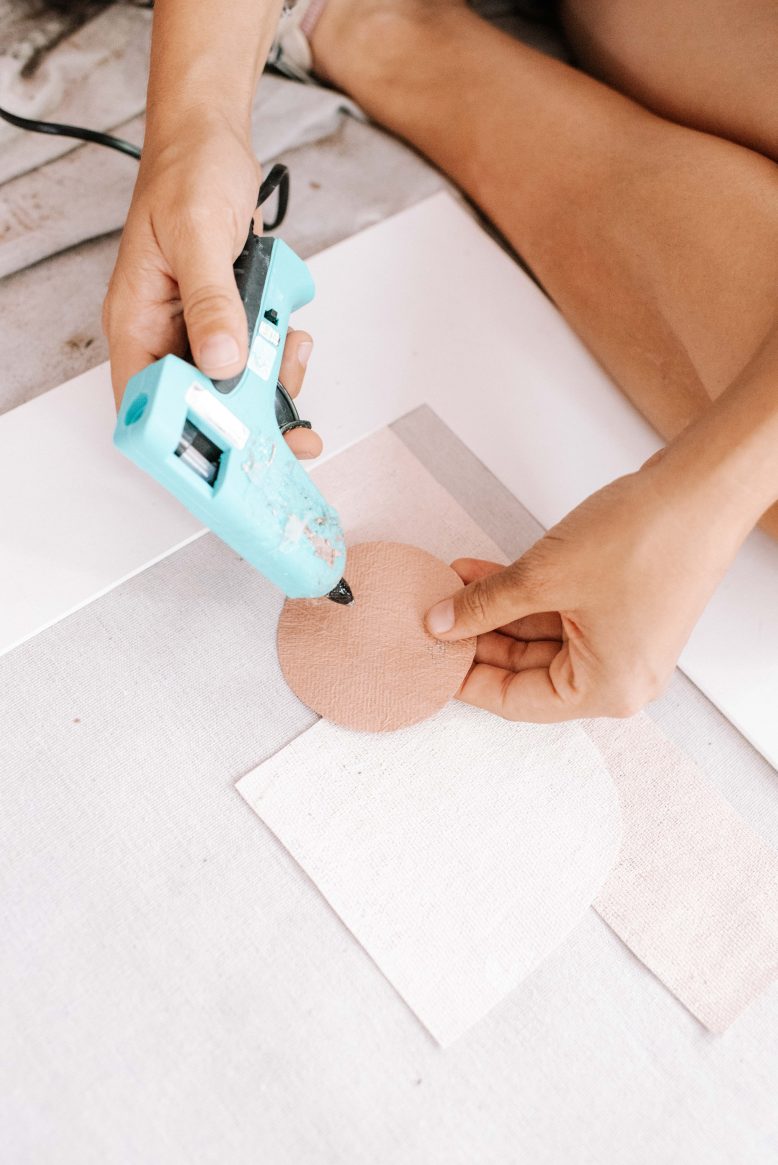
Once you have things positioned in the right place, you can begin to glue things down using a hot glue gun. Be careful to place the glue on evenly and once you place the shape down, smooth the glue out with your fingers. This will ensure you don't see lumps of glue.
8
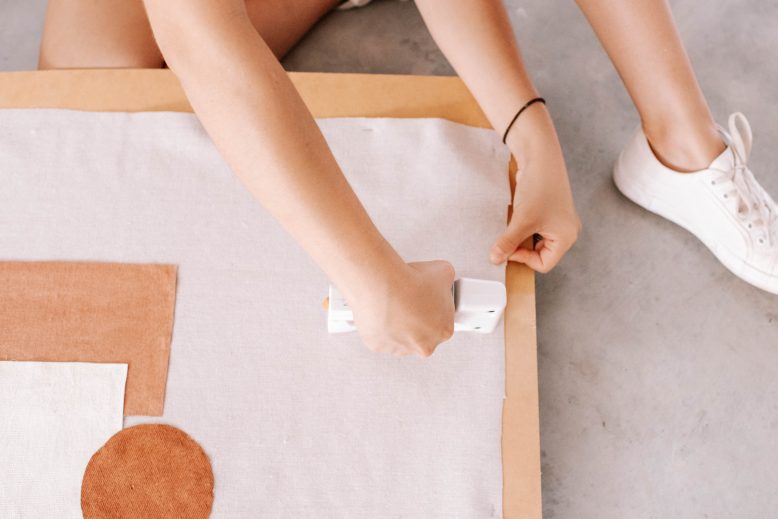
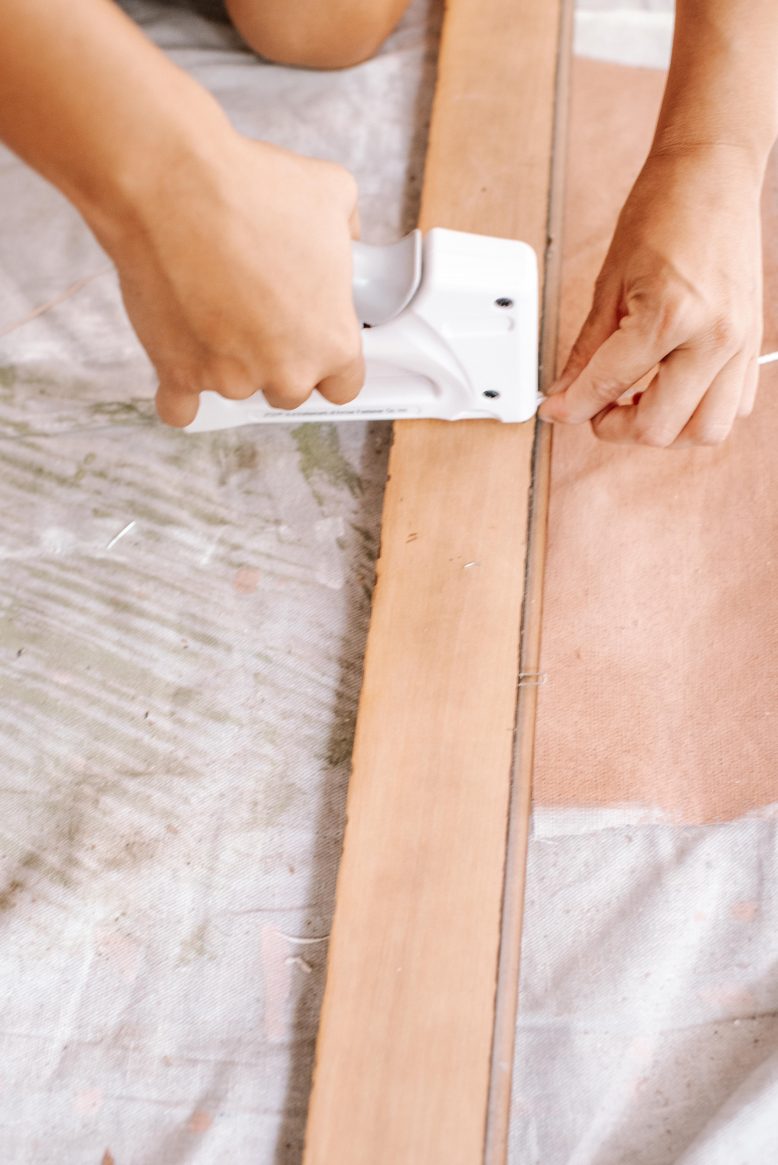
Before placing everything back into the frame, staple the backing onto the board of the original artwork. This will ensure your new art will always stay perfectly flat.
9
Finally, place the artwork, matting and glass into the frame and if you need to add a string to hang, you can staple it on now.
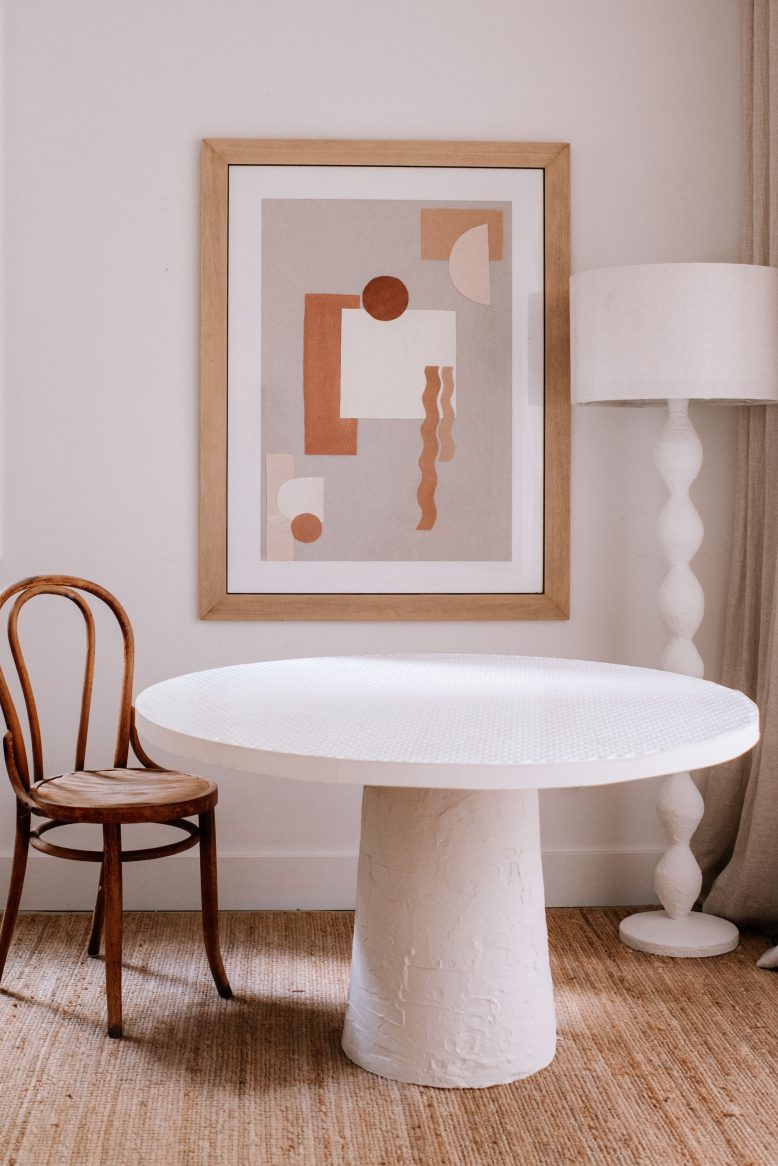
Such a fun and simple project with big wow factor! Art this big looks so impressive and yet it cost so little! And I really enjoyed doing it – playing with colour and shapes is always kind of therapeutic for me.
I hope this has encouraged you to look at art a little differently and perhaps have a go at making upcycled art for yourself. By the way, if you love this little corner of the office, check out this table DIY and this lamp DIY.
This project is in collaboration with Bunnings.


