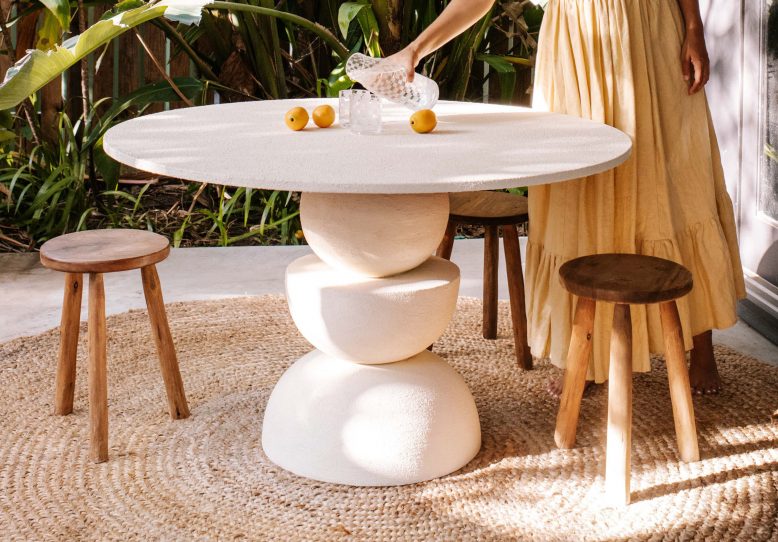
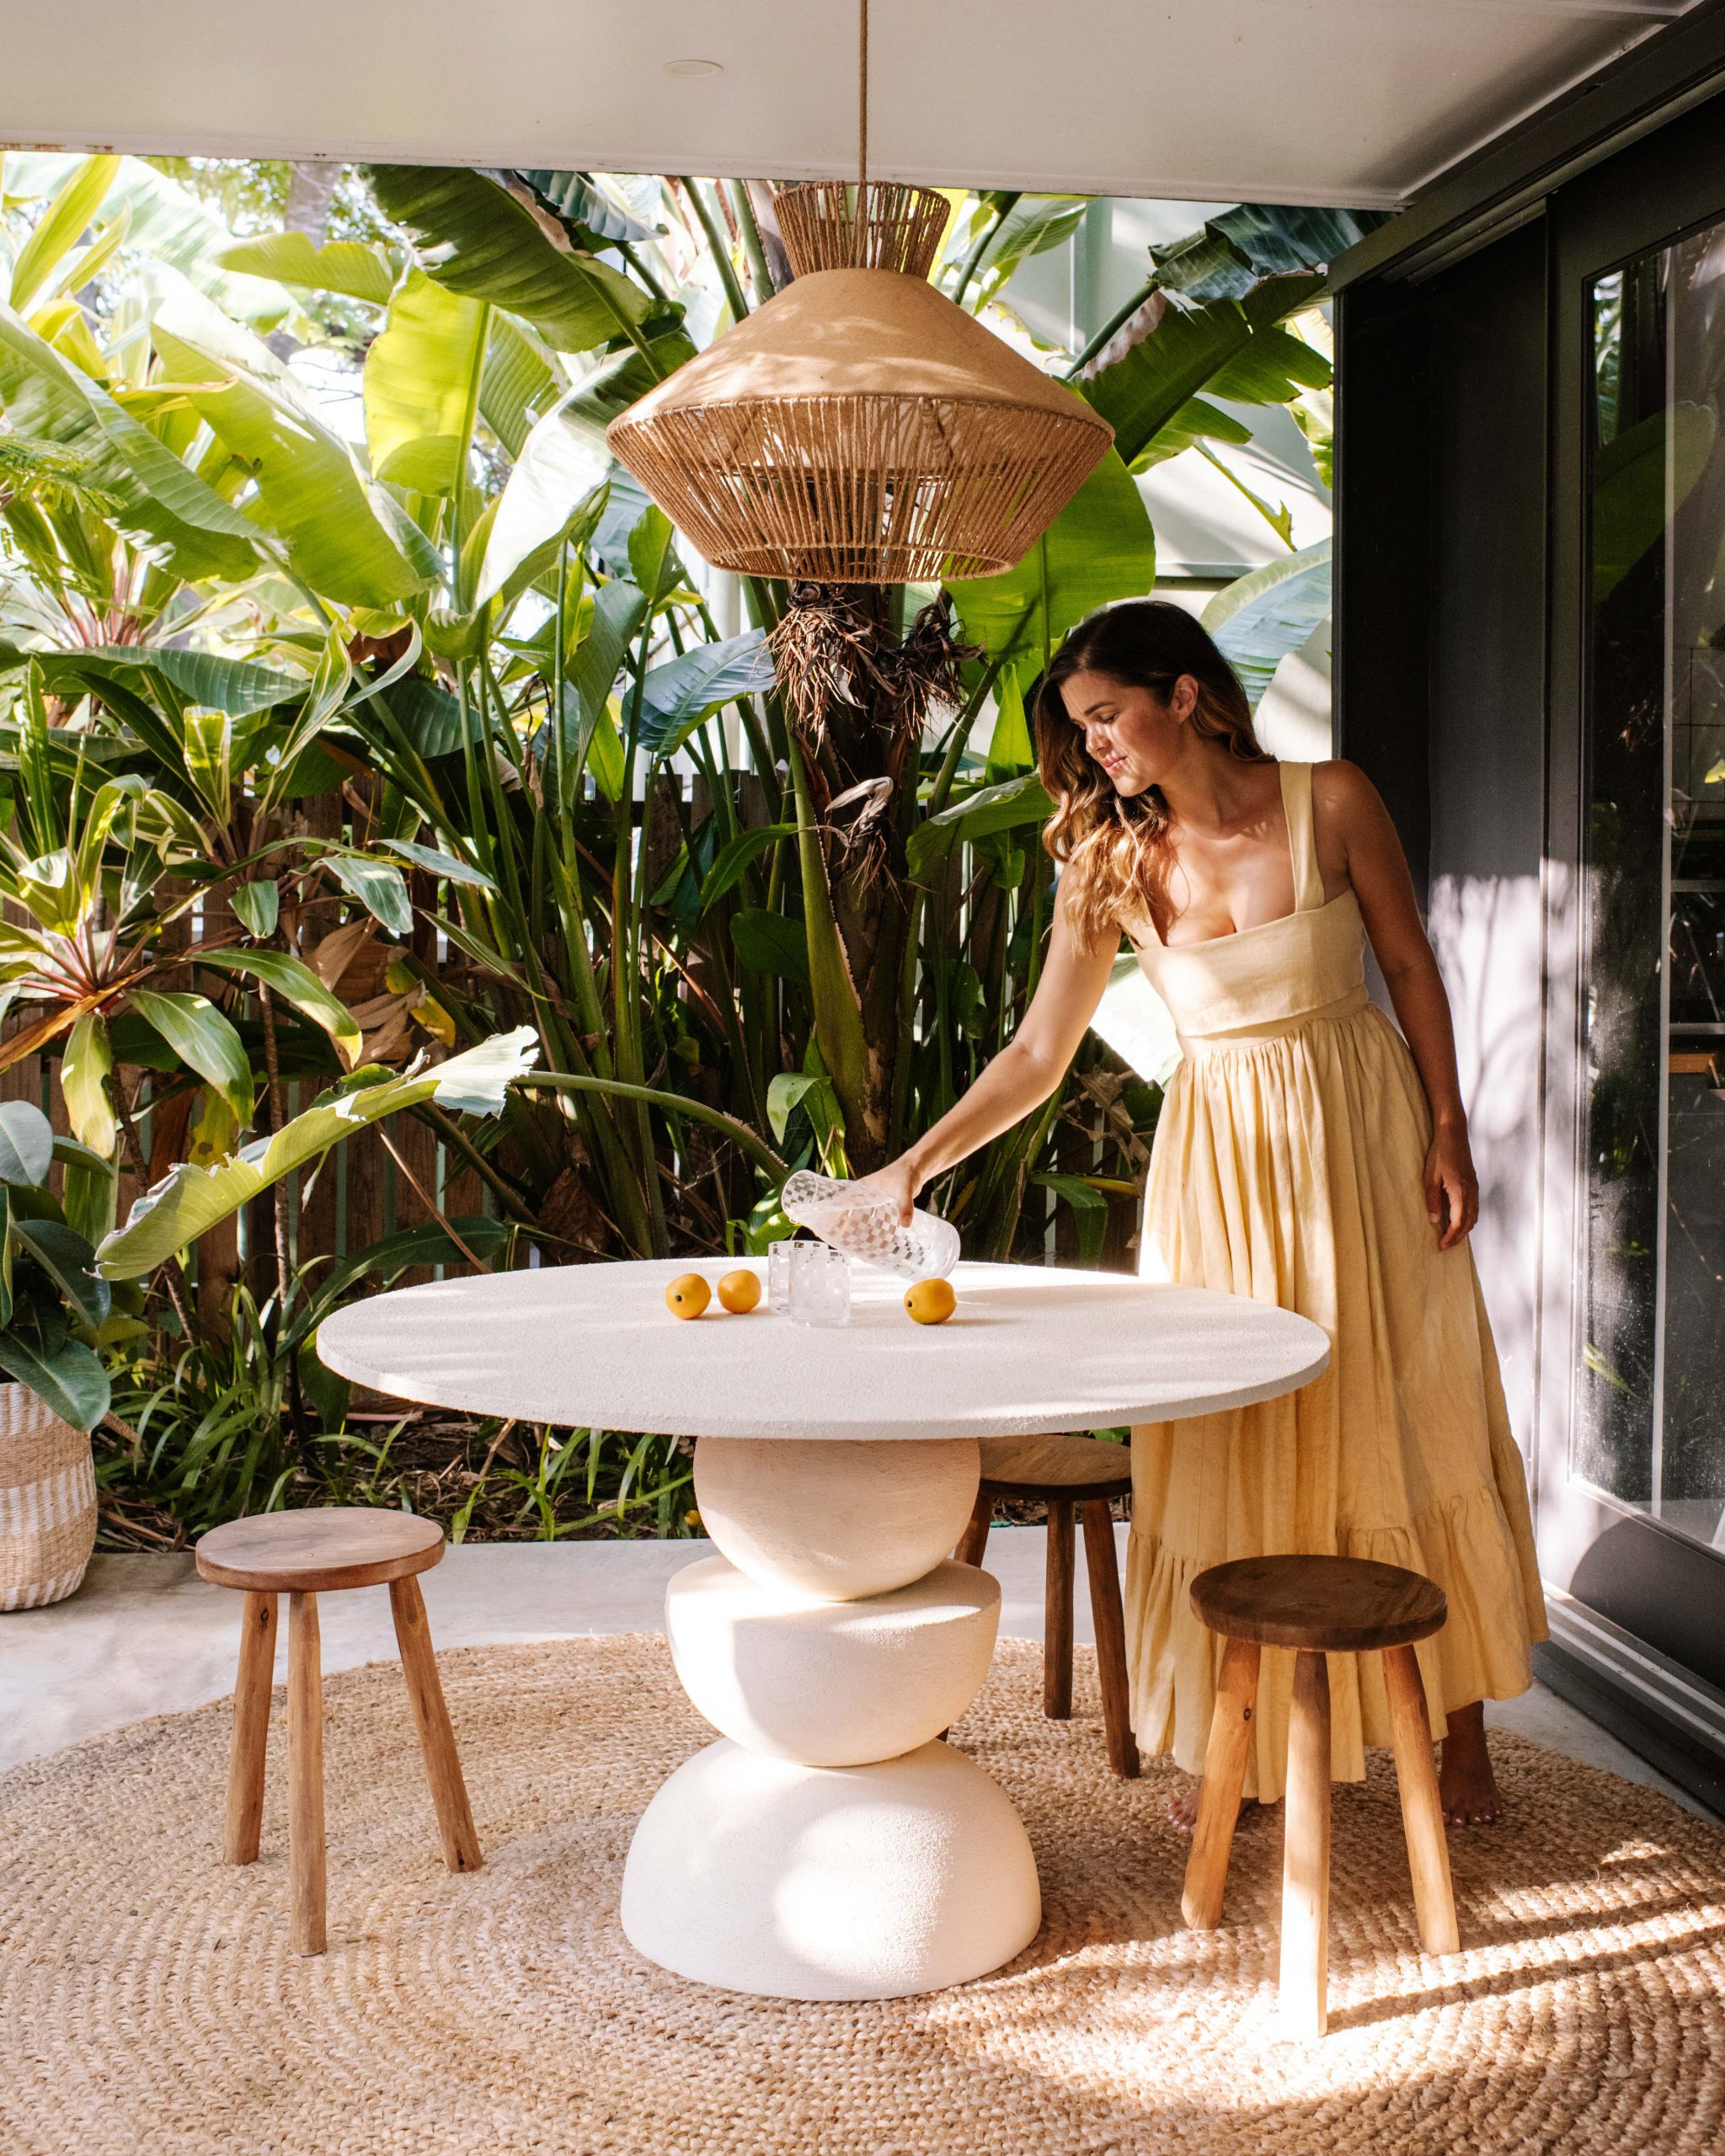
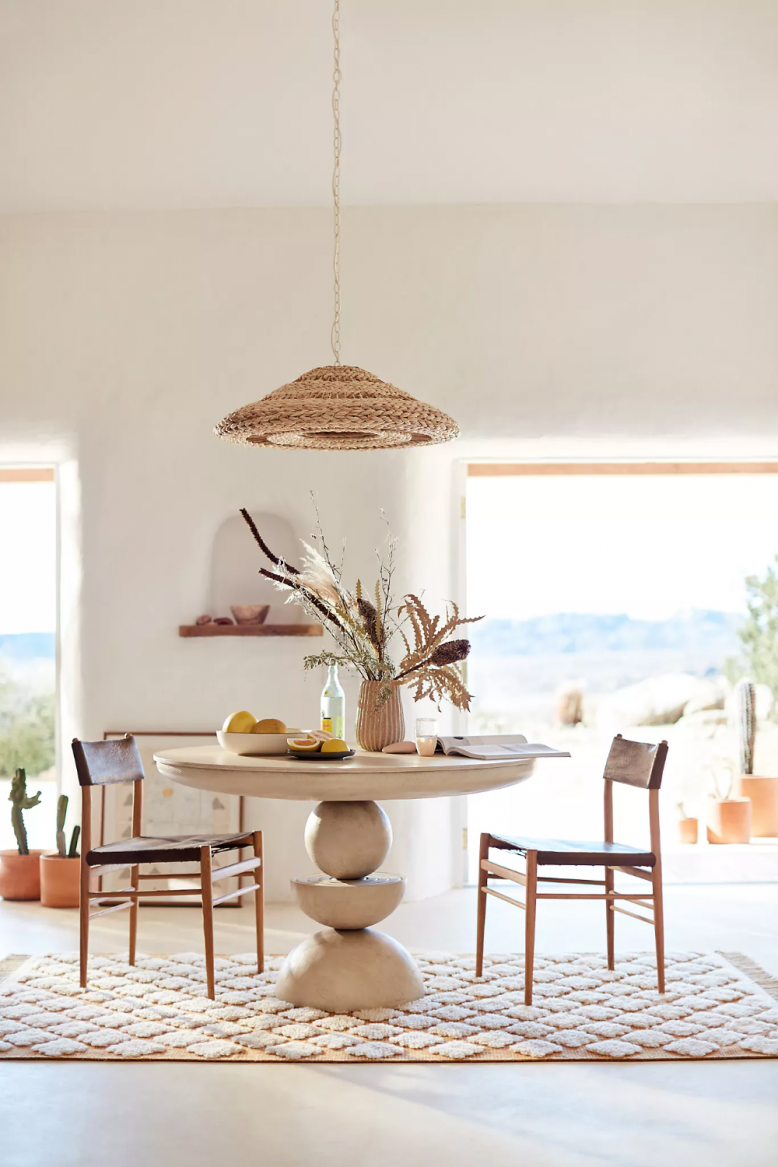
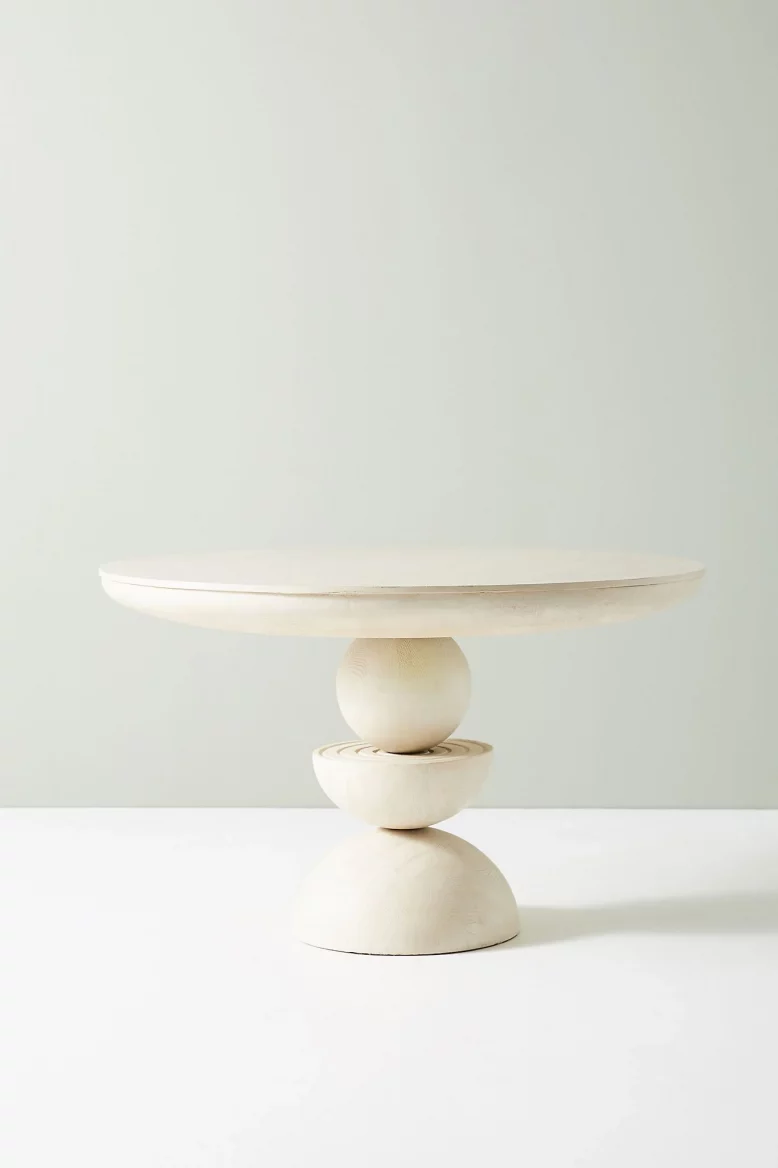
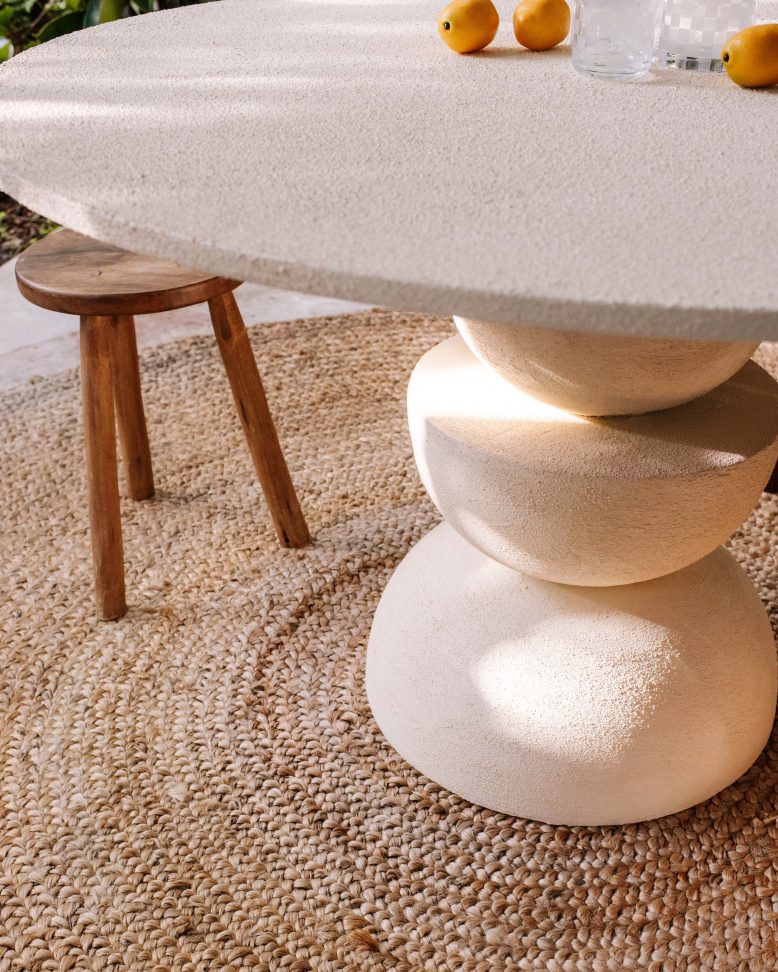
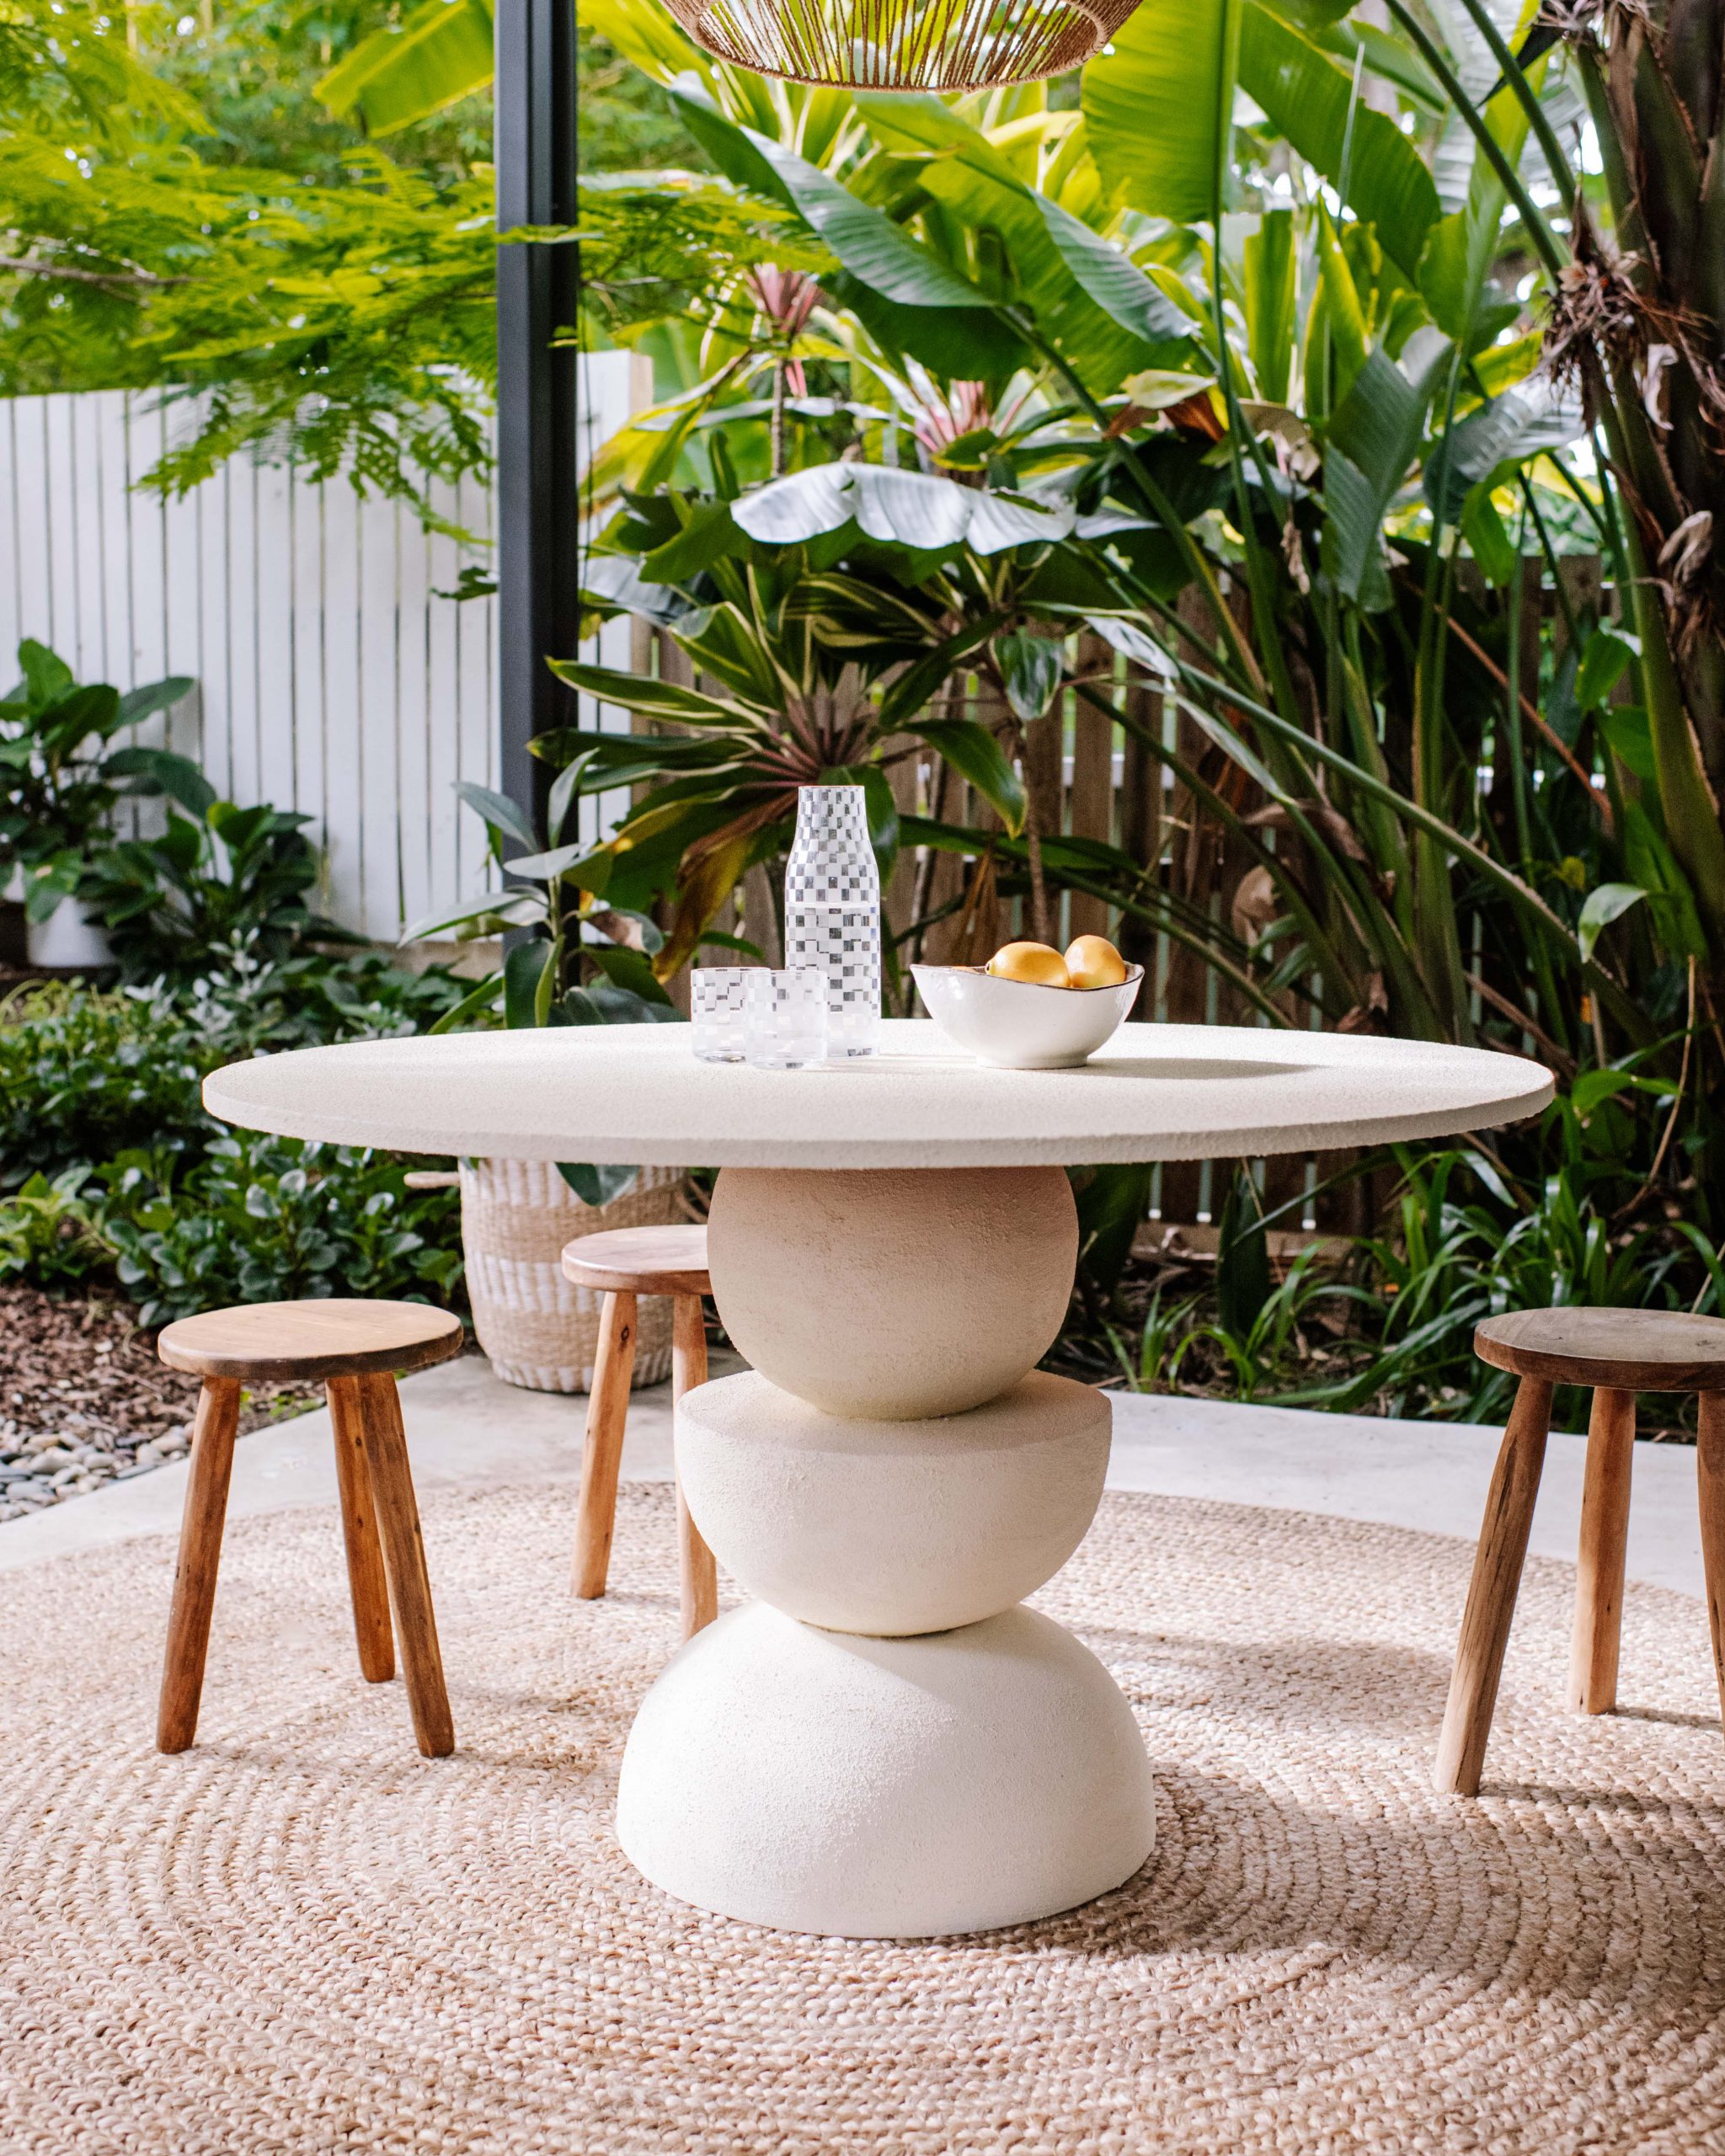
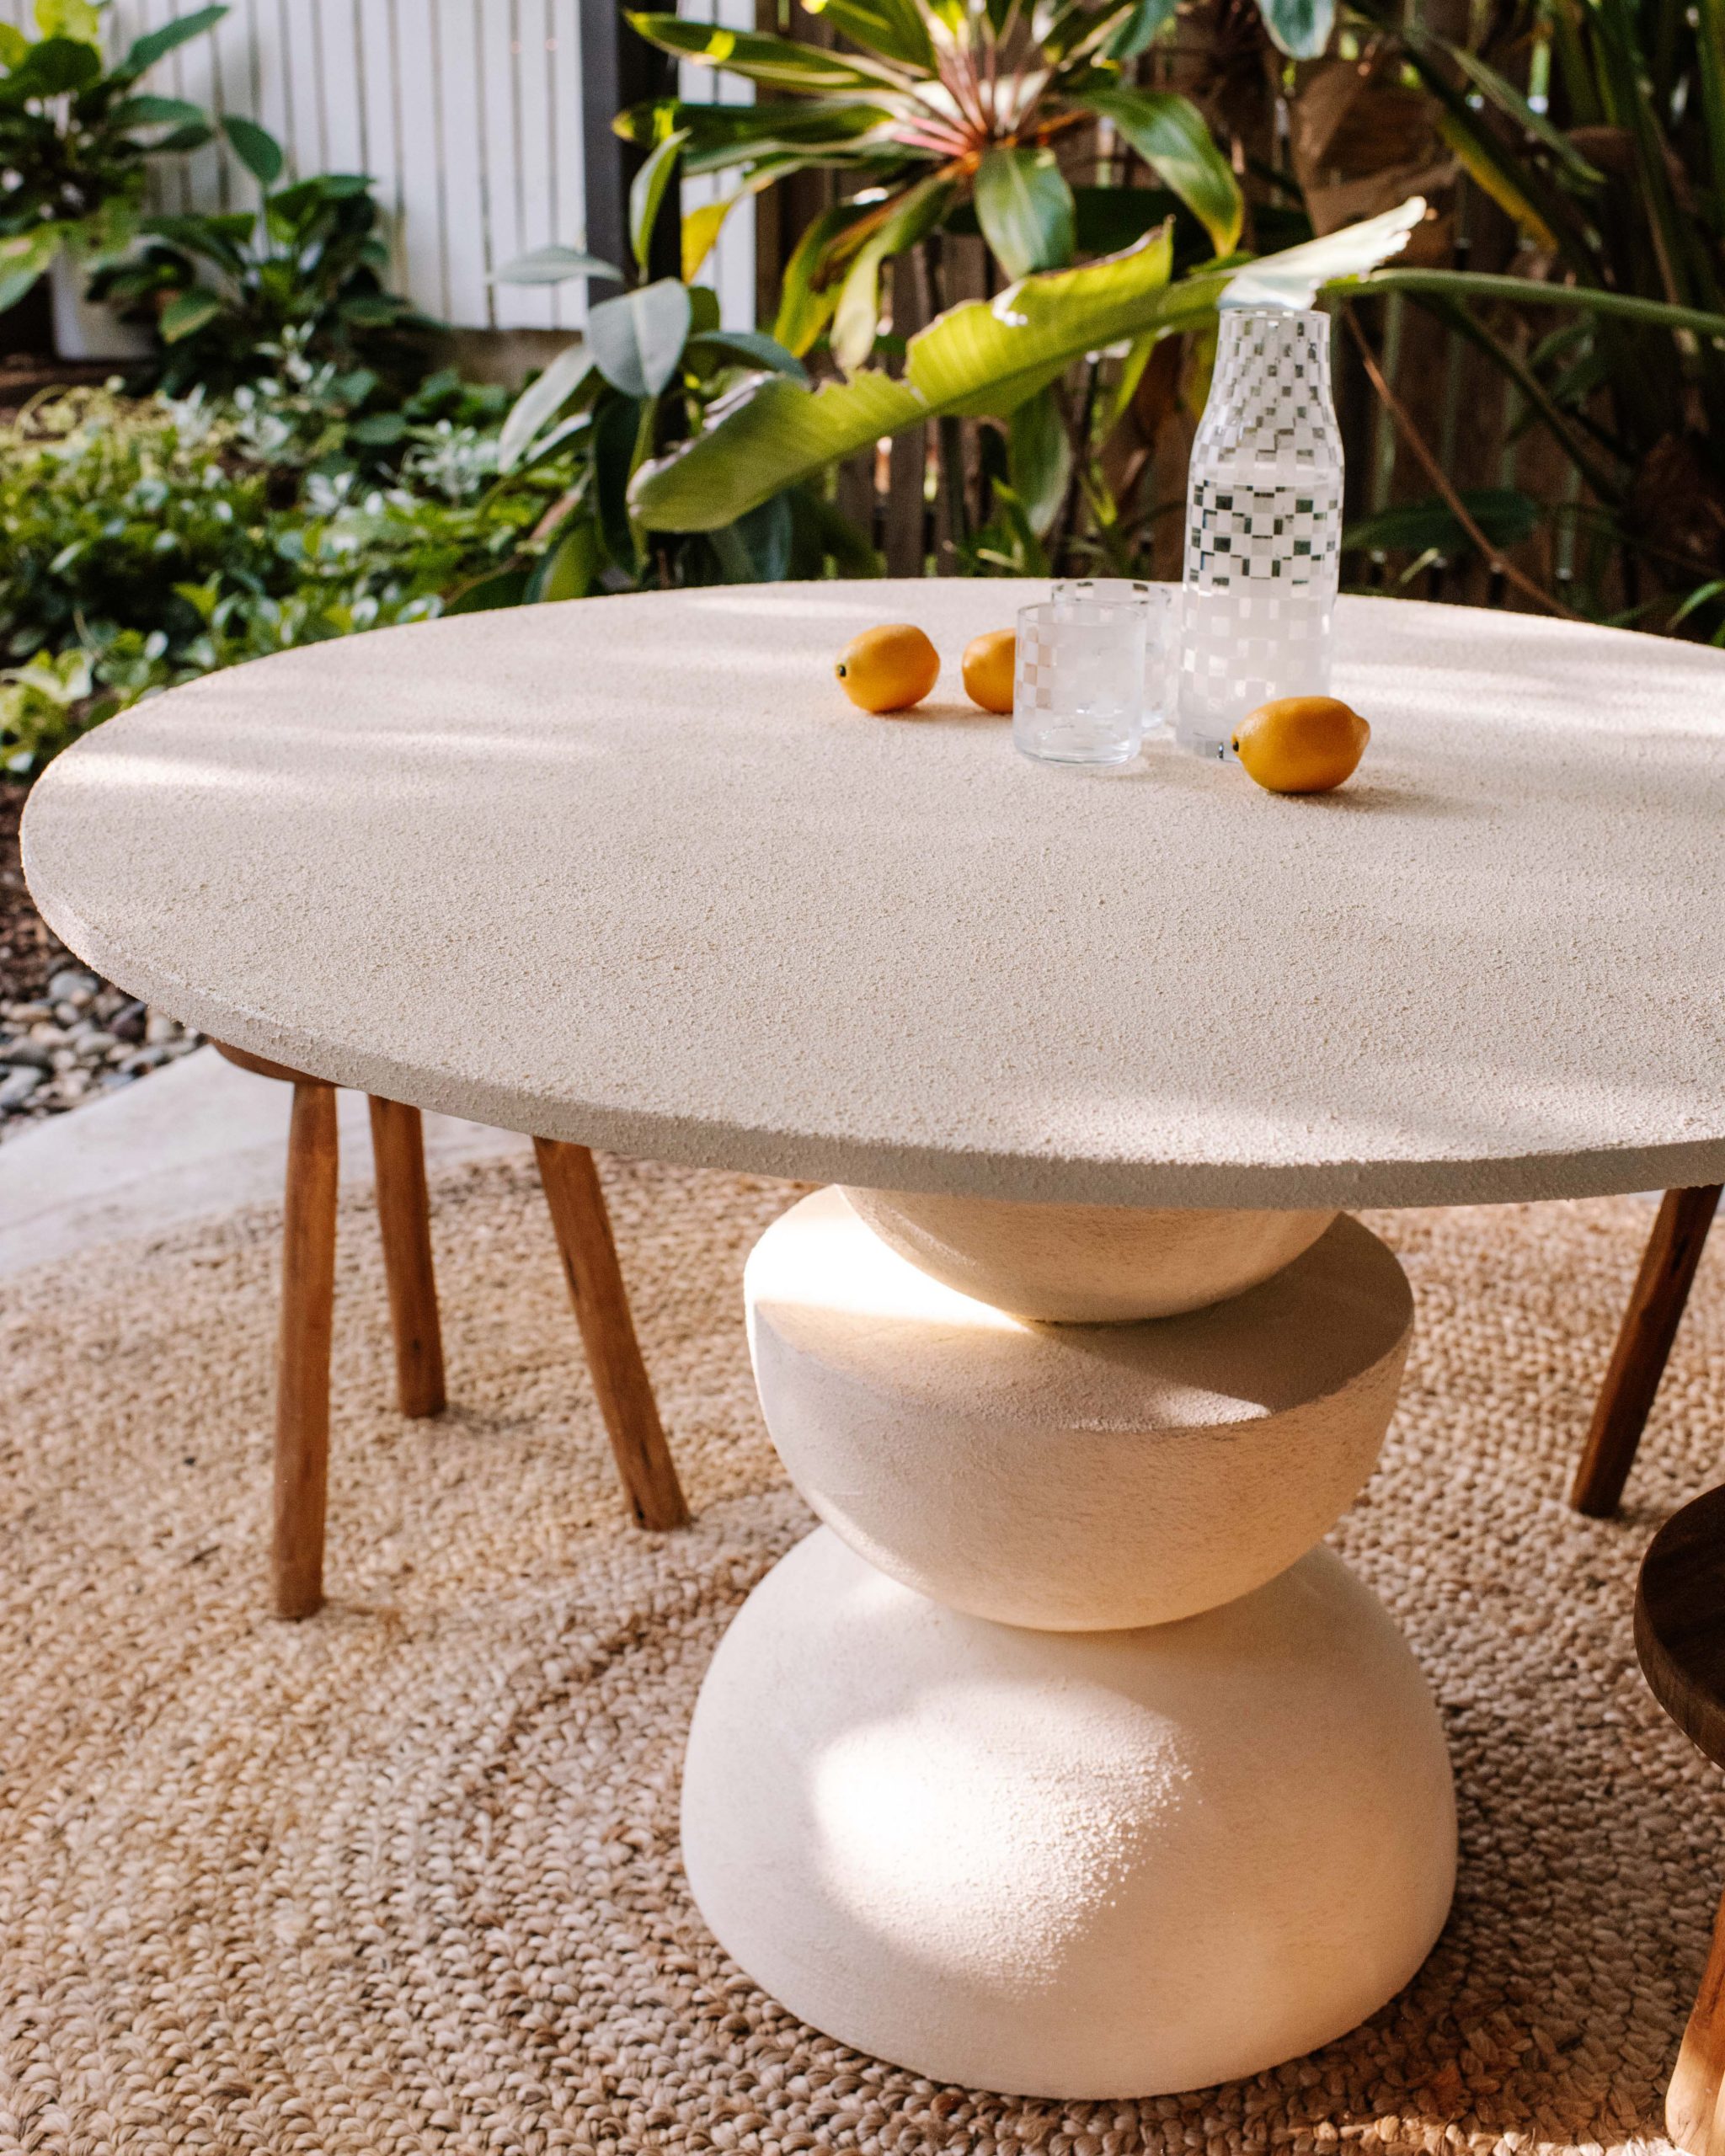
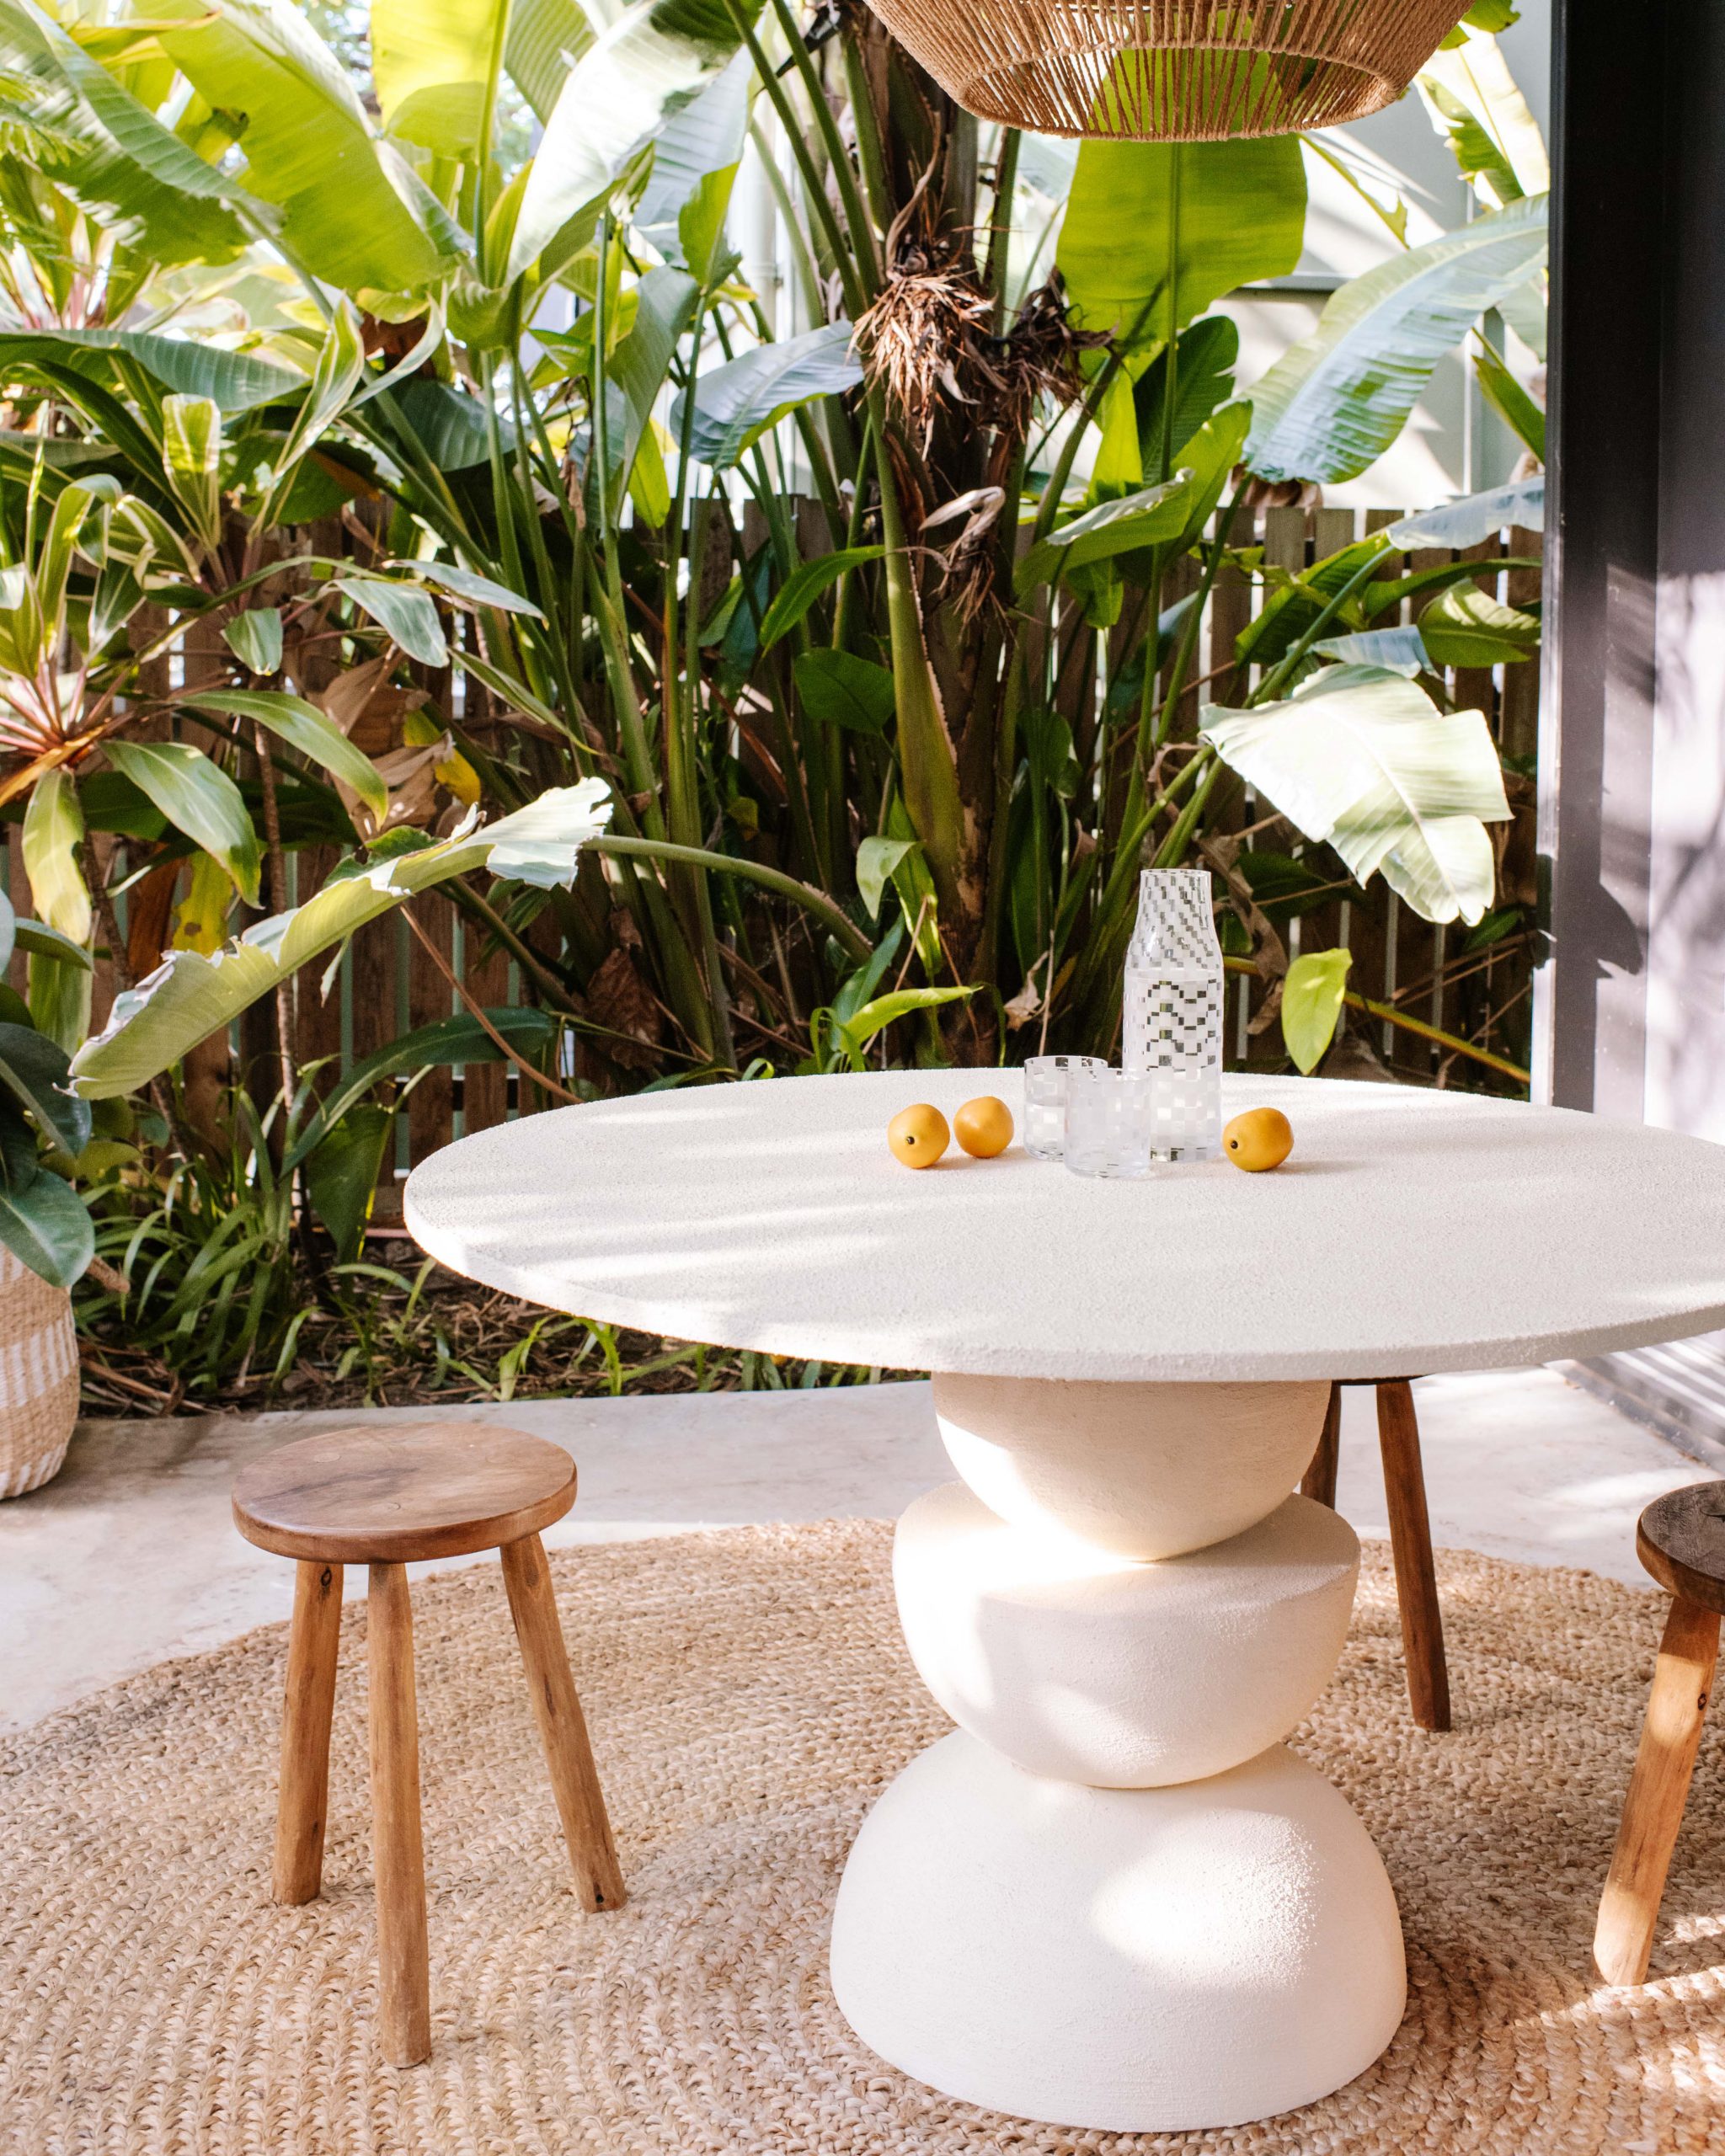
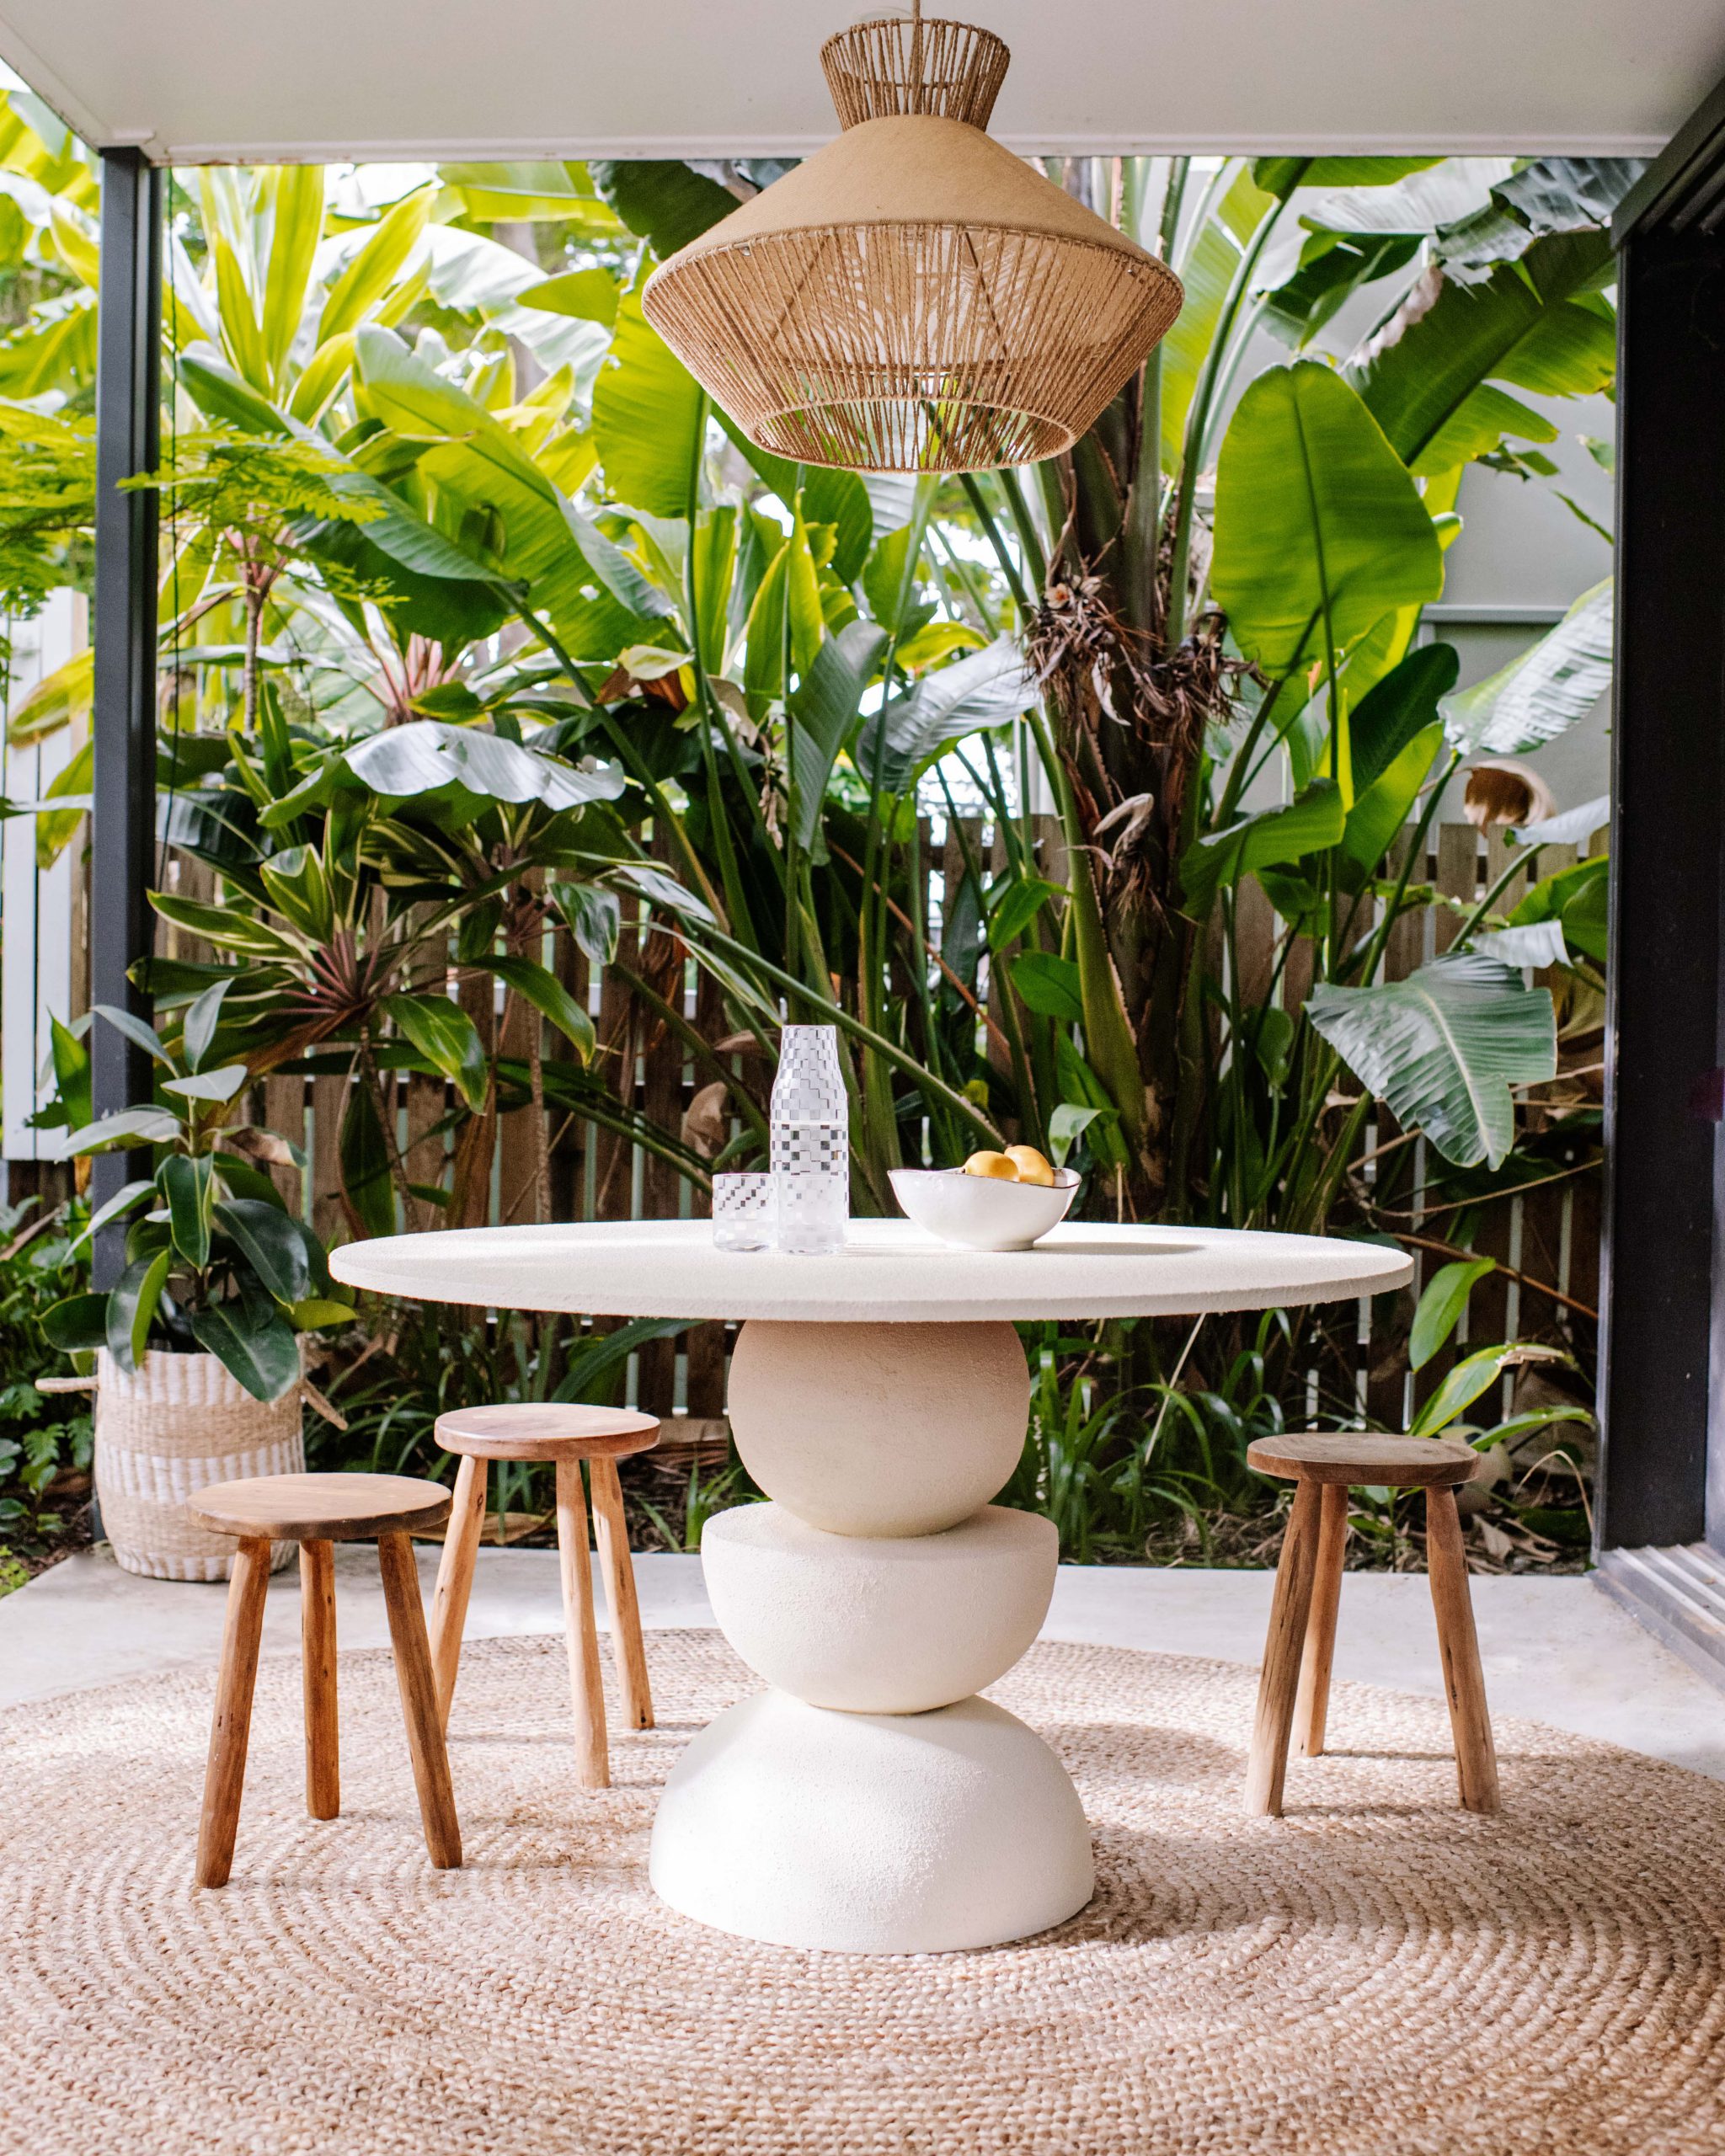
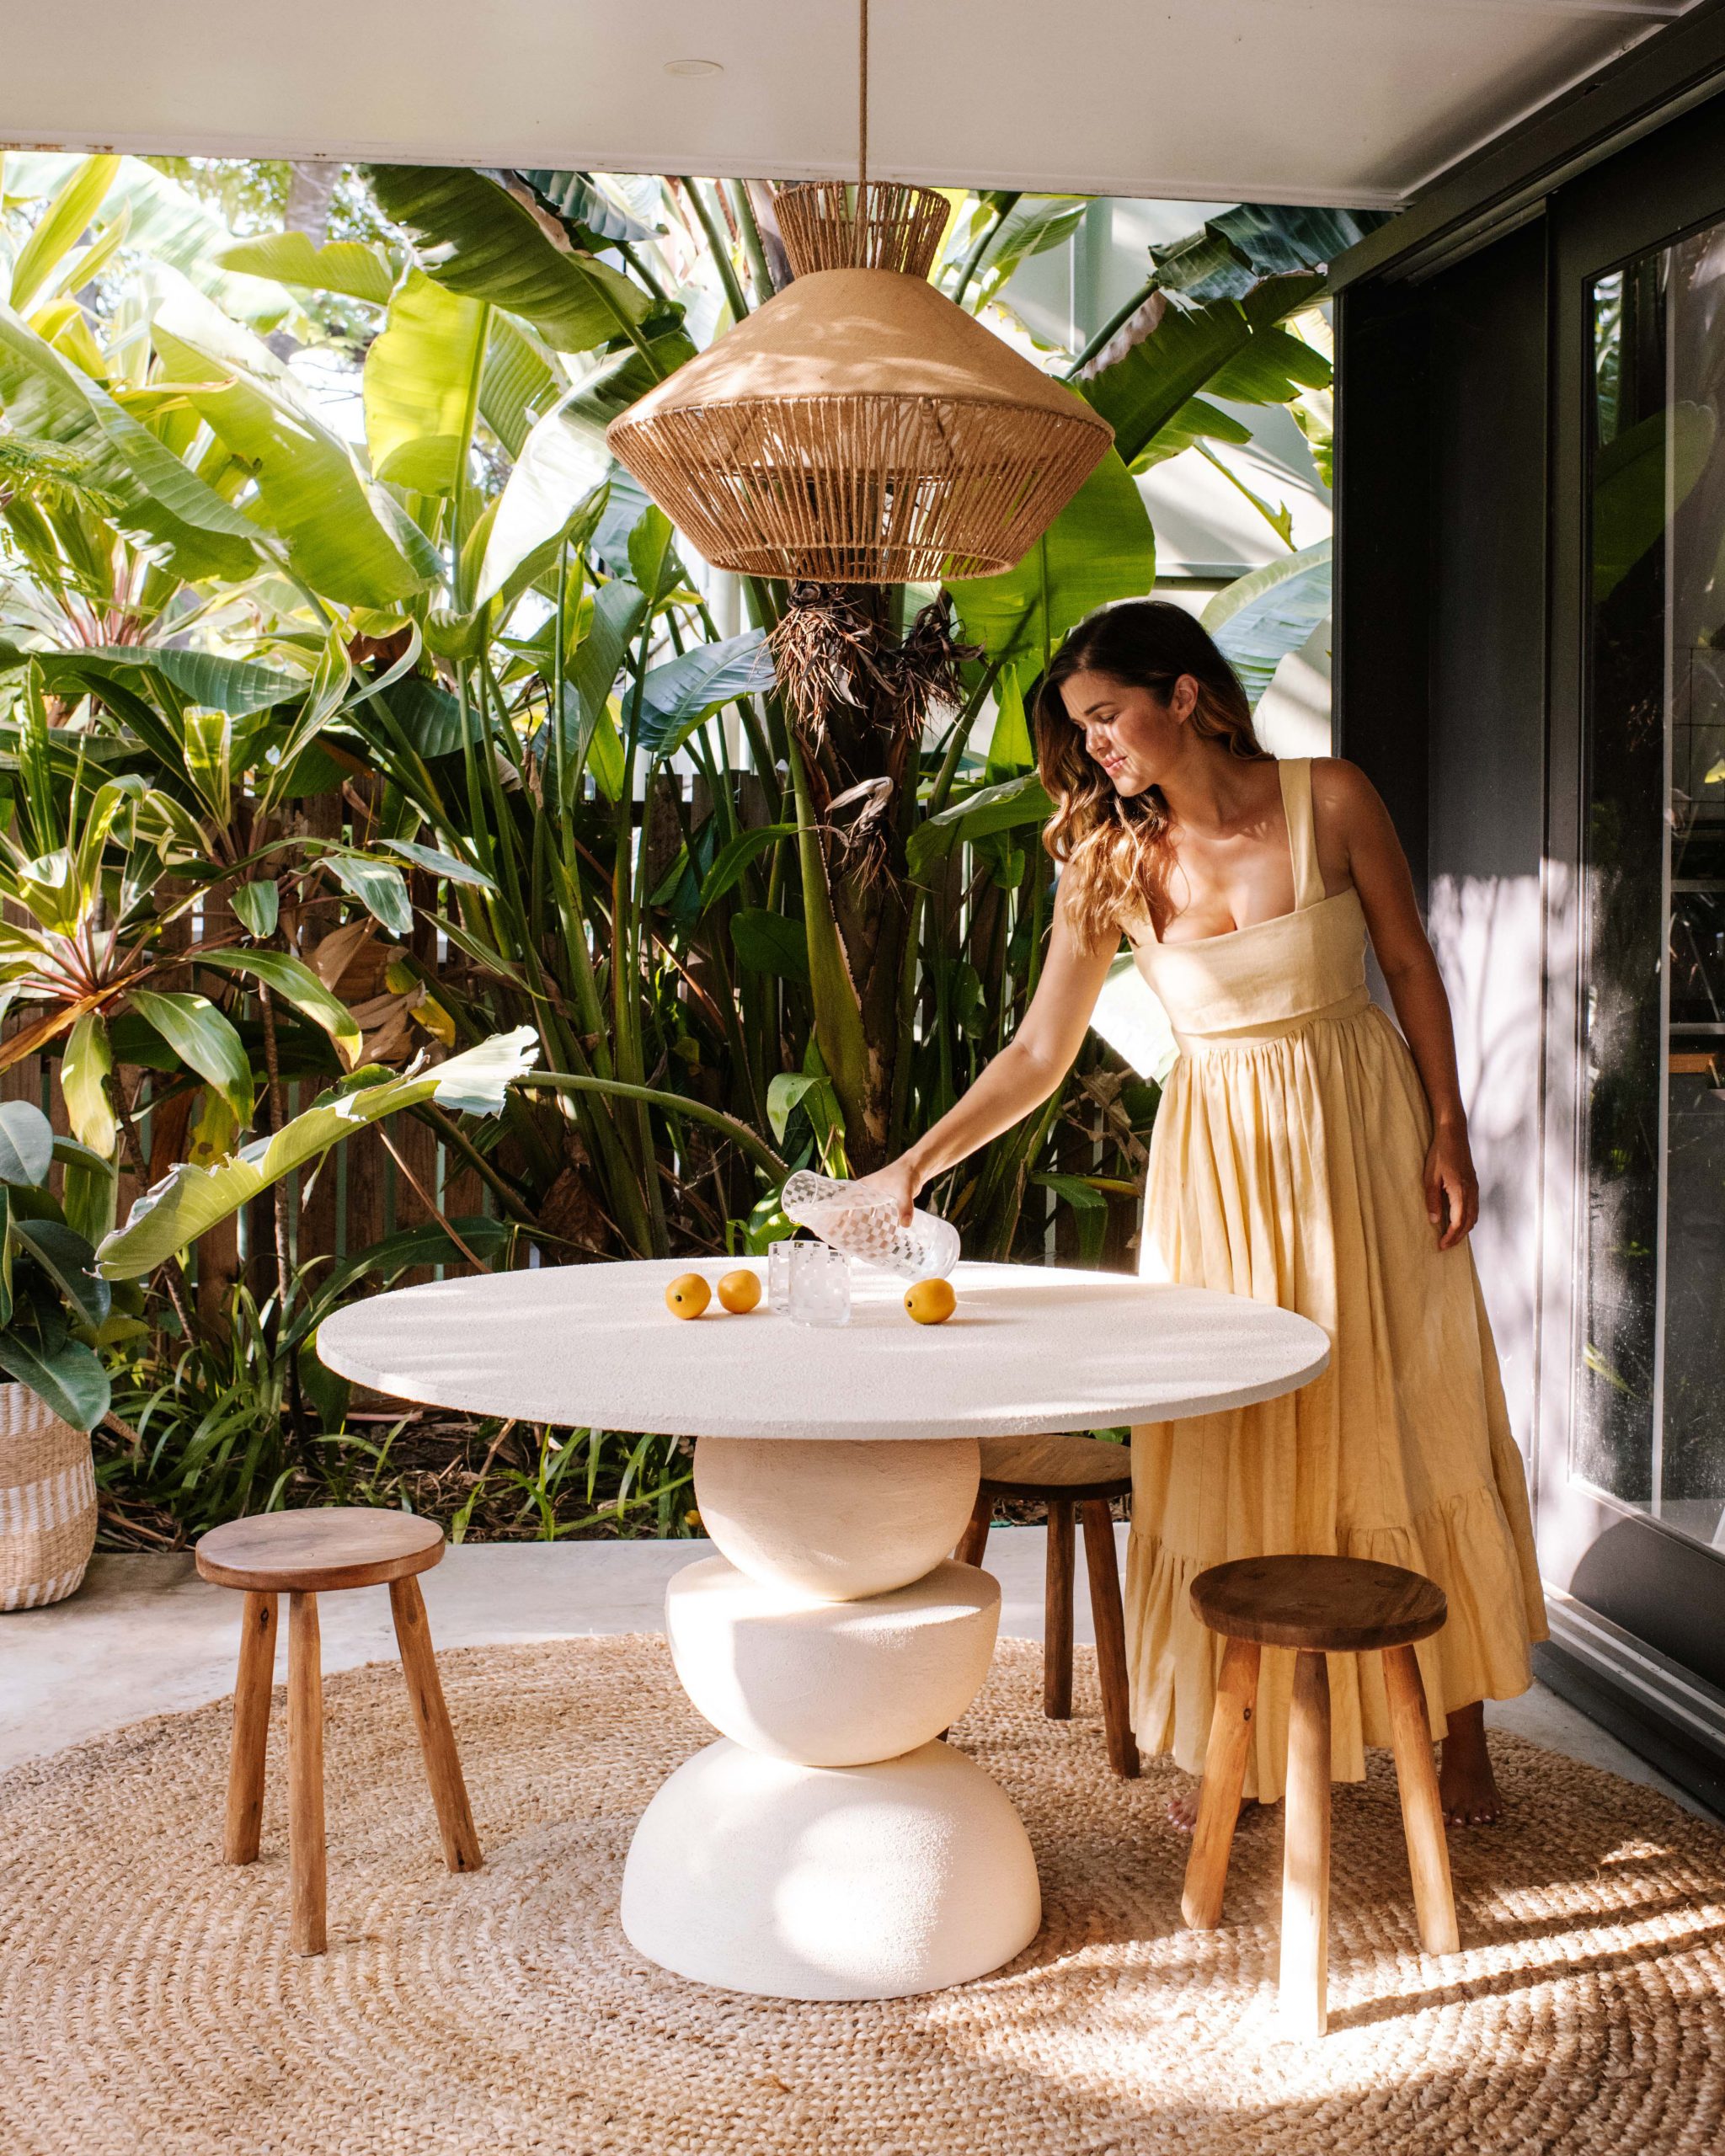
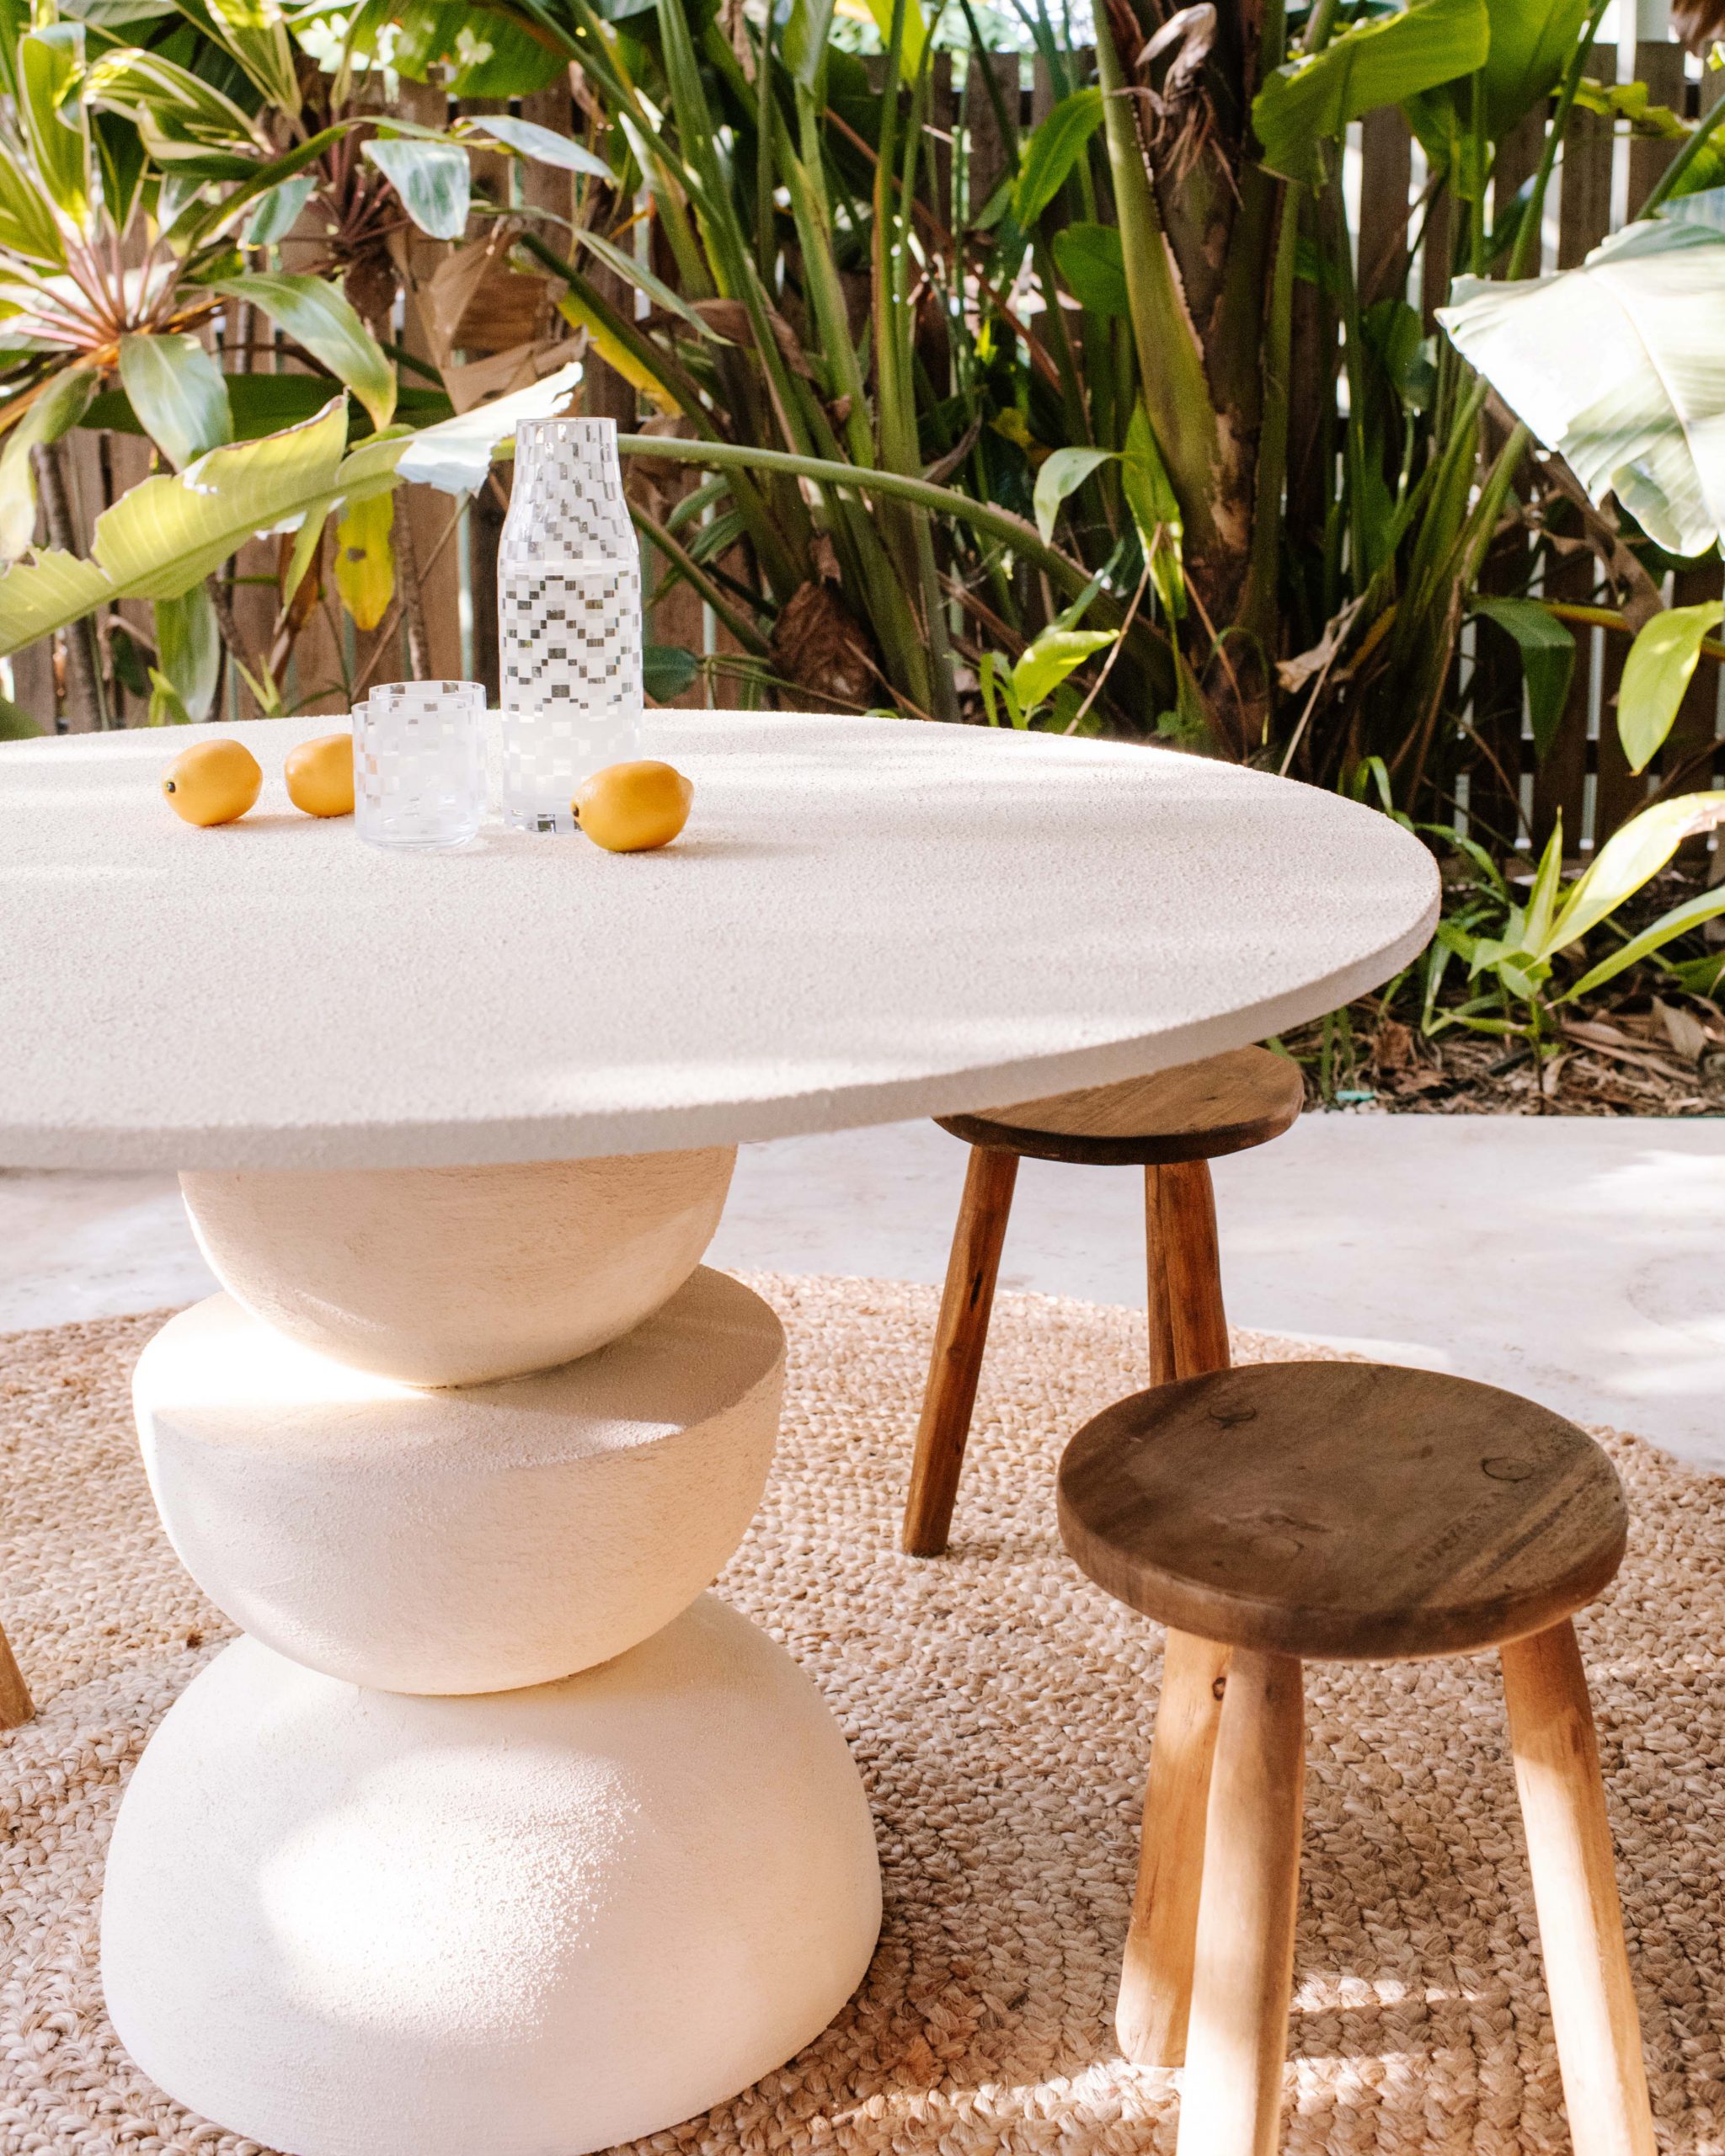
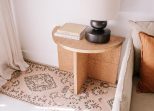
When I see an Anthropologie Sonali dining table I love for $2.3k (!), you know I’m going to do my best to recreate it… When I first saw this design I was immediately inspired and I knew it would be possible to recreate if only I could find the right materials. It’s something I’ve been thinking about for a while, and I’m so excited I got a chance as part of my new #foundthenflipped series.
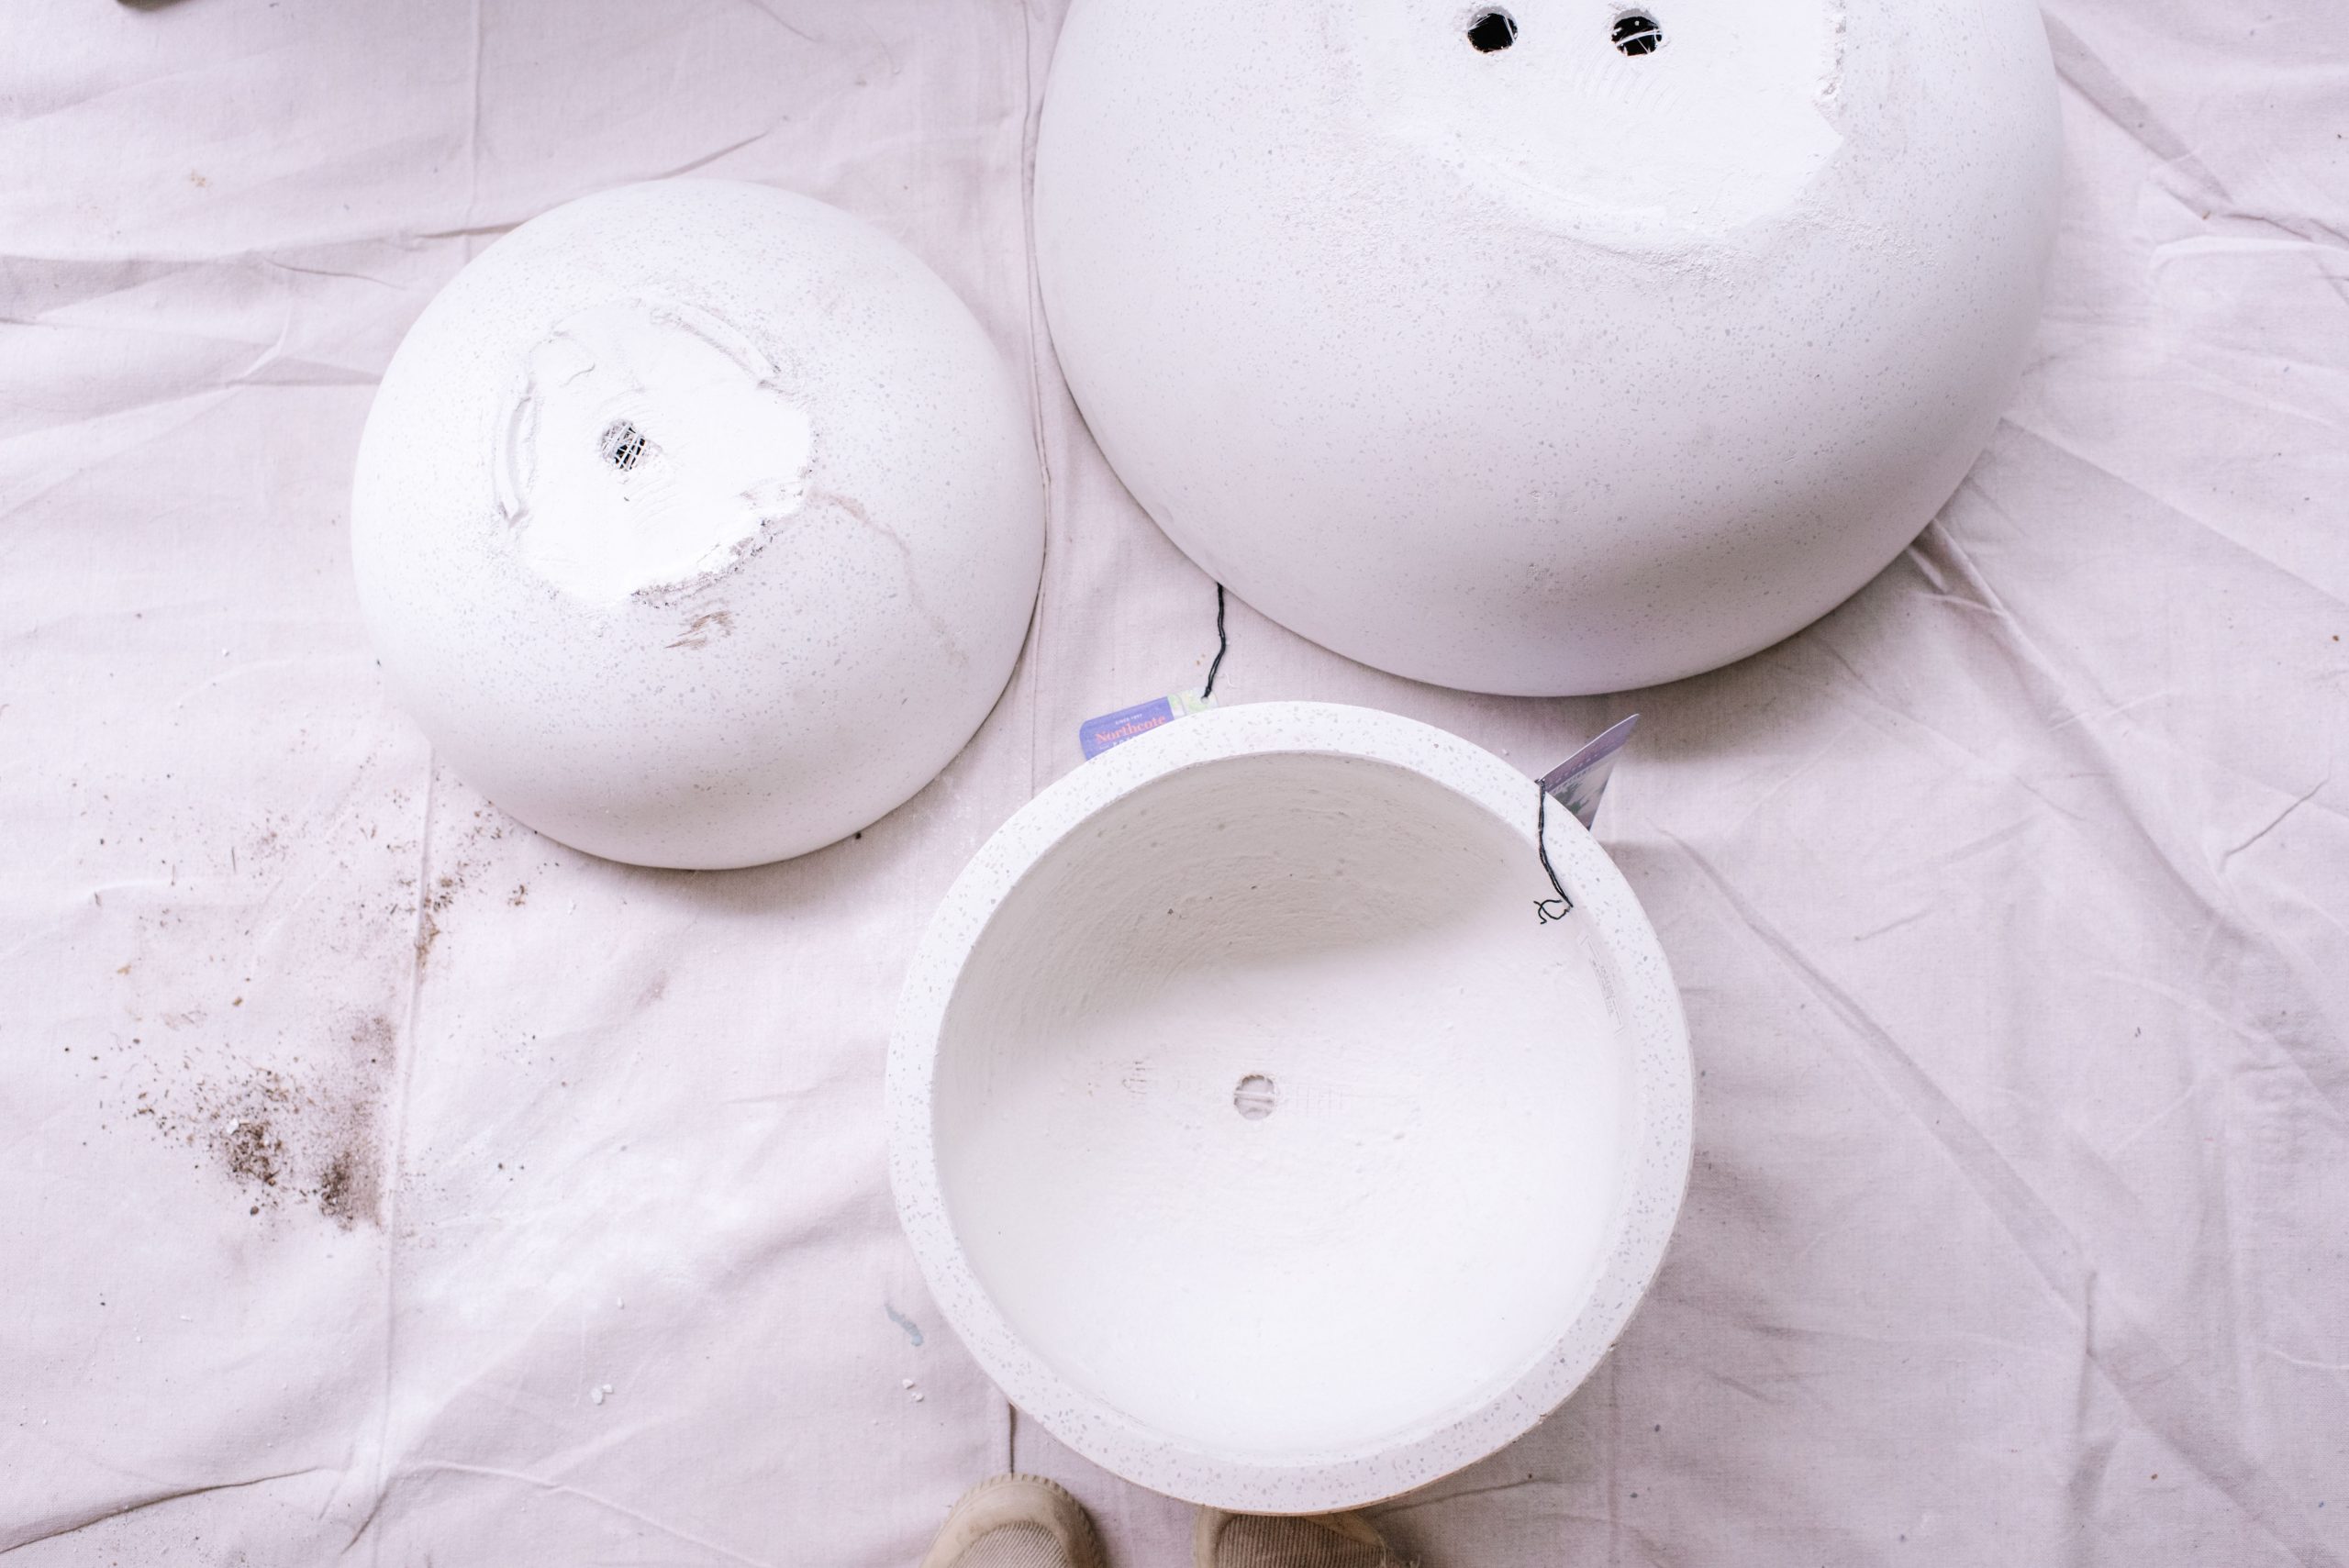
After finding an old laminate table for $15 at one of my favourite second hand stores, I realised I was facing the challenge of having no idea how to achieve the geometric shaped base… So of course I headed to Bunnings to see what materials might spark some inspiration. I was able to find these bowl plant pots that I thought would work perfectly for this project. When stacked together they make the perfect ball!
Materials Needed:
- Secondhand Table Top, these types of laminate tables can be found on marketplace easily (or buy/cut a wooden round). This one is 120cm in diameter.
- 1 x Northcote Pottery 51cm White Precinct Lite Bowl
- 1 x Northcote Pottery 40cm White Precinct Lite Bowl
- 2 x Northcote Pottery 34cm White Precinct Lite Bowl
- 1 x 40cm wooden round
- Filler (I used Gyprock Topping Compound)
- Crommelin 1L Liquidstone Limestone
- Heavy Duty Liquid Nails
- Paint Brush
- Paint Roller
- Sanding block or sander
A note on the design…
I have used liquid nails a lot and find that it works really well. However, if you are nervous about gluing the table top onto the base, there is another option. You can use bolts to bolt the upper planter (the one that makes up the top of the ‘ball’ onto the underside of the table top before you assembled and glued the table top together. You could also bolt the pots together too if you like (you may need to drill some extra holes in the pots as I found the holes didn’t line up with the different sized pots).
Choosing your materials
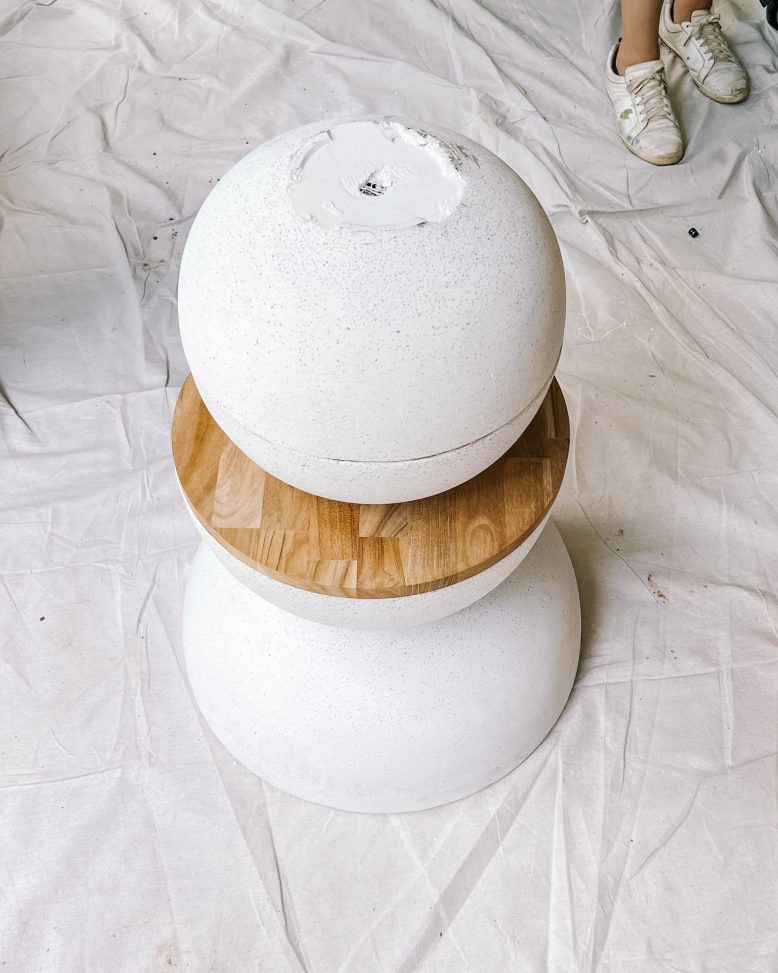
To choose the right plant pots and to get the correct configuration, you’re going to need to make sure that when stacked together your pots are a good height for a table, which is generally around 73cm – 75cm. You can always prop your table top up a little using a piece of wood or something, but if when stacked together your base is too high, it won’t be a comfortable table to sit at. For this design I also really wanted to have that half circle shape in the middle. It was so uncanny because I went into the craft closet and found that wood round that fit PERFECTLY. If you’re a crafter you’ll know this so rarely happens. If you can’t find a matching round, you can either cut a piece of plywood to this shape, or you can also fill that bowl up with cement to the top and then plaster over that (you may also want to fill the bottom bowl with cement too so the weight is well distributed.
How to make an sculptural outdoor table
1
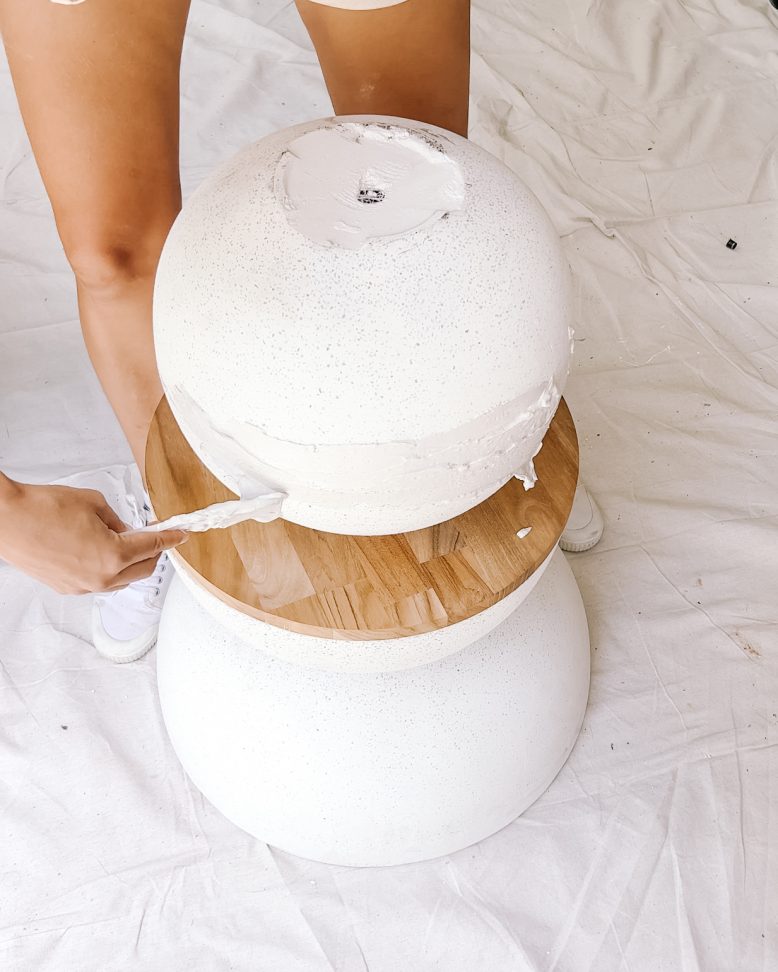
Assemble the table base by first placing the large pot upside down on the ground. Next, using a generous amount of liquid nails, attach the bottom of the medium bowl to the bottom of the large bowl. Then, line the opening of the medium bowl with liquid nails and attach the 40cm wooden round to close the opening. Then, stack the smallest planter on top of the wooden round, and glue in in place. Finish off by adding glue to the lip of that planter and placing the last planter on top to create a bowl.
2
Once the base was dry I used Gyprock Topping Plaster to fill in the crack around the circle and cover the wooden round.
3
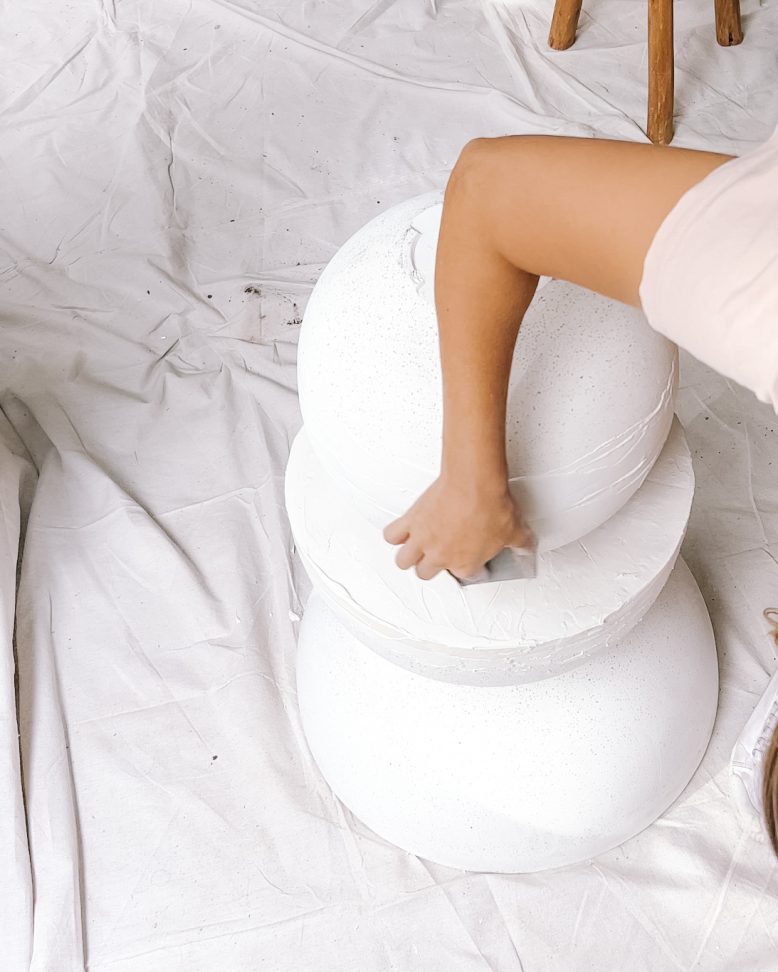
When the Gyprock had fully dried, I gave it a very good sand to smooth it out and give it that seamless look!
4
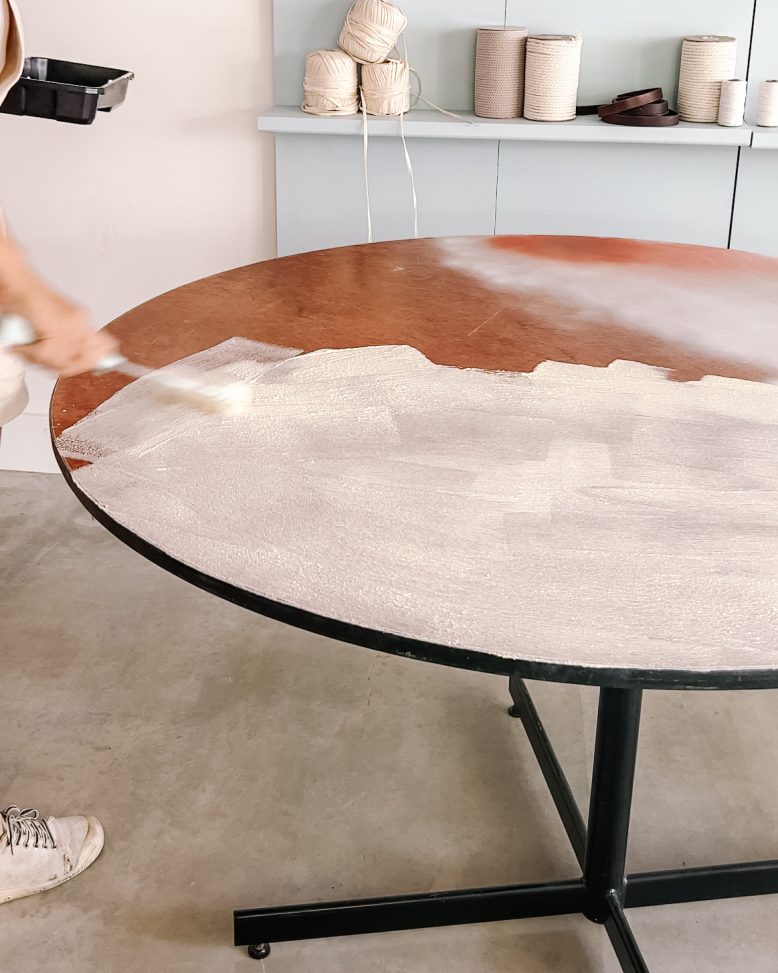
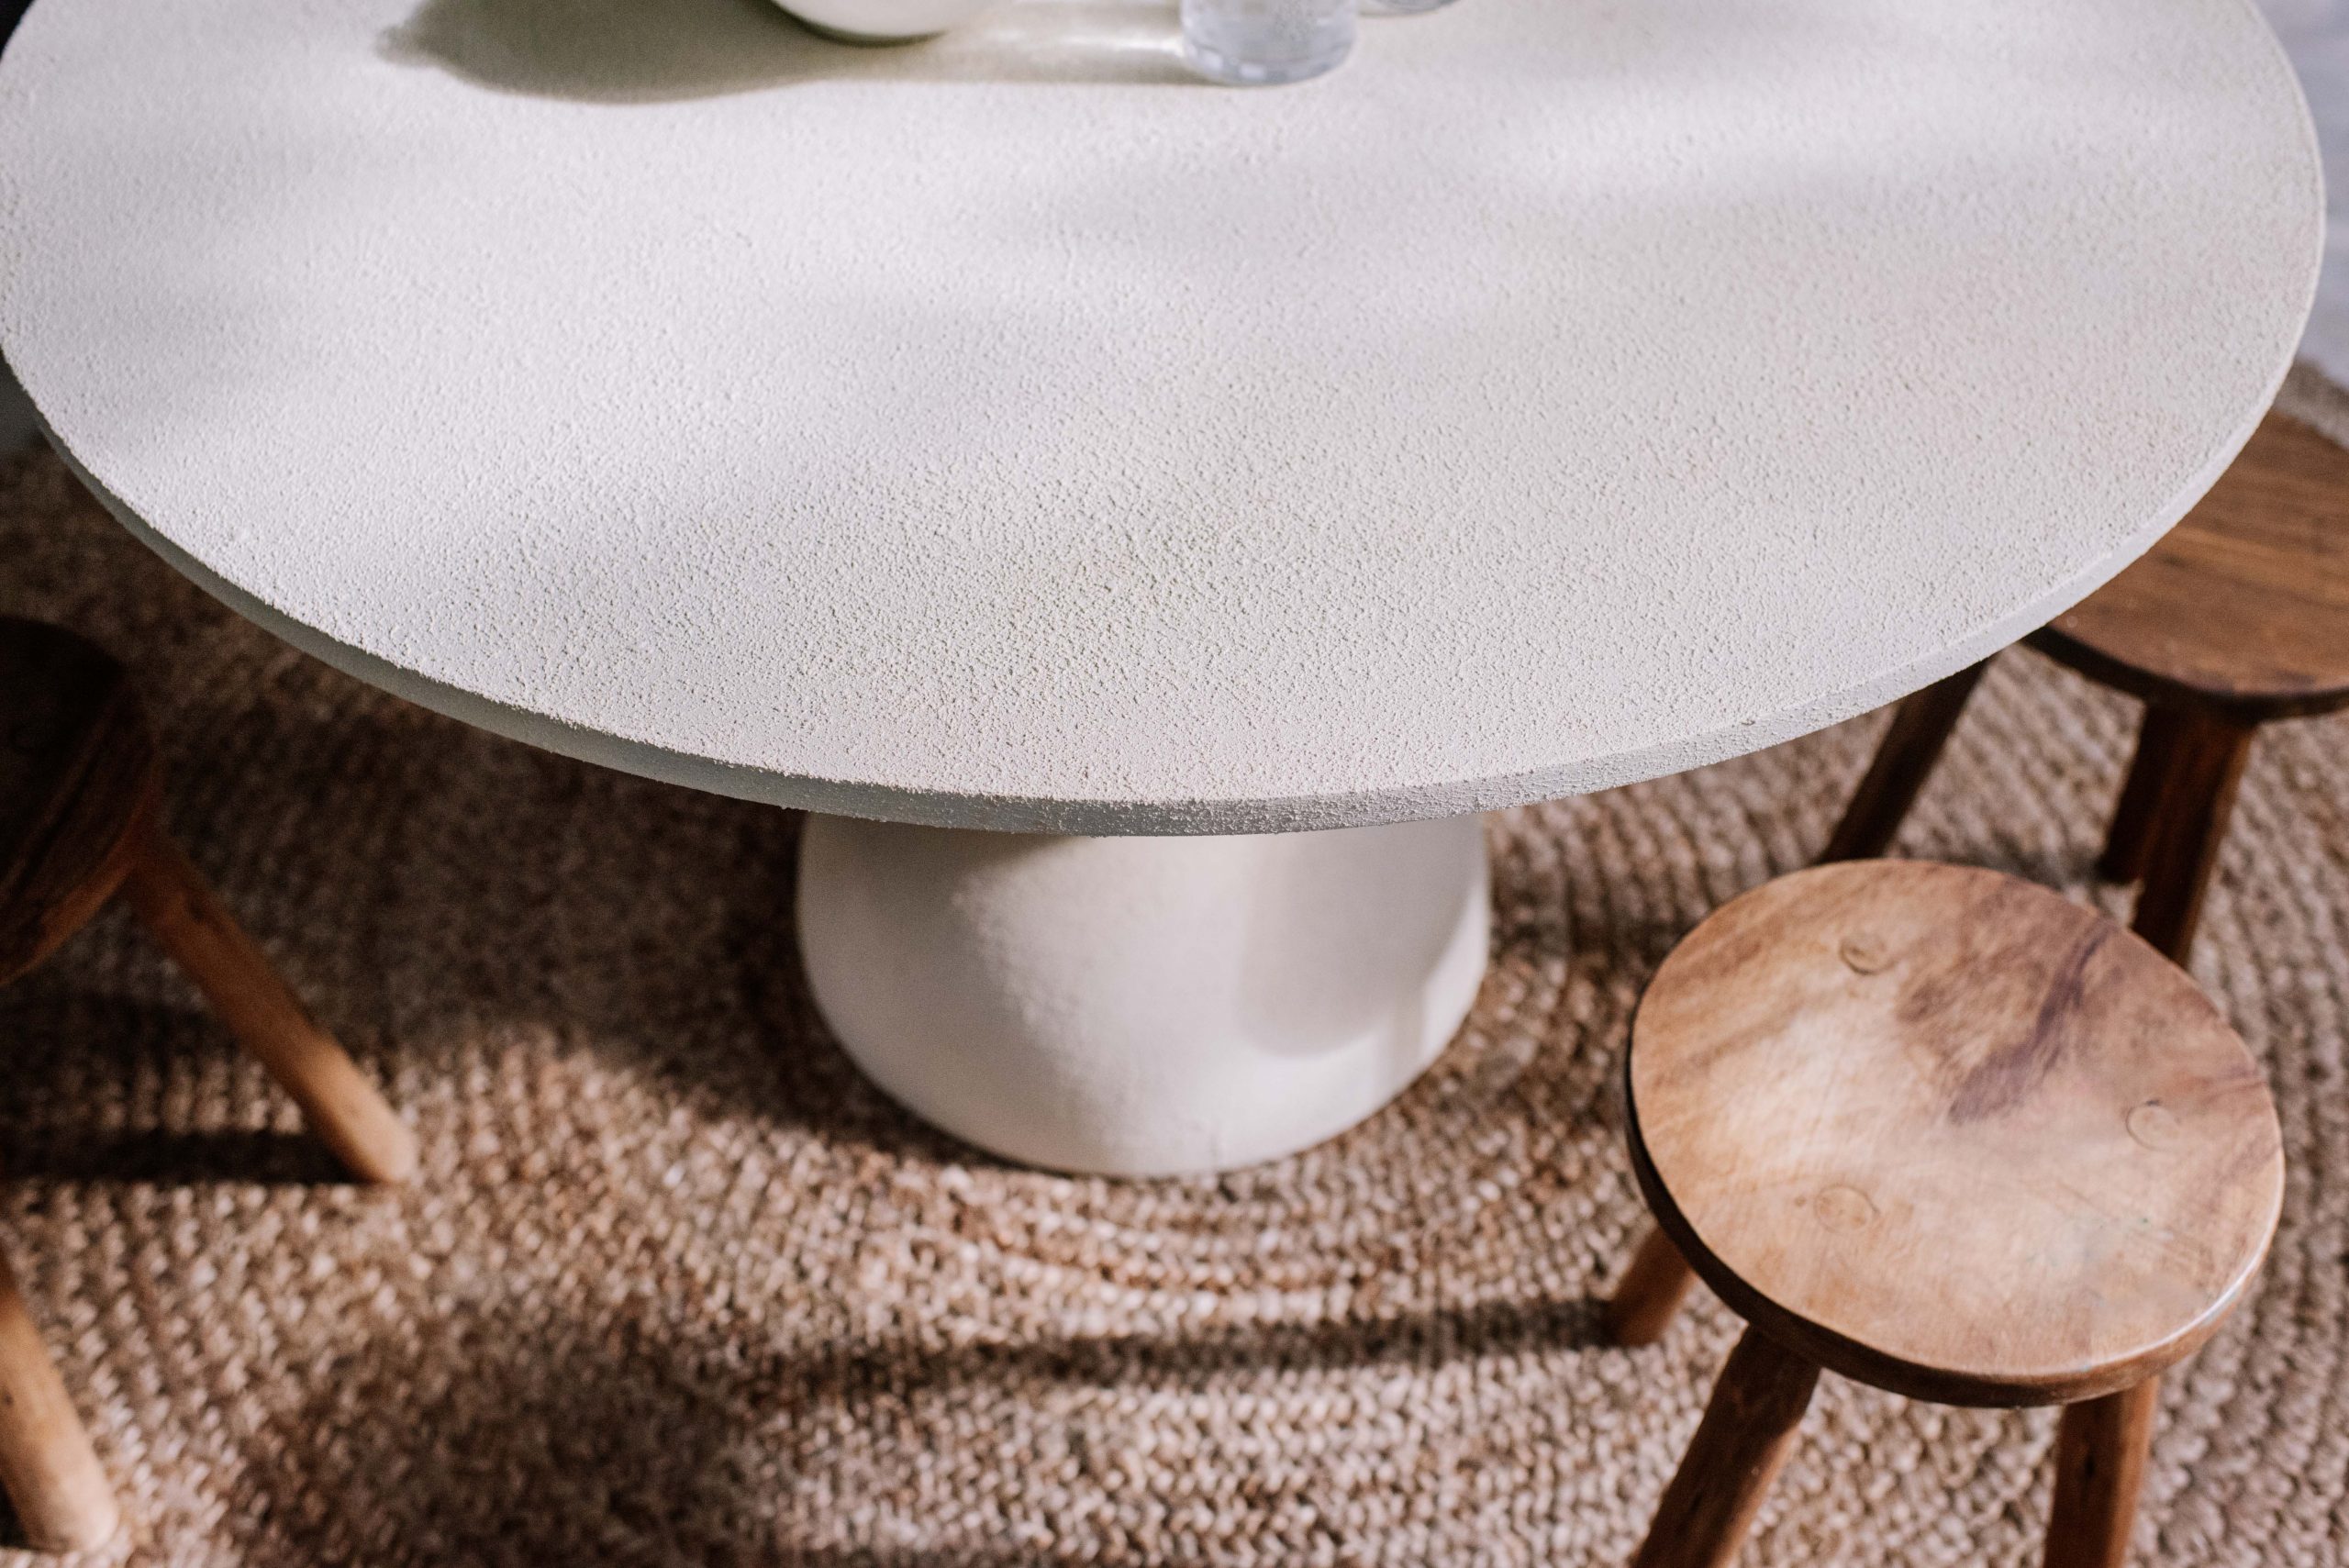
For the table top, I kind of played around with what to use, I initially thought maybe spray paint would be good but worked out a textured paint would be better, so I applied two coats of liquid stone to the top.
6
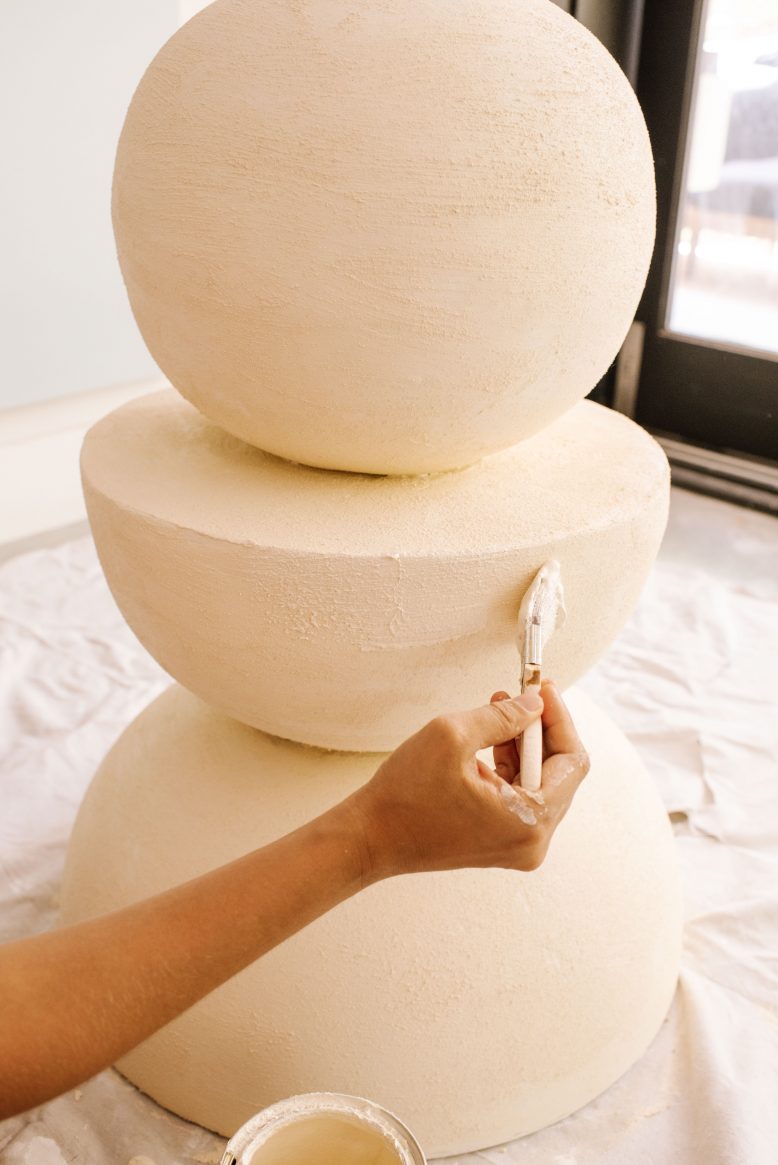
After both pieces were painted and fully dried I used a generous amount of liquid nails to attach the table top to the base (I'd recommend getting a buddy to help you here). I finished off the table top by giving it a really good sand. You can also apply a clear coat of varnish if you like!
Voila
I’m honestly so thrilled with how this turned out! I would love to hear your thoughts on this one.
If you’d like to find some more project inspiration, check out some of my other projects below.
How To Make A Distressed Wooden Stool
Upcycling A Mid Century Inspired Set Of Drawers
The project is in collaboration with Bunnings.


