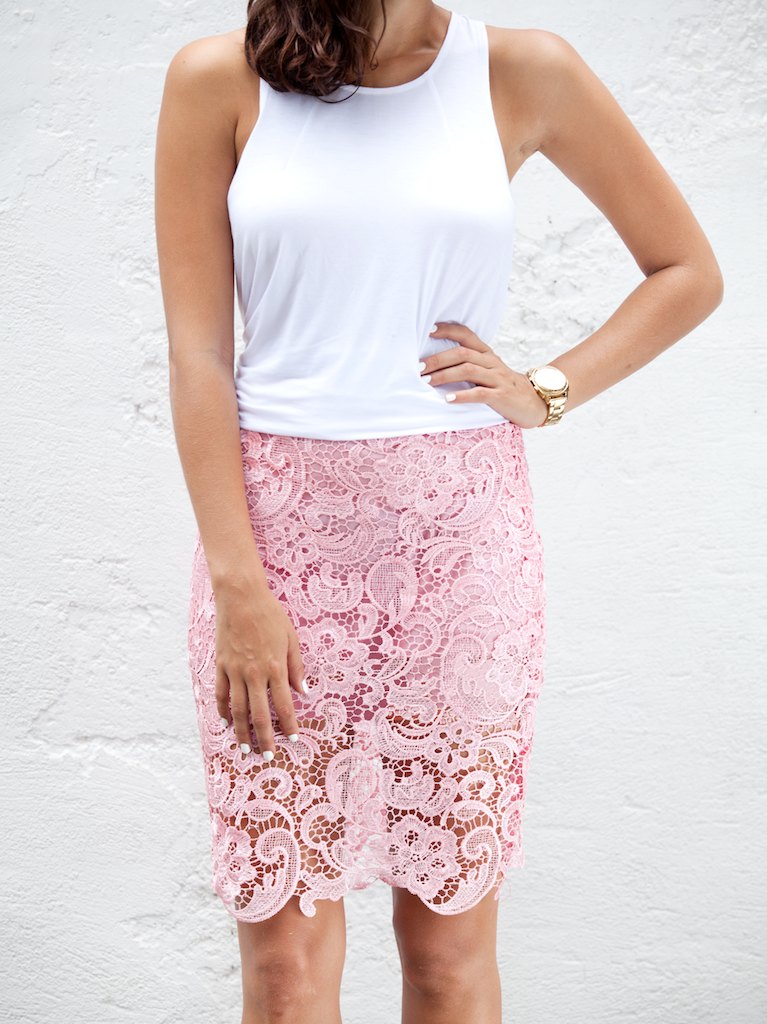
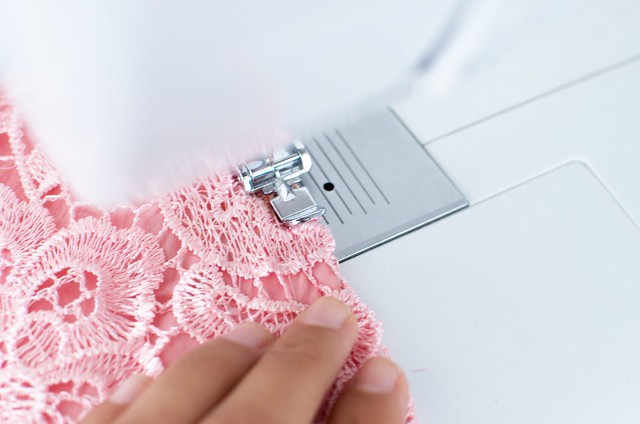
I recently got my hands on some pink lace fabric and knew immediately what Burberry inspired item I would be slapping together on my sewing machine (and you probably knew too – after this admission). And what could be more appropriate for summer than a lace pencil skirt, made in an ultra feminine hue of pastel pink?
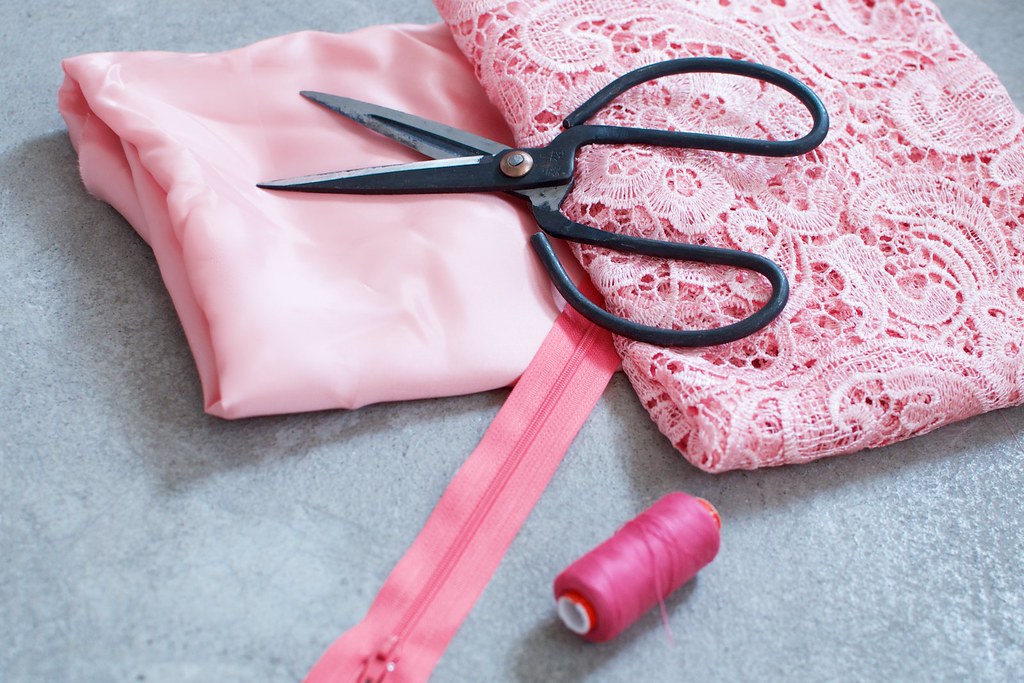
You need:
- 2 m (2.4 yards) of lace fabric
- 2 m (2.4 yards) of lining fabric
- scissors
- a zip
- matching thread
- a sewing machine
How to:
1. Fold your fabric in half with the outside up so you have two layers of fabric. I orientated the finished lace edge to the bottom so the final product would have an interesting unsewn hem.
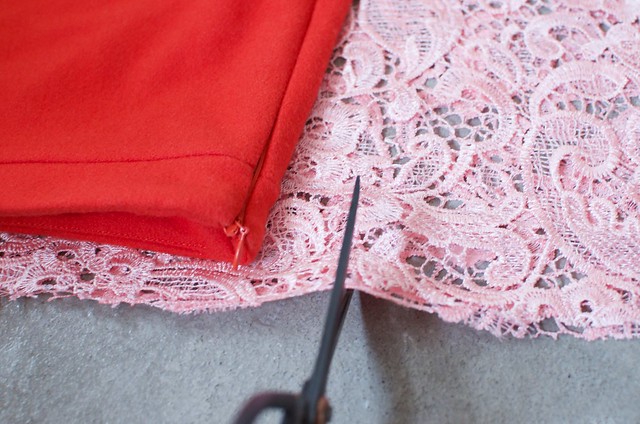
2. Use a pencil skirt you own to trace the design of the skirt (much like I did here), ensuring to add 5cm (2 inches) all the way around to account for the hem/seam and a bit more across the waist so you have space to put some darts and fit it to your body. I add any extra at the bottom because I wasn’t going to him the bottom but it’s all up to you.
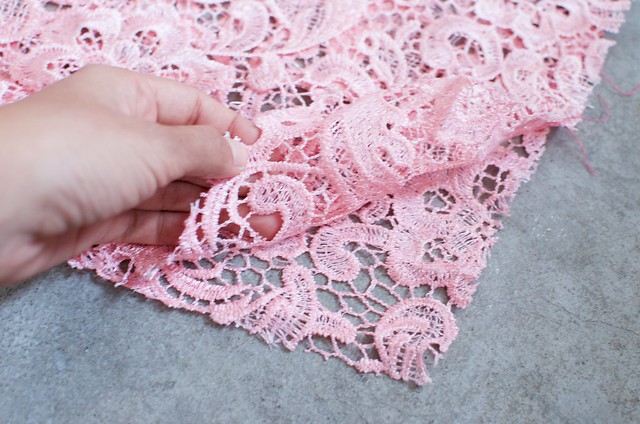
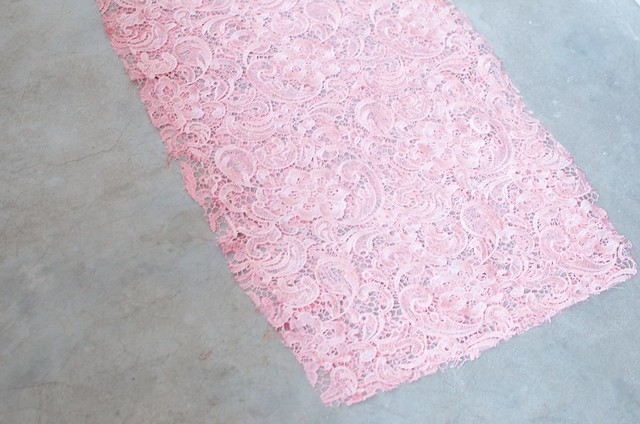
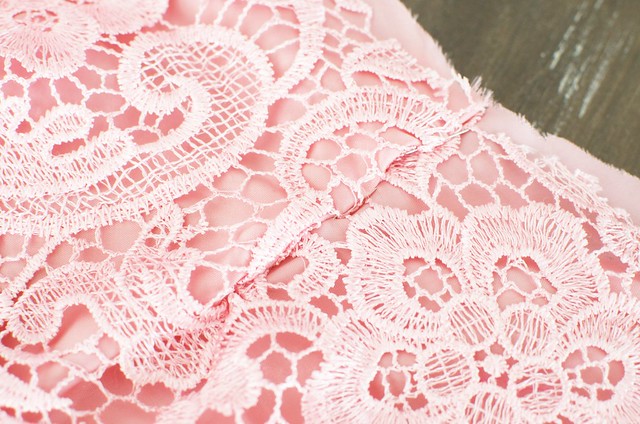
3. Your lace pieces should look like this.
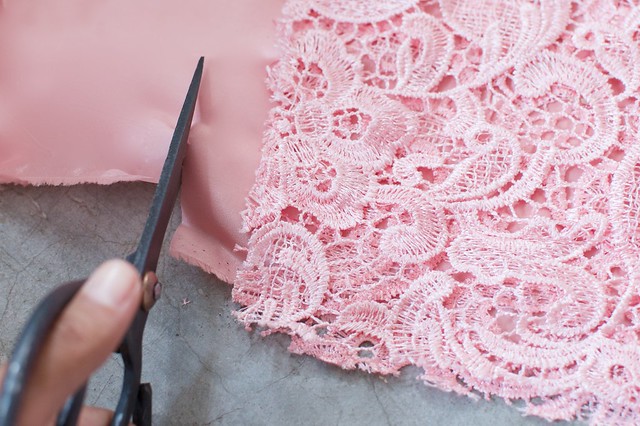
4. Lay your lace pieces on the doubled over lining fabric and cut out out so you have matching lining. For mine I chose to make my lining shorter than the skirt so that there was a transparent effect at the bottom, but you can also have lining that goes all the way to the bottom too. It’s up to you!
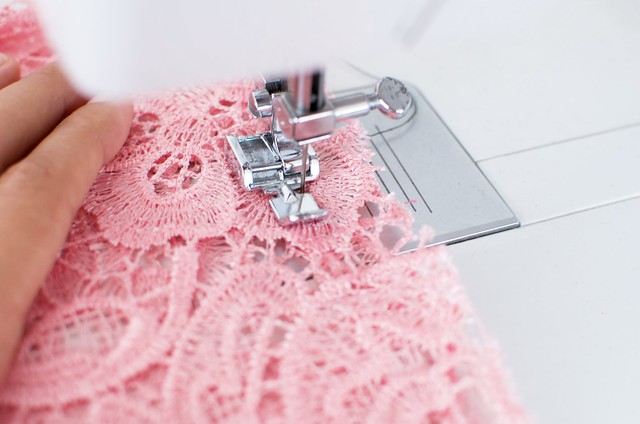
5. Using your zig zag stitch, sew the two side seams of the lace piece – leaving the top of one side open where you will insert the zip. You will need to check the length of the zip to decide how long to leave the gap open. I chose to sew the two layers separately because I think that is more comfortable.
6. Sew the sides seams of the lining (once again leaving a gap for the zip) and then slip it over the finished (inside out) lace shell, making sure you orient the right side together. At this point I usually try on my skirt to work out any tweaks and for a lace project like this just to check at what length I should sew the hem of the lining. Once you have decided this, sew the lining hem.
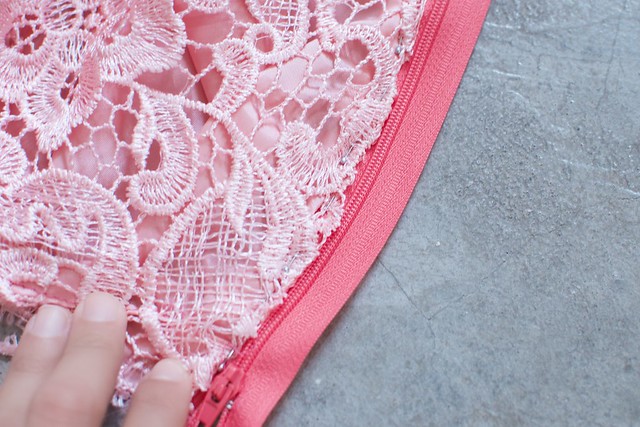
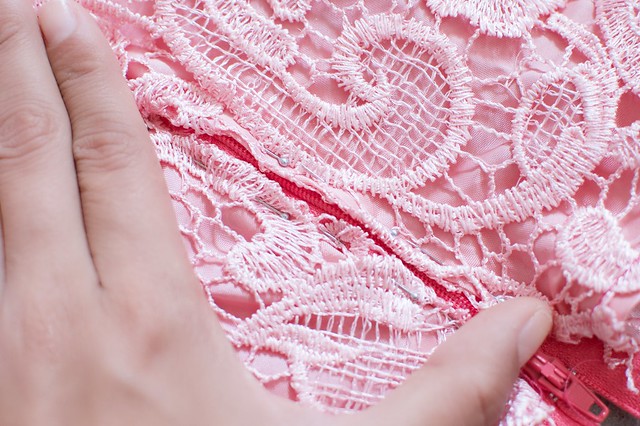
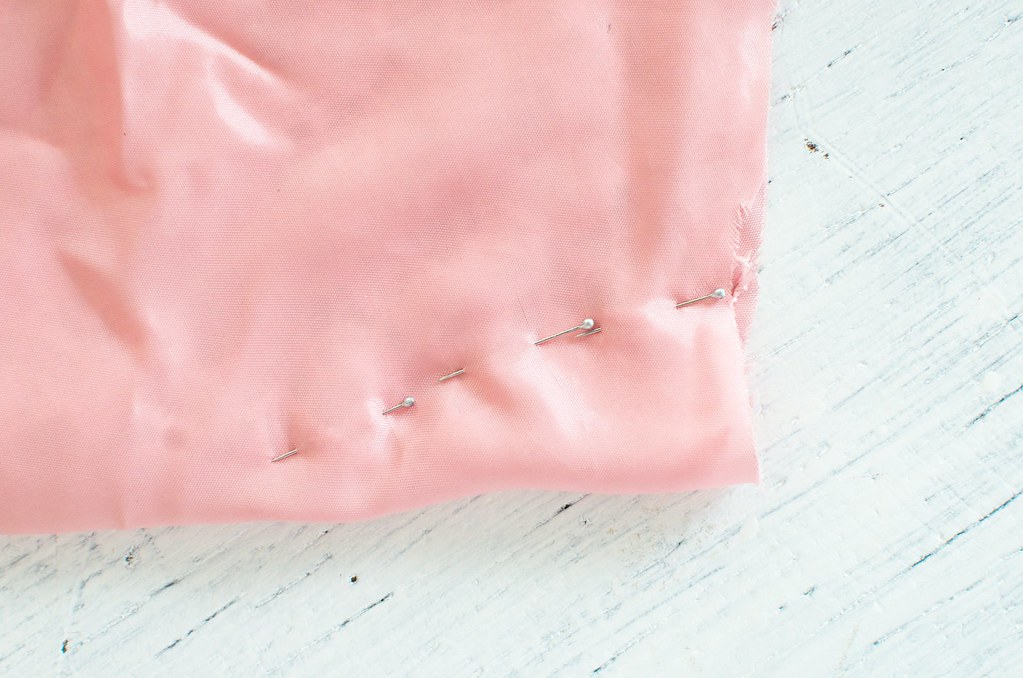
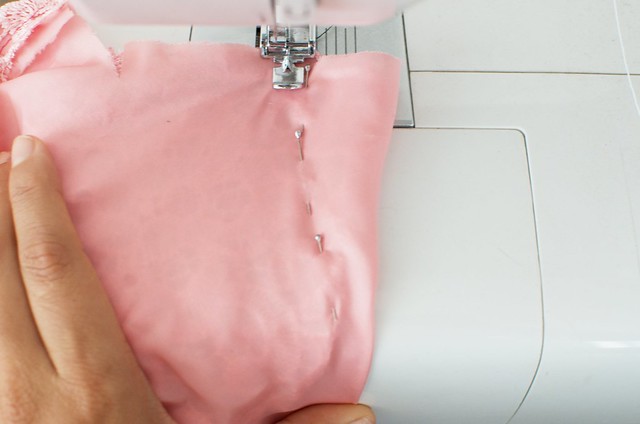
7. You will want to sew the zip into both layers of the fabric, so pin the lining and the outer lace piece along the zip.
8. You want to cover the zip as much as possible by pinning the fabric down and then sewing around it carefully using the zipper foot.
9. Once the zipper is in place, if you put the skirt on and find there is some bagginess around the waist, sew two matching darts into the back of your skirt. To do this pin the skirt on your inside out to how you think it should sit (you can get someone else to help you with this if that’s easier.
10. Take the skirt off and carefully re-pin the dart to ensure it is straight.
11. Carefully sew along the dart on the inside of the pins, removing the pins as you go along.
12. Turn the skirt inside out and once you know the darts are fine, you’er ready to finish the skirt by rolling the top hem and ironing and then sewing it down.
Voila!
Photos by Marion Tessier


