It’s been the summer of off-the-shoulders in every conceivable way, shape and form.
And we’ve been DIY-ing them over and over, trying to find the perfect method (see here, here, here and here). Recently a pit stop at our local second hand store overflowing with men’s shirts gave up a light bulb moment – this before and after project. Quite simply it’s the easiest DIY version of the off the shoulder possible. You literally just cut the neck and shoulders off a men’s shirt and elasticate the top edge. And you can create a top or a dress depending on how big your shirt is. We loved them so much we made them for all the girls in the studio!
2
Cut along the line so that you cut off the top of the shirt. Measure and cut how much elastic you will need to wrap around your shoulders.
3
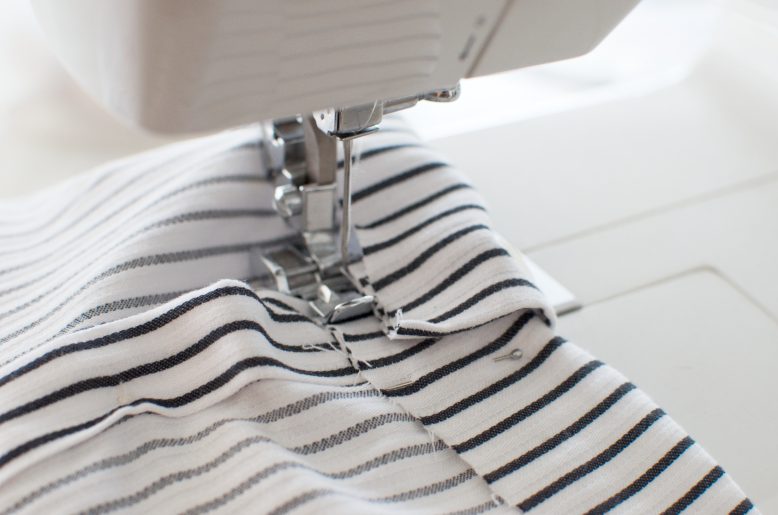
Fold the top of your garment inwards to create the gathered neckline and pin it in place.
4
Sew along the bottom of the folded section to create a fabric tunnel. Leave a gap about 5cm at the start/finish that we will use to insert the elastic in later.
5
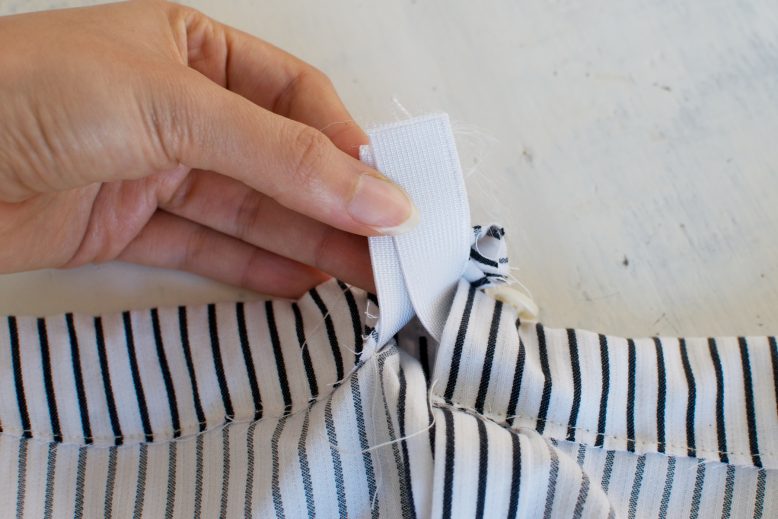
Take something like a wooden screwer or chopsticks to help insert the elastic into the fabric tunnel you made earlier. Thread it all the way through until the elastic appears on the other side.
And… you’re done!
Thanks for hopping in the pics with me Sarah!
Photos by Bryant Lee.
Like this post? Pin it for later!


