If there’s one thing you’ll know about me is that I‘m all about trying something different. Travel, food, craft – experimenting is what I love most.
So when the guys at Le Petit Rosé invited me to to something DIY unique and visually striking for my next party, I couldn’t wait. You guys know how much I love a challenge! I racked my brain for a project that captured the essence of Australian Summer, with a touch of French Chic (as a nod to this French style wine). Finally, I decided it was time to put my hand to a frozen ice bucket – something I’ve wanted to do for some time. To be honest I thought it would be really tricky to do, but surprisingly it wasn’t, and worked out really well on our first attempt! Read on (and watch the video below) to see how we did it.
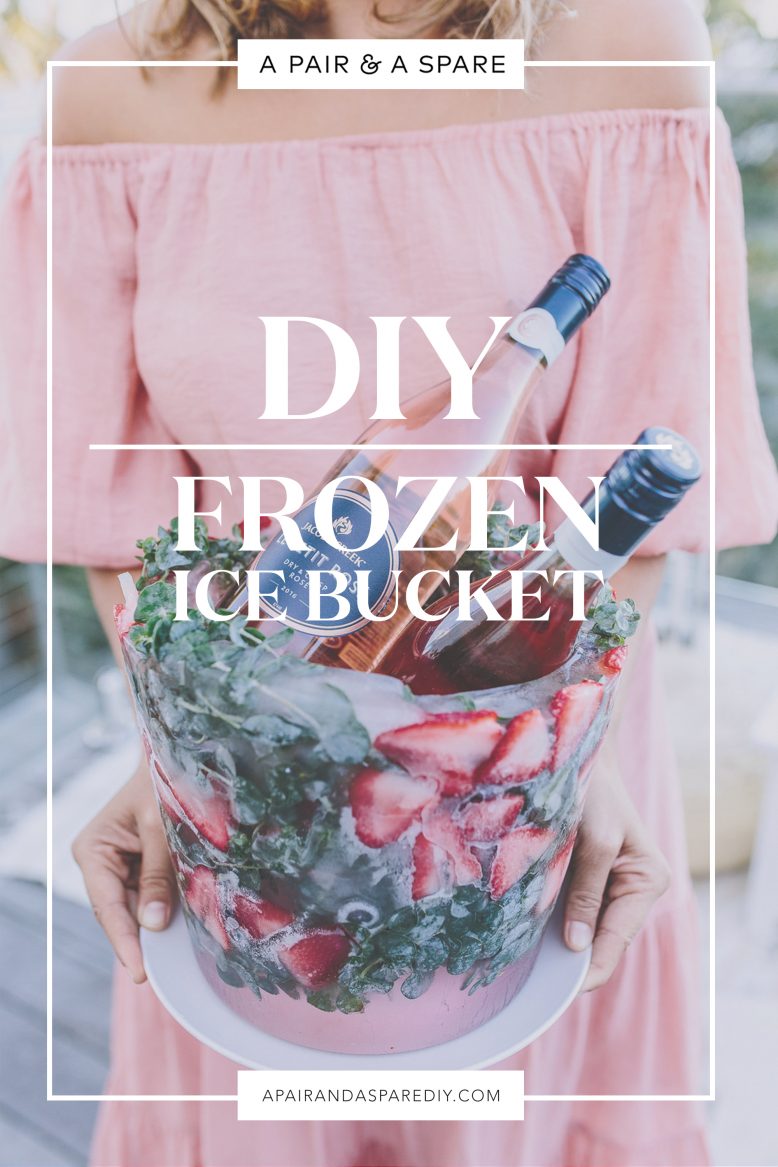
DIY Frozen Ice Bucket
2
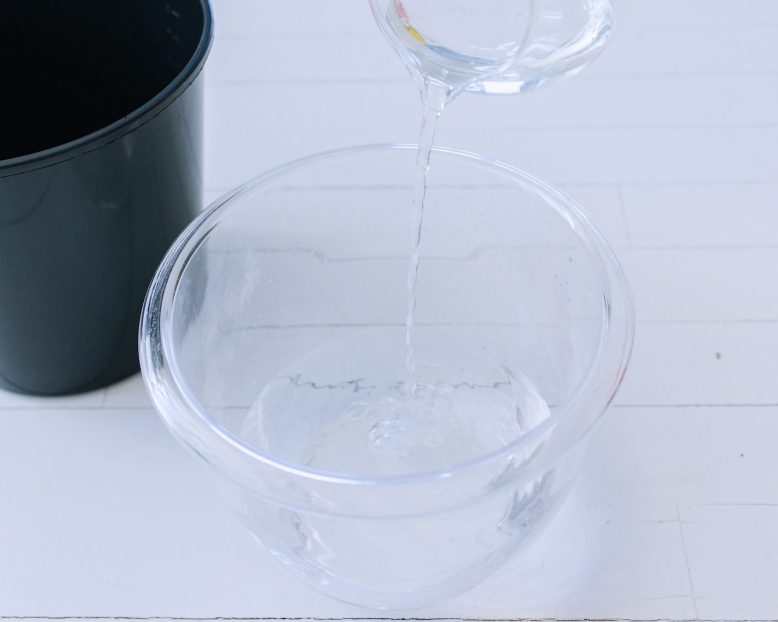
Pour two inches of water into the bucket and freeze overnight. This will essentially create a base for the ice bucket.
3
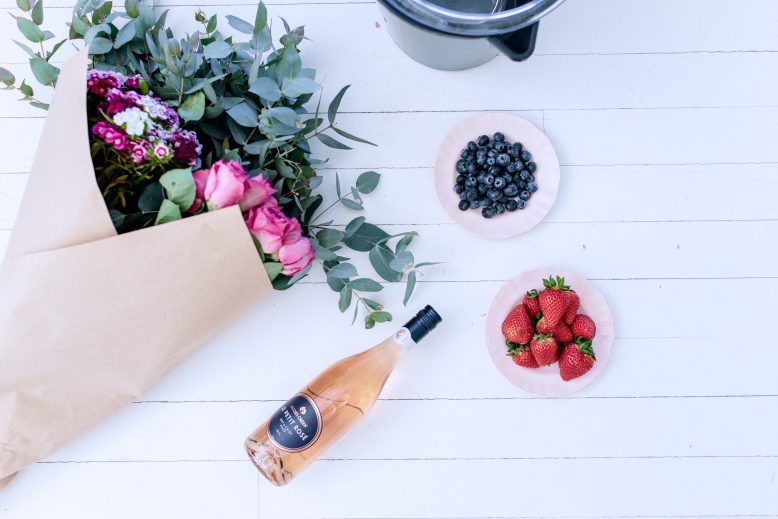
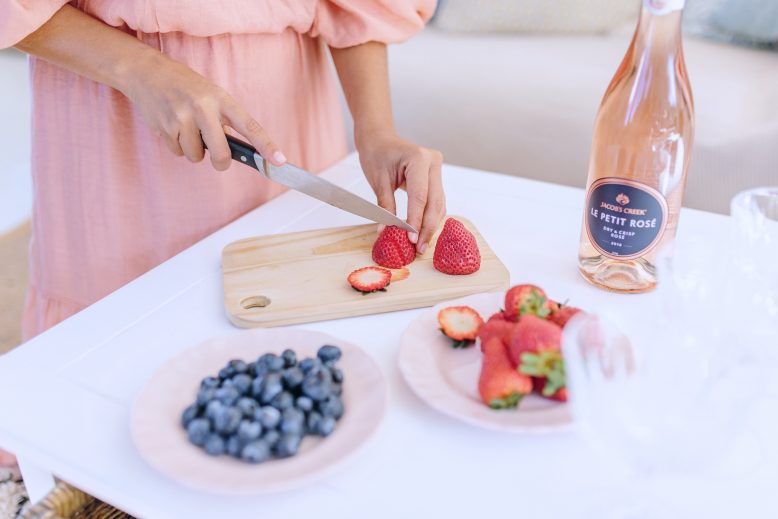
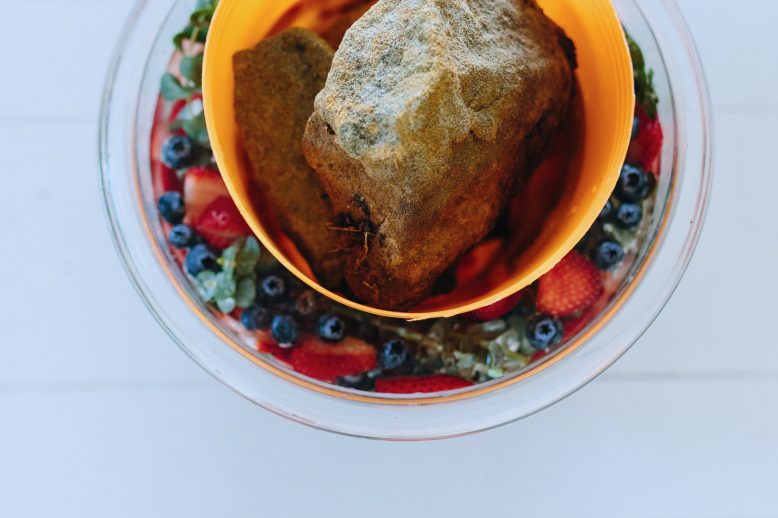
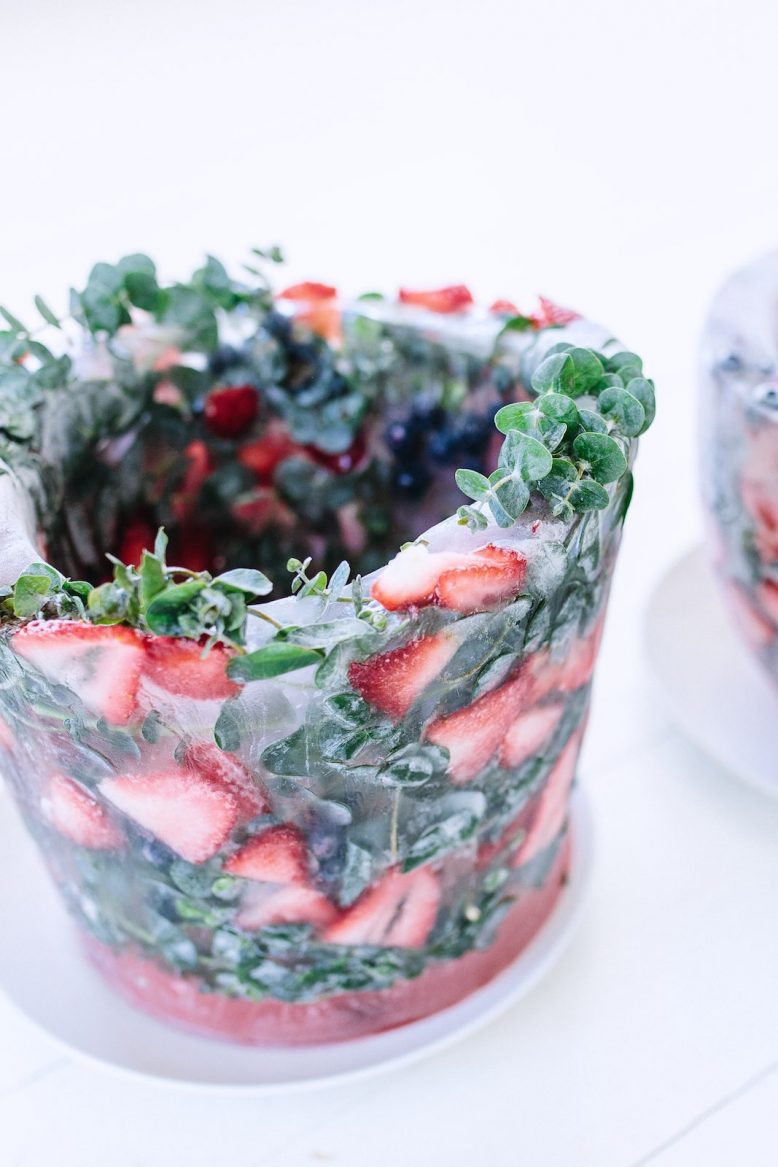
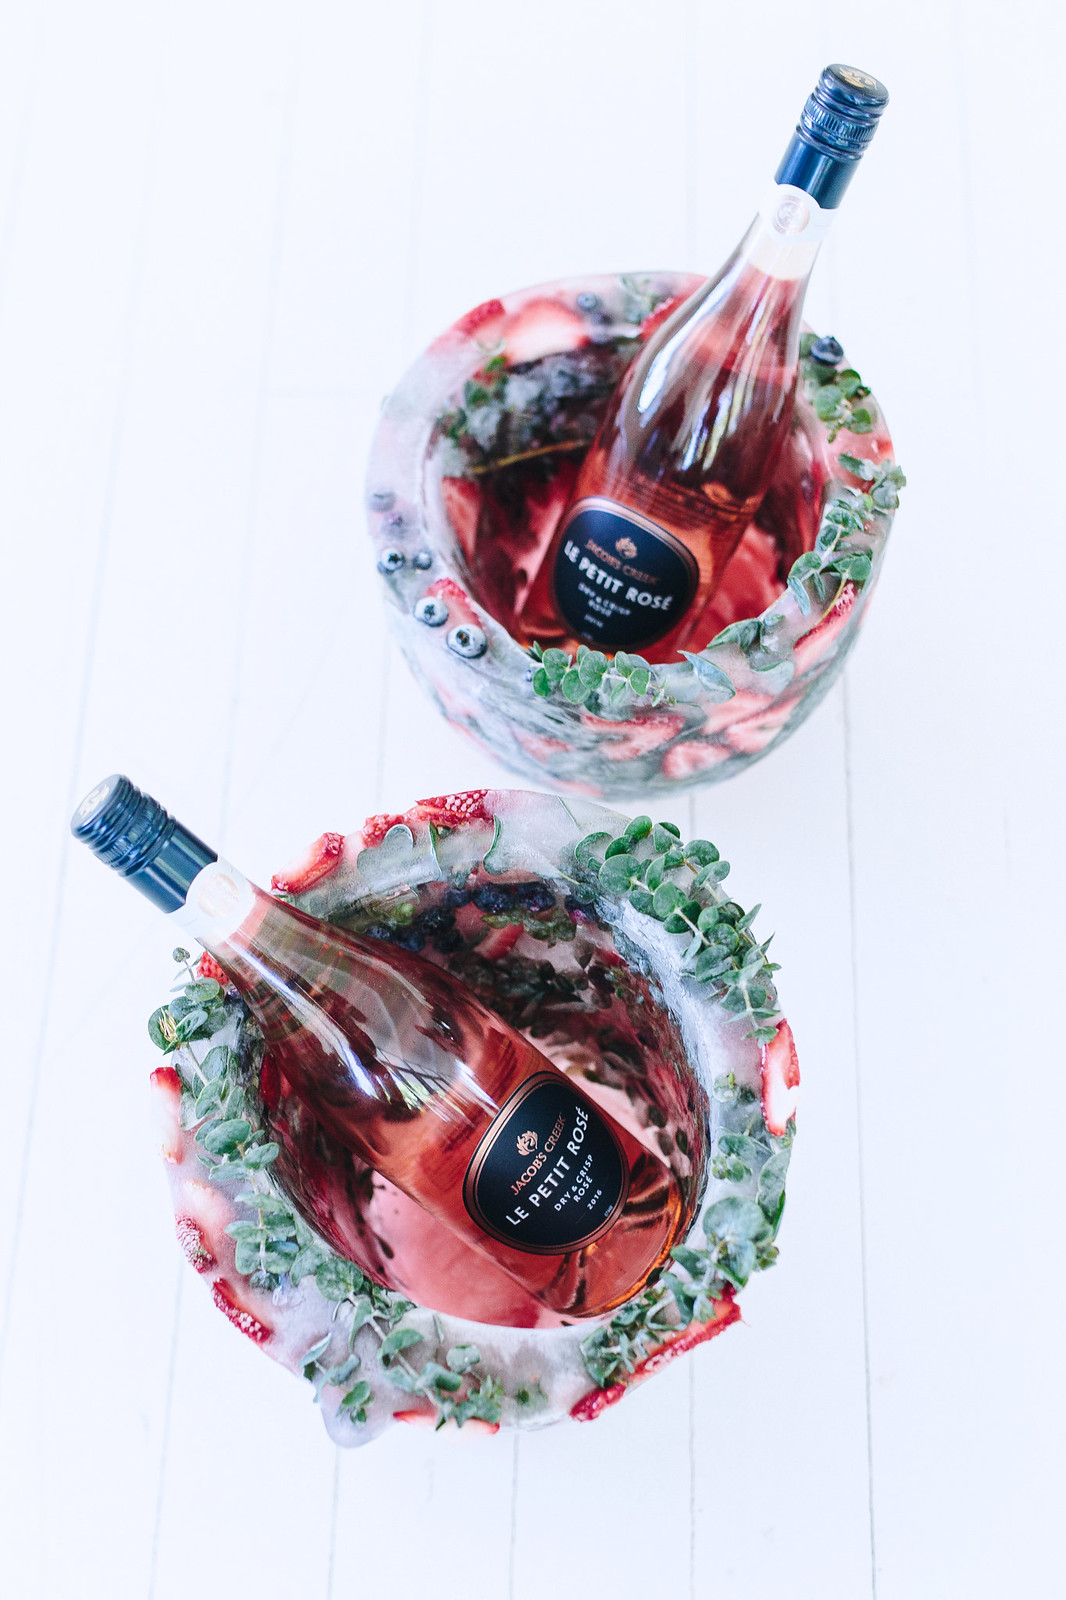
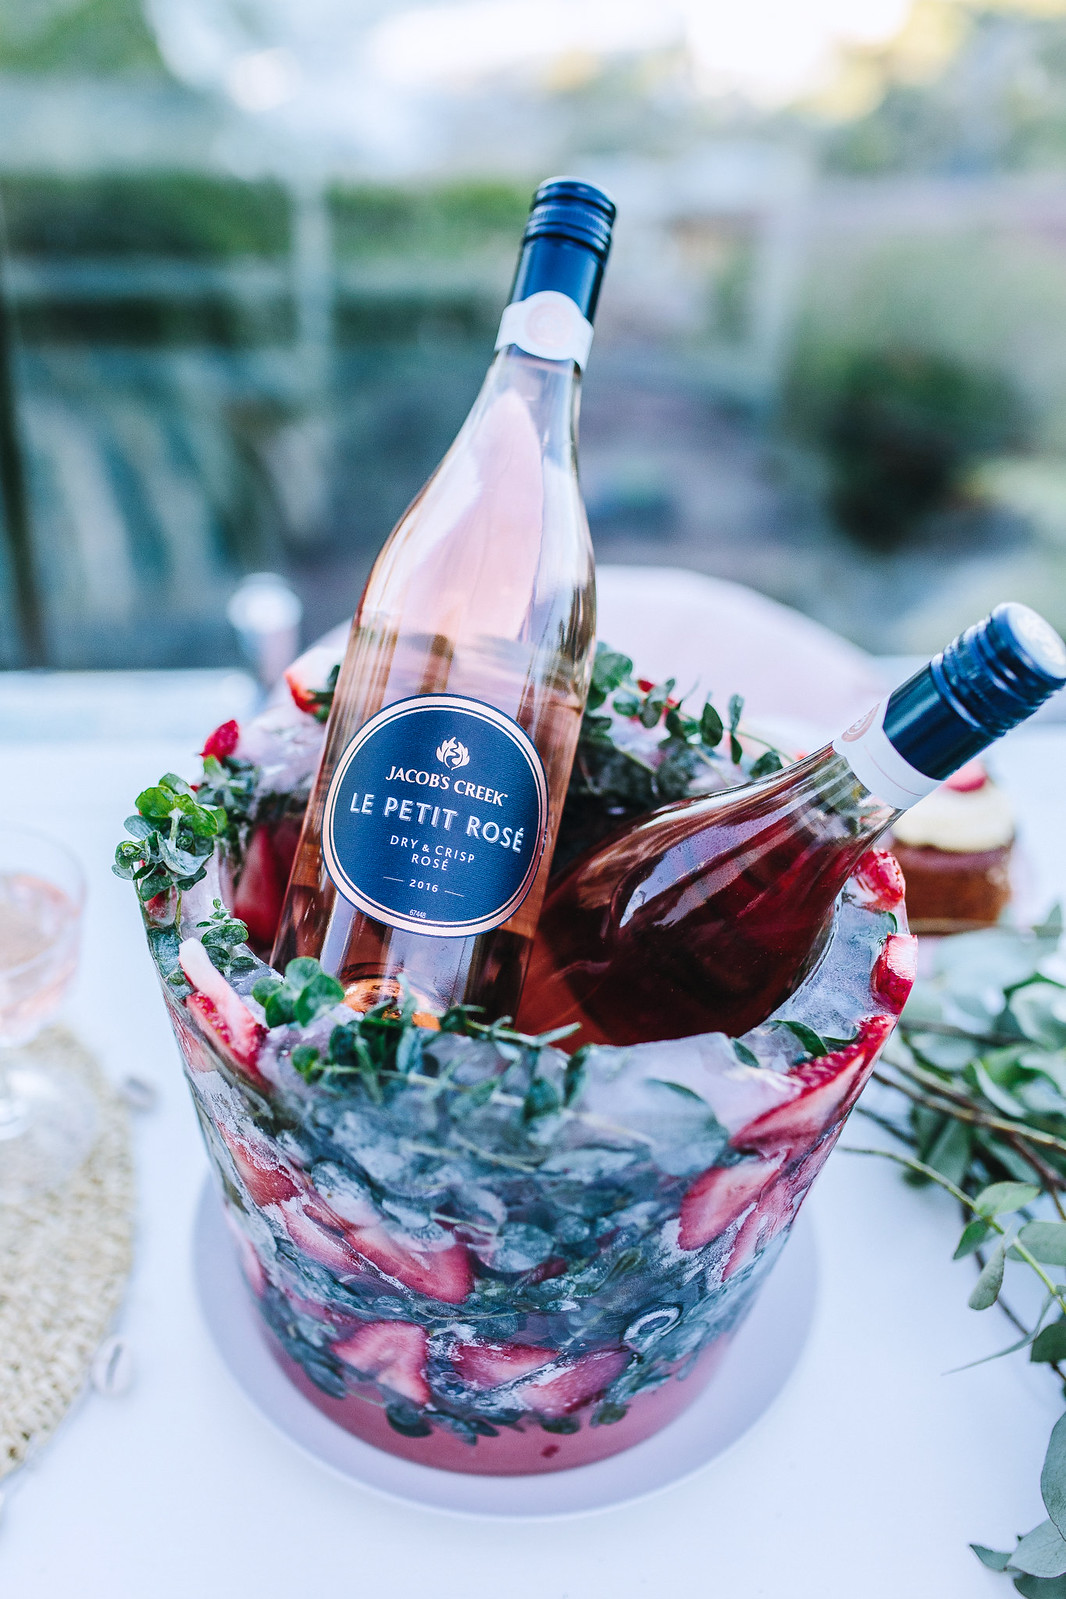
Add the fruit and flowers around in the gap, pressing them against the outside bucket so you can see them through the frozen ice. Fill it up with water, making sure to add rocks into the smaller bucket so it doesn't float to the top. We also filled the water up to an inch below the plants and fruit, as we liked a textured edge. Freeze overnight.
4
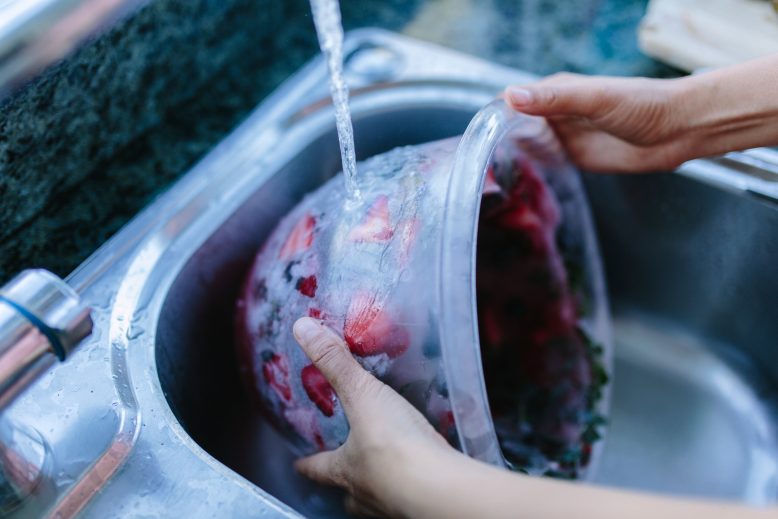
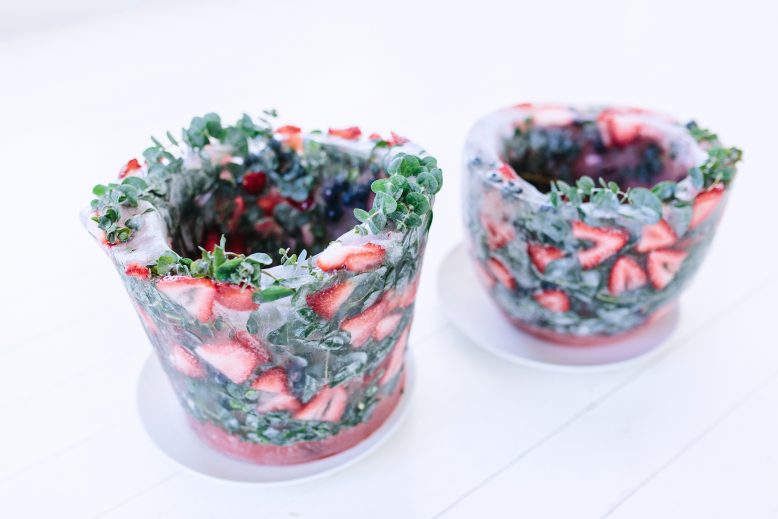
Once frozen, remove the smaller and bigger bucket using hot water. Pour hot water into the smaller bucket and lift it out, and then run hot water around the outside of the bigger bucket. Put the frozen ice bucket on a plate.
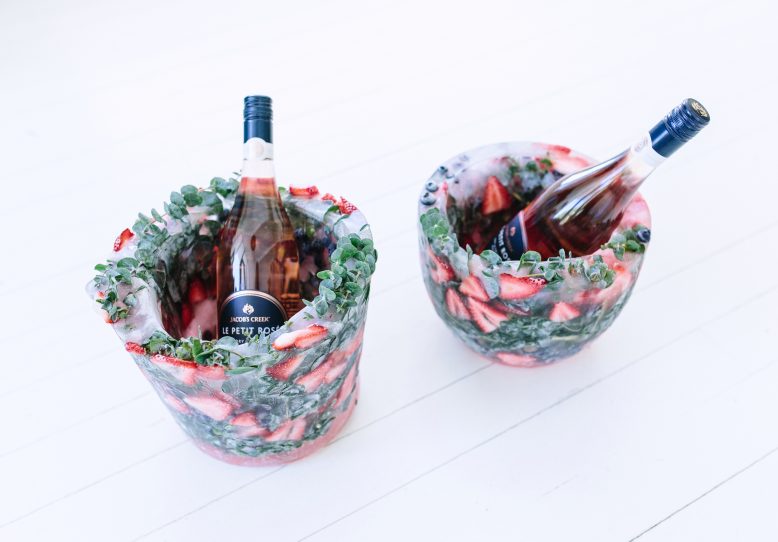
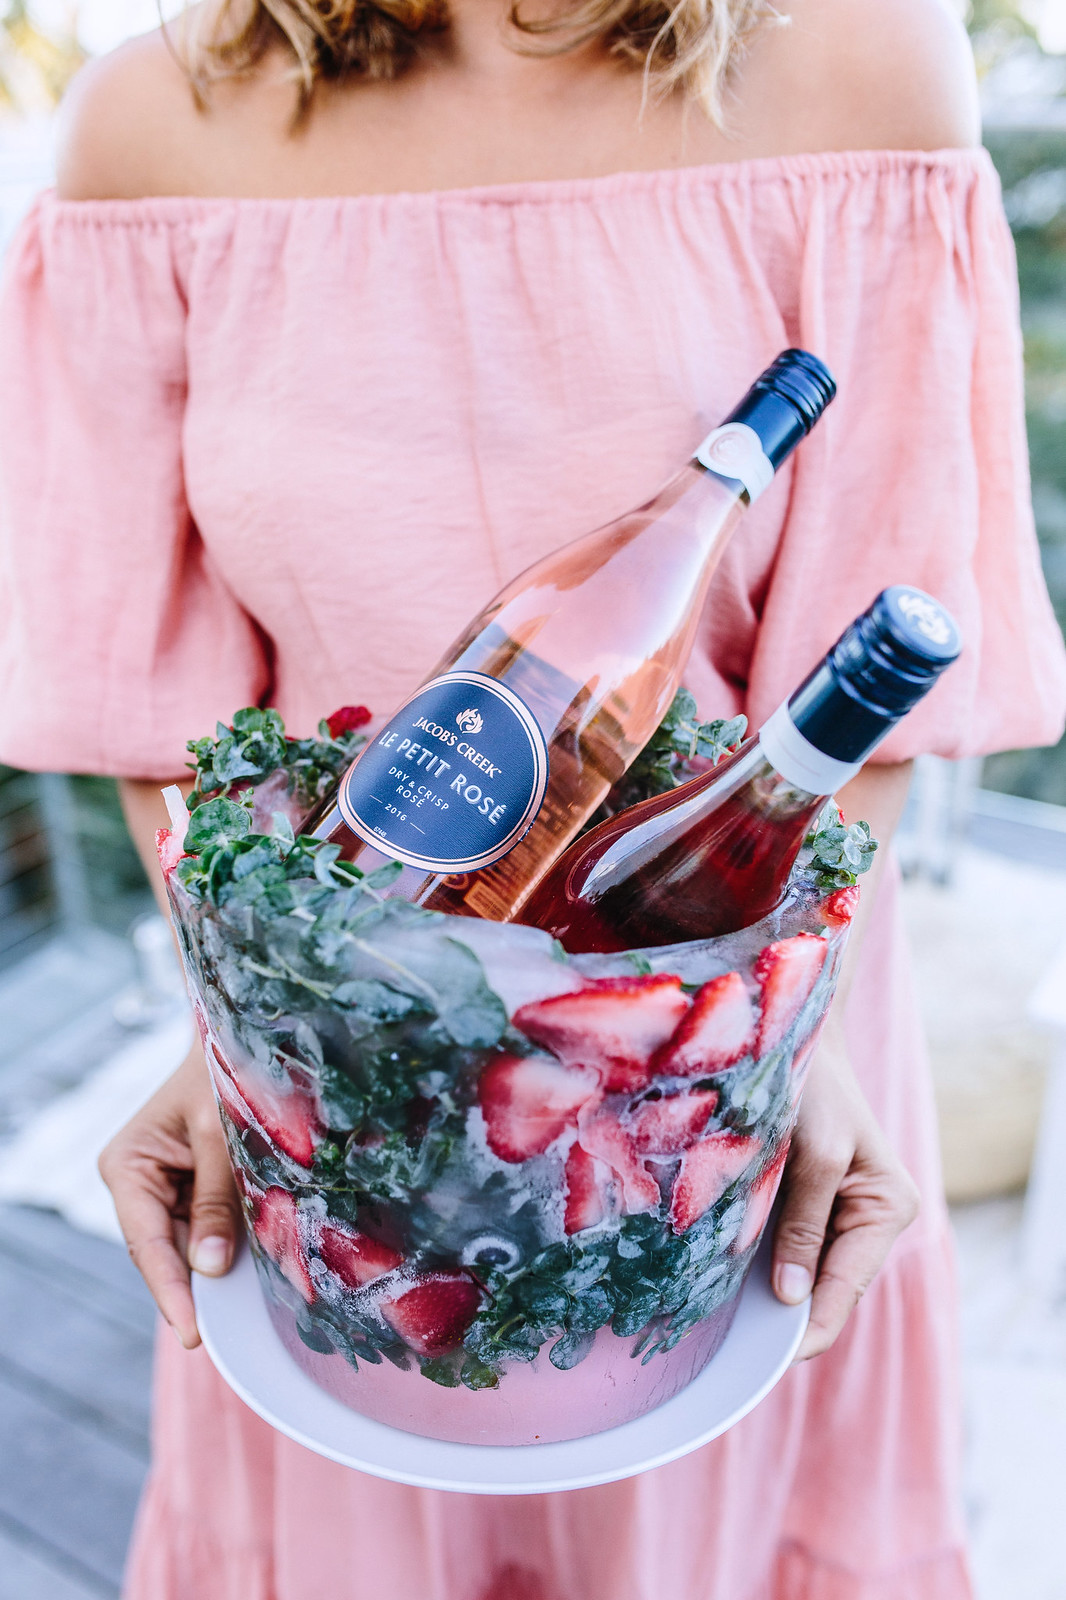
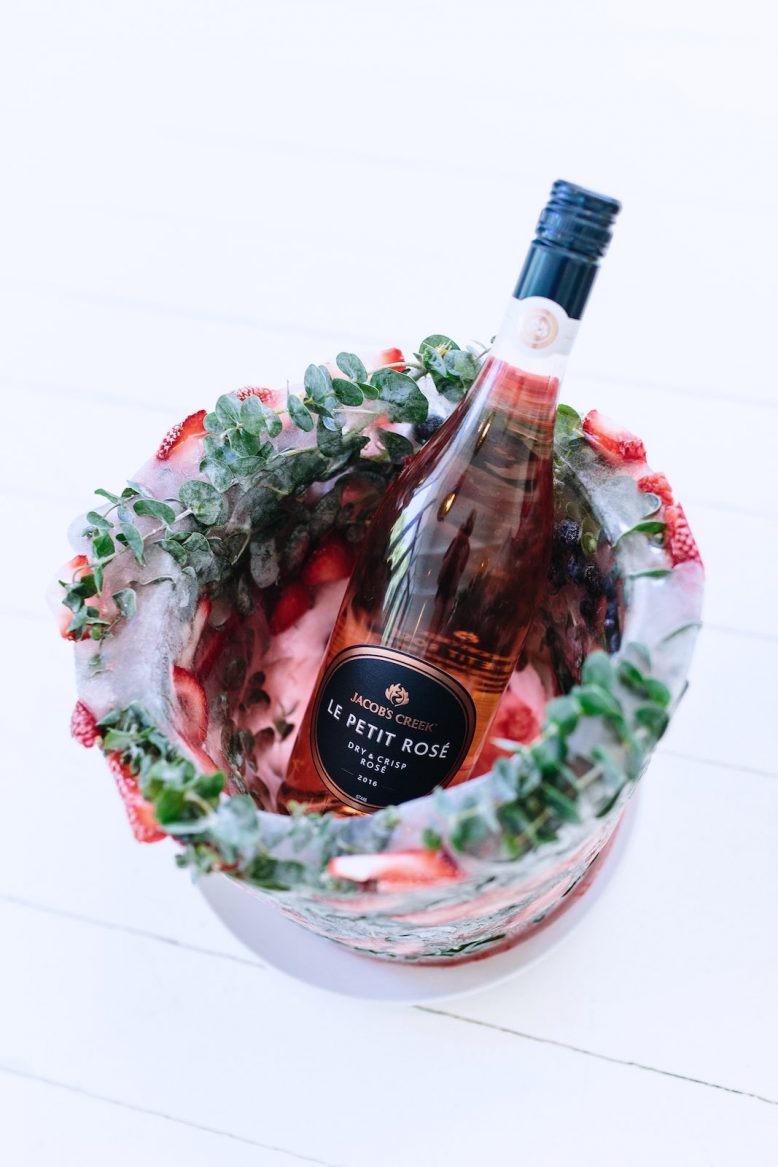
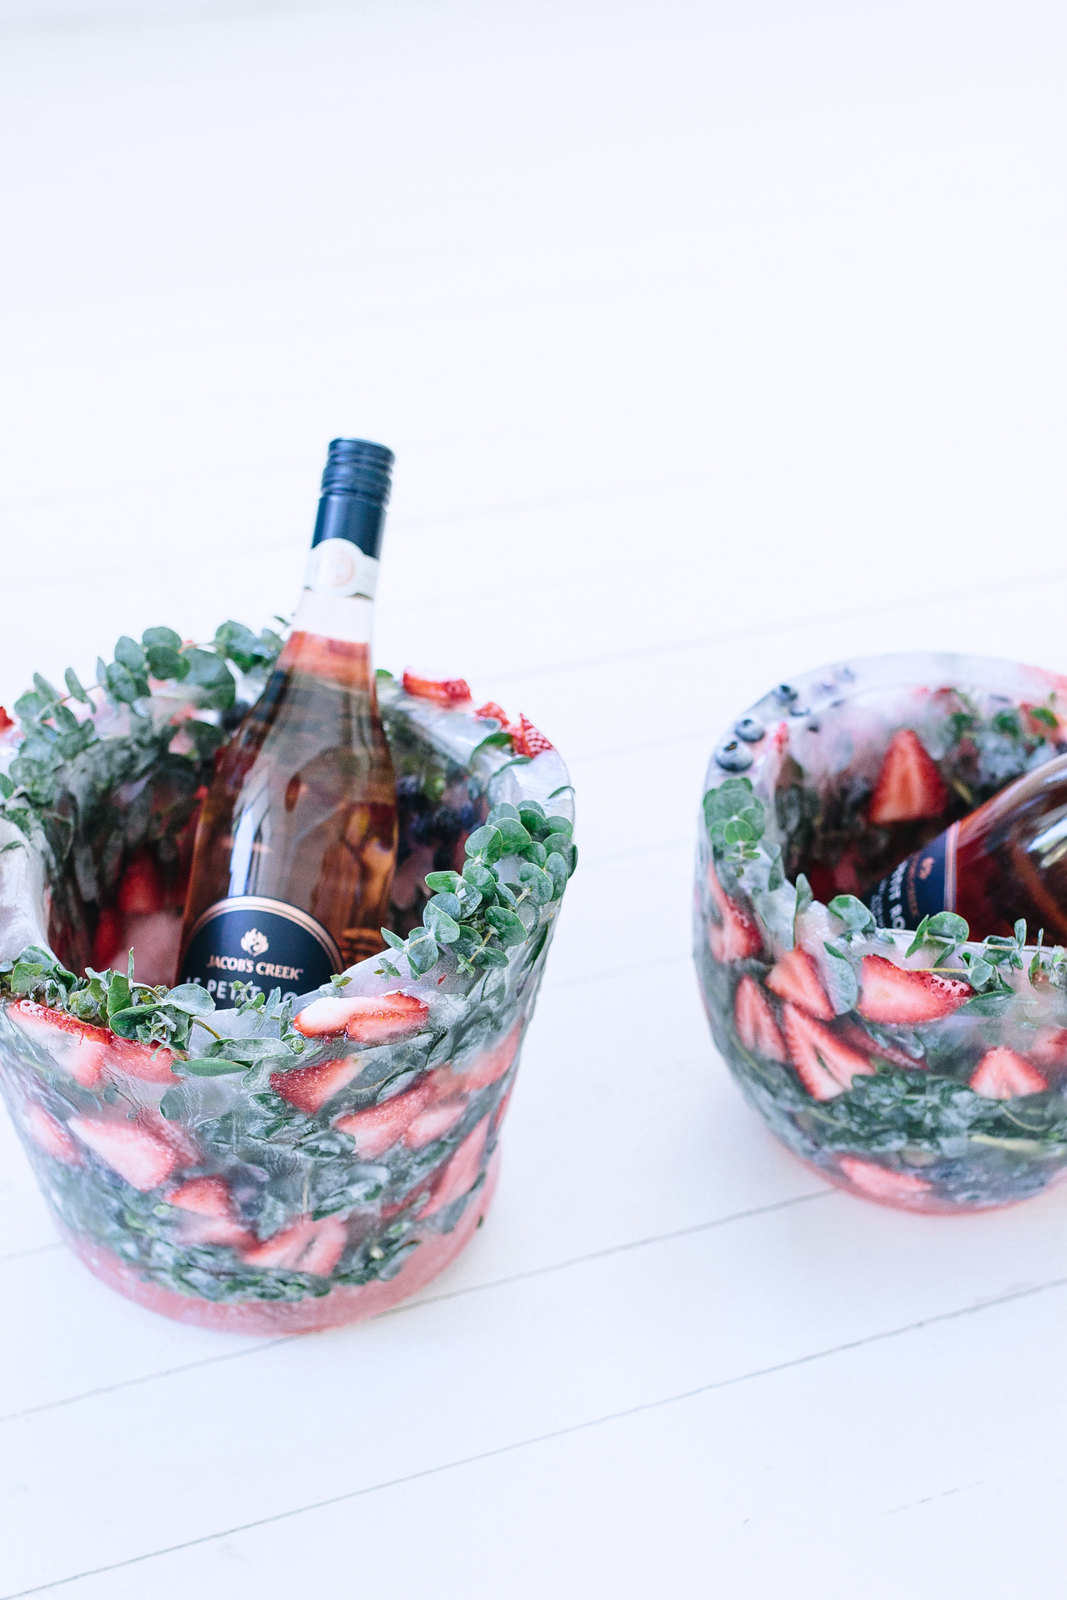
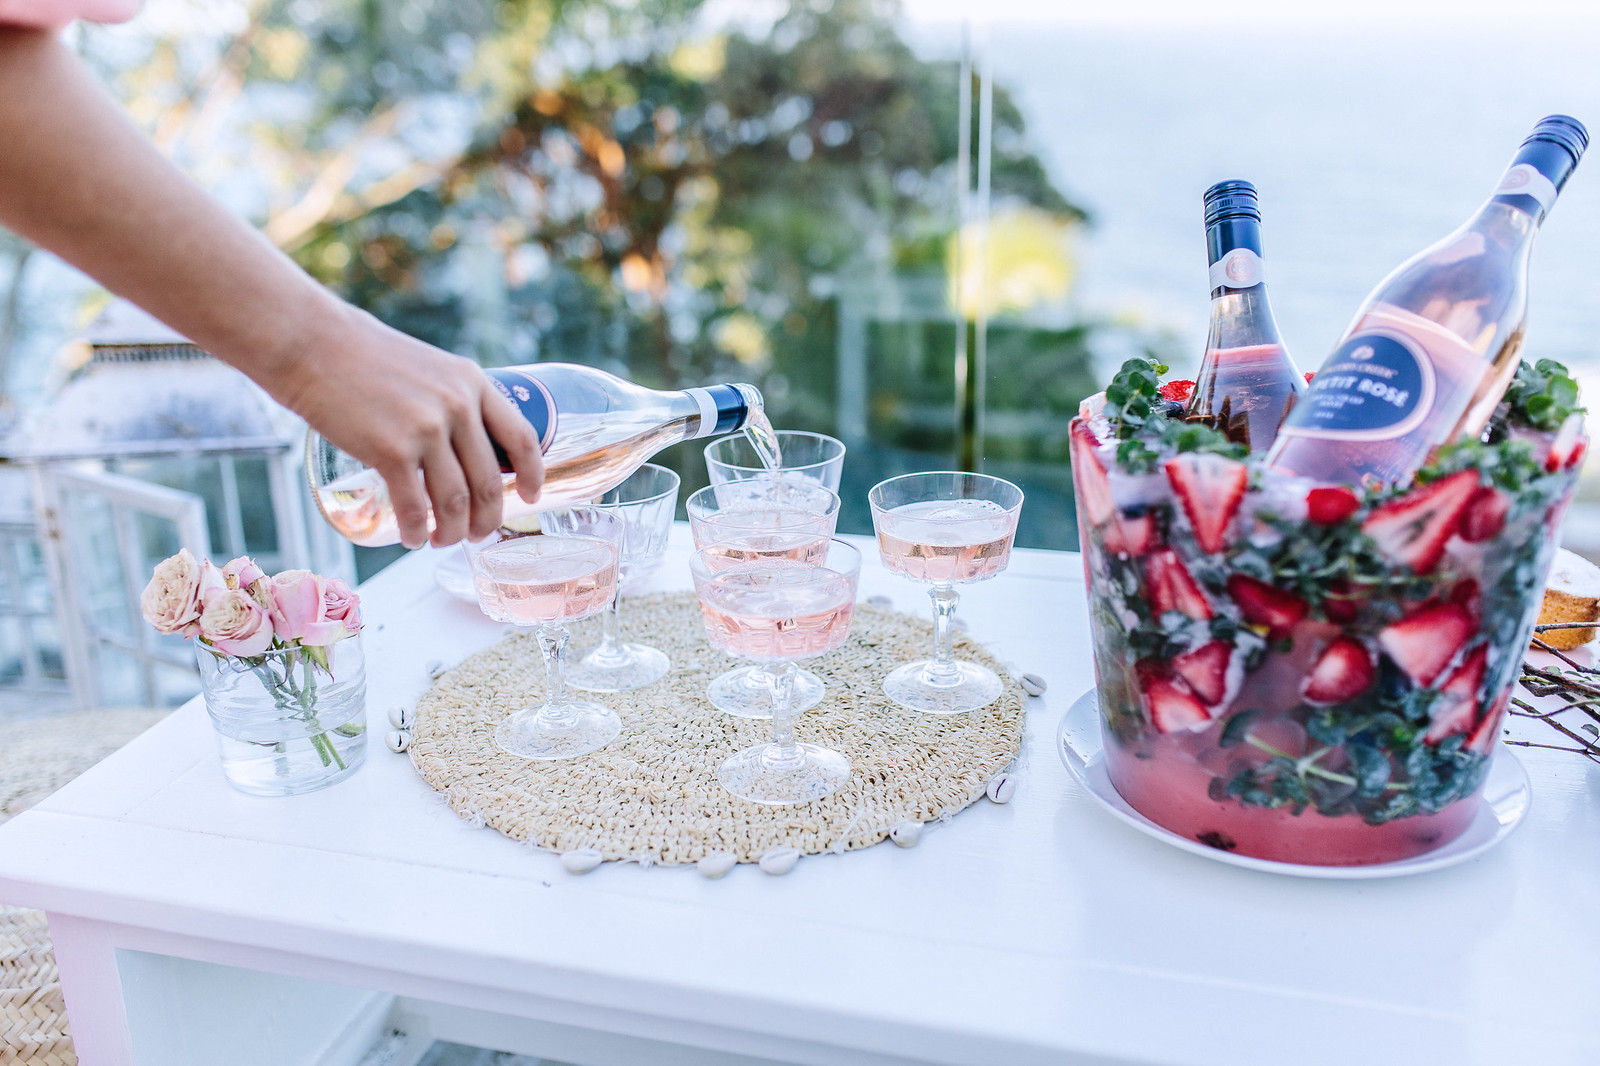
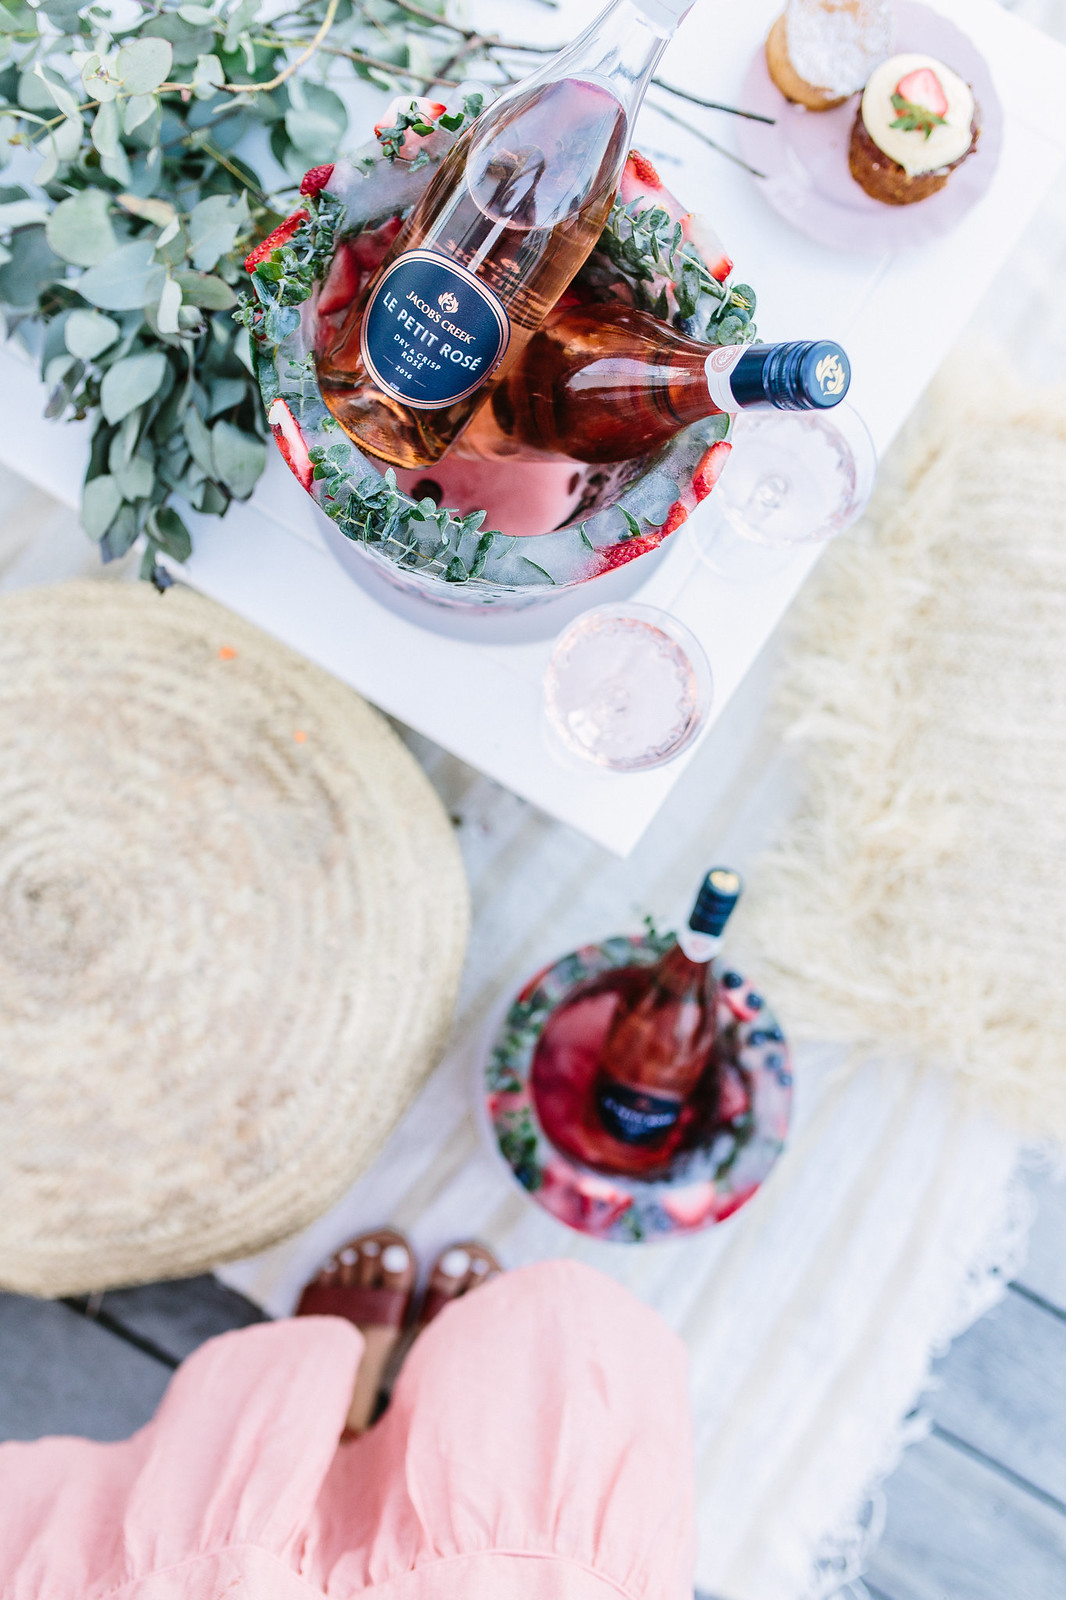
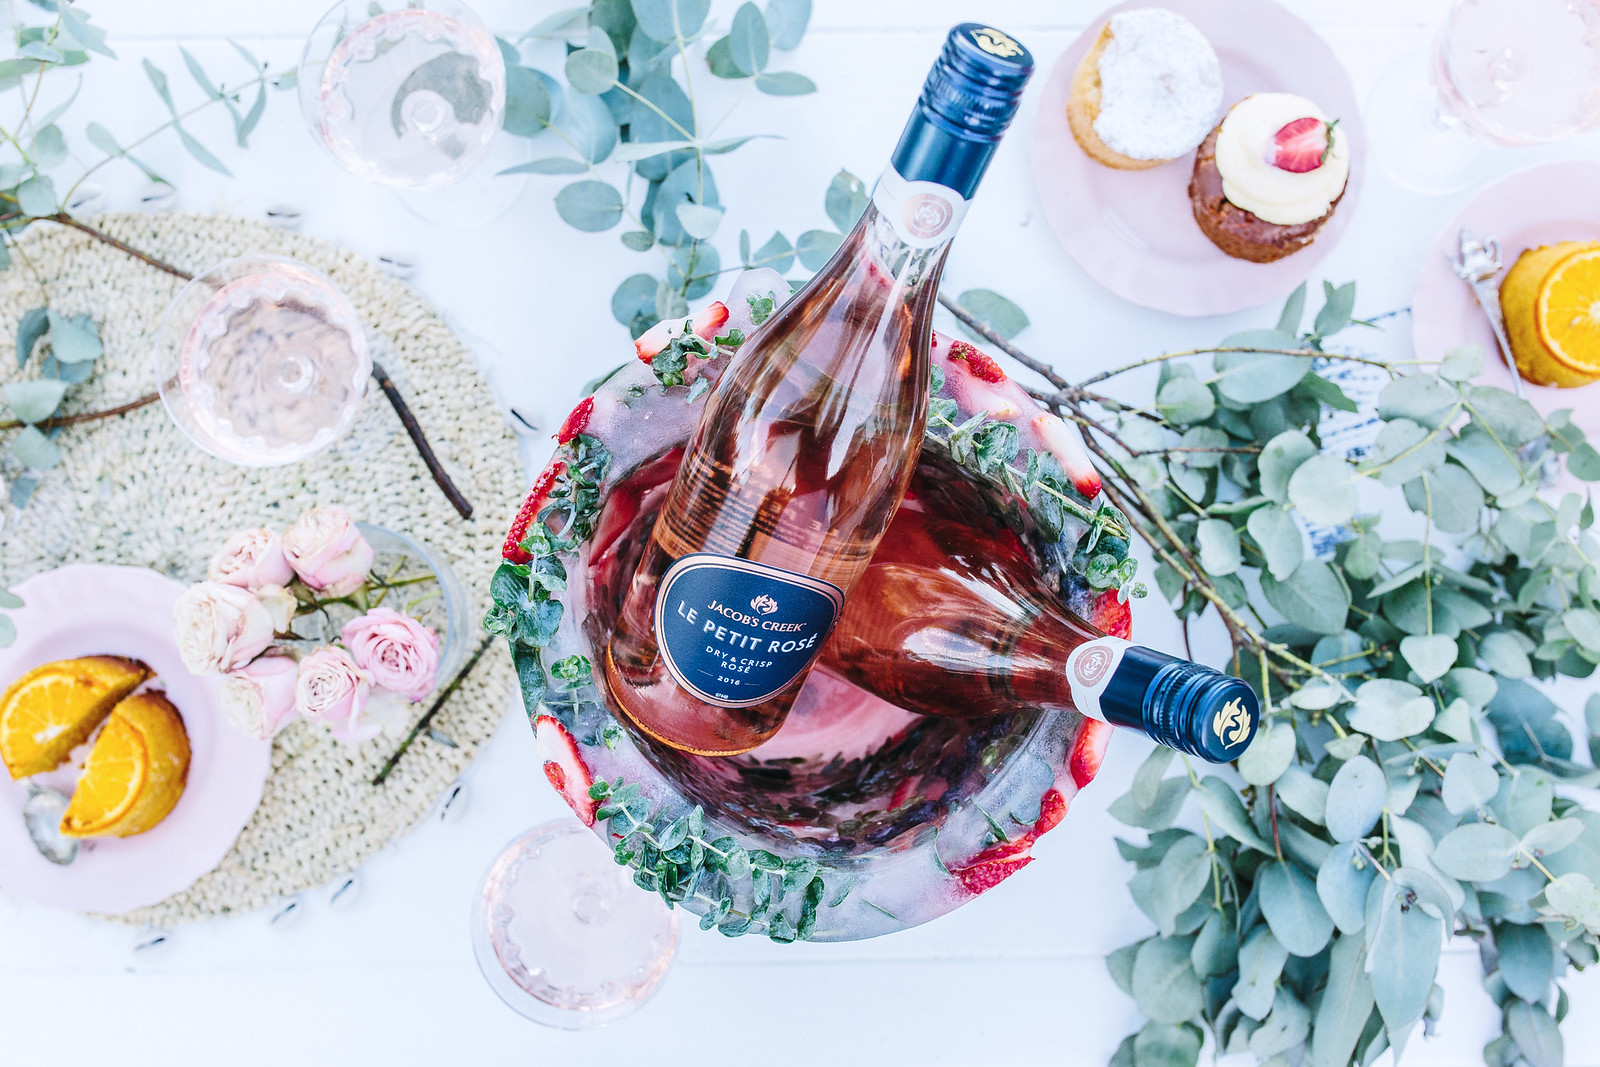
All done! What I love about this project is that it acts as a gorgeous centre piece but is also functional too – the perfect place for keeping your favourite drinks cool. Enjoy!
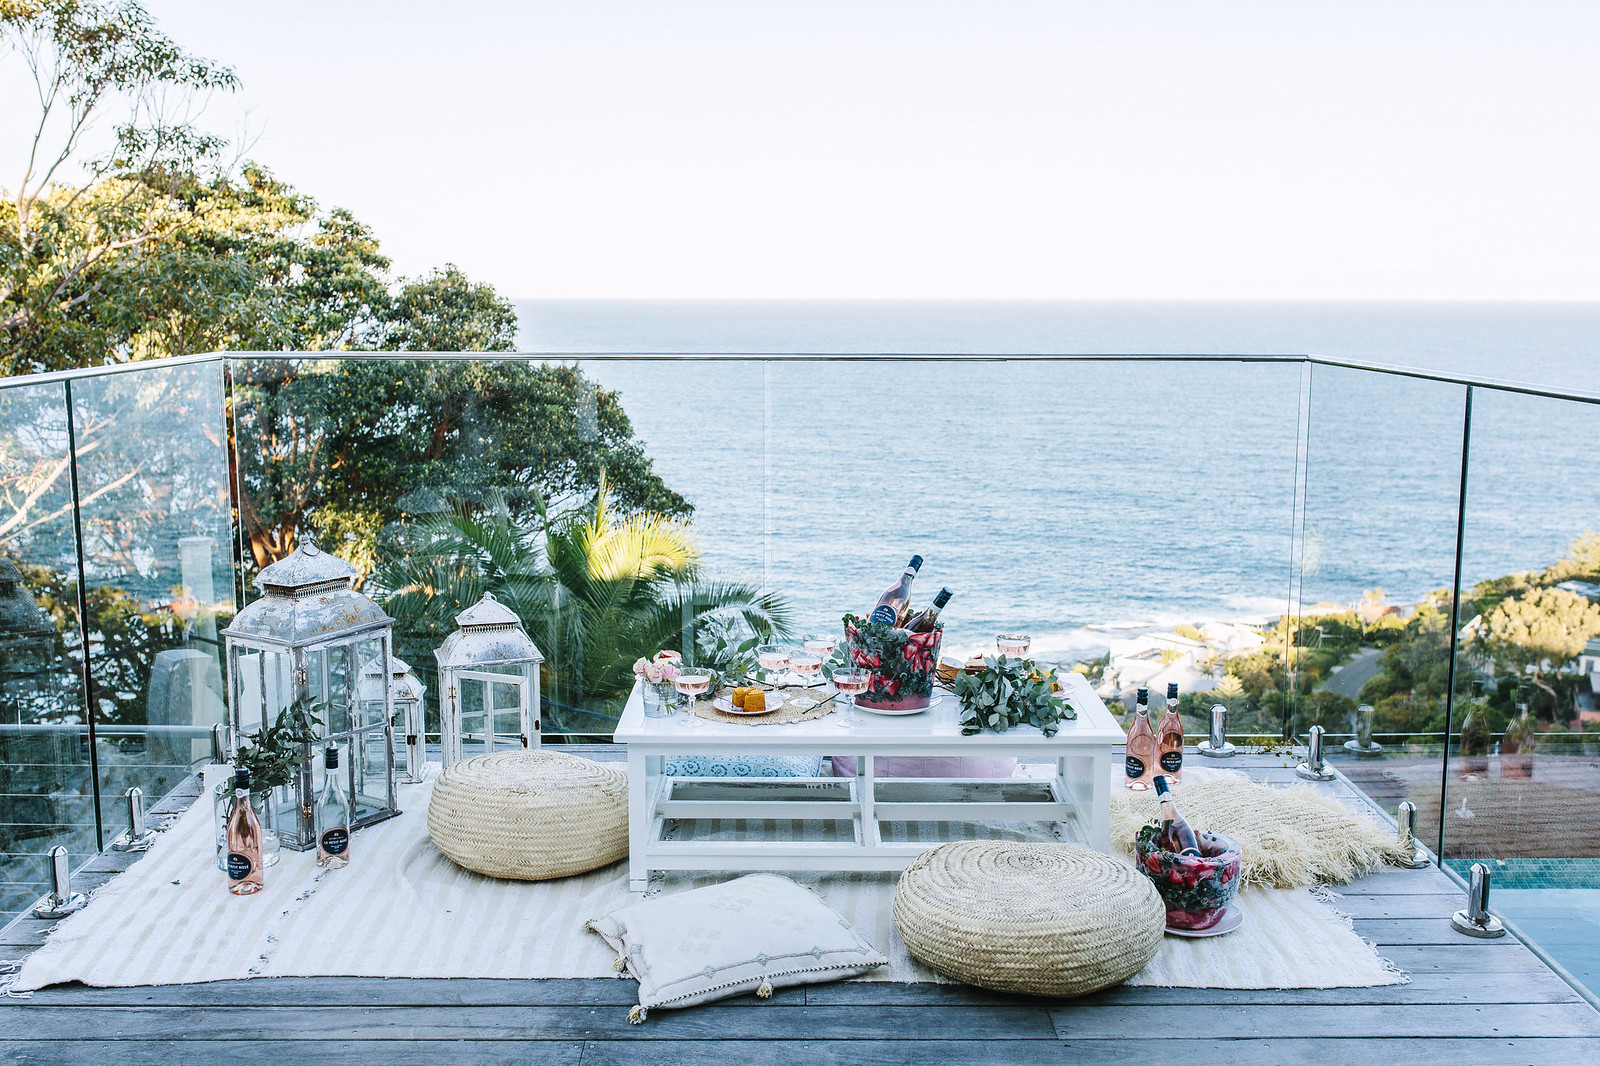
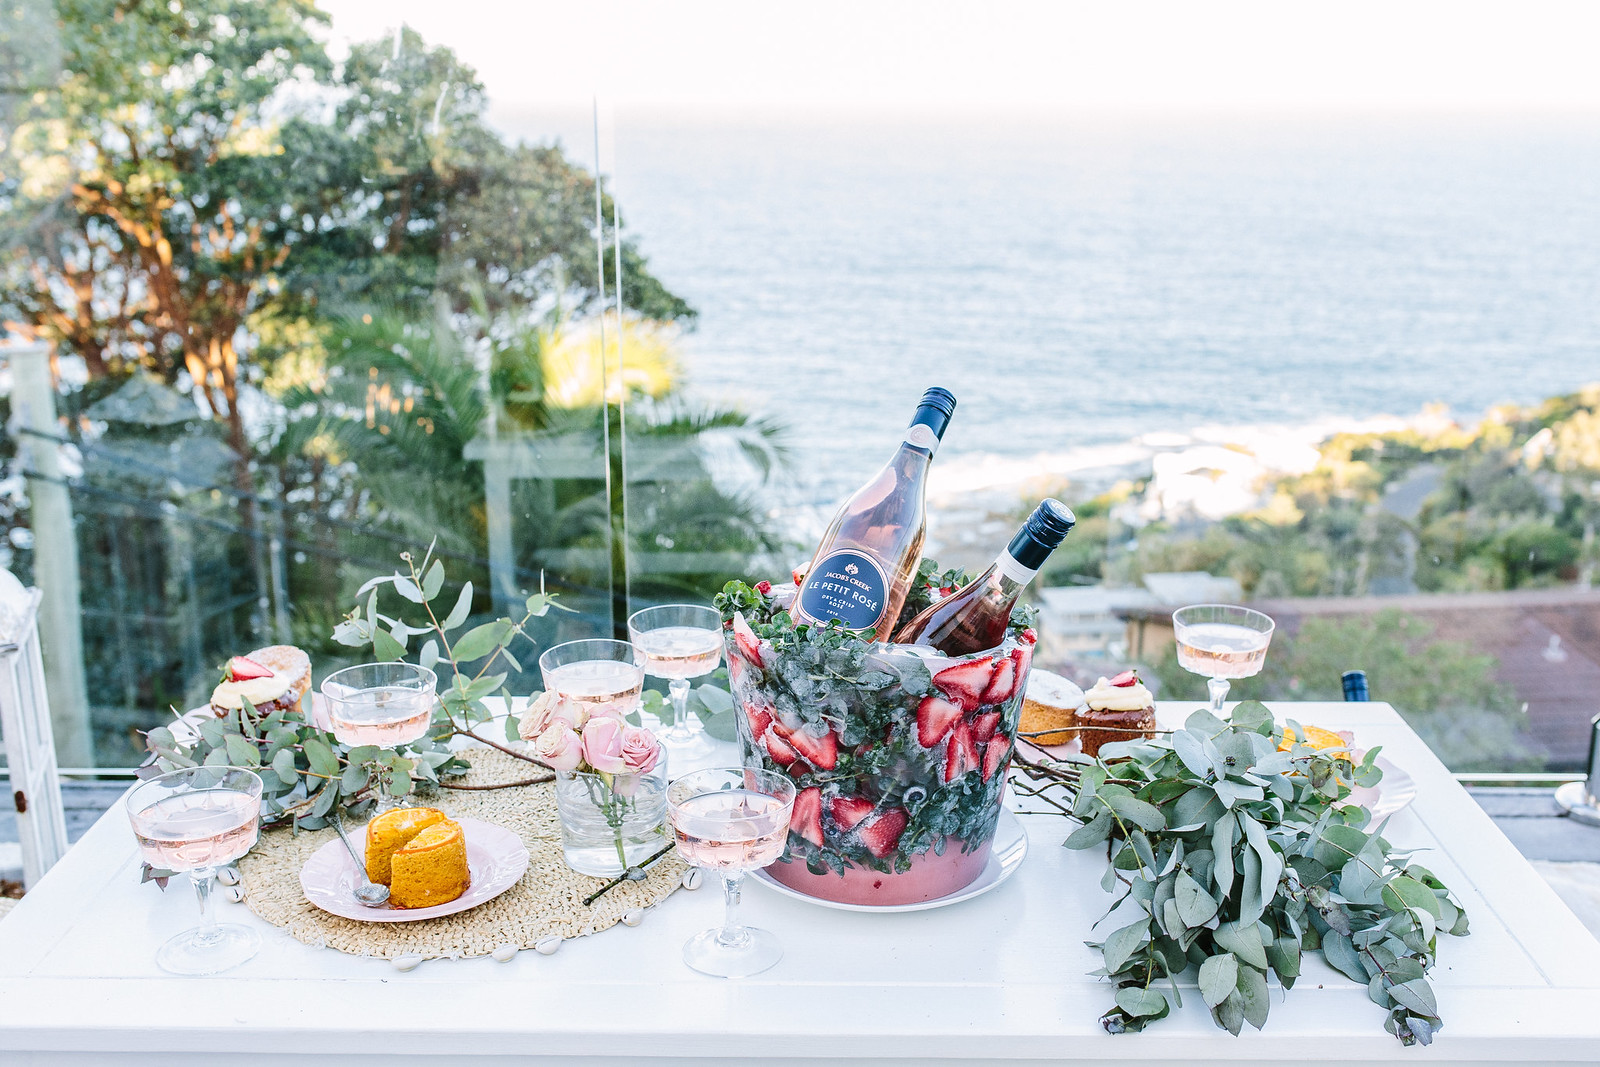
Now it’s time to get your friends together and have that party… How gorgeous is this spot?
In case you’re wondering, this ice bucket would work really well for a holiday party if you’re not lucky enough to be going into summer – mistletoe and red holly berries would give a serious christmas vibes, whilst some glitter would be the perfect addition for a NYE do.
This post is in collaboration with Le Petit Rosé. Big thanks to Paddo to Palmy for such a lovely location. You can get my dress here.
Photos by Nicola Lemmon.


