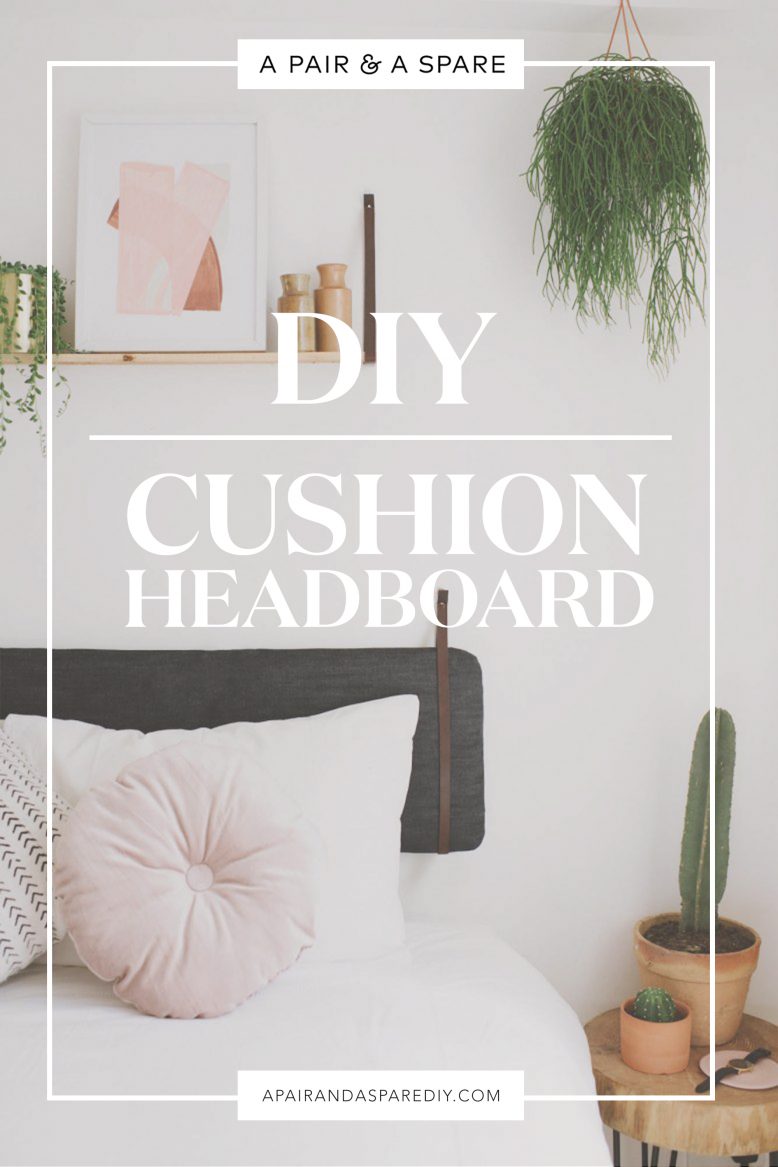
Hey guys! I’m currently in Bali on a bit of a creative escape, and I’m excited to share more of that with you next week. But in the meantime, for those of you who have a little time up your sleeve this weekend to do a some DIY, we’ve got the perfect project for you.
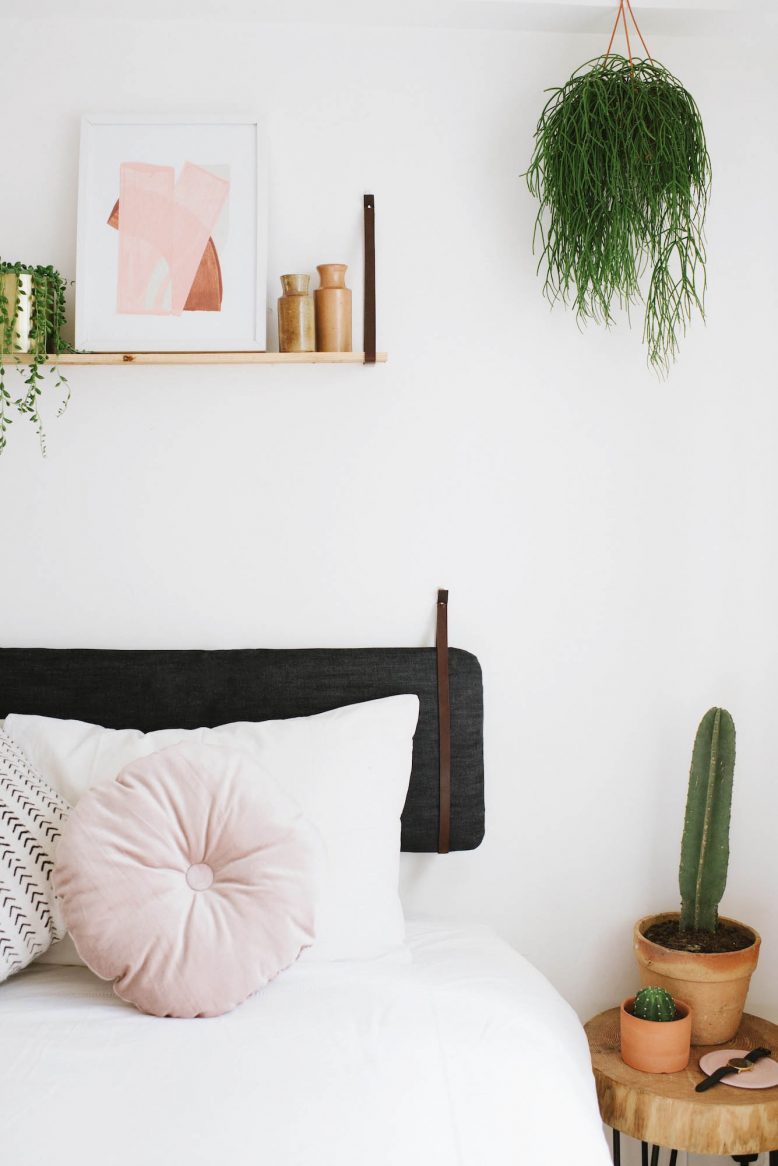
You’ll remember from last week’s Palm Springs Travel Guide that I stayed at the Ace Hotel in Palm Springs, and also a few months ago in London. I love everything about the decor in these hotels, and decided it was high time my own apartment got a little bit of an Ace inspired update. I loved the Chambray denim used so much in the London hotel, so decided to create a headboard for our bed using denim I had leftover in the studio. I wanted to make this project as easy as possible, so decided to make it a hanging style, and used…. wait for it… a bench cushion from Ikea. Hello Ikea hack!
DIY Cushion Headboard
I had searched high a low for a cushion that would suit this project – something the right width and nice and sturdy so it wouldn’t flop around. I actually bought a small mattress and cut it in half only to find it buckled in the middle. Gah! Whilst pottering around on the Ikea website I found these bench seat cushions and realised that covered with a sturdy fabric they would be perfect!
1
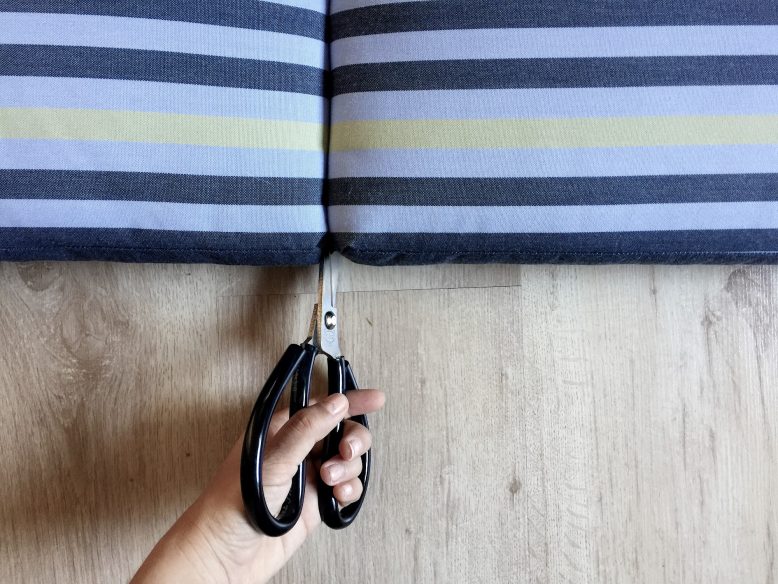
First, you need how long you want your headboard to be. We have a queen sized bed and wanted the headboard to be a little shorter than that, so I cut one of the cushion sections off.
2
Cut your denim to fit roughly the size of your cushion, making sure you account for the fact that you want to wrap it like a present so will need overlap.
3
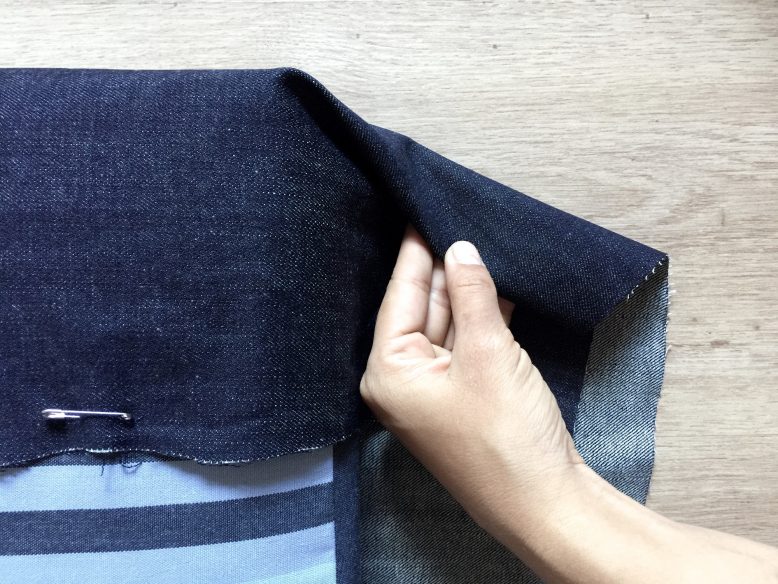
Wrap the long sides over and pin to the back of the cushion, placing safety pins all the way down so that there are no lumps or folds in the fabric.
4
Now is the time to fold like a present! Fold the ends down so they create a nice clean edge on the side. And then use pins to secure.
5
You should have your wrapped cushion all ready! Take your leather and measure it to size so that the cushion can hang in it and be secure to the wall.
Voila!
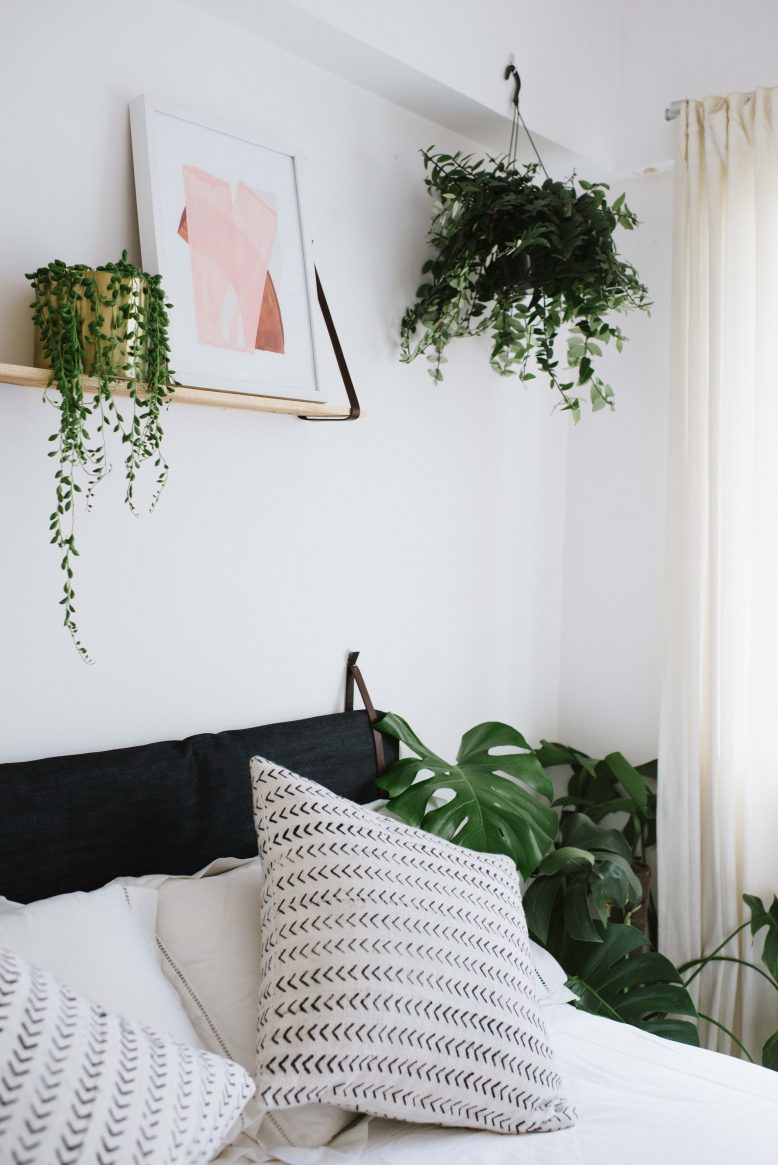
The reason I use pins instead of glue or sewing to secure the fabric for this headboard is so that you can change up the fabric easily – make it a great piece if you tend to change your mind all the time like me! I also added another DIY hanging shelf above the bed using the same leather as the headboard… Easy!
In this photo: DIY mud cloth cushion, DIY round cushion (coming soon!), bed linen from Vietnam, Jasmine Dowling print, vintage stone vases from Australia, Urban Outfitters copper plant holder, DIY Hanging Leather Shelves.
If you love decor DIYs take a look at these: DIY Entryway and DIY Floor Cushion


