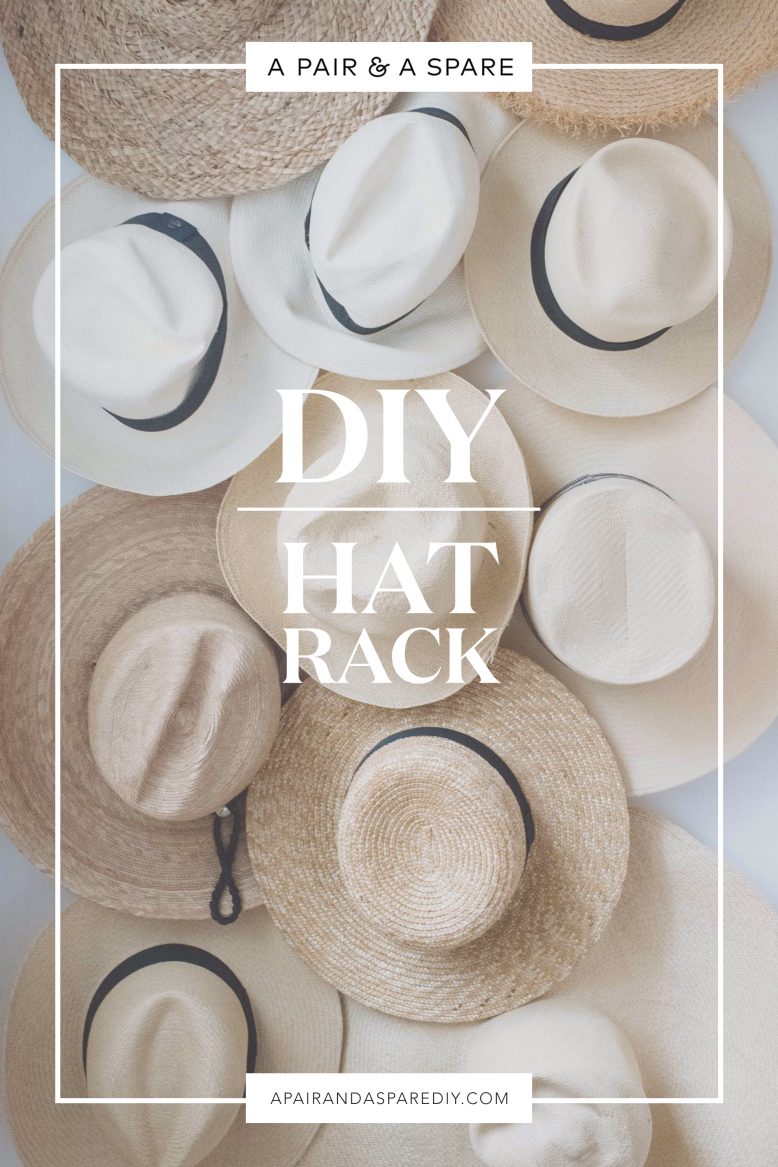
Hats. Love them but also loathe them sometimes too. Love that they make every outfit complete, loathe them for the rest of the time when they’re not on my head, and instead piled up, losing their shape and slowly being crushed to death. Which is why I’m forever on the hunt for hat storage…. If you are too, you might like this DIY Hat Rack!
One big problem when it comes to hat storage is that often it’s not that pretty, meaning you have to sacrifice style for function. And also, when you have a huge hat collection like me, no hat stand or hook is going to be the right solution, unless you want them stacked on top of each other, which in my experience leads to, you guessed it, the death of that beloved hat on the bottom. I got quite a few comments on the hat storage seen here, asking how to recreate it. Because the installation in that post actually relied on hooks in the wall (which isn’t that useful) I set about finding an easier alternative. I thought it was time to introduce another hat storage idea! For all your hat lovers out there.
DIY Hat Rack
Video
1
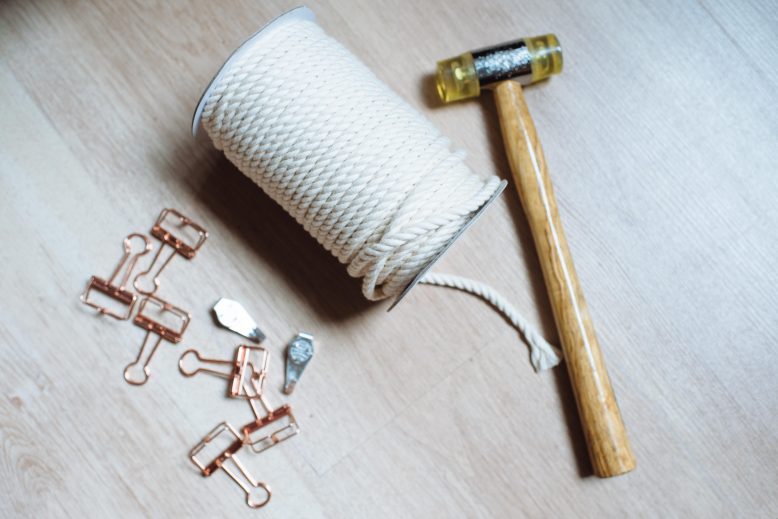
The first step is to cut your rope to size. I roughly measured the wall where the rack would go, and cut two pieces that were the length of the space (plus a bit for the knot) and another piece about half that size. I found that two long pieces and one short layered together well so the hats were well spaced.
2
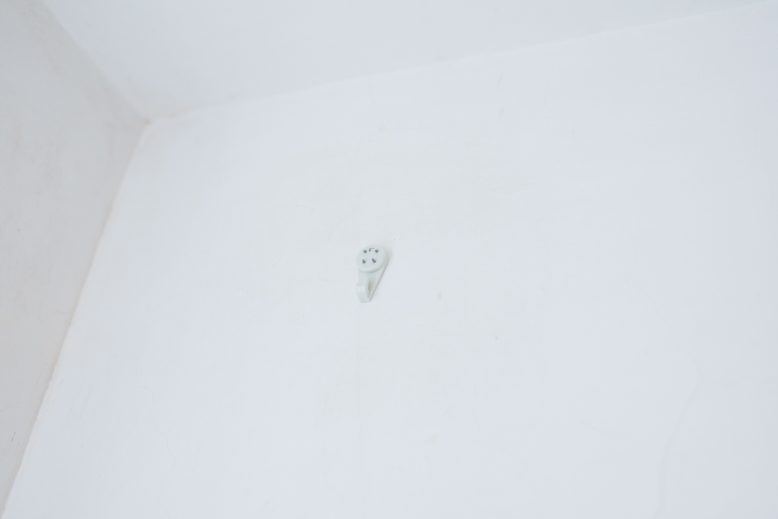
Next, you need to attach the hooks into the wall. Make sure to use your widest hat to work out how far apart they can be, keeping in mind your hats can be layered together. How you attach the hooks is up to you, I used cement wall hooks because that's what the walls of our apartment are, but you can use big sticky ones (good for renters) or even nails if you don't mind the hole.
3
Attach the ropes to your hooks, and then trim the ends. In addition you might want to add the third rope, this you might want to stagger so that it can't be seen at the top when you place your hats. I found by adding the third rope you can fill gaps that might occur with only two ropes.
4
This is what the final 'hat rack' will look like! It's so so easy right? Pretty much just three ropes on the wall.
5
To add your hats, simply start from the top. Clip your first hat on as close as you can to you top, trying to cover the hook if you can. Then, add the rest of your hats, layering them underneath so that you can't see the clips.
6
By covering the clips you get a clean and minimalist finish, making it more like an installation or art than storage.
This is such an easy way to store a whole heap of hats, and to do it with minimal materials. Enjoy!
Love yourself some chic storage? We do too! Check out this Copper Hat Rack (another option if you’re looking for something using copper), this DIY Hanging Back Rack or this DIY Coat Stand. Because you can never have enough storage!


