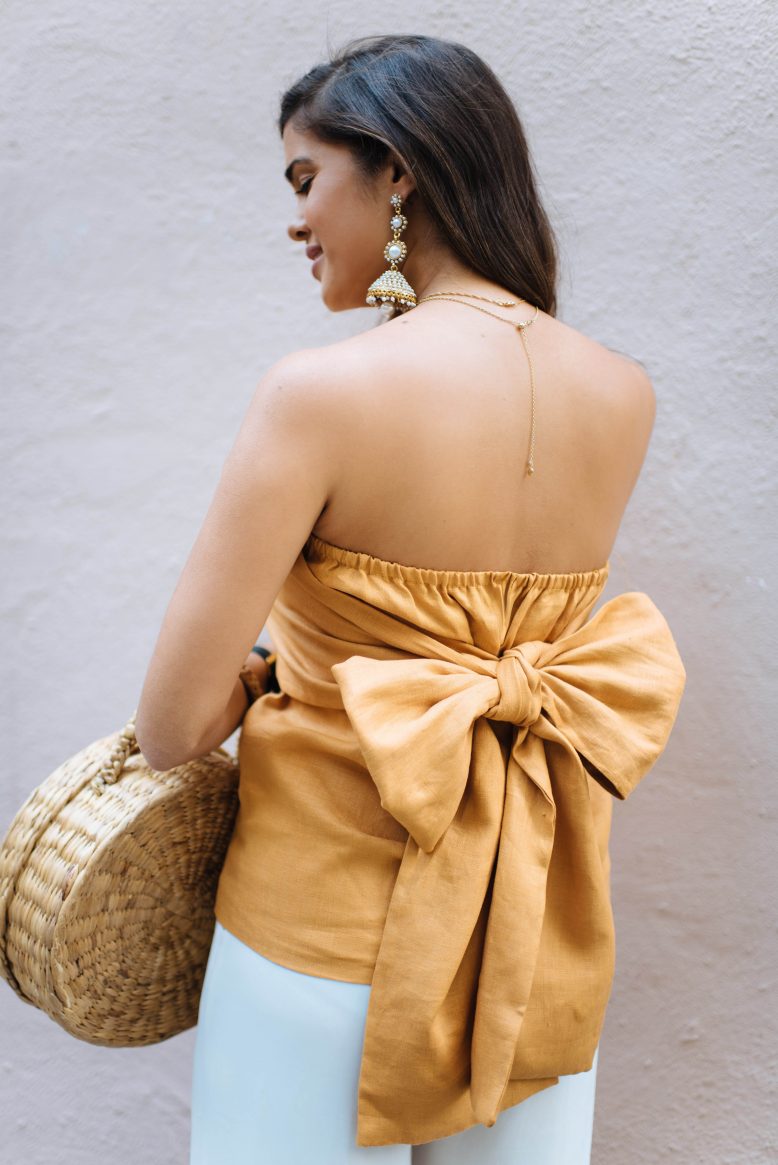
There’s no better time to wear a giant bow than the ‘present’… Right?
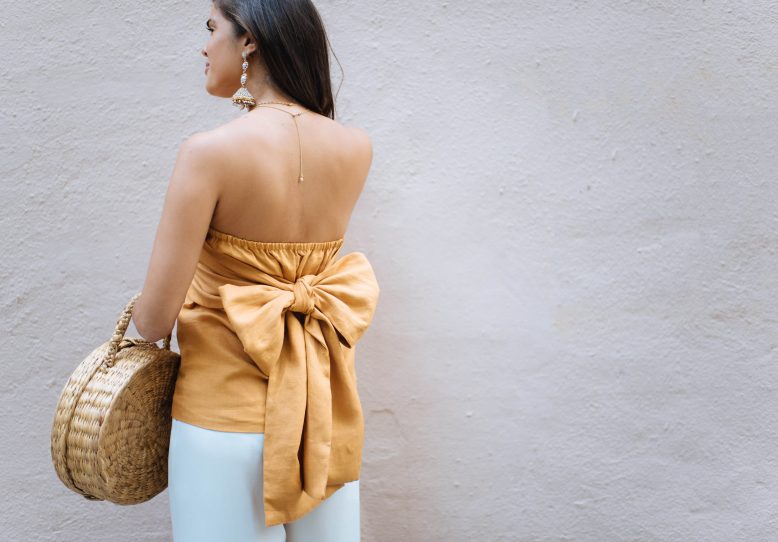
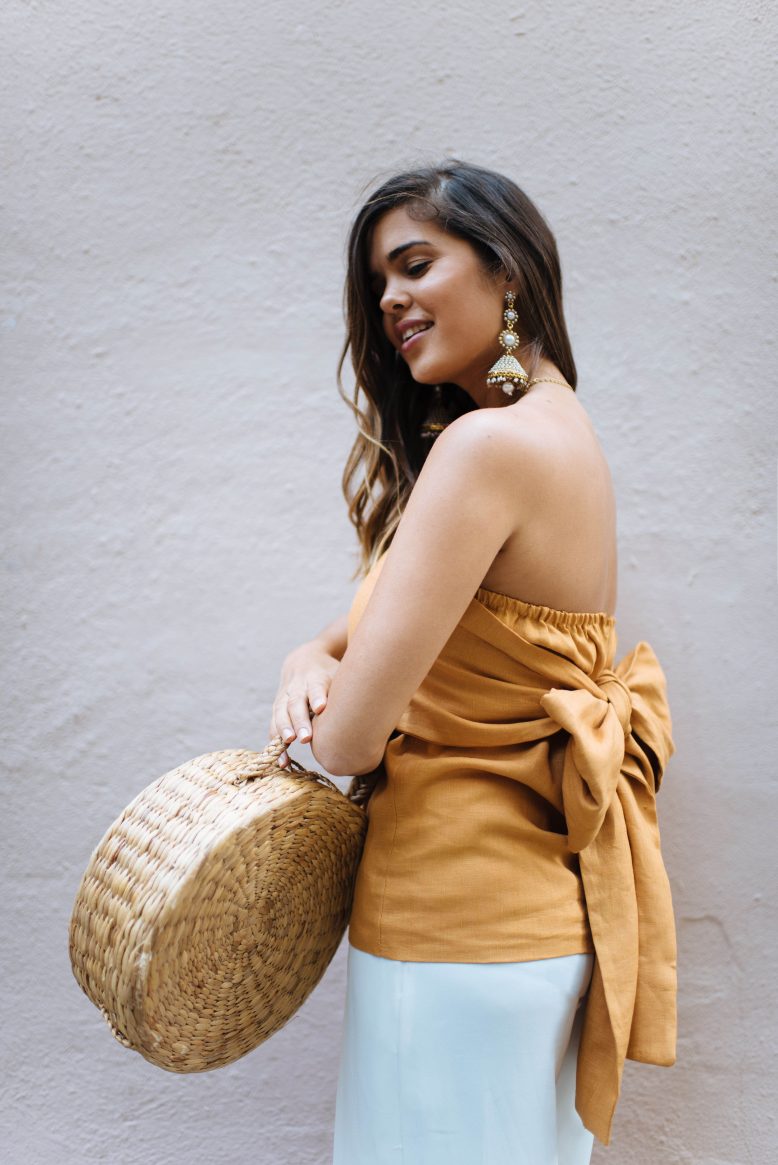
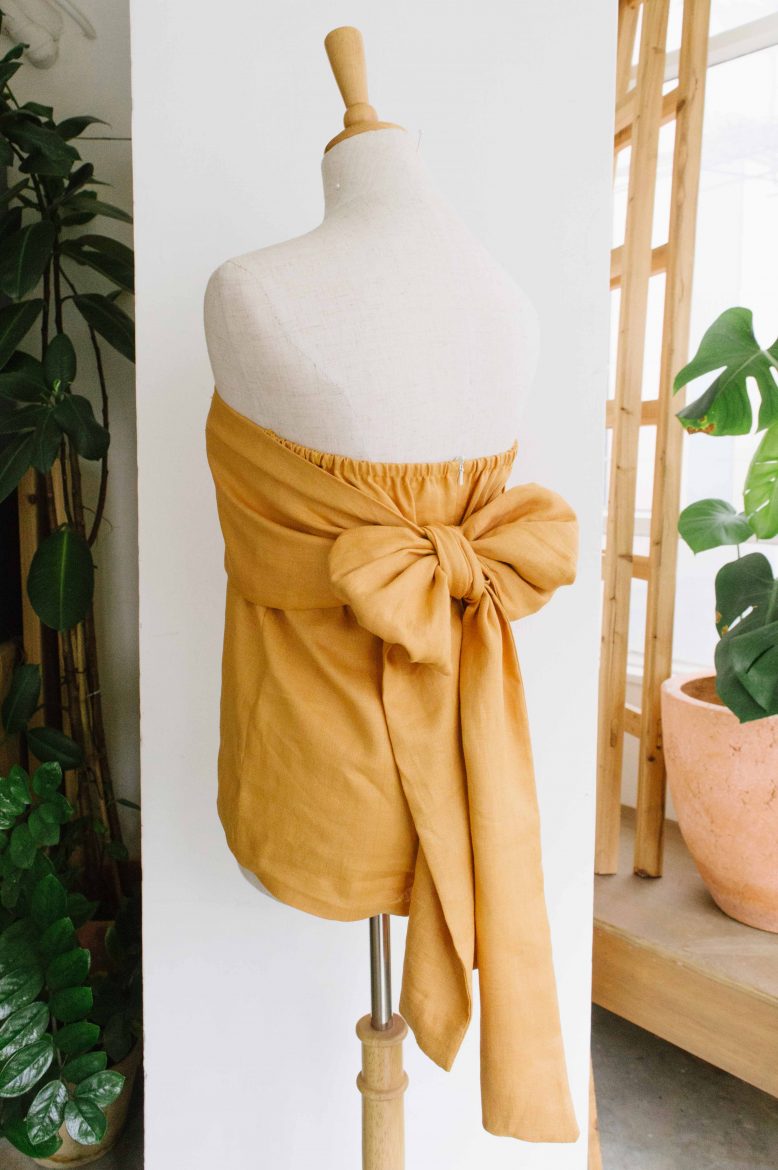
Put a bow on it has been my motto for a while, and when it comes to the size of bows… Well, it matters. For this project we decided to go big, and it turned out to be the perfect party piece. Just pair it with earrings that say ‘what curfew?’ and you’re good to go! Once again I used my favourite mustard linen, I just love this colour!
DIY Strapless Bow Top
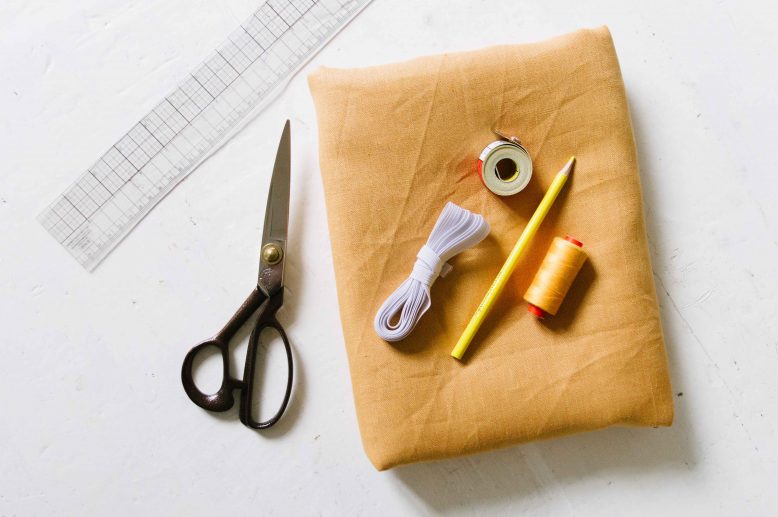
What You'll Need
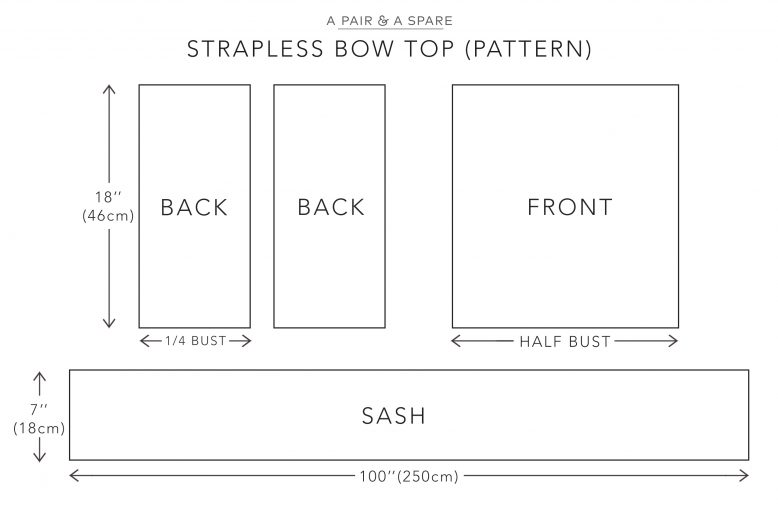
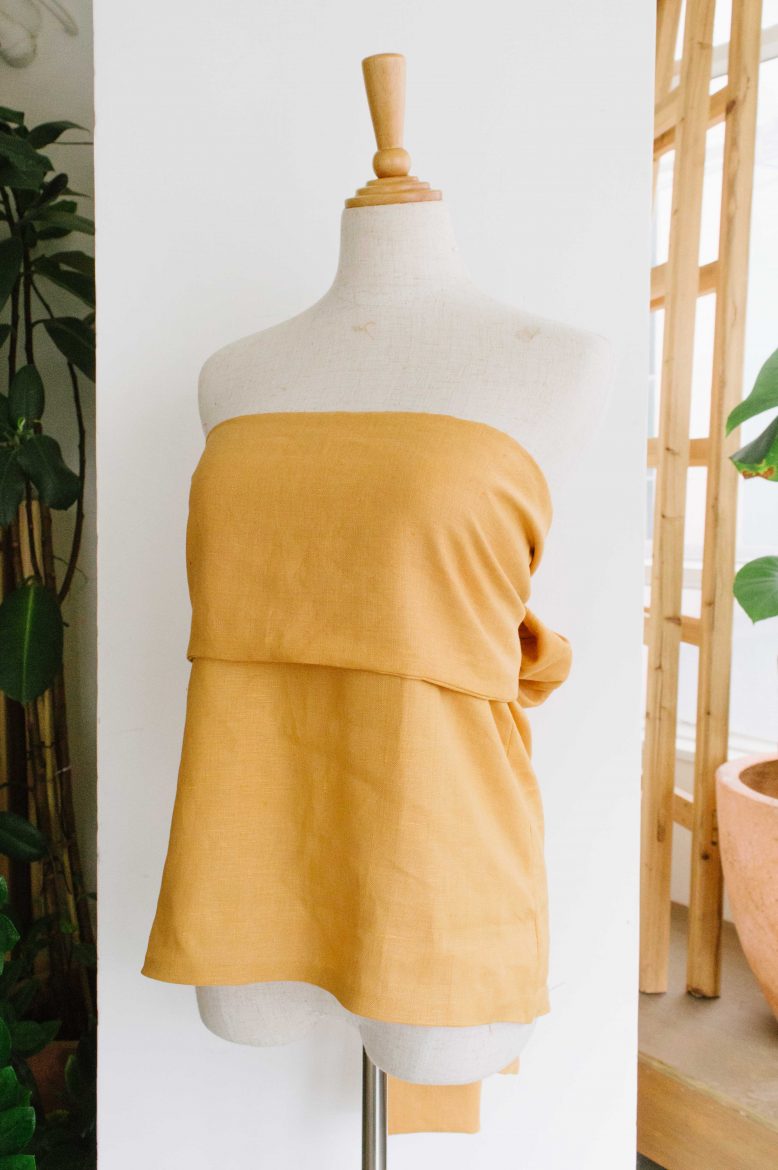
The pattern for this top is really simple, and is basically made out of several rectangles! You will create a simple strapless top, and add a long sash to it which ties into a bow at the back. The length of the sash can be adjusted depending on how big you want your bow to be and how long you’d like the tails to hang behind. More is more we say!
1
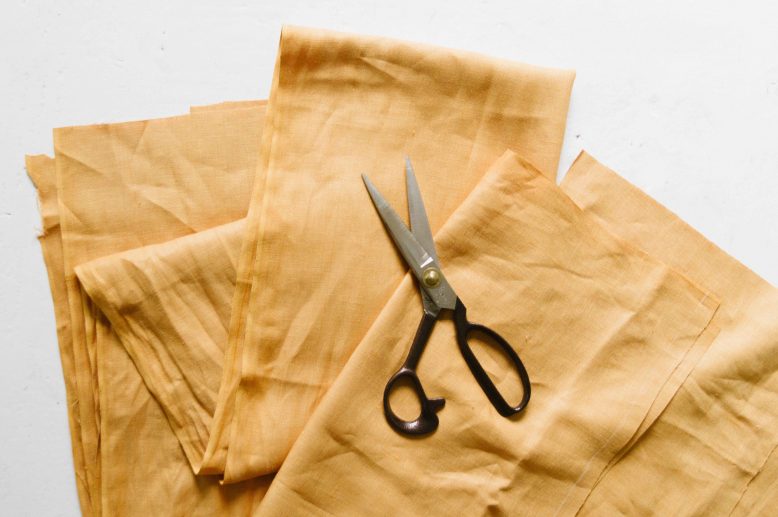
Draft and cut your pattern pieces from your fabric. We used a mustard linen for this DIY. Because you guys know how I feel about mustard!
2
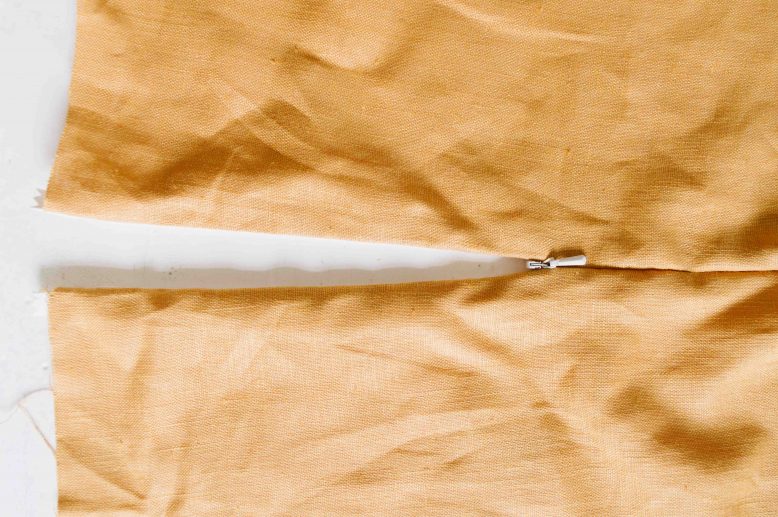
Begin by inserting the invisible zipper into the back panels. Use our tutorial here to do that.
3
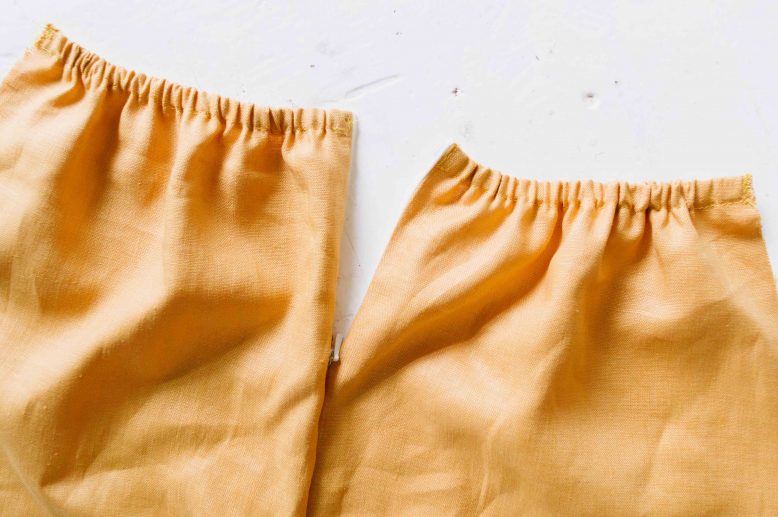
Sew a tunnel and thread in two strips of elastic that are slightly shorter than the width of the panels. Then secure the ends of the elastic to the seams on both sides.
4
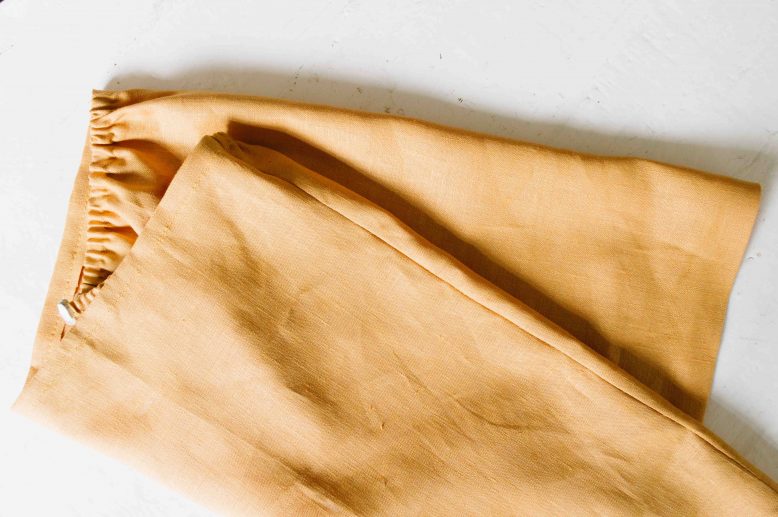
Place the right sides of the back and front panels together, and sew down both side seams. Your base strapless top is now done!
5
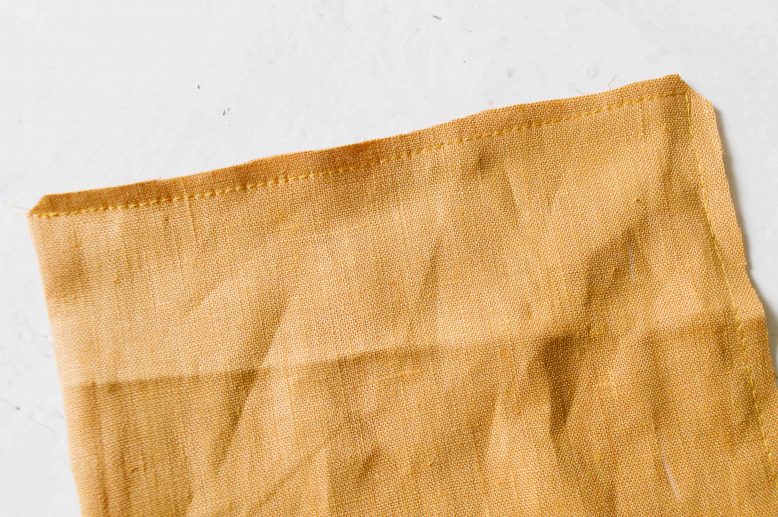
To sew the sash that will tie into the bow at the back, fold it in half and sew down one short edge and the long edge, leaving the other short edge open in order to flip it right way out later. Snip off the corners of the sewn edges, as you'll get a sharper corner when the sash is flipped out. Hand stitch an invisible stitch to close off the remaining short edge.
6
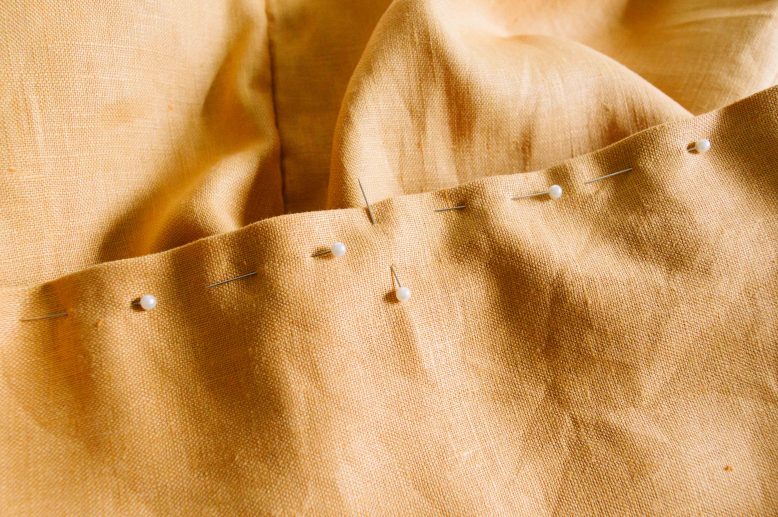
Then find and pin the mid-points of the sash piece and the top, and hand sew them together using the invisible stitch again. You only have to sew along the top edge of the front panel.
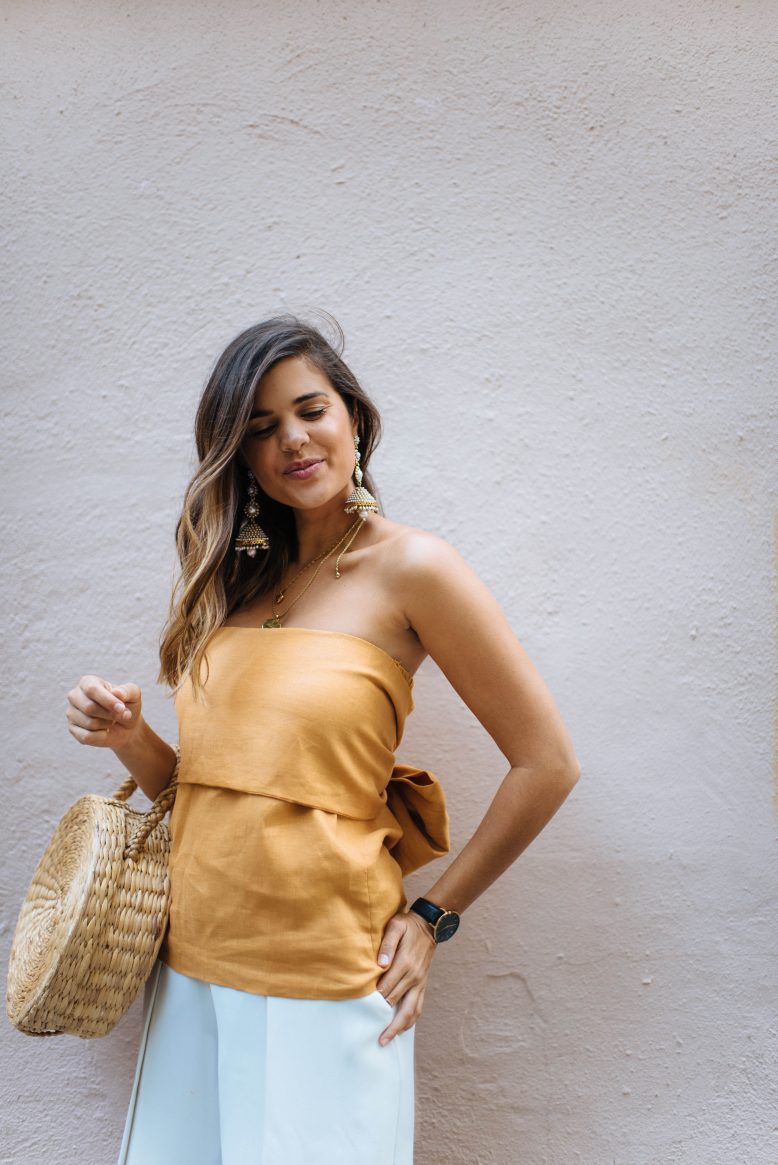
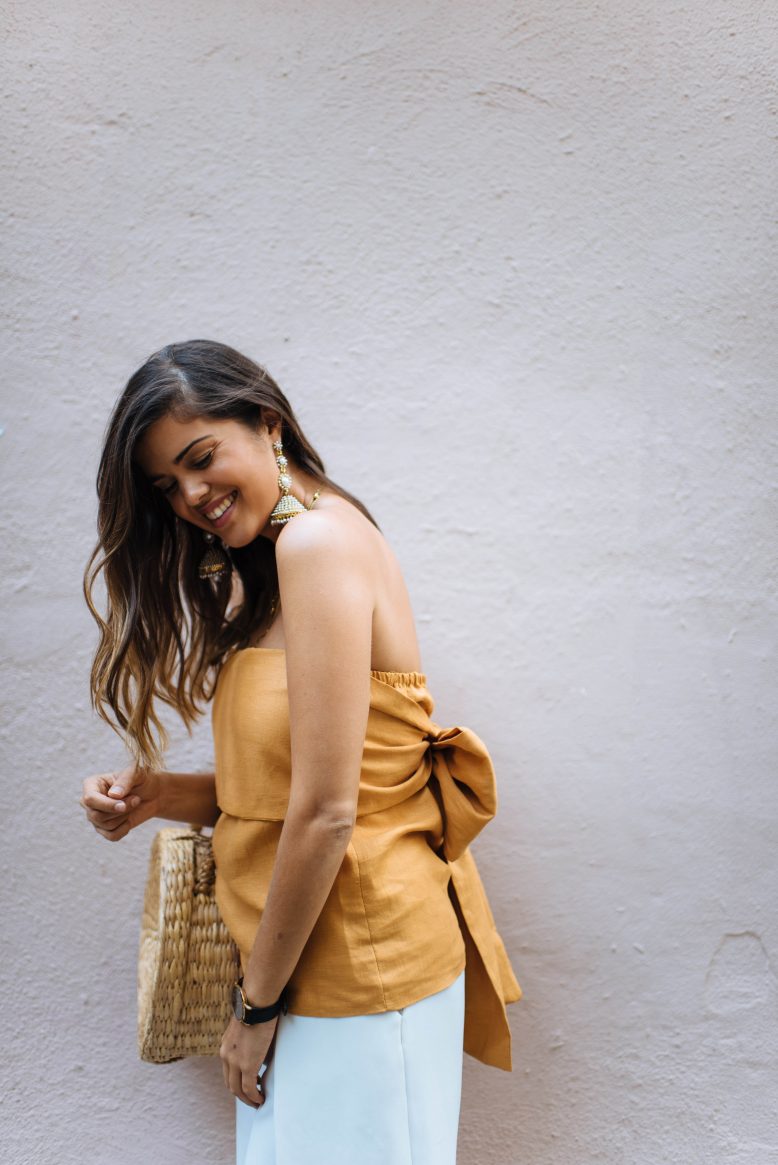
For my party outfit I went with a pair of high wasited wide leg pants, although thia top would look really nice with jeans too! I’m also wearing these gorgeous earrings from The East… Love them!
Pin this DIY on Pinterest!


