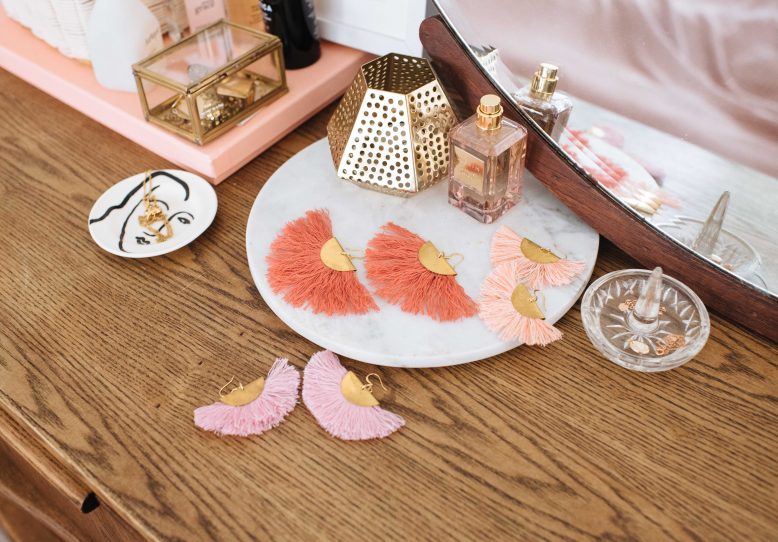
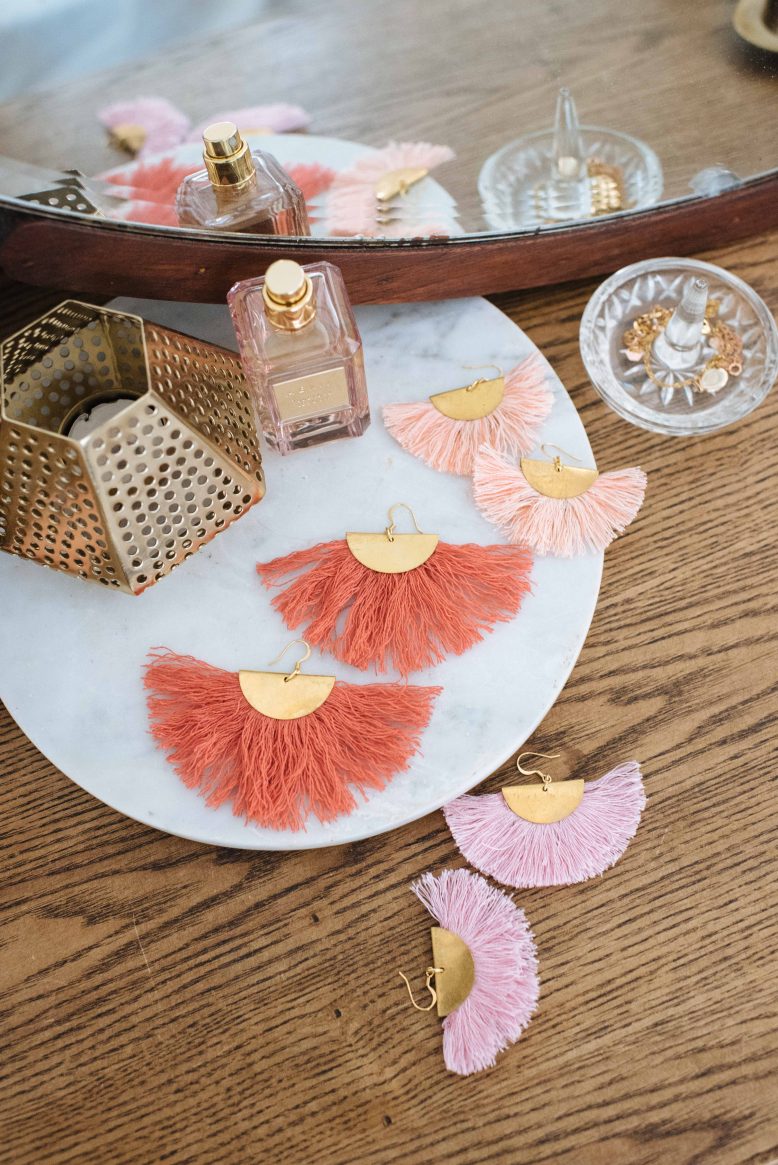
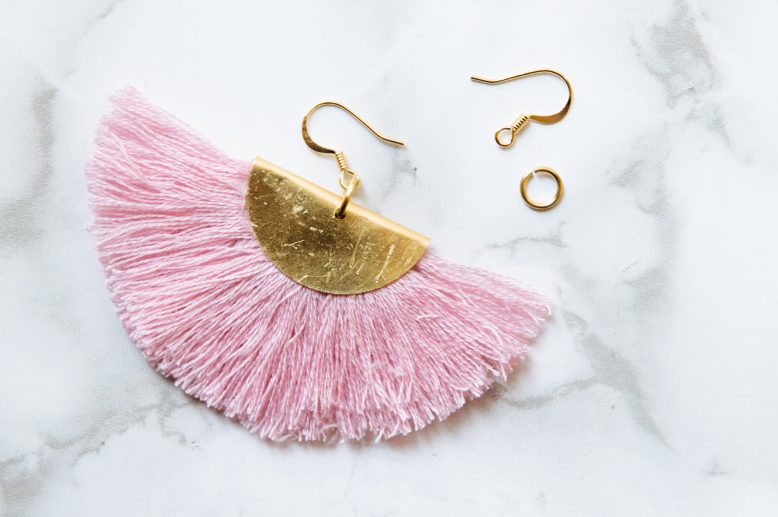
Ready to make some earrings?!
It’s been a while since we’ve made a little ear party, and with summer in the northern hemisphere around the corner we thought it was time to turn our hand to some fringed action. Of the fan persuasion!
DIY Fringed Fan Earrings
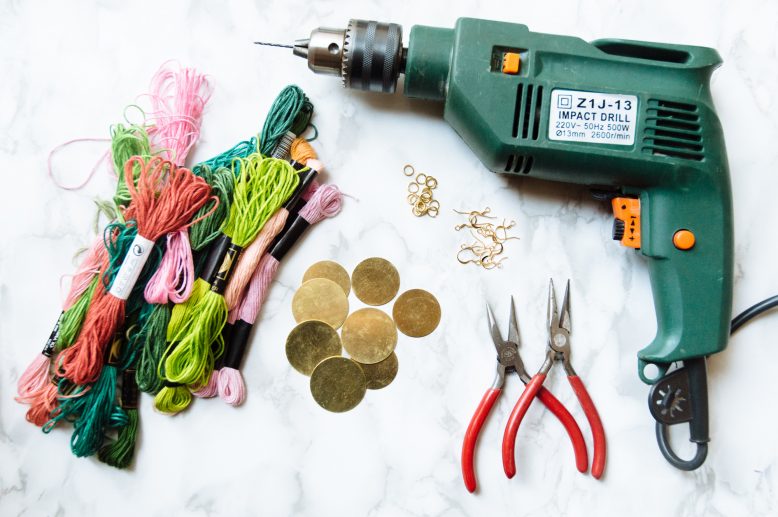
What You'll Need
We used embroidery thread to make these fan tassel earrings, but you can also use metallic thread or silk thread for a fancier finish. The copper discs we used for the earrings were 3cm (1 and 1/8 inches) in diameter.
1
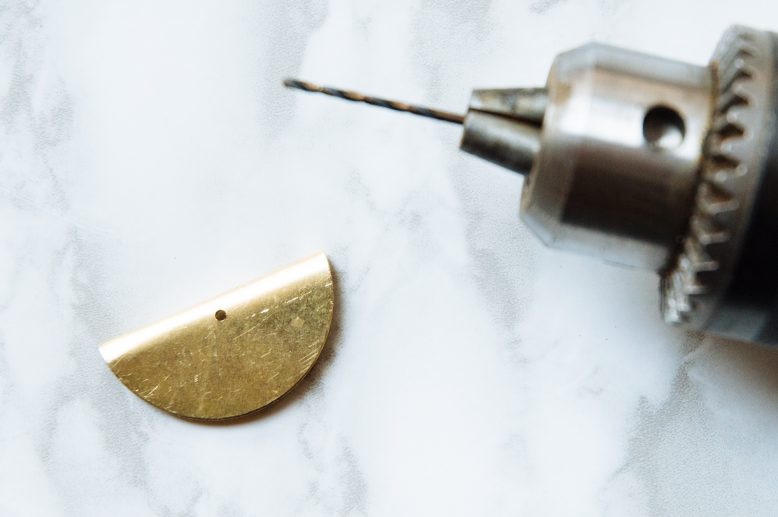
Begin by bending the copper discs in half with pliers, but don't fold the discs completely, we have to leave a little room for inserting the fan tassels later on.
2
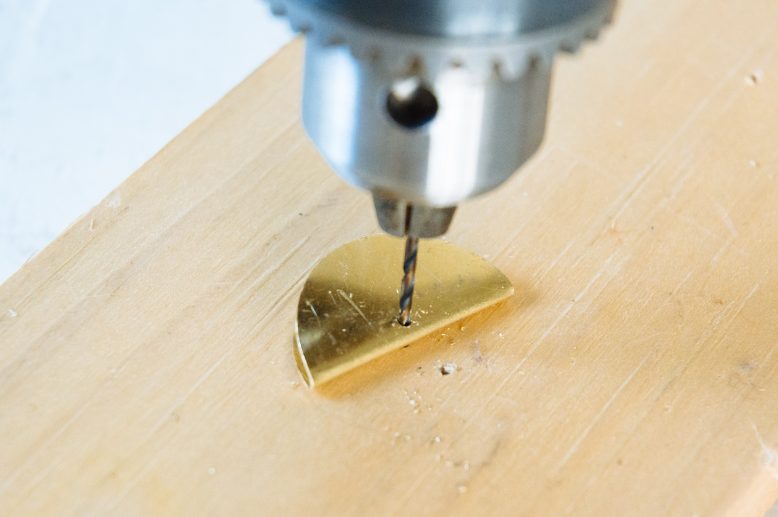
Using the smallest drill tip you can find, carefully drill through the centre of the copper pieces near the fold.
3
Tip: Place a piece of scrap wood under the copper pieces for drilling.You don't want to be drilling into your table!
4
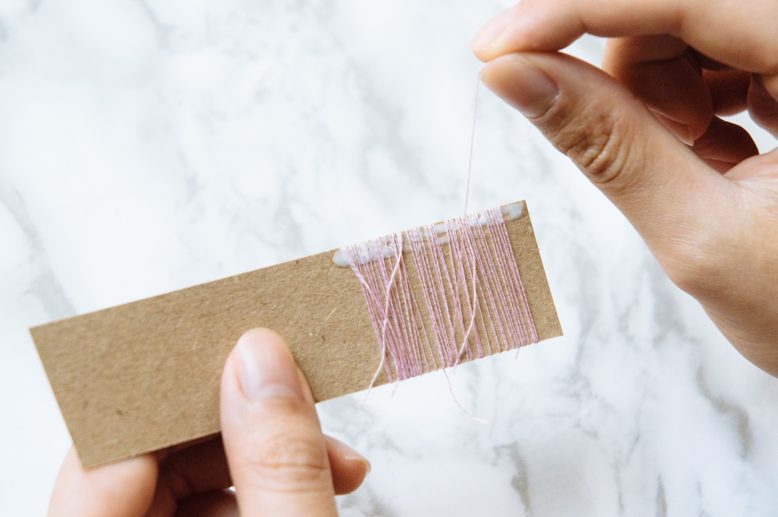
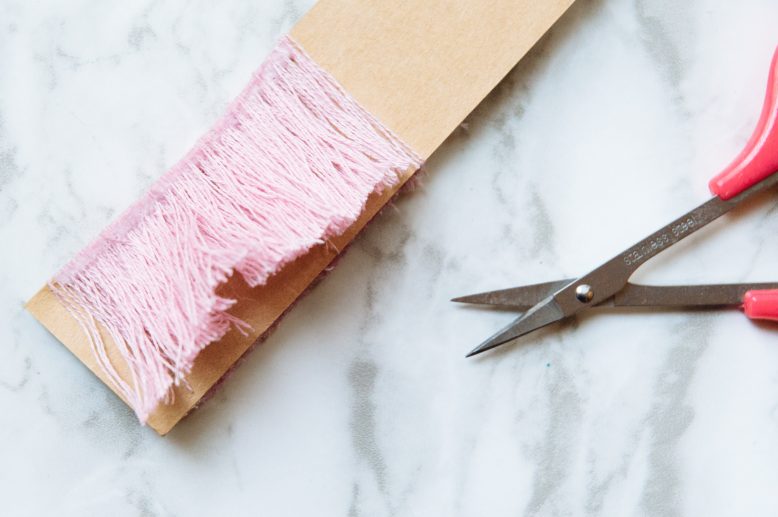
Take a piece of cardpaper and cut it into a strip that's the same length as your ideal fan tassels. Add an extra 1cm for allowance. Dab a little white glue on the top edge, and, using a single thread, begin looping around the cardboard strip without overlapping the layers.
6
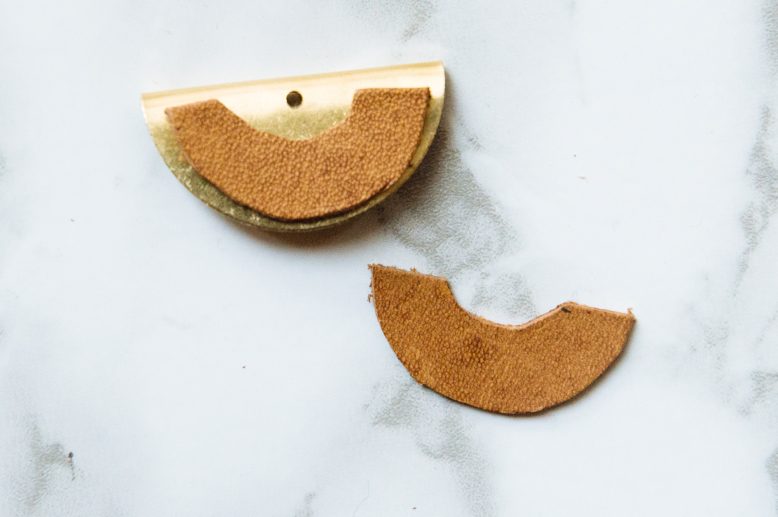
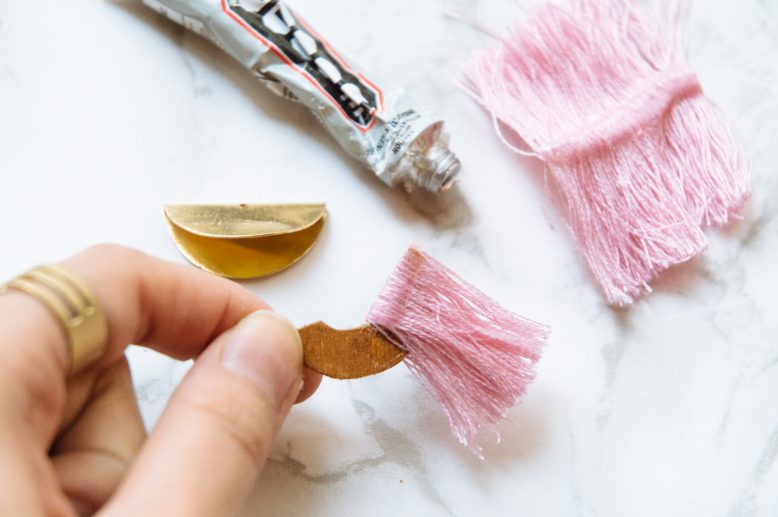
You'll need something to attach the tassels to. We cut small pieces of leather that fit into the copper pieces as a base for gluing the tassels.
7
Pull your tassel trim from the cardboard, you'll want to do this before the pva glue dries completely and hardens. Separate the tassel pieces into small sections and glue them to the base on the fold.
8
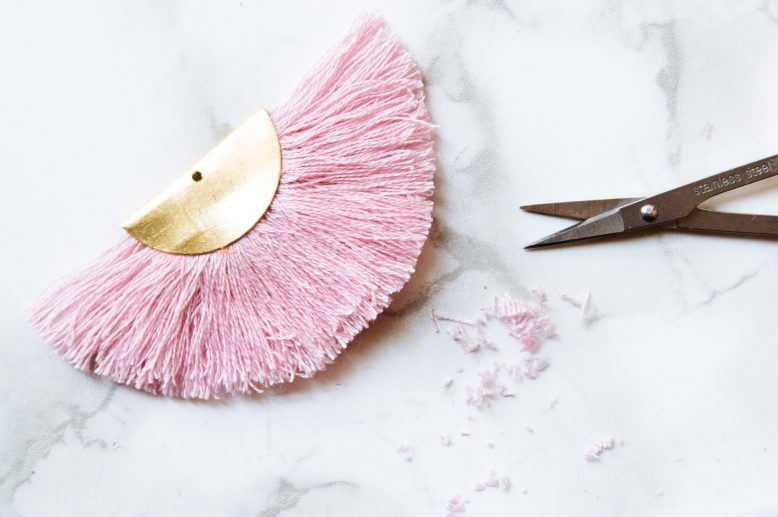
Dab some glue into the insides of the folded copper pieces,and insert the fan tassel. At this point, you can fold the copper piece completely closed and trim the edges of the fan tassel.
Voila
Like this DIY? Pin it on Pinterest!
Loving tassels at the moment? Check this DIY out! Tassel Earrings


