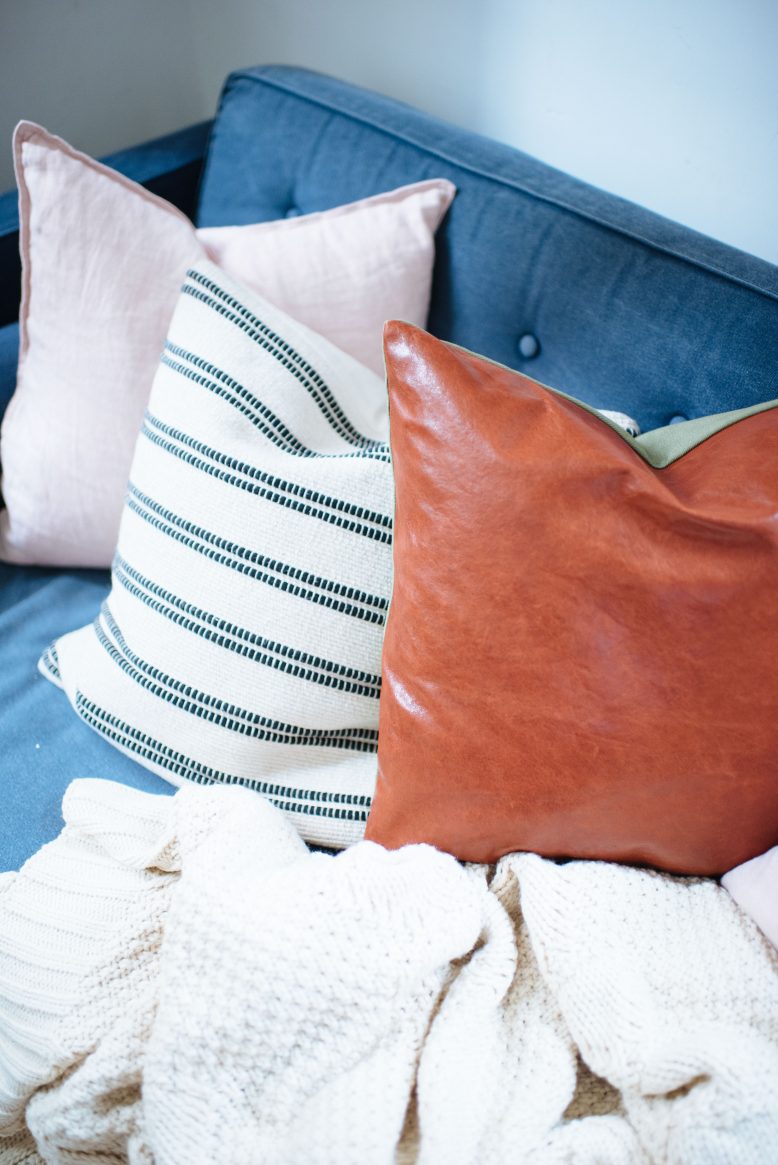
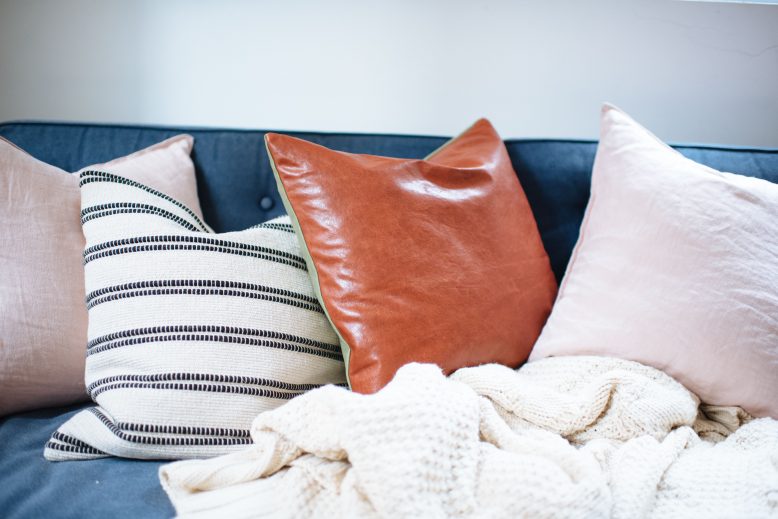
Leather lovers, this one’s for you.
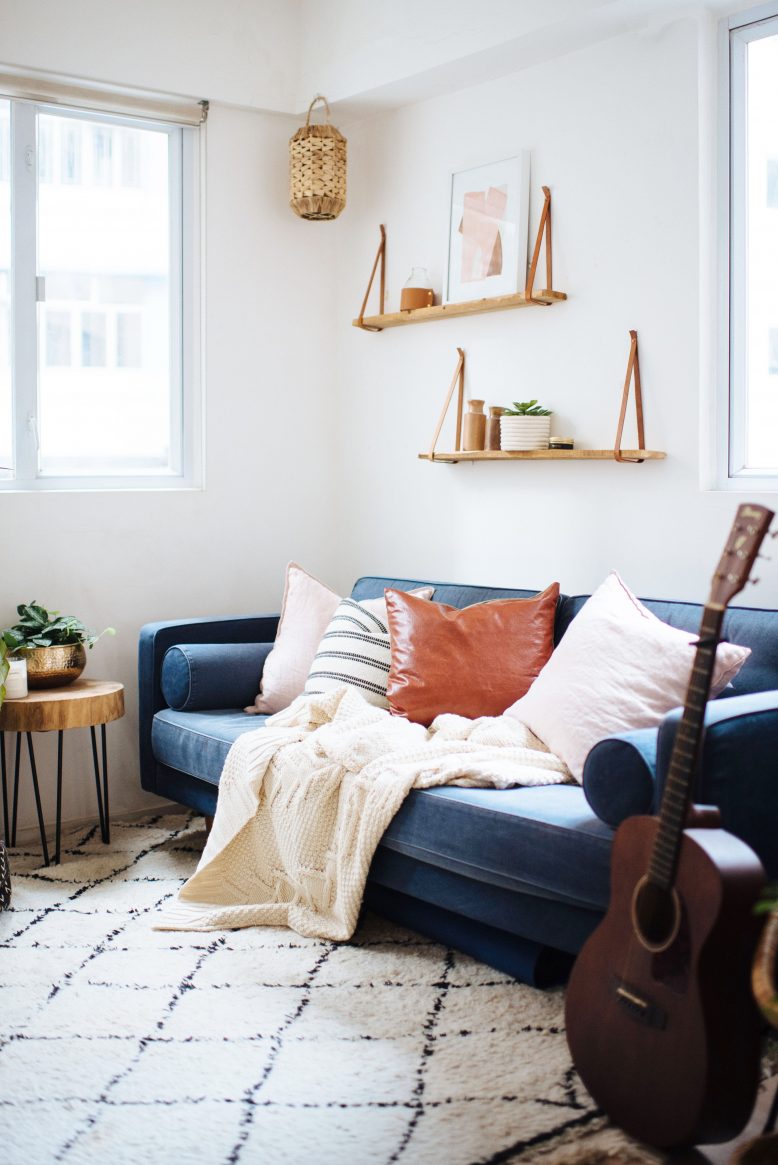
To say I’m a cushion addict would have to be the world’s biggest understatement, and so I’ve been itching for us to have a go at making some lovely leather cushions for a while now. These add the perfect minimalist boho vibe to a space, which has, without me really meaning to, become my style calling card. Enjoy!
DIY Leather Cushions
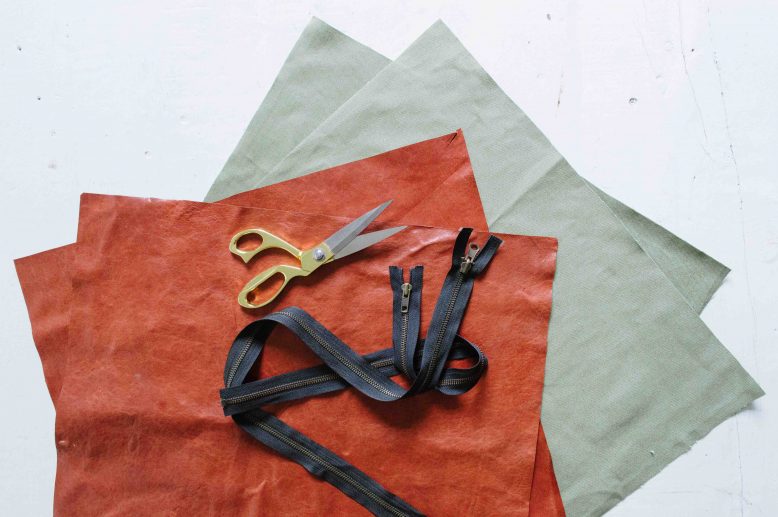
What You'll Need
The cushion covers we made here are 20” x 20” (50x50cm) in size. But you can make them in any size you wish to fit any store-bought cushion filling. We used real leather for this cover, so if you’re going to be doing the same, we’d advise getting some leather machine needles for your sewing machine, and leather thread for durability.
1
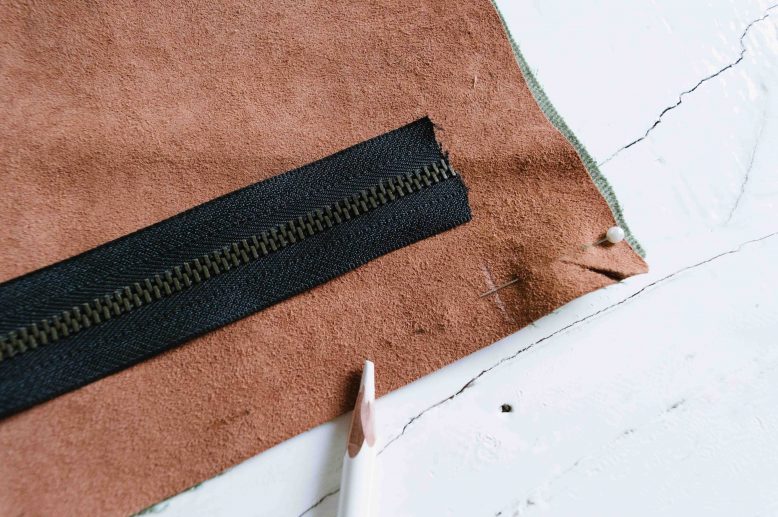
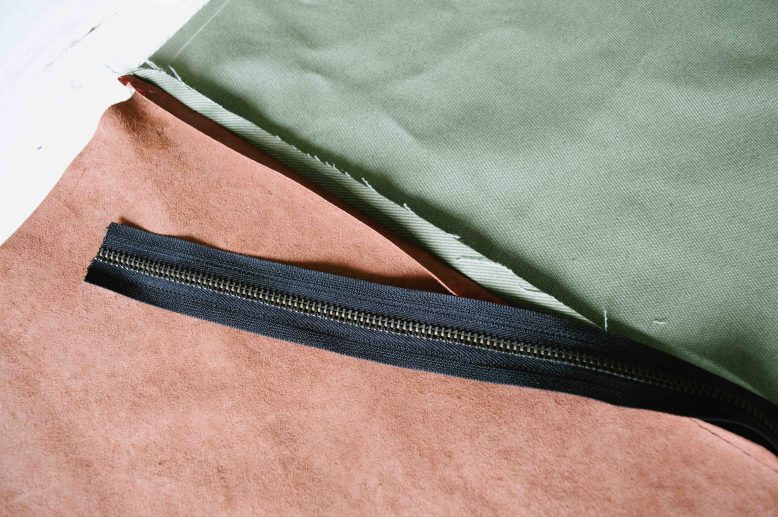
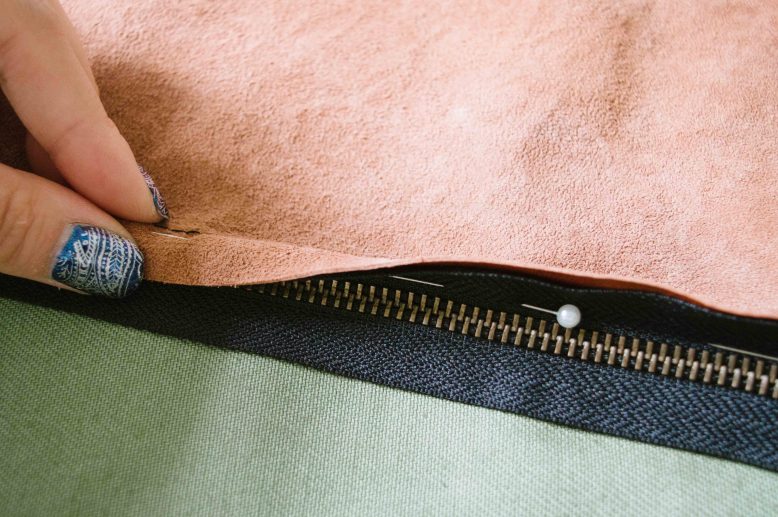
The covers we made have leather for one side and canvas fabric for the other. Place the right sides of your leather and fabric piece together and mark the placement of your zipper. The zipper should be slightly shorter than the edge of your cover.
4
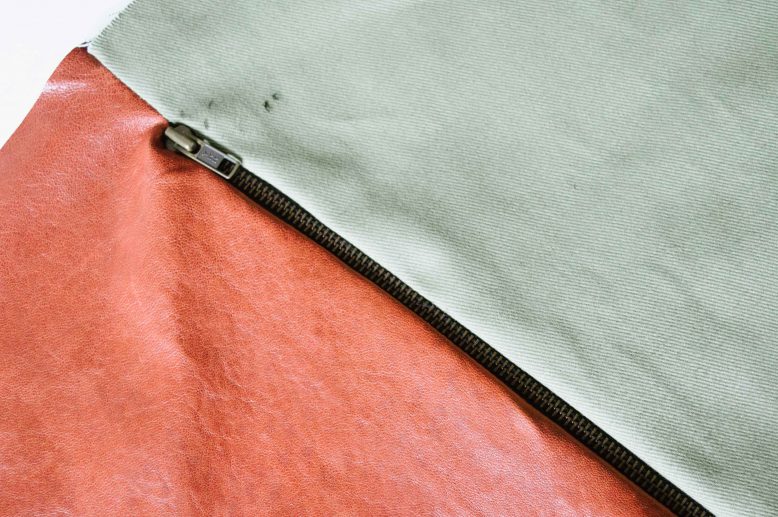
This is what your zipper should look like on the right side after sewing. We used a copper toothed zipper for this design, but feel free to use an invisible zipper if that's what you prefer.
5
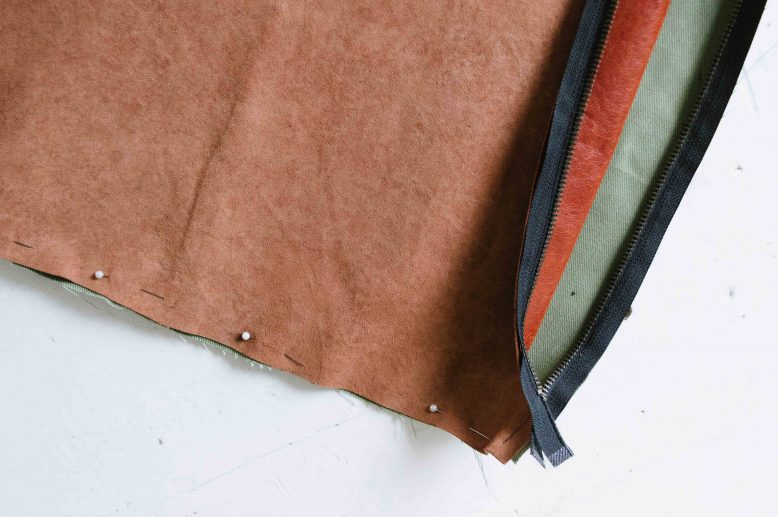
Open up your zipper, then sew around the 3 remaining sides of your cushion cover. And simple as that, your custom cushion cover is finished!
Voila!
Oh in case you’re wondering, Ben has started learning the guitar so he can play songs to the baby :). He’s only just started so his skills are more likely to keep the baby awake at the moment than lull it into a deep sleep, but practice makes perfect!


