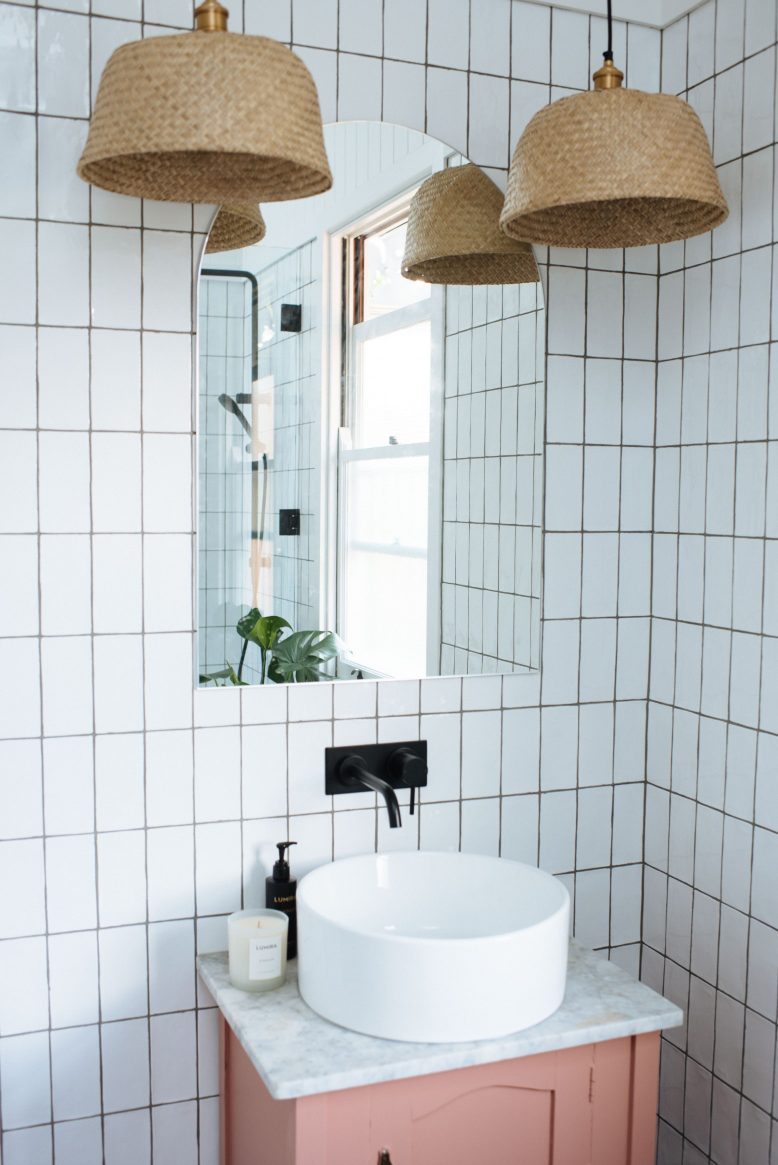
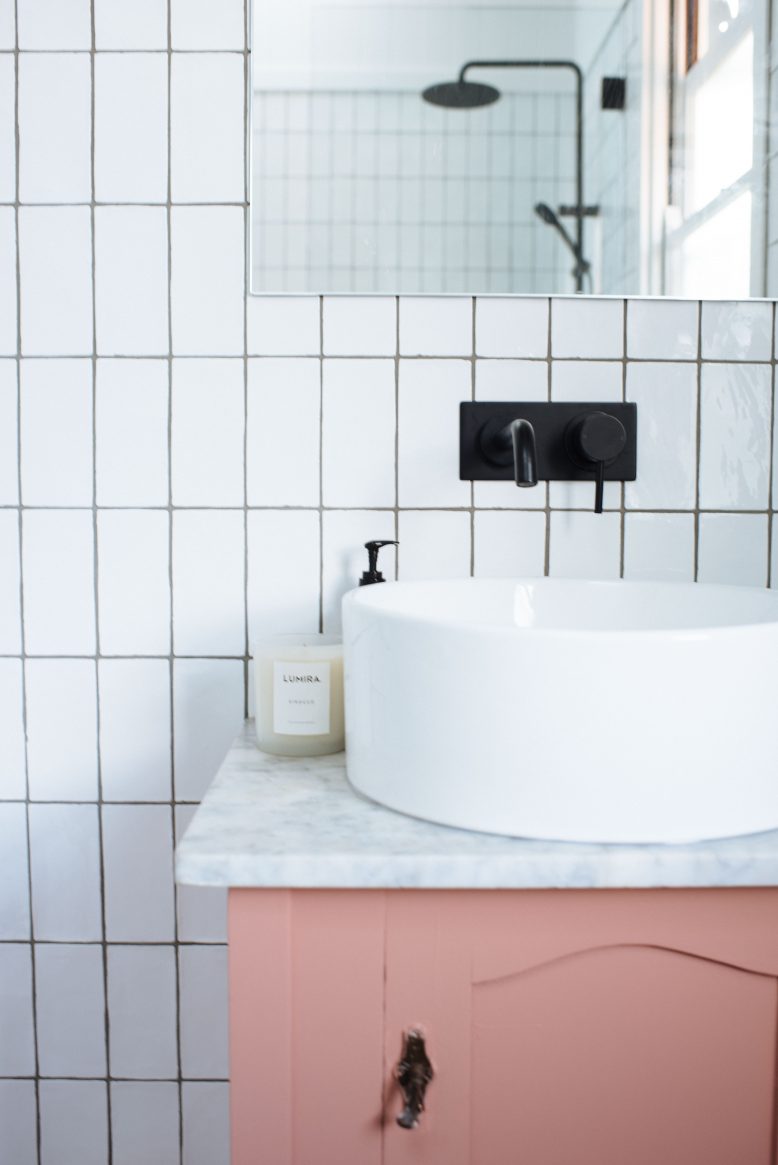
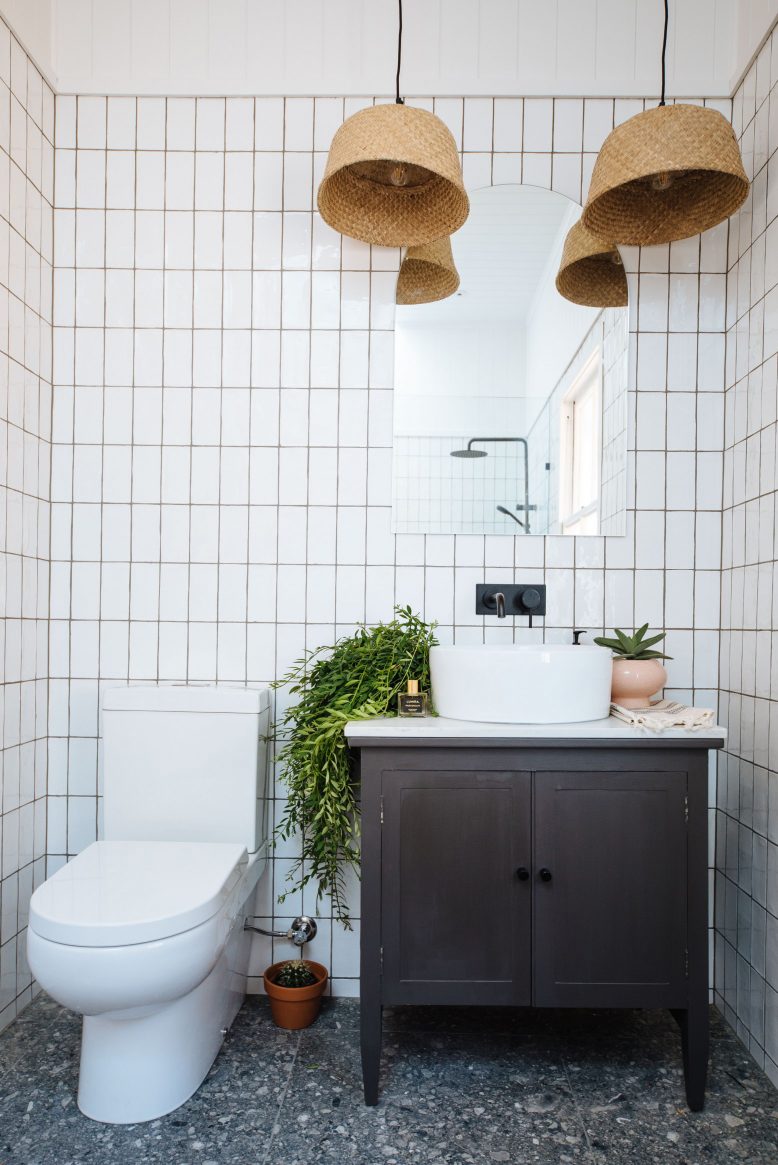
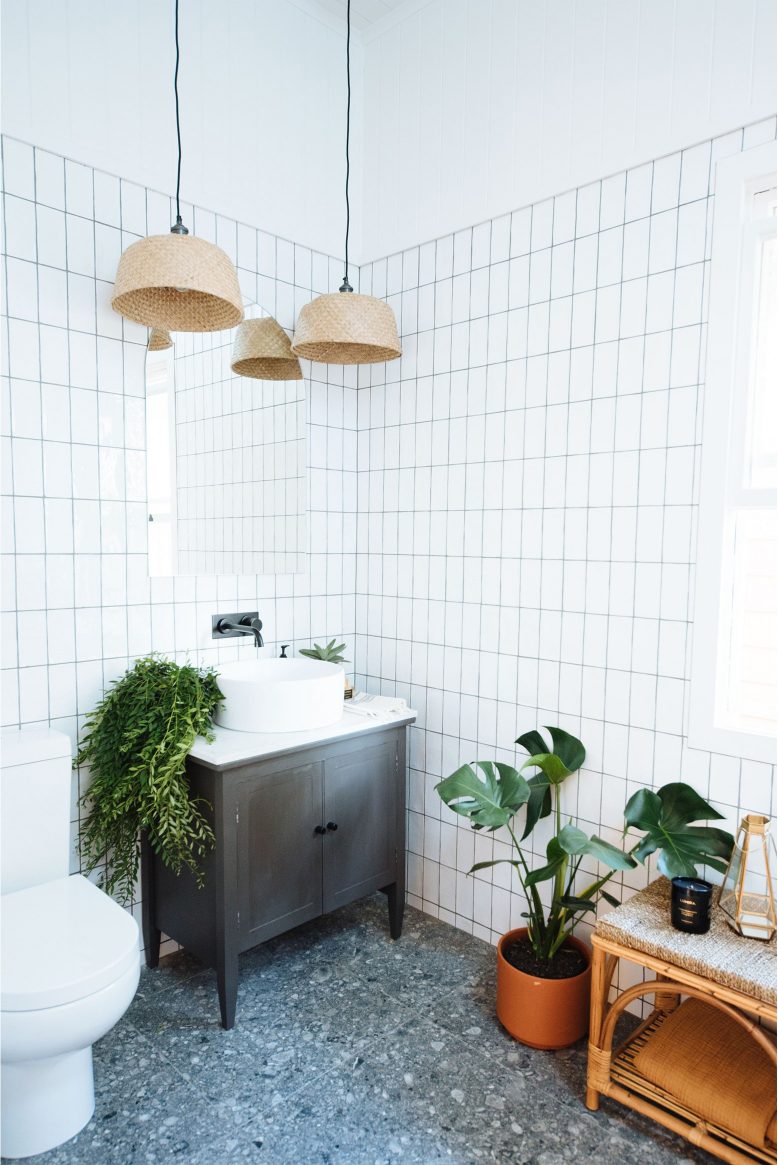
Yep, we love old stuff. But you knew that already, right?
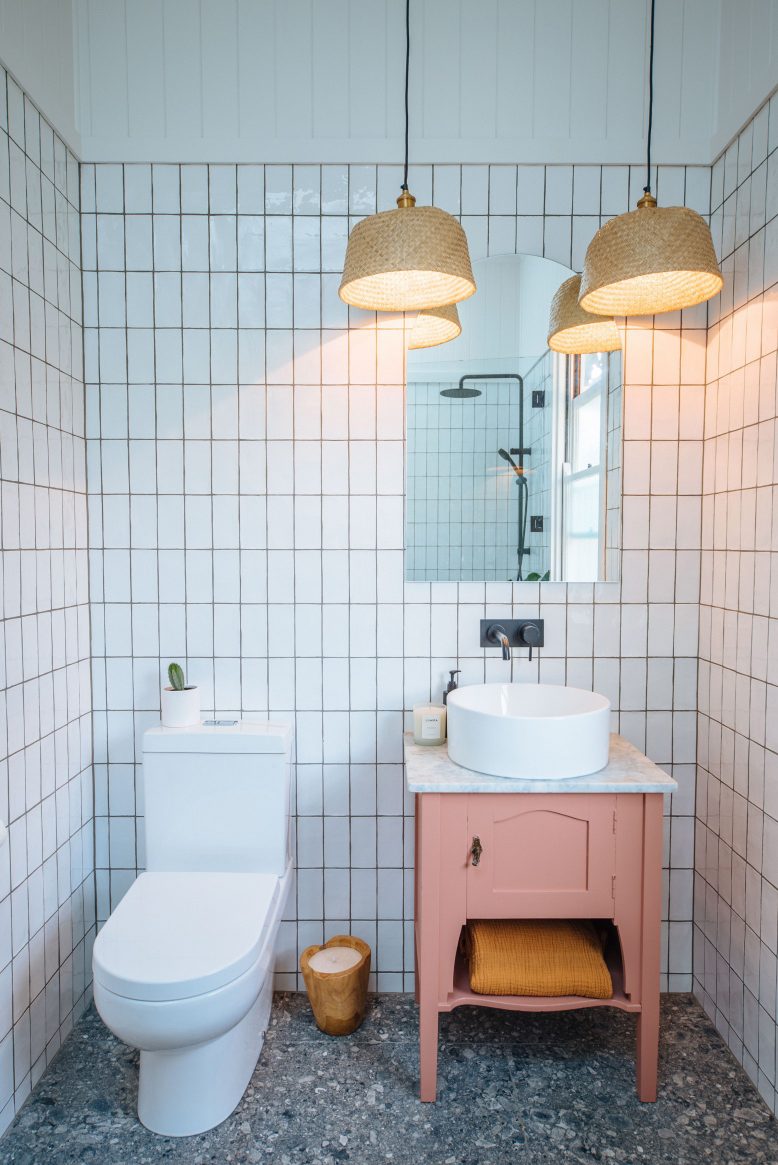
There’s nothing more I like than breathing new life into something that’s old and a bit worn out, which is exactly what we set out to do with the bathroom in our renovation. When I first looked into bathroom vanities, I was surprised by just how boring most were, other than if you wanted to create something bespoke – which invariably costs a pretty penny. After doing a bit of research, I decided it was time to put my love of vintage furniture to use by using some to create the vanity. Which sounds easy, right? Find yourself a cabinet and away you go. Turns out it’s a little more tricky than it looks, so in case you want to do it yourself I decided to break it down for you!
The Inspiration
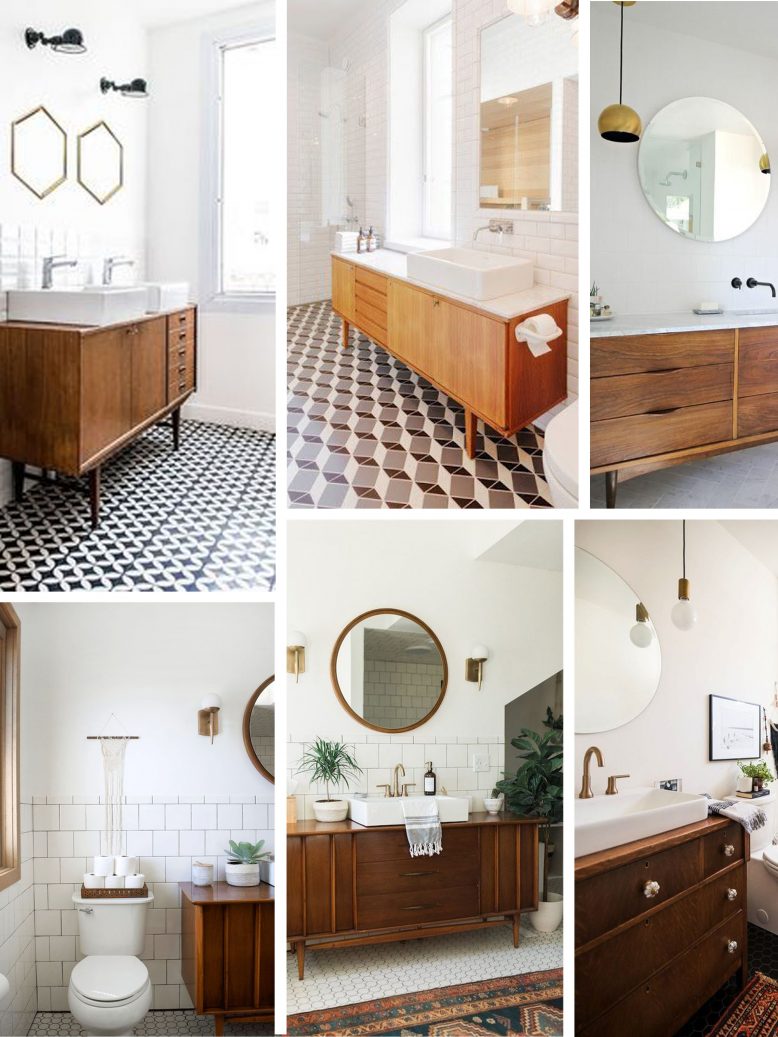
Here’s a few images that I saved to inspire this bathroom DIY!
The DIY
Step 1: Measure Your Space
The MOST important thing to do is to understand what the measurements are for the bathroom. This means, checking the length and width of the space in which the cabinet will sit and the heights of where taps and pipes should go. Because of the small space that we had, we were needing to find quite small pieces of furniture. It took us a while to find the perfect pieces!
Step 2: Choose Your Basin Type
There are three type of basin that you can choose from to add to your vanity top.
- Under Mount Basins: Mounted below the countertop – the countertop though has to be non-porous, resisting any contact with water.
- Over Mount Basins: A simple and common design, these are fitted just on top of the counter, with part of the basin sitting below the level of the cabinet.
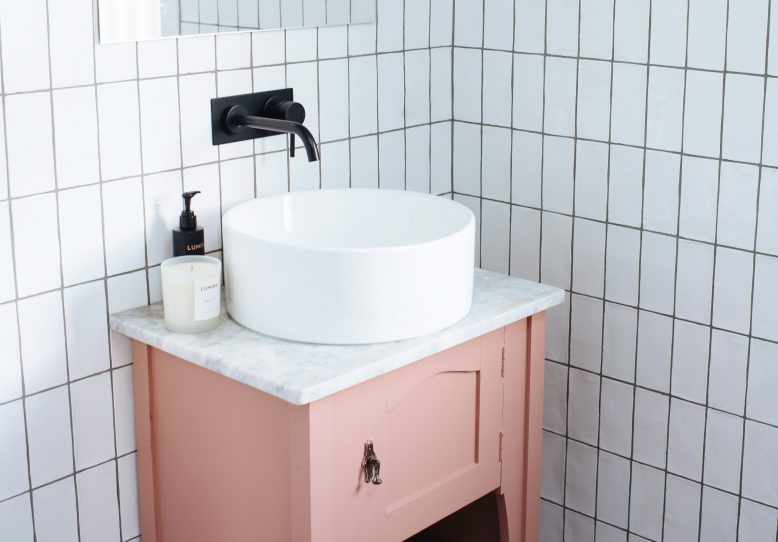
- Counter Top Basins: Also known as sit on bowls, these are placed just above the vanity. This is what we used.
I would suggest that the counter top basins are the easiest to use for this project, but it depends on what piece of furniture you find.
Step 3: Find the furniture (but think outside the box)
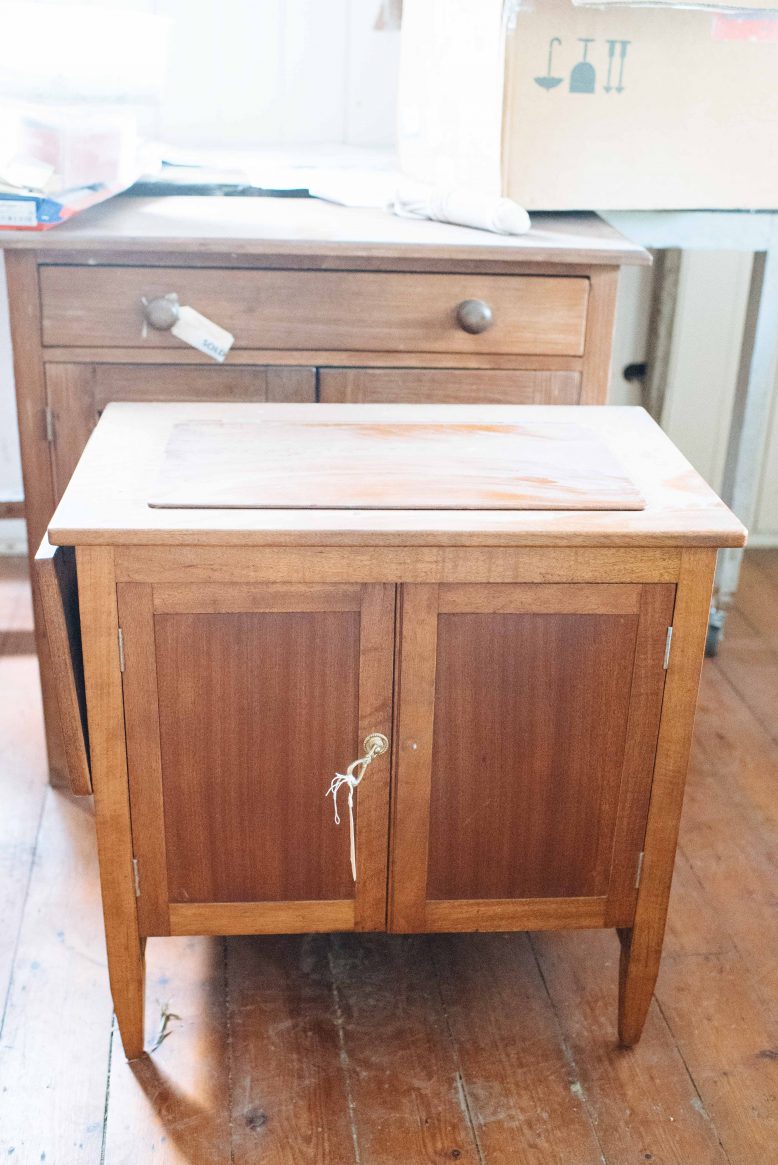
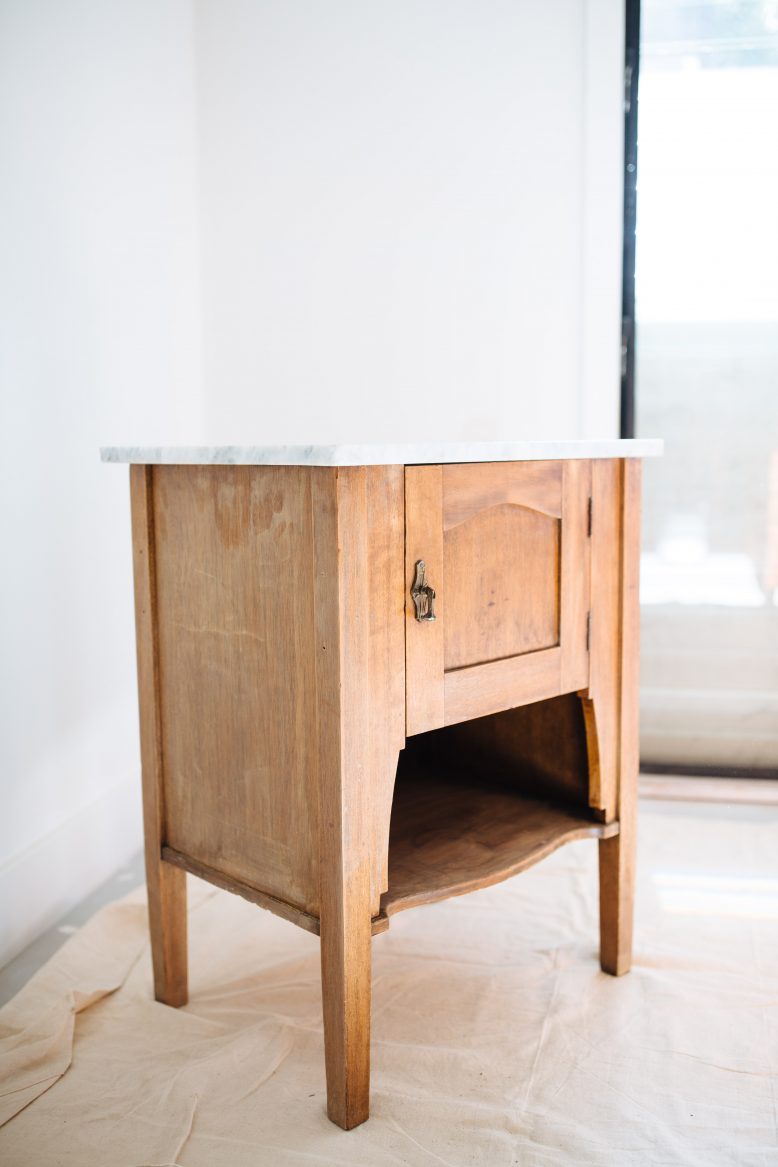
The next step is obviously finding the right piece of furniture to use, and keep in mind you can use a variety of furniture – don’t just look for cabinets! Instead of the basic four-legged table, your vanity can be anything you want it to be such as an old dresser, sewing machine desk or even cabinets. So long as you can find one with the right measurements! In the end, we used an old sewing table and washstand upstairs and a vintage school desk downstairs. On thing to understand is how the plumbing will fit inside the furniture, something with drawers can be difficult!
Step 4: Height is Key
Height is an absolute must to get right, from the height of the basin to the height of the countertop and then also the height of the tapware. You’ll need to add the height of your basin to the height of your furniture to determine where your taps should go.
Step 5: Choose Tapware
There are lots of different types of tap ware, but for this project I would suggest that wall mounted is the best choice. The other option is also tap ware that’s attached to your basin.
Step 6: Consider the Surfaces
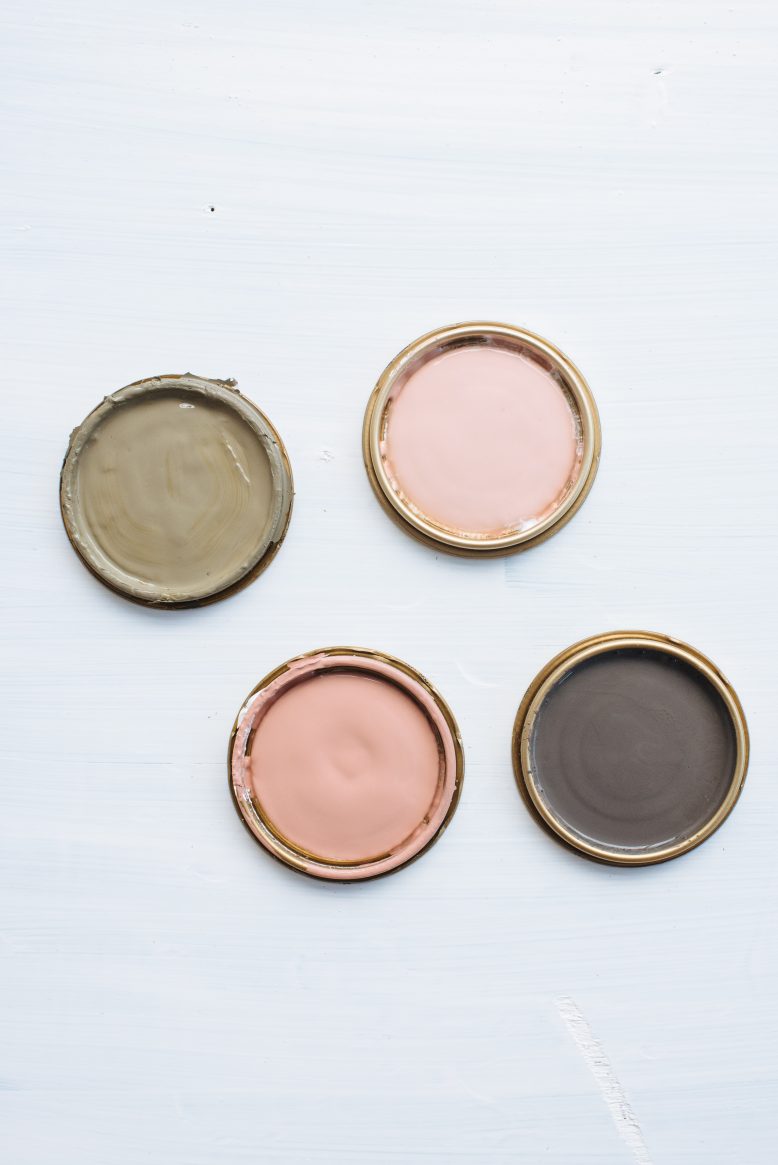
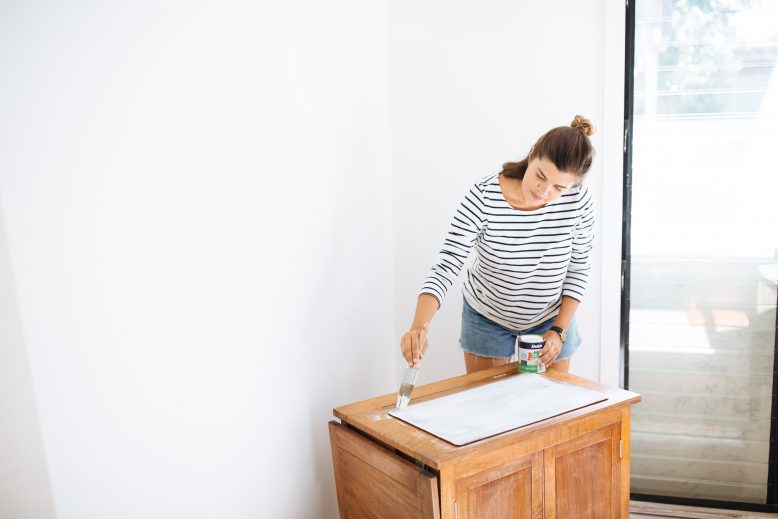
Know that the surface of the counter will get a lot of use and will likely have water on it which can cause damage over time. If in doubt, add a piece of marble or tile to the top of the furniture, or prime and paint the surface with paint that will stand the test of time.
Step 7: Plumbing
An open piece of furniture such as a desk will look great, just make sure you pick up a bottle trap that matches your tapware (the piping underneath) because usually plumbers will just use ugly white piping if you don’t get something nice. You’ll also need to consider how to create more storage underneath if you leave it open, we used a few baskets!
- Choosing a vintage piece of furniture.
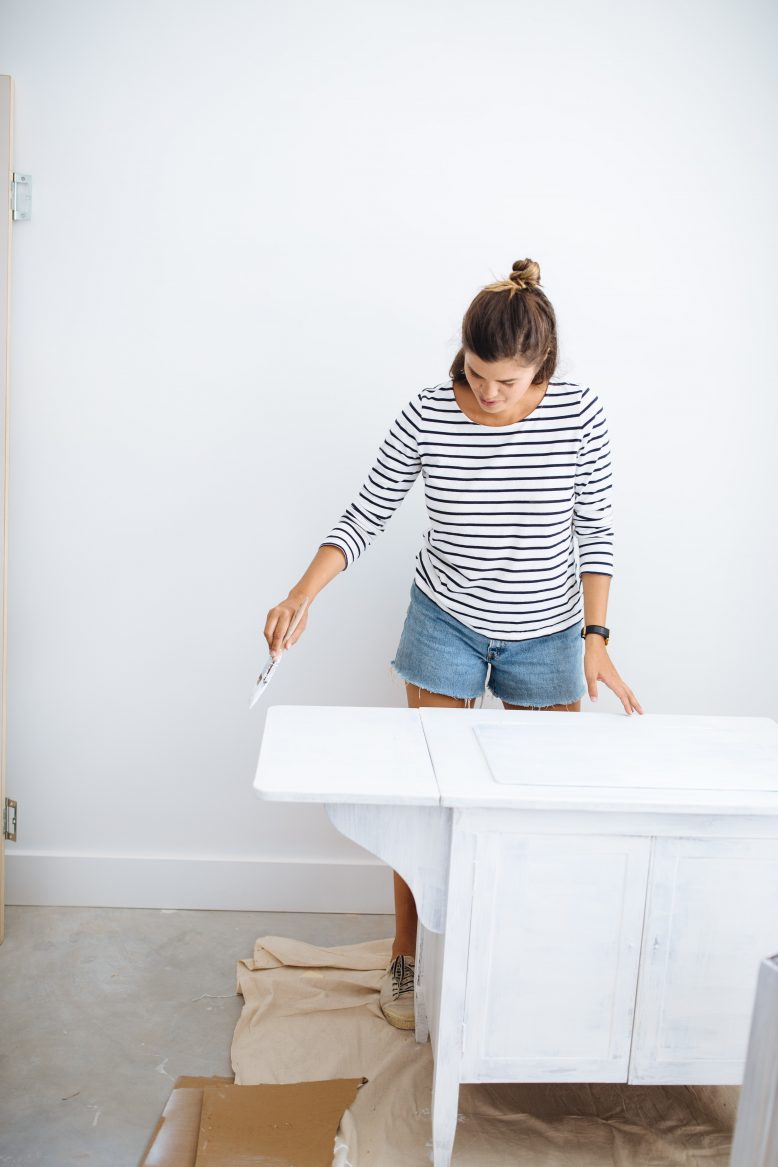
- Prepping for painting.
Painting a primer.
- All primed!
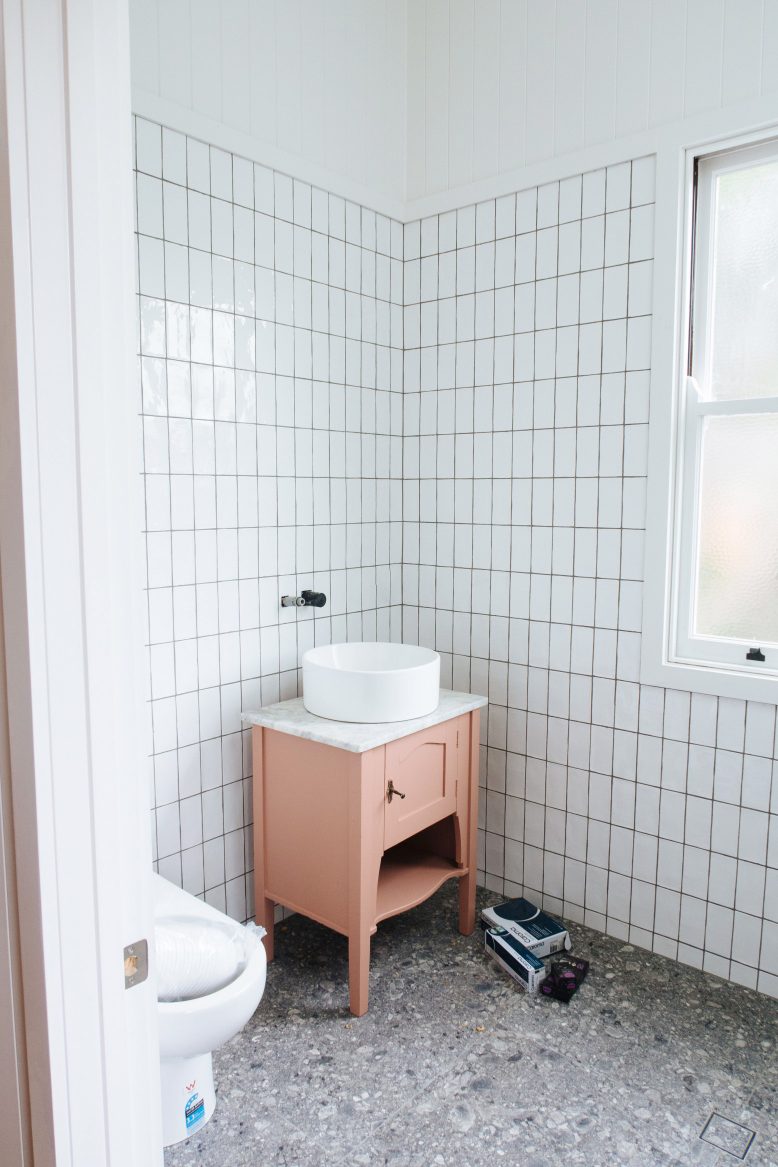
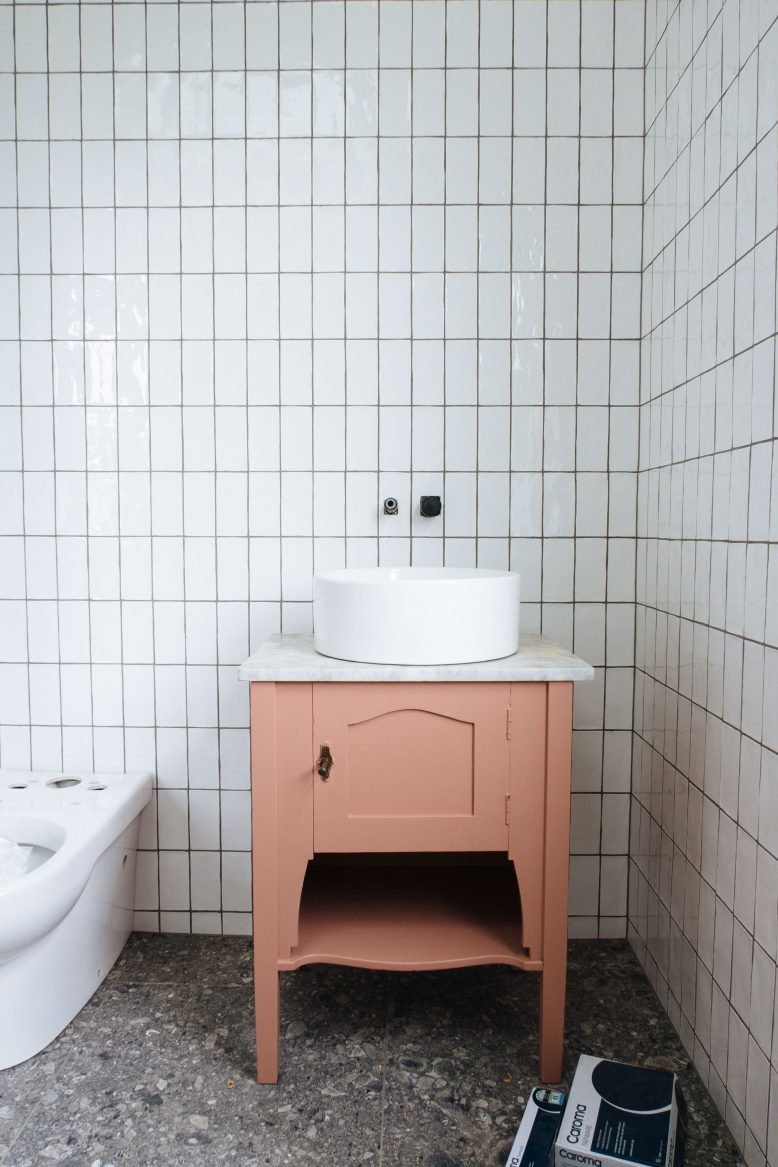
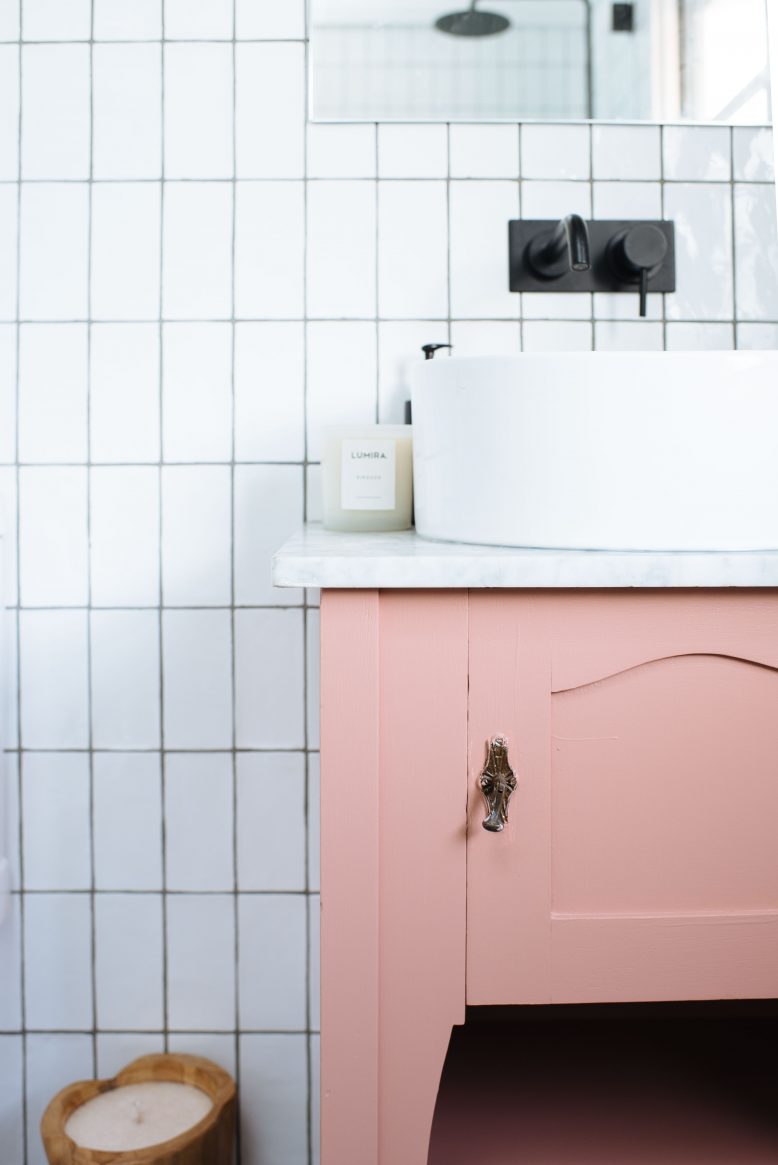
- Painted and put in place


