One of my favourite things about our renovation is an idea that came to us last minute, after everything had been done and I thought we were completely finished. But that’s how it works sometimes isn’t it?
I’m talking, of course, about the pink front door. I have to admit it was a bit of a gamble, I mean, a pink front door could be fantastic or a fantastic failure. I like to think it’s the former! A few weeks ago one of you asked for me to share how we painted the arc, so I’m excited to share the full process with you. Read on for how we did it.
Before & After: Our Pink Front Door
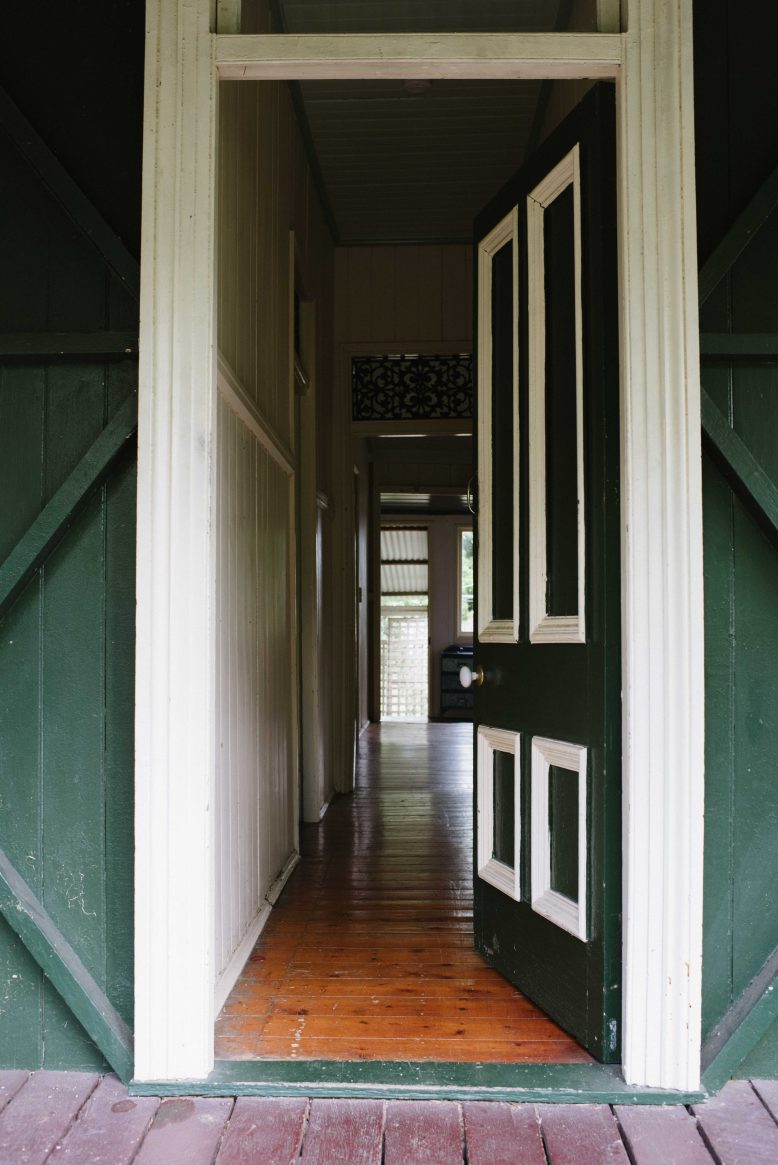
You’ll remember from the before photos of our house that the front veranda of our house was such a gorgeous traditional feature with the bullnose roof and cross joints. Although we knew it would feel really different once we raised the house, we still wanted to keep that feel and stay true to the house’s roots, whilst still putting our own stamp on it. The door was integral to this, and I spent a lot of time working through what to do with it. You can see it’s changed a lot, but we tried to highlight the best features!
- The original.
- The after
Choosing the Paints
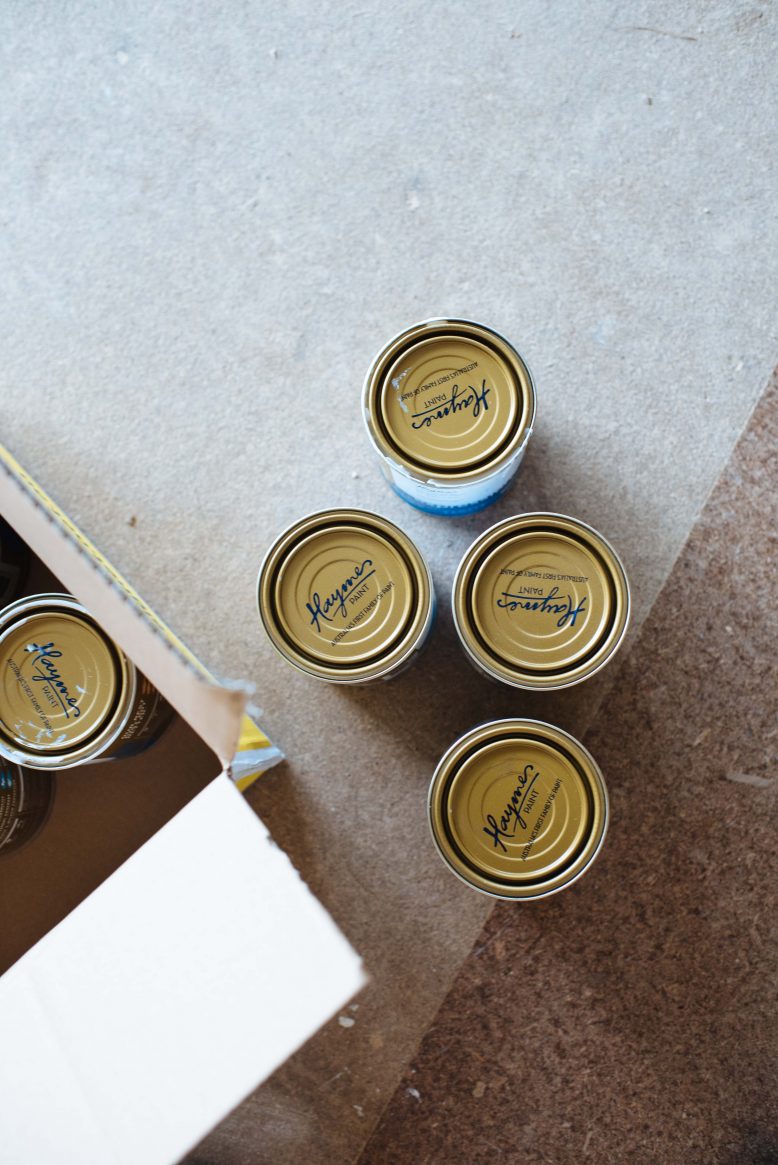
You might remember how much time I spent trying to work out the paint palette for the house. I knew I wanted a really nice clean white look to brighten up the dark walls and spaces, but working out the pops of colour took time. We finally settled on Bay Berry and Humas from Haymes Paint (thanks for your help guys!).
Stripping the Paint
Because the house was built in the late 1800’s and this door was original, naturally we really wanted to keep it, paring it back to closer to the original. It sounded fairly straight forward to strip it back to its bare bones, but when it came down to it, it was a big job. First, we had to strip all the paint off using paint stripper. As we did this, we worked through a rainbow of colours that the door had been painted over time – green, blue, beige, white and then finally down to the timber. We then sanded the door to remove more paint. Phew! We kept asking ourselves after each coat was removed whether we should just keep it like that but we kept going and I’m so glad we did.
Painting the Arc
Once the door was completely stripped down to the bare timber, we then tried to work out what we wanted to do with it. Originally we considered just leaving it as bare timber, but we wanted to add something fun to the front of the house. The exterior palette of grey and white could come across a bit serious and we felt it needed something to lighten the mood. Out of nowhere Ben suggested we do an arc of paint on the door. So we did!
To draw the arc, we used a pencil and a piece of string, I held the end of the string in place on the left edge of the door, and we started by making sure the top edge lined up with the beams on either side of the door, and then drawing a rounded arc all the way around.
Then it was time to paint. We painted the door with white primer first, then we did two coats of the pink. I was pregnant while we did this so I got out of this job of painting. Ben’s dad Terry is the pro of this sort of job and he did it for us. He did an amazing job, quite the professional!
The last thing we did was remove the lock and add a fancy Samsung lock. Painting the back side of the door is something I might not have bothered with, but both Ben and his dad felt it was a must (they come from a long line of people who do things the right way). And I’m so glad we did!


