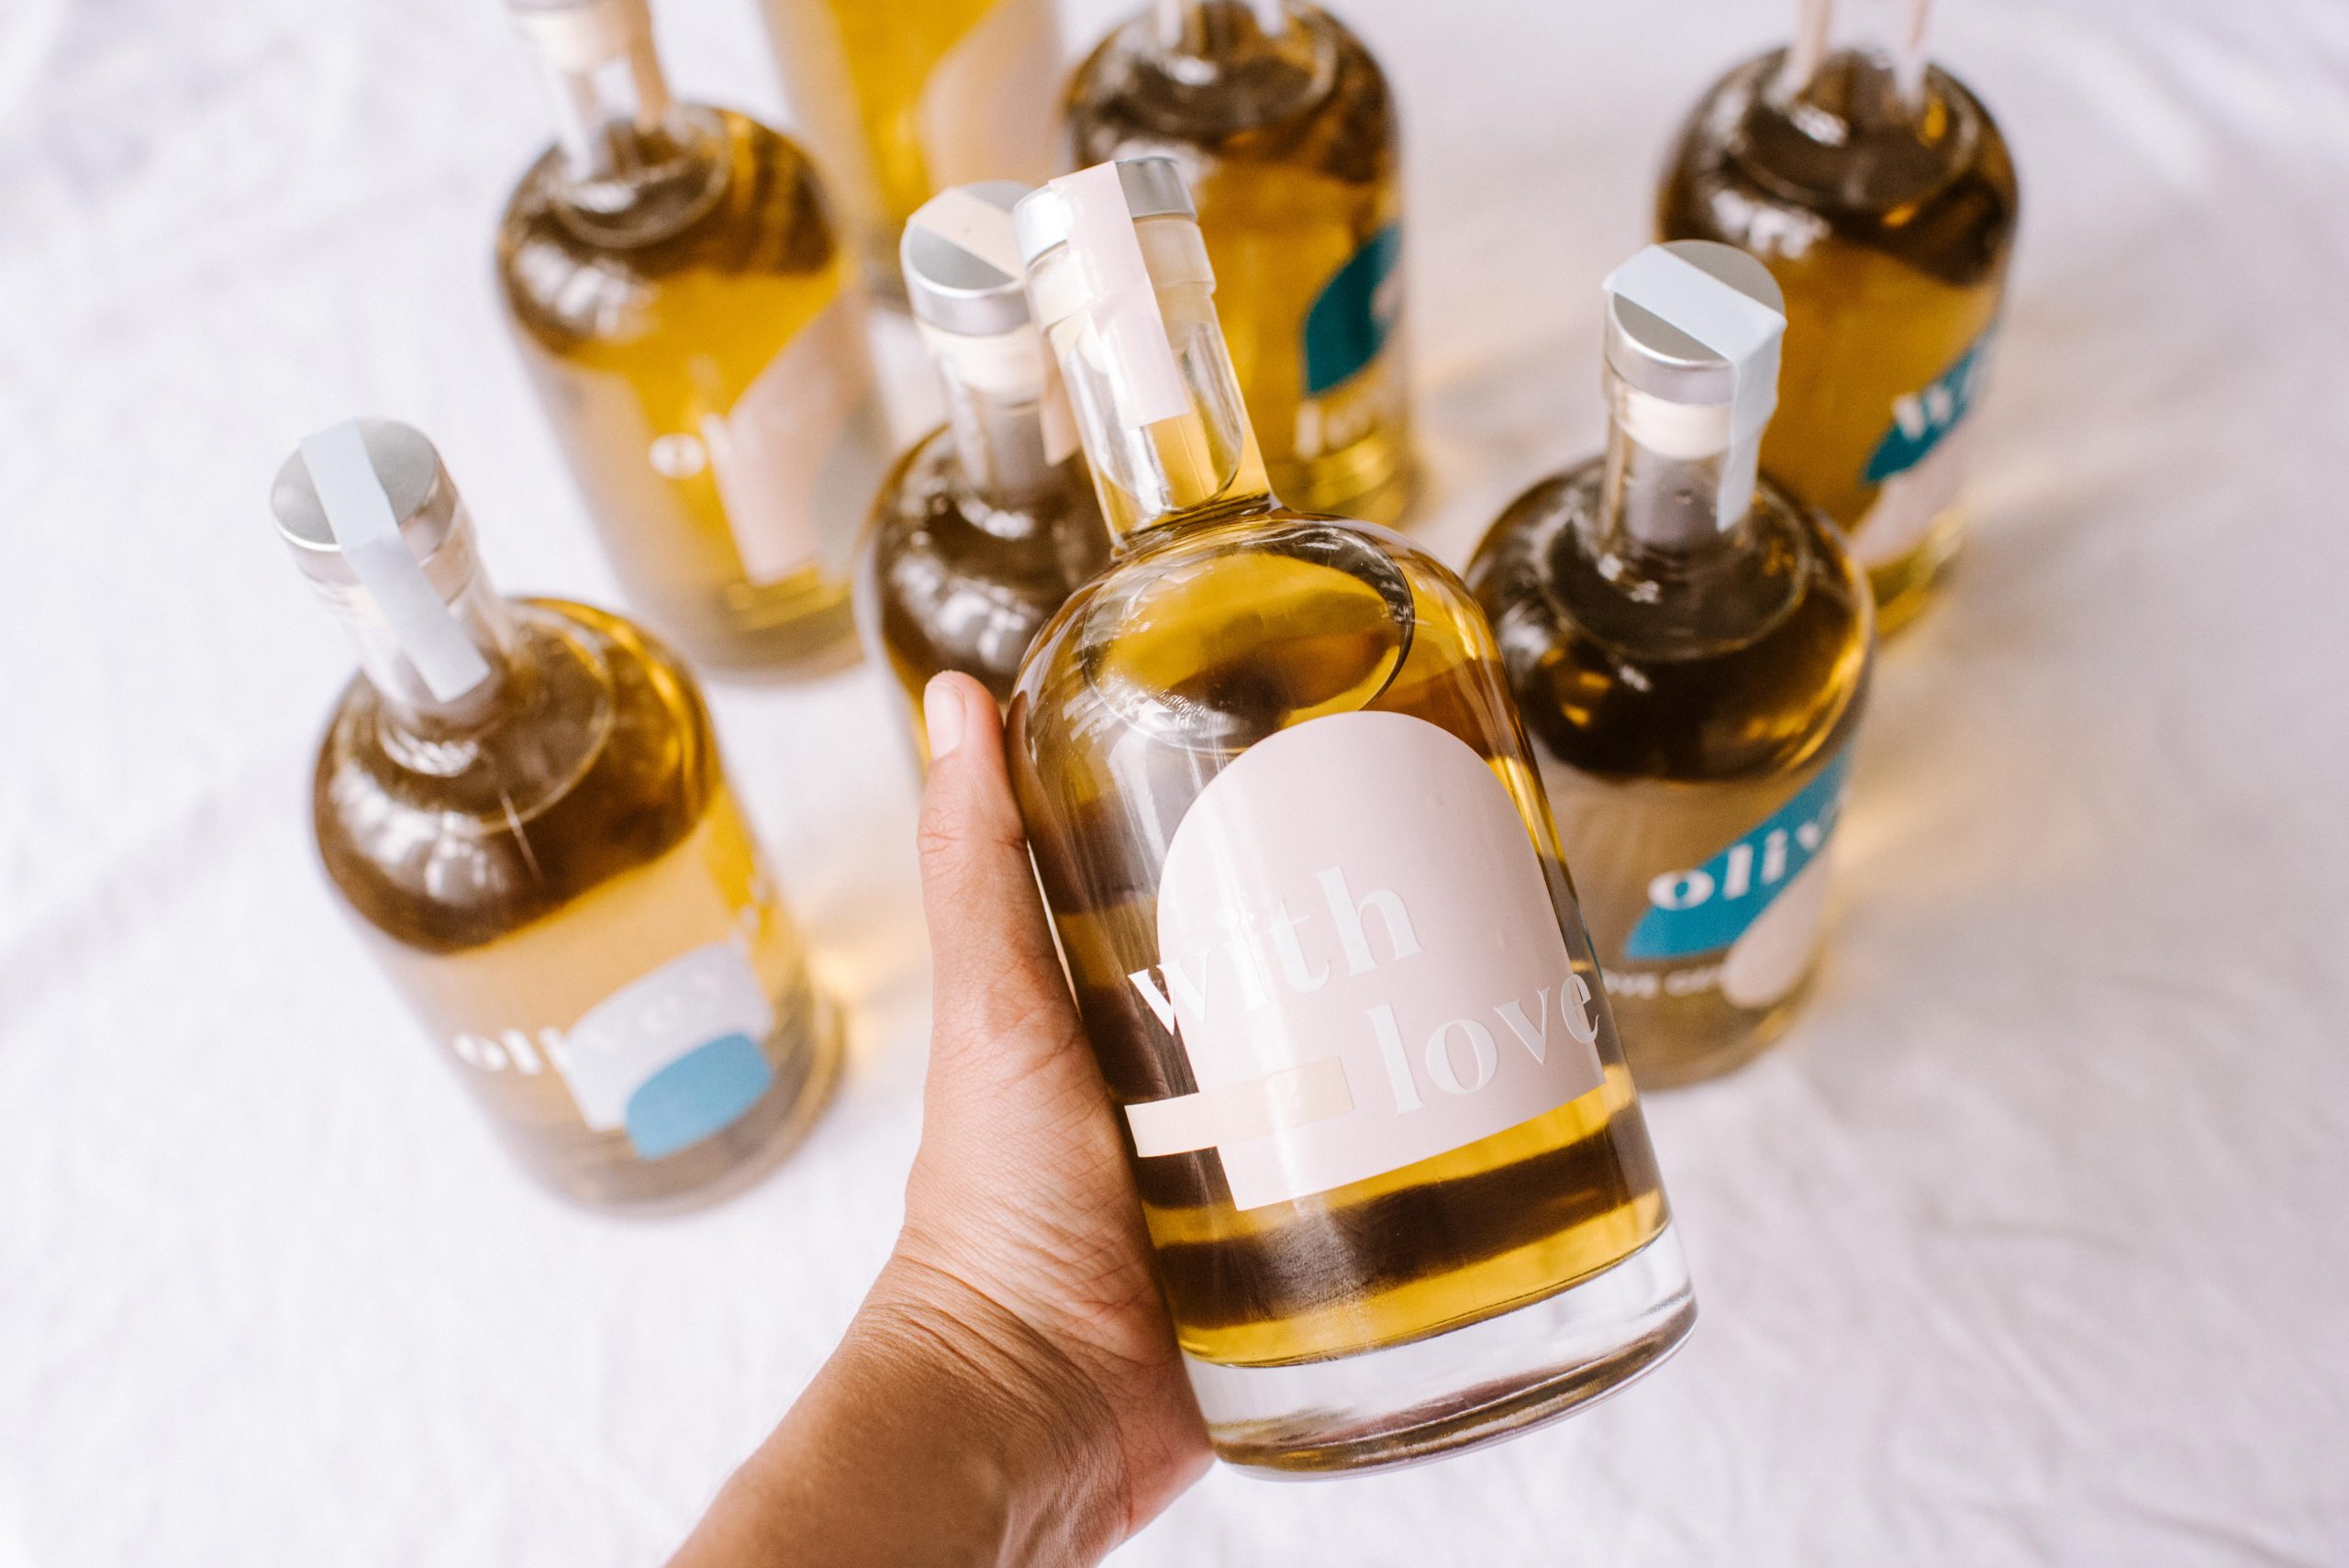
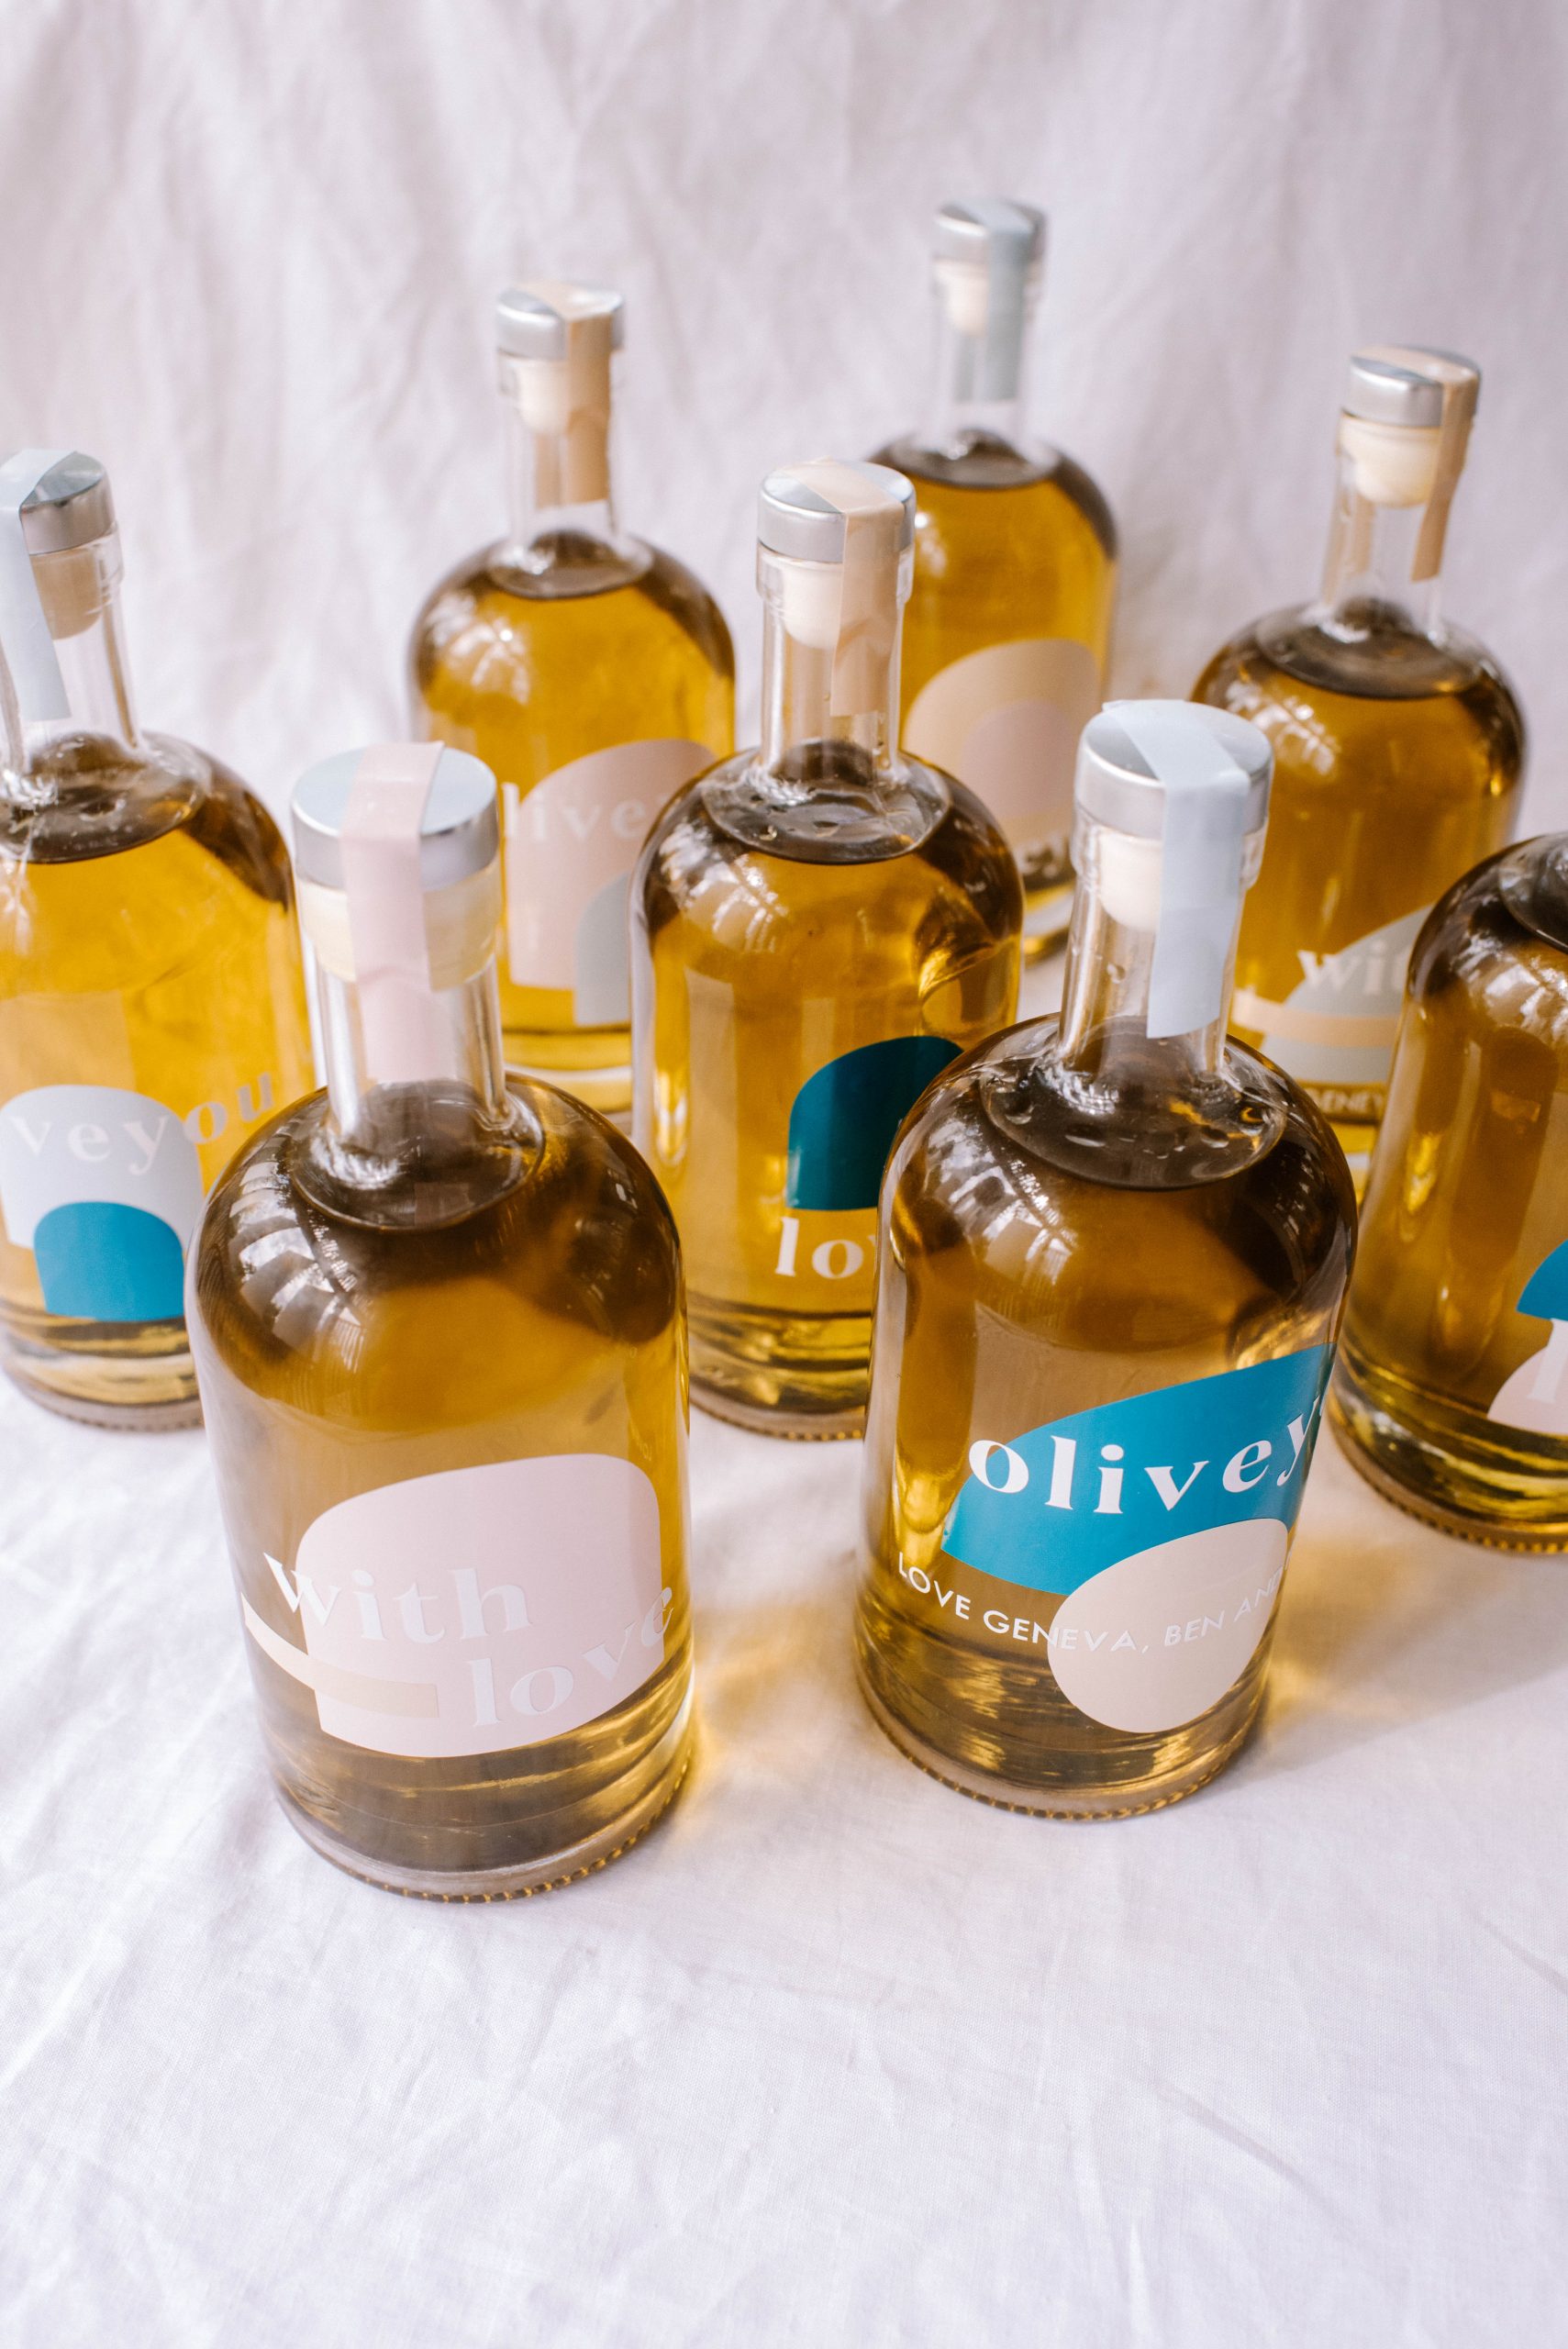
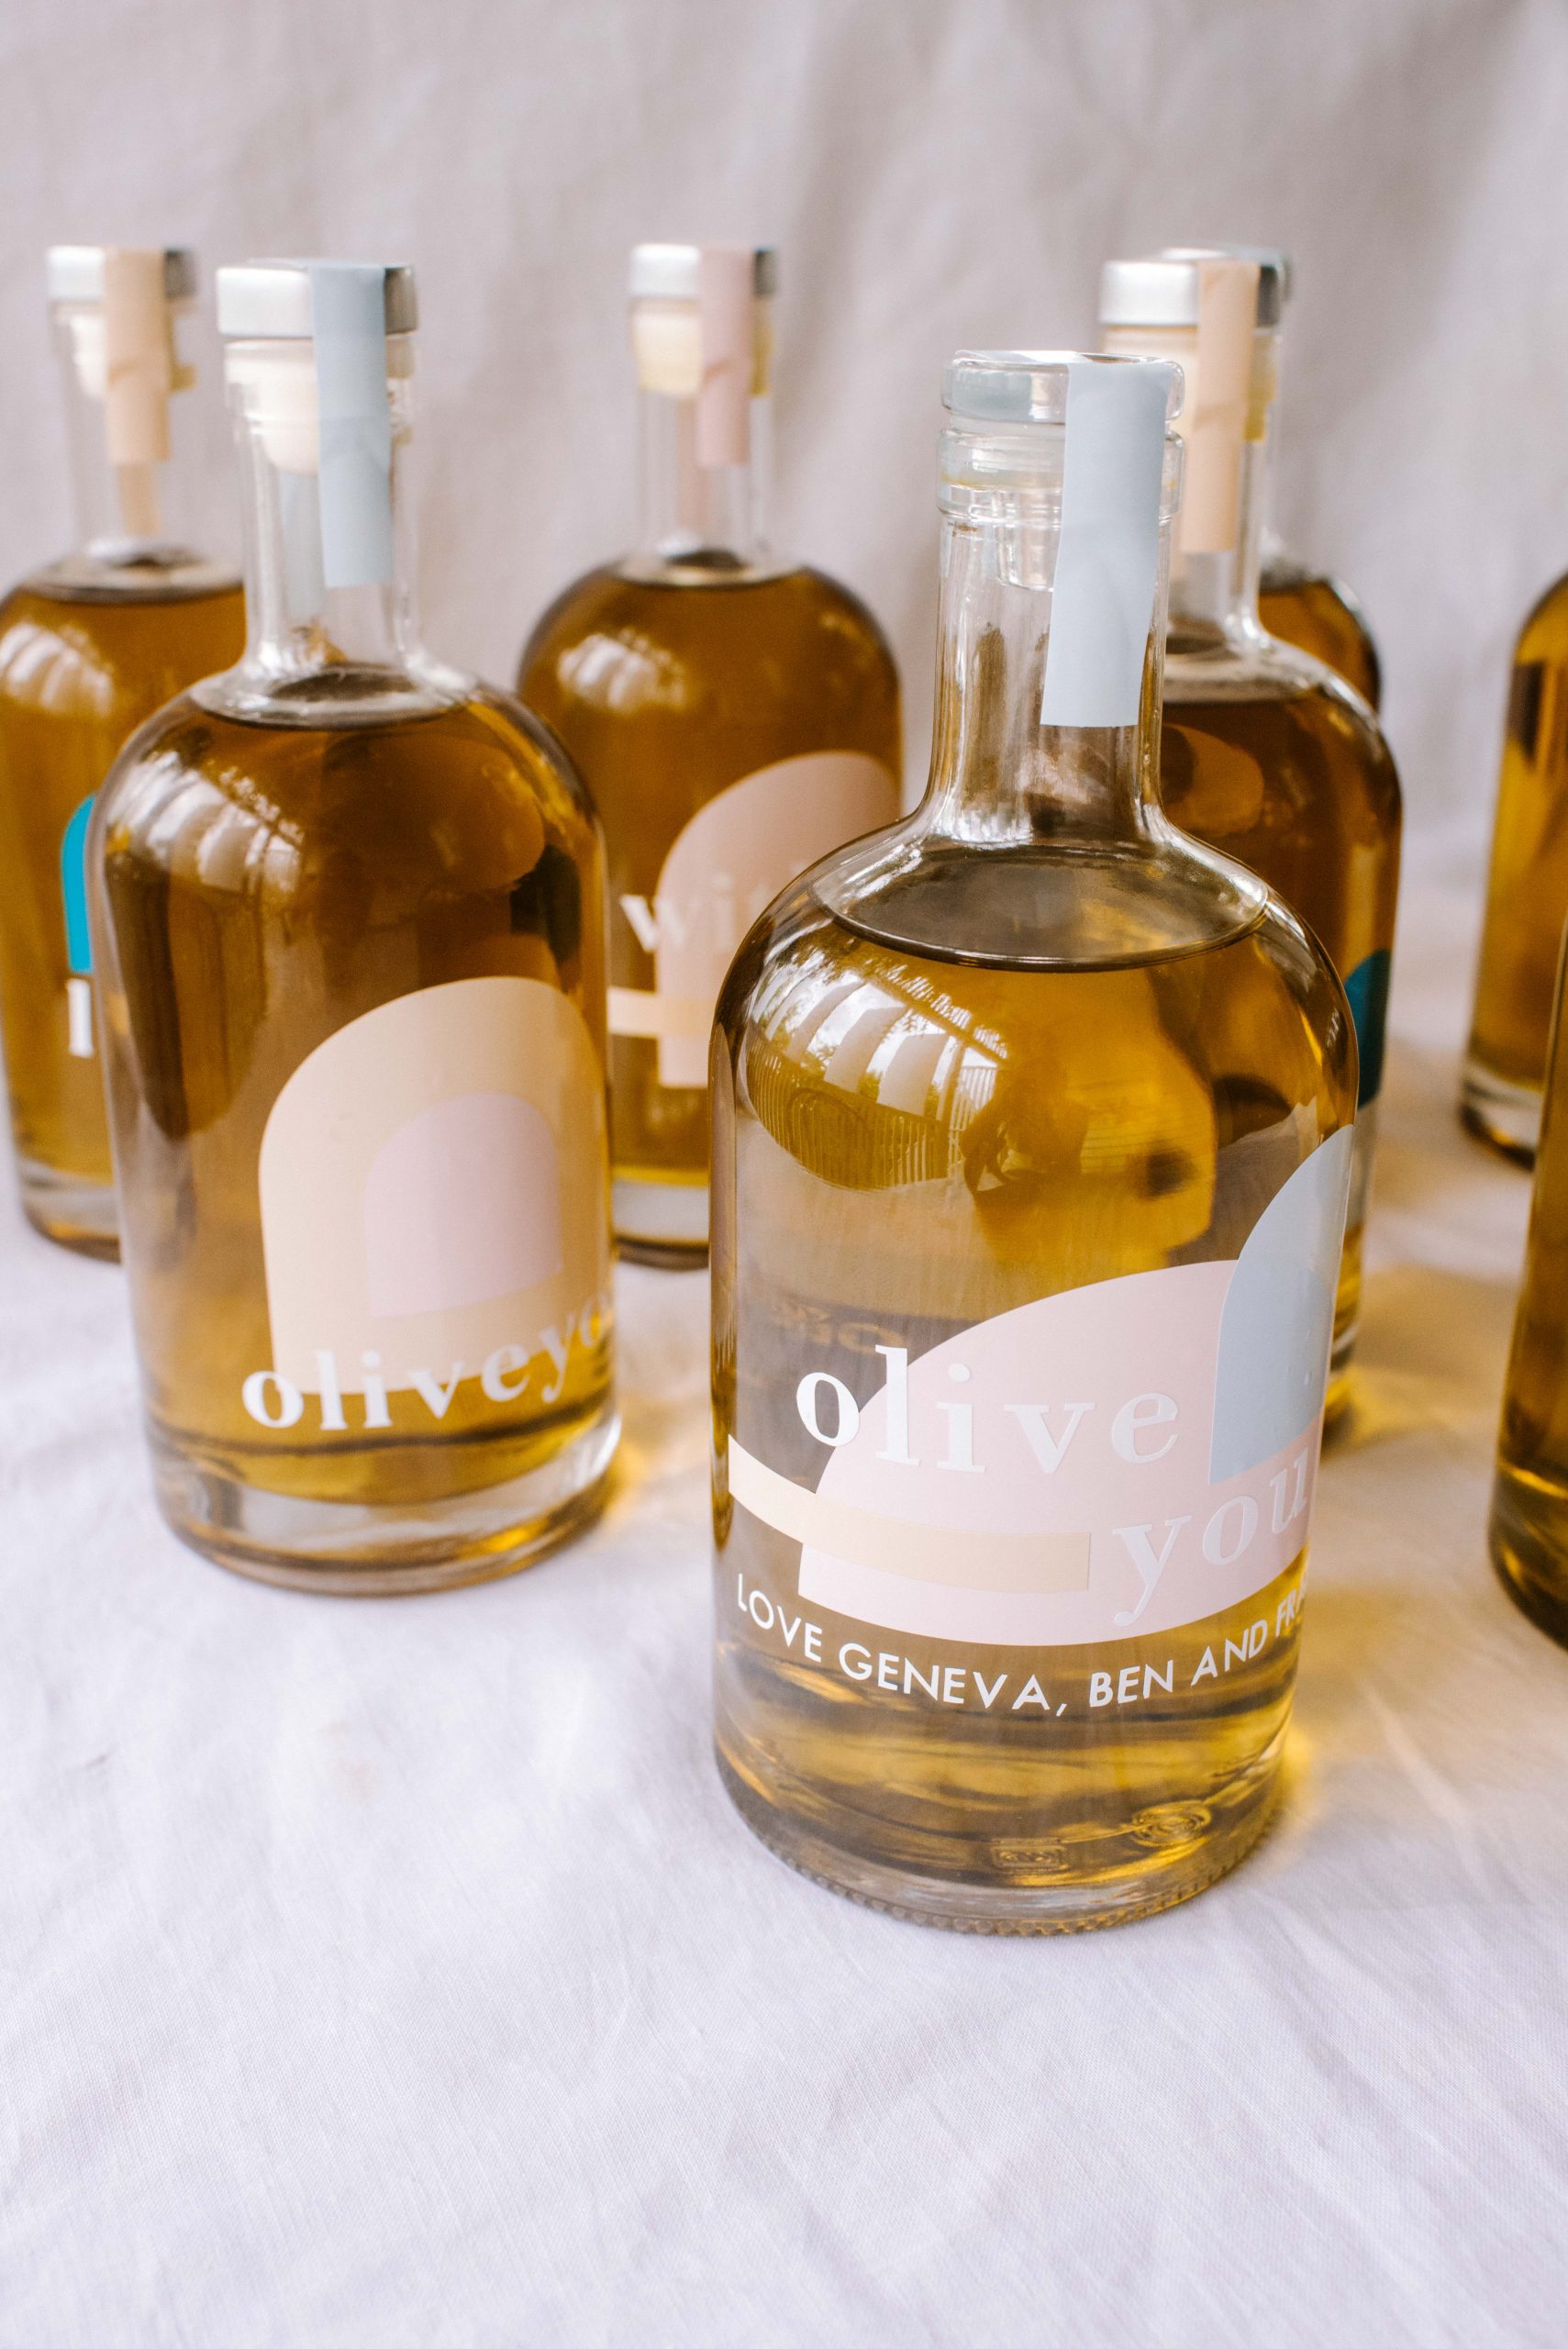
I am such a huge fan of personalised gifts, and there’s nothing better at Christmas than gifts that have been made with love and your own hands.
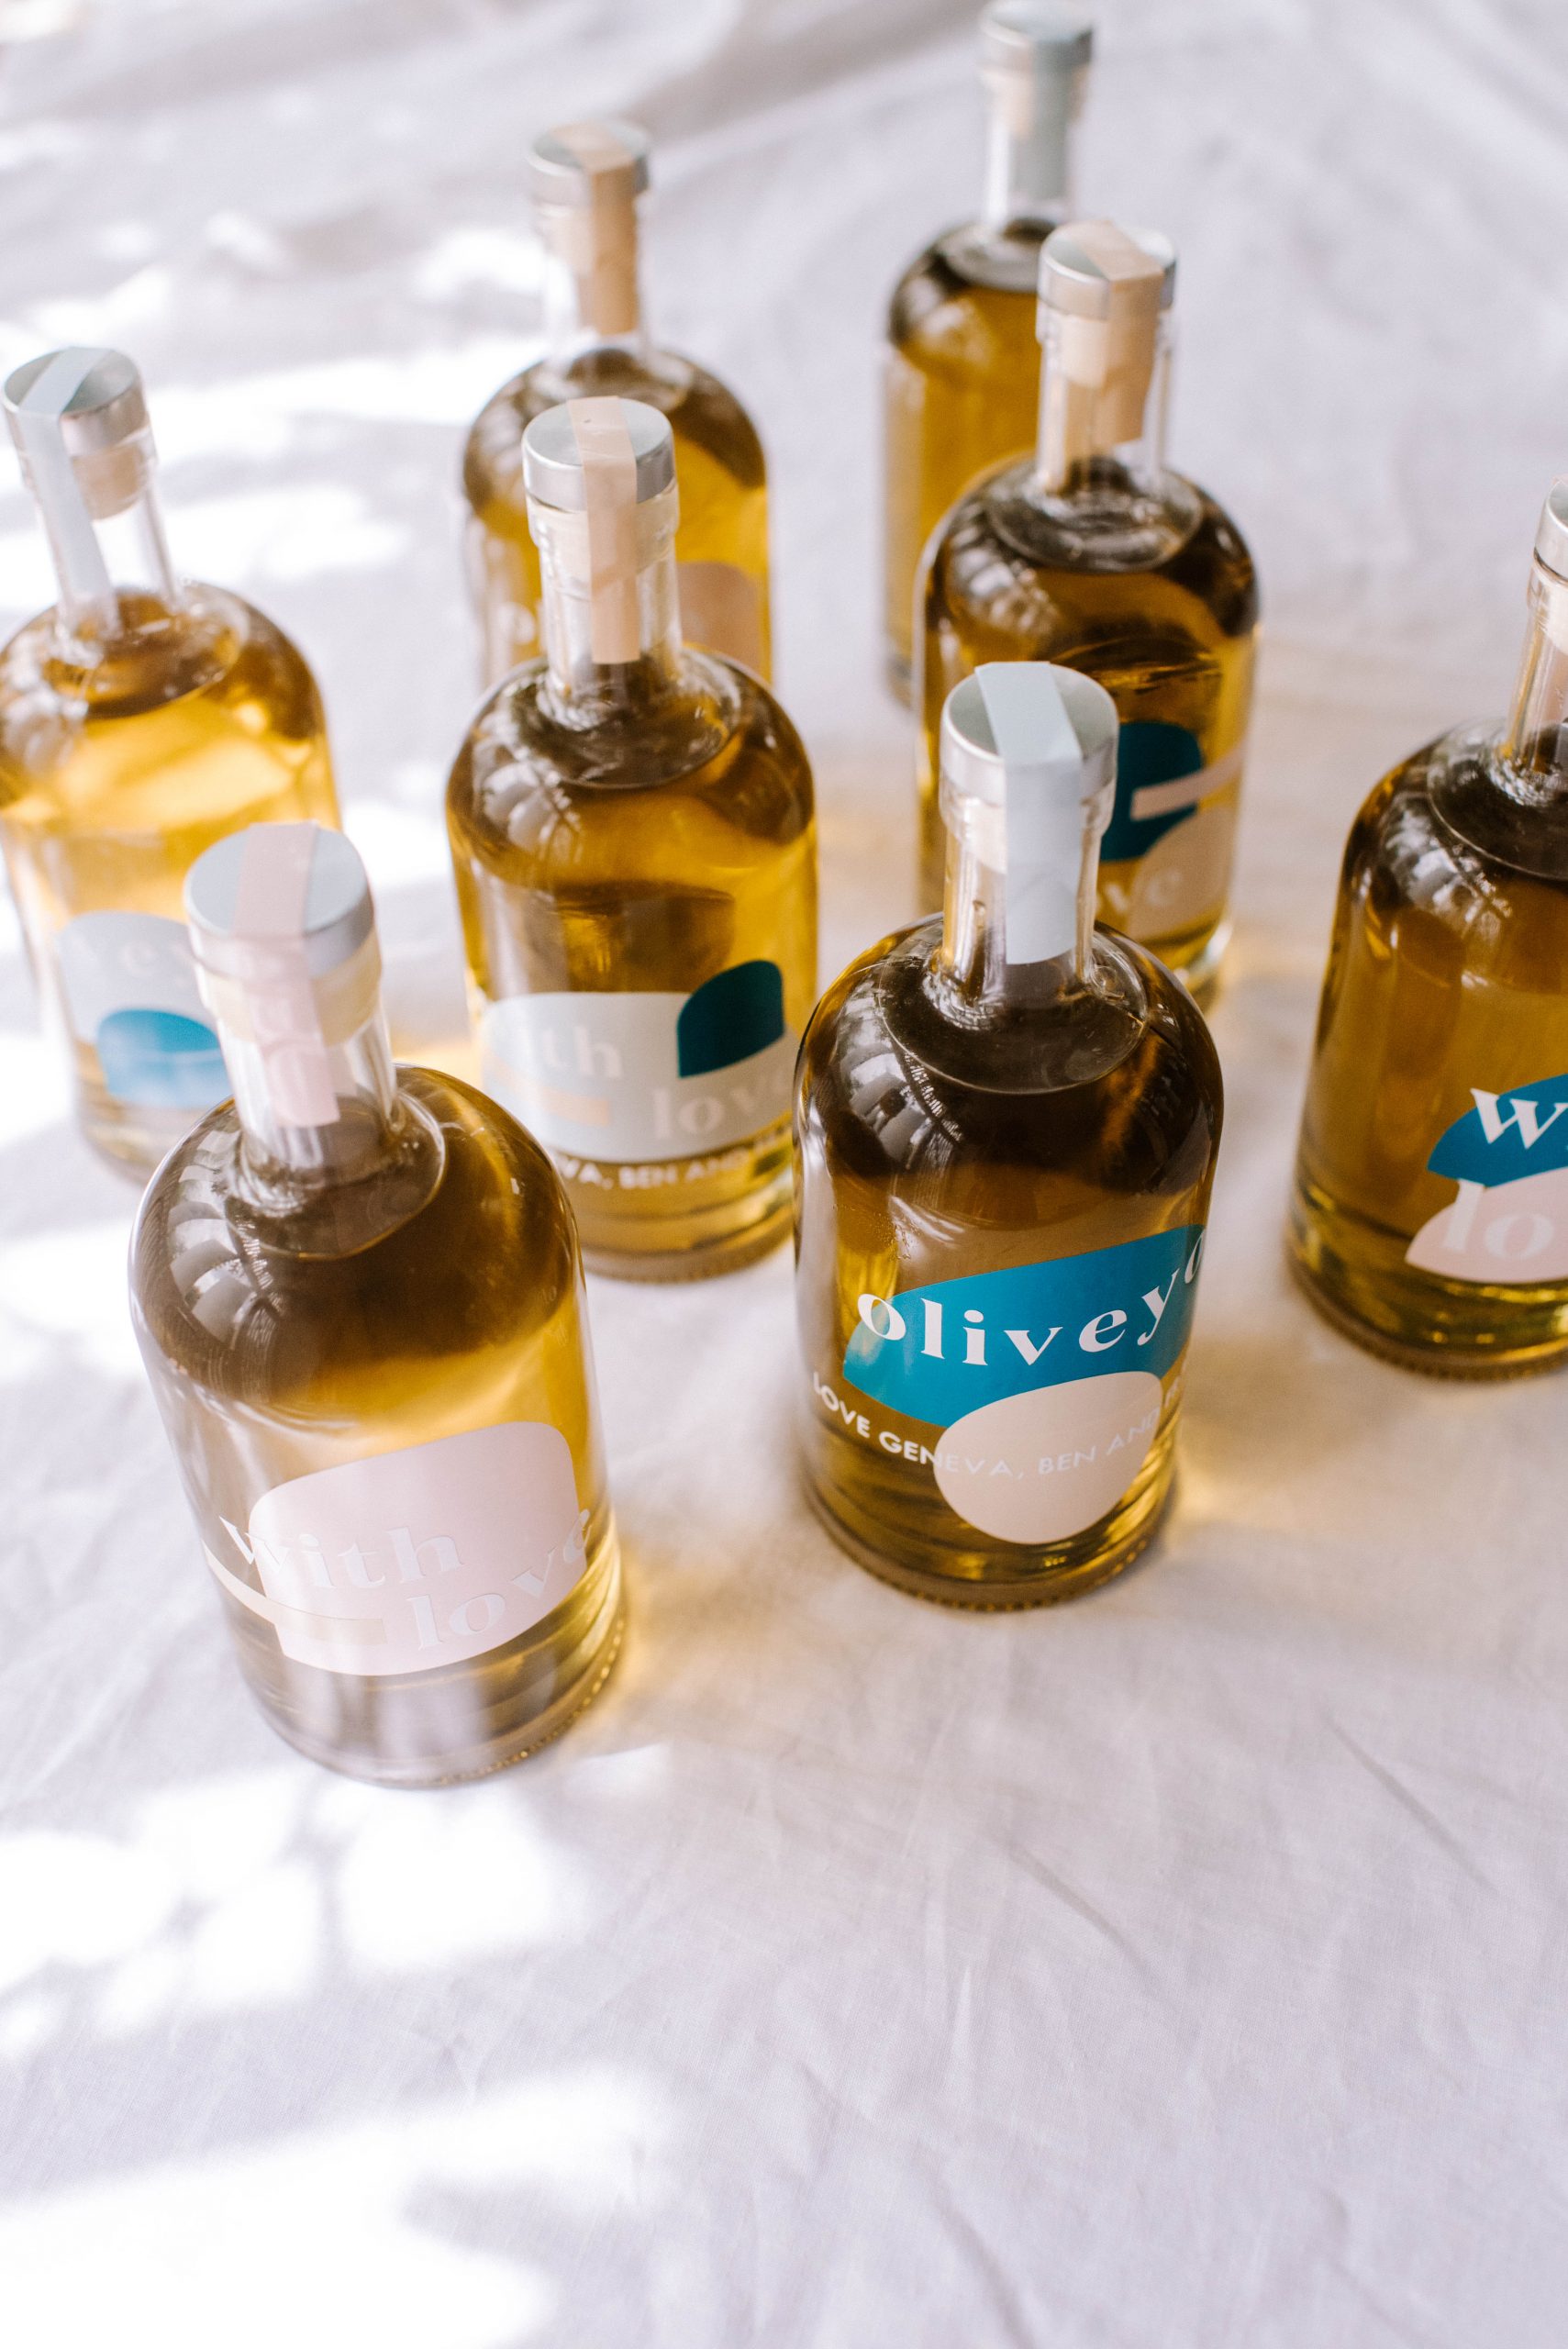
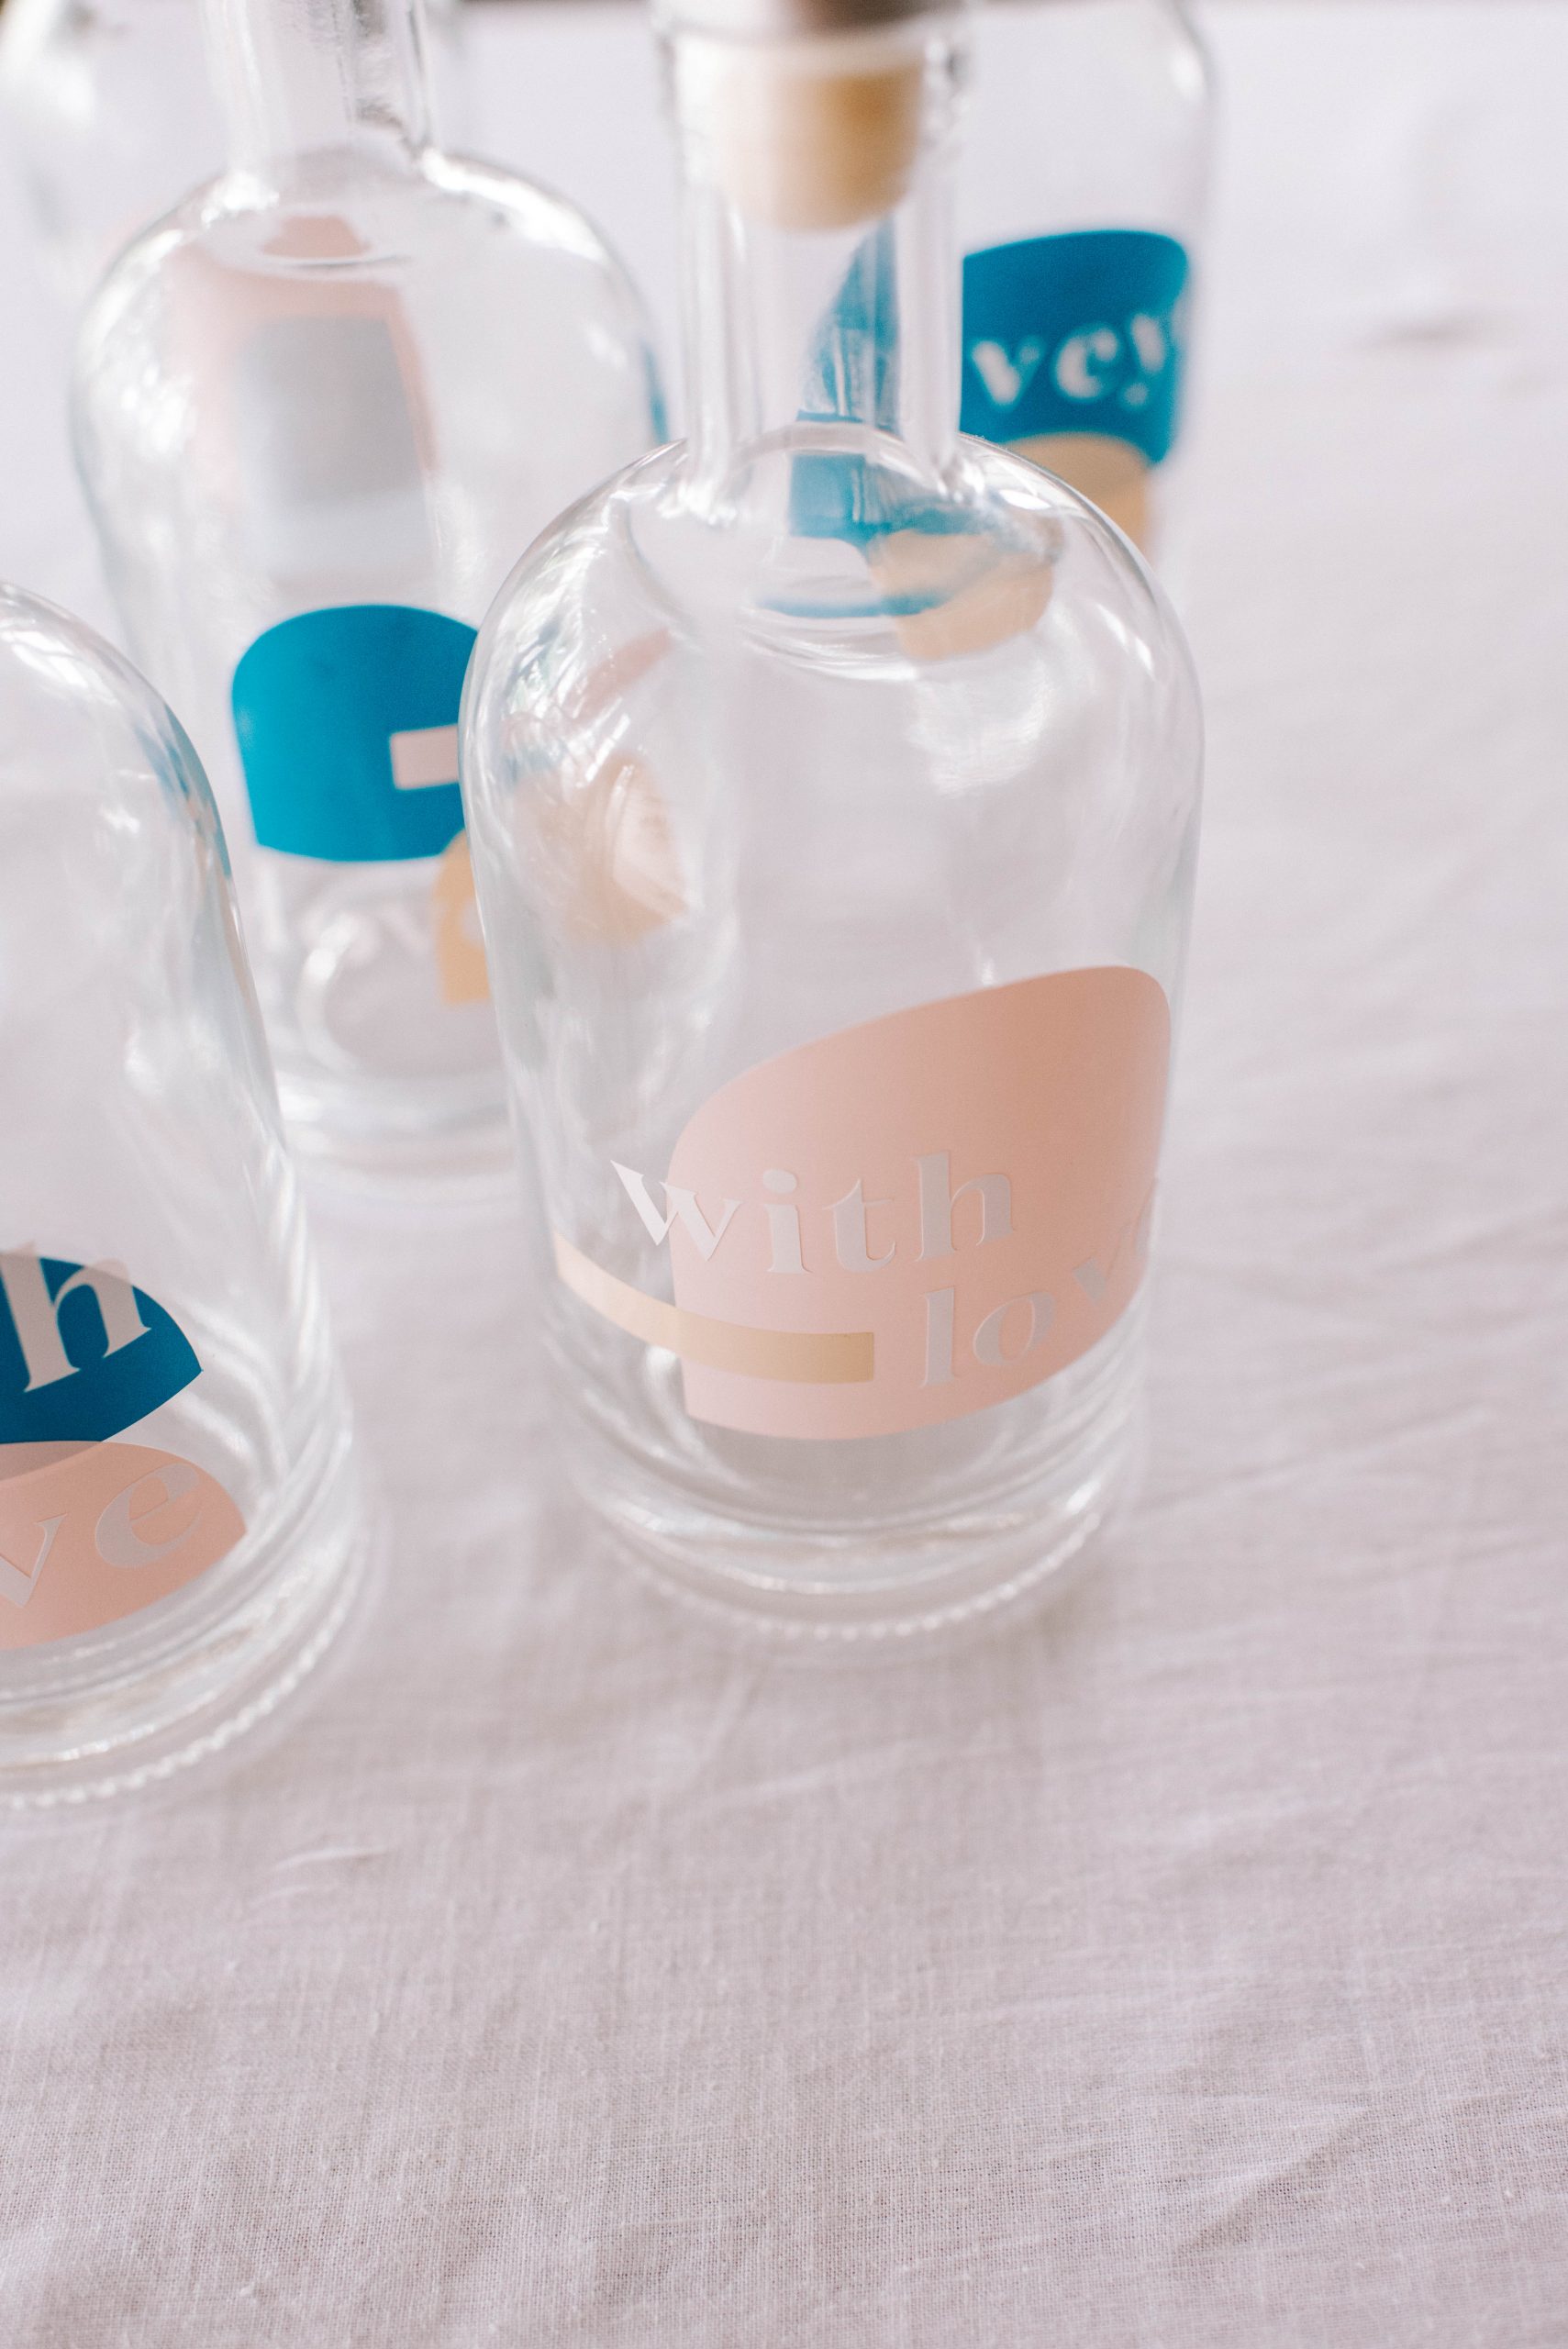
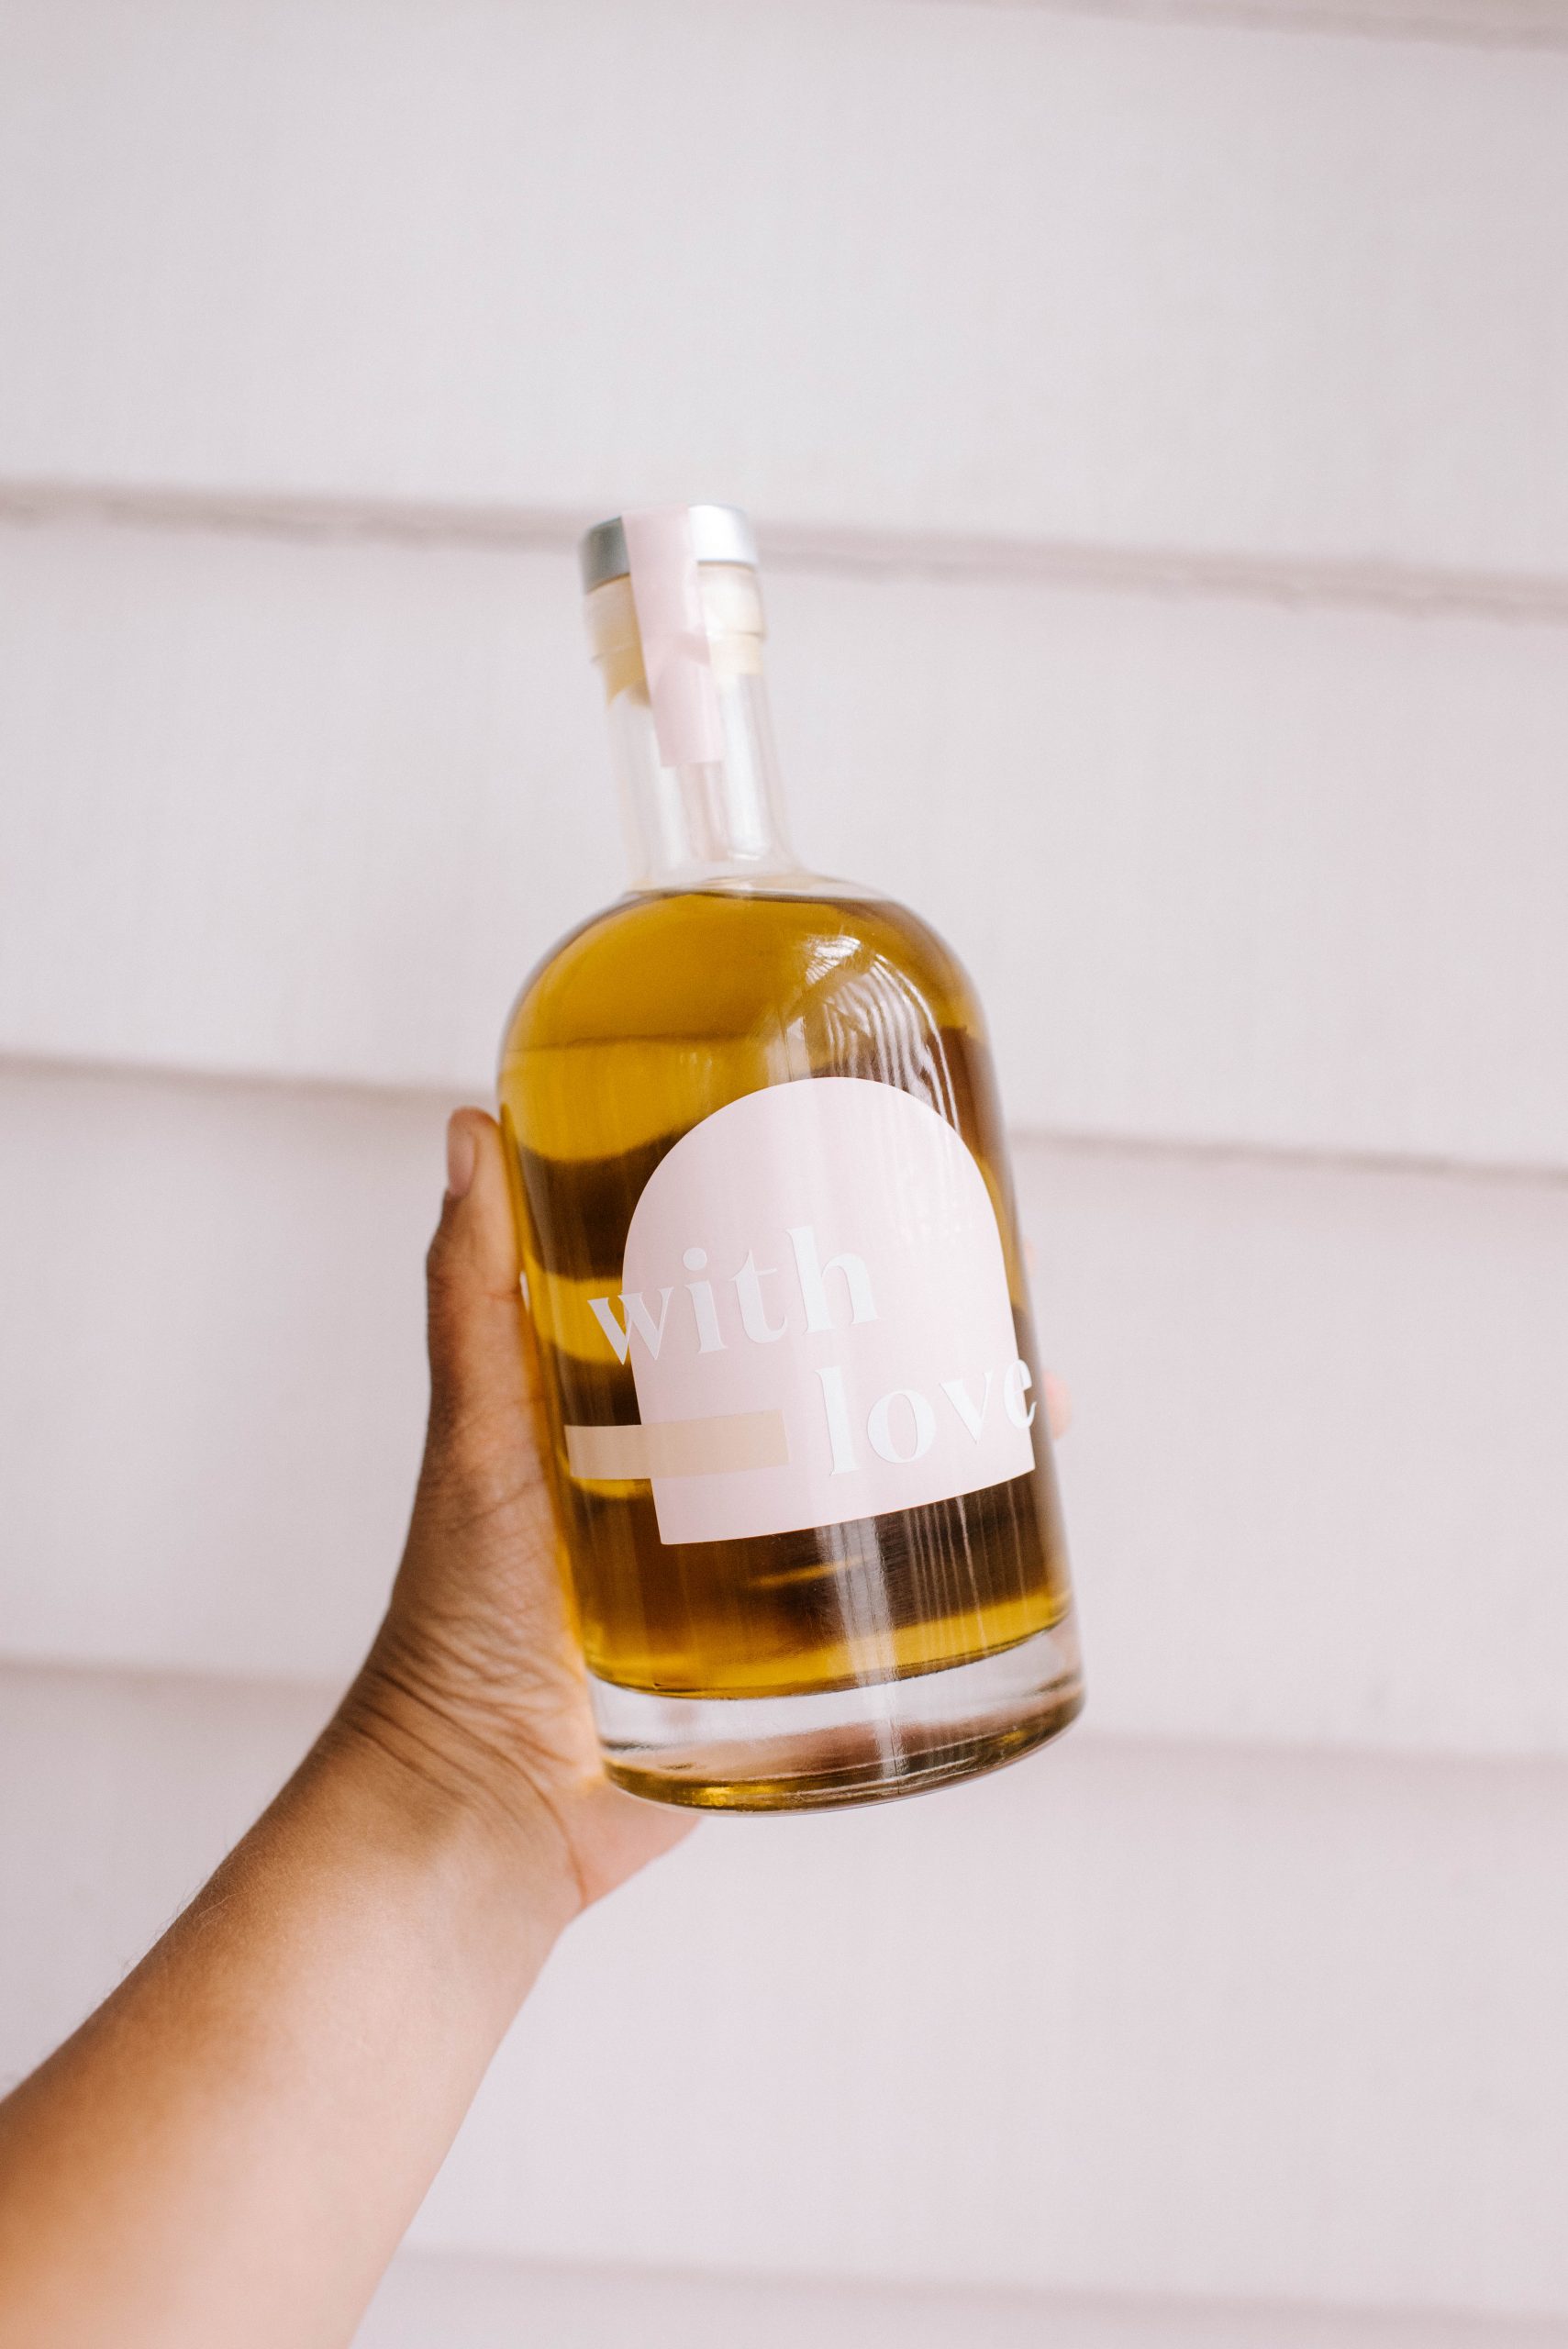
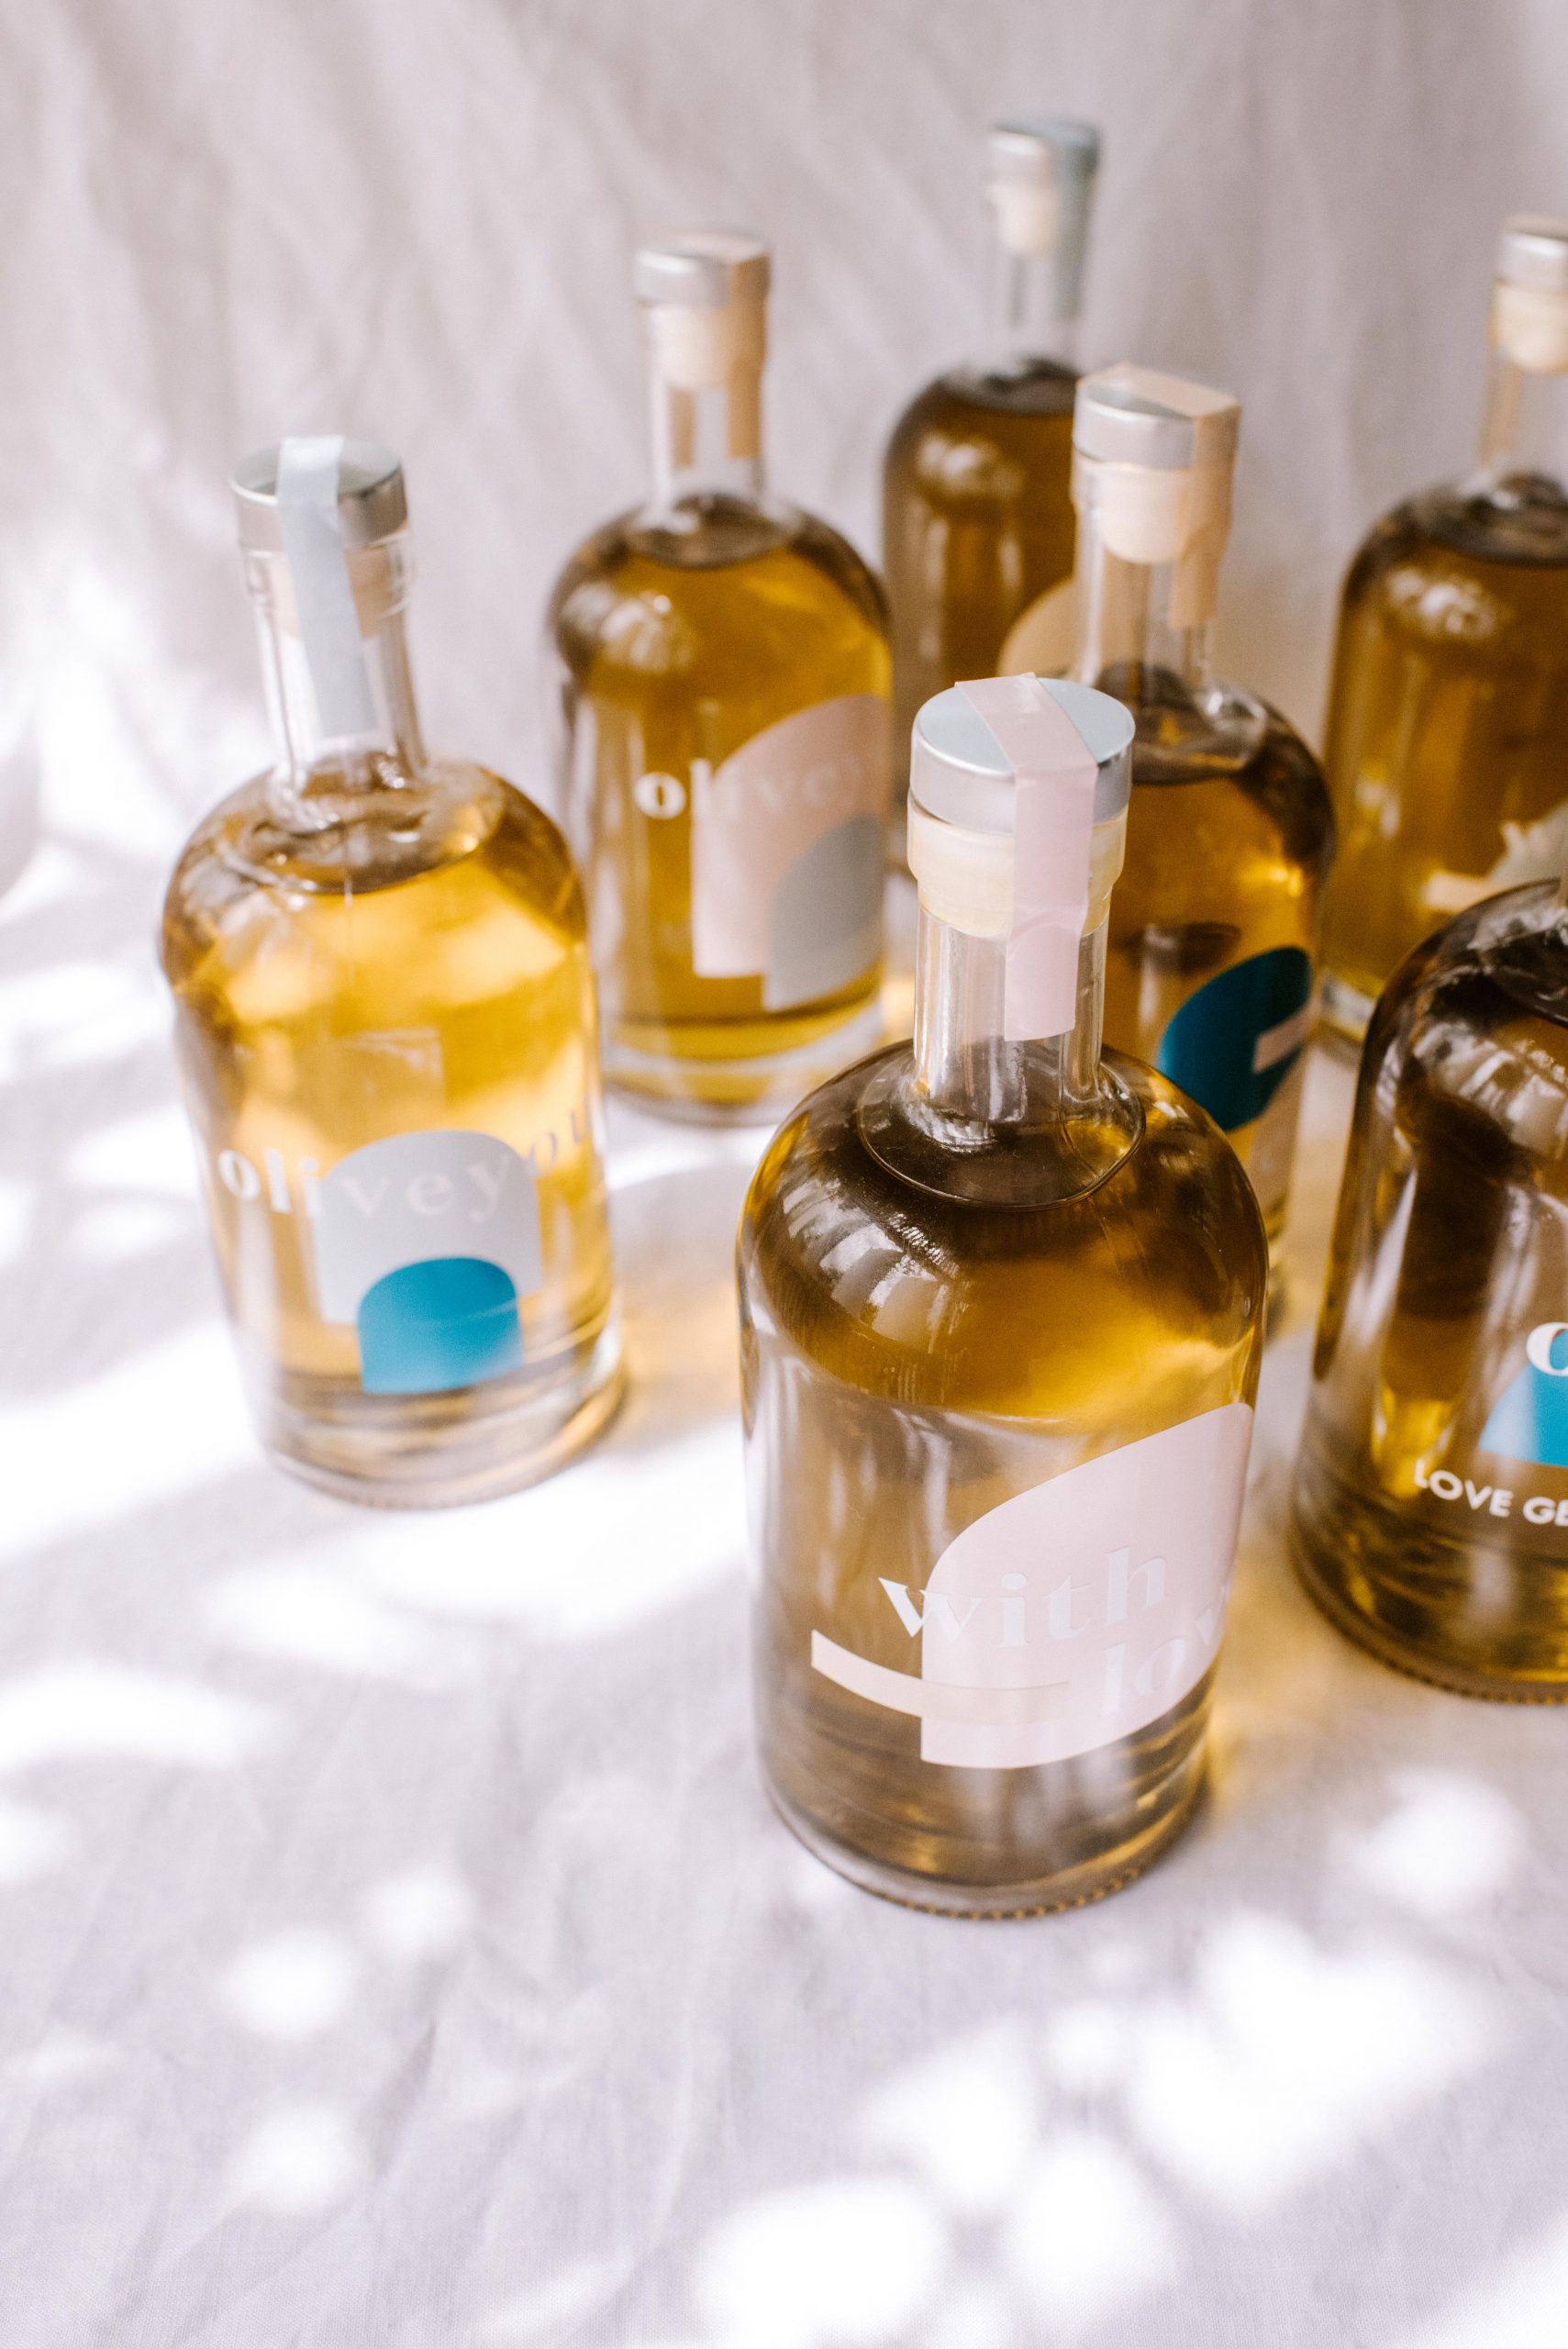
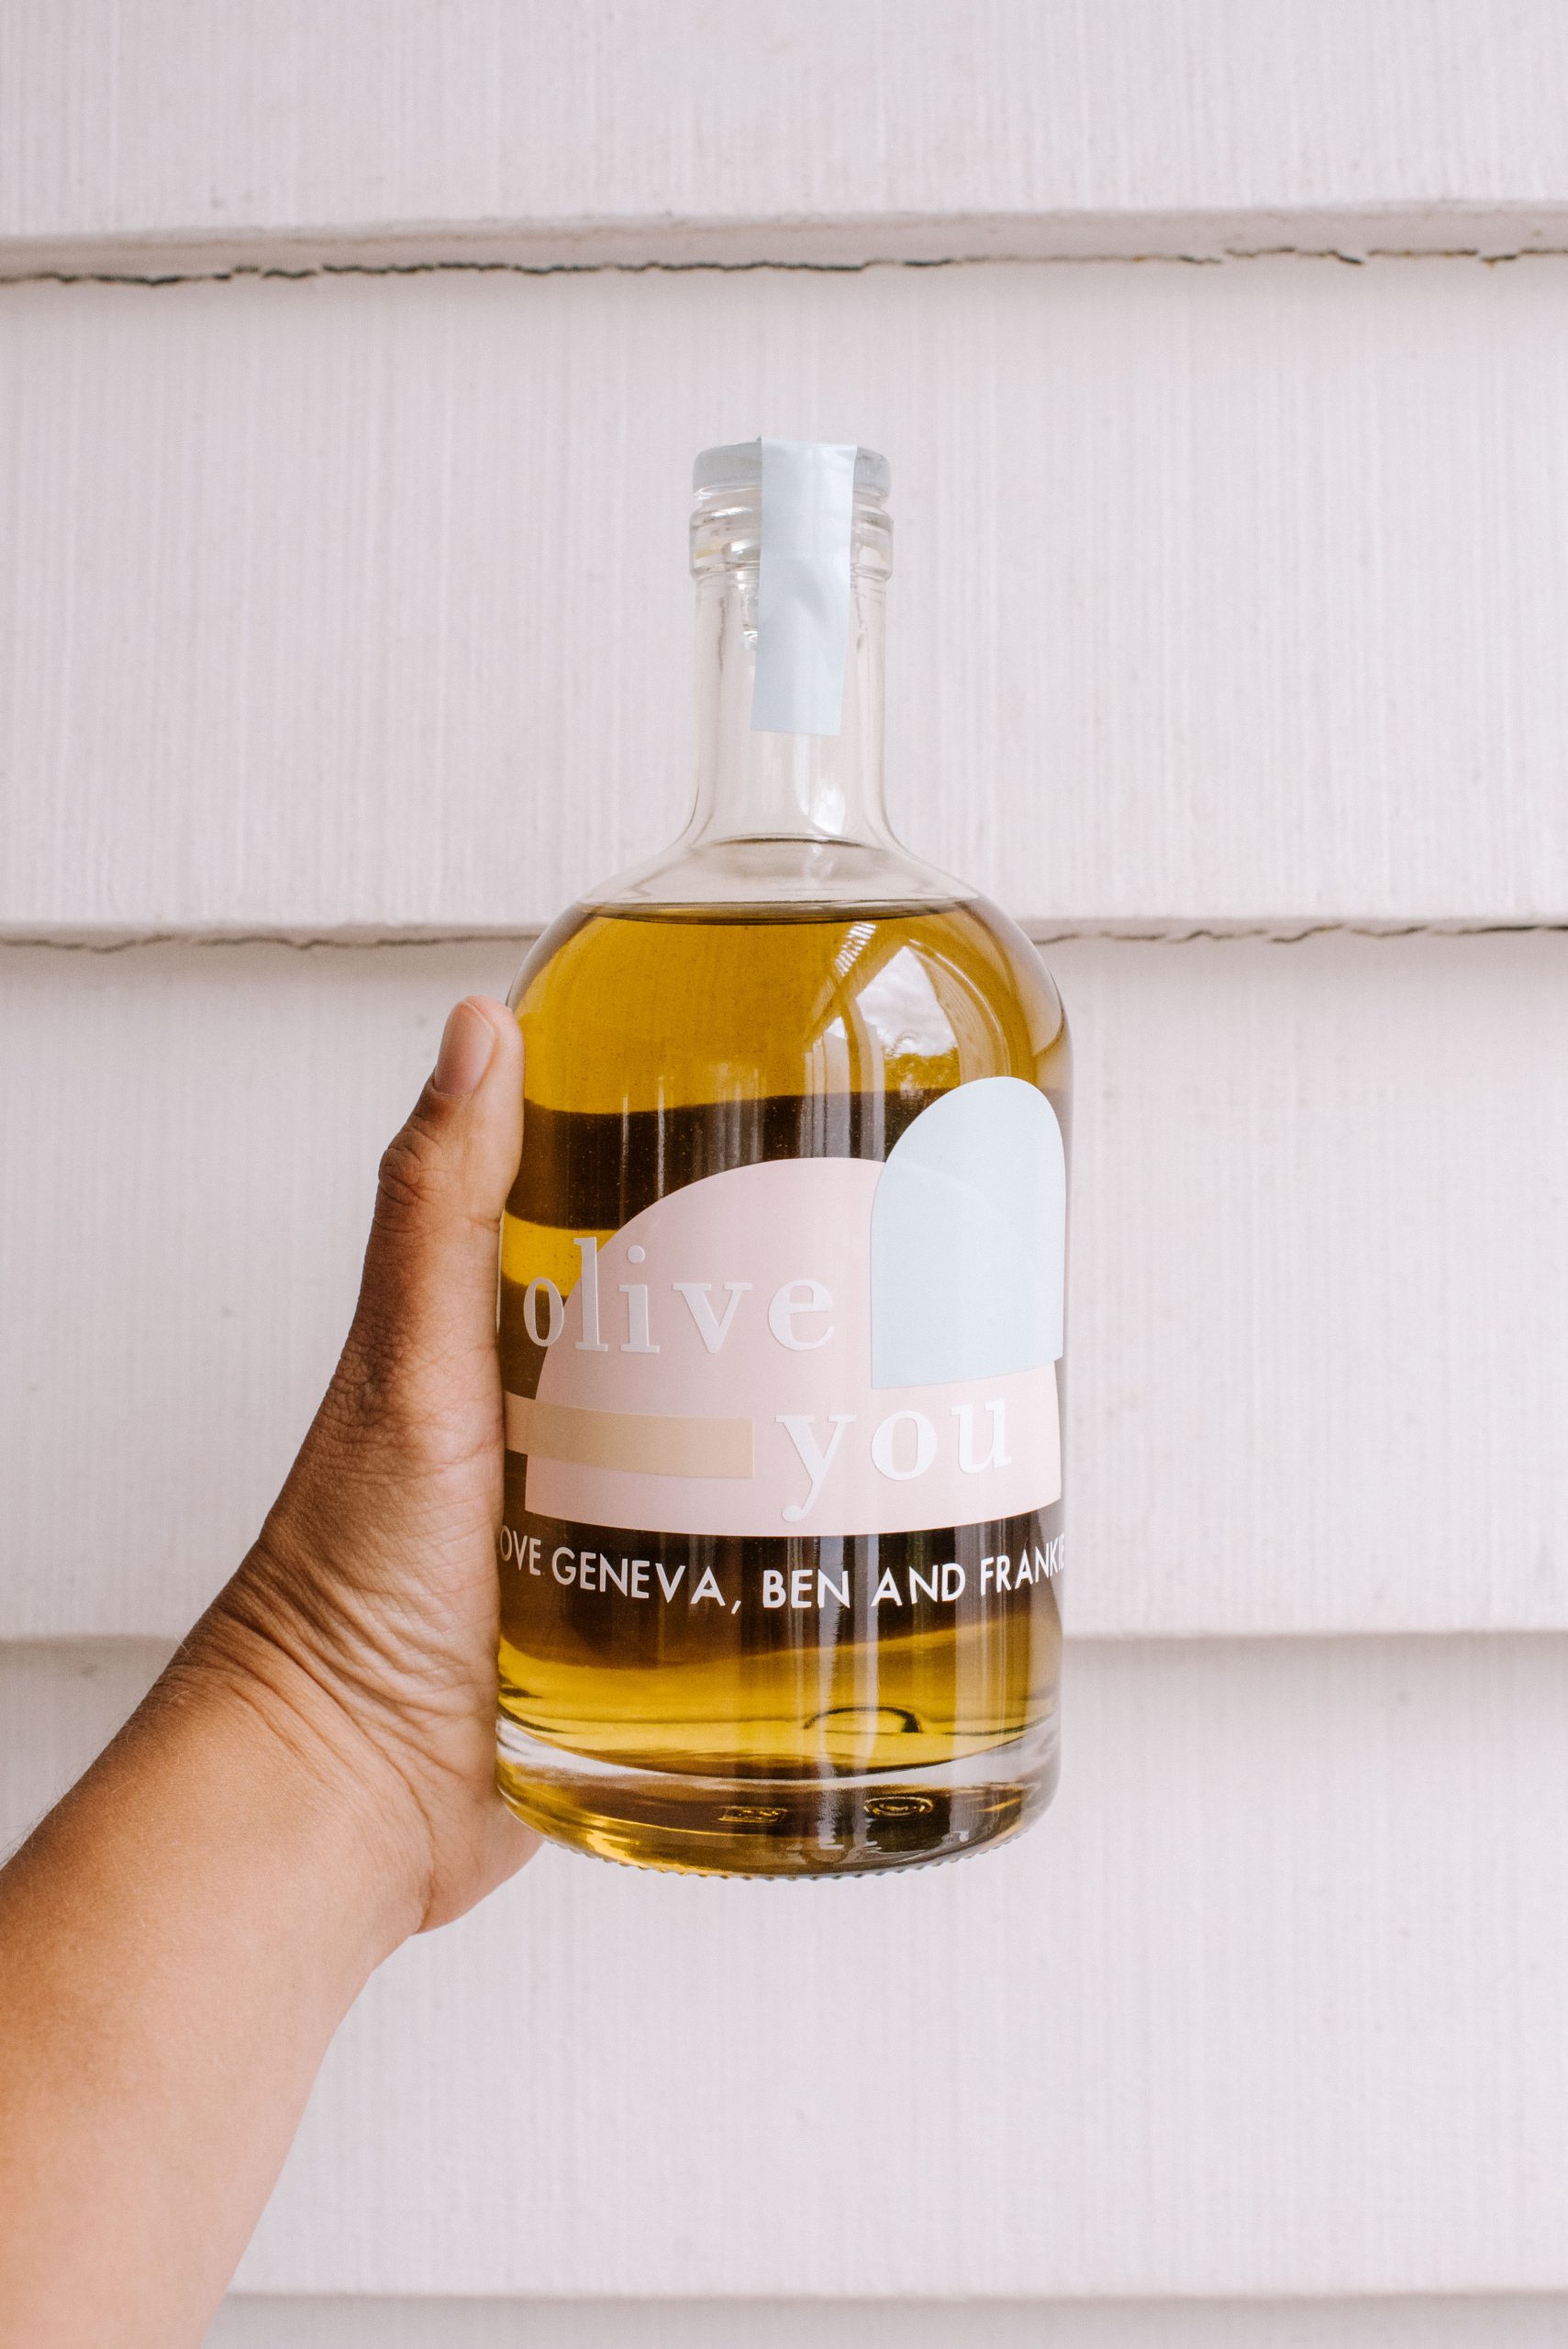
Recently I have become obsessed with making all sorts of things with my Cricut Joy, and wanted to make a beautiful gift using this magical little machine. If you’re new to Cricut, just know that they are smart cutting machines that make crafting so fun and easy. And creative! I decided to indulge all my foodie friends by making them personalised olive oil bottles, the type that you would display proudly on your kitchen benchtop, and refill as time goes on.
What Is A Cricut?
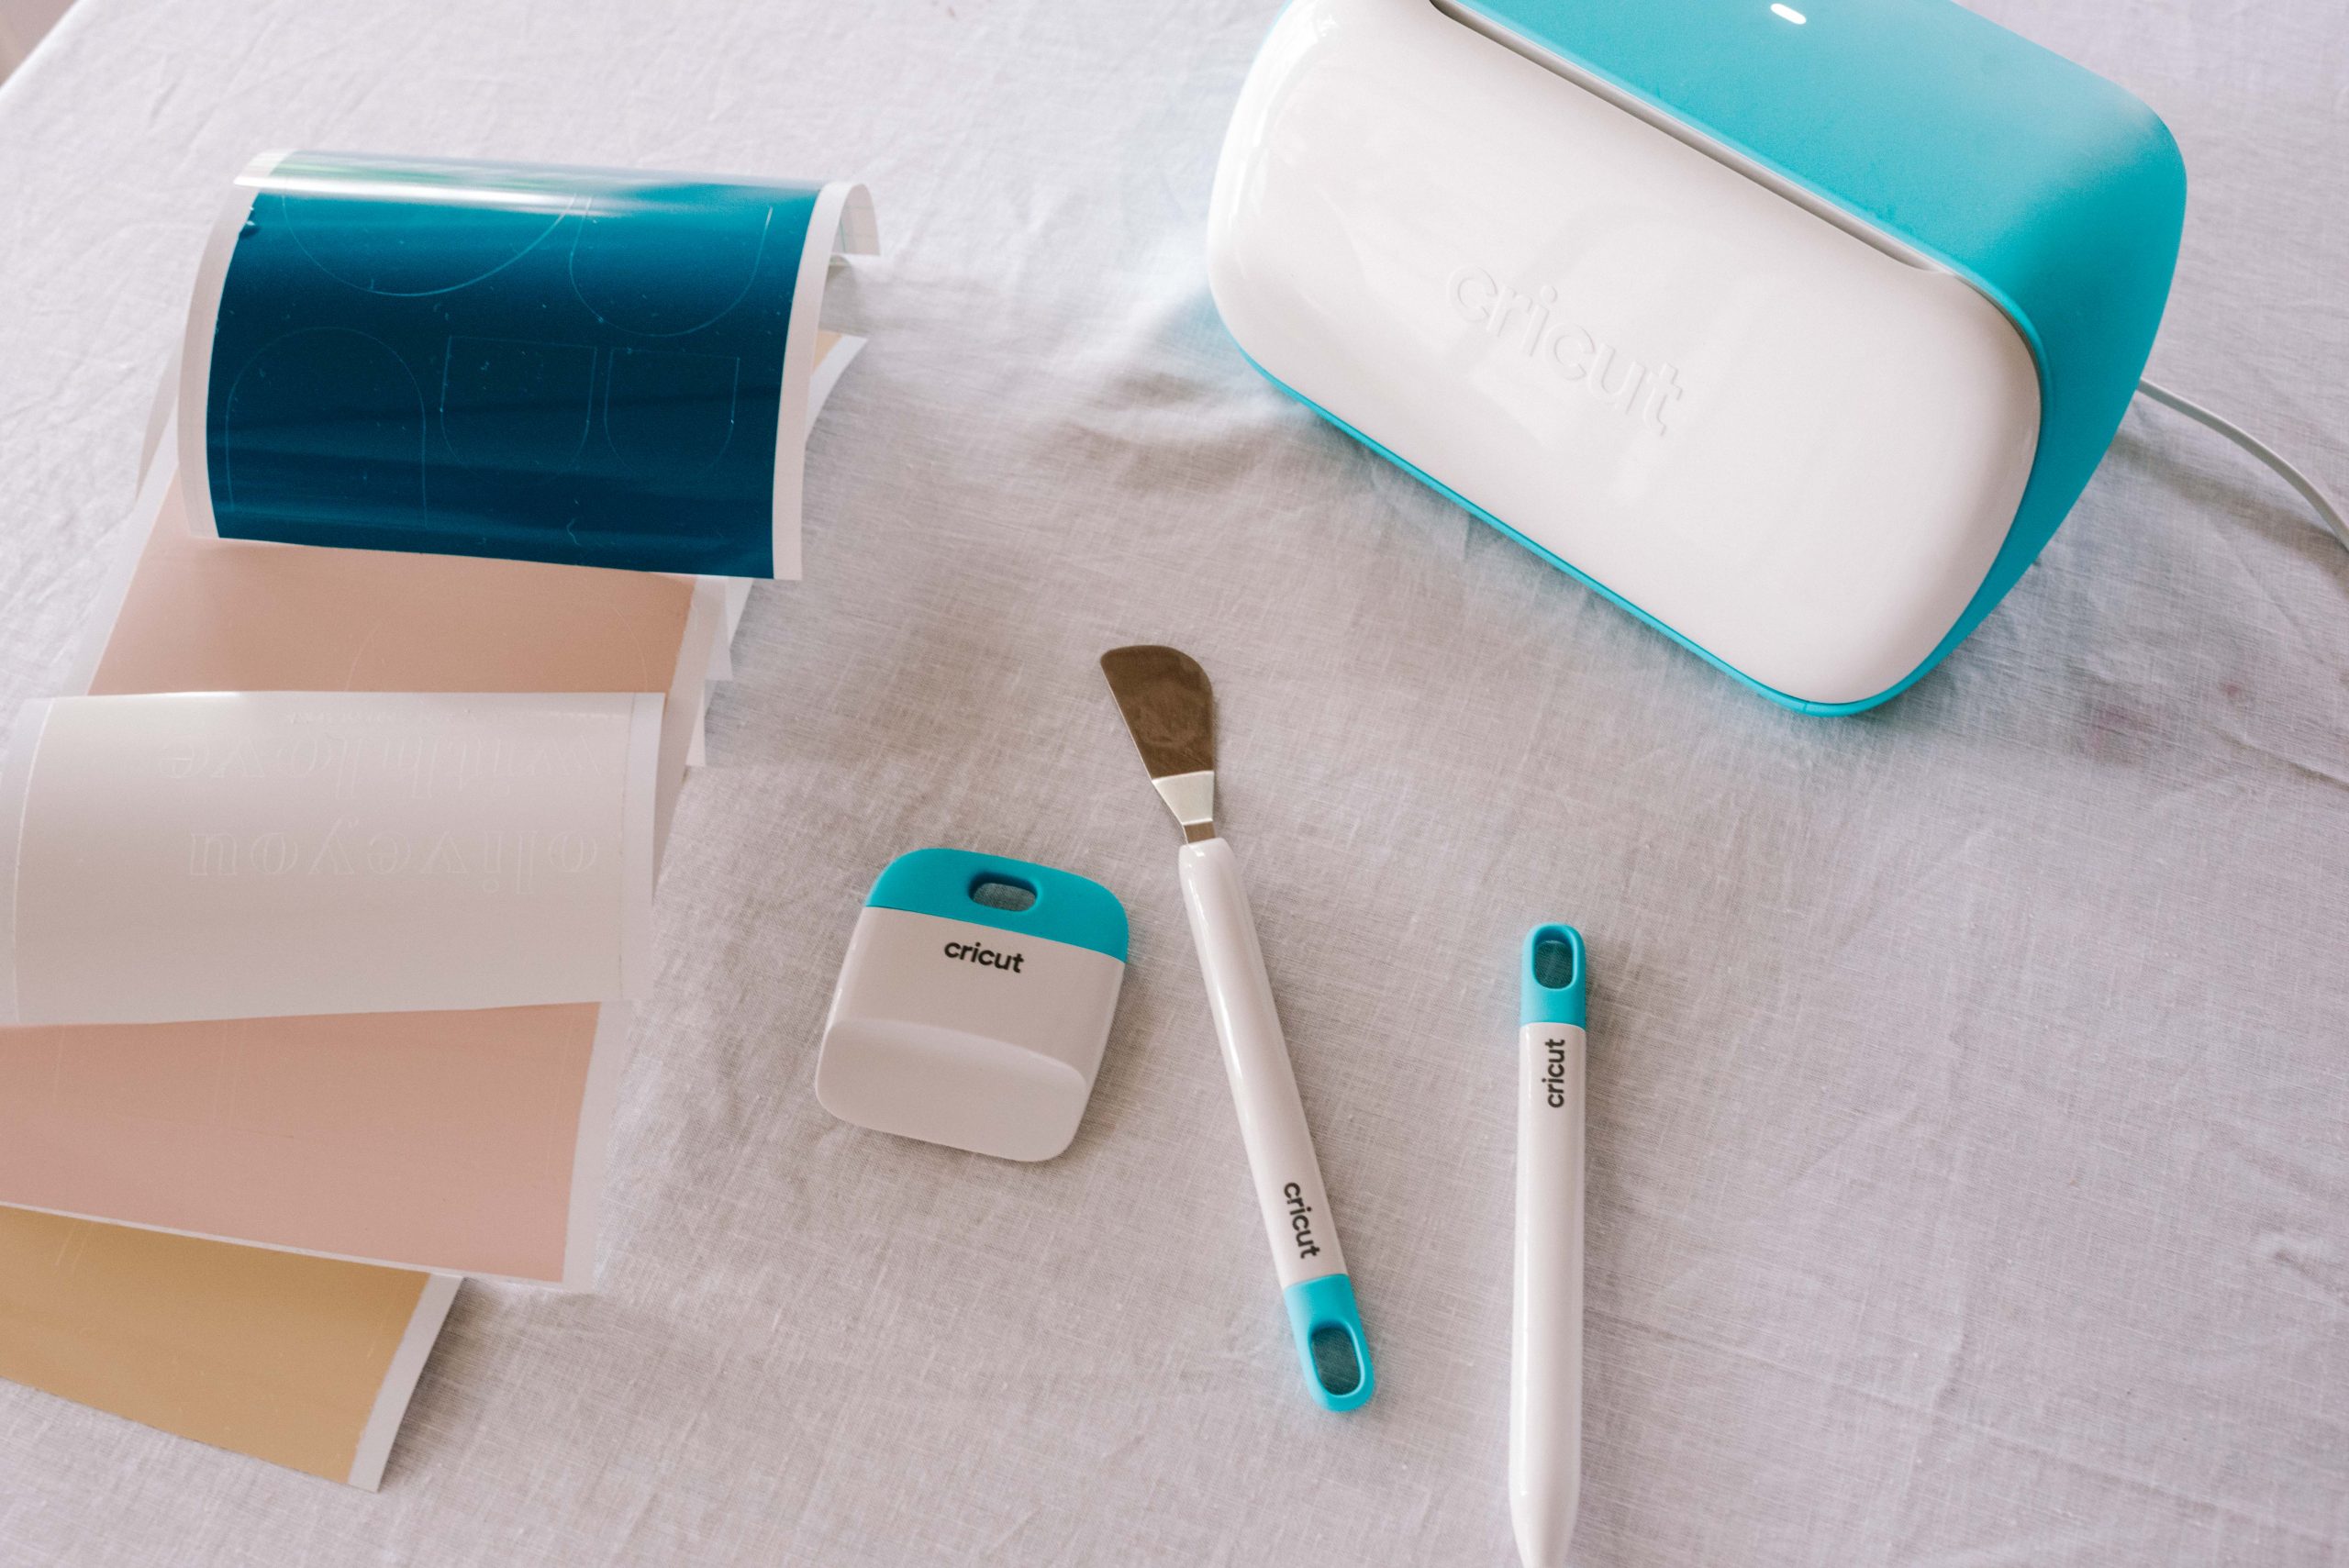
A Cricut is a cutting machine that allows you to cut and create beautiful projects with hundreds of materials. Depending on the model you have you can also draw, emboss and create folding lines to make 3D projects, artwork, greeting cards, boxes, iron on t-shirt transfers, wood projects and so much more. I first noticed Cricut machines popping up on my TikTok feed, and honestly got addicted to watching people create incredible signage, personalised gifts, decorations and so much more. What I love most about the Cricut is that it’s a machine that enables your creativity, meaning you can create whatever you want no matter your personal aesthetic. Ben was so excited when the Cricut Joy and Maker machines arrived, he’ll use them to make signage for his restaurant design projects, so there really is no single way you should or can use them. The world is your crafty oyster. For this project I used the Cricut Joy which is the most compact model and great for quick projects. I’ll be sharing other projects with the Maker machine soon too.
You need:
- Cricut Joy Machine
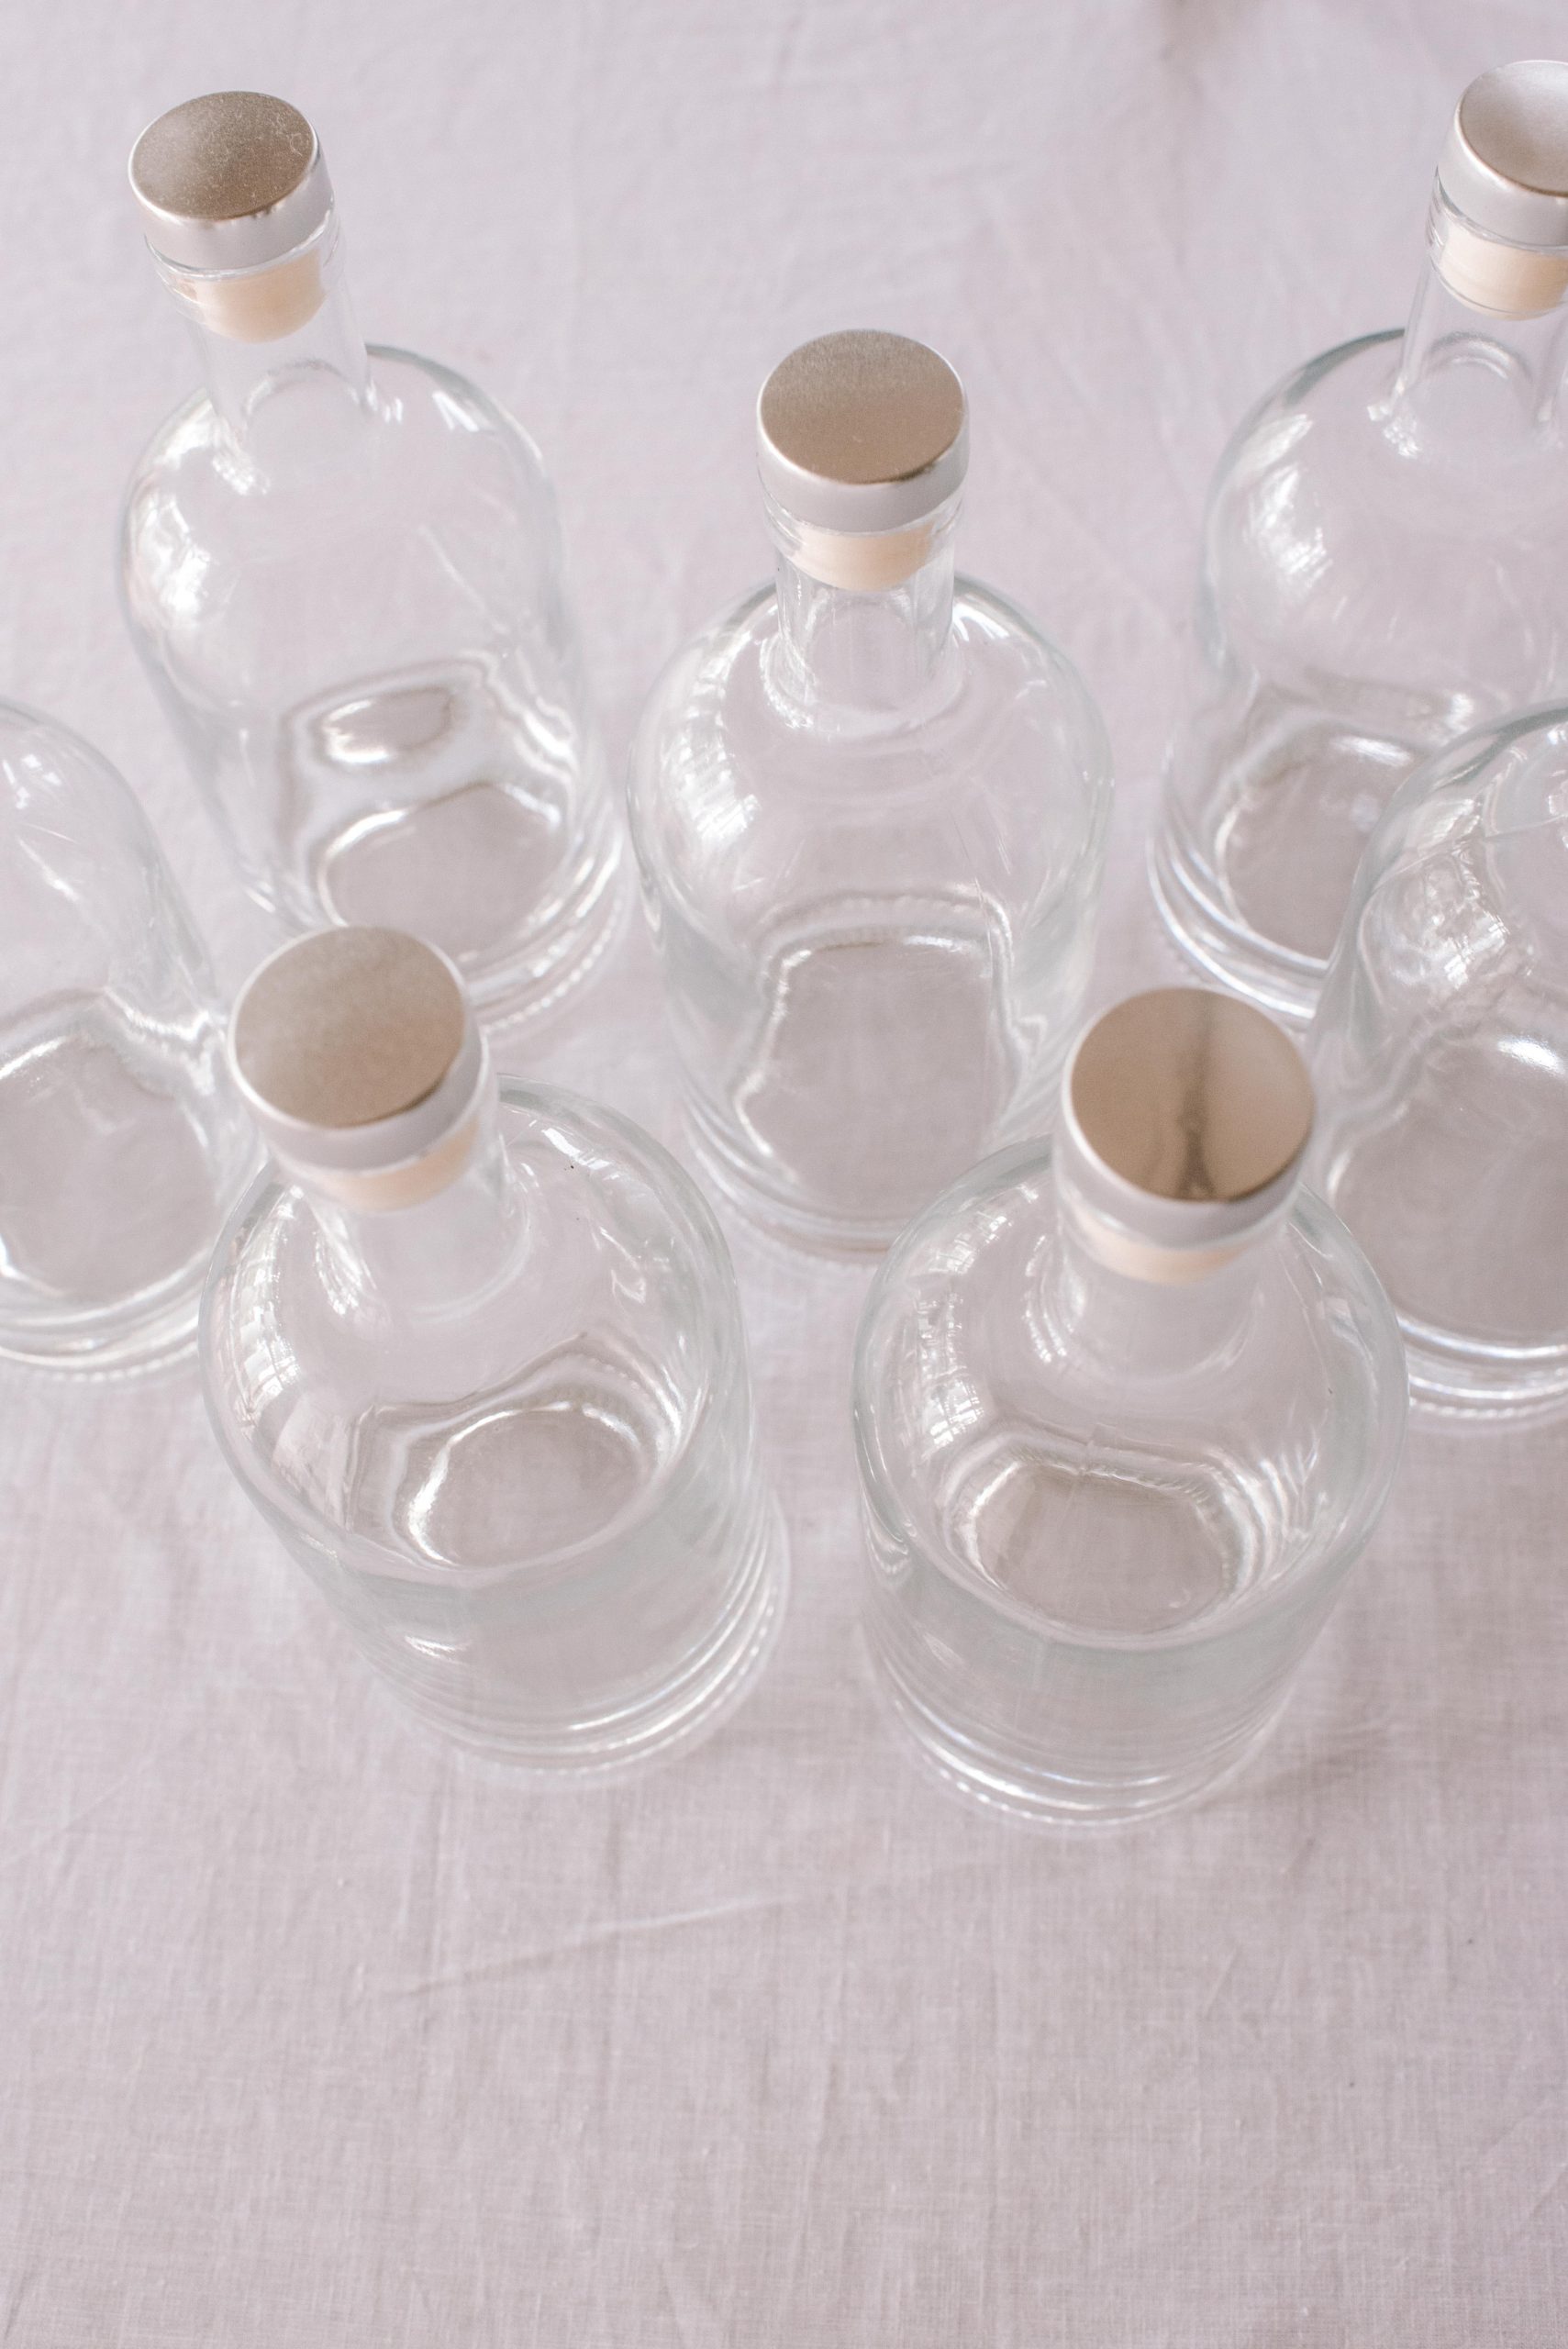
- Glass Bottles (see below for details)
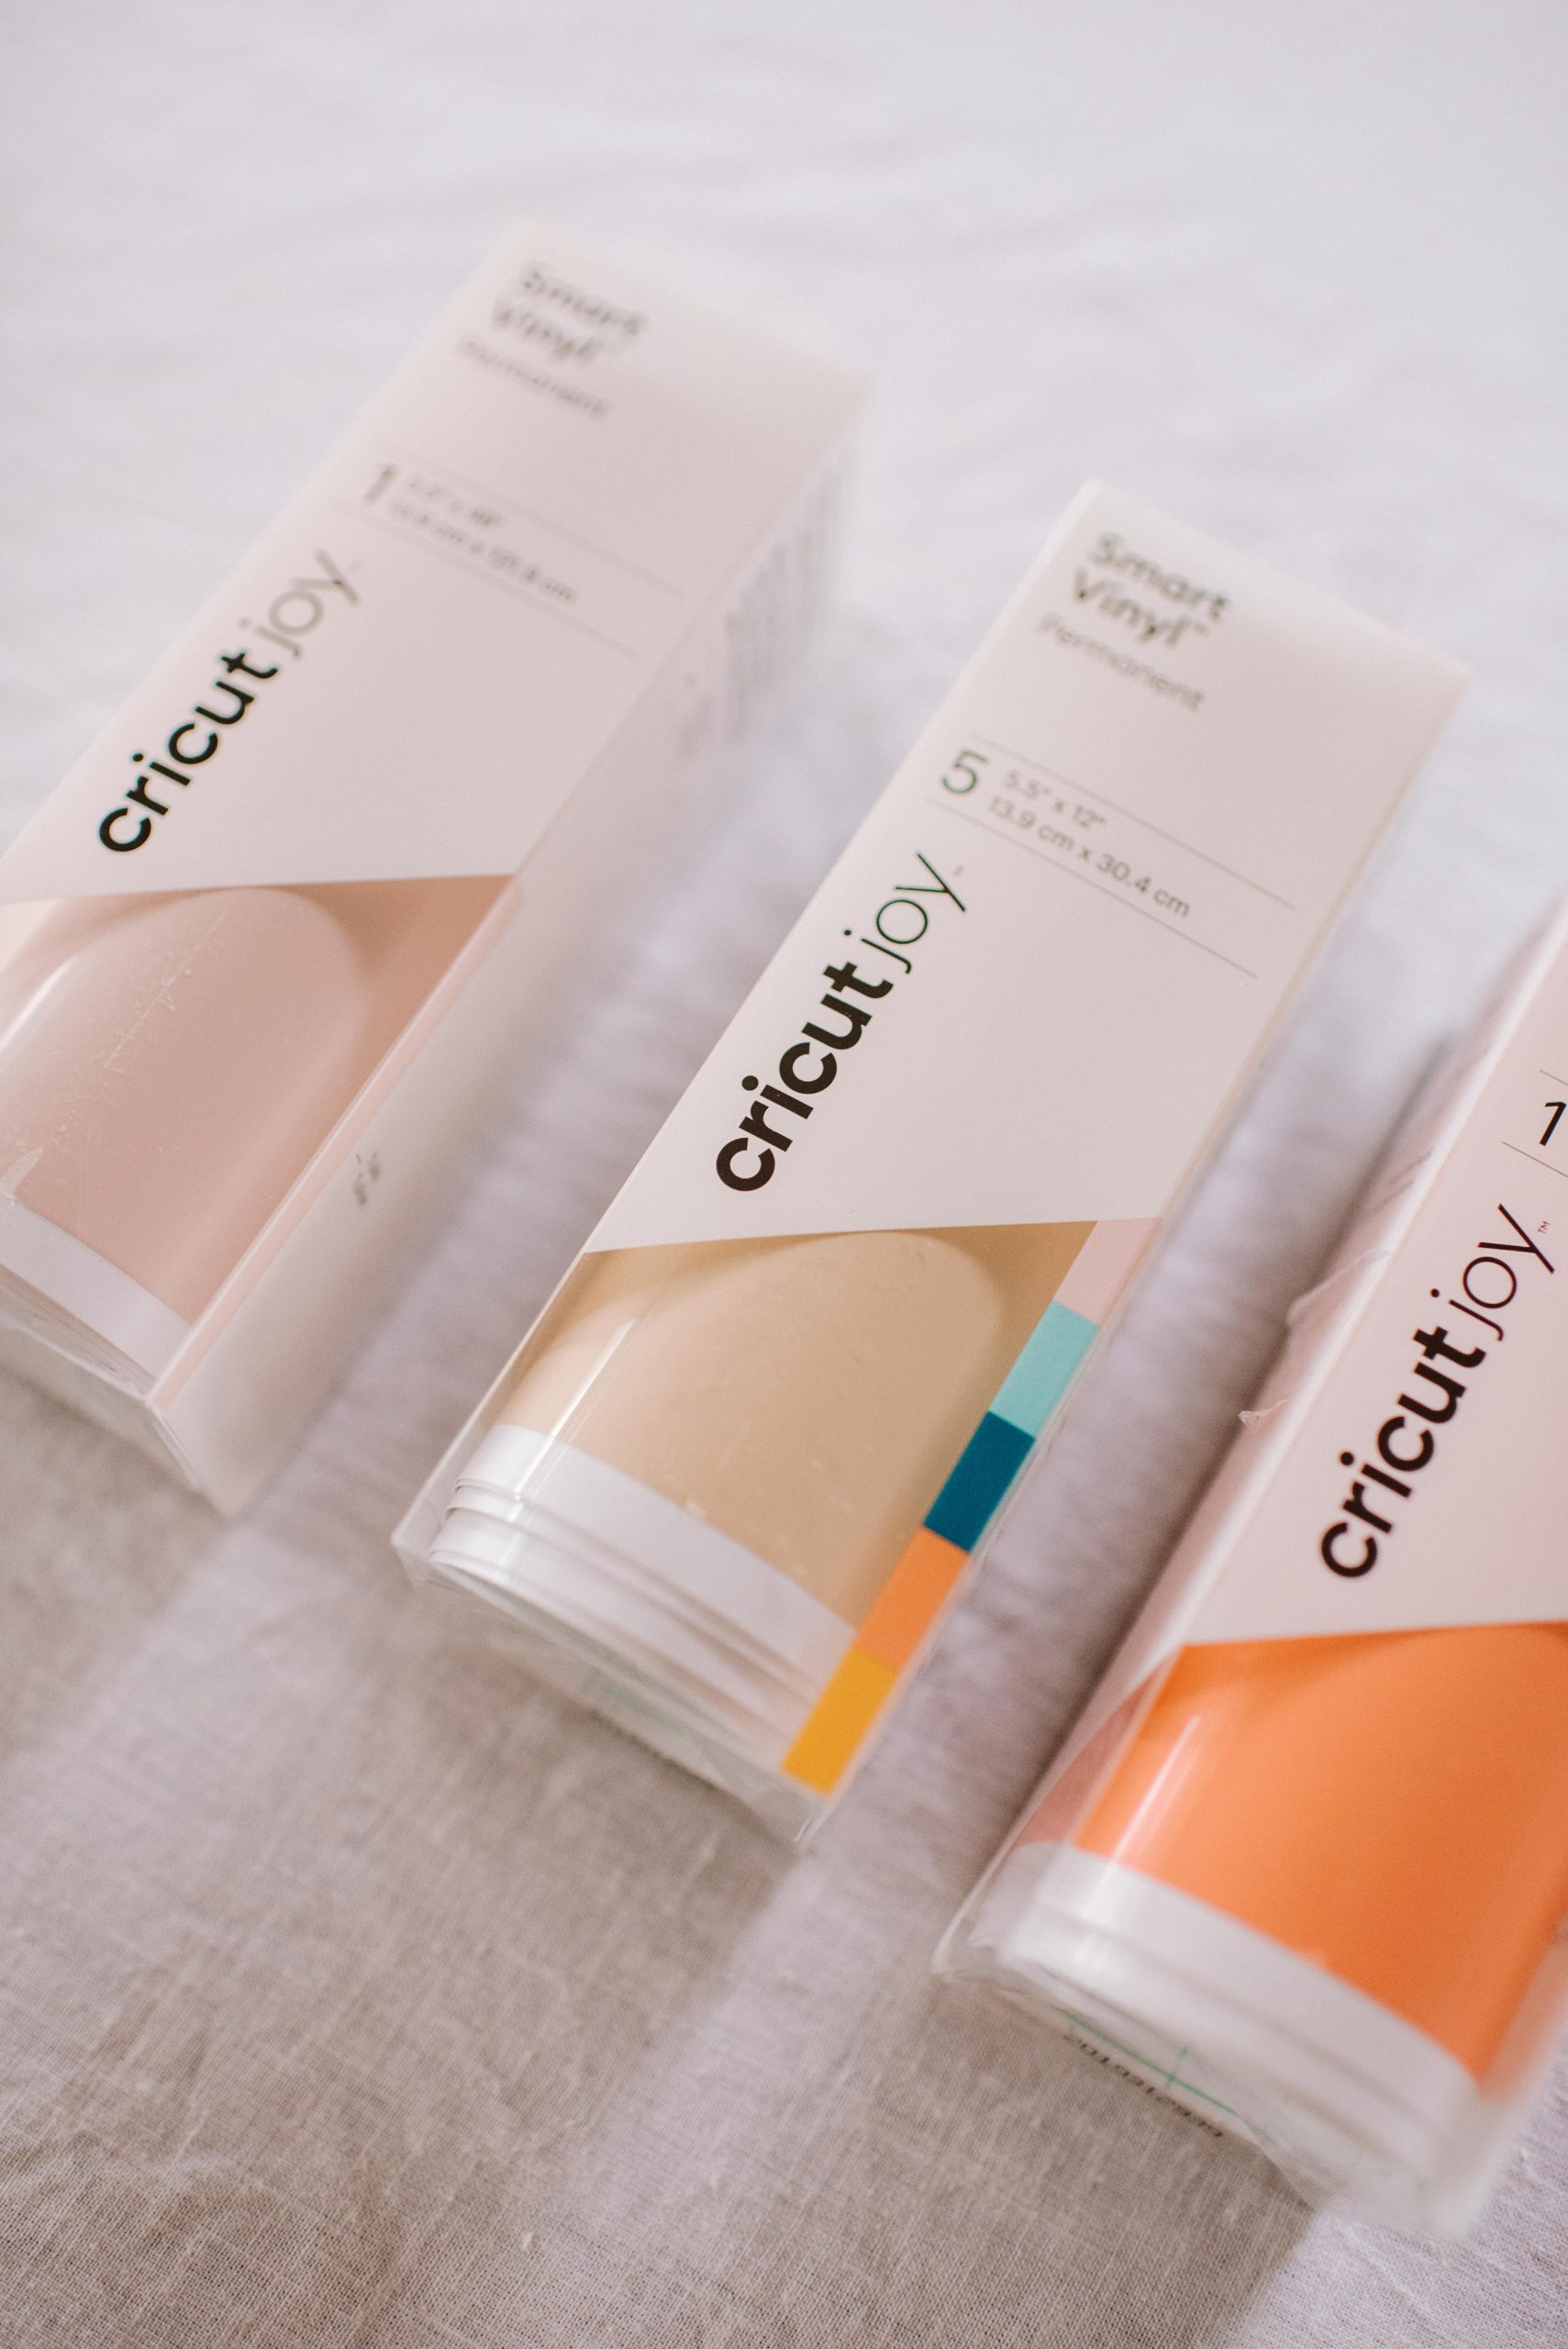
- Cricut Permanent SmartVinyl in White, Parchment, Tulip, Powder Blue and Teal
- Cricut Transfer Tape
- Cricut Weeding Tool
- Cricut Scraper Tool
- Scissors
Buying the bottles
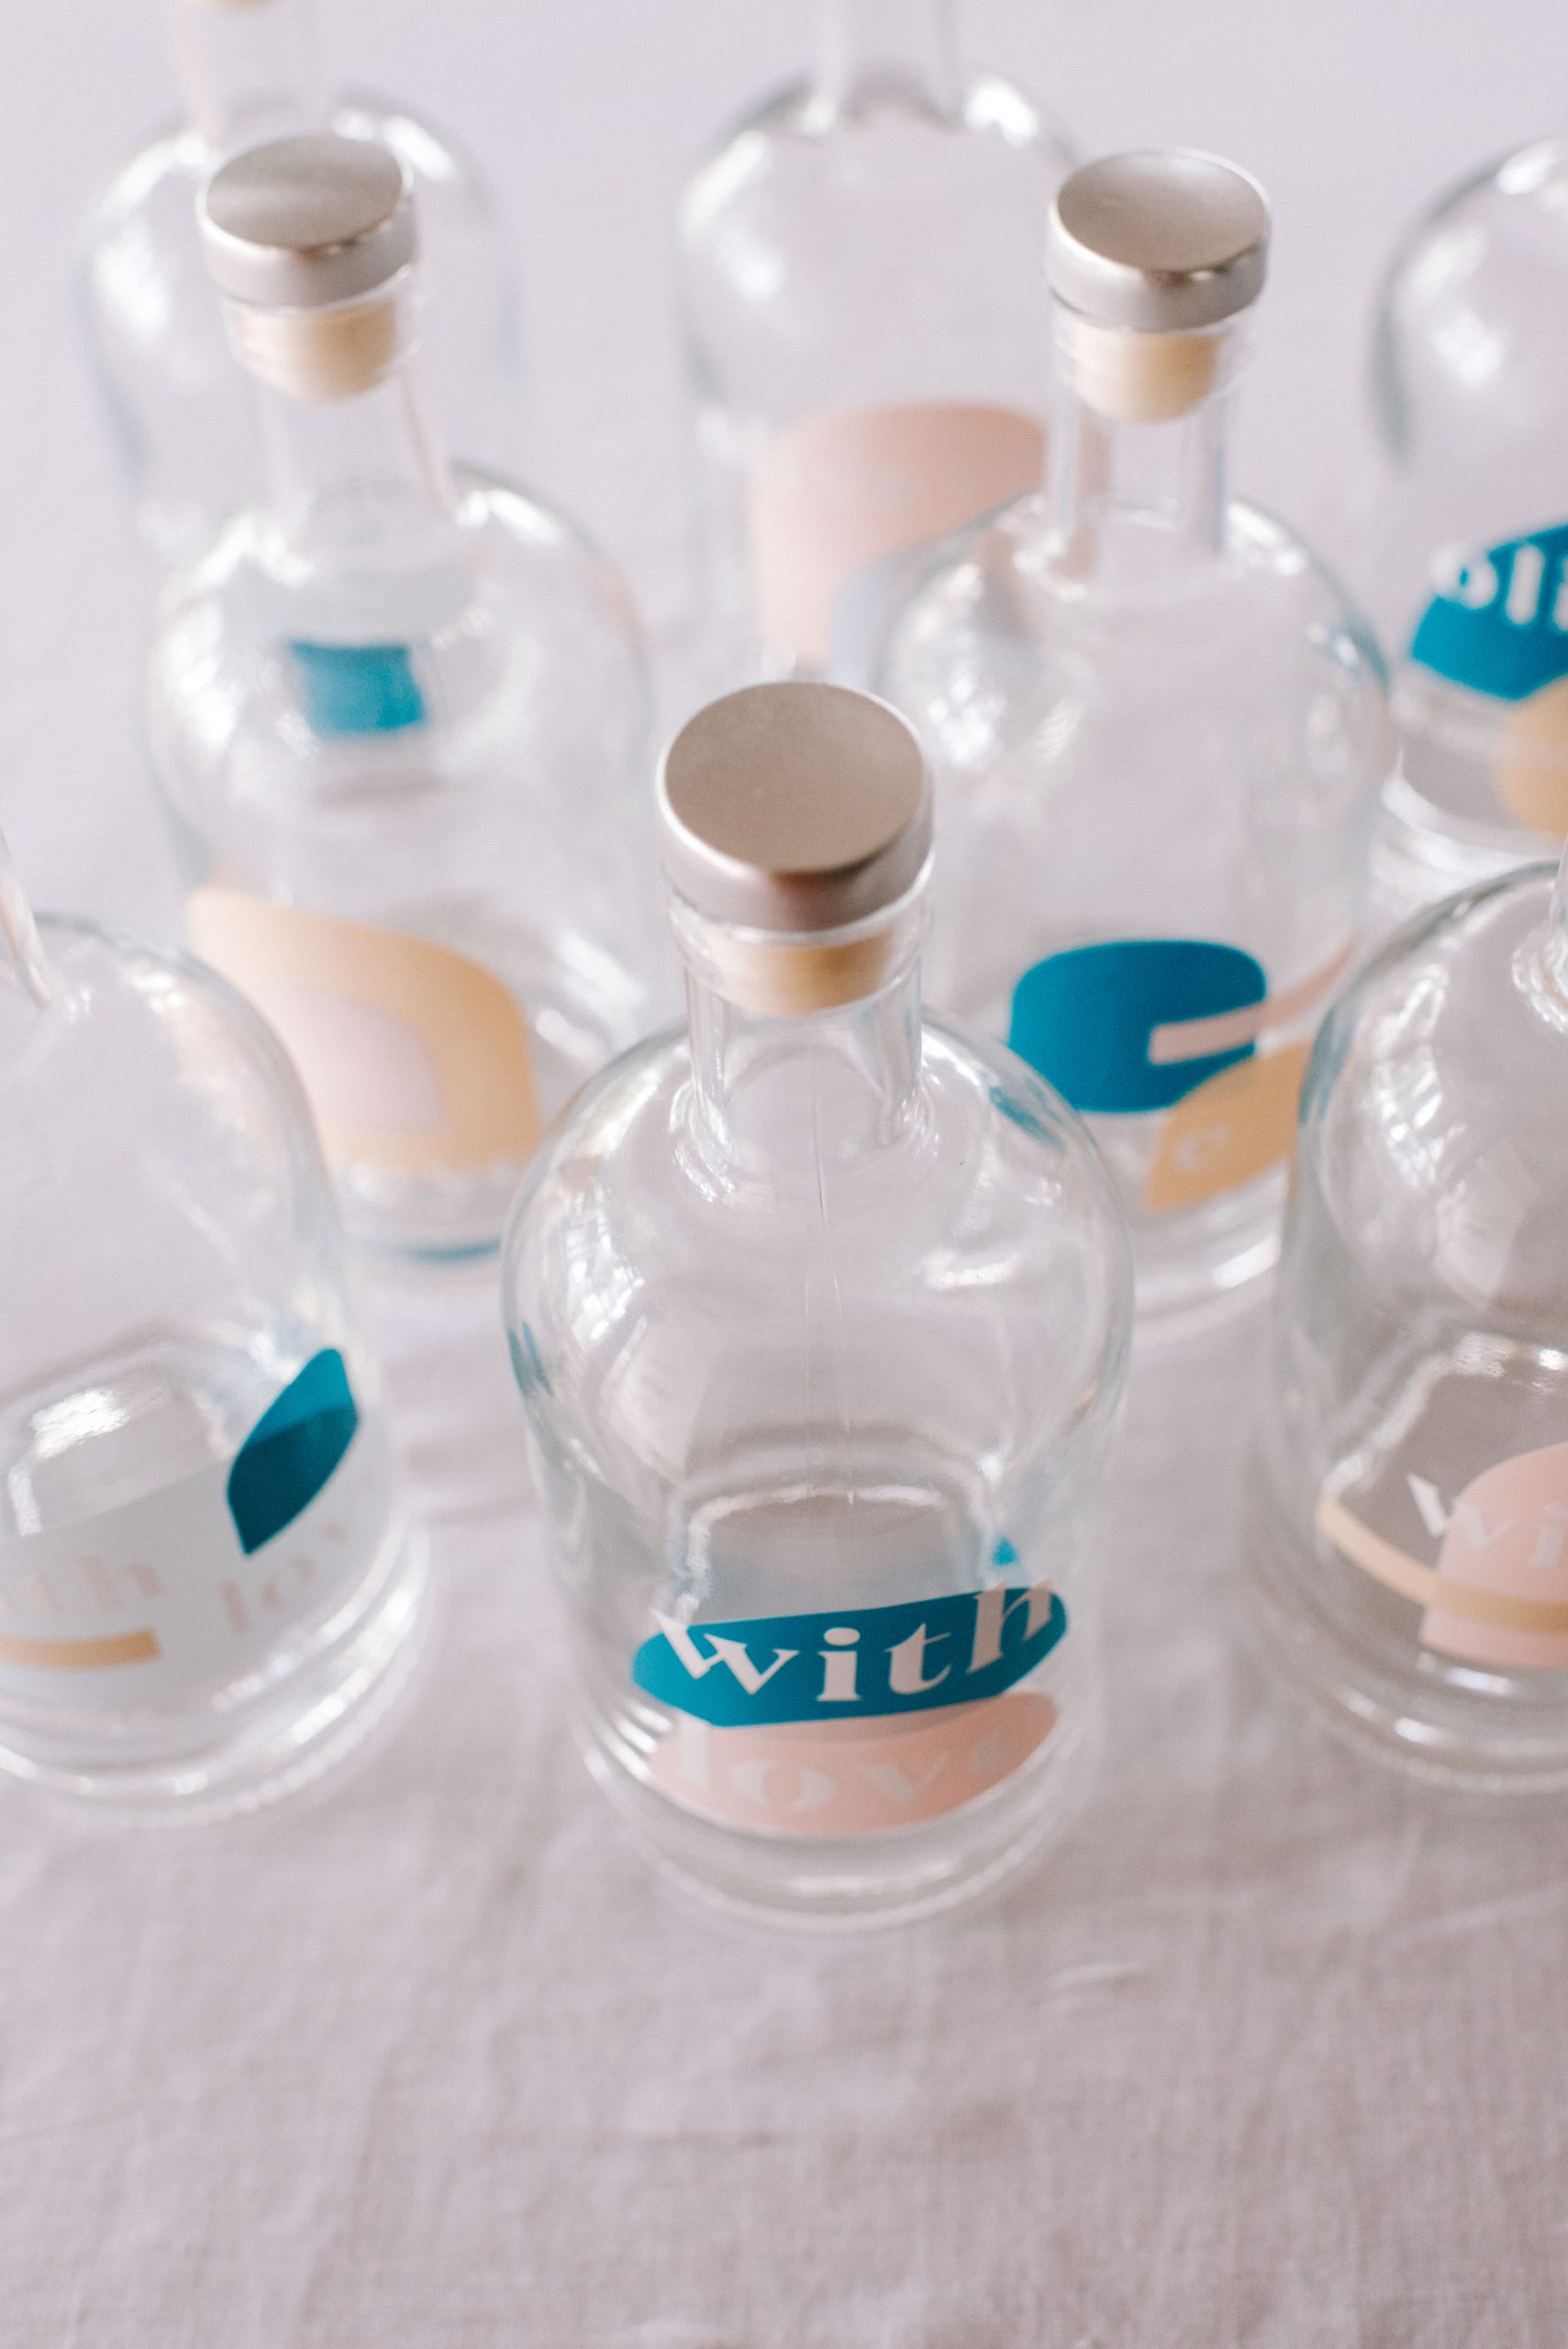
You can use any sort of bottles for this project, but I spent a bit of time looking for elegant ones that would match the style of the design I was going for. I figured that the point of these bottles was that they would be refilled over and over so it made sense to buy something nice (but you can always recycle!). I found that these types of bottles are sold by Home Brew and Spirit Making website – usually called ‘Cork Capped Spirit Bottles’. These are nice ones and the ones I got. Note sometimes they come without a cap which you need to buy separately.
How to Create or Choose A Design
A key part of the process is working out what design you want to cut. This is the part where you can tailor whatever you create to your personal aesthetic! Using Cricut’s Design Space app, which you can use on your smartphone, tablet, laptop or desktop, you can either import your own design or choose from the literal thousands of projects or images that are on there to use.
Personally, what I like to do is browse and save projects I like that are on the app, and then use the customise function to tweak them to look exactly how I like. Your final project will be determined by the material you choose to load into the machine, so you’re just really looking for shapes and styles you want to pair with the materials you have. For example, for this project, I found a paper banner project I liked with pretty arched shapes, and used that template as a basis for my project, resizing it to suit my bottles, and adding a few extra shapes from the shapes tool and then printing it on the coloured vinyl I liked. I also added words using fonts. Some of my favourite fonts in Design Space are Cochin, Bodoni, Annlie, Happy, Kate’s ABC’s and Parisian Std Regular, but there are thousands to choose from in the app depending on your project. If you are using your laptop or desktop the app will access any fonts you have on your system too. Then you simply print your design and transfer it to whatever you are decorating. Keep in mind that the more delicate or intricate your design is the more detailed it can be to transfer, so at first I started with easier designs, but have very quickly graduated to more intricate ones. I’m hooked!
How to
1
Start by selecting and setting up your design in the Design Space app. I made sure to fit as many shapes into the space as possible to reduce any vinyl waste.
2
Load your Vinyl smart material into the Cricut Joy, and press go on your app. This SmartVinyl is great because you don’t need a cutting mat. Wait while your machine cuts out the design. Unload your material from the Cricut Joy and you will be able to see the Cricut Joy has cut out the design.
3
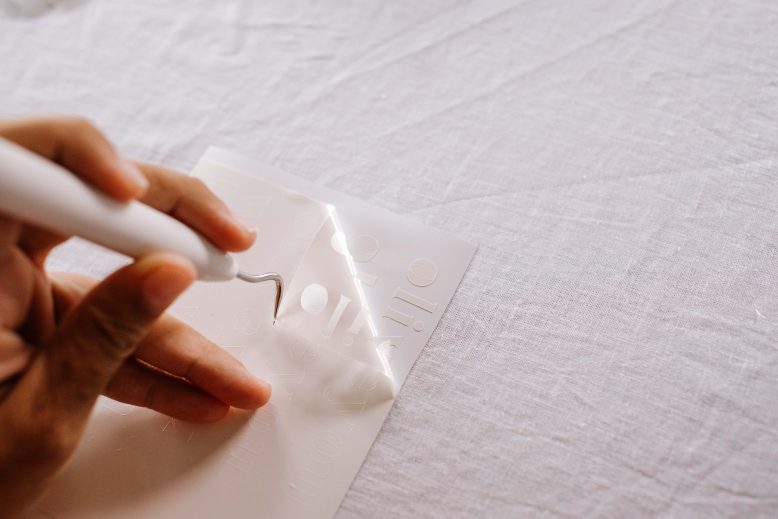
Using your weeding tool, weed your design to remove all the negative space. I kept to one side all the vinyl that I removed so that I could use it later.
4
Using your Transfer Tape, carefully cover your design and use the scraping tool to make sure it is perfectly bonded with no air bubbles. Remove the white backing from your Transfer Tape. This can be a little tricky depending on how intricate your design is, so take it slowly.
5
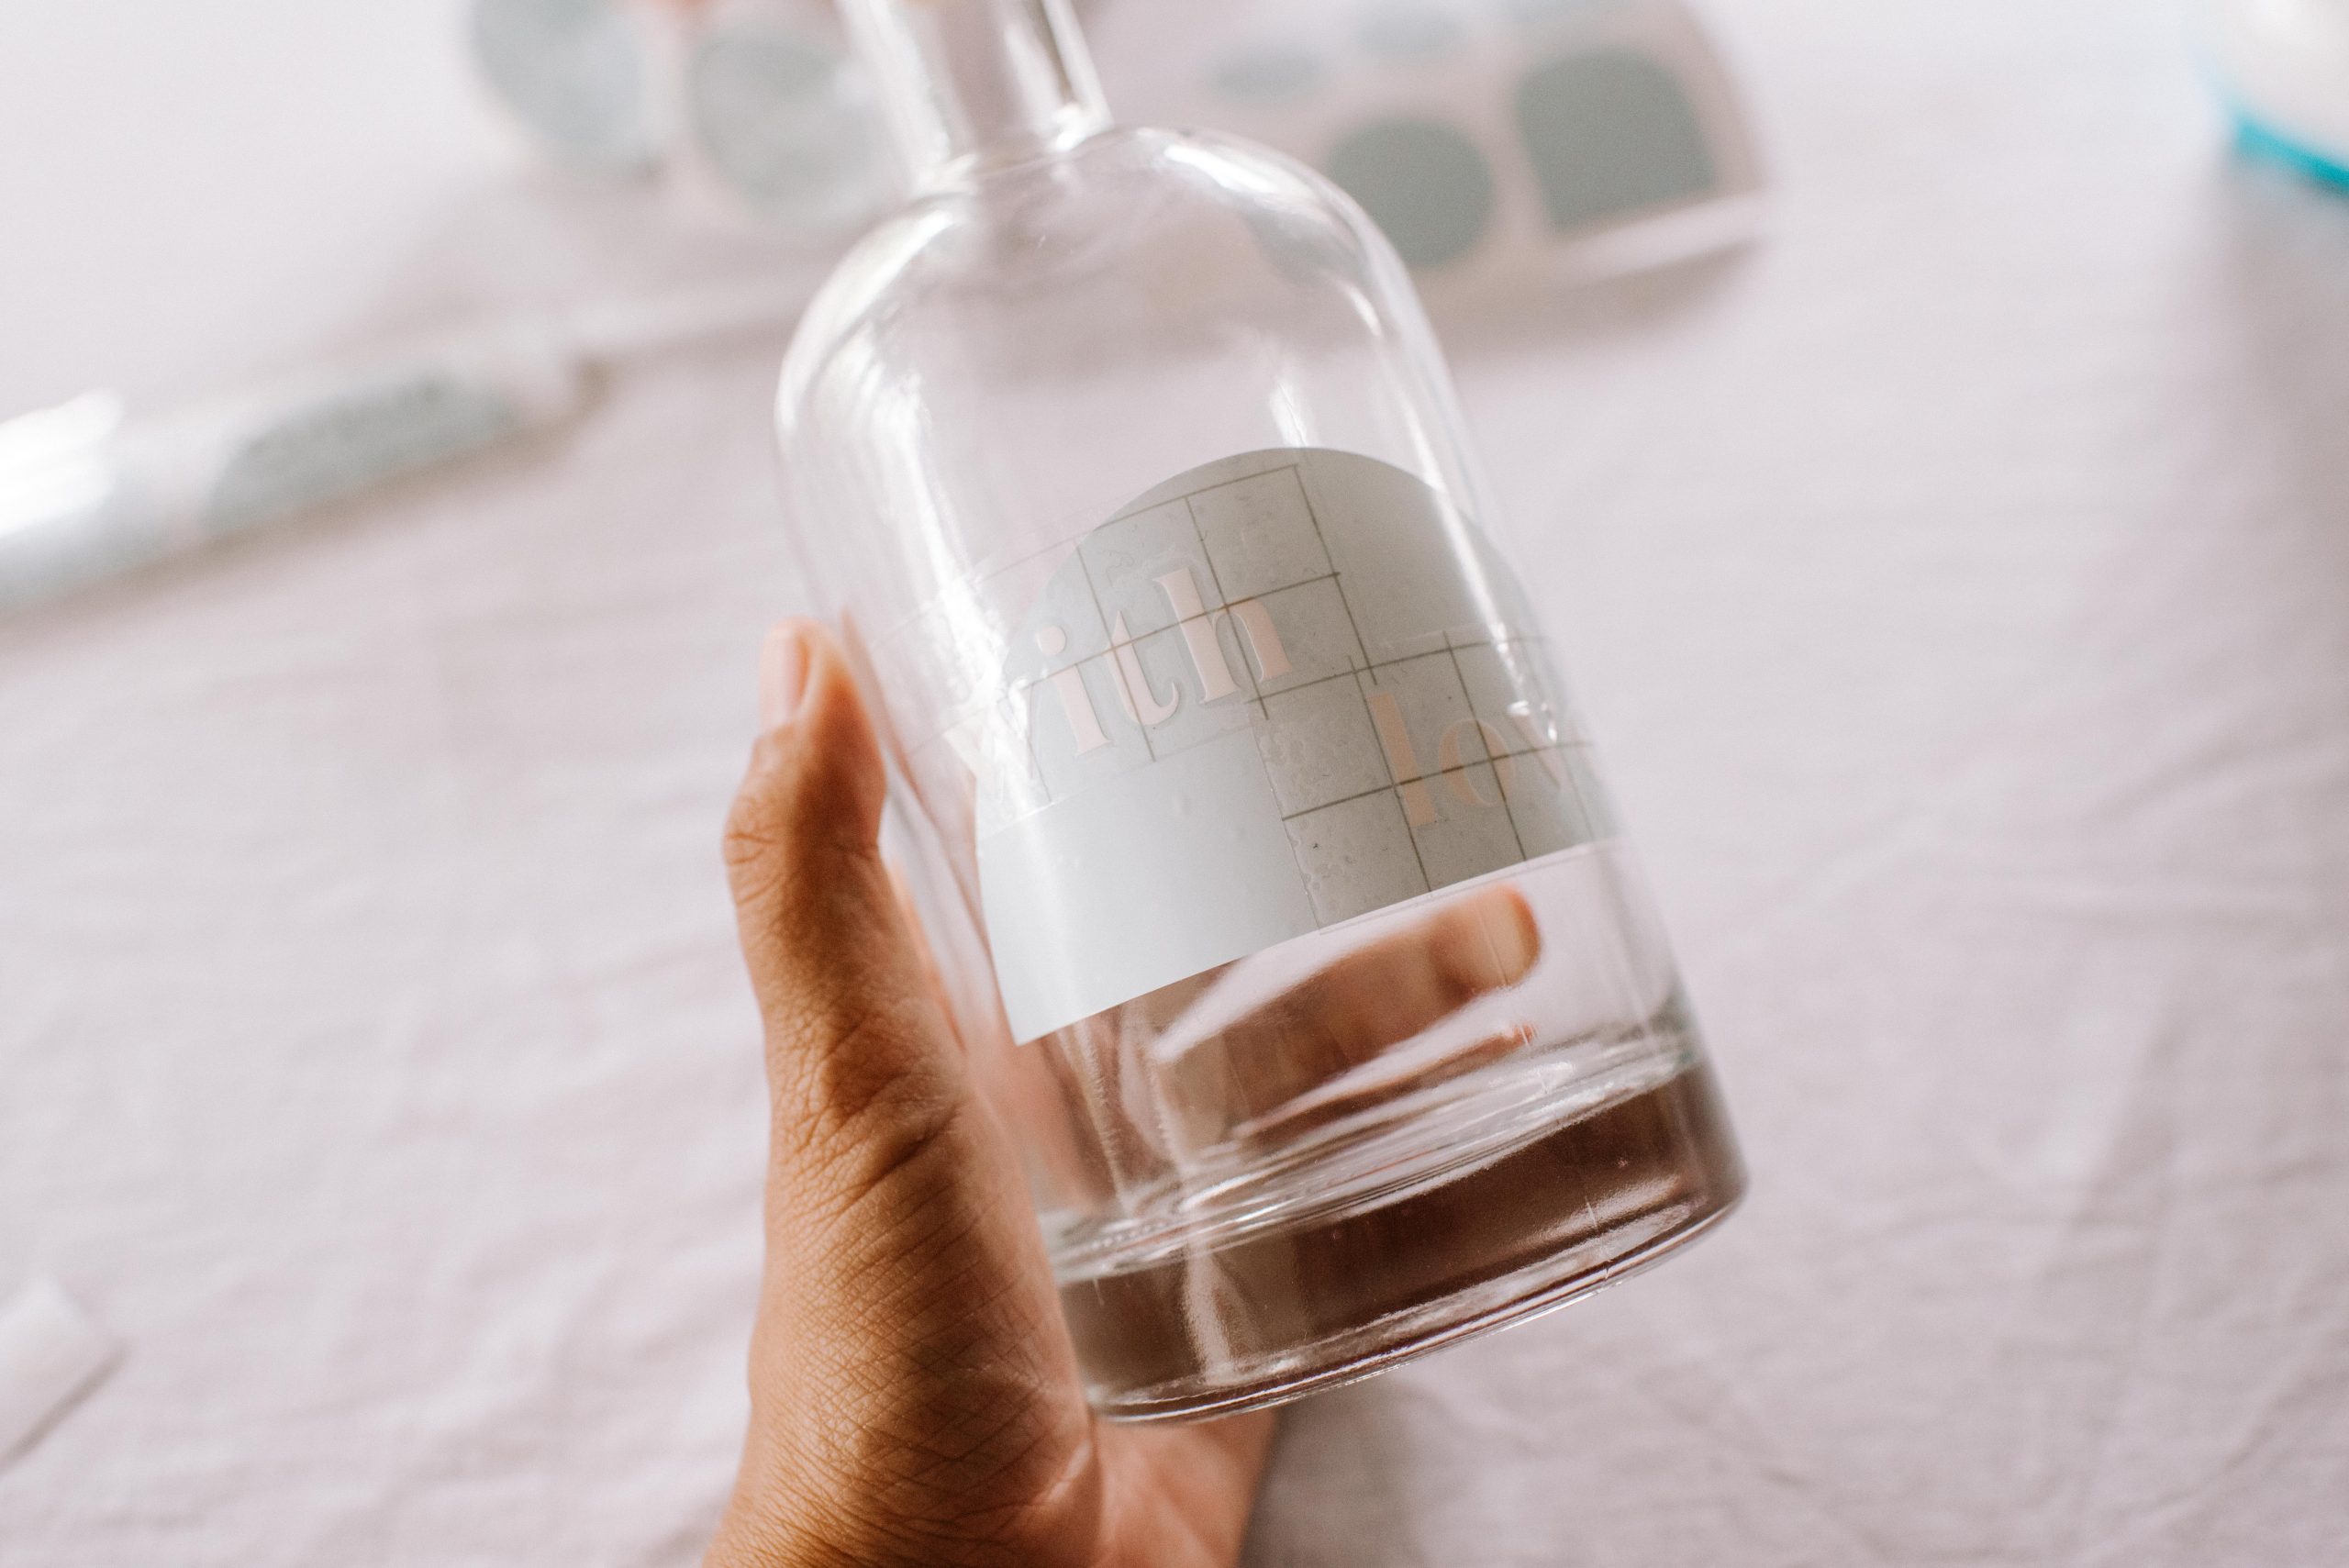
Press the design and Transfer Tape onto the bottle. Use the lines on your Transfer Tape to make sure the vinyl is in line. Use your scraper for a seamless bond on the glass. If any small bubbles get caught under the vinyl, I found you can carefully move them to the edges.
6
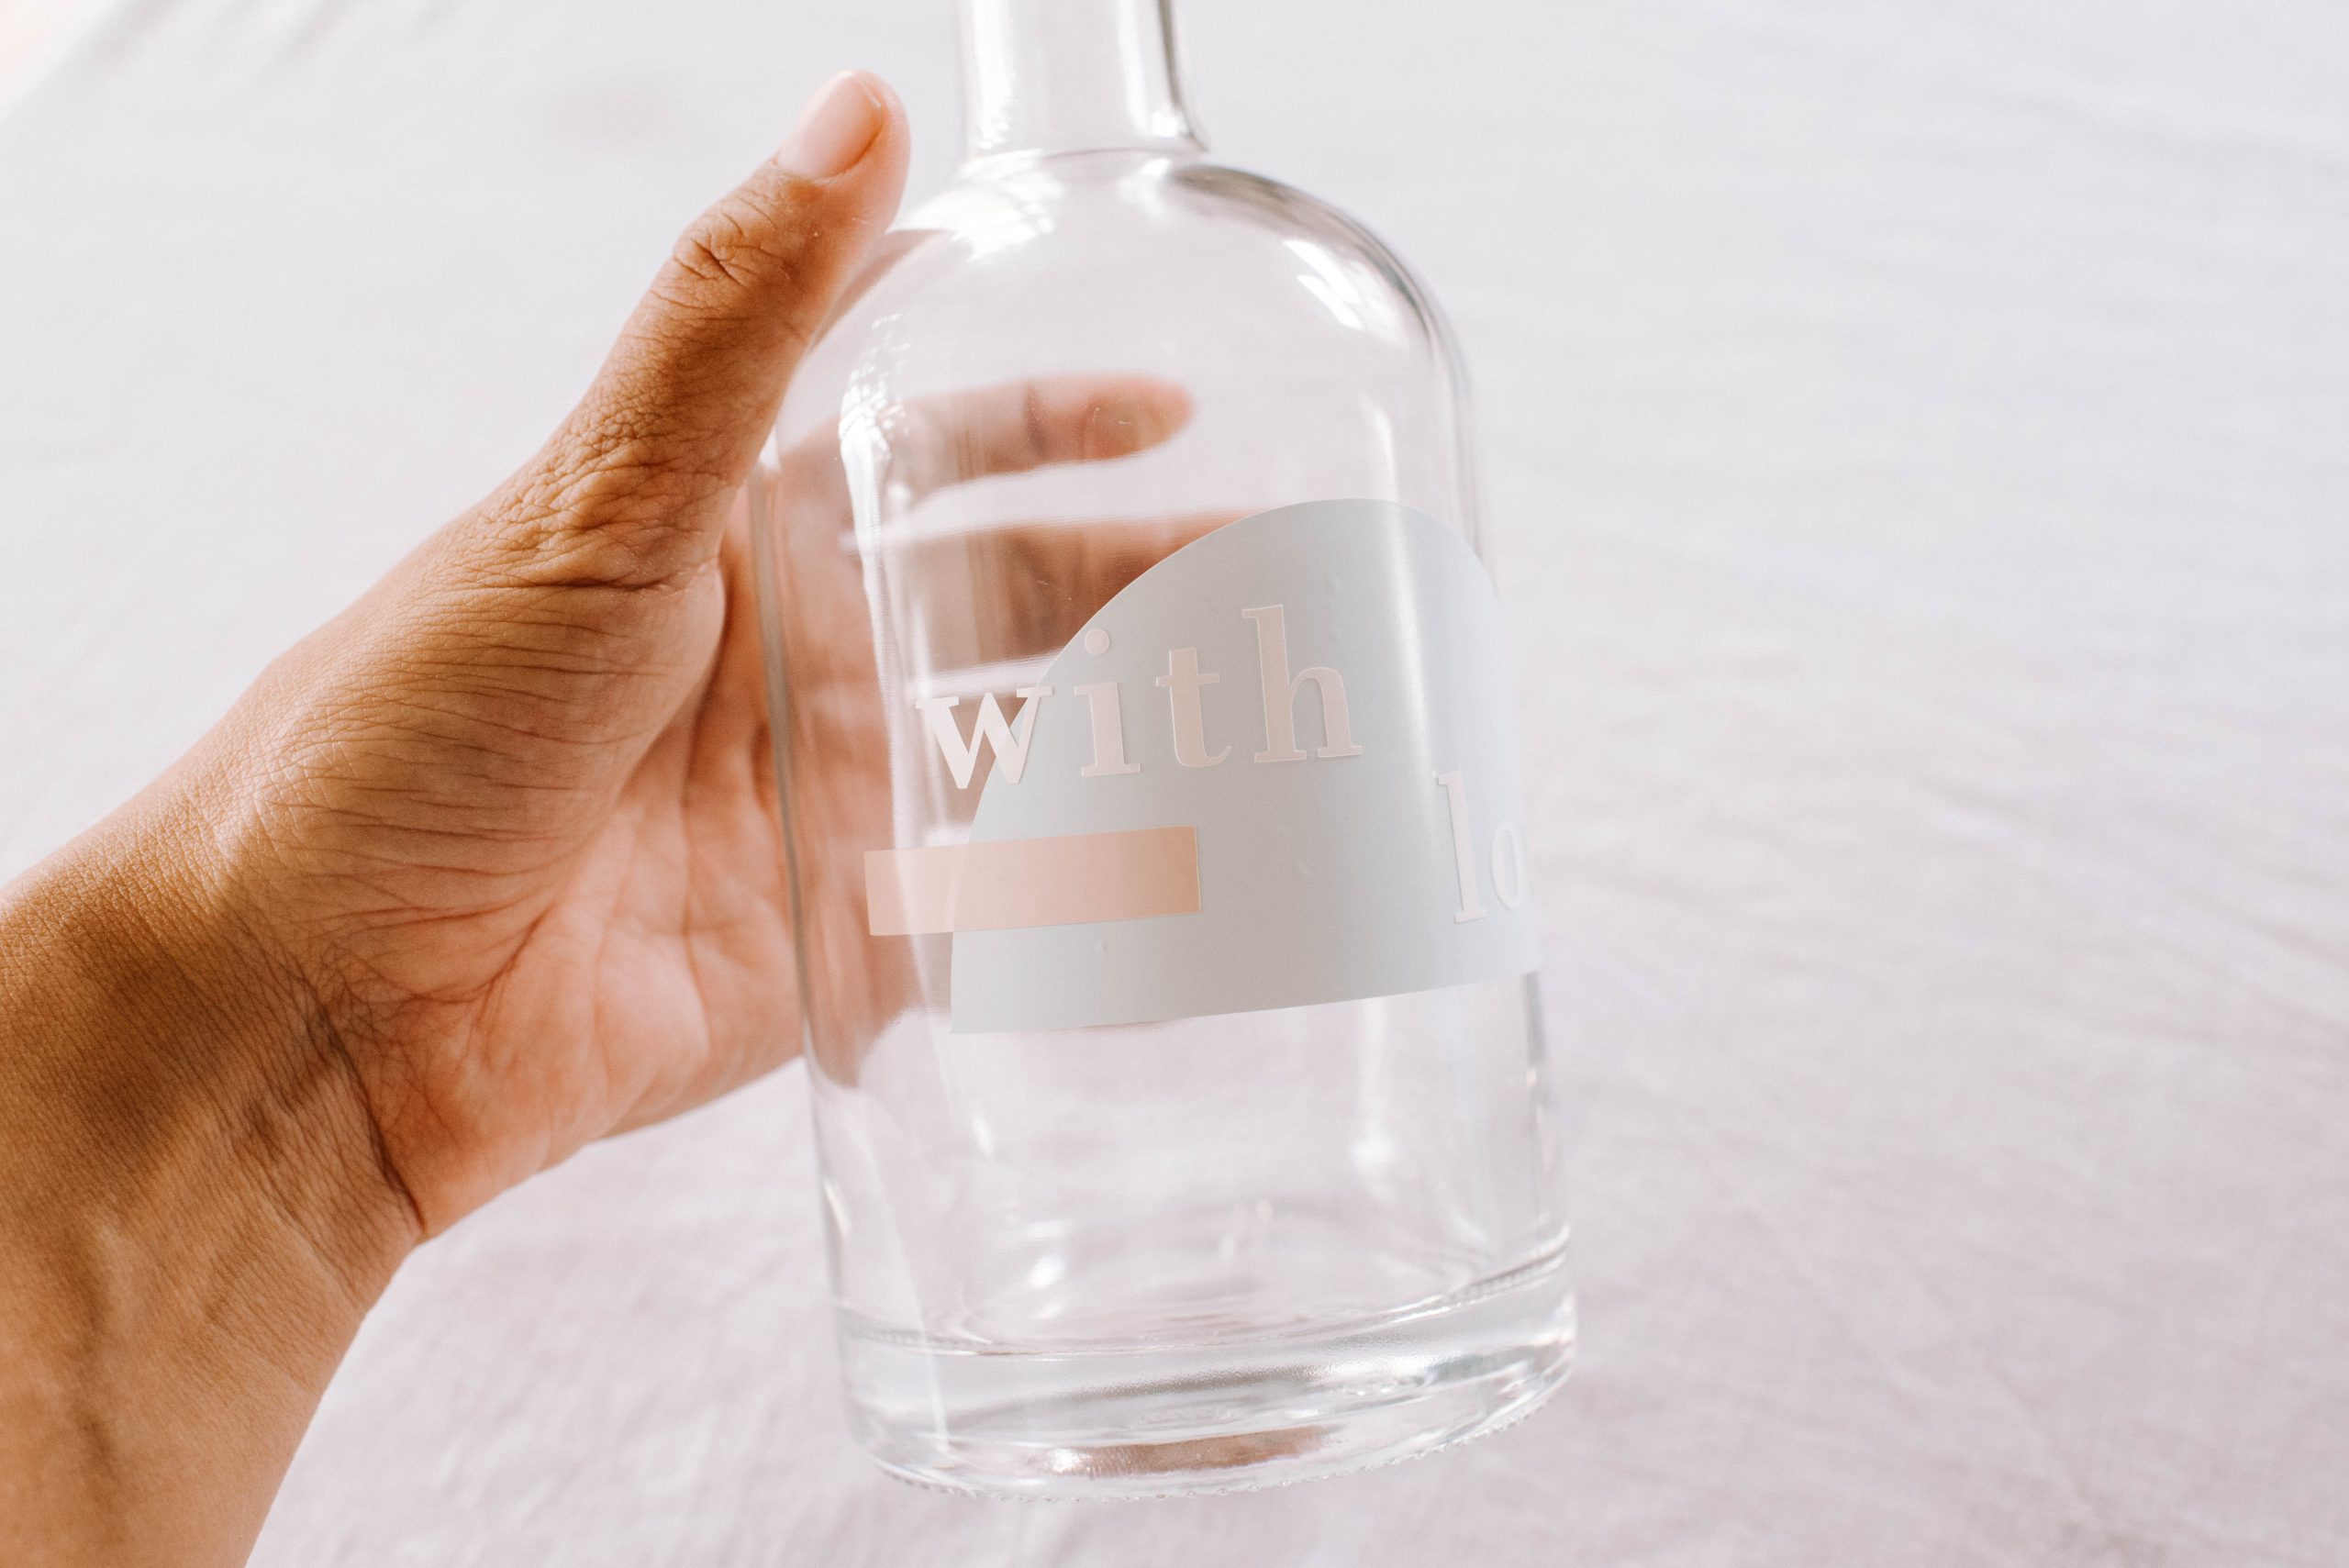
Carefully remove the transfer tape from your design, leaving the design on the bottle.
7
Repeat this process with any other shapes or words you want to add. I reused my Transfer Tape a few times!
8
Once all the designs are in place, fill your bottles with olive oil. You can also add some rosemary, chilli or anything else you would like to infuse the oil.
9
I then used some of the vinyl I had weeded to create little seals over the top of the bottles.
Voila!
The thing I love most about this project is that it is so full of possibilities, you could do it with jam, honey, or just about anything else! For the gift that keeps on giving.
You can find the Cricut Joy and its accessories at Spotlight, Harvey Norman, Big W and JB HiFi. This project is in collaboration with Cricut.


