Wood working made easy!
I have to admit that I’ve been obsessed with the idea of cutting and crafting with wood for a long time, but haven’t really had a chance to get into it. When I heard that the Cricut Maker can cut thin woods, I have to say I was so excited to try it for myself.
If you’ve been following here for a while, you’ll know that 2020 saw my first foray into the world of Cricut, and I have to say I got hooked. As an ambassador for the brand I am so lucky to get to try lots of their different products, and this wood project was my first opportunity to test out the Cricut Maker machine, one that’s larger and more versatile compared to the smaller more compact Cricut Joy. Both are amazing, and I couldn’t wait to master the Maker!
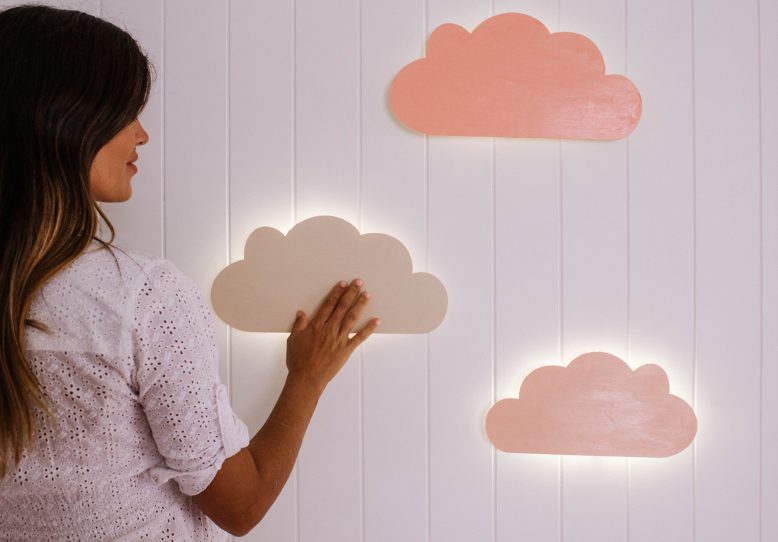
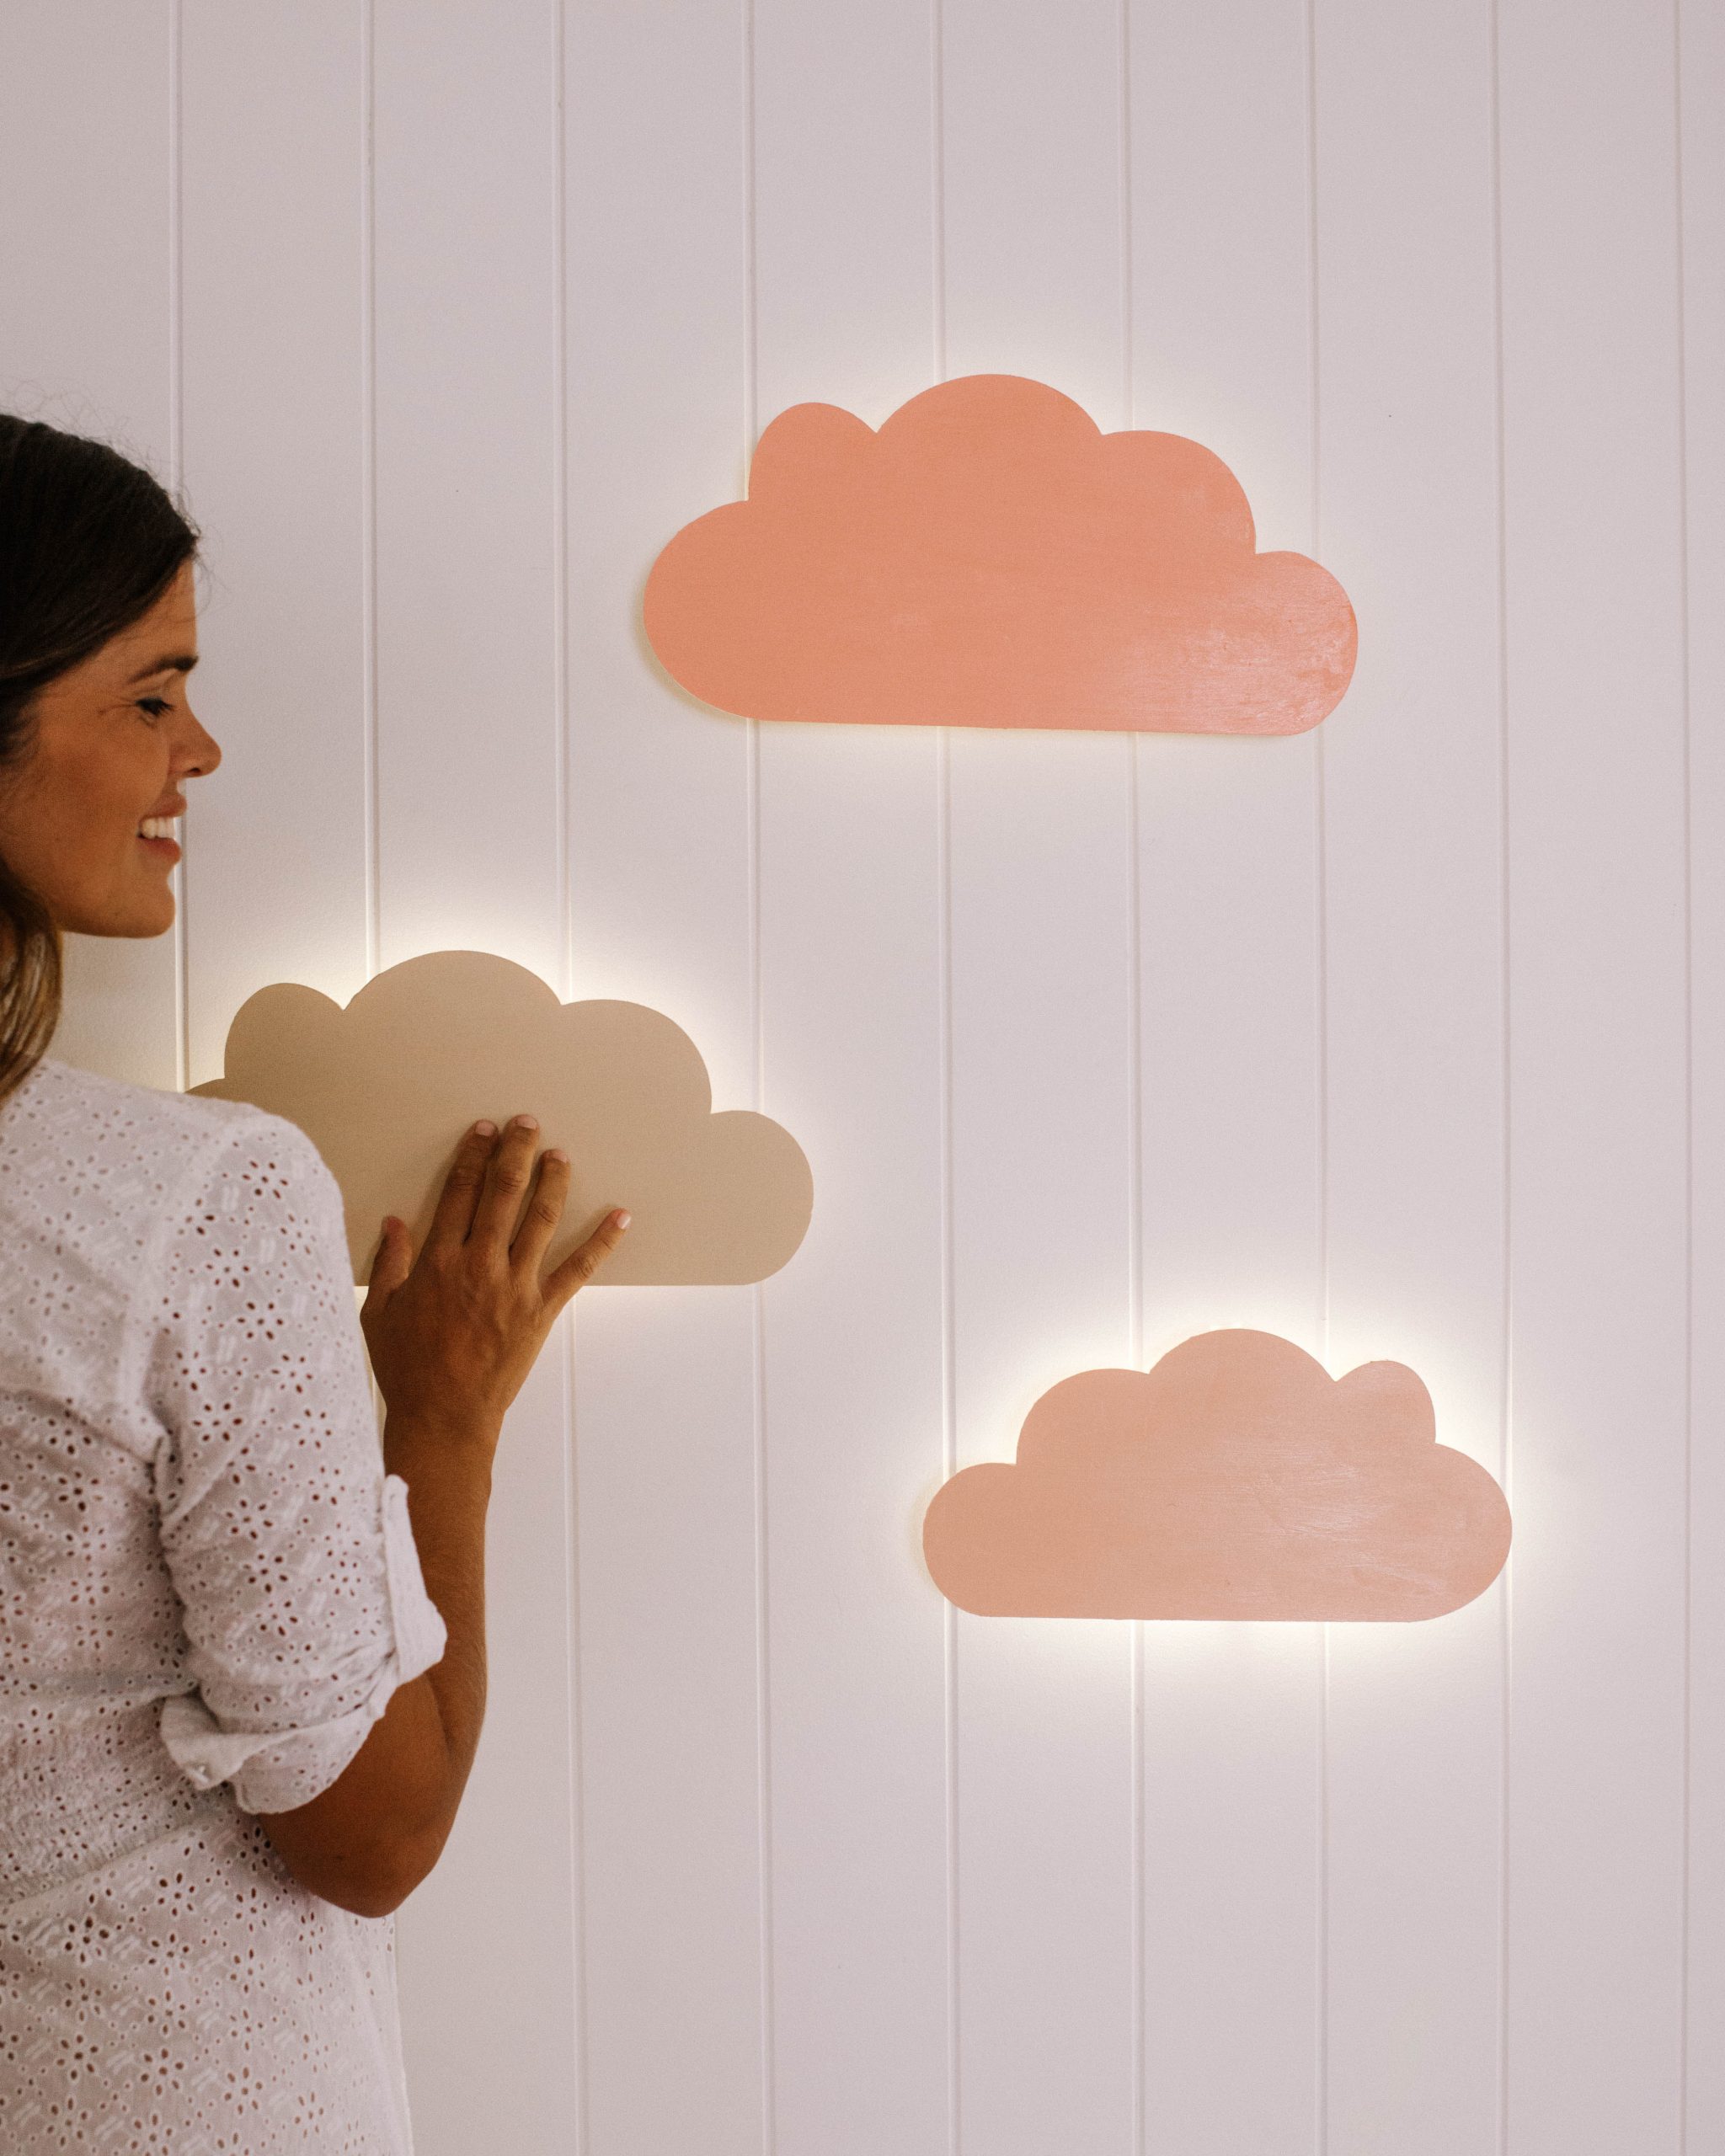
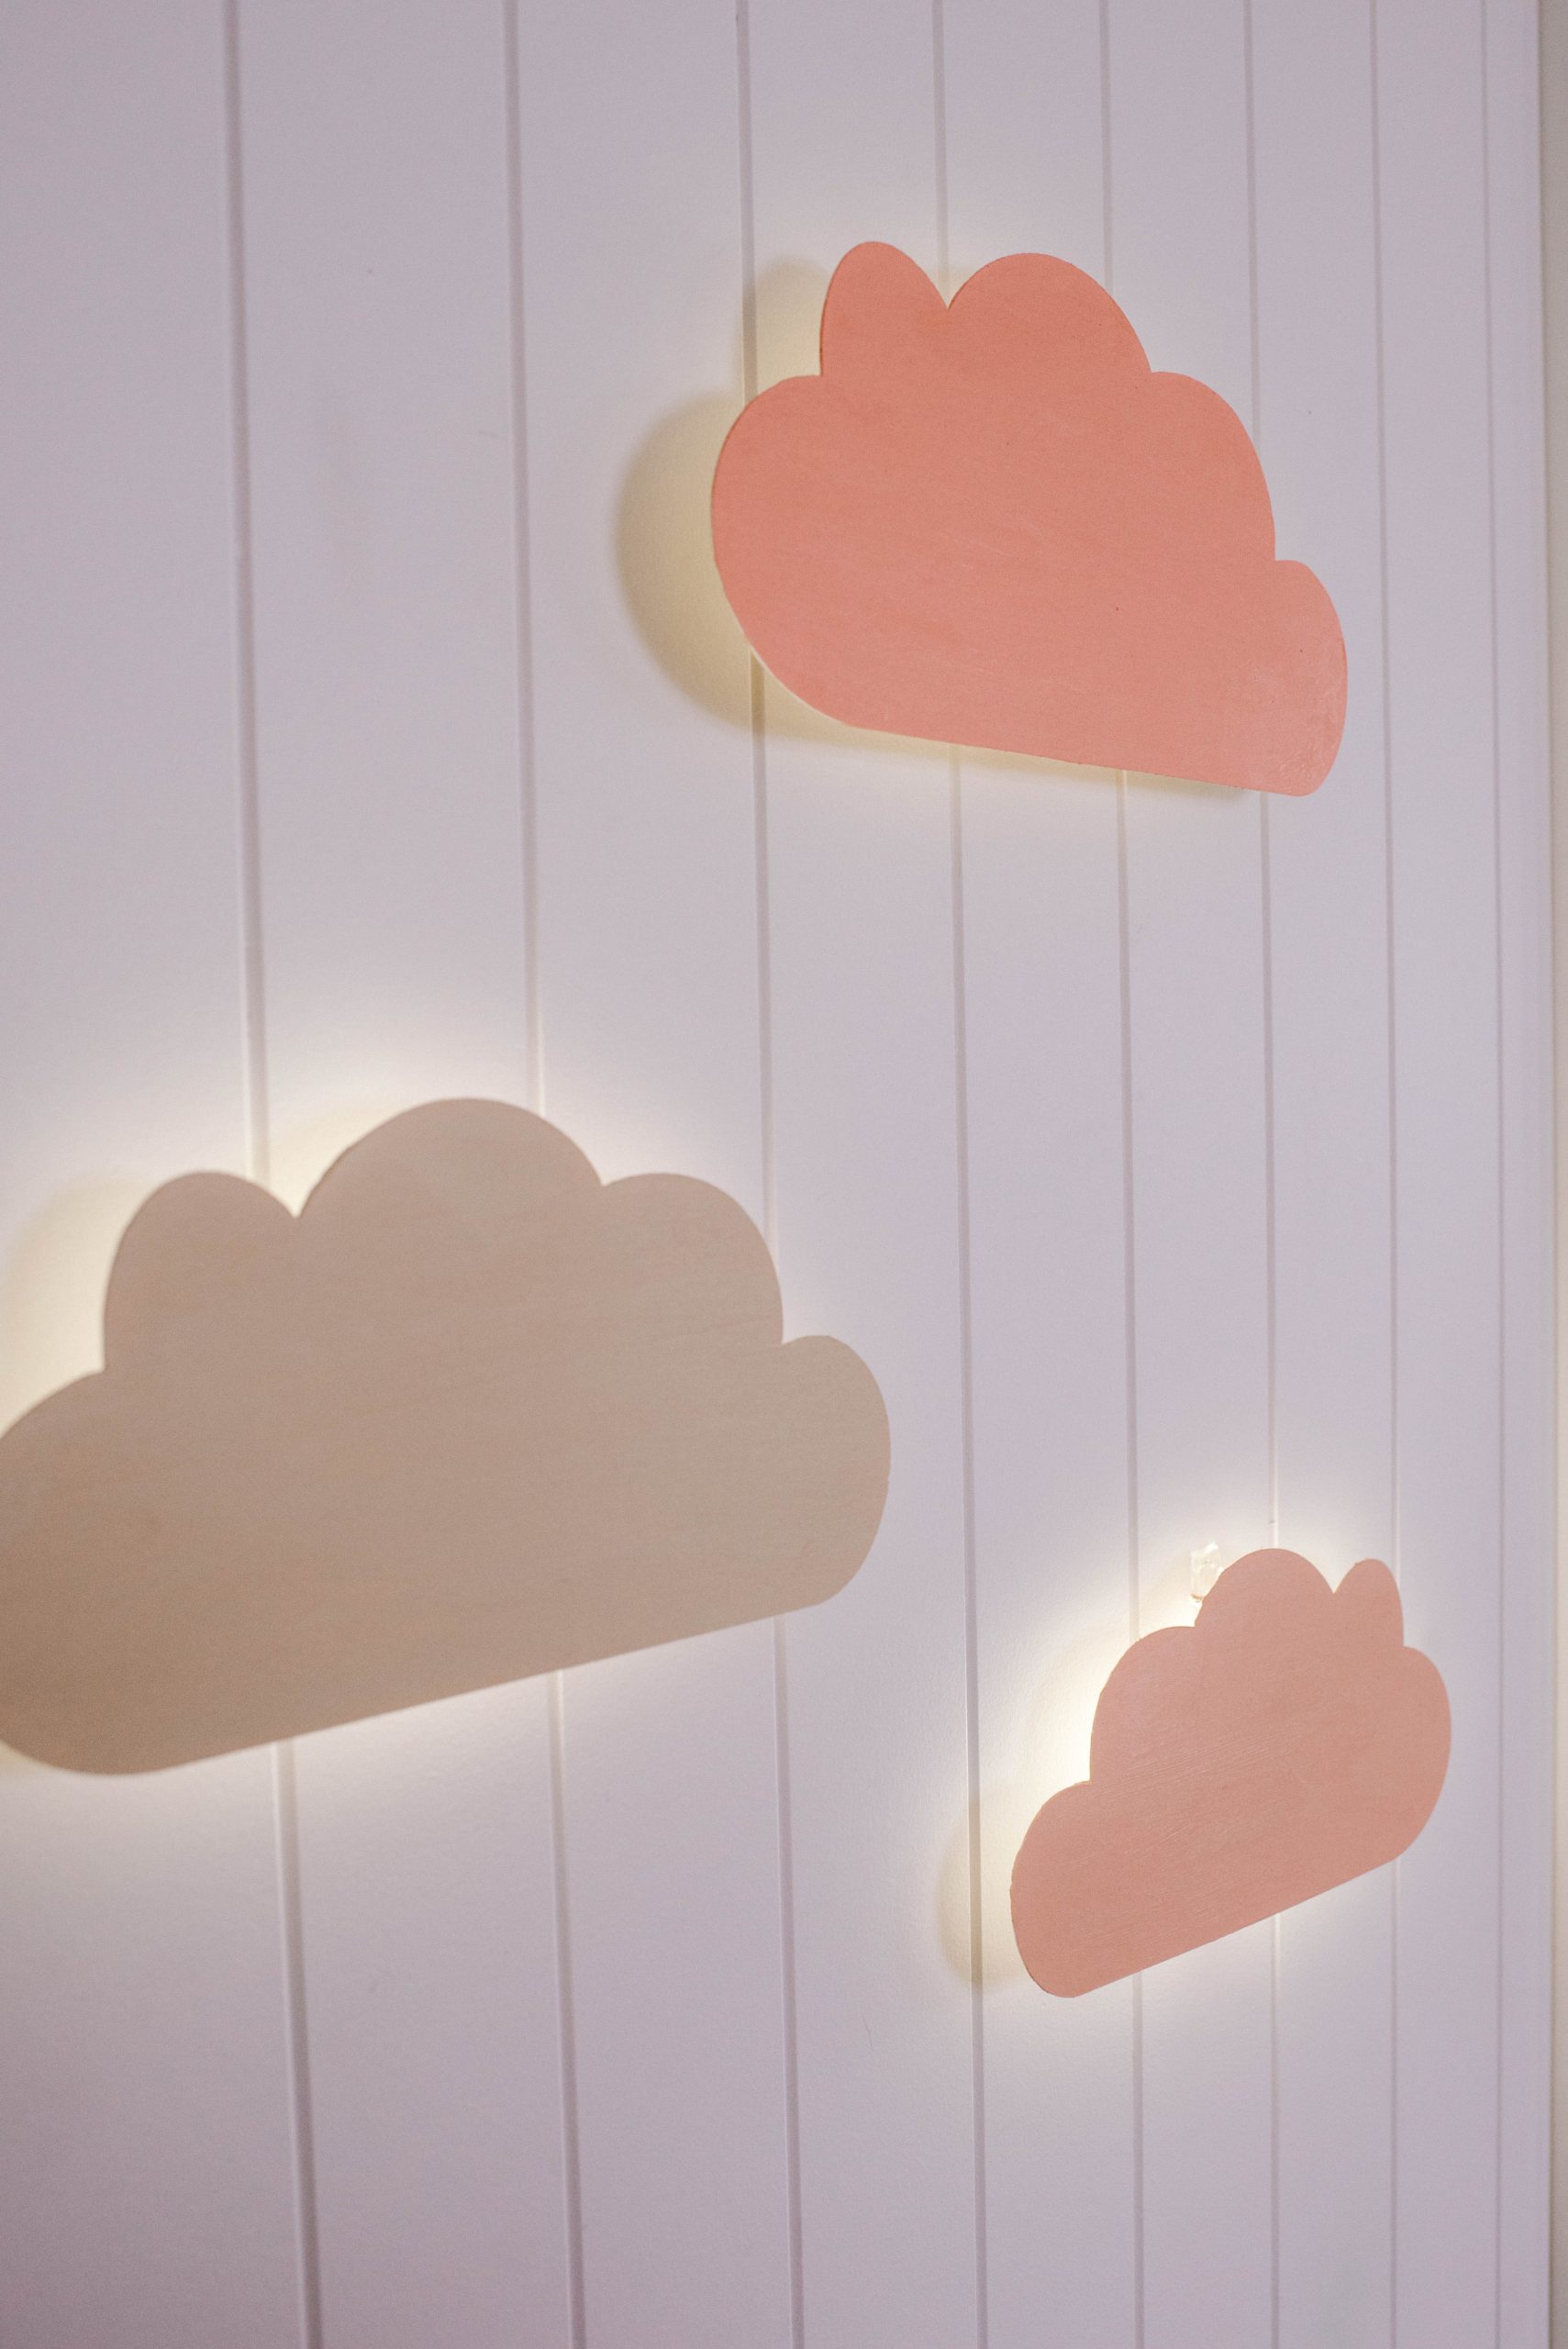
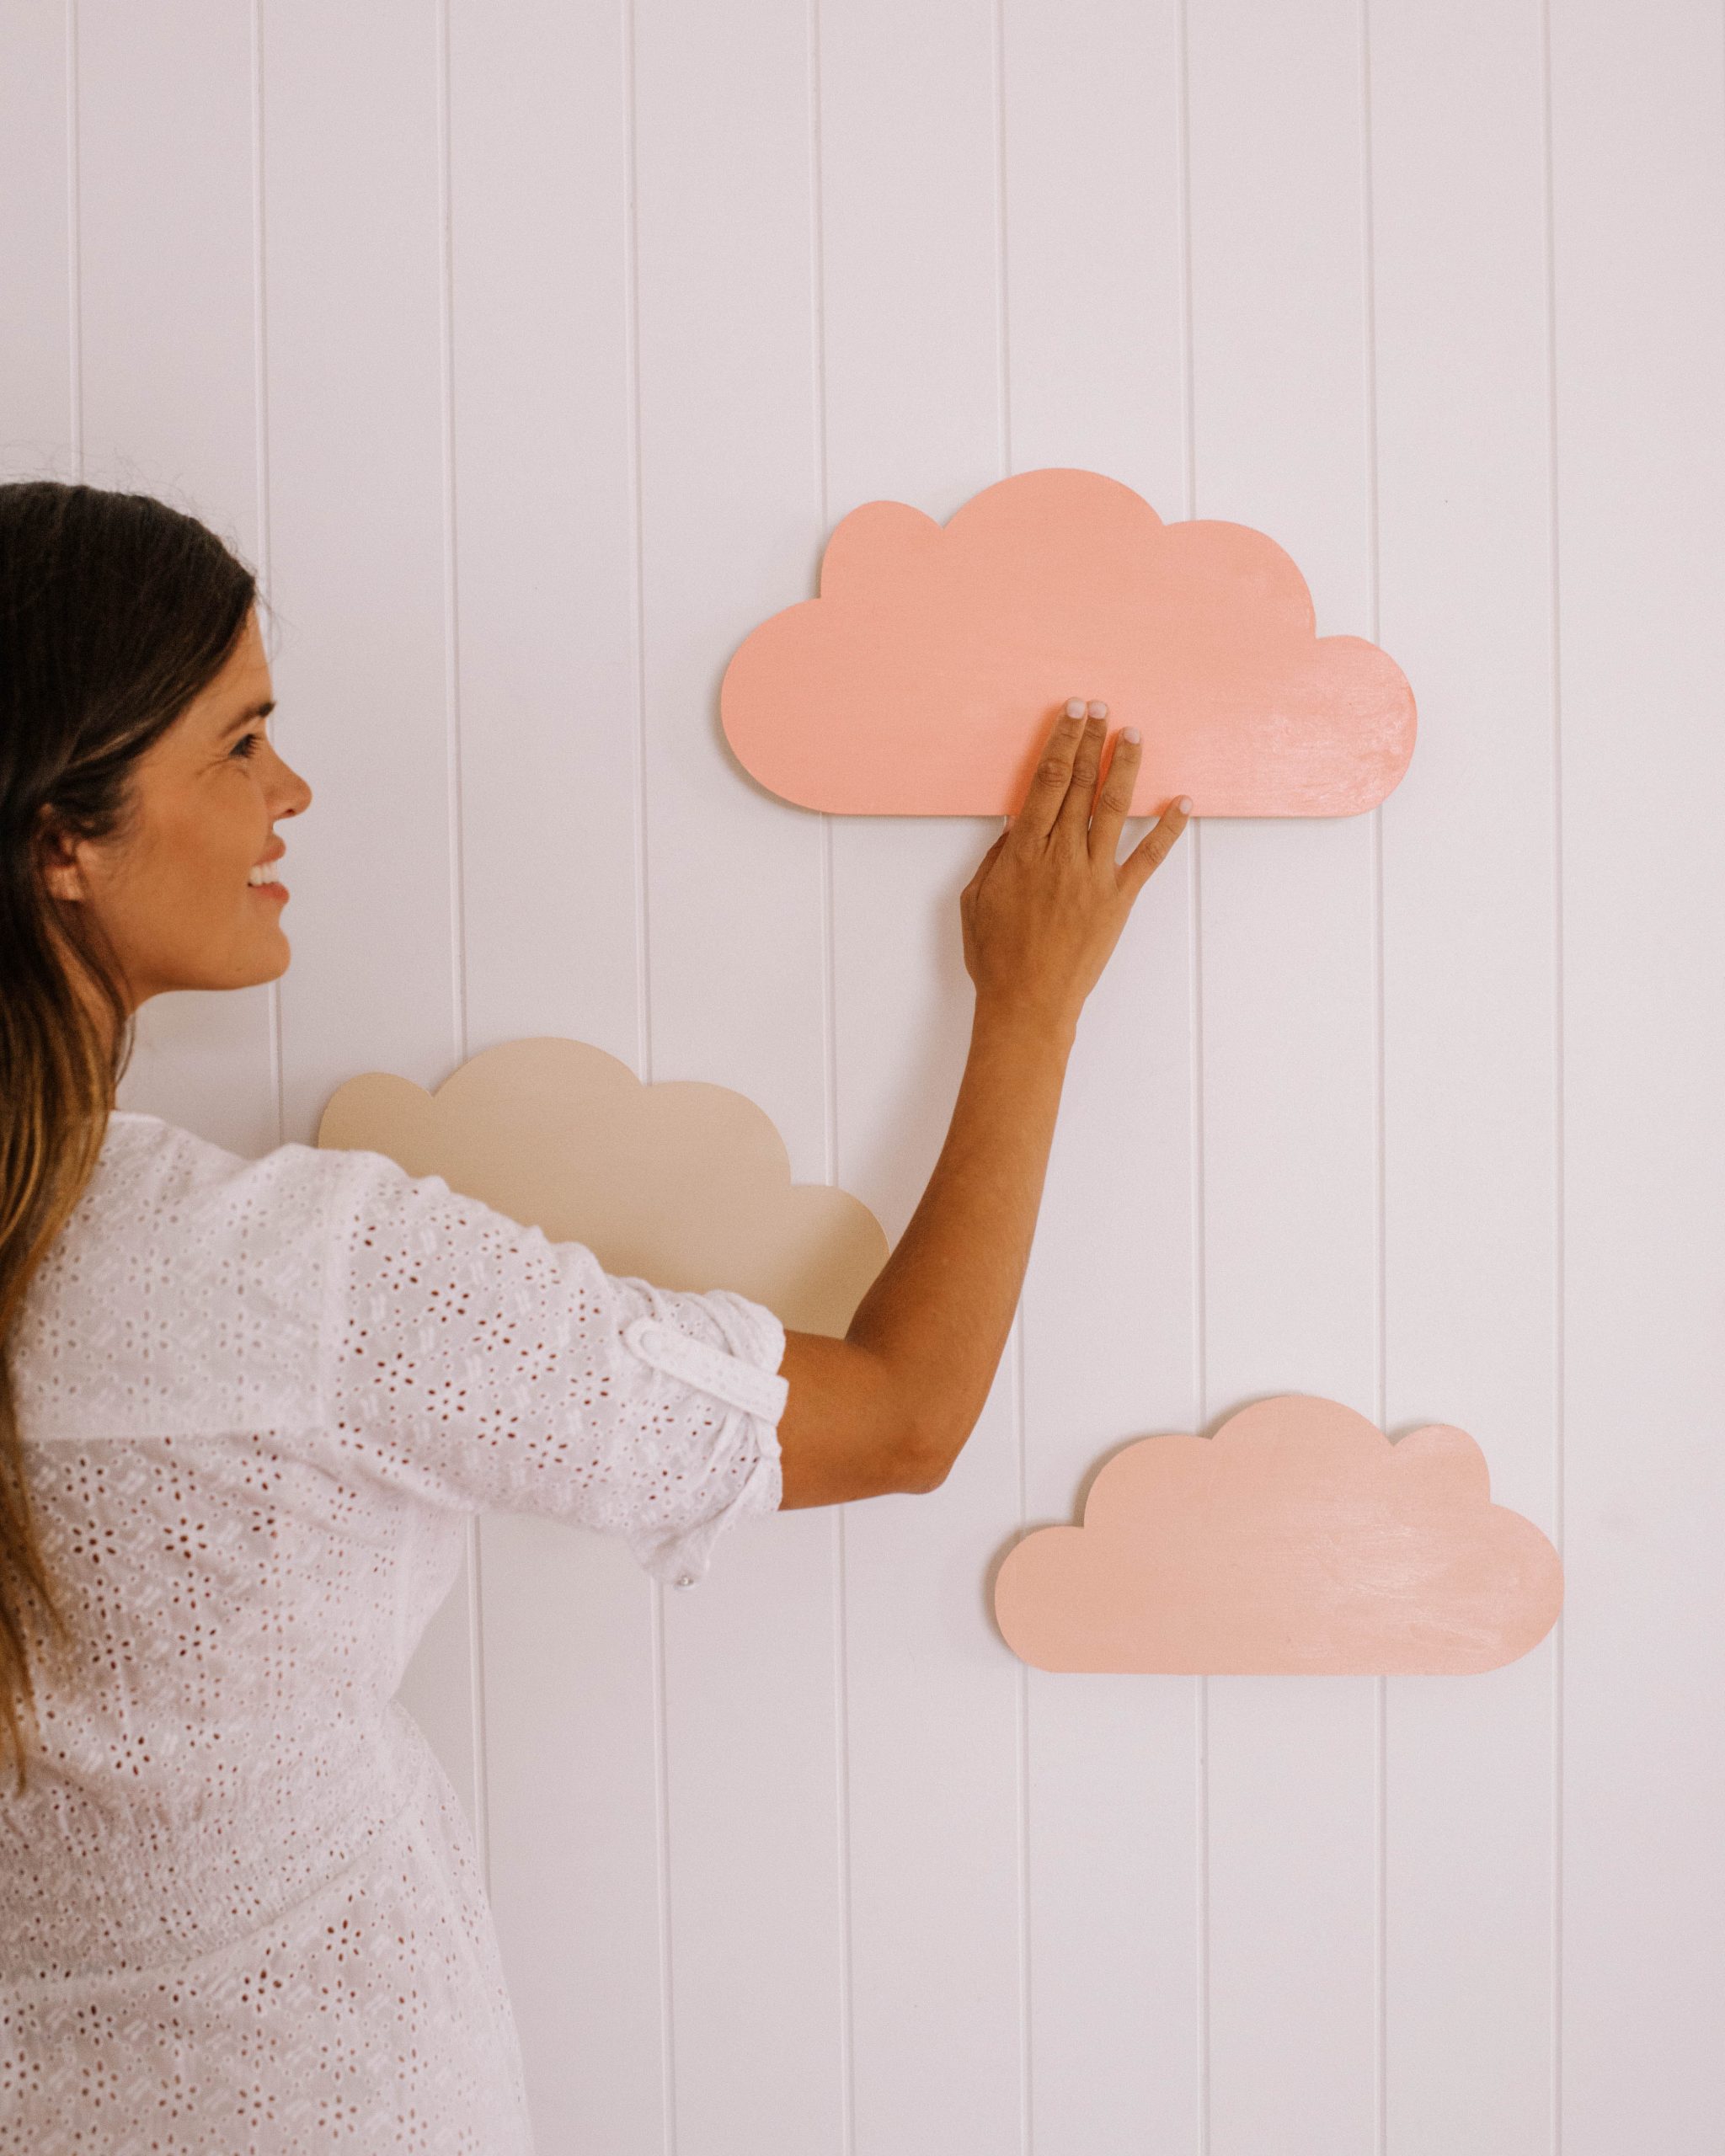
Frankie has been really enjoying reading to herself before bed (aka flipping the pages – she’s only two!), and often wants the light left on. I decided a trio of wooden night lights that she can turn on and off herself would be a great addition to her room and the perfect project for this machine.
Watch the Video
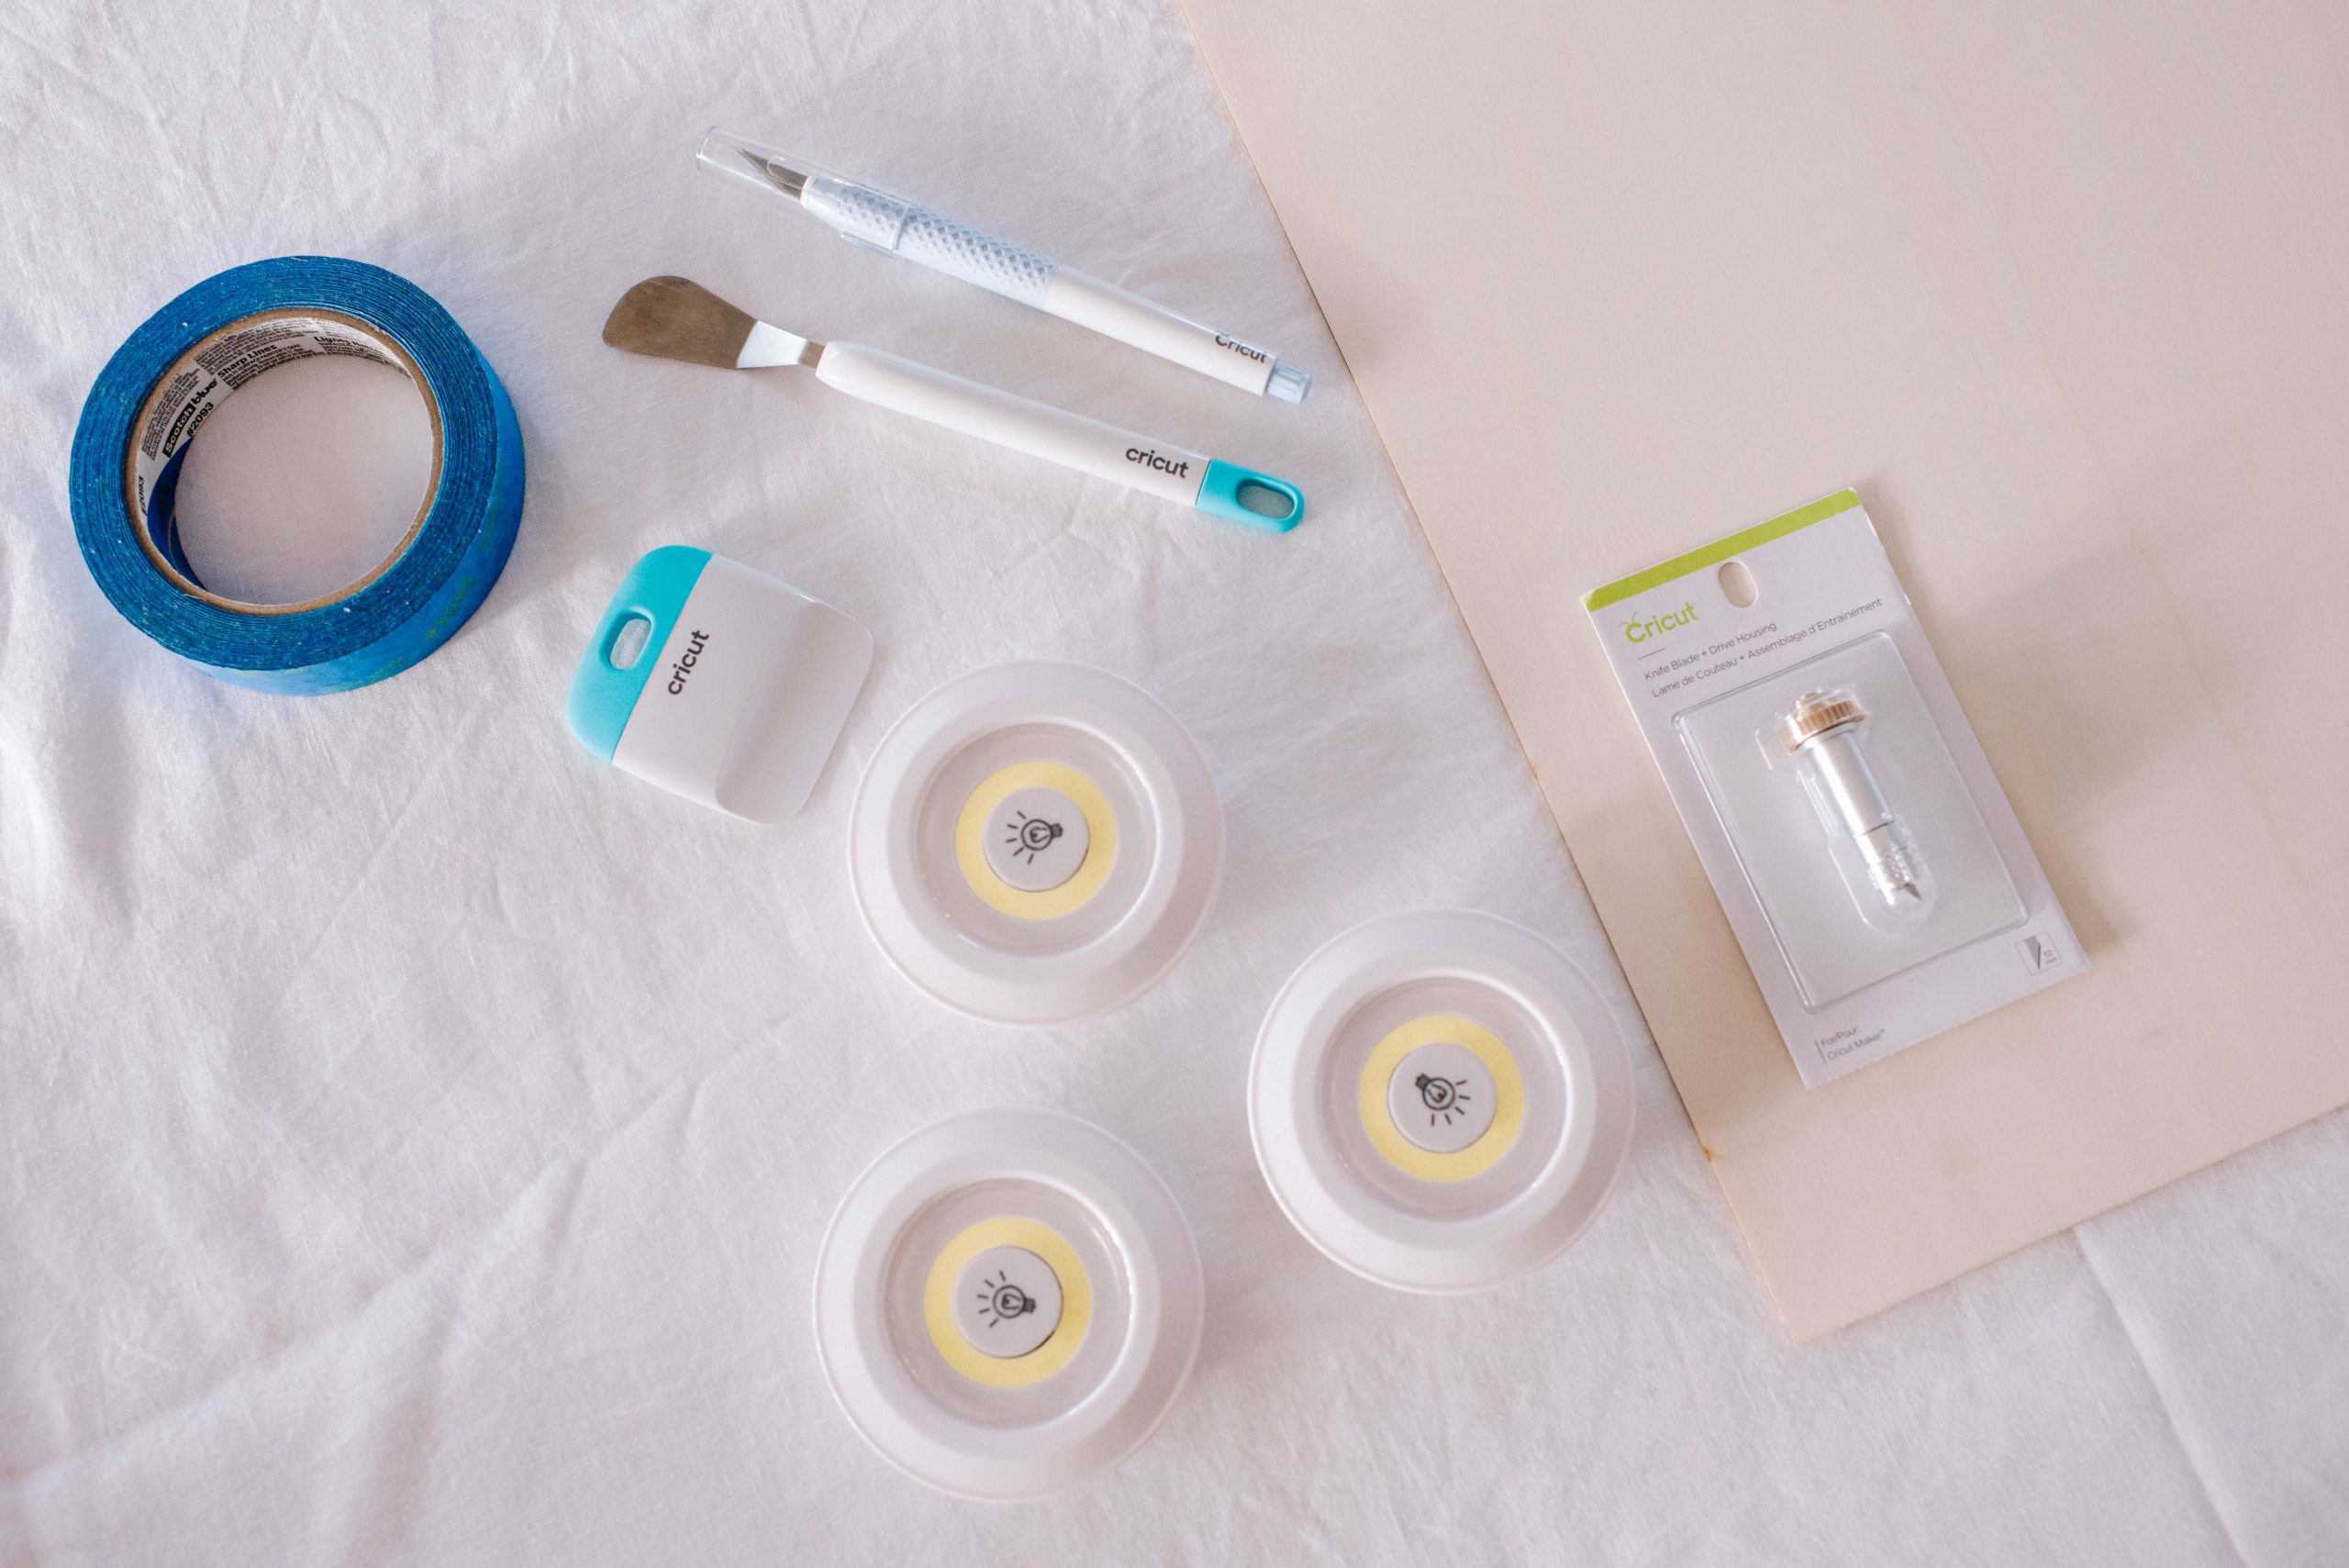
You need
- Cricut Maker Machine
- Cricut Knife Blade
- Cricut Strong Grip Mat
- Thin Basswood sheeting
- Battery powered puck lights (these come with a remote)
- Paint and Paint brush
- Tape
- Super Glue
- Twine
Cutting Wood On The Cricut Maker
Cutting wood on the Maker turned out to be much easier than I expected, with just a few new things to get used to.
- You need to insert the knife blade into the machine, and then calibrate it using these instructions. This was very easy!
- Move the white star wheels on the roller bar all the way to the right to give clearance for thick materials and to prevent them from leaving track marks on your material.
- Ensure that the material you use is only 27.5cm/11″ wide, and align it with the top left corner of the adhesive area on the machine mat to prevent it from passing under the large rubber rollers on the roller bar.
- Tape the material down to the mat on all four sides to prevent slippage while cutting.
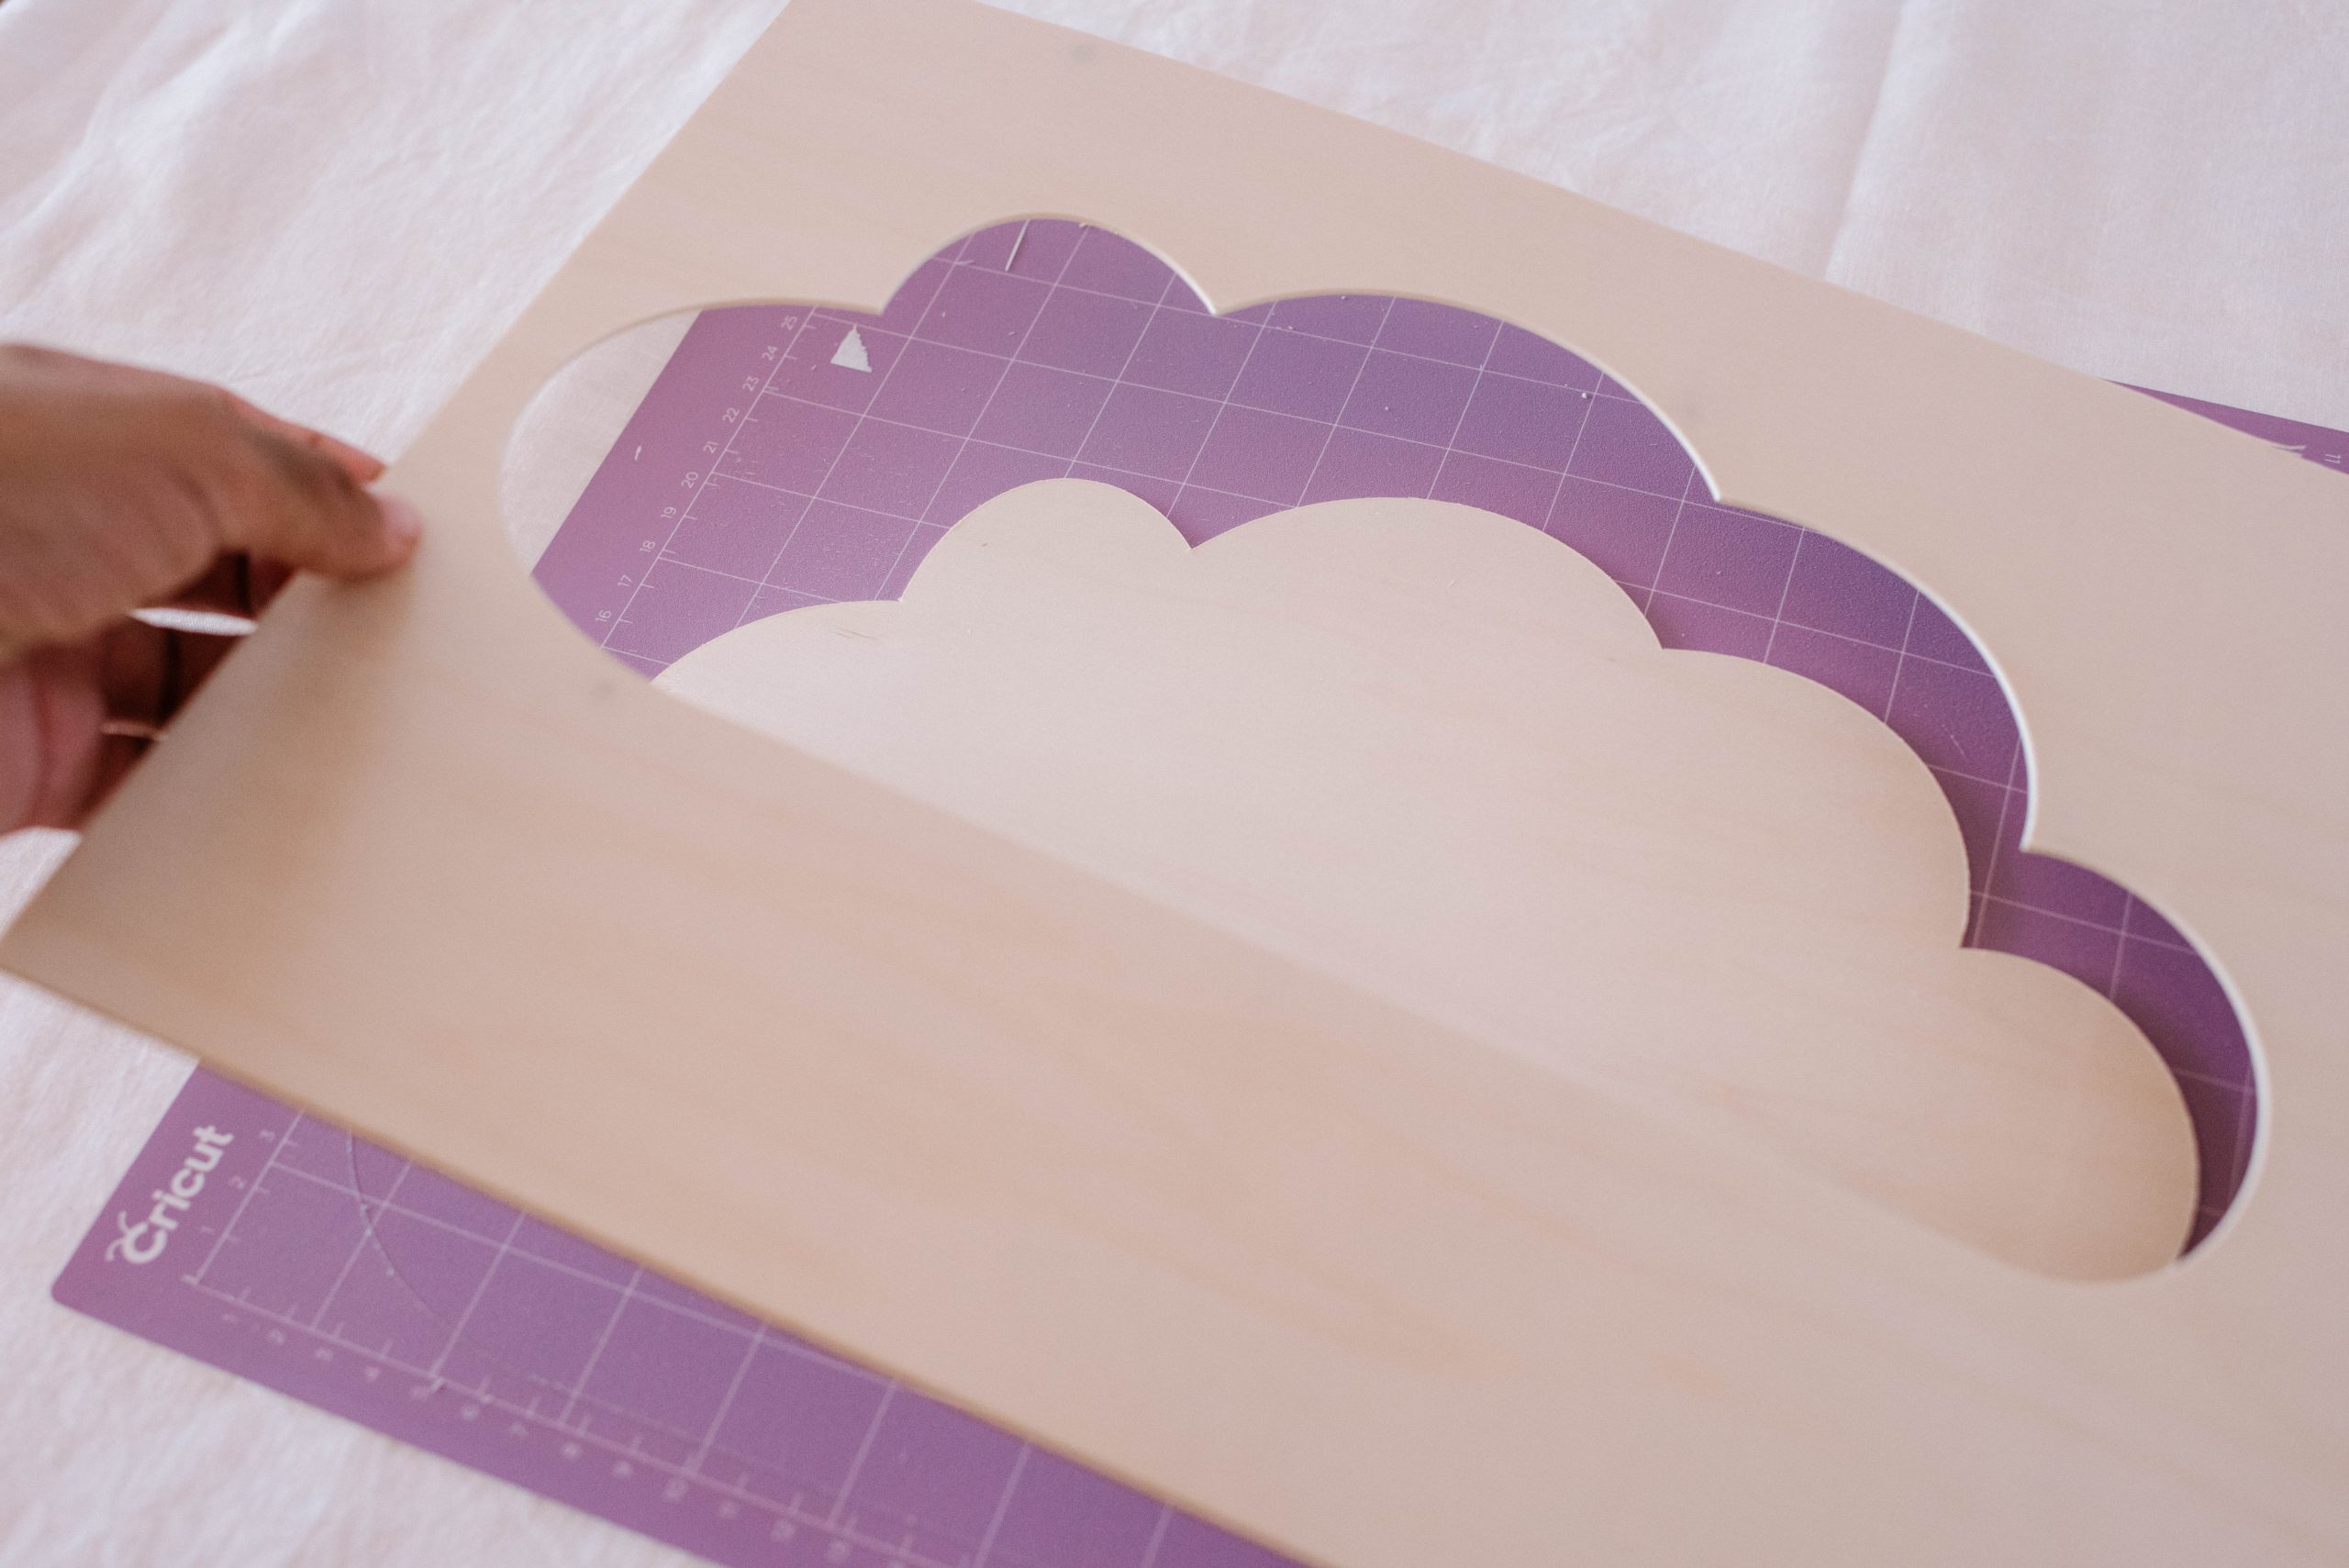
- Once the machine is finished cutting, it’s useful to check to ensure the wood has been cut all the way through. There is an option that pops up in the app to do extra cuts.
All in all these things were quite straightforward and it didn’t take long to get set up.
Creating My Design Using Cricut Design Space
After working on the Joy for the last few months I feel quite confident using the Design Space app, and just needed to find a nice shape to make my light out of. The best thing about using a Cricut is just how personalised you can make your design, and I used the imagery search function to find a cloud.
How to
1
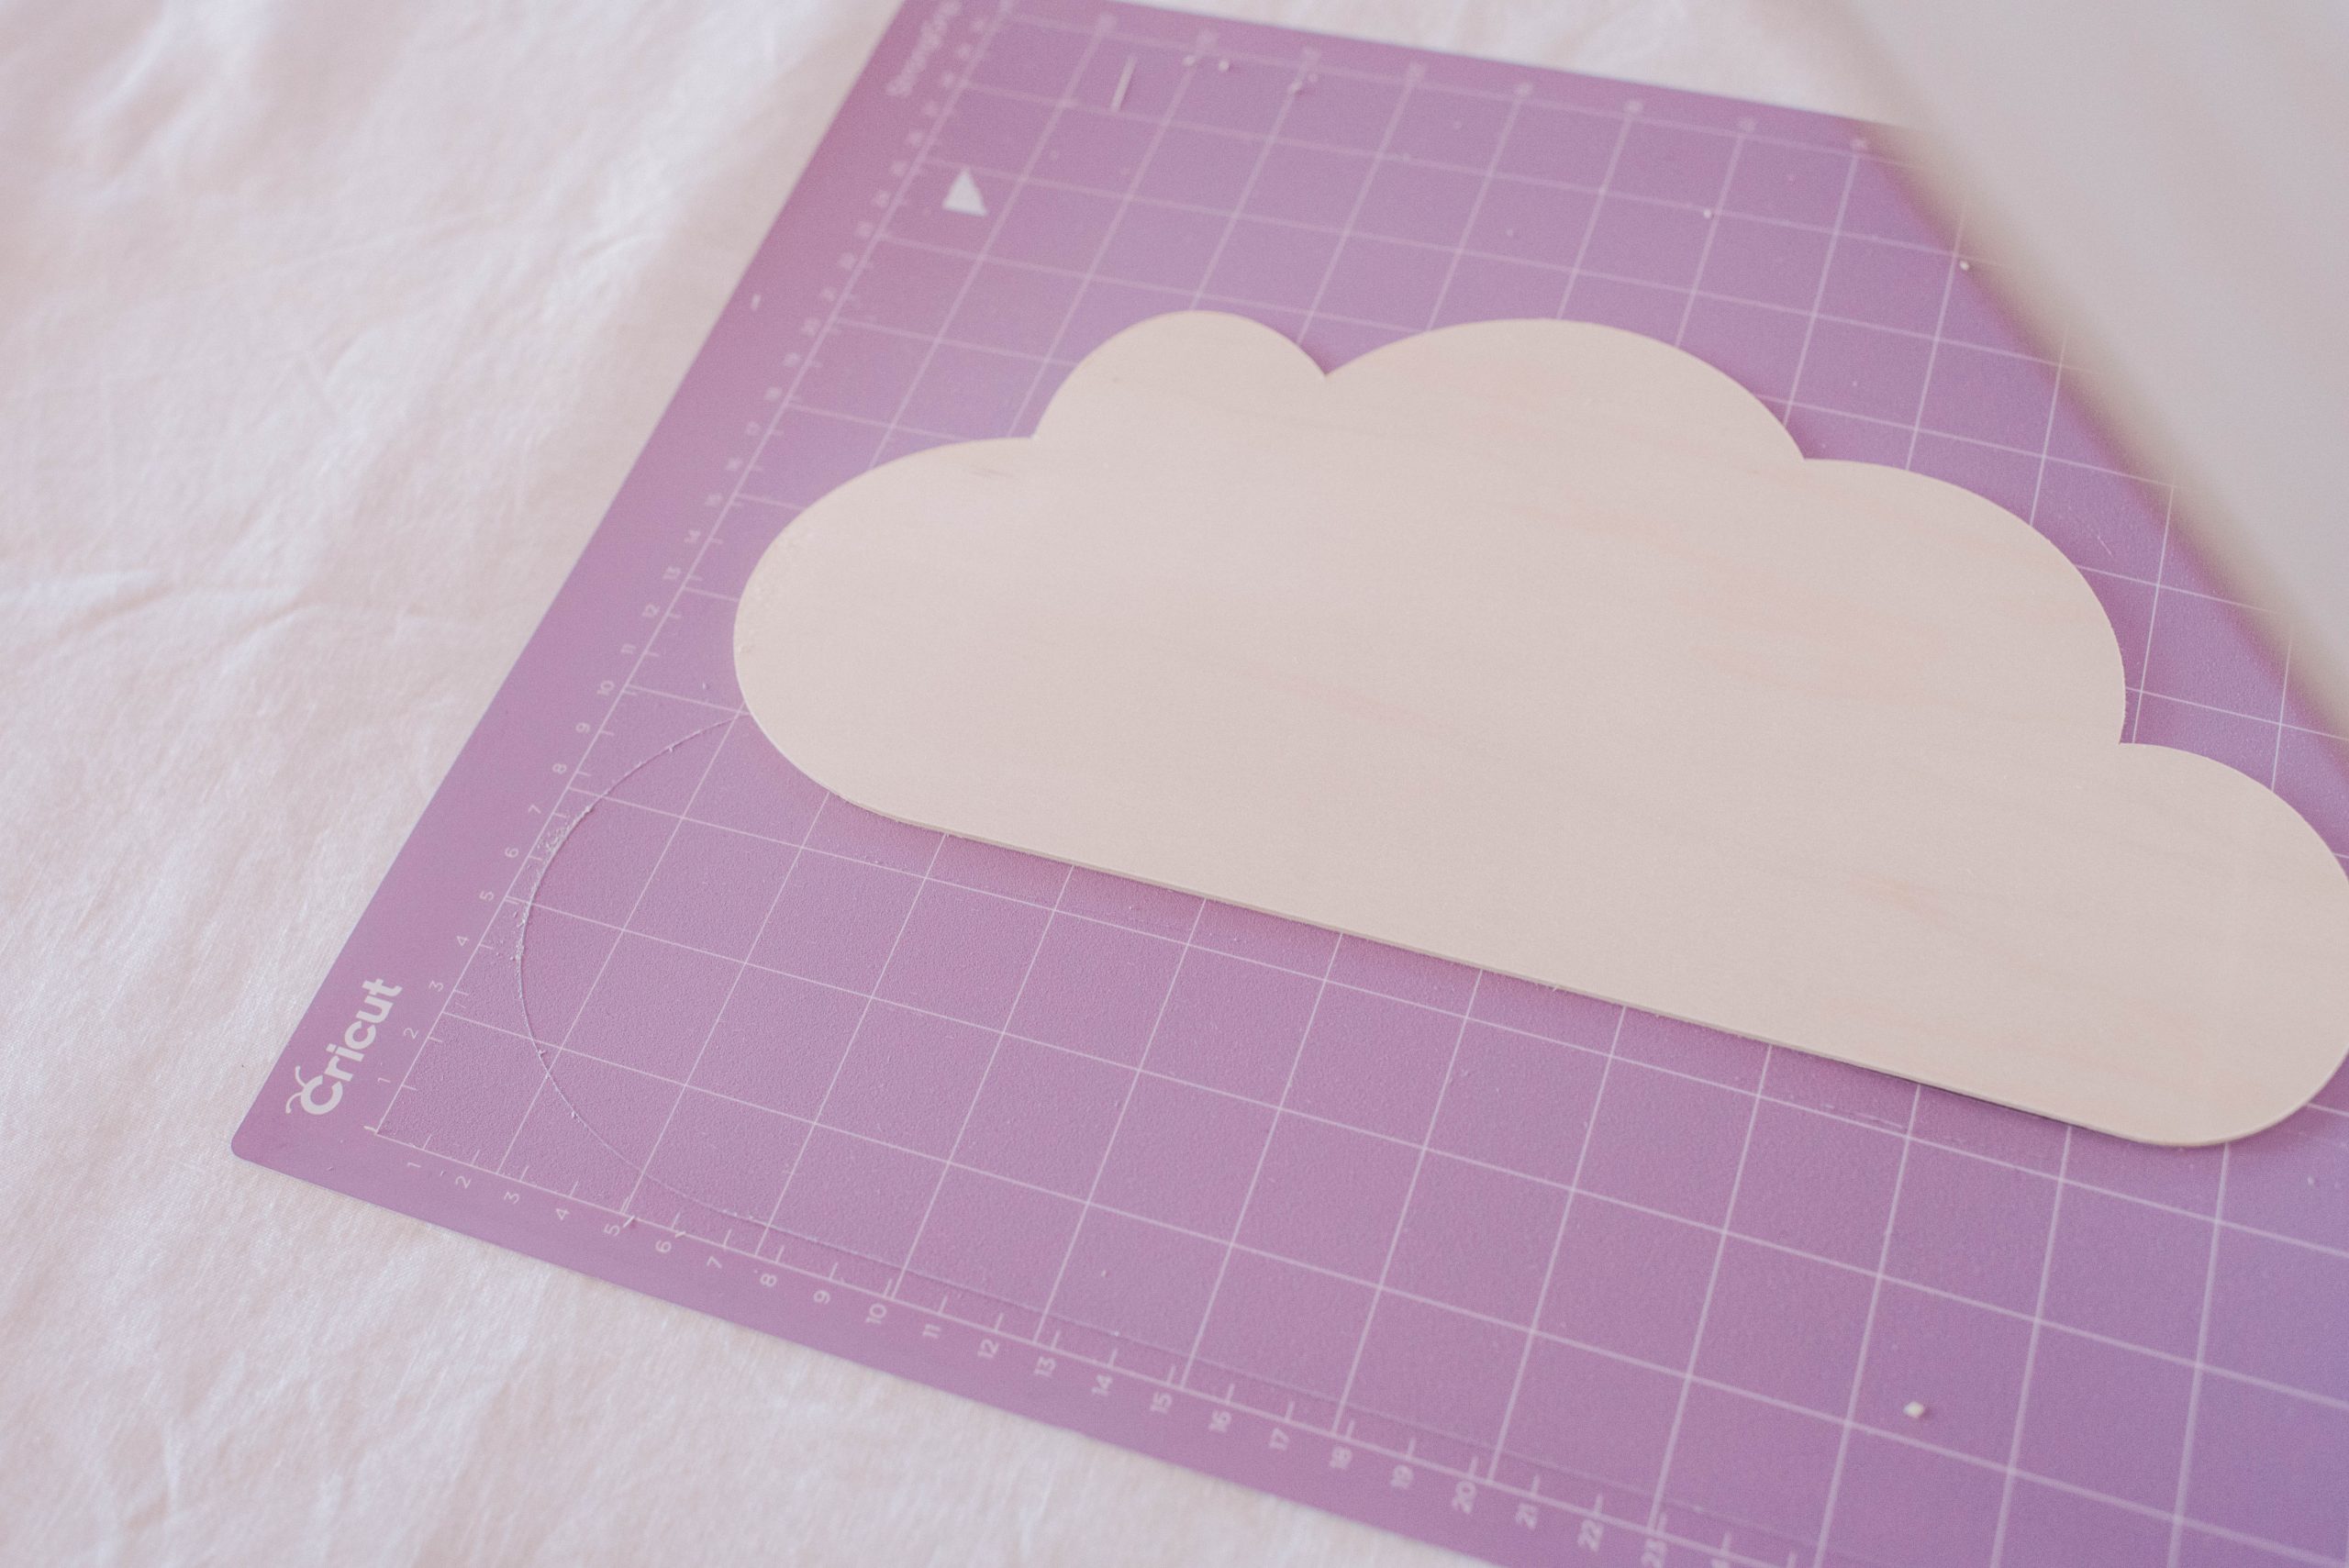
Start by selecting and setting up your design in the Design Space app. I chose an image of a cloud from the Image section section. I also did 3 small wooden circles that matched the front button size on the puck light. I then set my wood up on the strong grip mat, taping it down on all four sides to stop slipping.
2
After loading the mat into the Maker, I went through the Design Space process and selected Make It.
3
Instead of doing one single cut like when you use vinyl, the machine does a number of cuts, which is what gives the final design such a smooth finish. This design was cut 14 times.
4
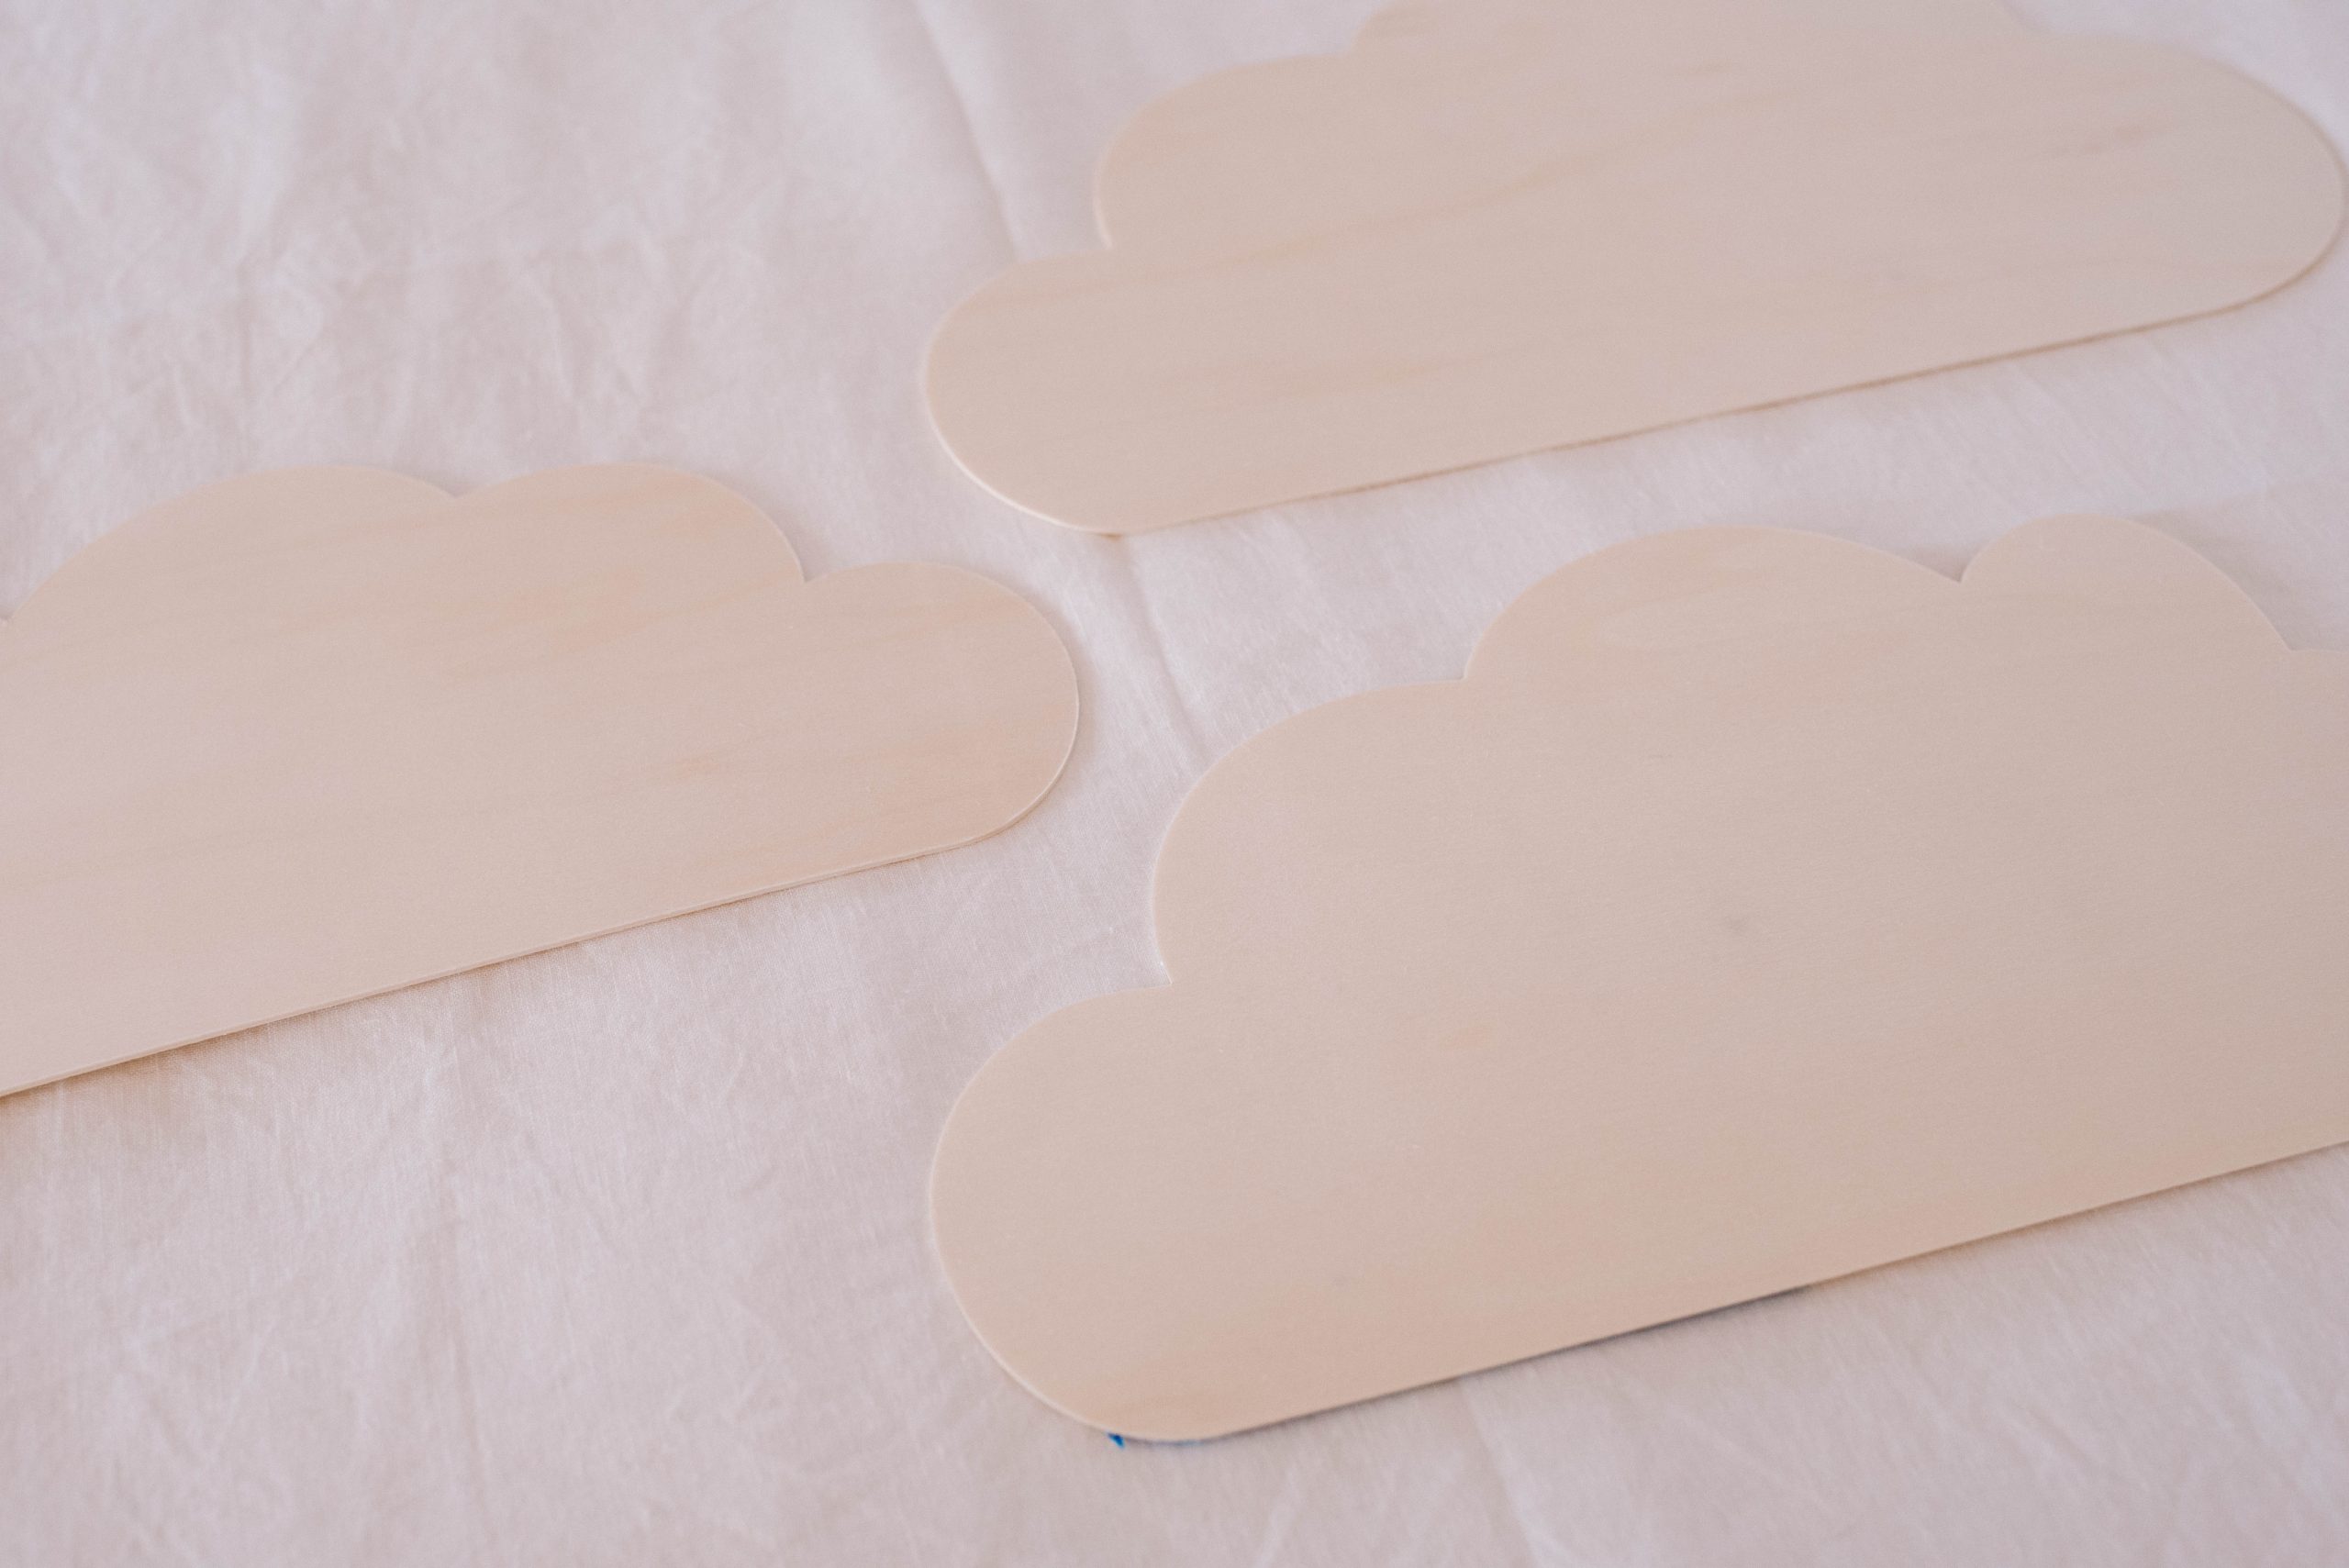
I ended up doing two layers of wood for each light to make them sturdy, so cut 6 cloud shapes in total. Using the superglue, I glued together two of the clouds for each light. Then, I painted the front side of the lights.
5
I decided it would be nice to paint the lights, so once the glue has dried painted two coats of acrylic paint.
7
I also glued together the three wooden circles, and glued them onto the front button of the puck light. Once the paint was dry, I glued the back side of the puck light to the back of the cloud light.
8
I then tied twine around the puck light to create a hanger for the wall. The final step is to hang the lights on the wall. Once you have done that, you should simply be able to press on the front of the light for the puck lights to turn on.
You can find more info and local retailers for Cricut here.
This project is in collaboration with Cricut.


