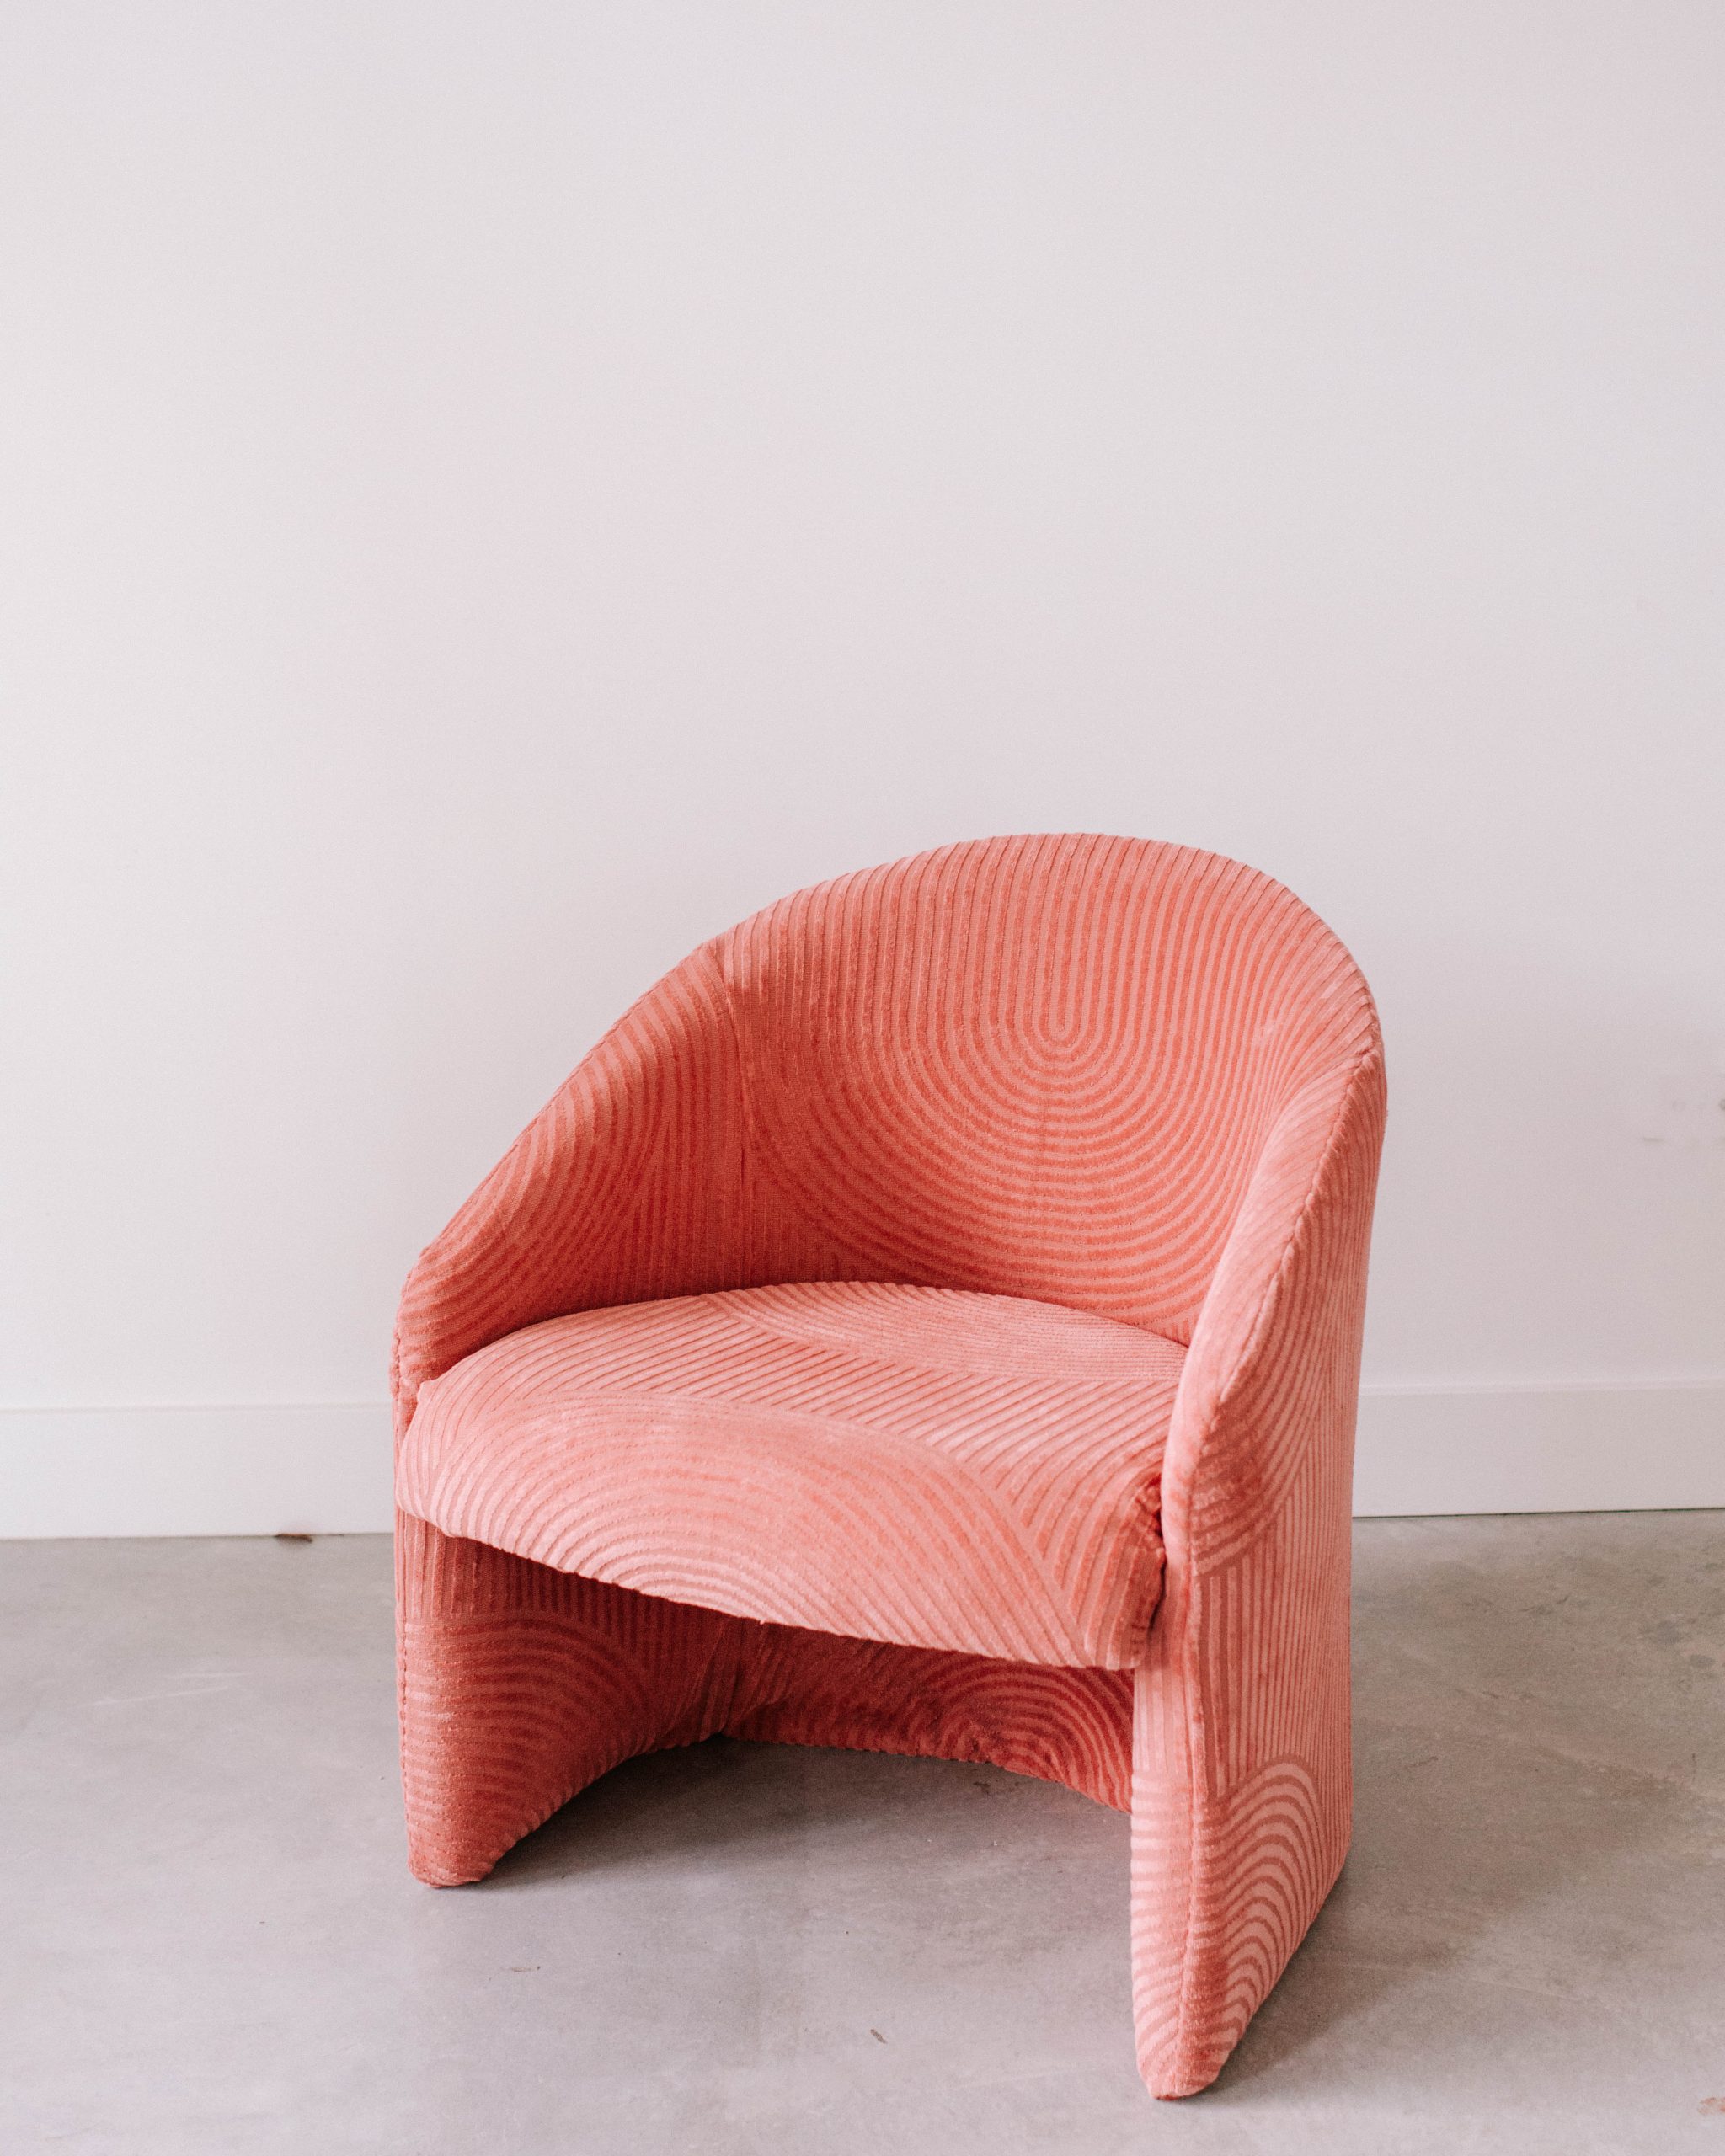
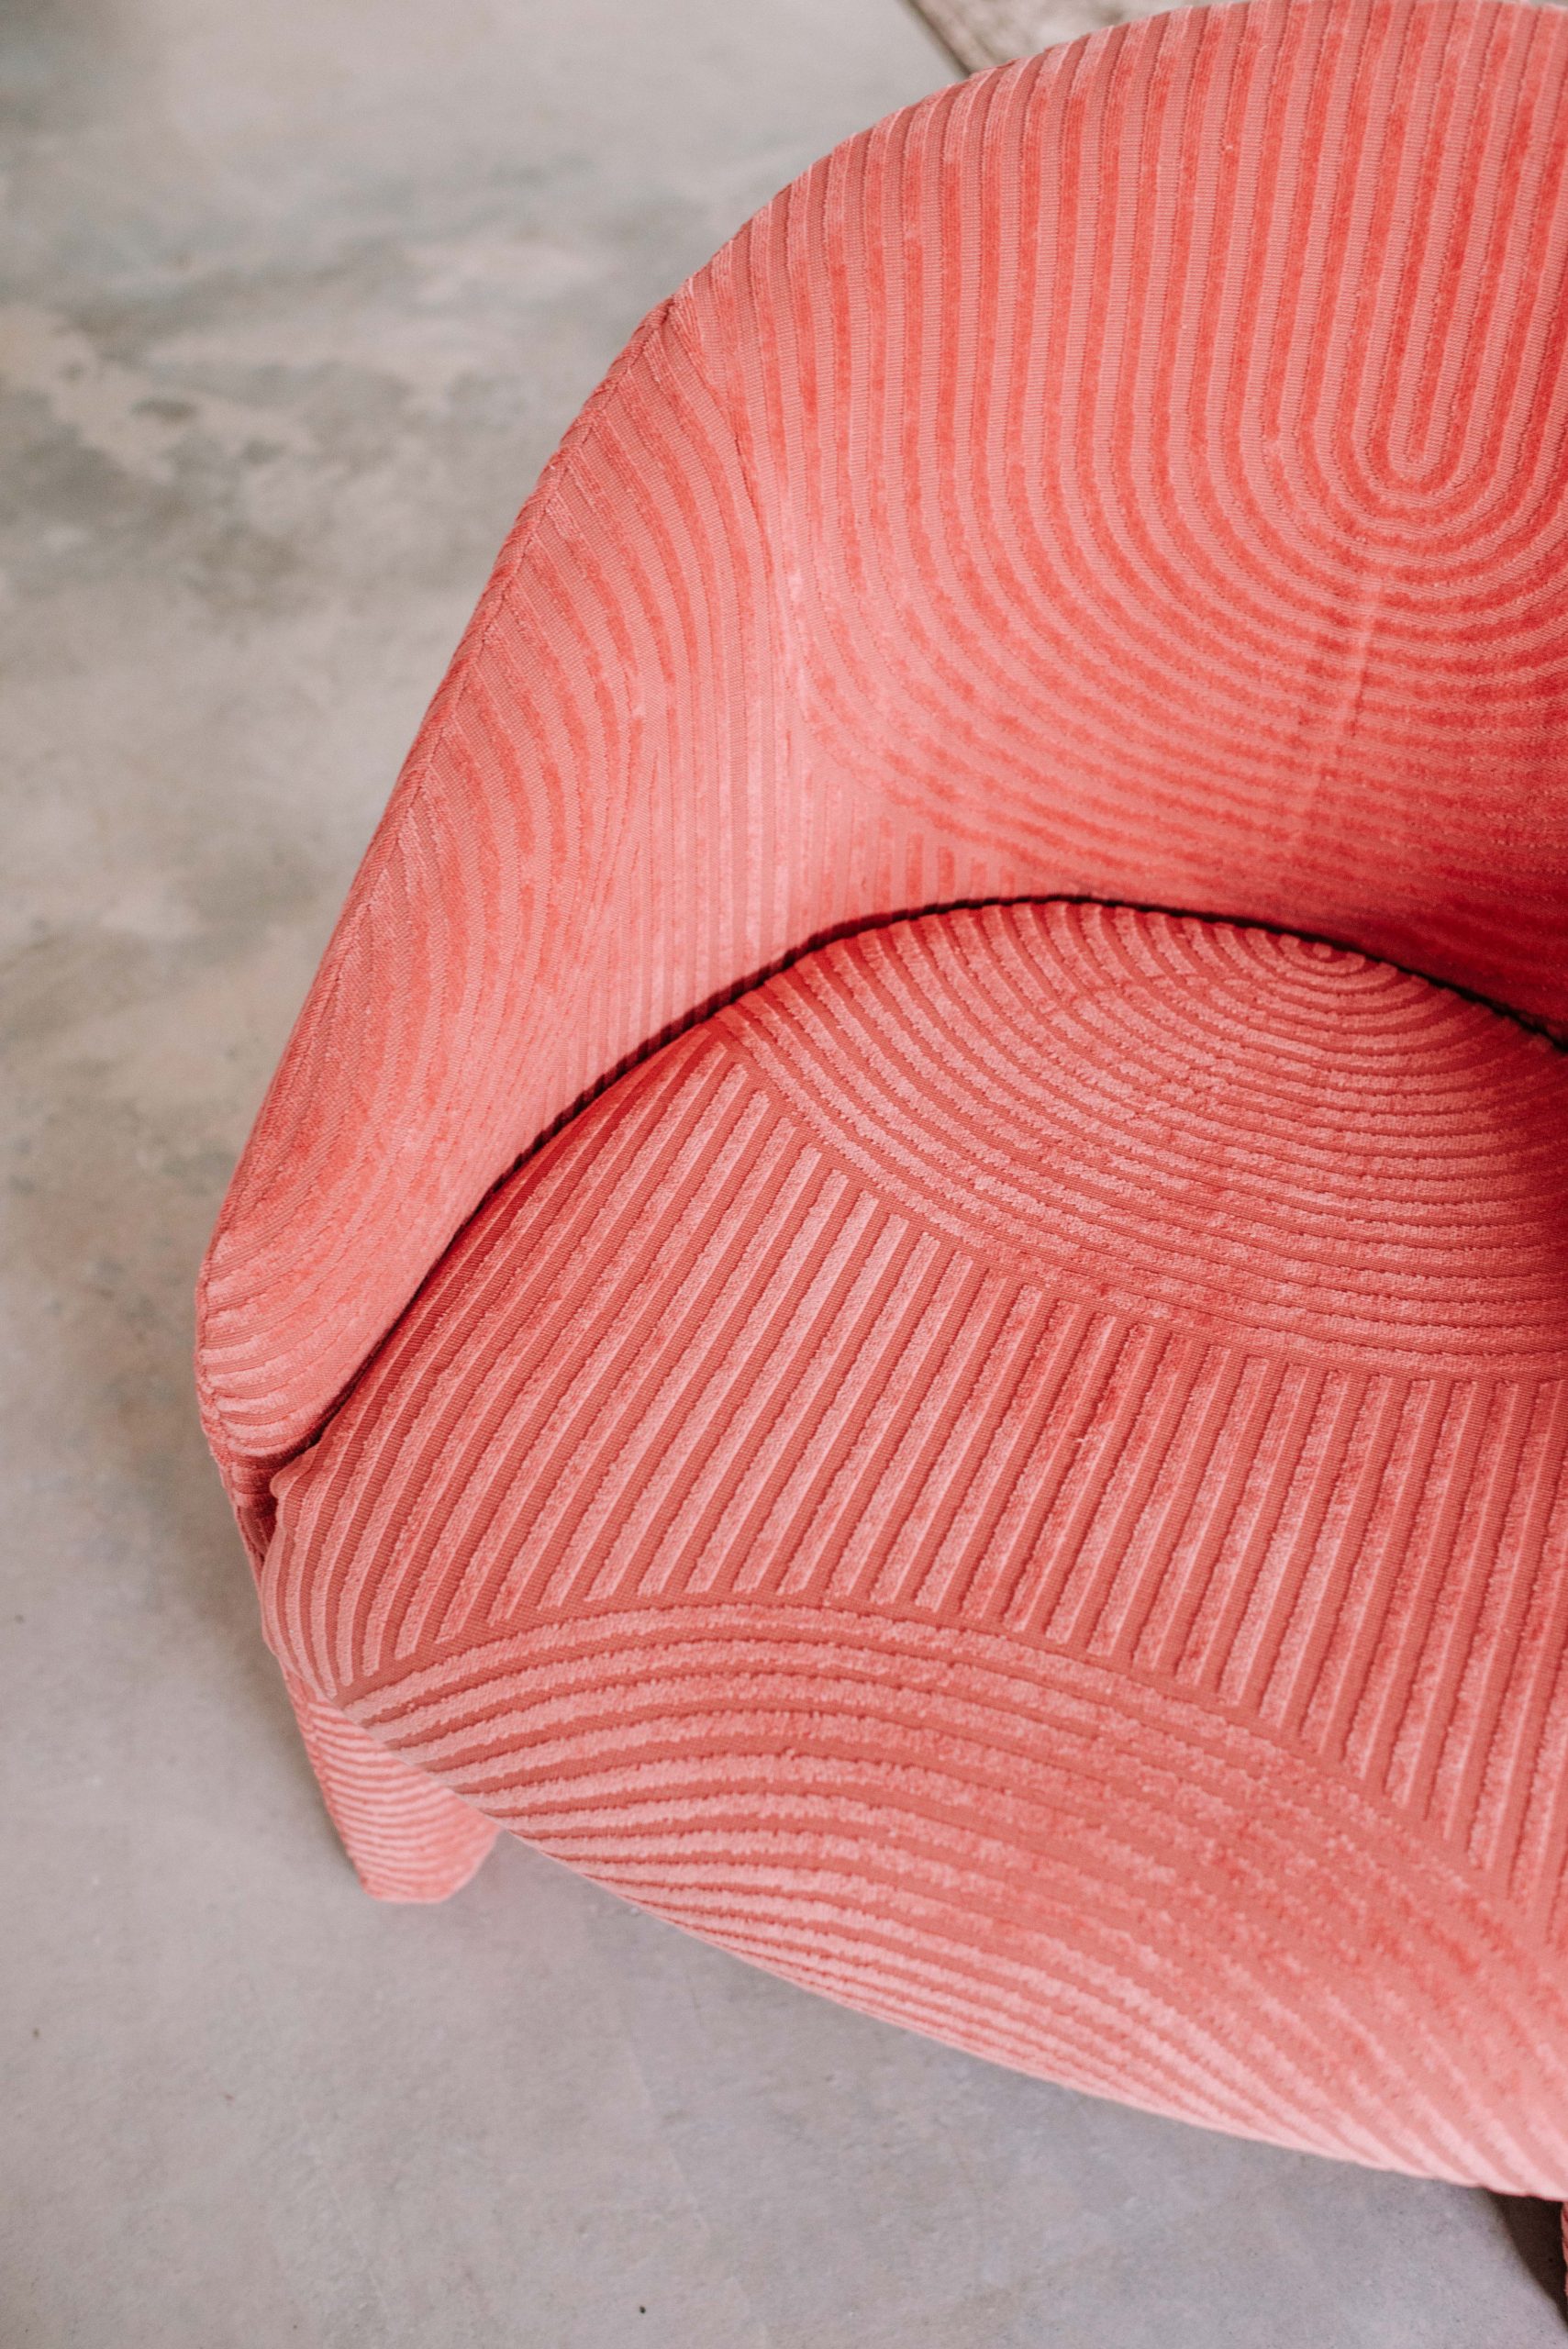
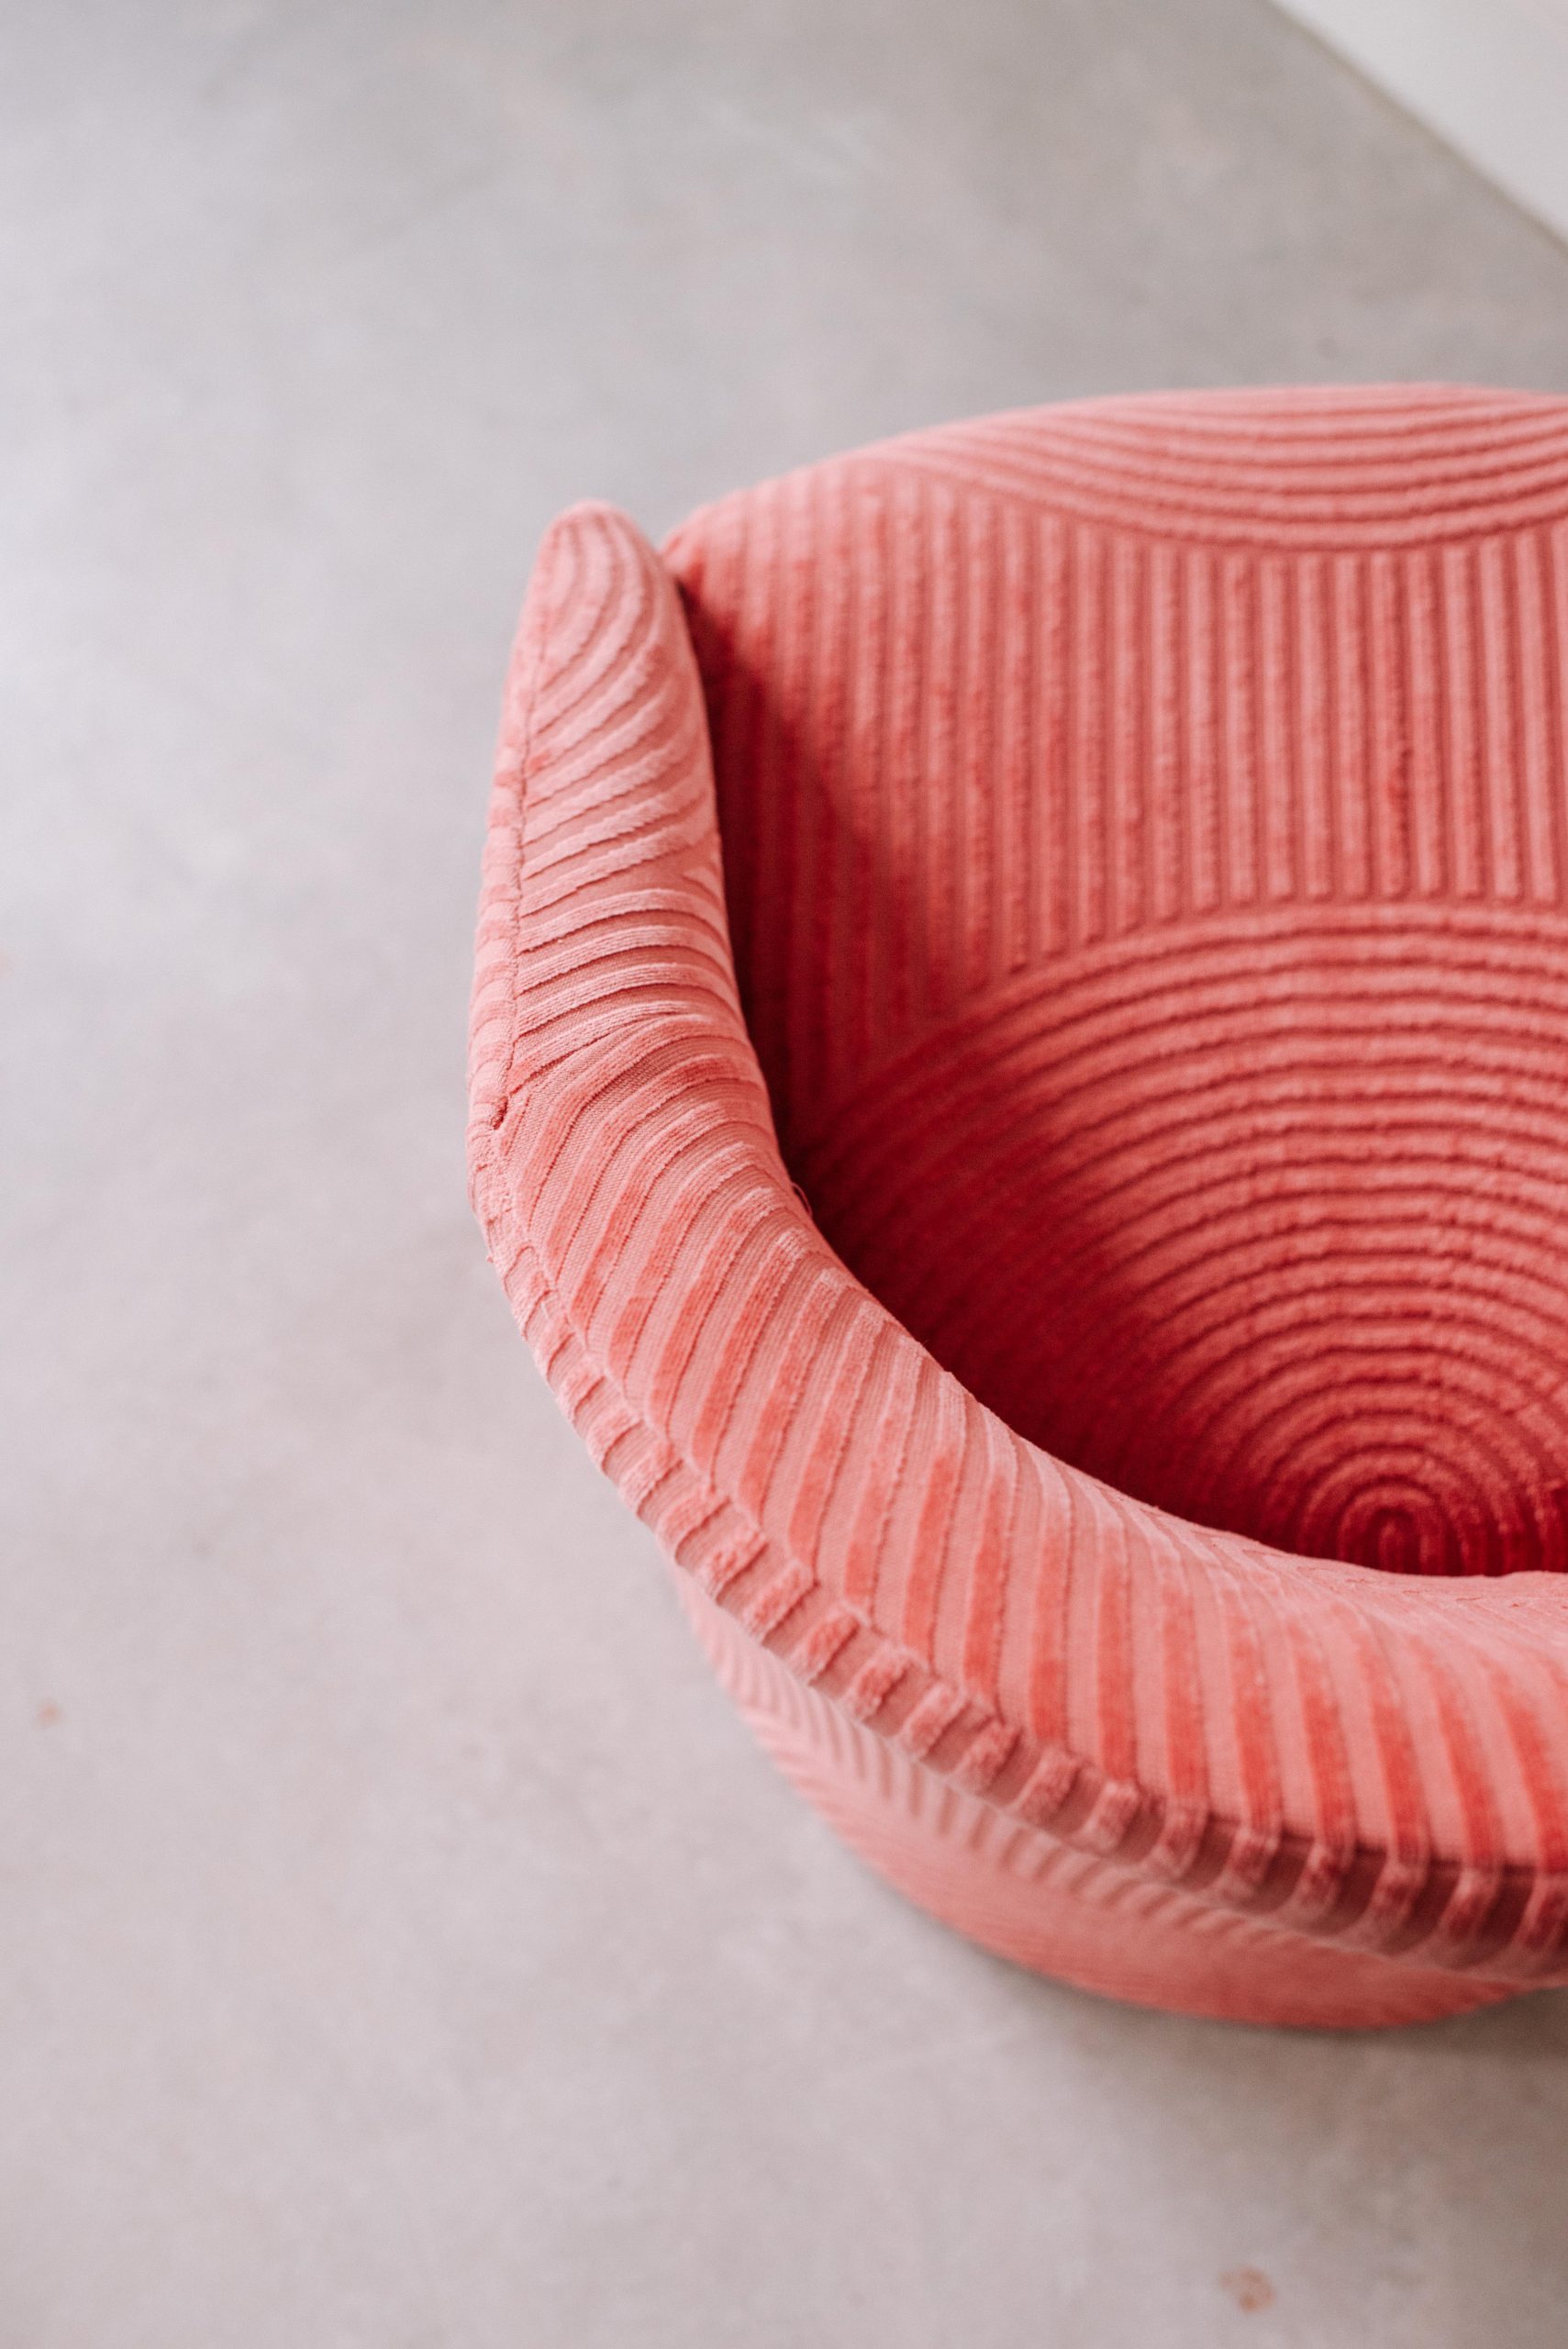
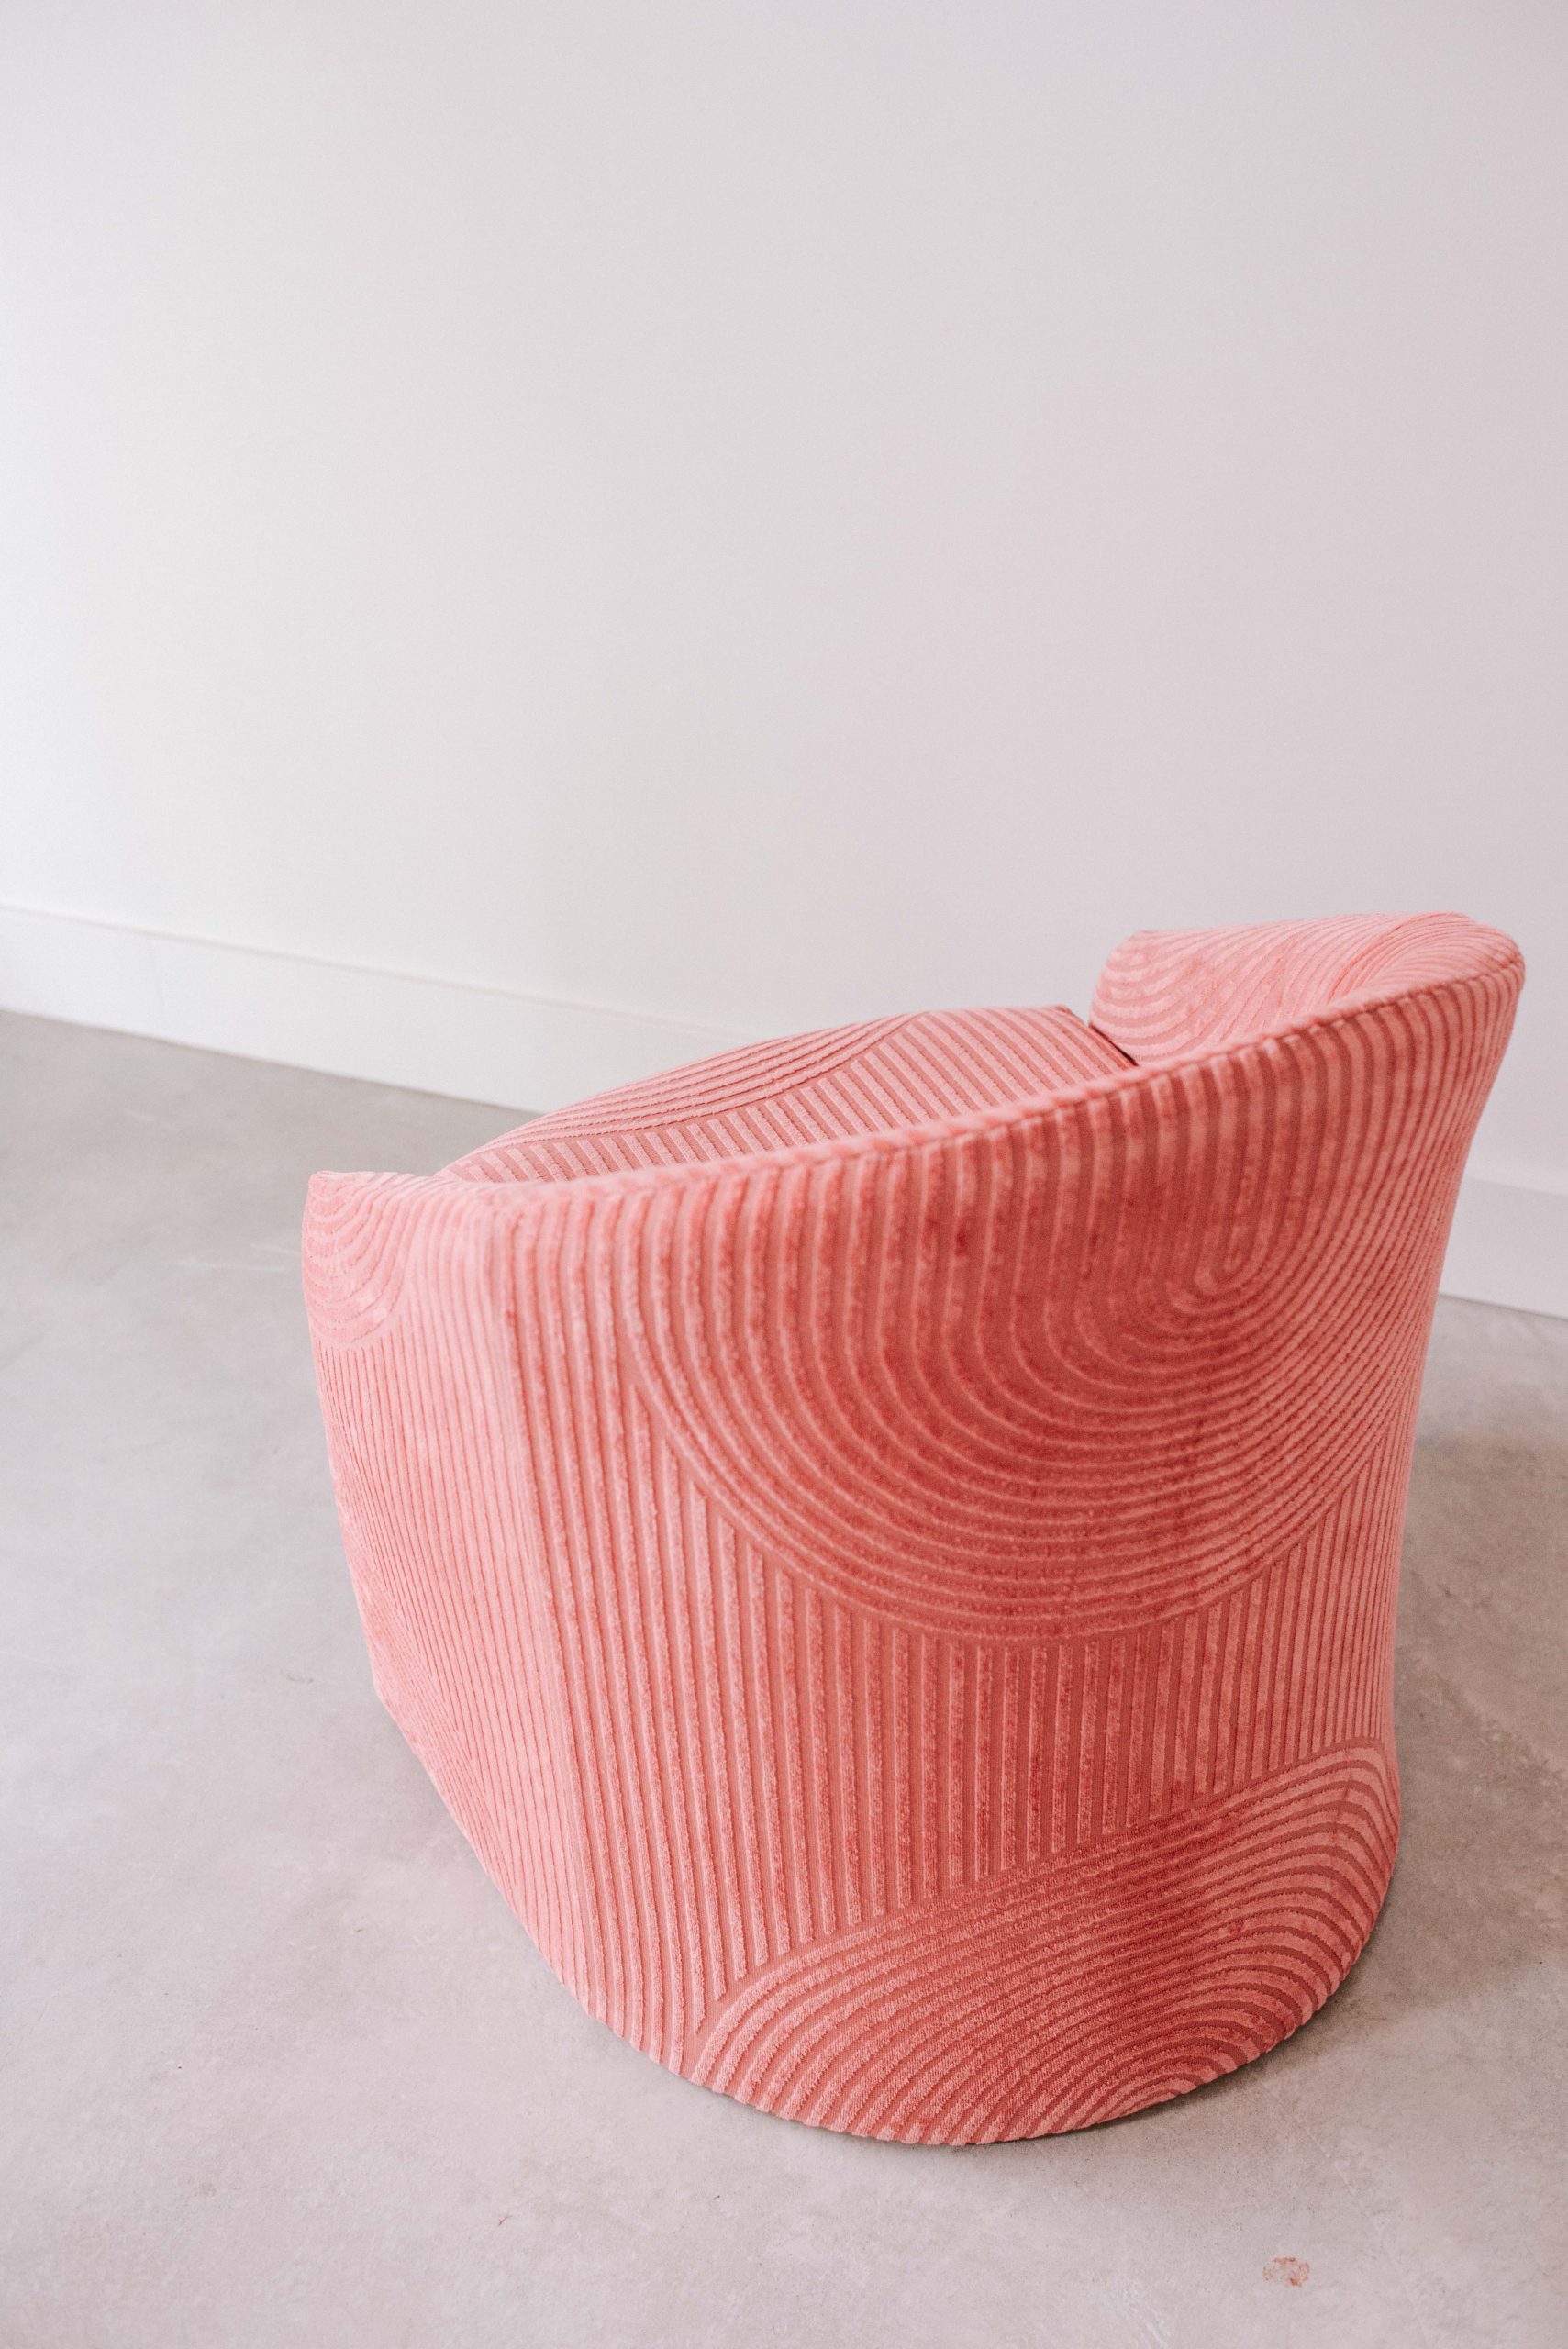
Welcome to another edition of ‘no chair left behind’, and say hello to my new favourite chair. Not just destined for the bath or beach, towels have found their new purpose as the surprise fabric in this reupholstery project!
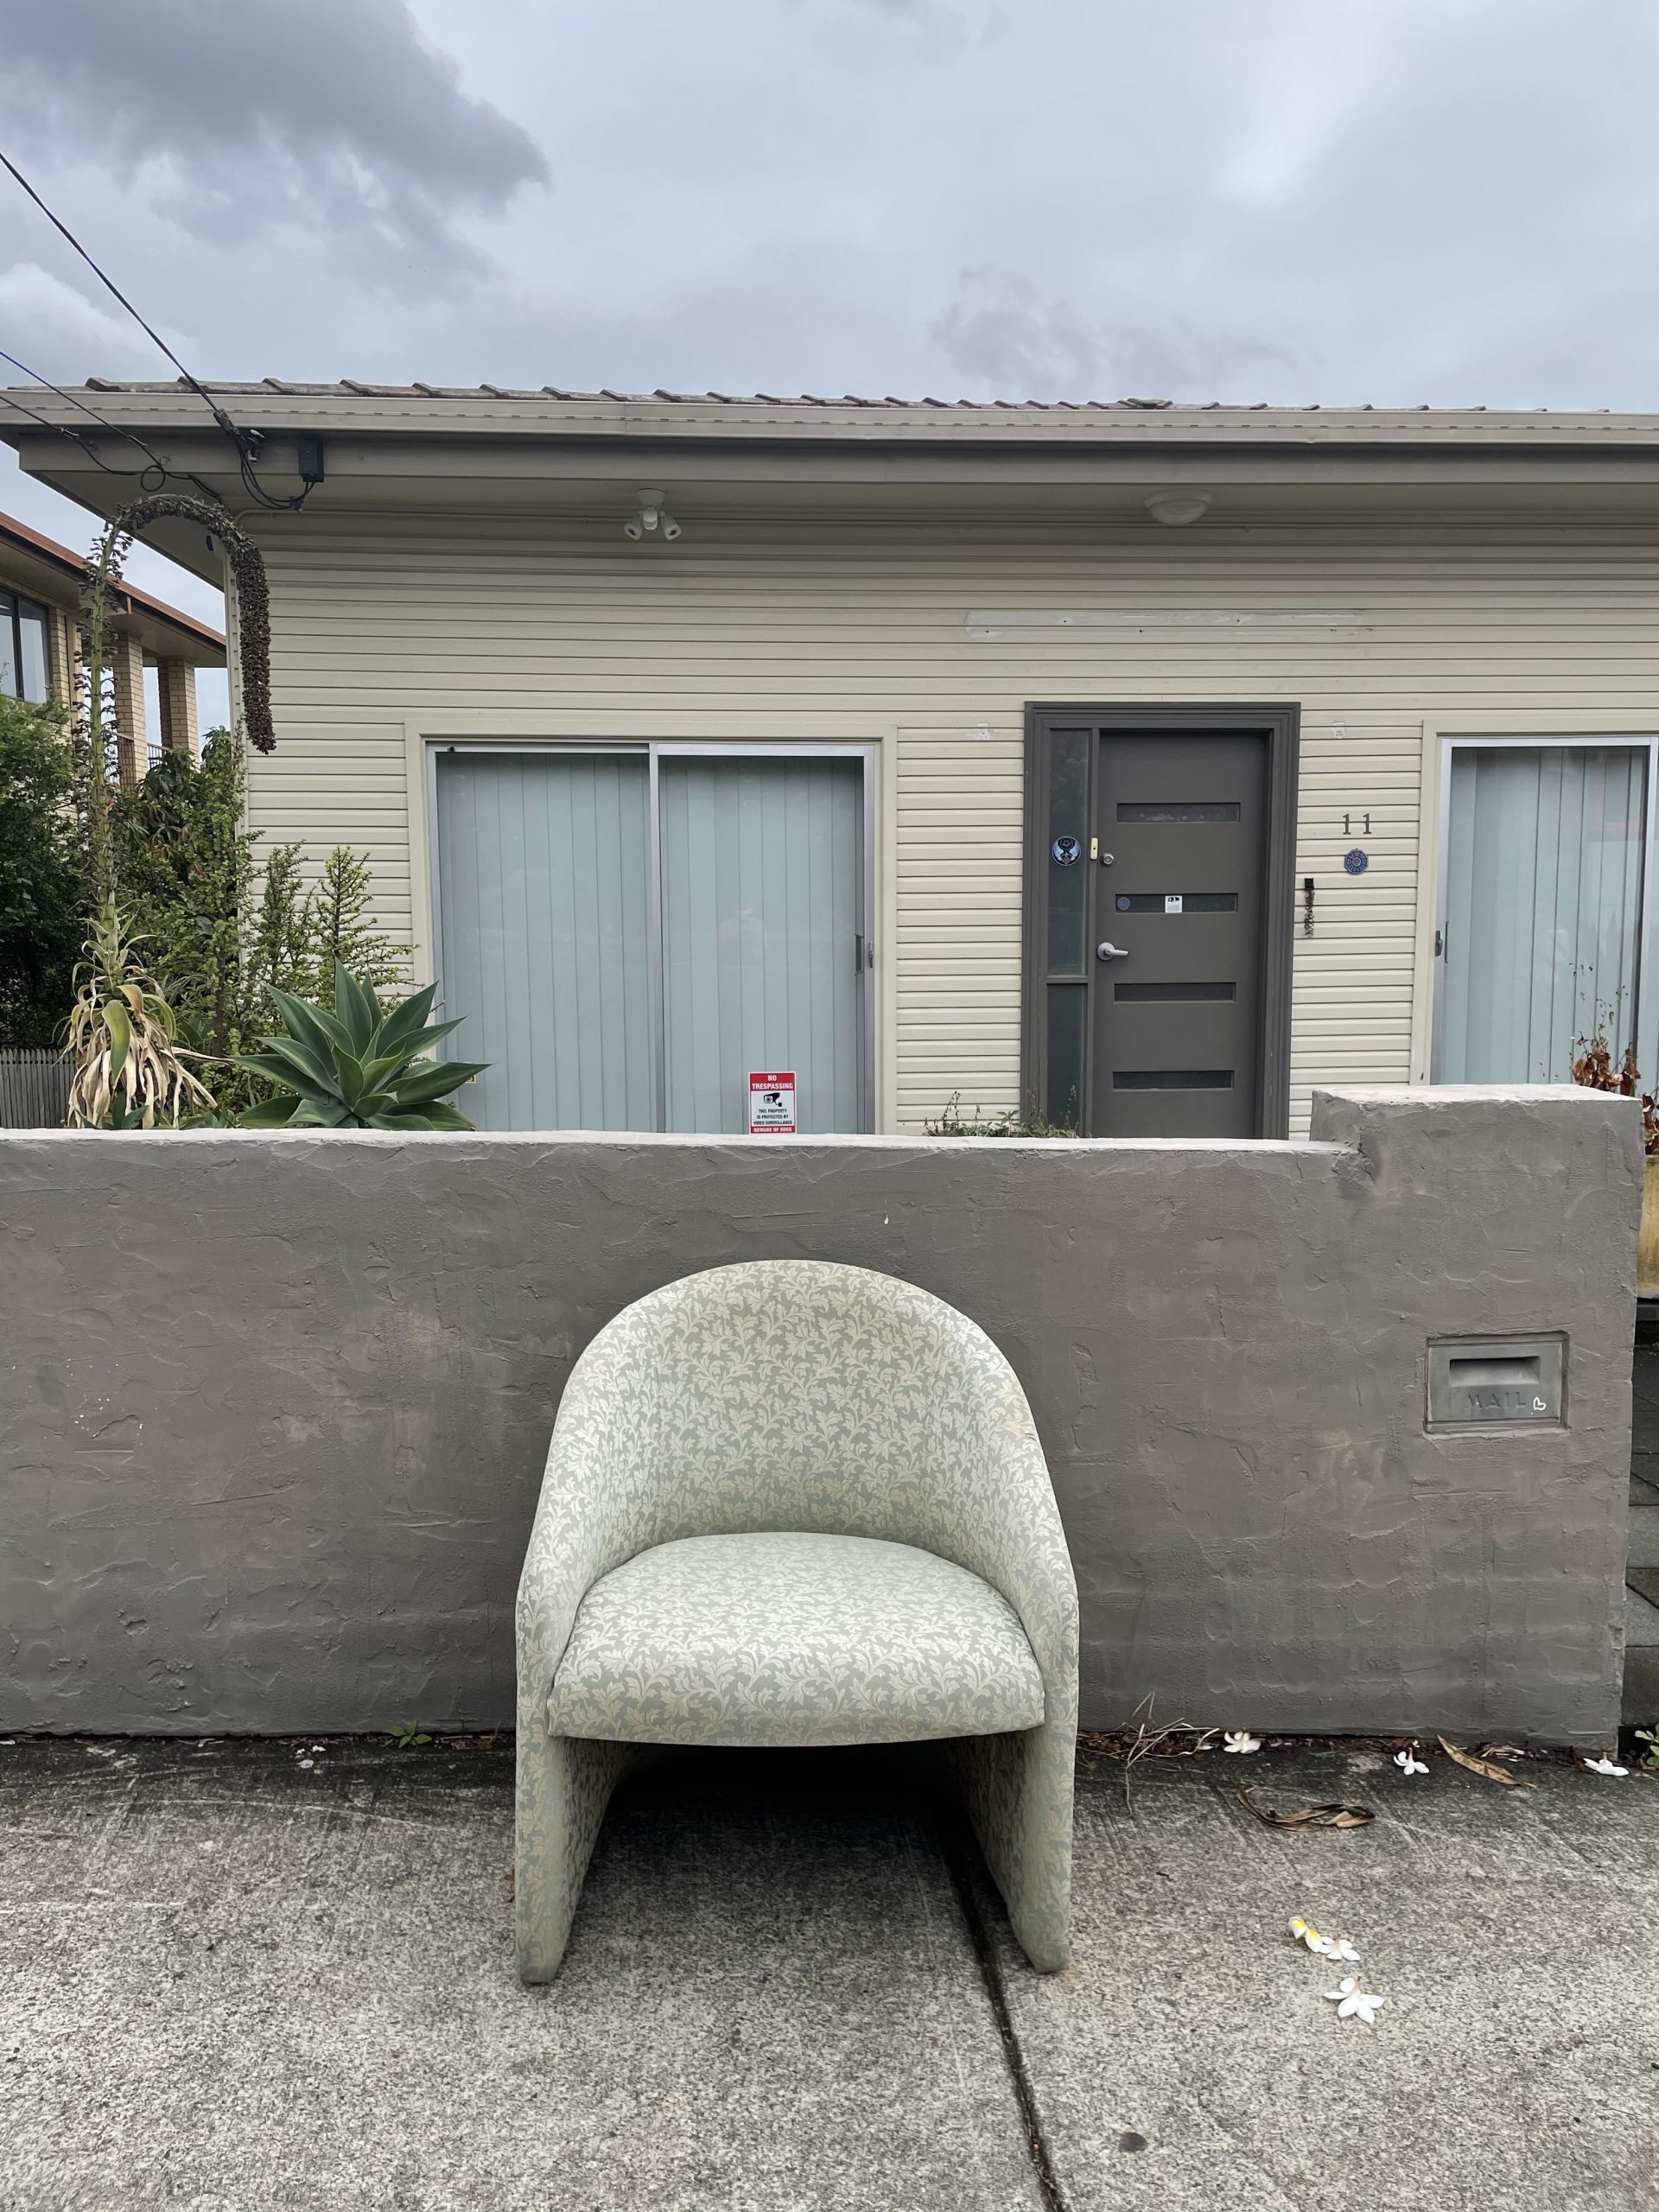
When I saw this old chair on the street, I knew that with a bit of love it could be transformed into something modern and stylish. Curved chairs are trending right now and so when I reached out to my Instagram community to see if I should salvage it, the answer was ‘yes please’! I had a lot of suggestions for bouclé and velvet which would have also looked amazing, but the votes were tallied and the winning fabric was these towels from Spotlight. And on sale for $5 a piece, who could go wrong?
Tip: Look for towels with a unique pattern, preferably one with a velour effect as it will look more luxe. A geometric print will also serve you well when it comes to aligning the material at the seams. Ours had quite a prominent vertical stripe which certainly helped with the vertical seams.
- before
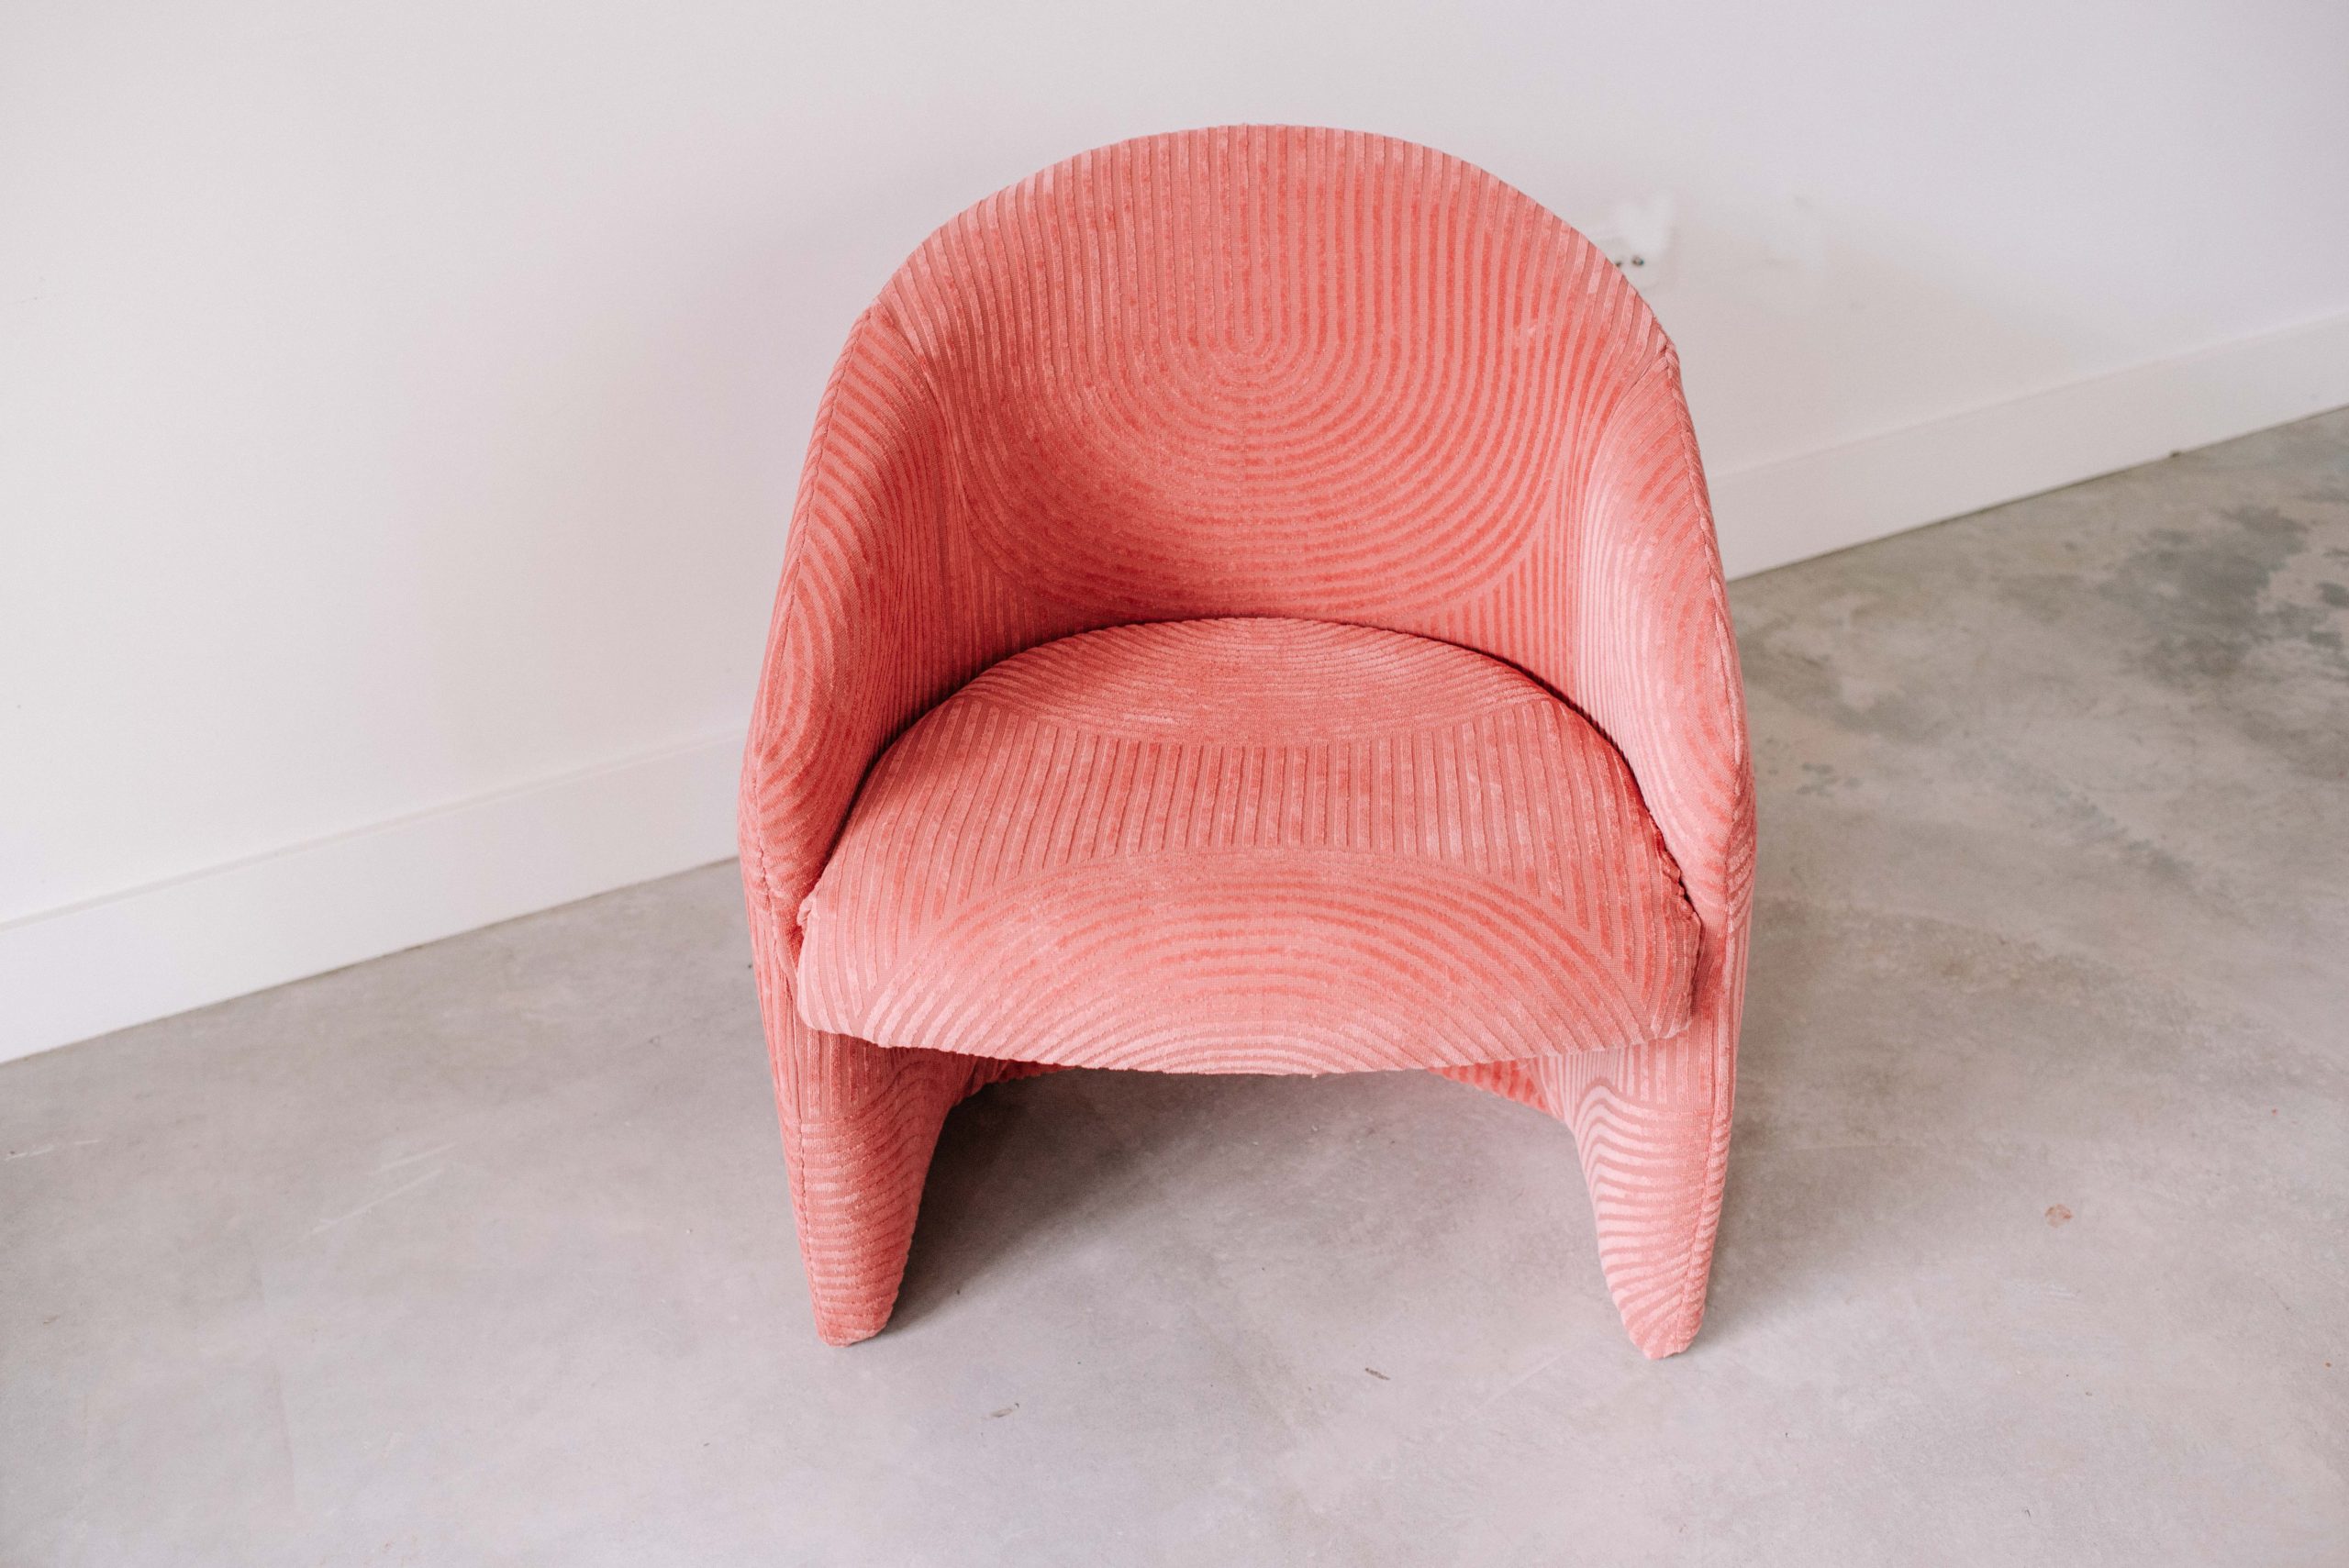
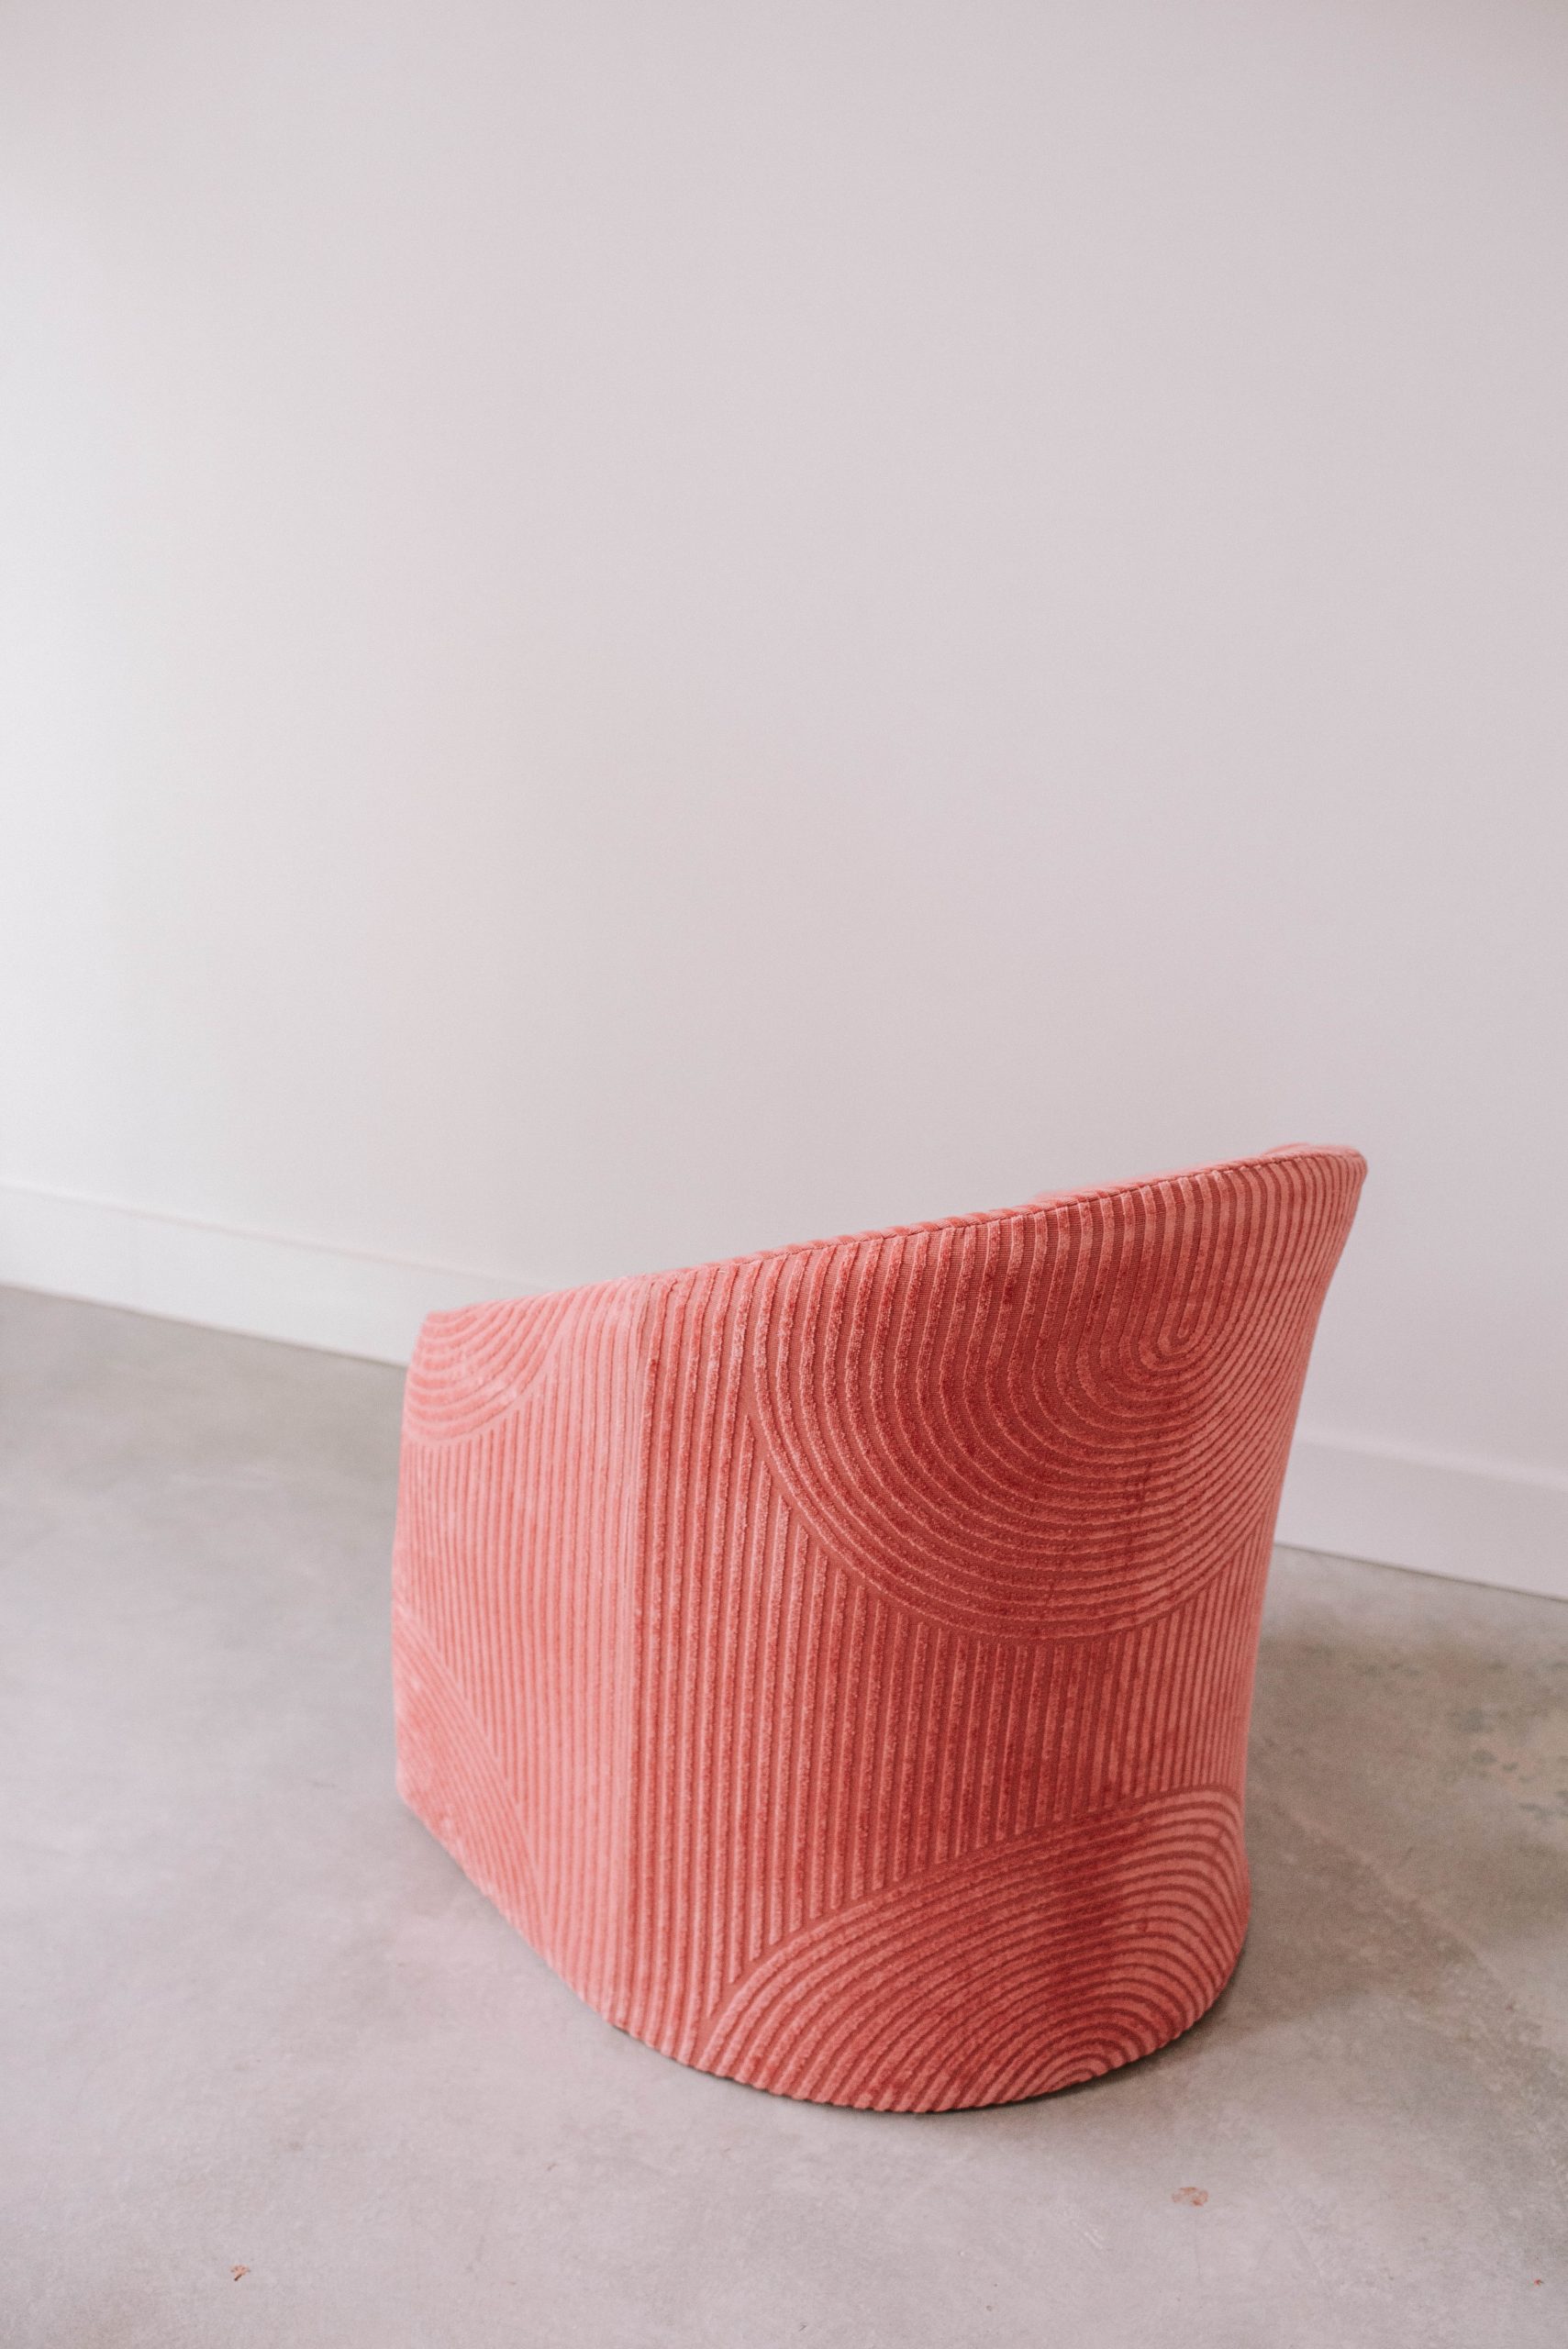
- after
You Need
- 4 x Bath Sheets to cover the chair. I used these from Spotlight.
- Matching thread
- Sewing machine
- Measuring tape
- Dressmakers chalk or marker
- Fabric scissors
- Dressmakers pins
- Upholstery tacks
A Quick Word On Cleaning Secondhand Upholstery
When I buy secondhand furniture, I always make sure to give it a really good clean, unless I plan to strip it completely. For this chair, I considered removing all the upholstery, but ultimately I was worried about it falling apart or losing the shape entirely when I took it apart. And at 9 months pregnant, I knew it wouldn’t be easy to completely remake the chair. So I resolved to clean it really well instead! First I spot cleaned the chair to get rid of any stains using diluted dish soap and a clean sponge. I didn’t go overboard with this considering it would be covered but I did want to make sure it was clean.
I then gave the whole item a good vacuum using the upholstery head on my Dyson V11 Outsize Pro. To sanitise and deodorise I mixed a cup of baking soda with 10 drops of eucalyptus oil and put it in a powder bottle, sprinkling it over the whole chair. I left it for an hour to two, and then vacuumed again! Another option for killing germs is a spray made from 1 part rubbing alcohol, 1 part white vinegar and two parts water. This can be sprayed liberally to remove germs. Finally, to get rid of any remaining smells I used some eucalyptus spray.
How To
1
After thoroughly cleaning the chair, the first thing we did was to remove the seat from the main part of the chair. We were able to remove the seat by unscrewing it from underneath.
Our game plan when reupholstering this chair was to approach it section at a time, so that we could ensure the pattern of the fabric worked with the shape of the chair.
2
Starting with the middle back and front panels, lay your fabric (with the right side out) over the chair to find the right positioning for your material.
Allowing a generous amount of excess (about 10 cm / 4 in) cut your material down roughly to the shape of the panel you’re working on.
Don’t worry if this isn’t perfect - just ensure that you give yourself plenty of allowance as we will refine the shape in the coming steps, this just gets you closer to having a ‘pattern’ of some sort. Repeat this for your front middle panel after you have done the back.
3
Turn your material so that the right side is facing inwards (face down on the chair) and begin to pin the seams together along the top edge of the chair.
Take your time to ensure you get a snug fit to avoid any puckering in the final cover.
We found it helpful to trace the seam line onto the fabric with a marker to guide our seam line.
4
With your machine set to a straight stitch, sew the top seam together. As towelling is quite a bit thicker than normal fabric ensure you use a strong needle and sturdy thread.
Check your settings by doing a quick stitch test on a scrap piece of your towelling fabric before starting on your main piece.
5
Move onto your next panels - next we did the back, side sections. This is where we found it helpful to have a vertical stripe in our print, as we were able to align the material together to create continuity in the pattern.
Repeat the previous steps - trimming the fabric down to size, pinning your seam line and sewing together
6
Next we did our front, side panels. The last panels are the trickiest and require the most precision to ensure that the cover will fit correctly.
Take your time repeating the process of aligning your pattern and pinning one side at a time.
7
We found it helpful to pin all sides, sew one seam at a time and in between each seam put the cover back over the chair to check the fit.
In doing this, we were able to identify a couple of seams that were a bit off, so we could unpick and correct them before getting too ahead of ourselves.
8
Once all of the main seams have been sewn together turn the cover the right way out and try it on your chair.
Mark any points in the material that are puckering or bubbling then take the cover off and re-sew any seams to correct this.
As every chair is unique, this is a bit of a process of trial and error so be prepared to adjust a few times for the best finish.
9
Once you are happy that the cover is tailored to your chair remove the cover and trim any excess fabric from the inner seams.
10
Fit the new cover to the chair. Flip the chair over and close the seems underneath the chair either by sewing of securing with a hammer and thumbtacks. This is a bit of a process and not something you can d on your own, as you need someone to help you pull the fabric tight all the way around for a snug fit.
11
Moving on to the final element of the chair, the seat!
Taking care to align the pattern, lay the chair upside down on the inner side of the towel.
Keep the fabric taught and use the hammer to secure thumbtacks in the wooden frame.
Fold the corners over neatly so they are nice and smooth at the front of the chair.
12
Pop the seat back on the chair and screw in to place.
Here is the finished product. I love how it turned out!
How beautiful is this end result? It joins a long line of upcycled chairs include this carpet runner chair and a raffia woven office chair. However, I have to say I think this is my favourite.


