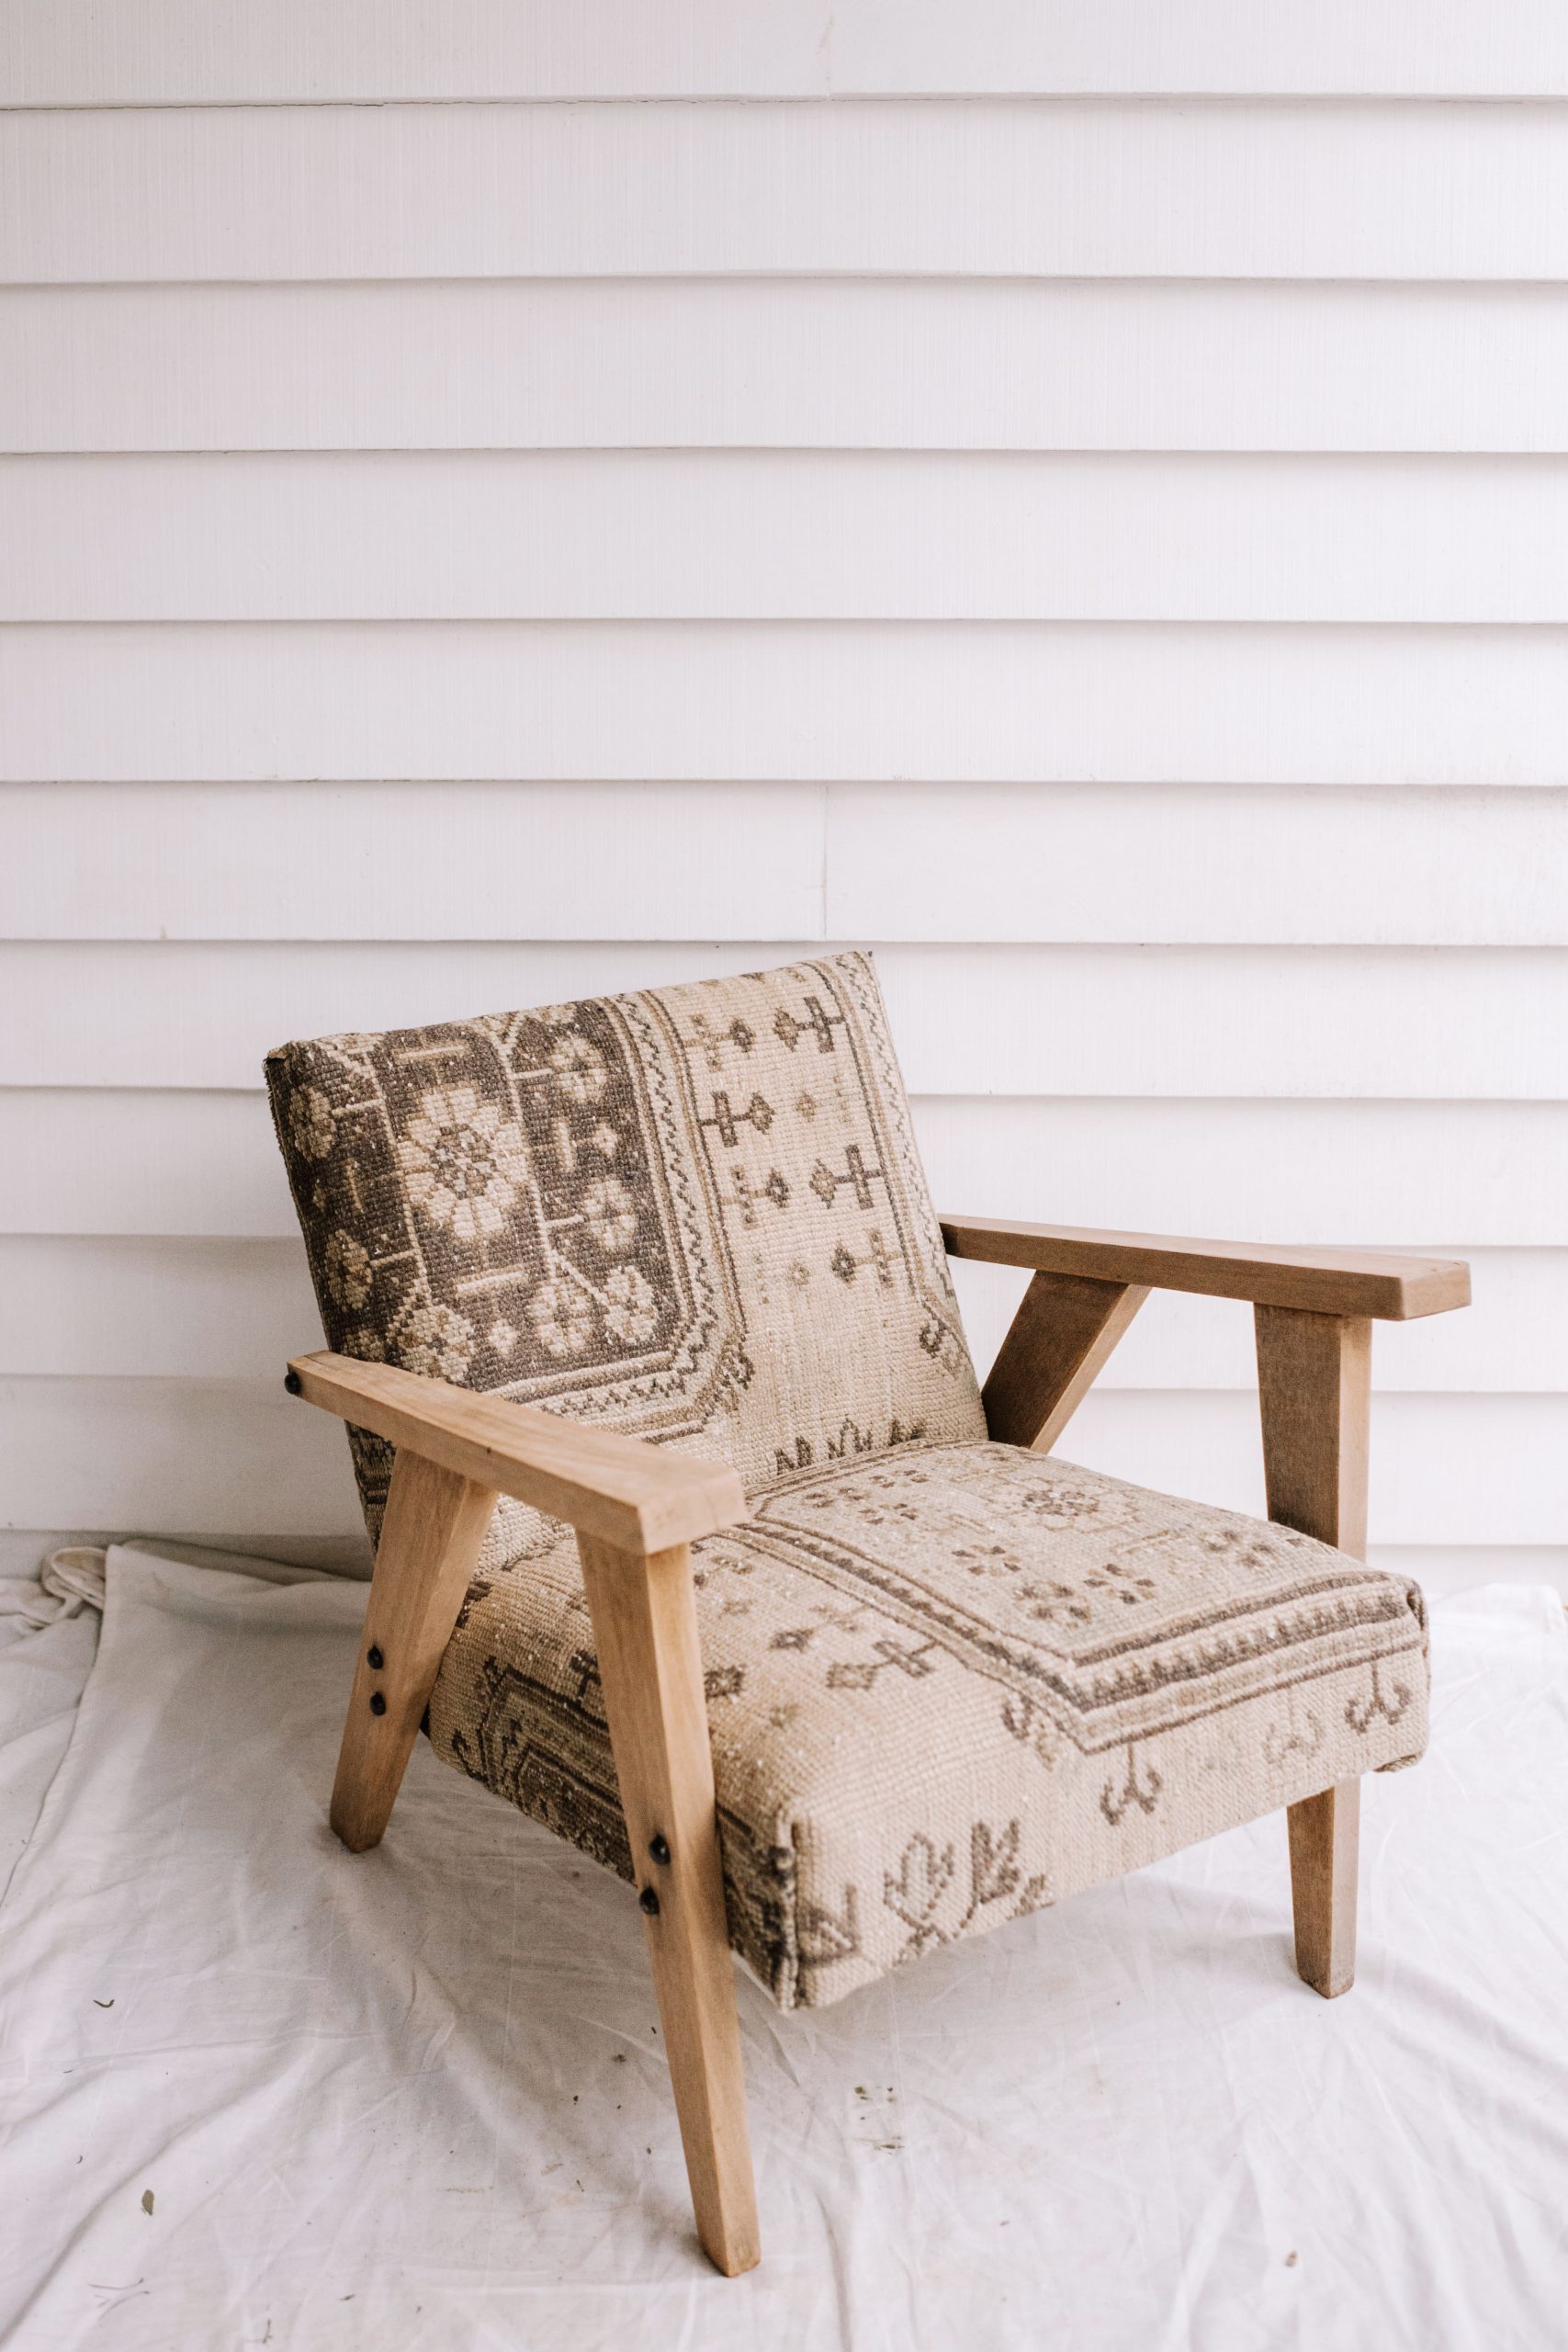
No chair left behind! Is what they say, right?
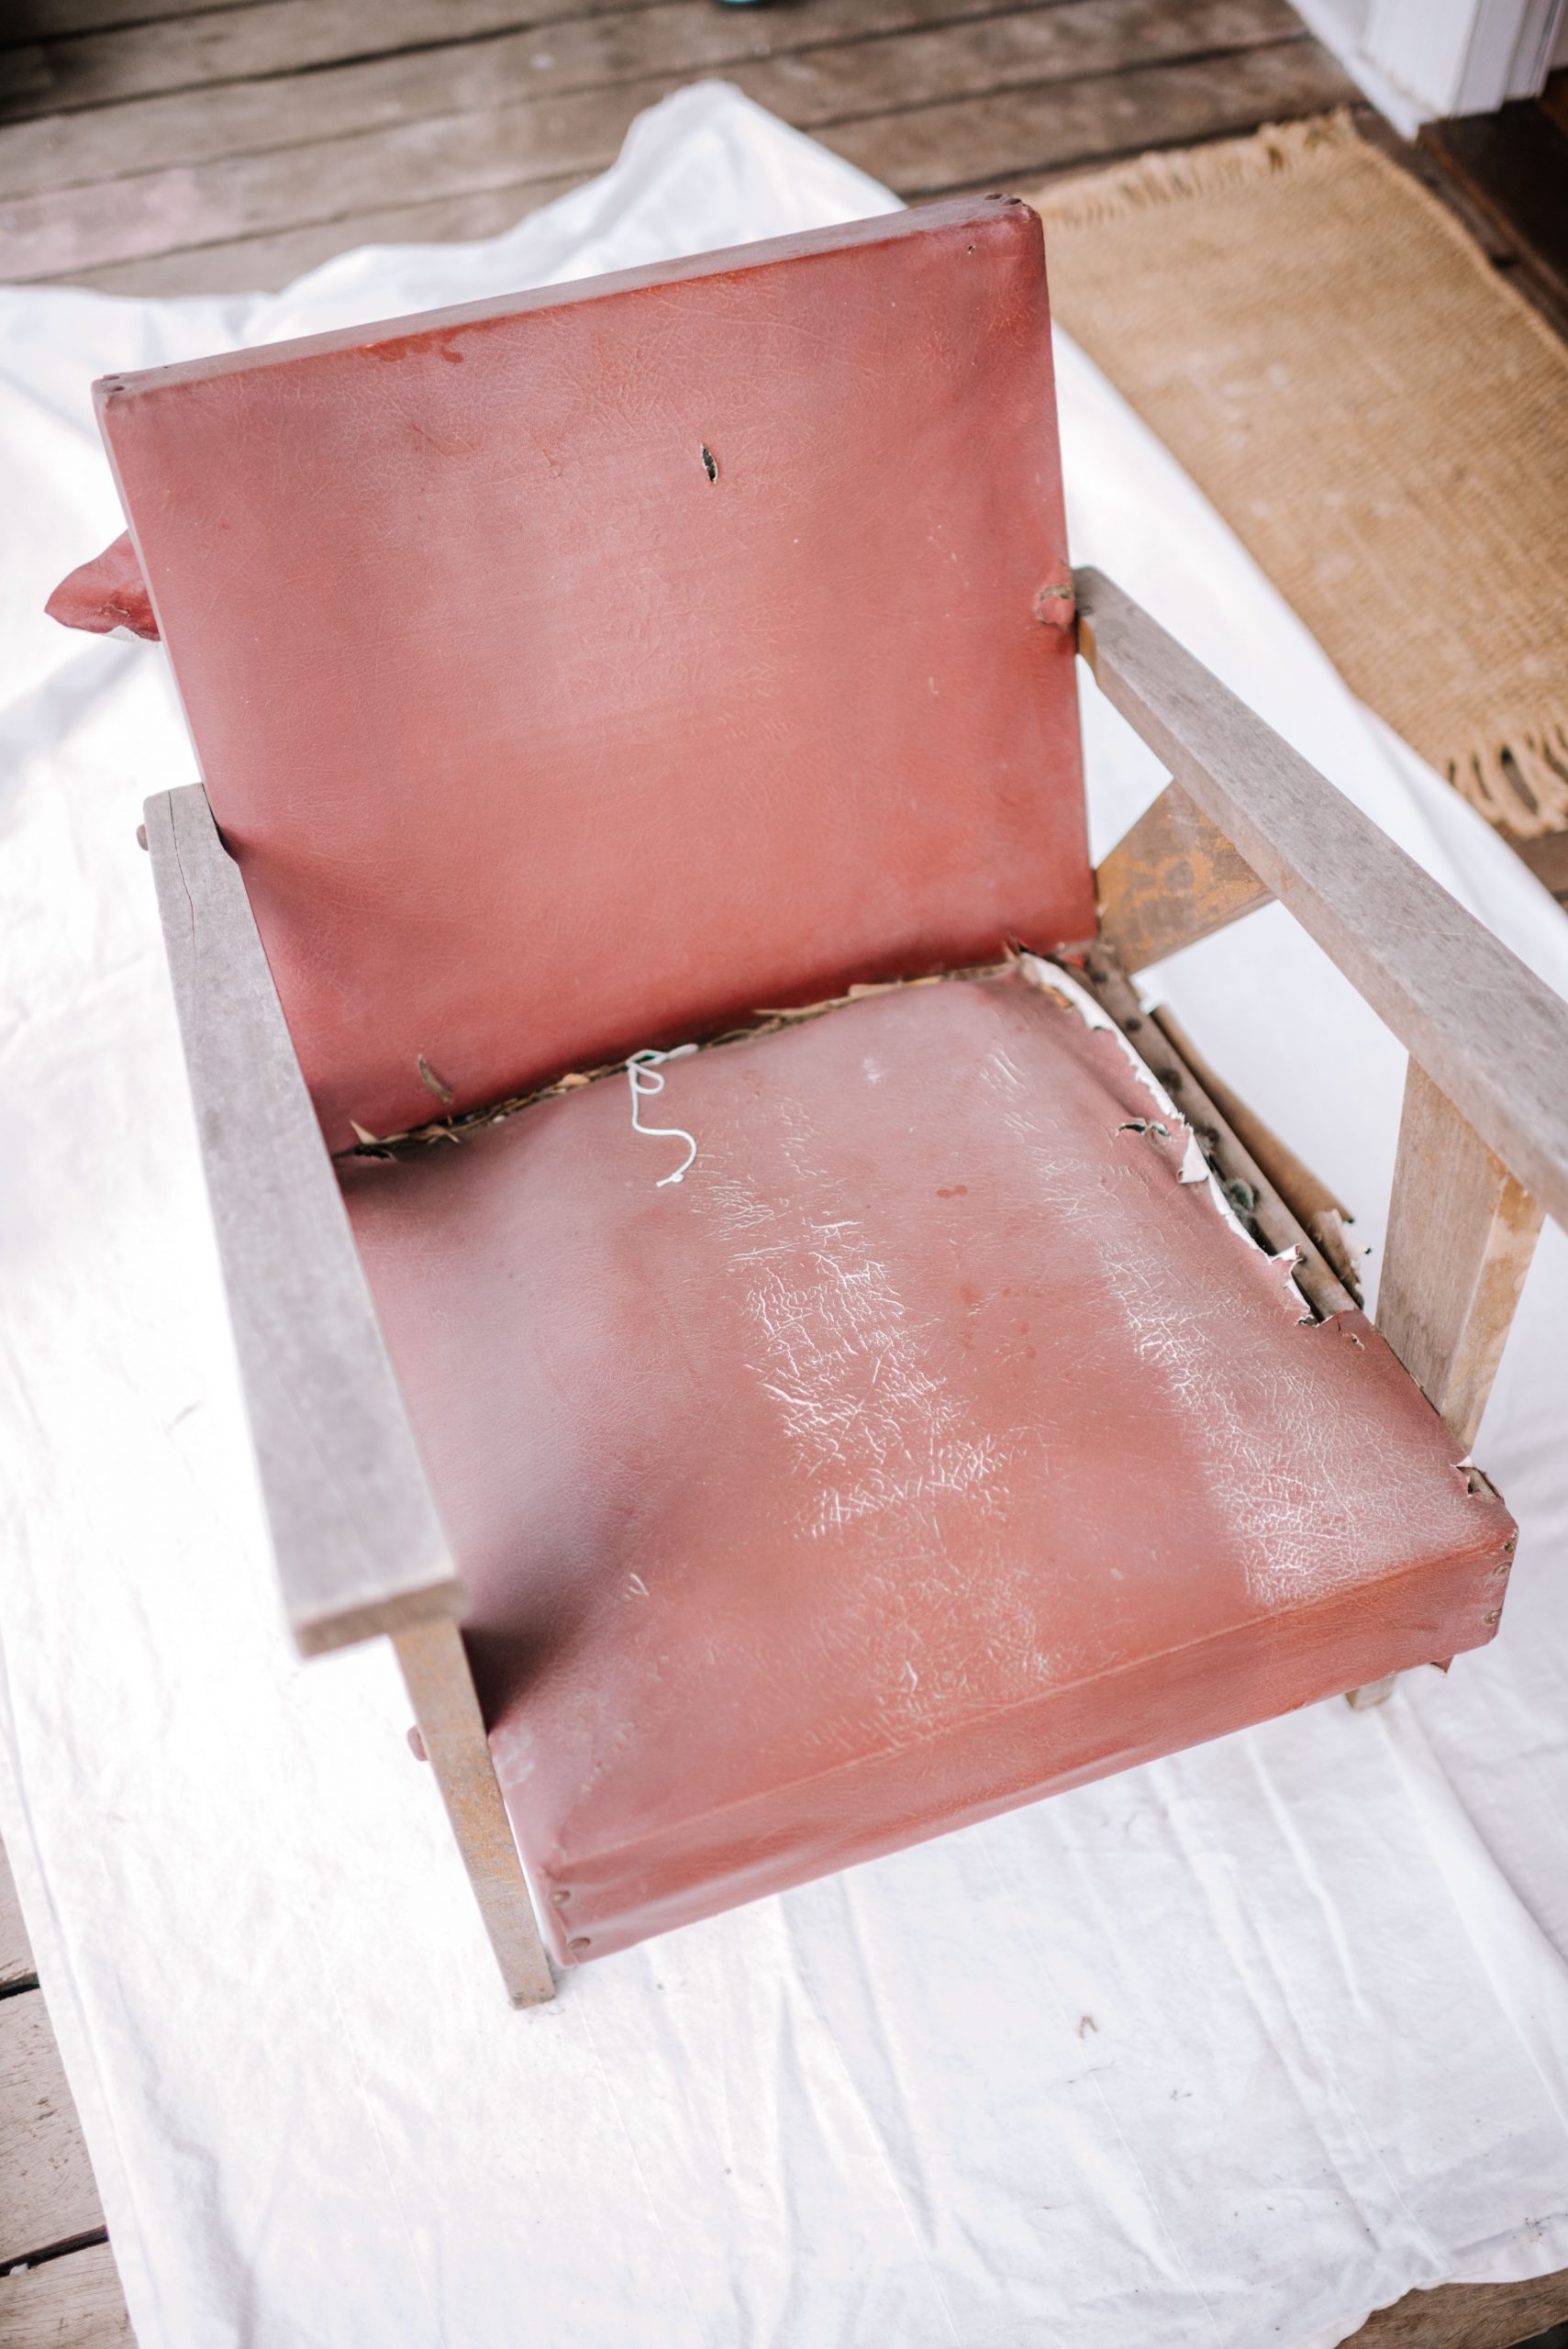
I have to be honest, I was VERY dubious about this old chair when I found it on the side of the road. It was completely worn out, trashed in fact! When I got it home and asked Ben what I would need to fix it (he being the interior and furniture designer), he told me ‘an incinerator’. Wow thanks! And honestly, it’s been an epic journey over the last few days stripping, sanding, cleaning and upholstering it. But I’m so happy with how it turned out! For this project I couldn’t wait to use my new Dremel rotary tool. I’d been looking for a project where I could experiment with all the different attachments and functions, and this upcycle was ideal. I’m so excited to be working with them over the next few months to share tips and tricks for how you can use it!
- Before
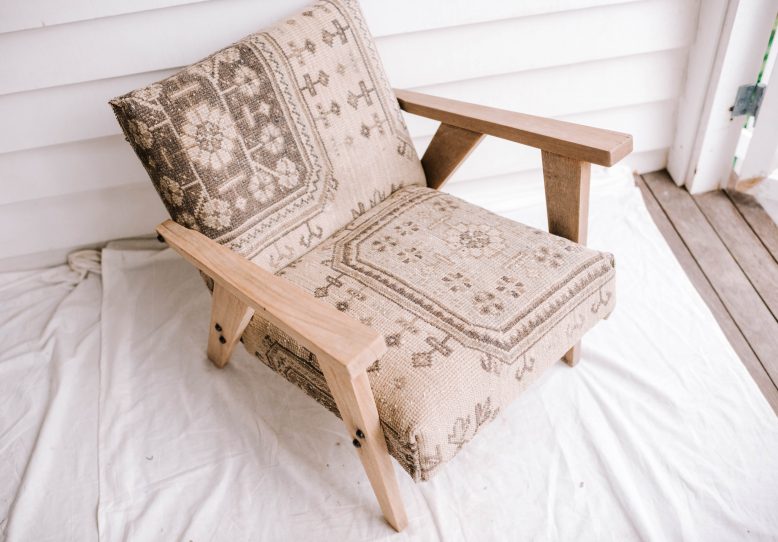
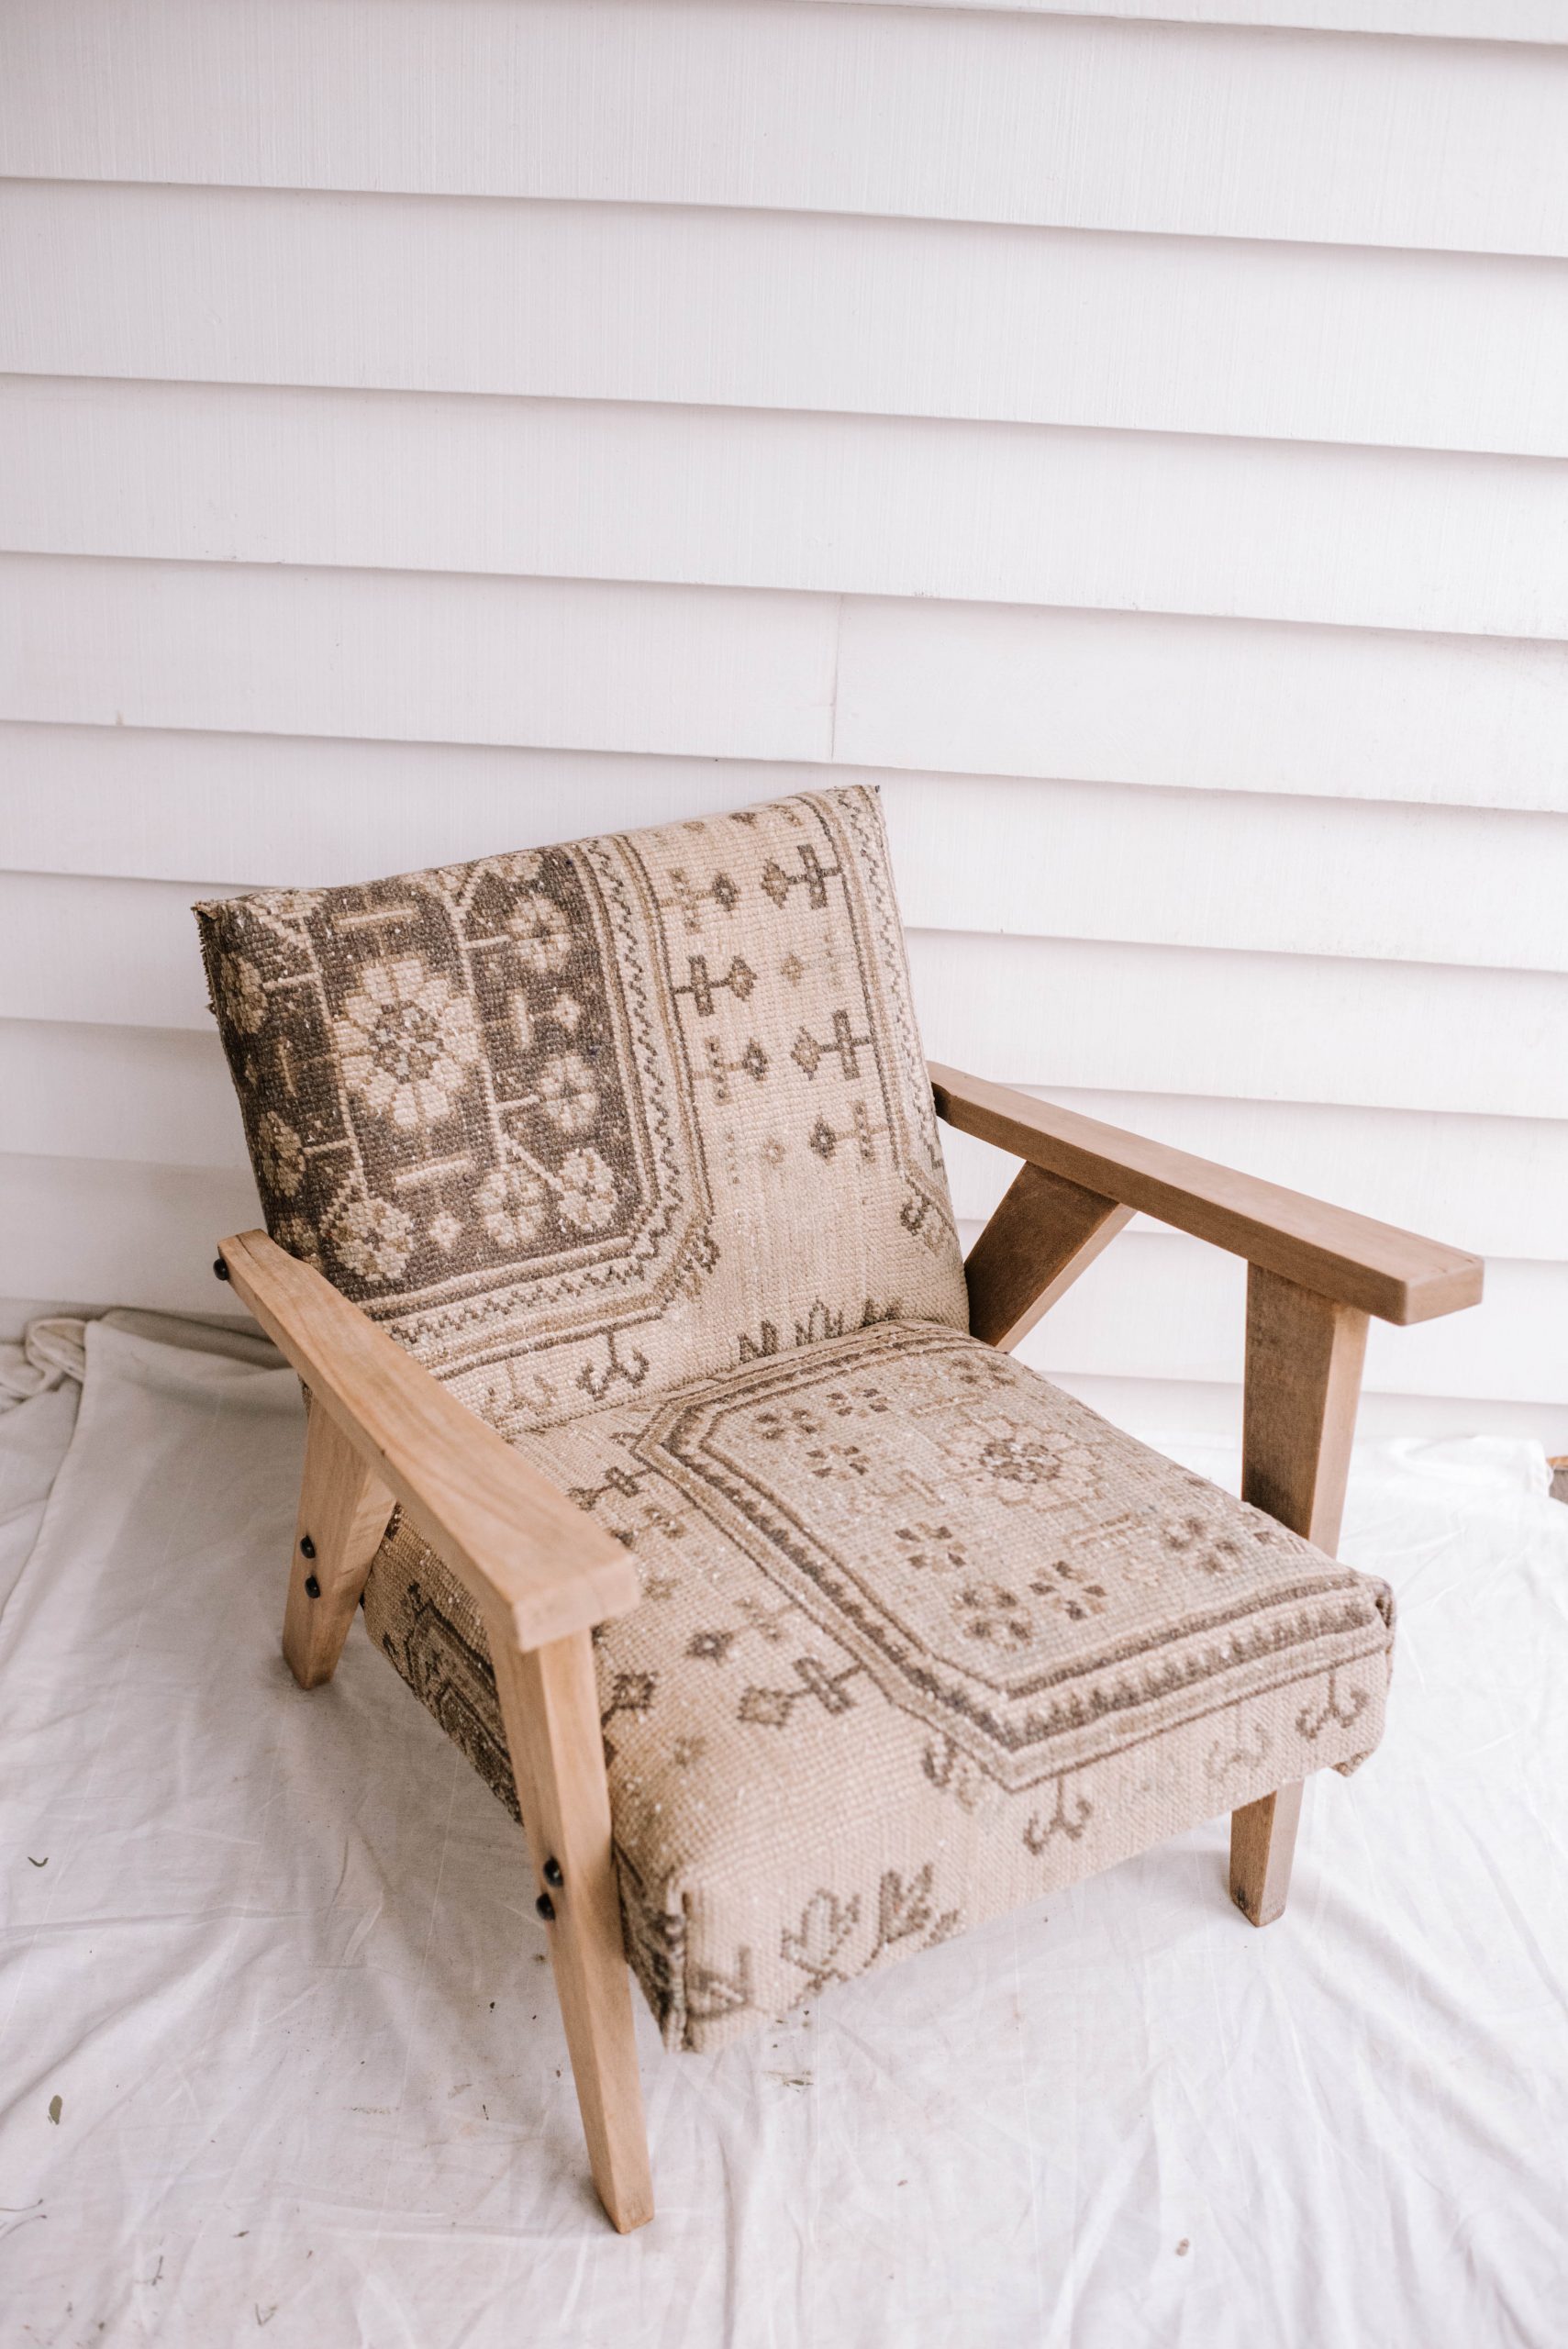
- After
What Is A Dremel?
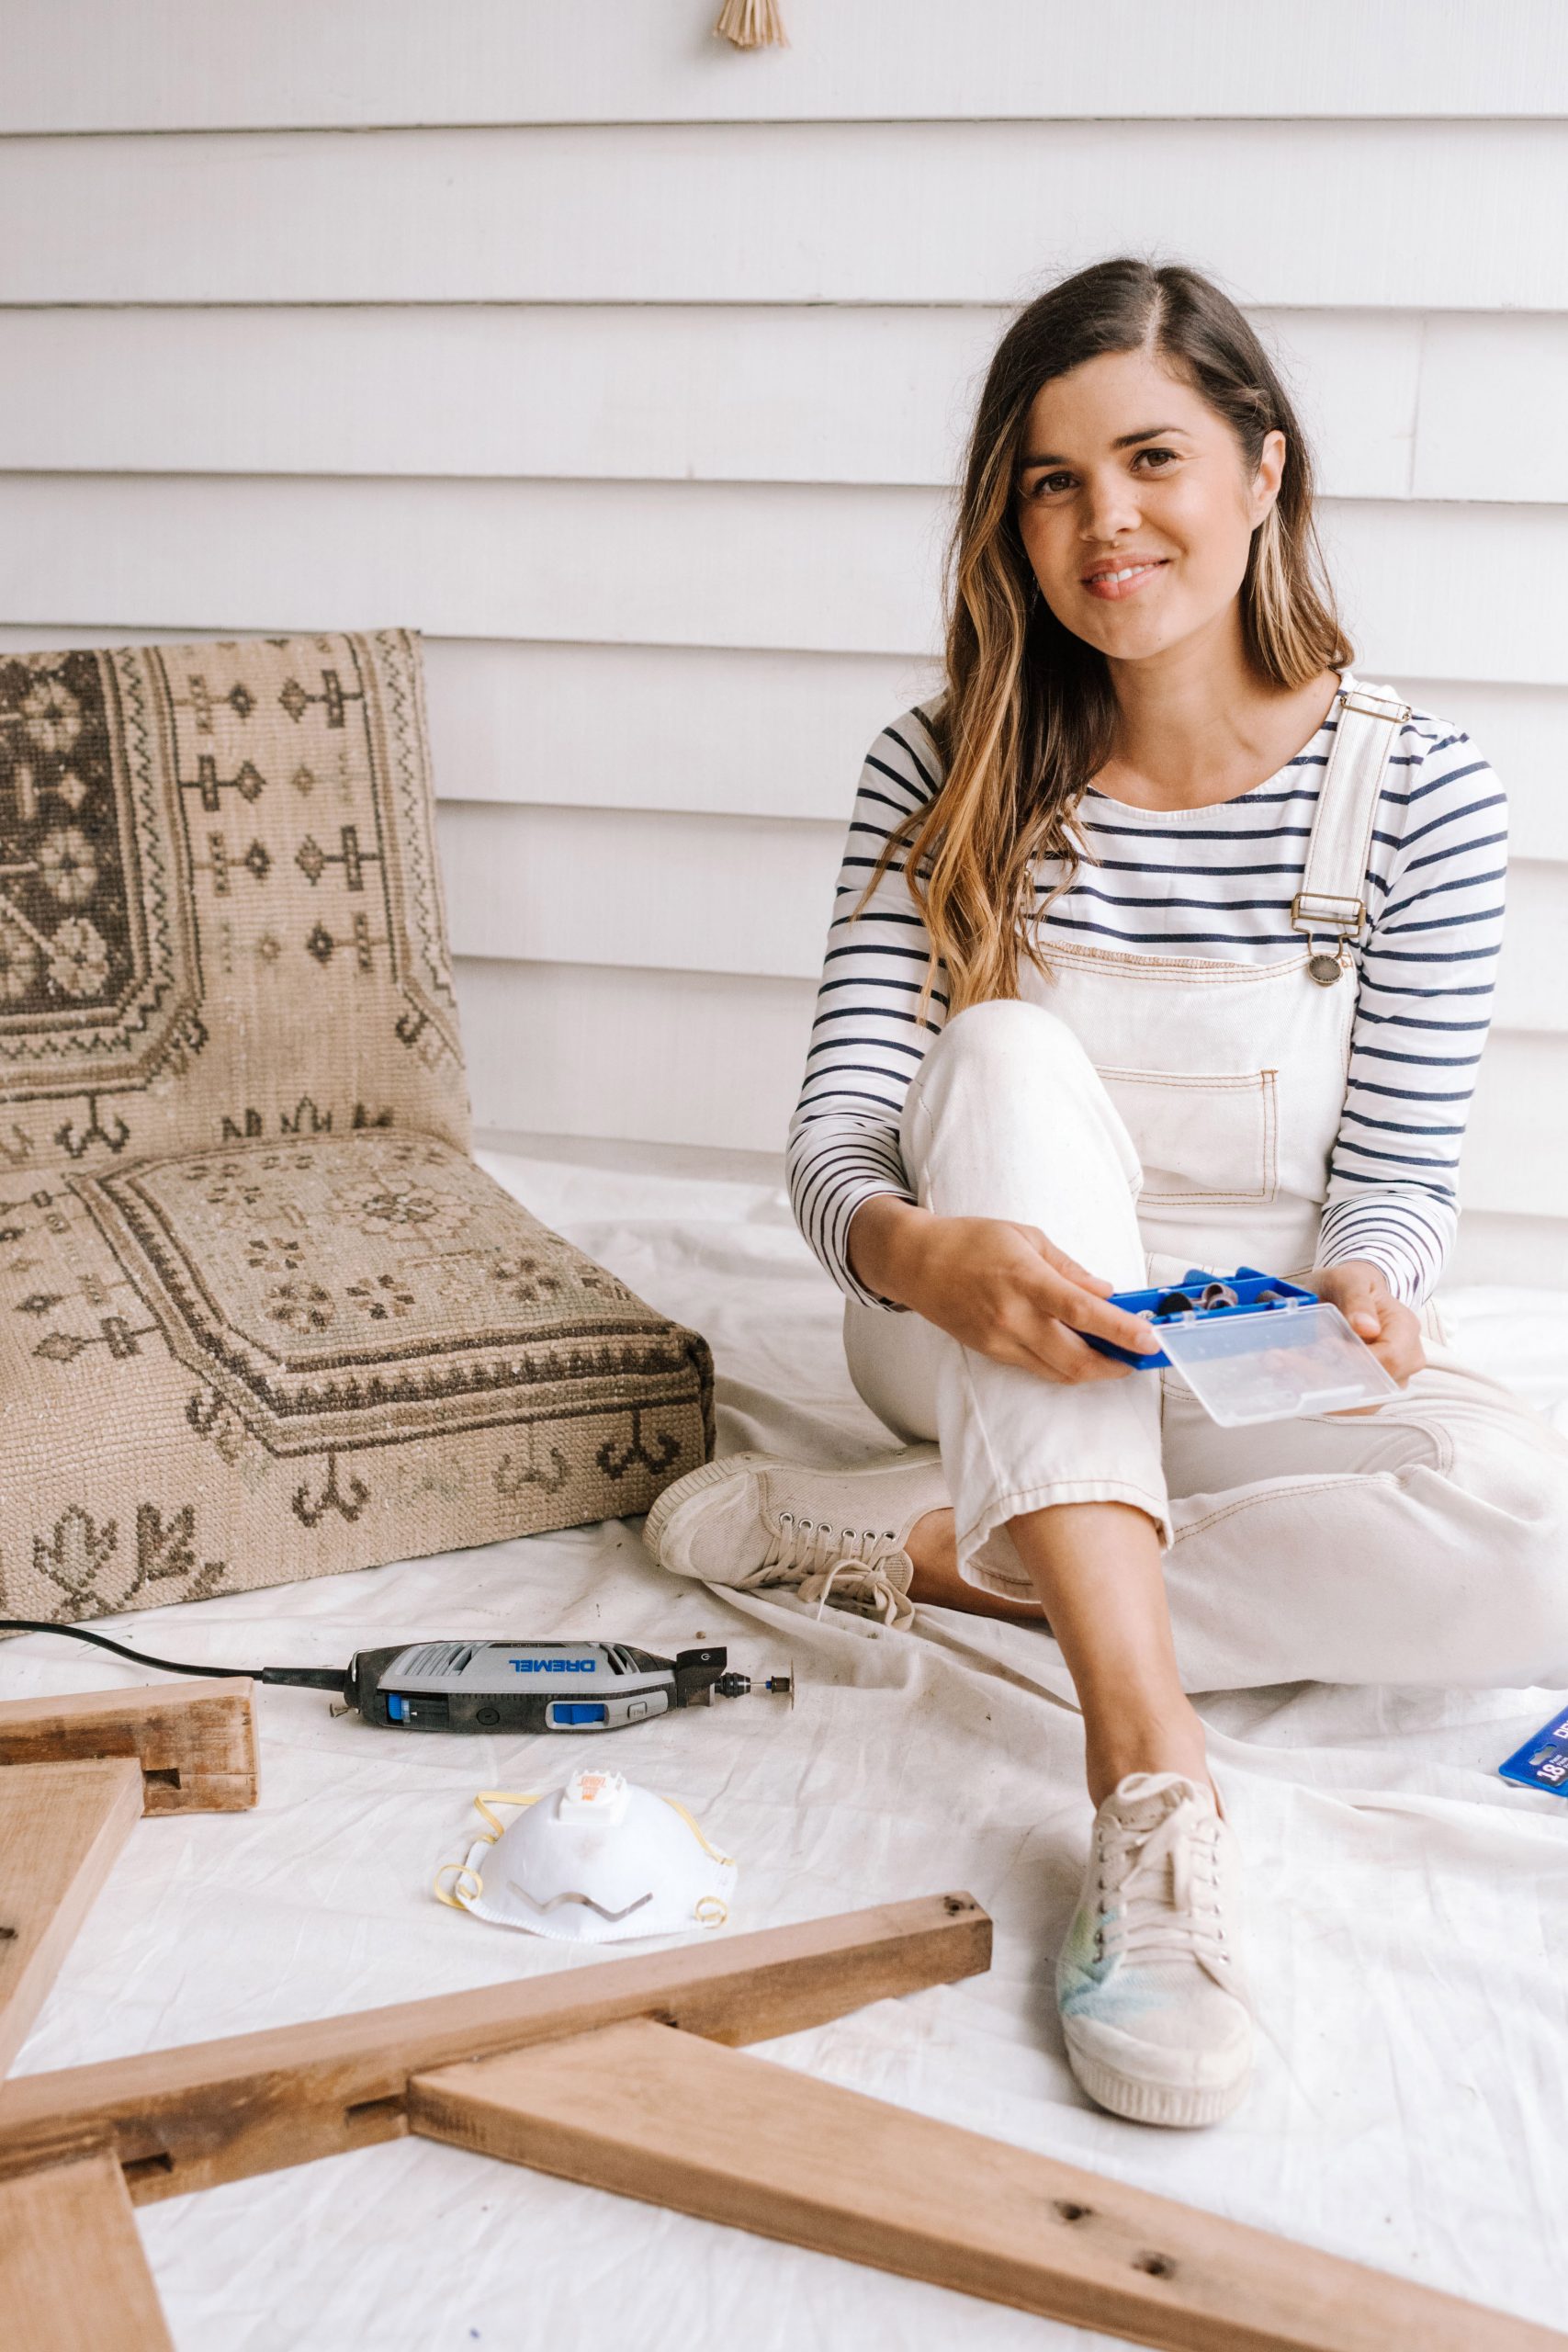
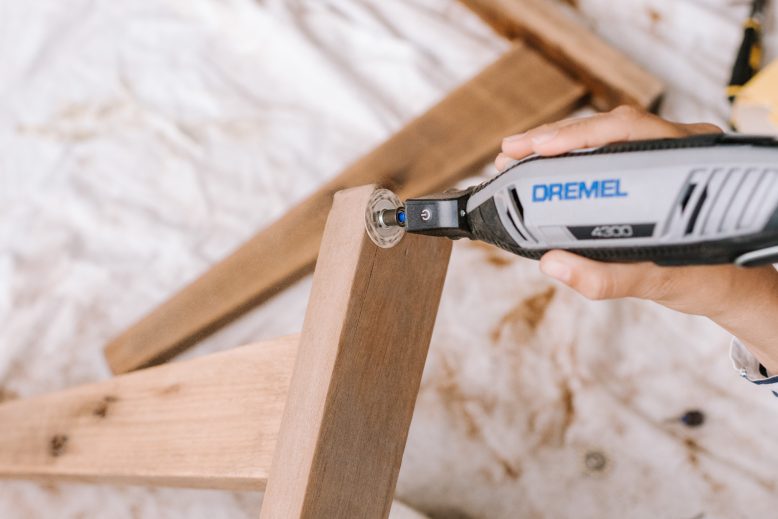
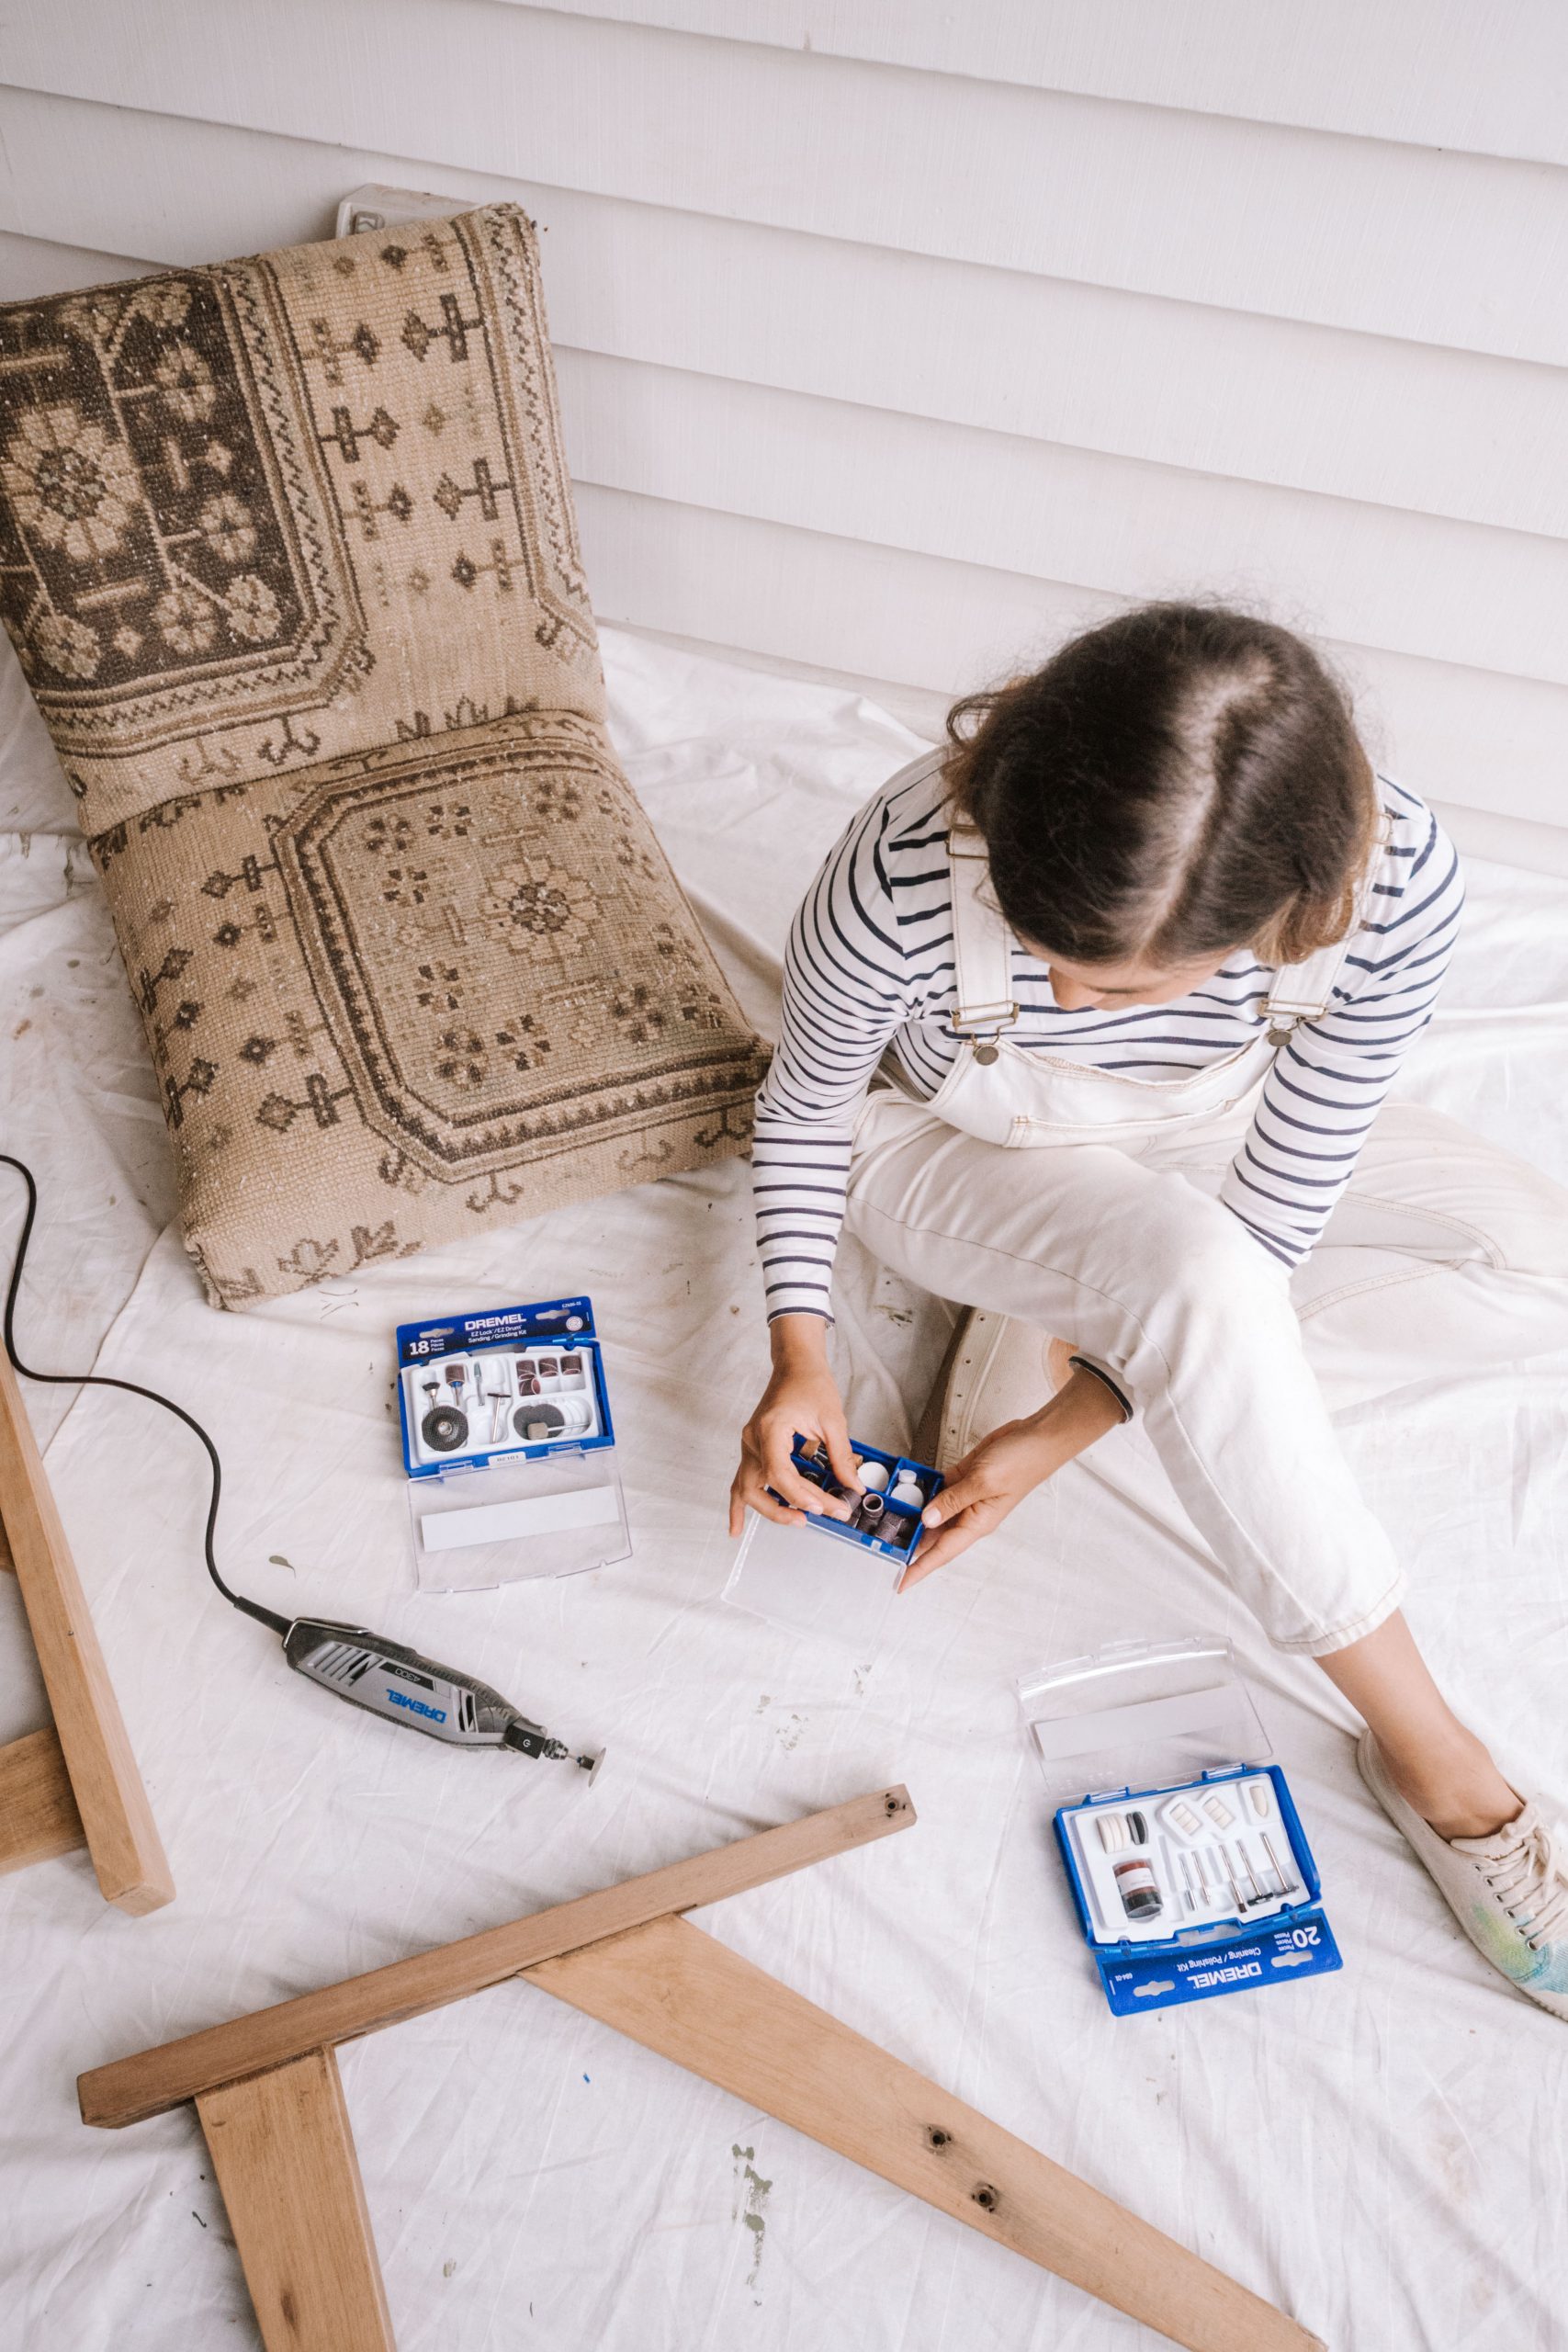
If you’re looking for a multi-use tool to help with your upcycling and DIY projects, this is it! I have the Dremel 4300, which is a high powered corded version (they also have cordless) that has a multitude of attachments. For me it’s so great for upcycling, DIY and home projects because it cuts, sands, drills, cleans, engraves, polishes and so much more! For this particular project I used the Dremel to sand hard to reach places, buff and clean the wood so it was fully restored and then clean all the metal studdings and fixings. I can honestly say it gave this project such a more professional finish, and I can’t wait to make more things using it.
Materials
For the Upholstery
- An old runner rug (I got mine a few years ago from Etsy)
- 2 pieces of upholstery foam (this is what I used)
- Black Upholstery Tacks (like these)
- Heavy Duty Staple Gun and staples
- Scissors, stanley knife, hammer
For the Legs
- Dremel 4300
- Sanding & Grinding Dremel Kit
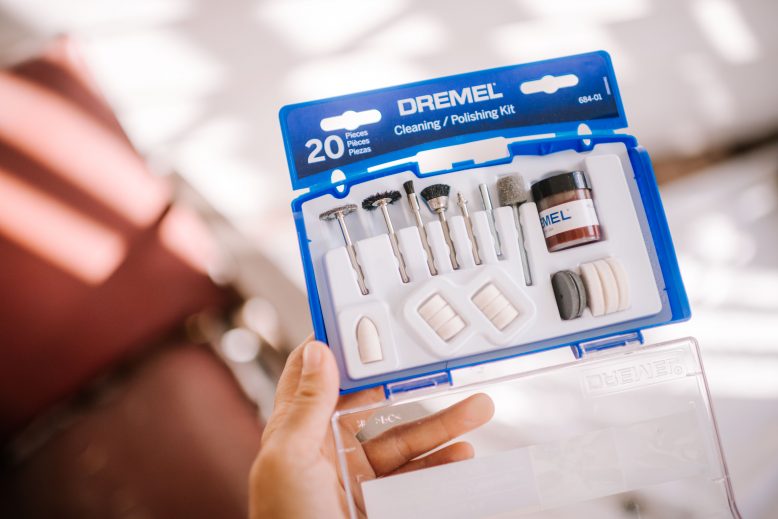
- Cleaning & Polishing Kit
- Dremel Abrasive Buffs
- 220 Grit Sandpaper
- Screwdriver
- Brass screws
How to
1
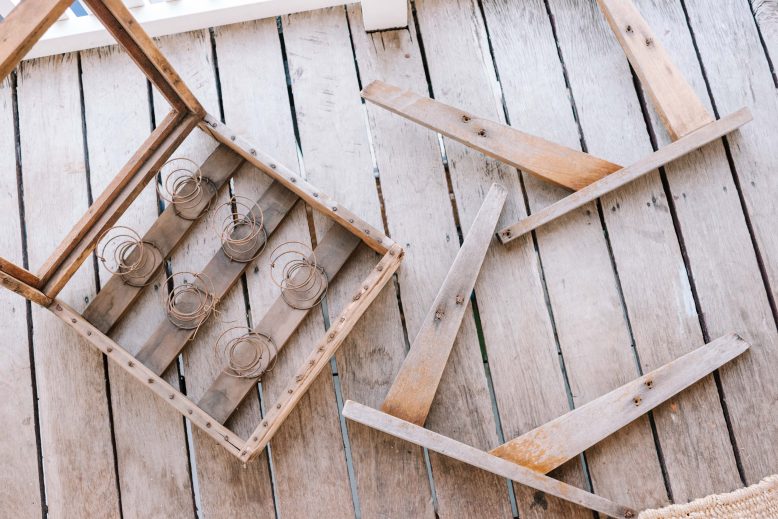
The first step was to remove the legs of the chair. I took off the little stud caps covering the screws and then used a screwdriver to take the screws out of the frame. It wasn't that easy because lots of the screws were rusted.
2
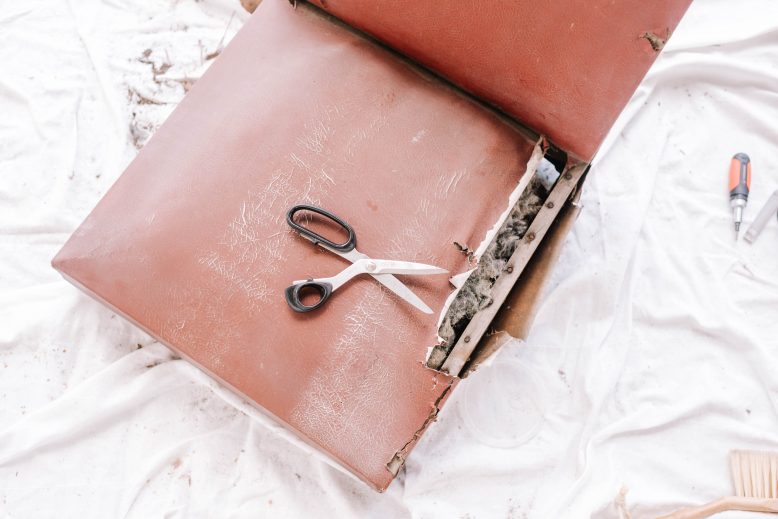
The next thing I did was strip the chair! This bit was challenging and I wore a mask, goggles and gloves to do this.
3
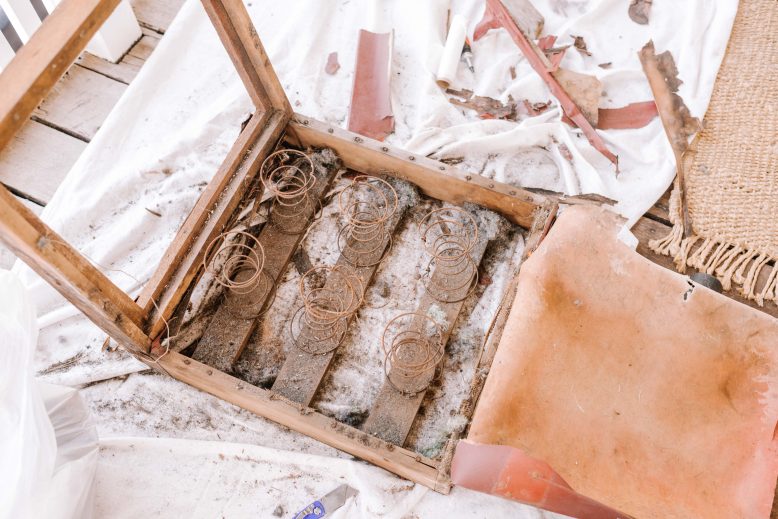
When I removed the old leather cover I found rotting foam and springs. I decided that all had to go. It was quite gross actually! One good thing I did find is that the frame was in pretty good shape.
4
It was great to see that the leftover frame of the chair was in such good shape! I cleaned the wood with eucalyptus oil spray and also gave it a good sanding.
5
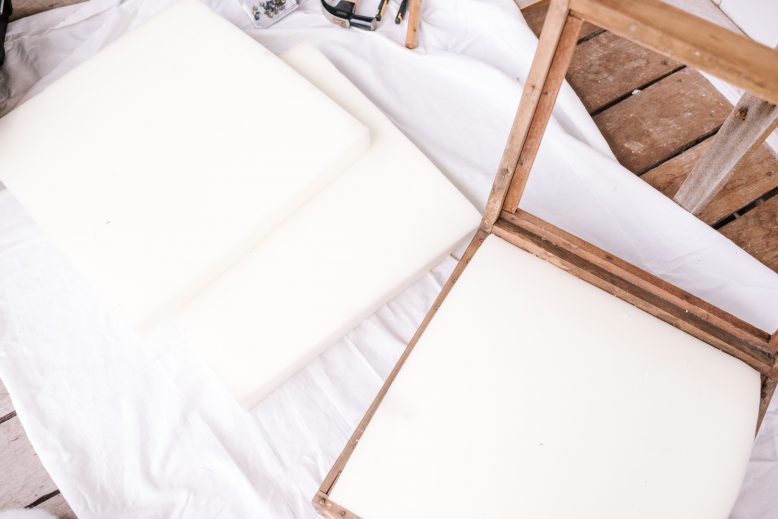
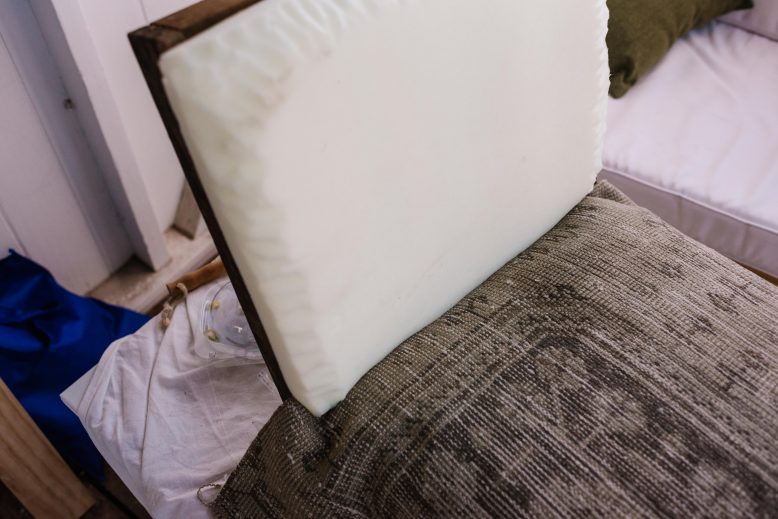
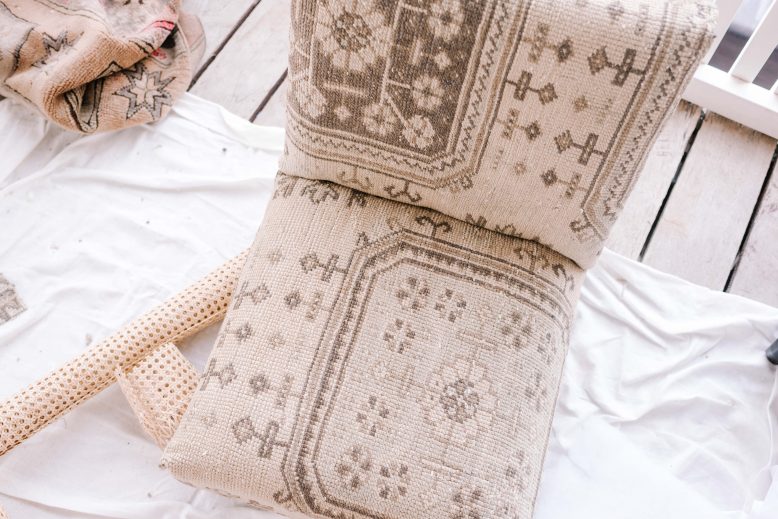
Next up, reupholstering! I decided to take out the springs and instead put foam in the base. I then took another piece of foam and rounded the top corners.
6
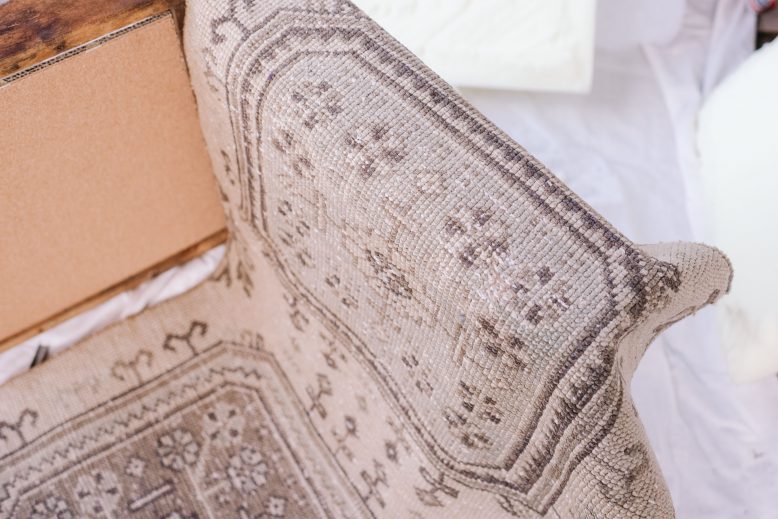
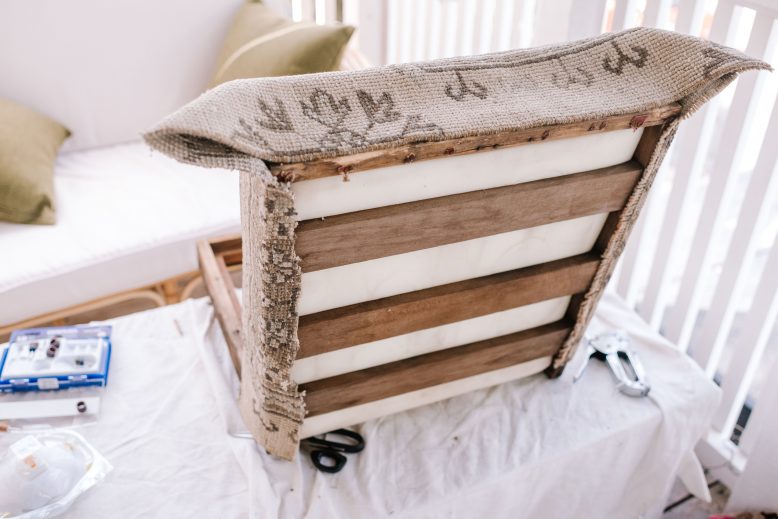
I placed that piece of foam on top of the base and then started to do the upholstery. I stapled the rug to the bottom of the frame along one side.
7
And then did the other side. I pulled it very tight before stapling the other side so that it compressed the foam and gave a nice shape. This part was quite exhausting!
8
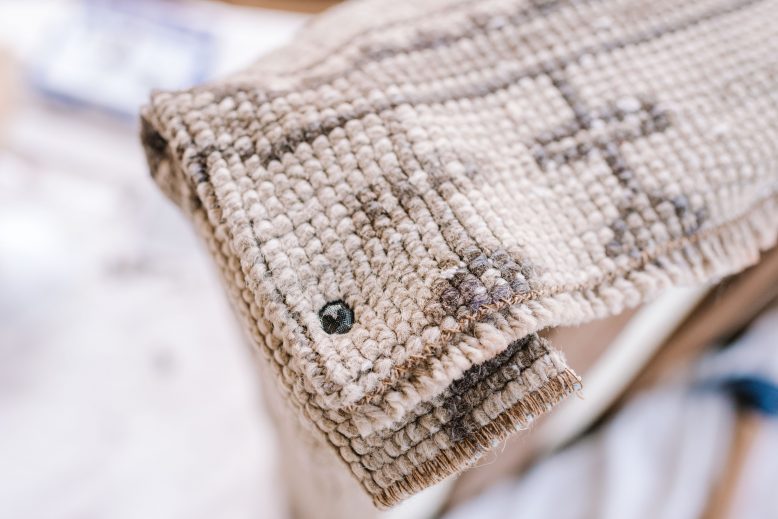
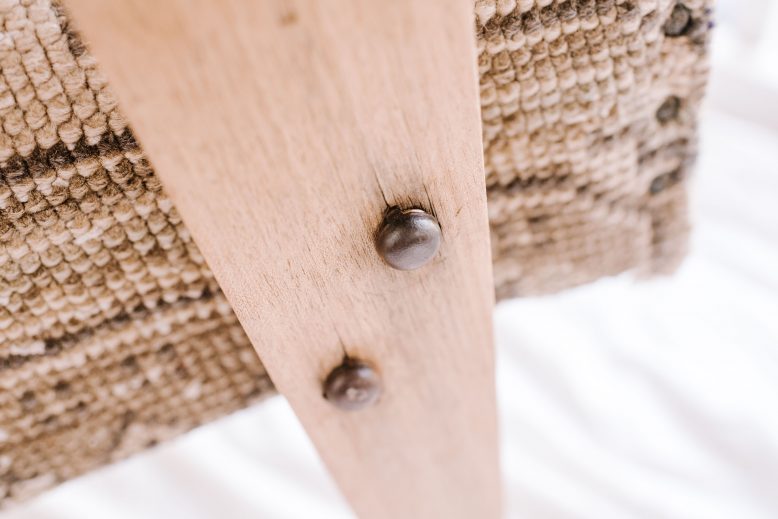
The hardest part of upholstering was the corners, and after some research I decided to fold them hospital style and then use the upholstery tacks to keep them in place. This worked well! I then secured the ends to the underside for a clean finish.
9
For the back of the chair I inserted a board at the back, then placed a shaped piece of foam on top. I secured the edge of the rug to the bottom of the seat back using the staples, and then lifted it up to over the cushion, securing it at the back around the edges using upholsters tacks.
11
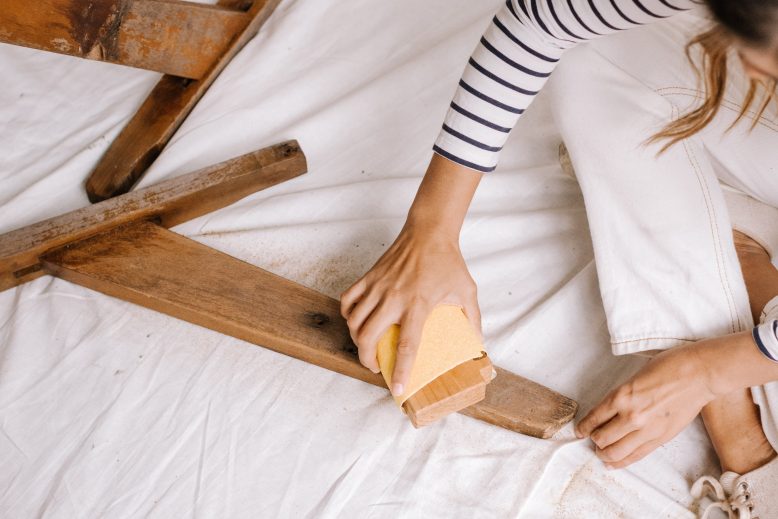
The next step was to refresh the legs. The legs were in really bad shape because I think they had been left outside in the rain, so I was nervous as to whether they could be cleaned up. I started by removing all the big chunks of old varnish using 220 grit sandpaper.
13
I started by sanding some of the more tricky to reach places with the sanding discs and sanding bands. That included under the arms, along the edges and in the grooves of the chair.
14
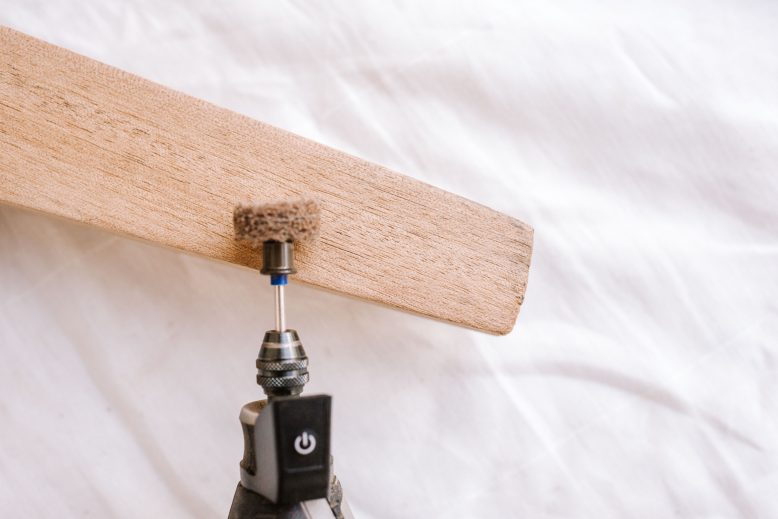
Once the legs were looking well sanded, I used the abrasive buff attachments to clean the wood and to really bring out the grain. Doing this was like magic and really transformed the dull appearance of the legs.
15
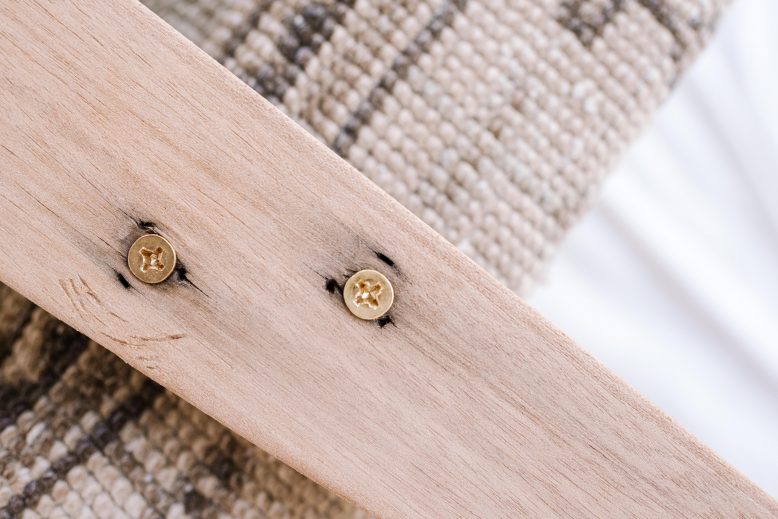
Once the legs were all finished, I used the brass screws to screw the legs back on. I first marked on the rug where the existing holes in the frame were, and then made holes with scissors so that the screws could easily go into the existing holes in the frame. I used a screwdriver to tighten them into the frame.
16
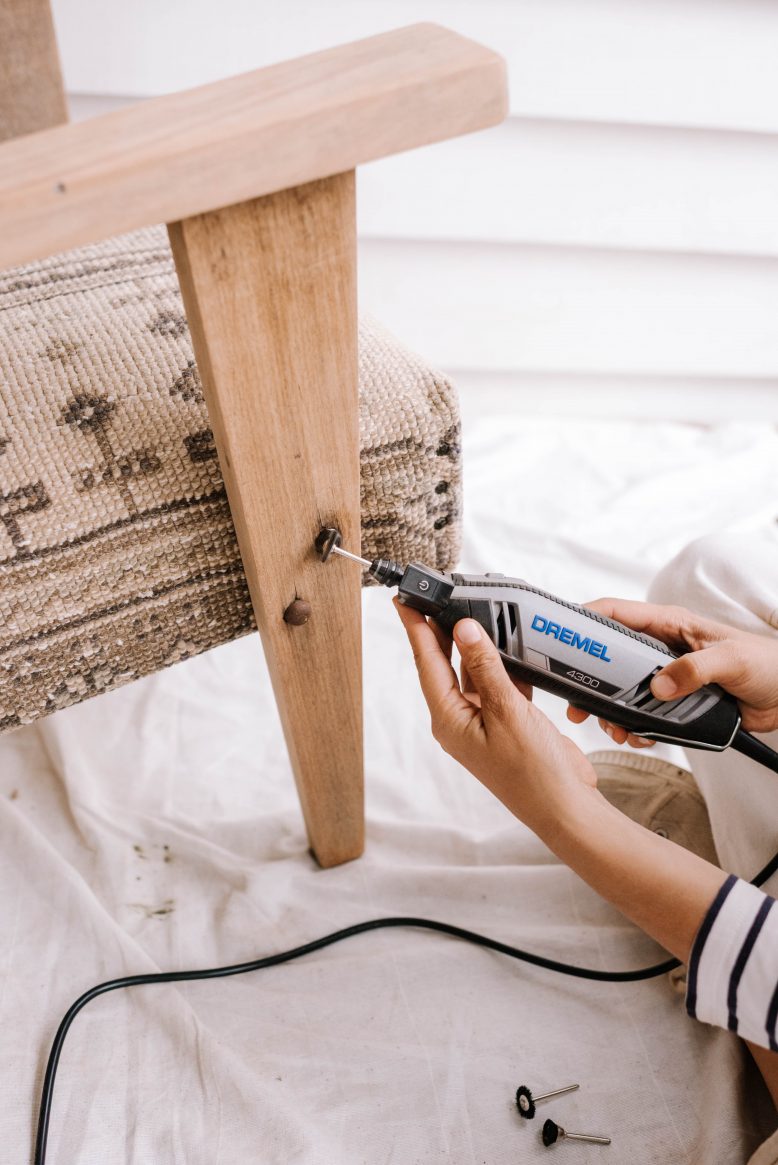
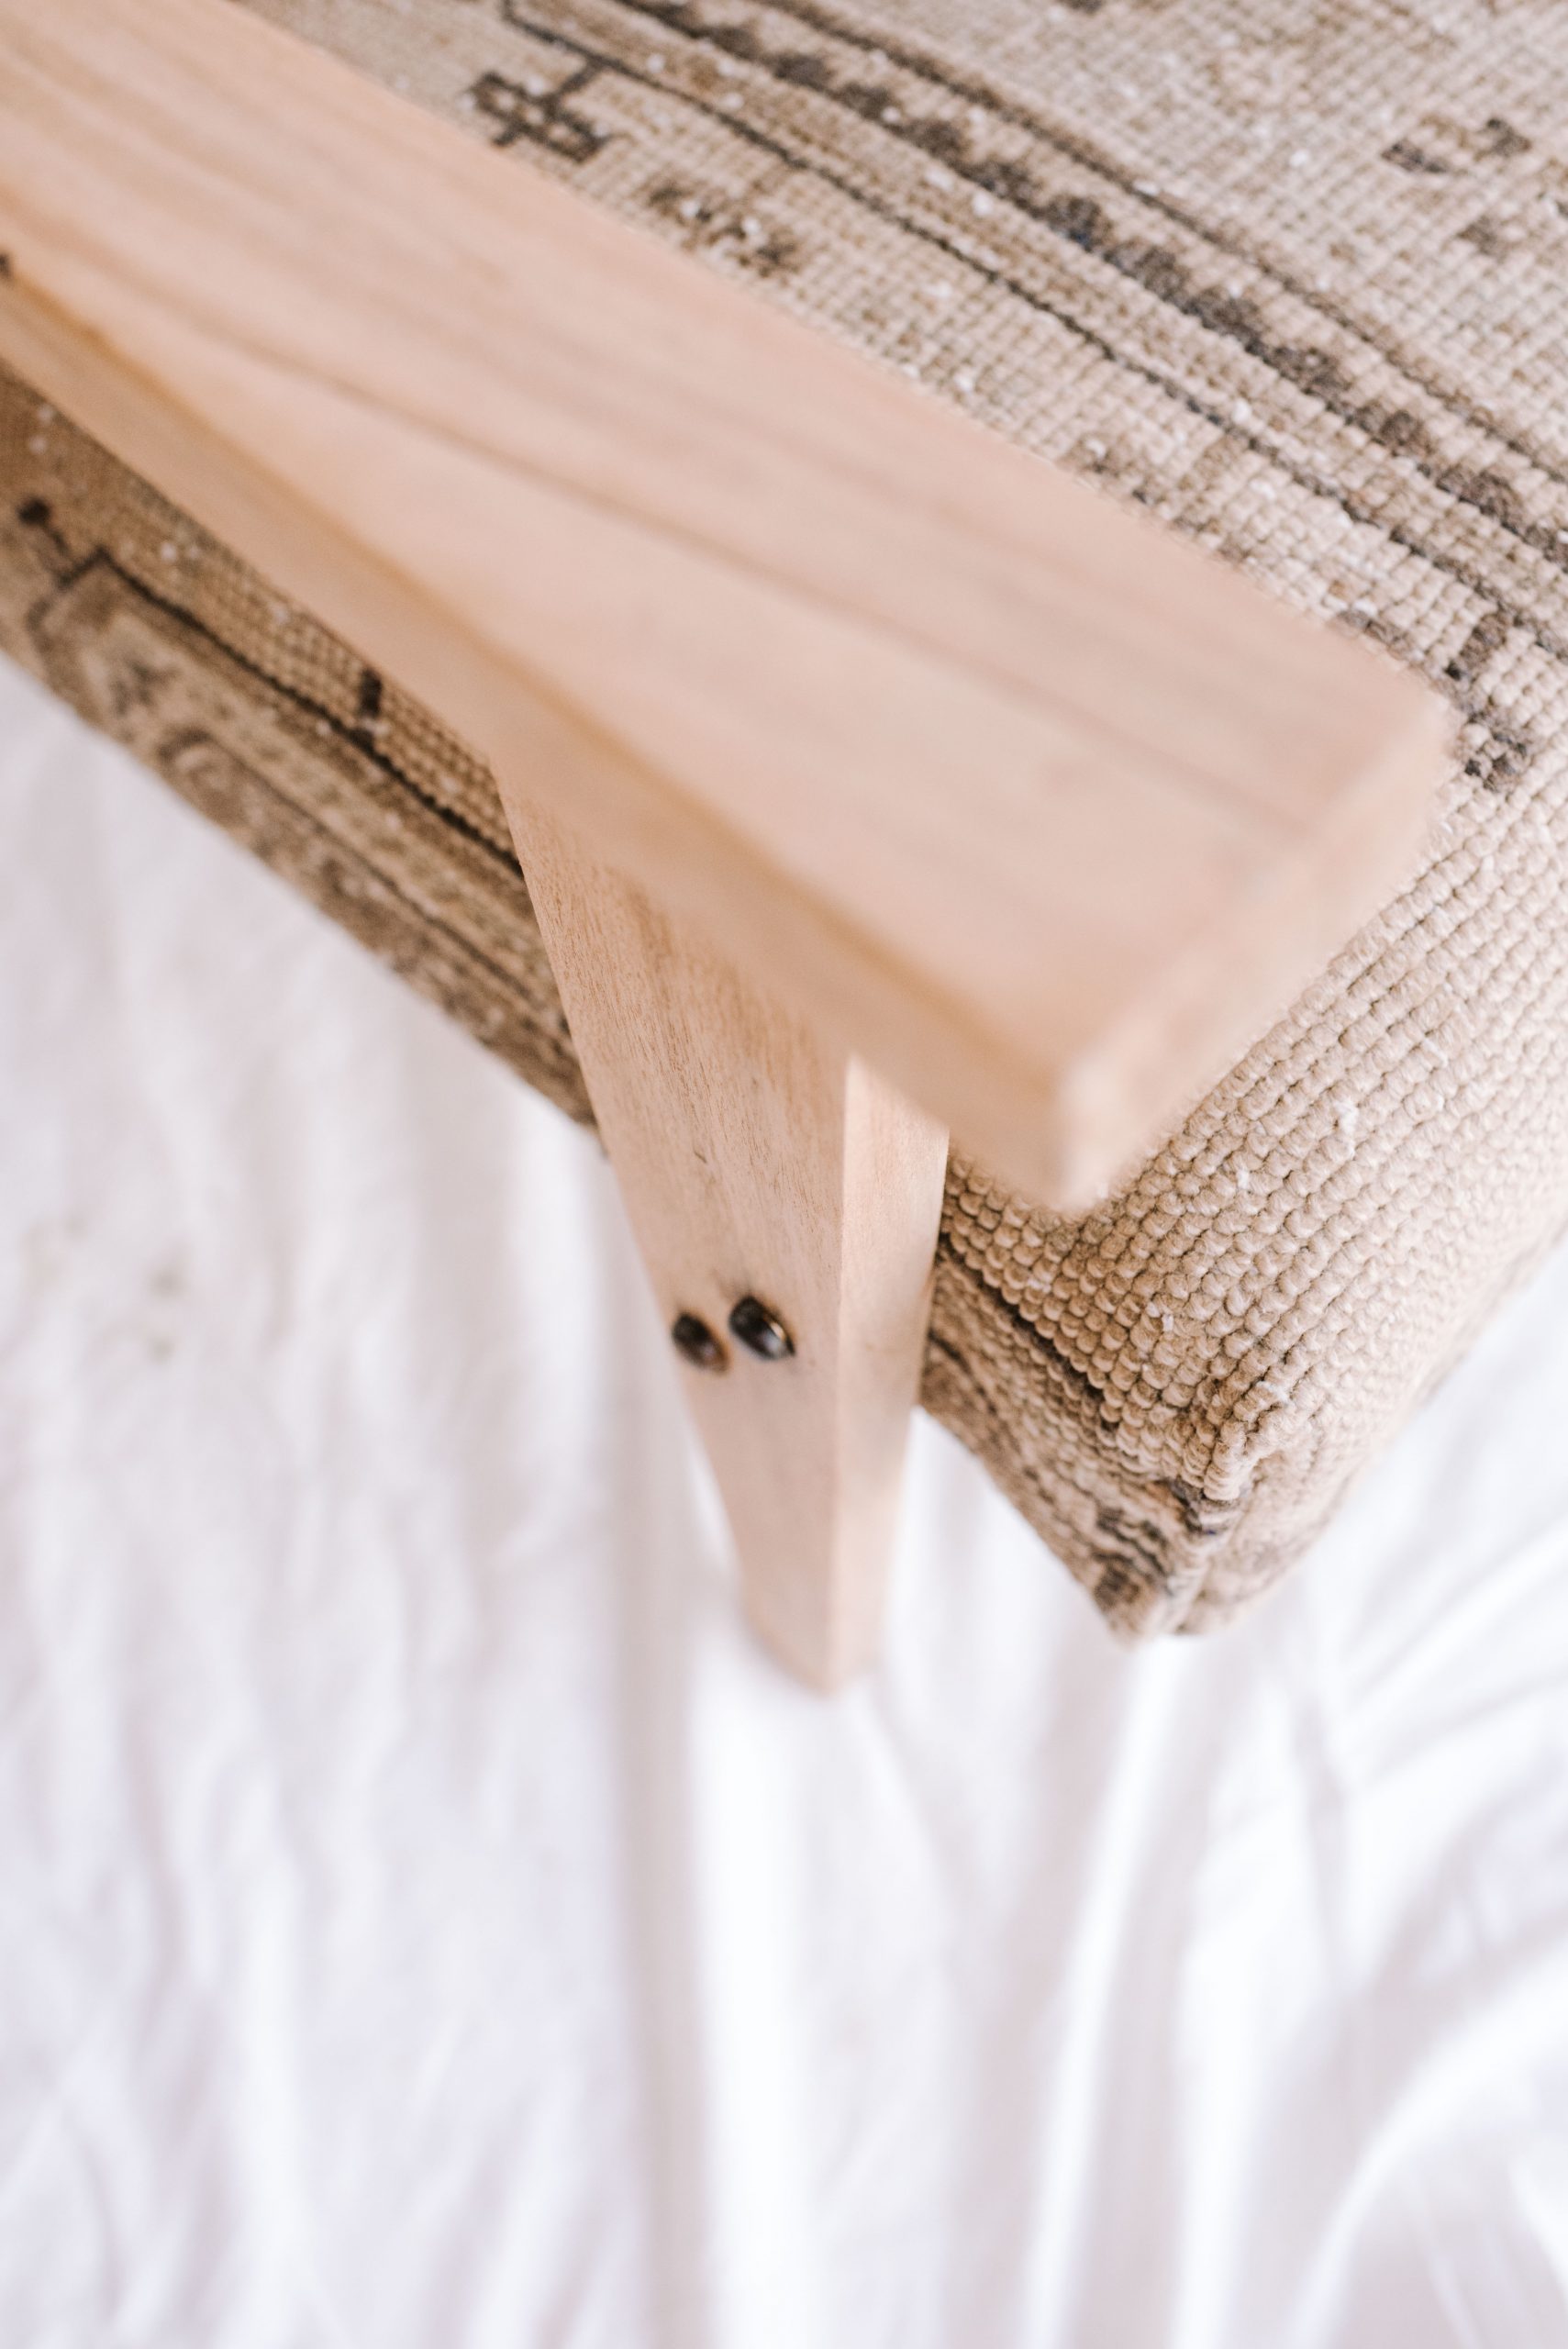
The original chair had these metal caps over the top of the screws to give it a more polished look, but they were so rusty. I thought I would need to replace them but first tried out the metal polishing attachment for the Dremel. It worked so well and removed the rust quickly.
17
It got the metal shining and I like how the metal fixings match the upholstery tacks. It looked super professional!
Voila
Why Did I Use A Rug?
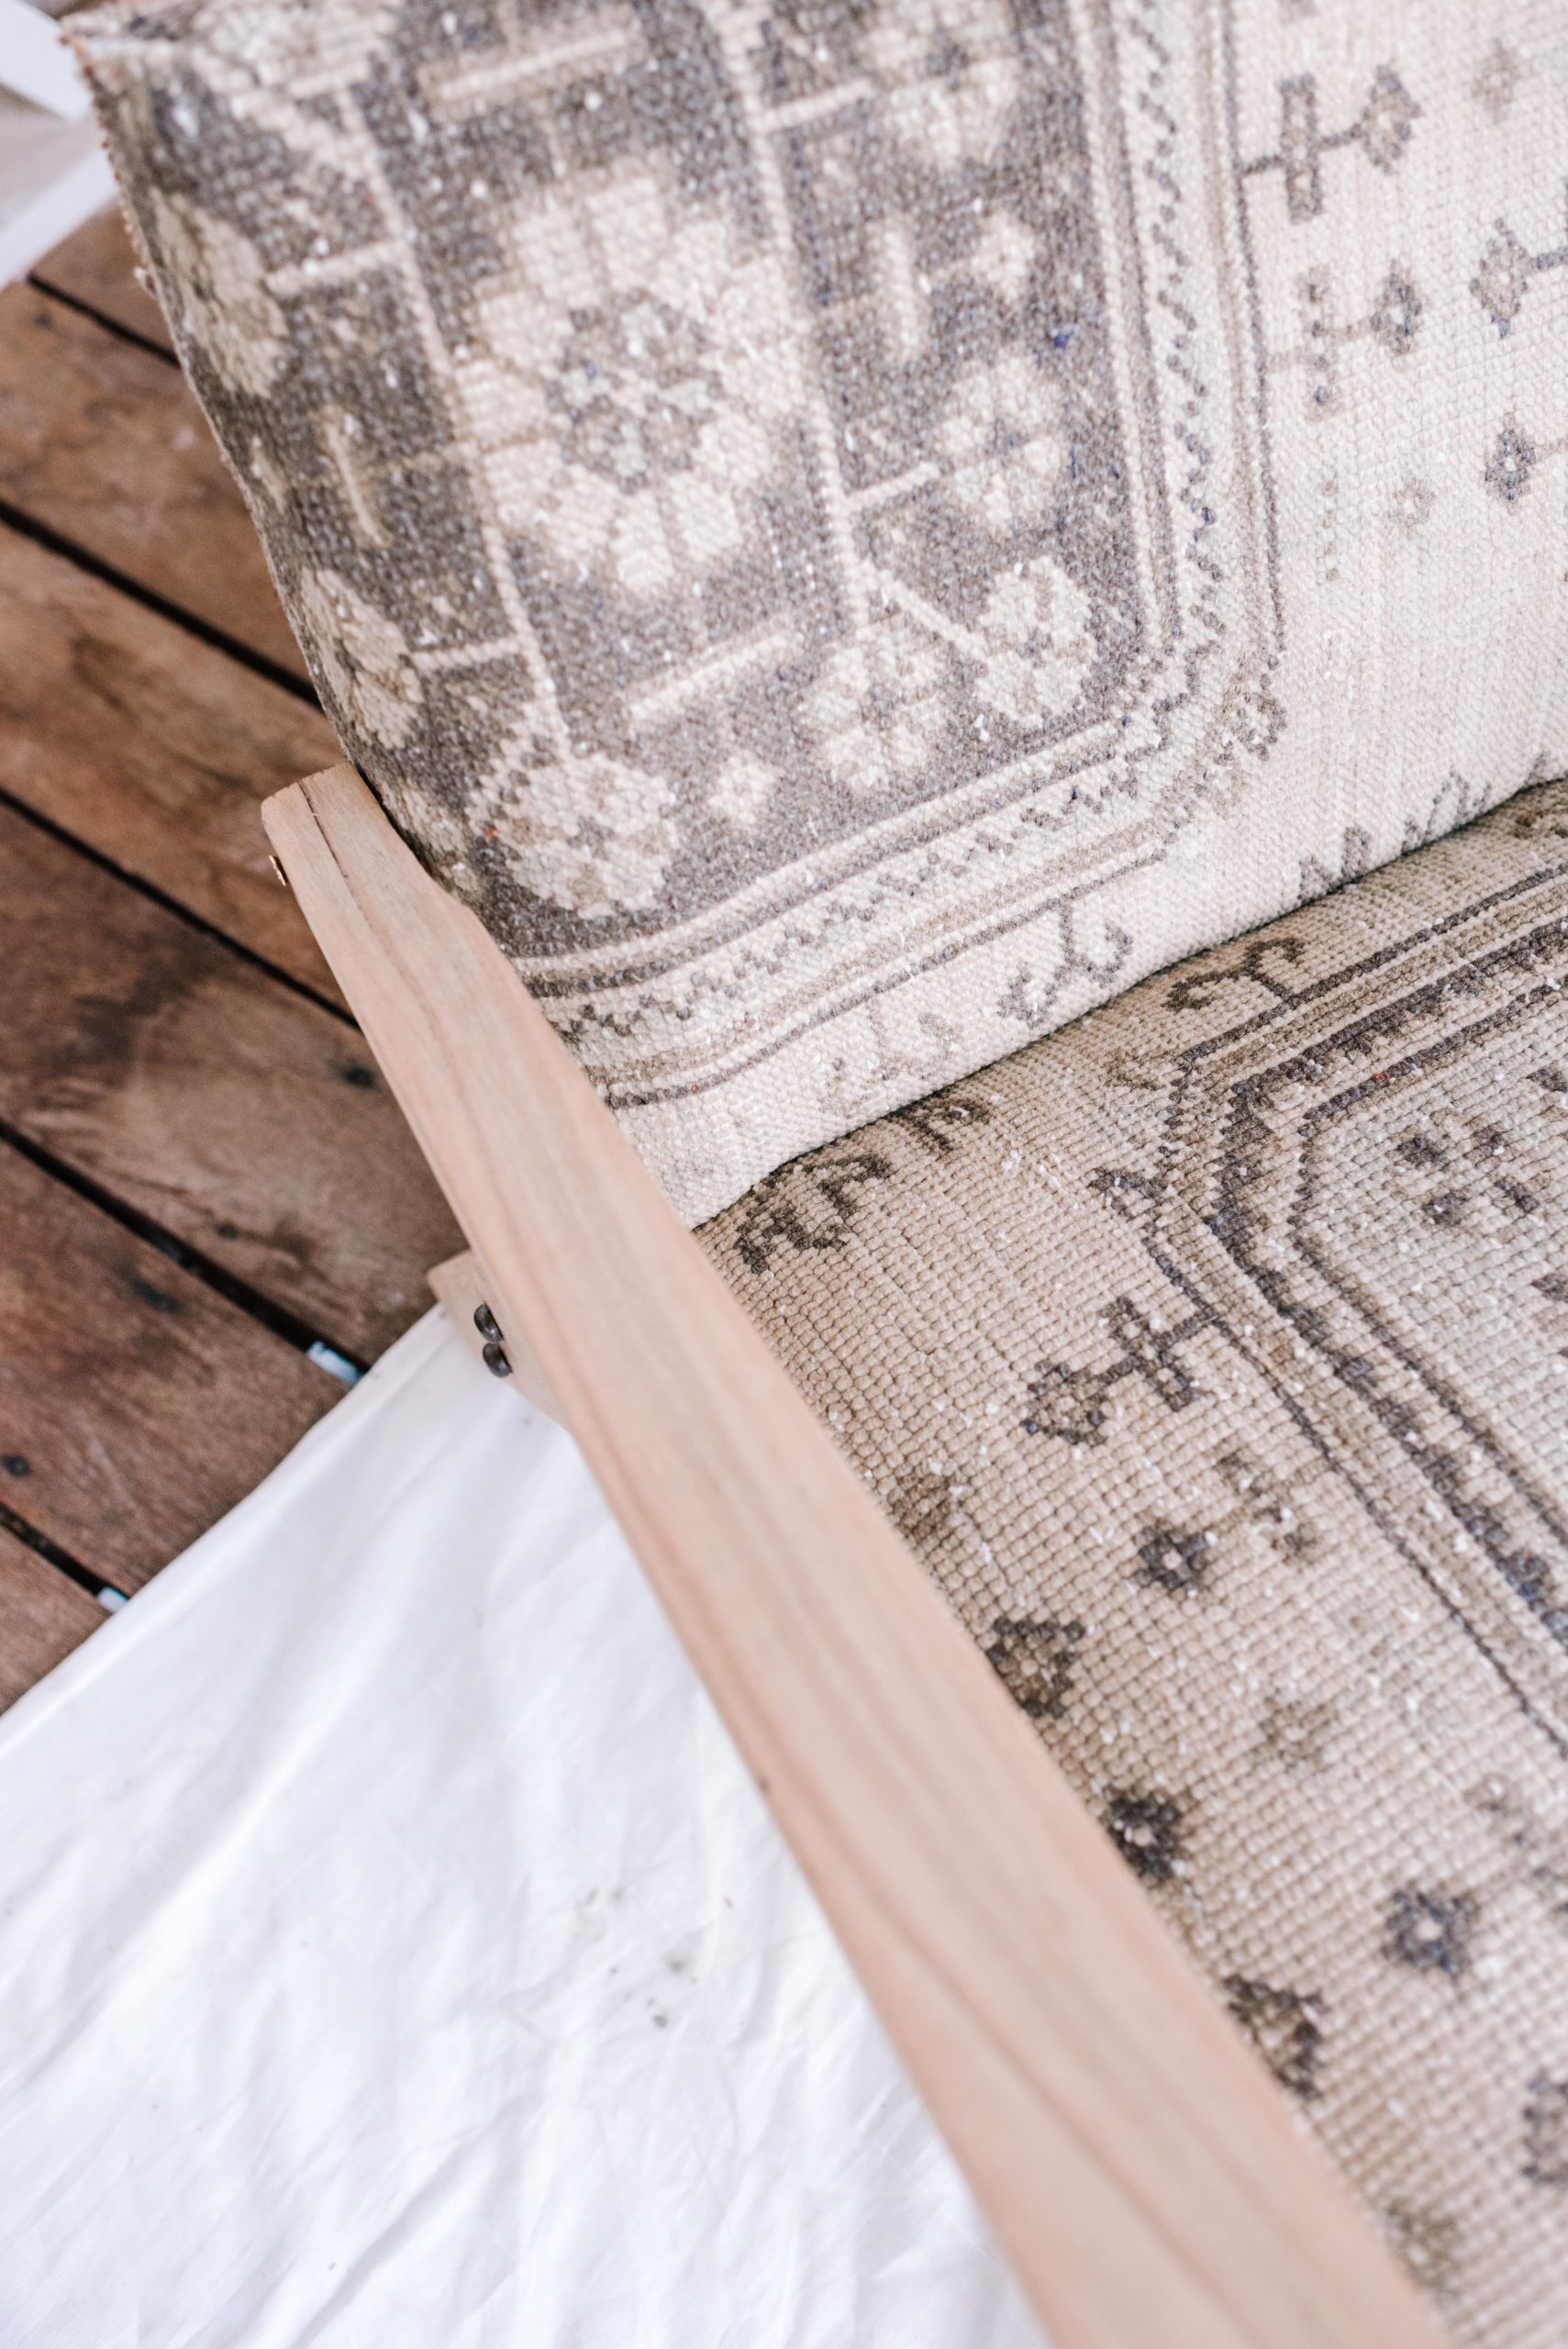
Lots of you have asked me what made me use a rug for this project. In truth is I have wanted to cover a chair with a rug for a long, long time. I’m pretty sure I even bought this rug specifically for that purpose! I worried that it would be difficult to actually upholster with a rug, but in the end I found the rug easy to work with. I noticed that the sturdy fabric gives a much more professional look, and doesn’t required as much stretching onto the frame you would need to do with a lighter fabric. Also, it covers up a not perfect foam/batting situation! All in all I would recommend, but opt for one that’s not too thick.
How Much Did The Project Cost?
So many of you have asked me this! The biggest cost for this chair was the rug, and I spent about $100 on it a while ago. I got it along with a few others from a seller on Etsy who was doing a clearance sale. Other fabric would have been cheaper obviously but I think the rug makes this upcycle. The other things such as the foam and fixings cost about $50.
Here’s some proof that you can actually sit on it! I was nervous about that first sit but it’s sturdy!
Here’s a little anecdote to leave you with. When I shared this road side find on IG stories a while ago, a reader wrote to me and said their sister had picked the other chair (apparently there was originally a pair) from same spot. If only this chair’s mate could see it now! Revenge body but make it chair lol.
This project is in collaboration with Dremel.


