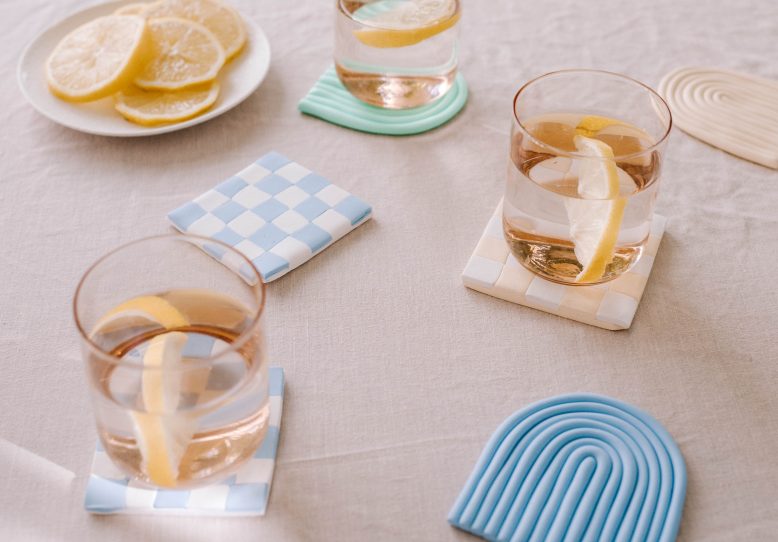
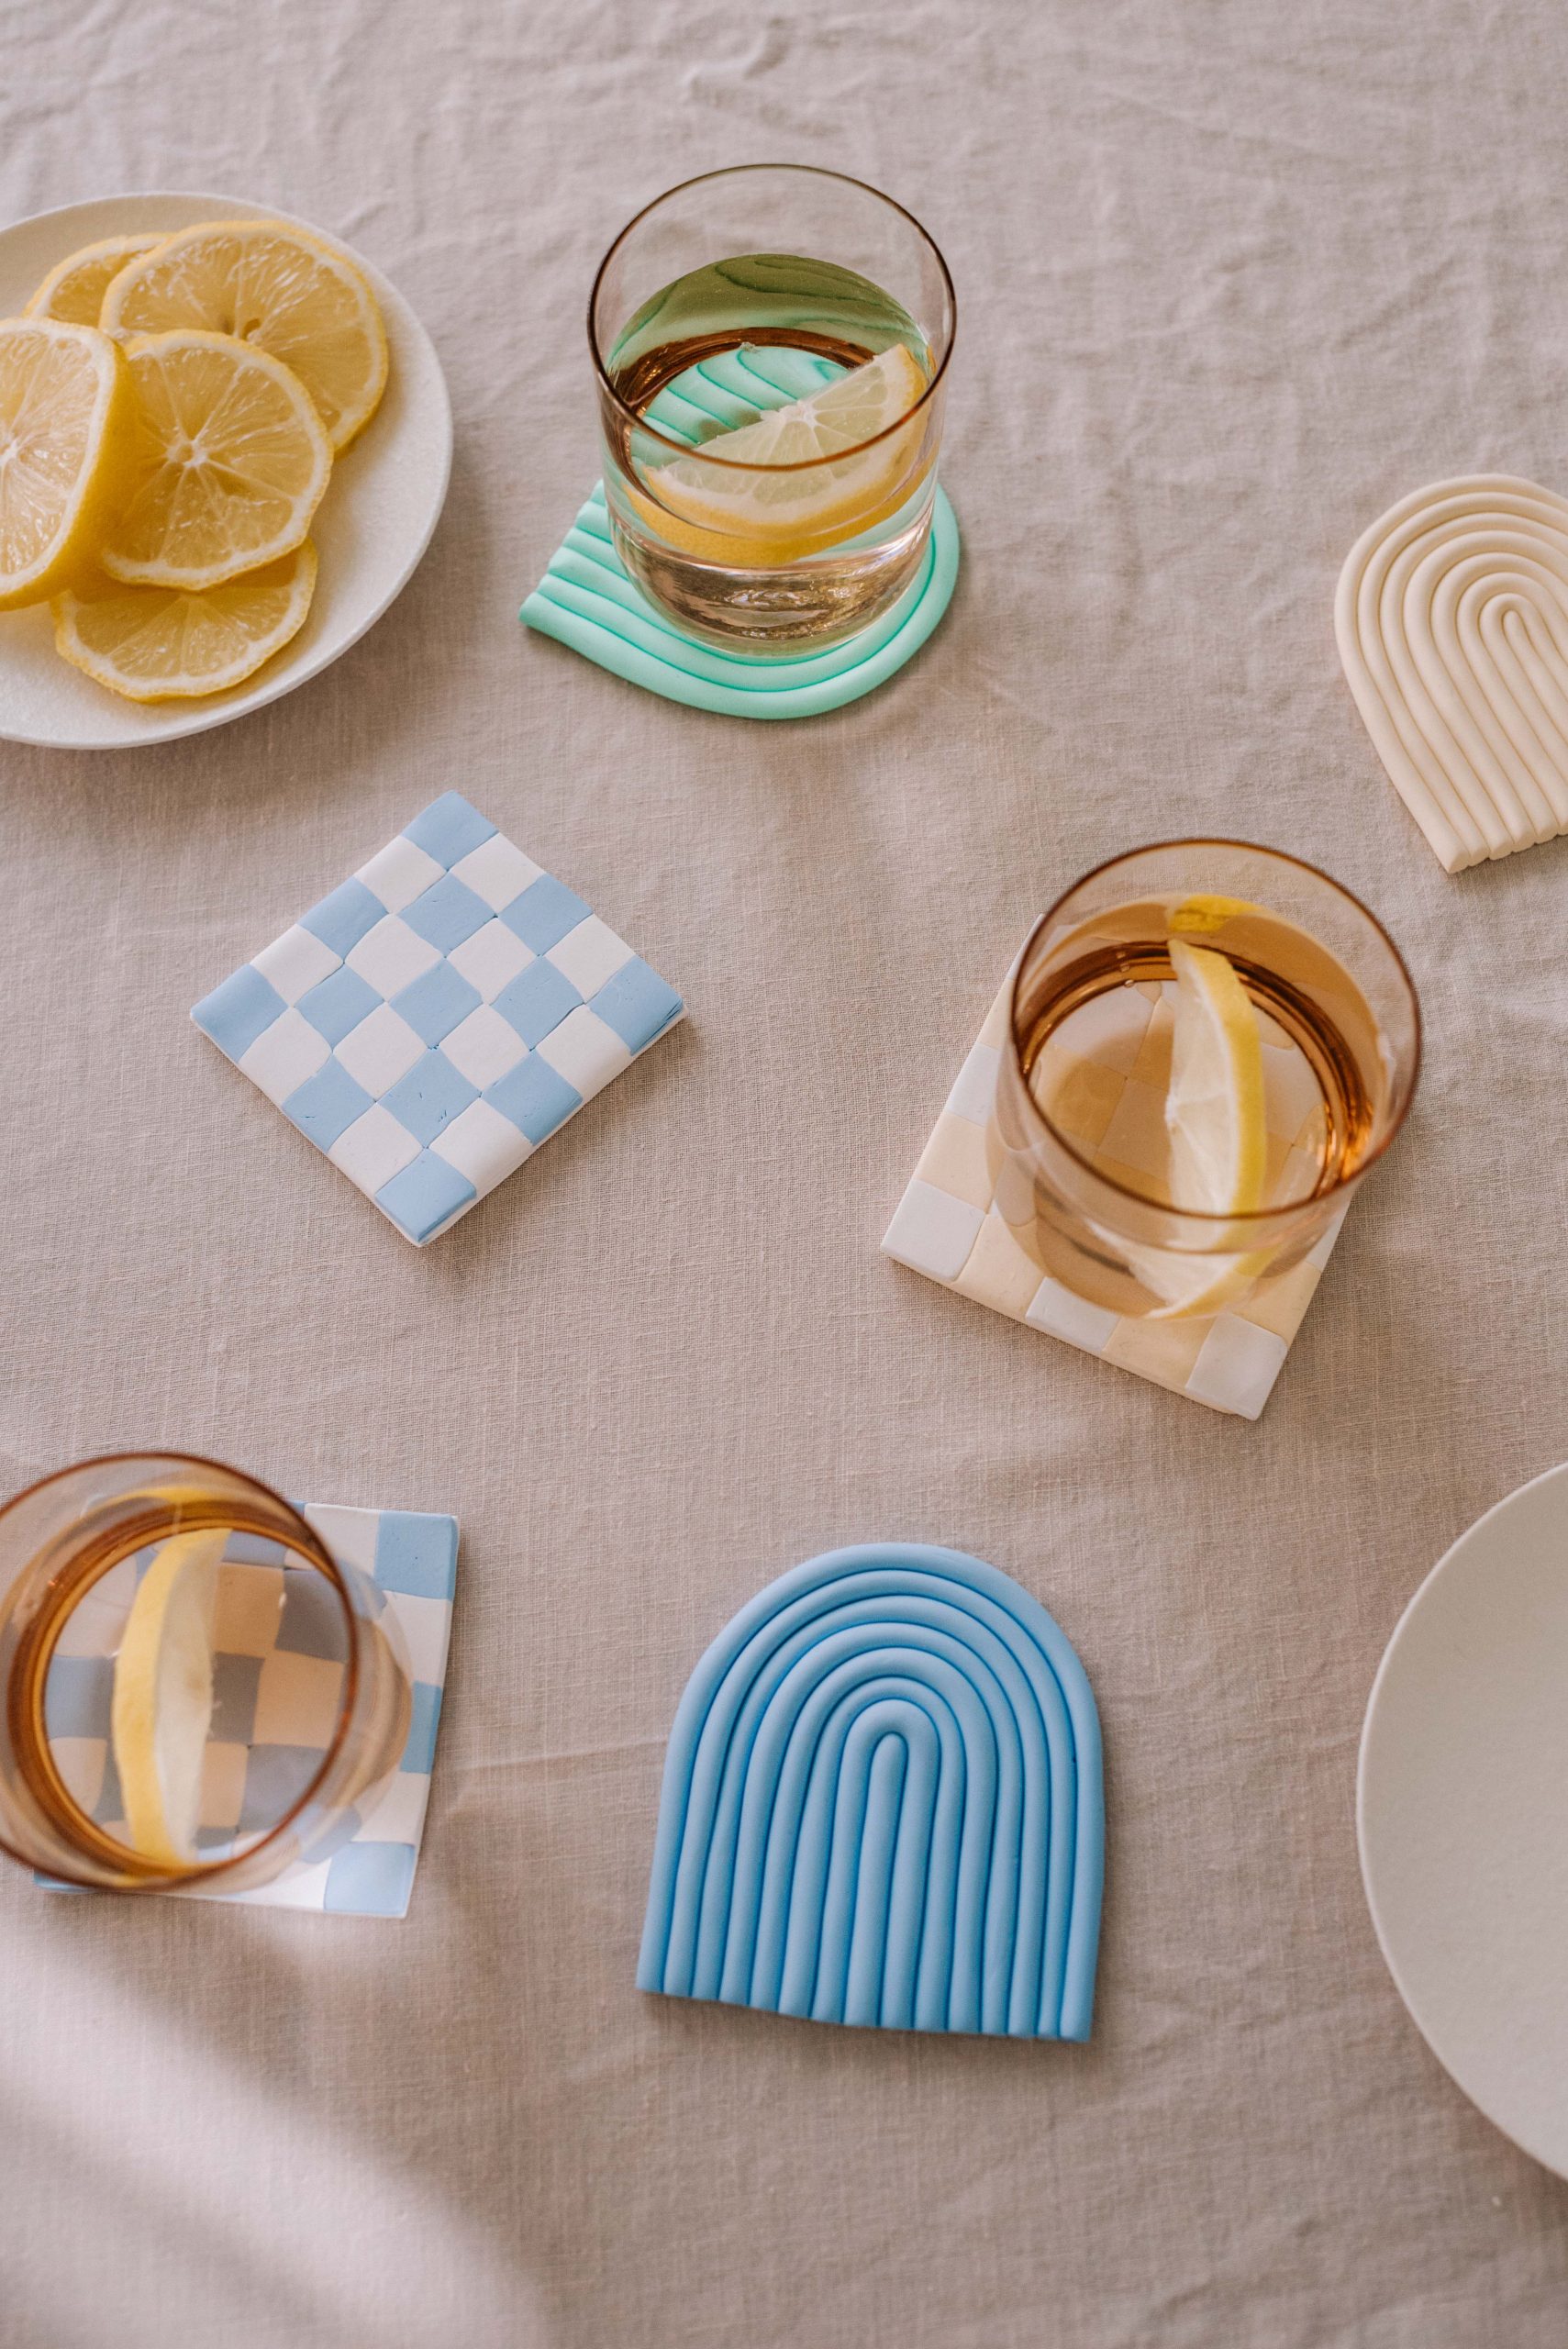
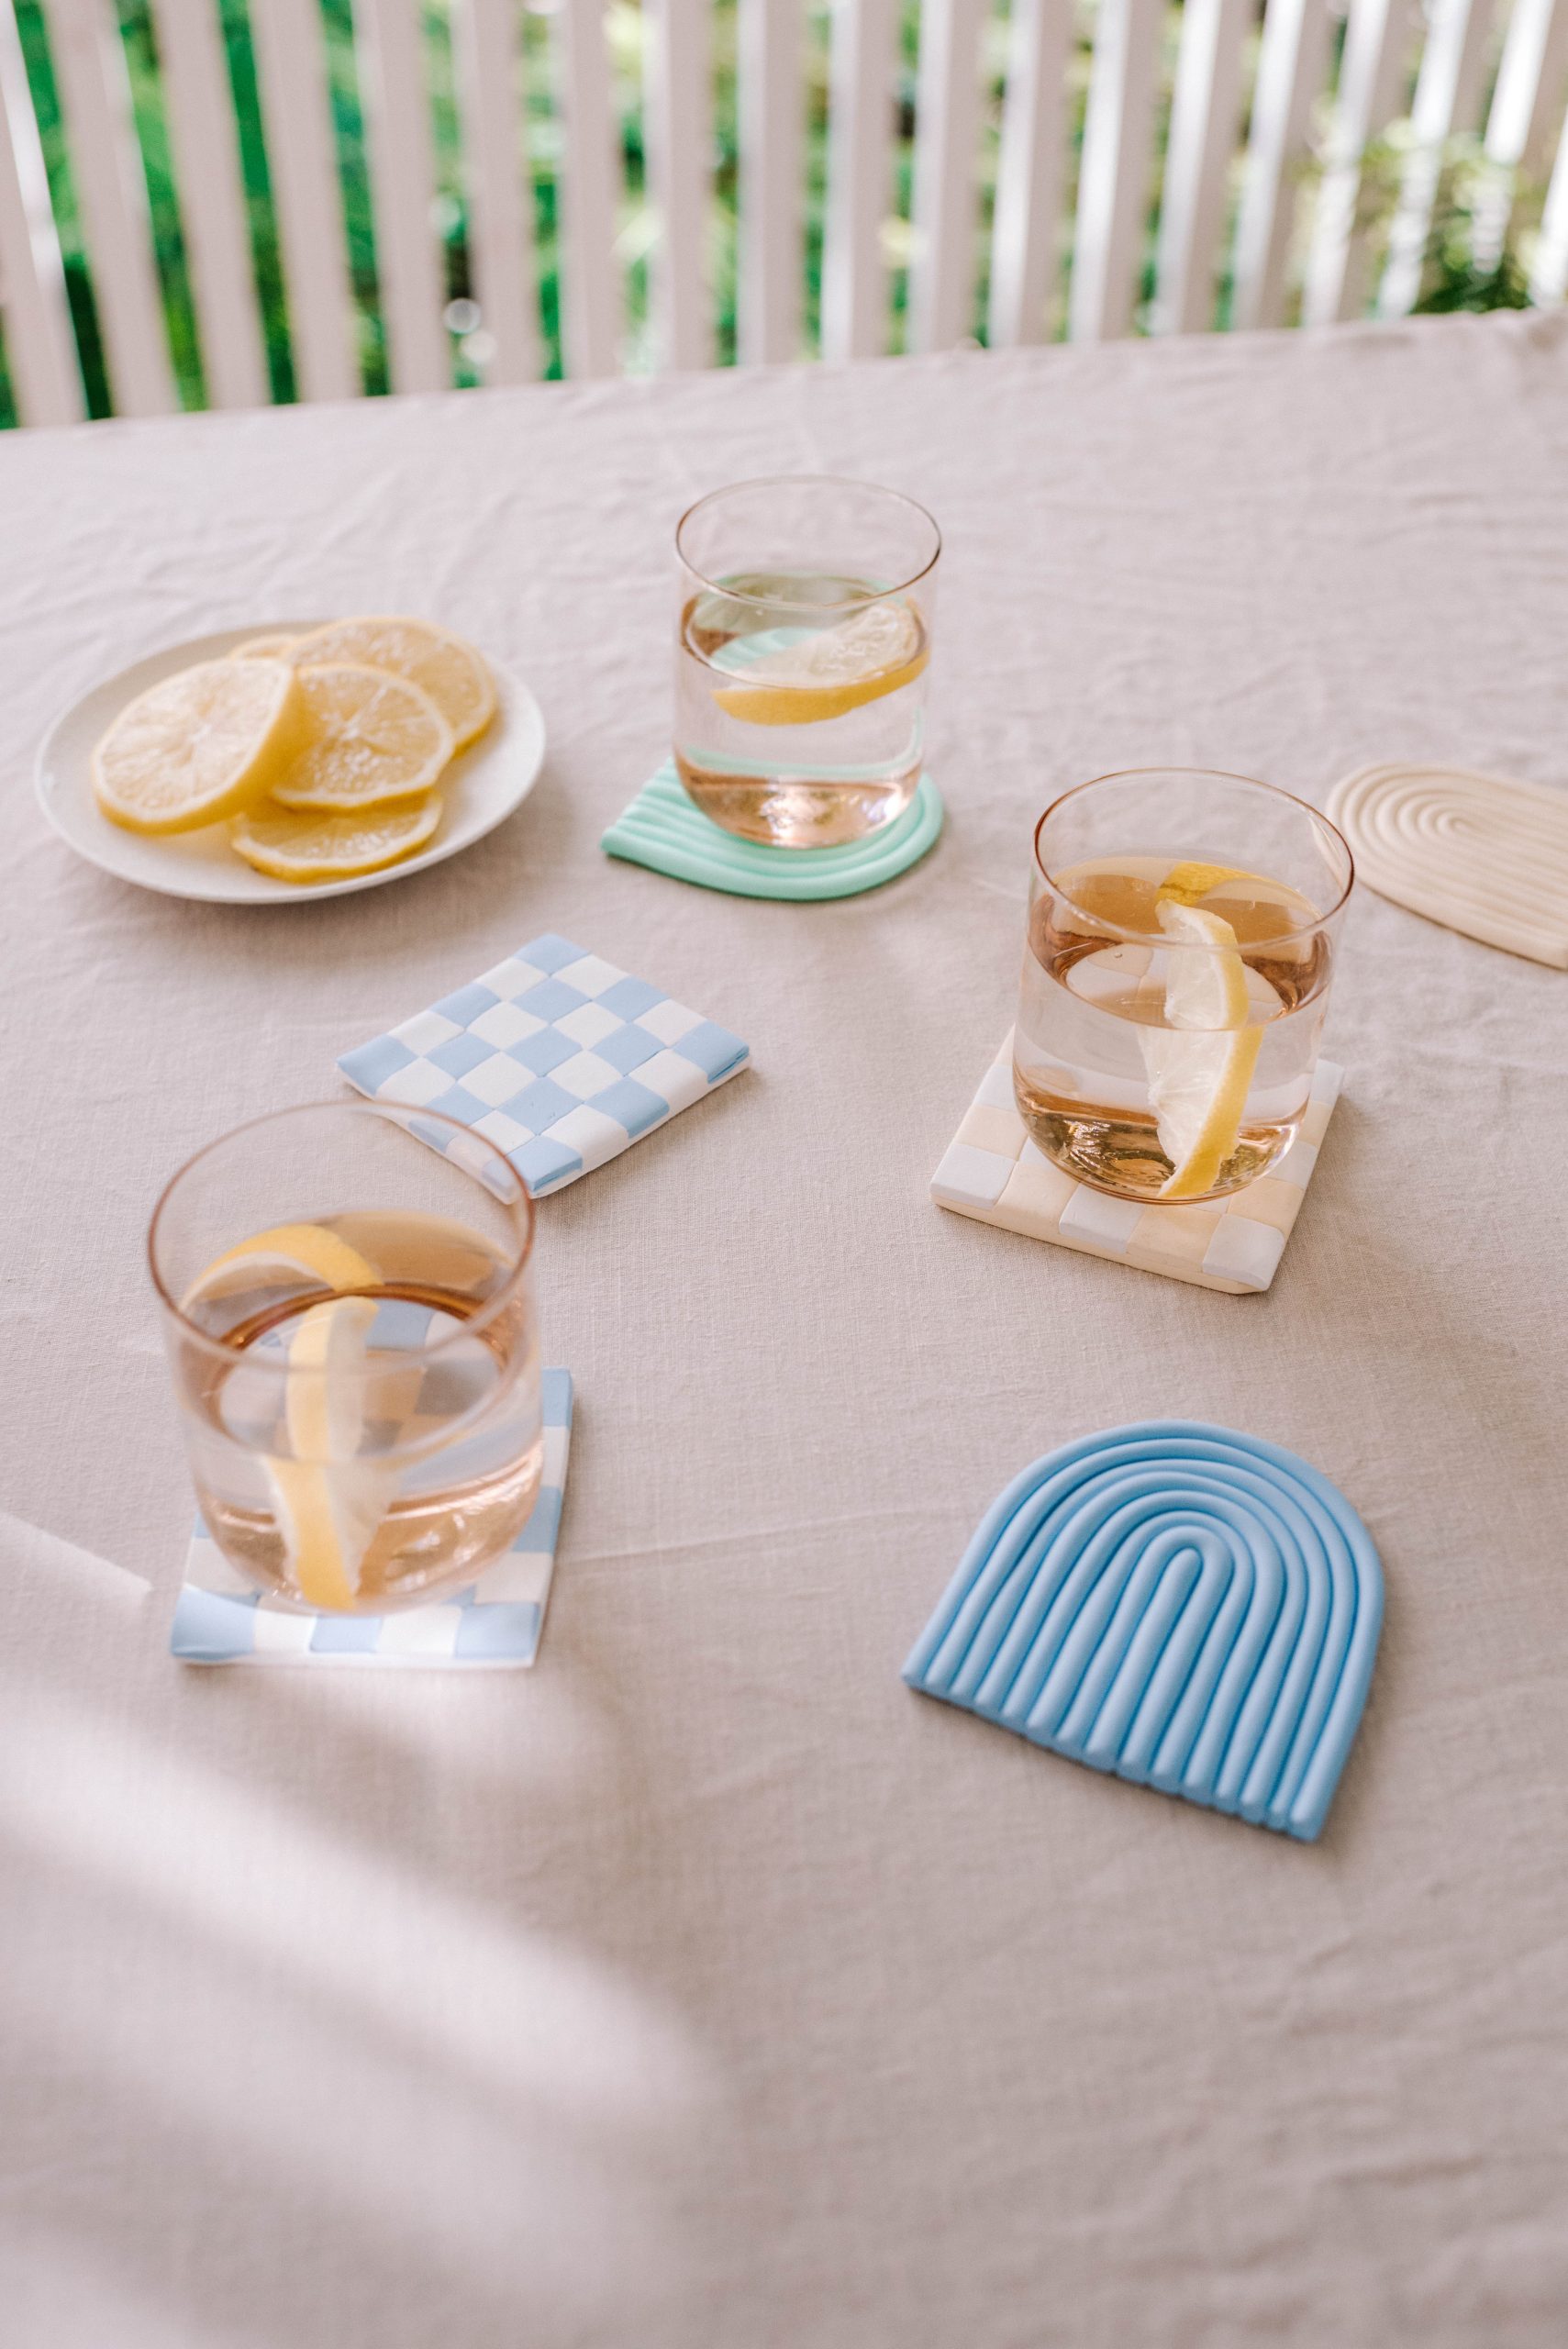
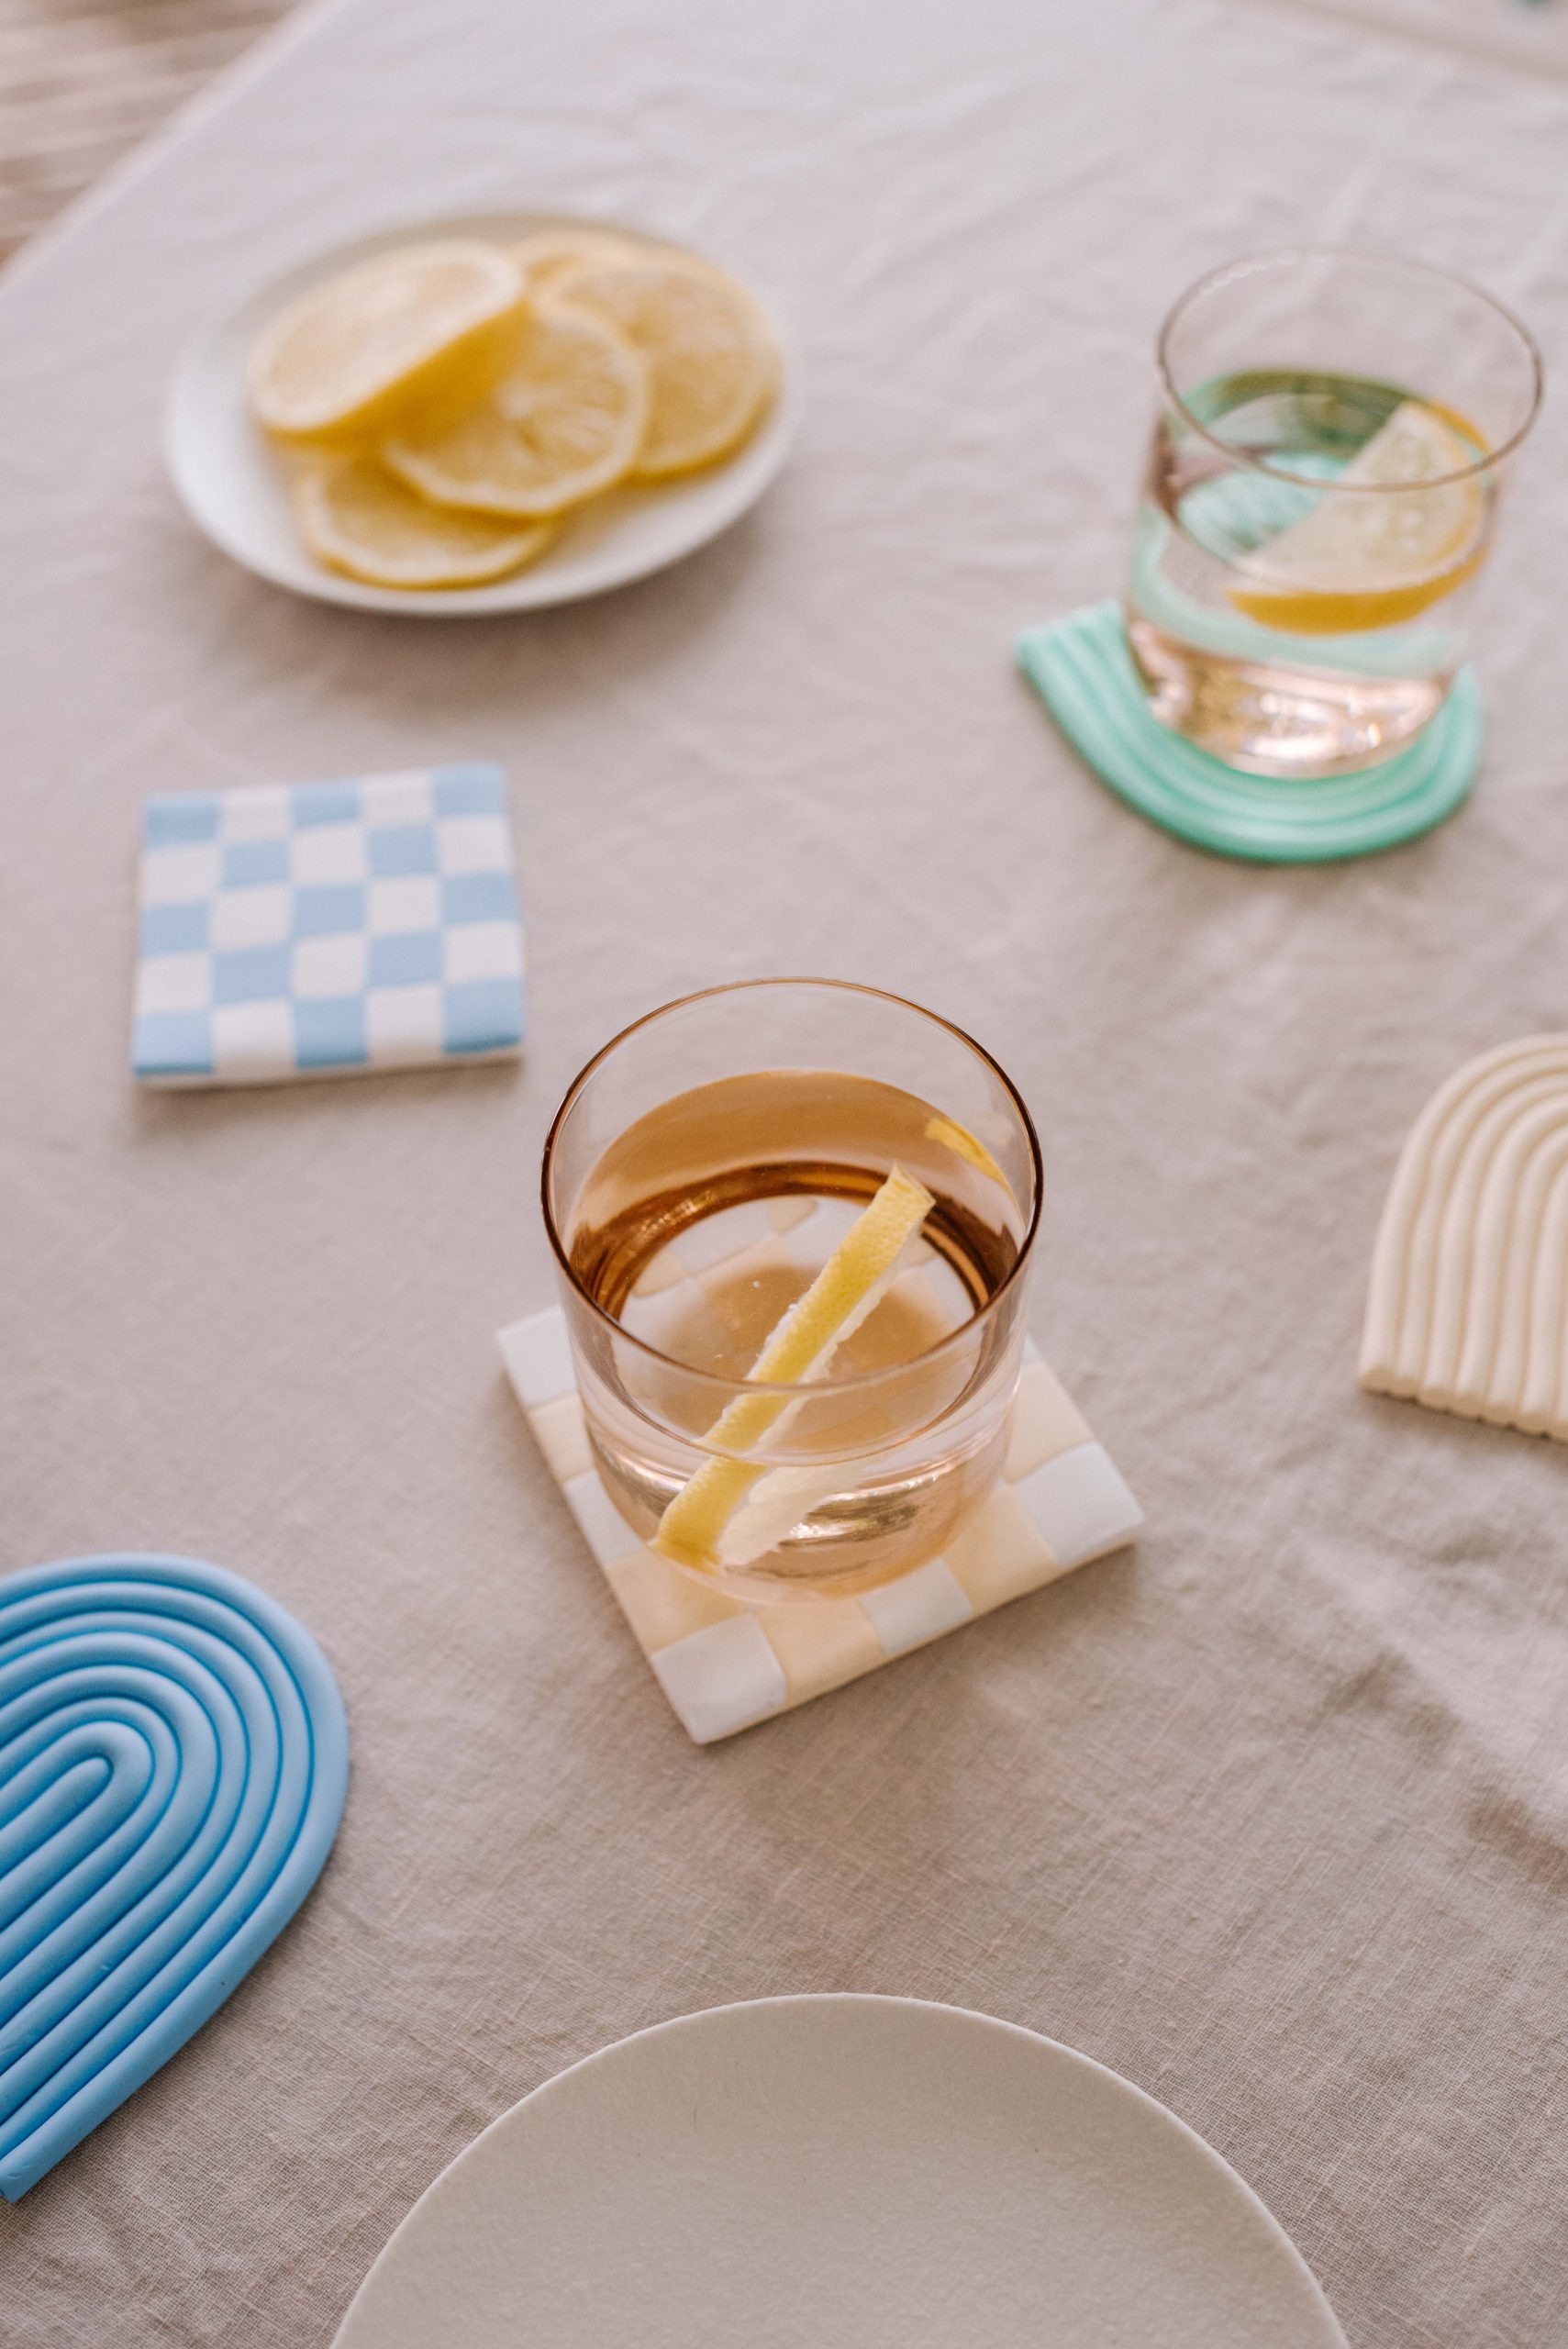
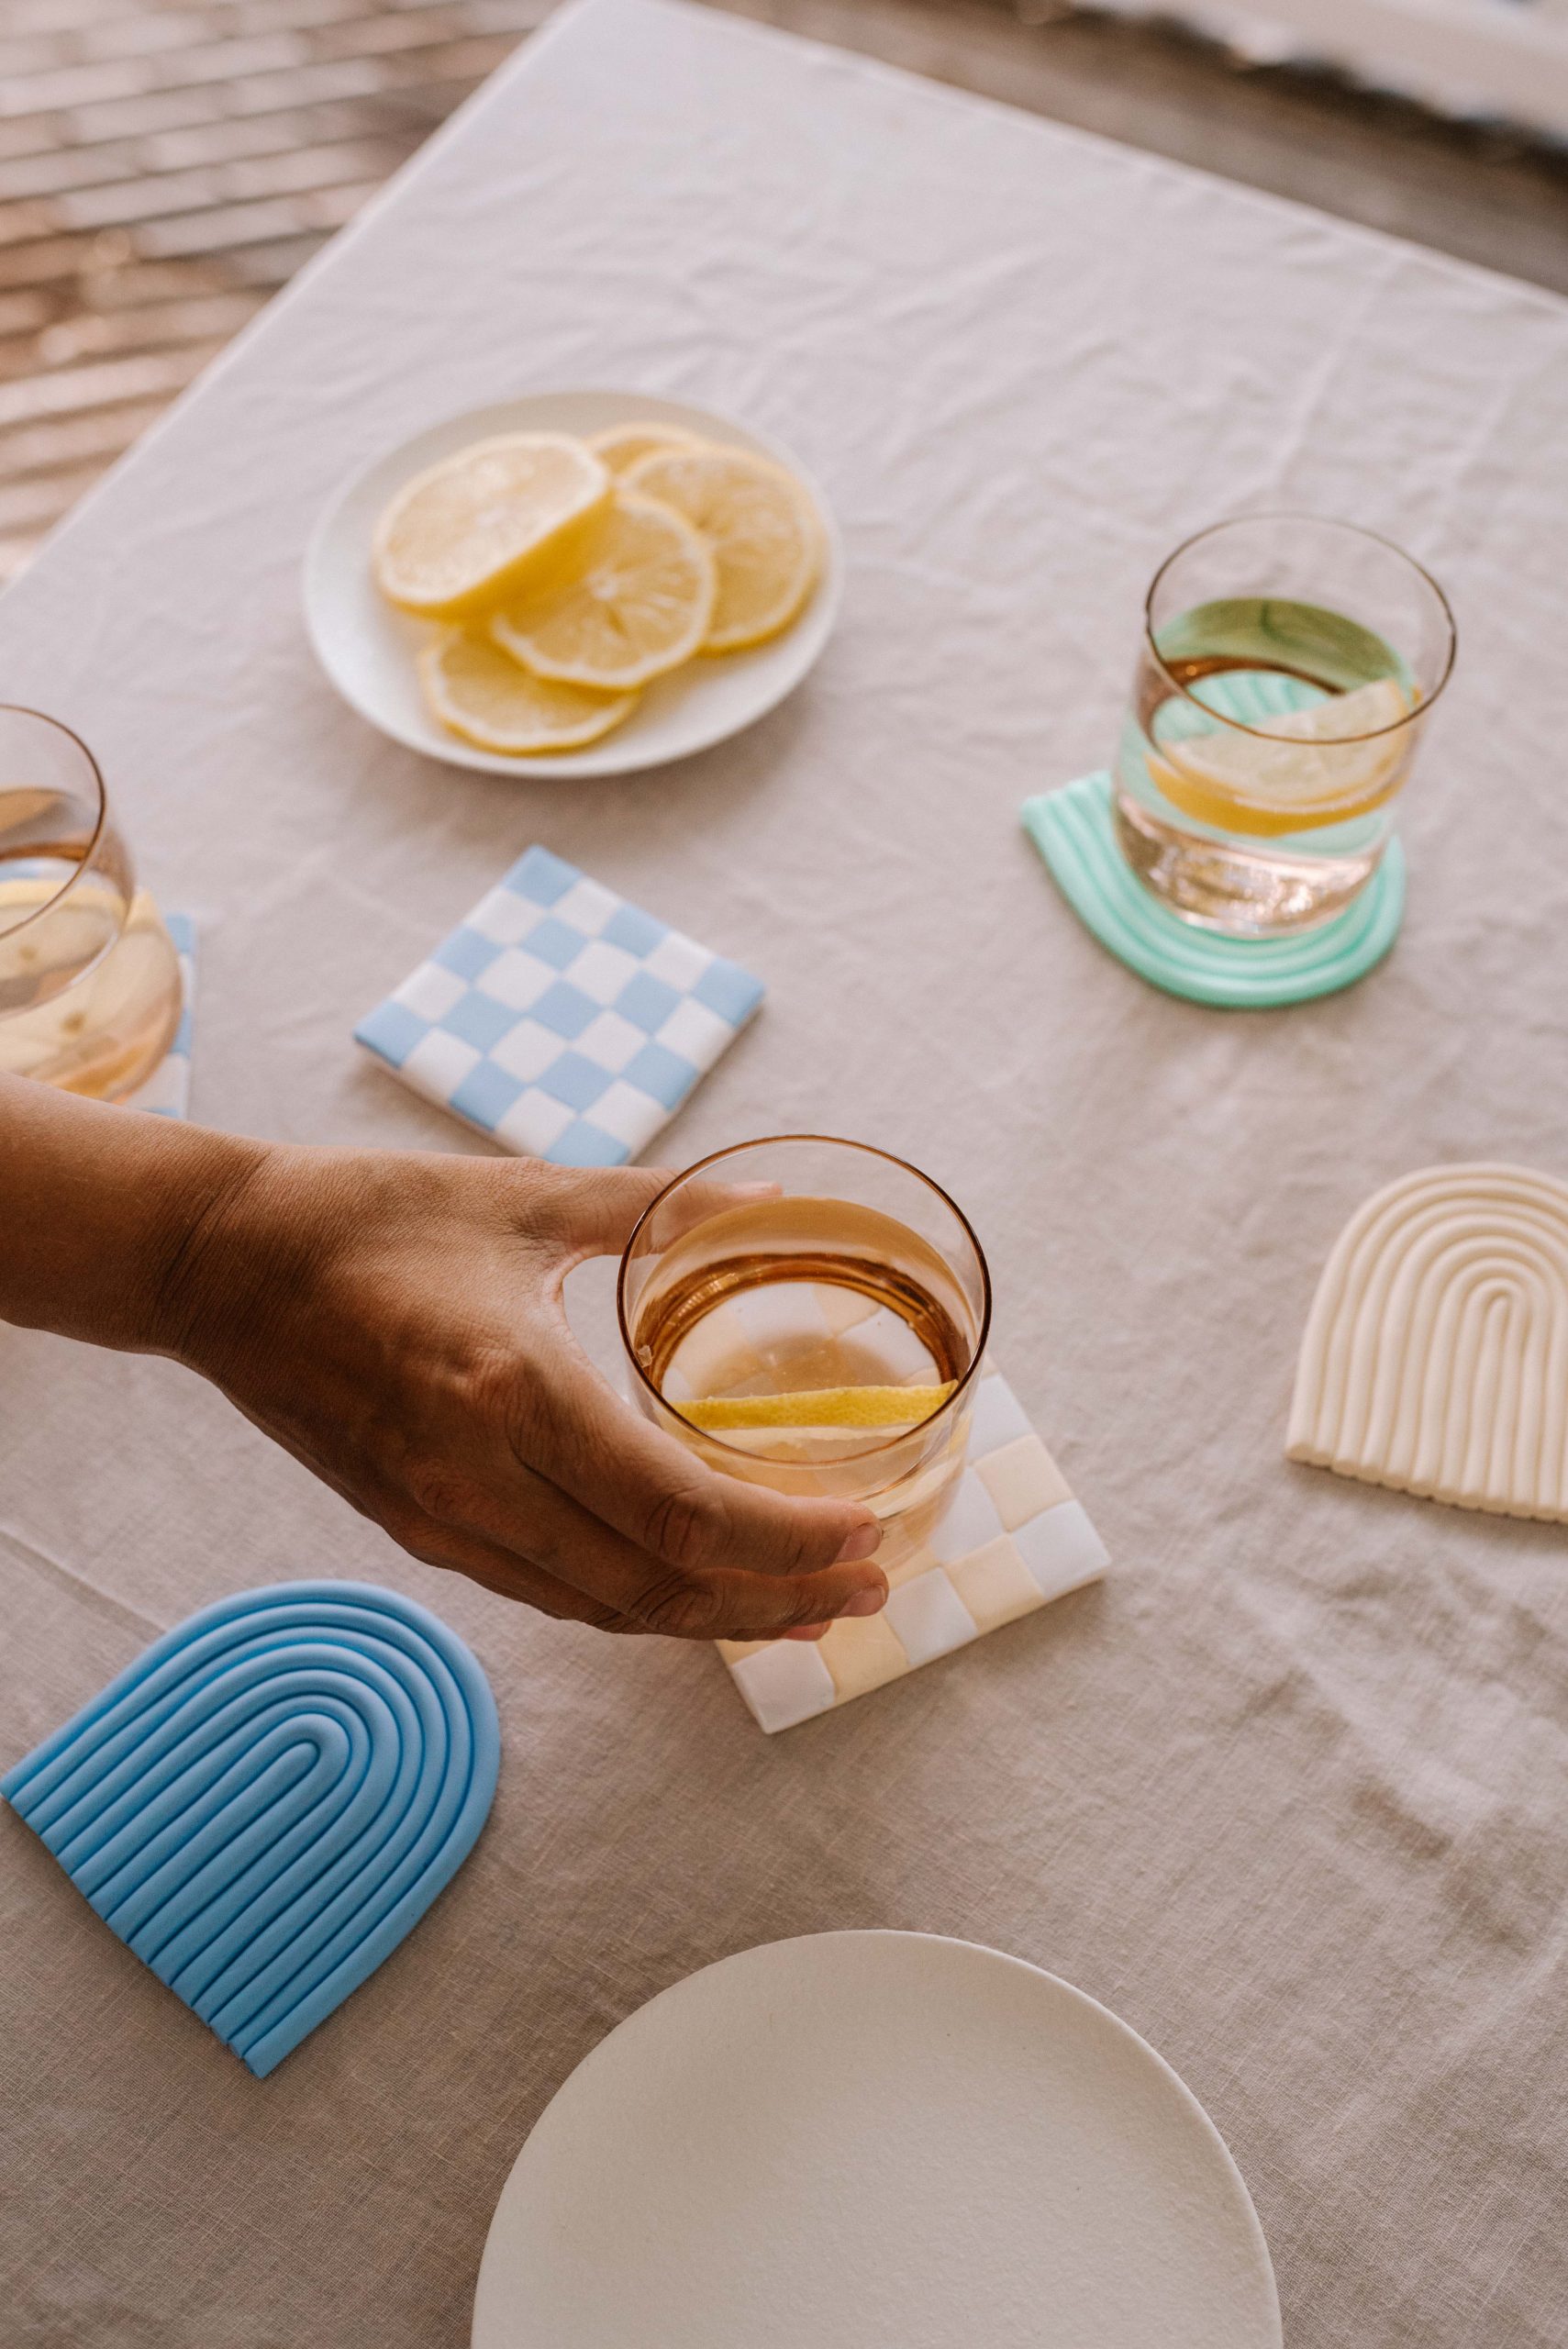
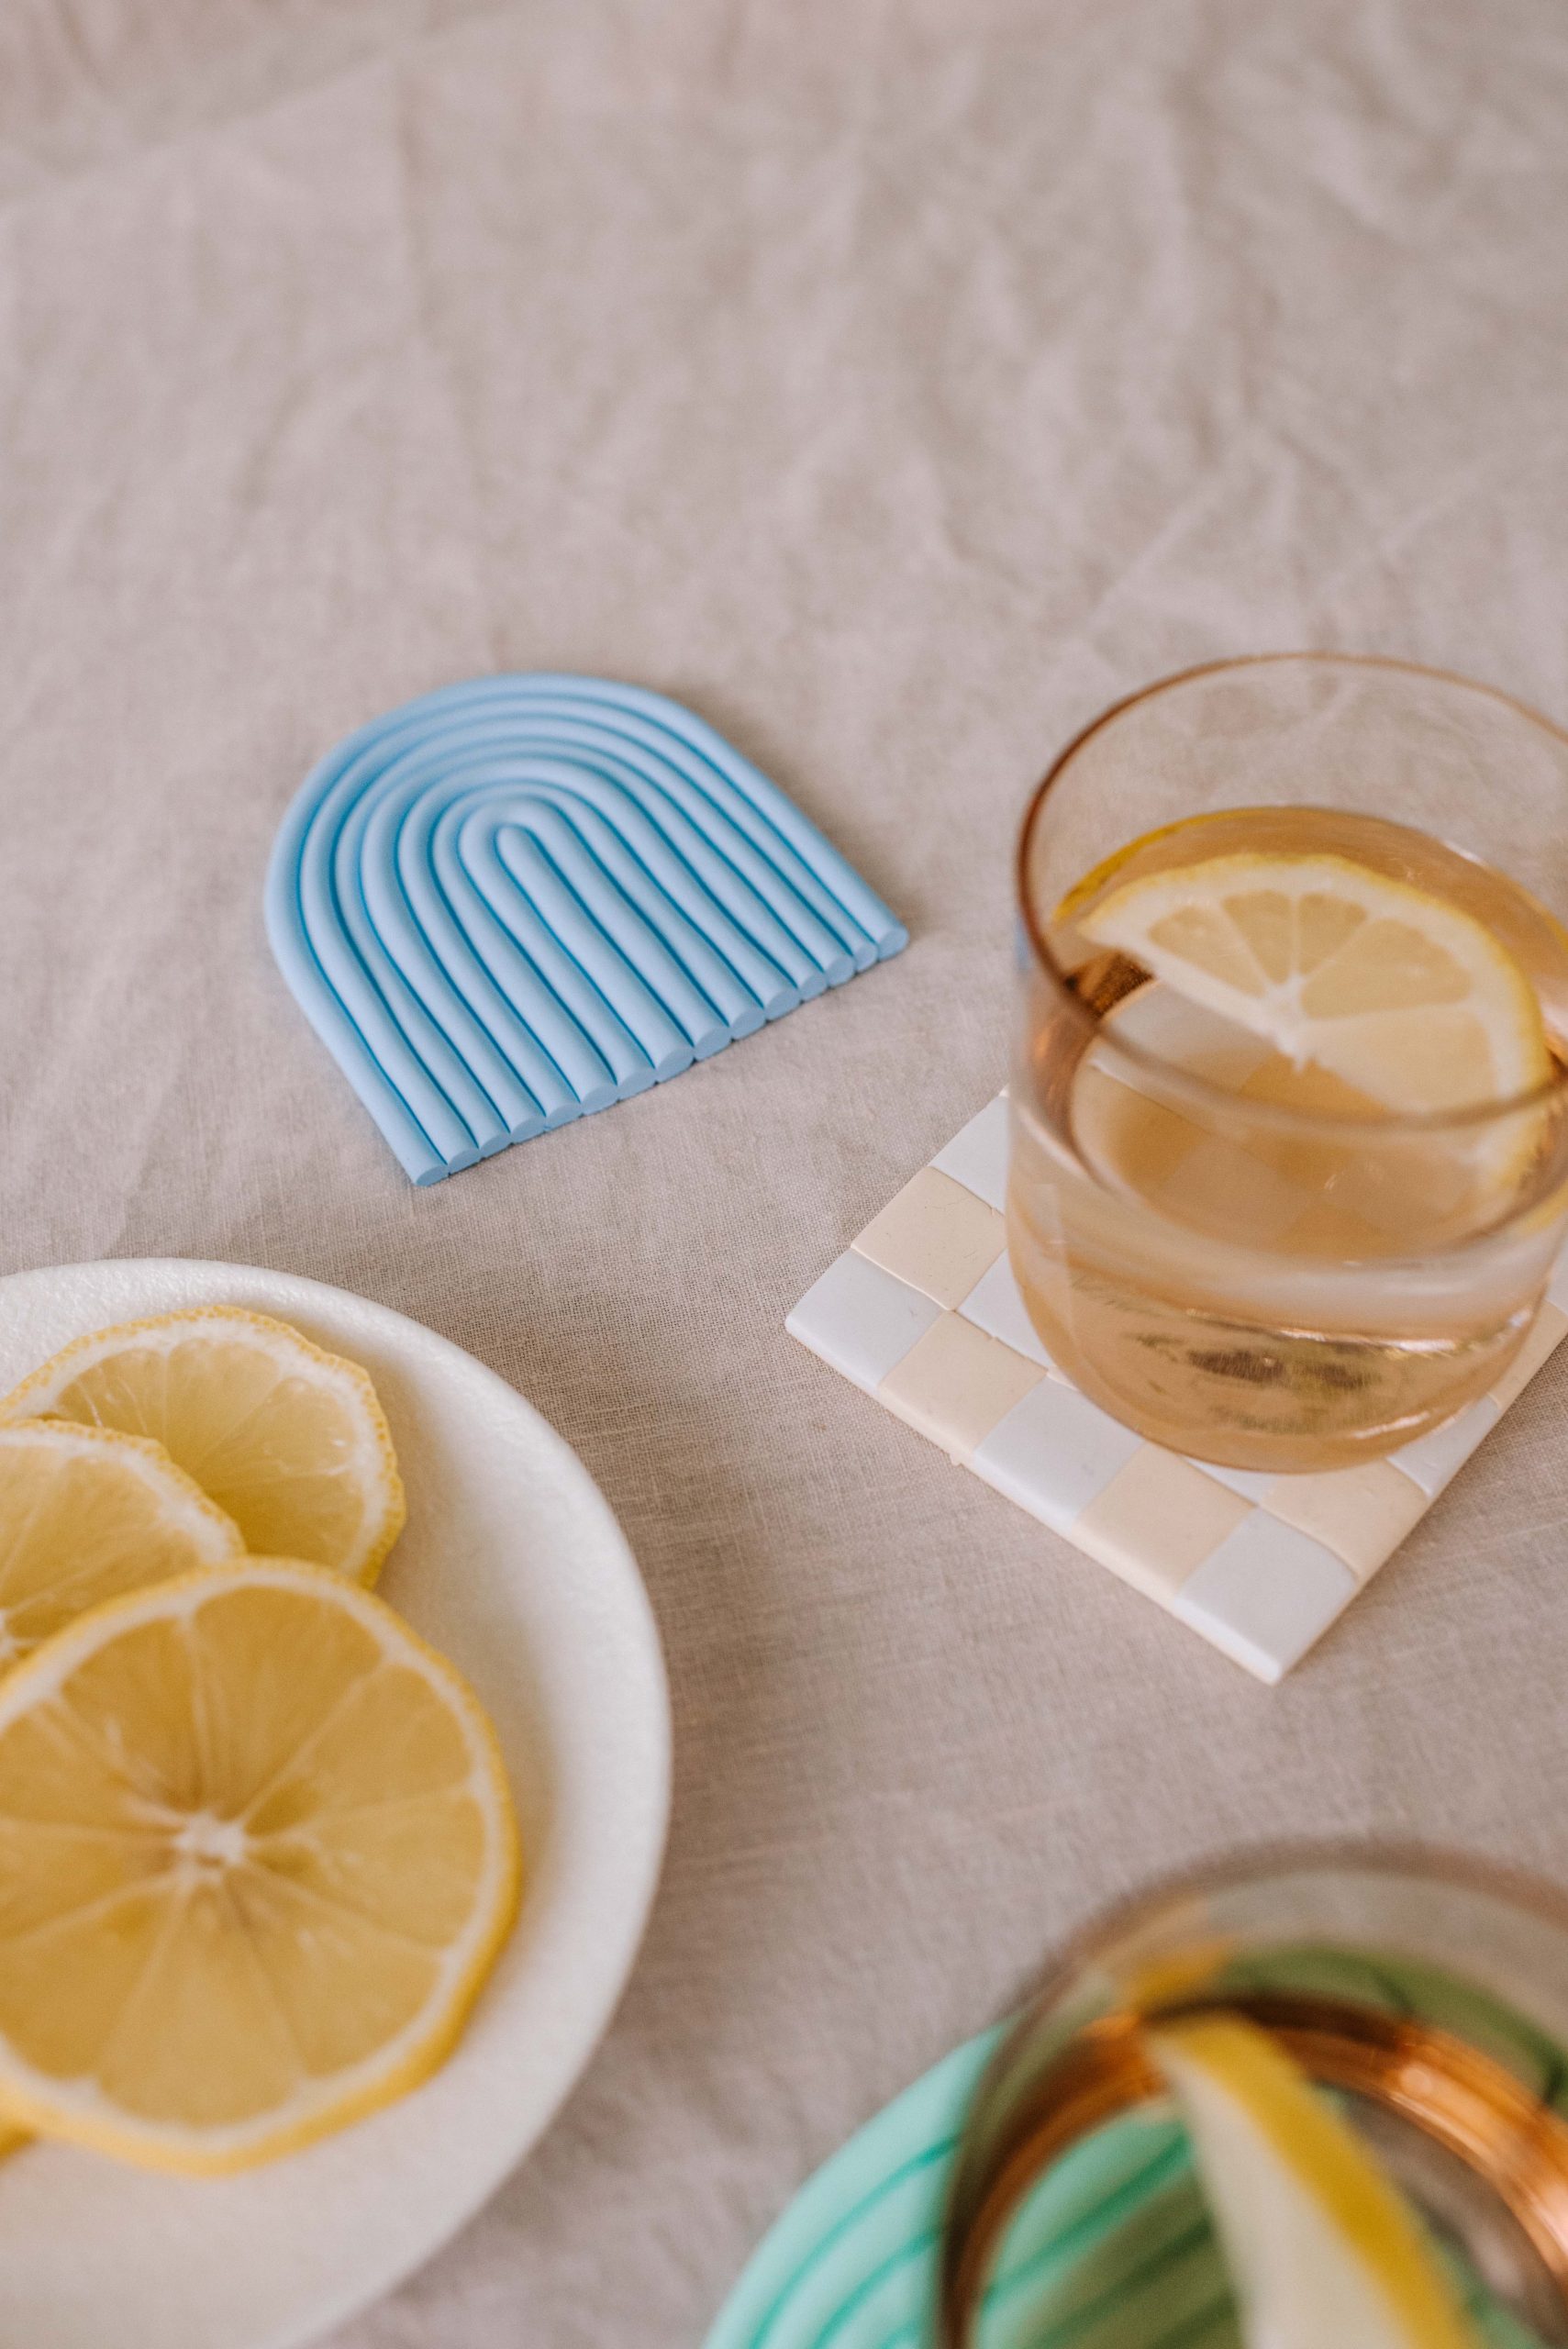
I’m back with another clay project, using my favourite craft material, Sculpey! This time around I’ll be crafting clay coasters, perfect for adding colour and fun to your tablescape.
It will come as no surprise to you that Sculpey polymer clay is one of my favorite mediums, and I’ve been using their clay for the last few years for so many different projects. Recently they launched a range of new shades in both their Premo and Souffle collections, and I was so excited to get to use them. I decided to use both ranges for this project, and they worked so well together.
You need:
- One bar each of Sculpey Souffle in Ivory and Igloo
- One bar each of Sculpey Premo in Pale Blue and Mint Green
- A glass rolling pin or glass bottle
- A scalpel or sharp knife
- Baking tray and baking paper
Rainbow Coasters
- Start by finding a clean, non porous surface, I used a marble table but glass would also work.
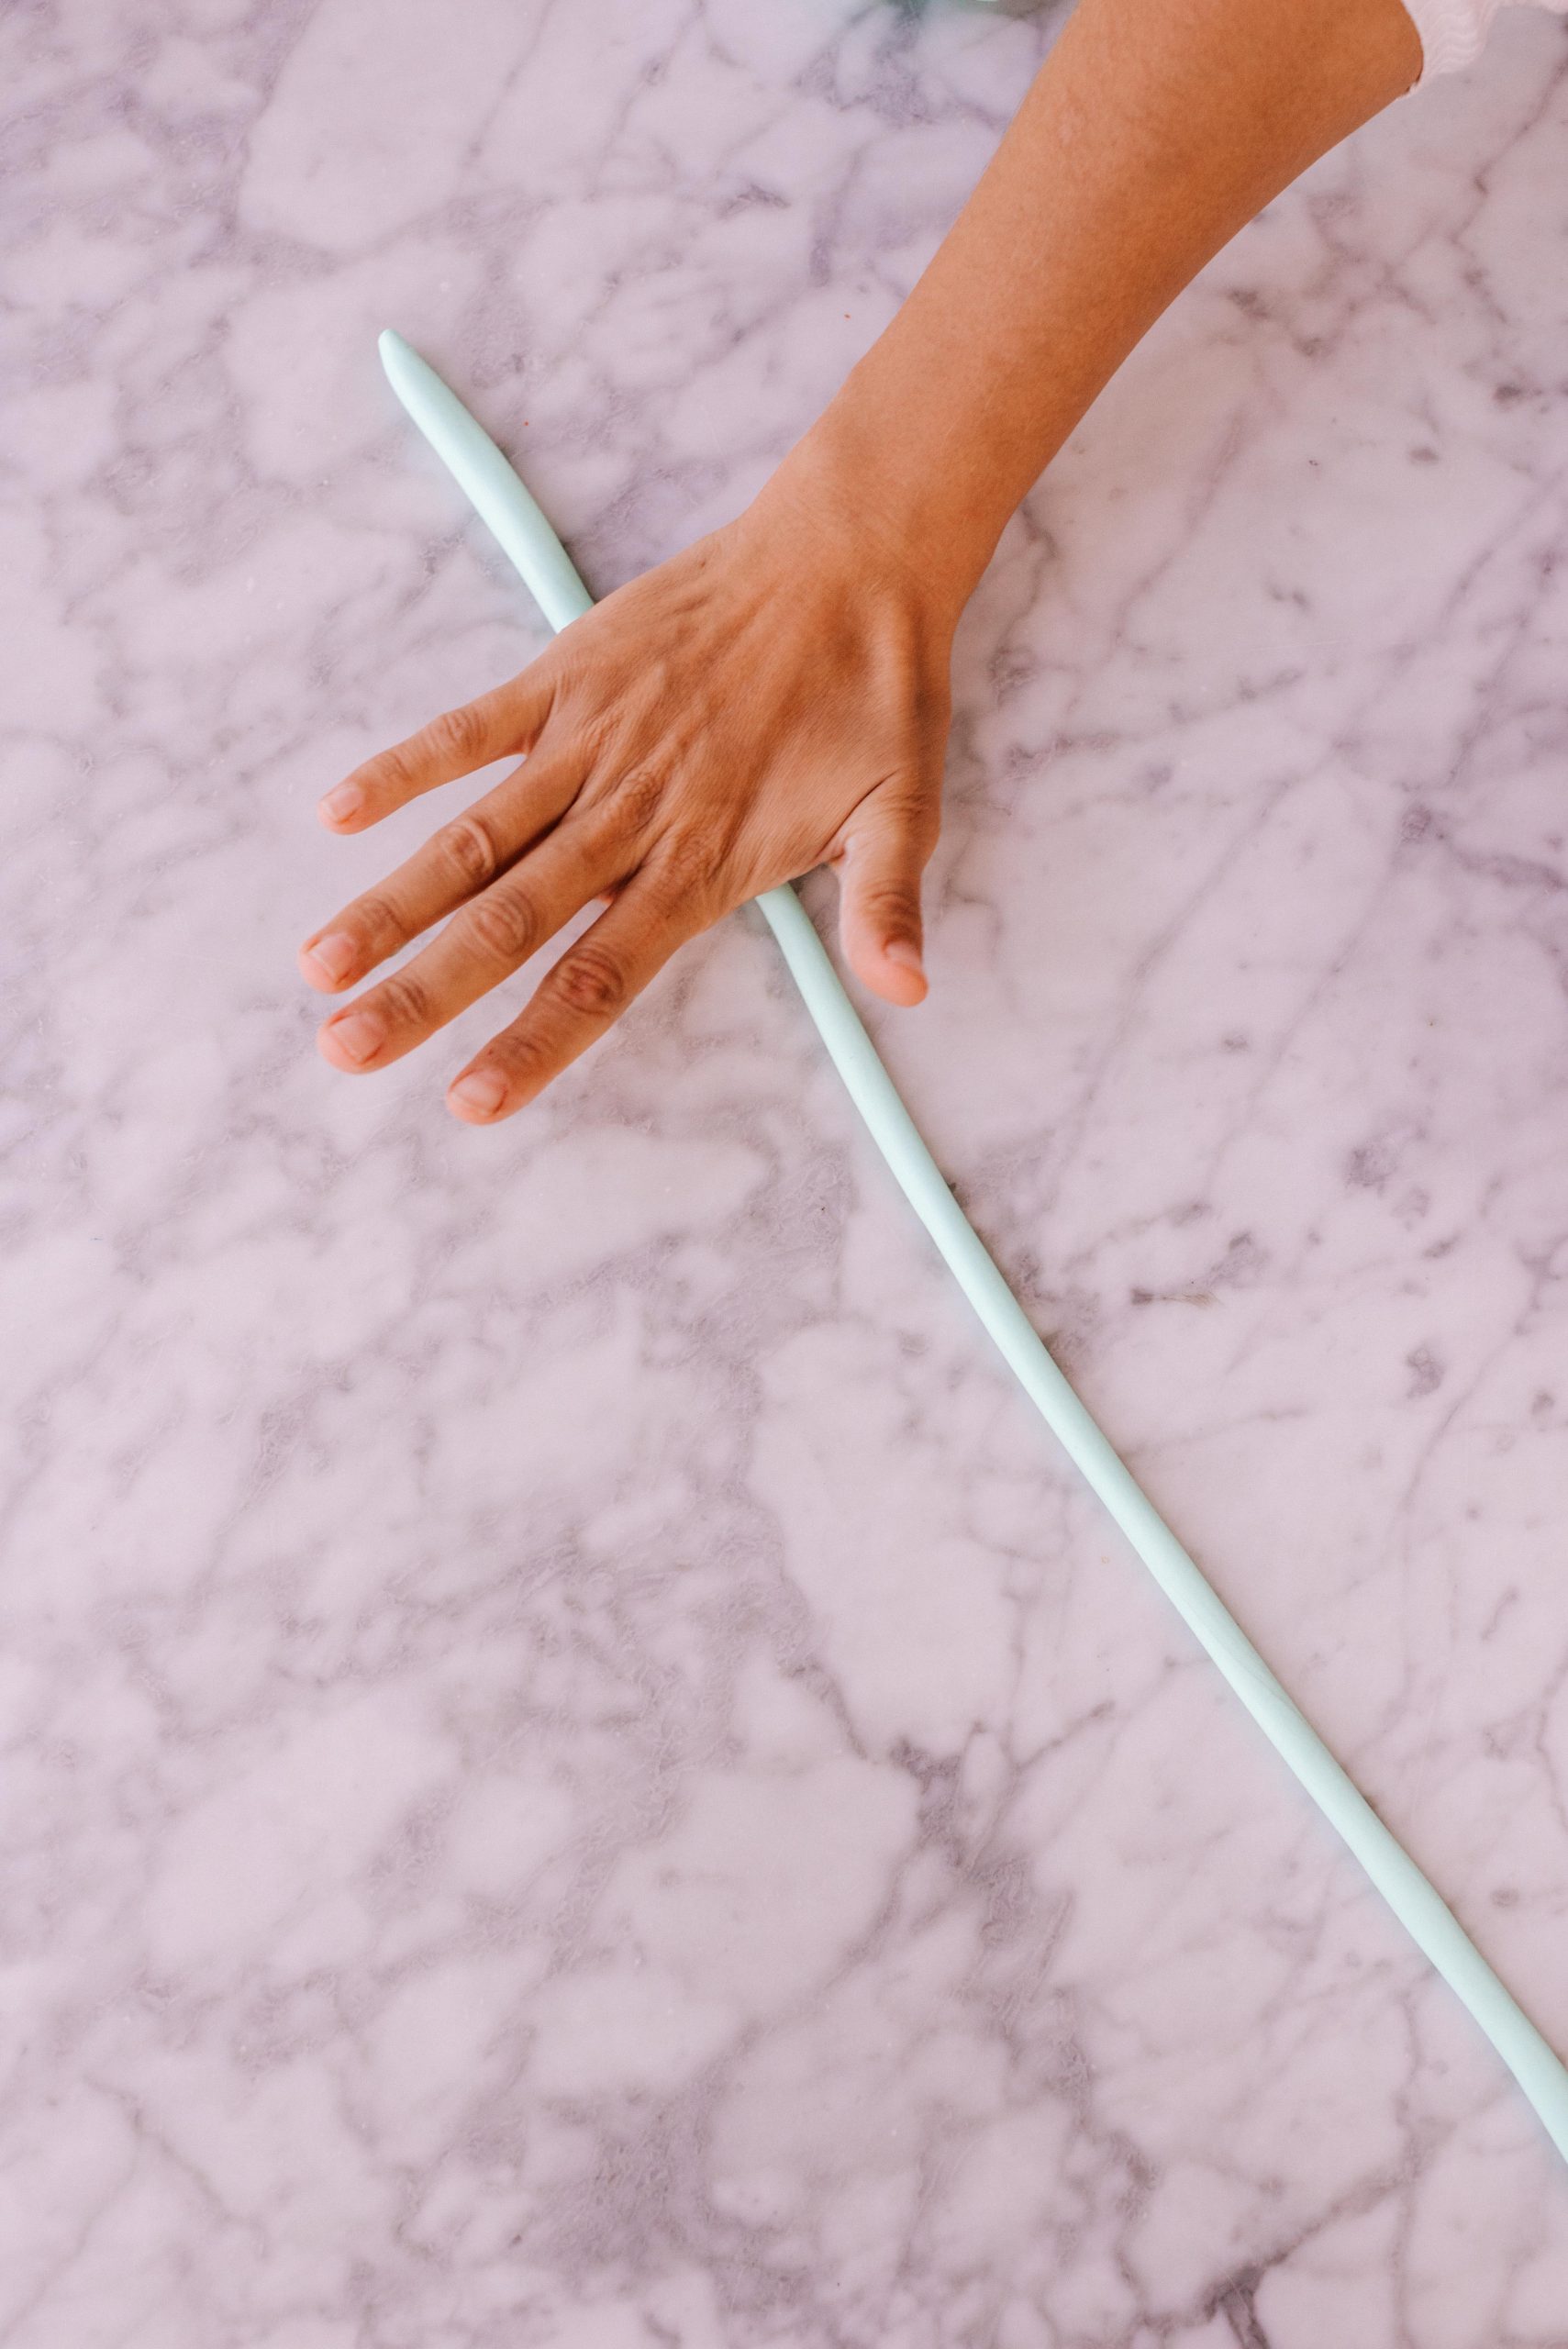
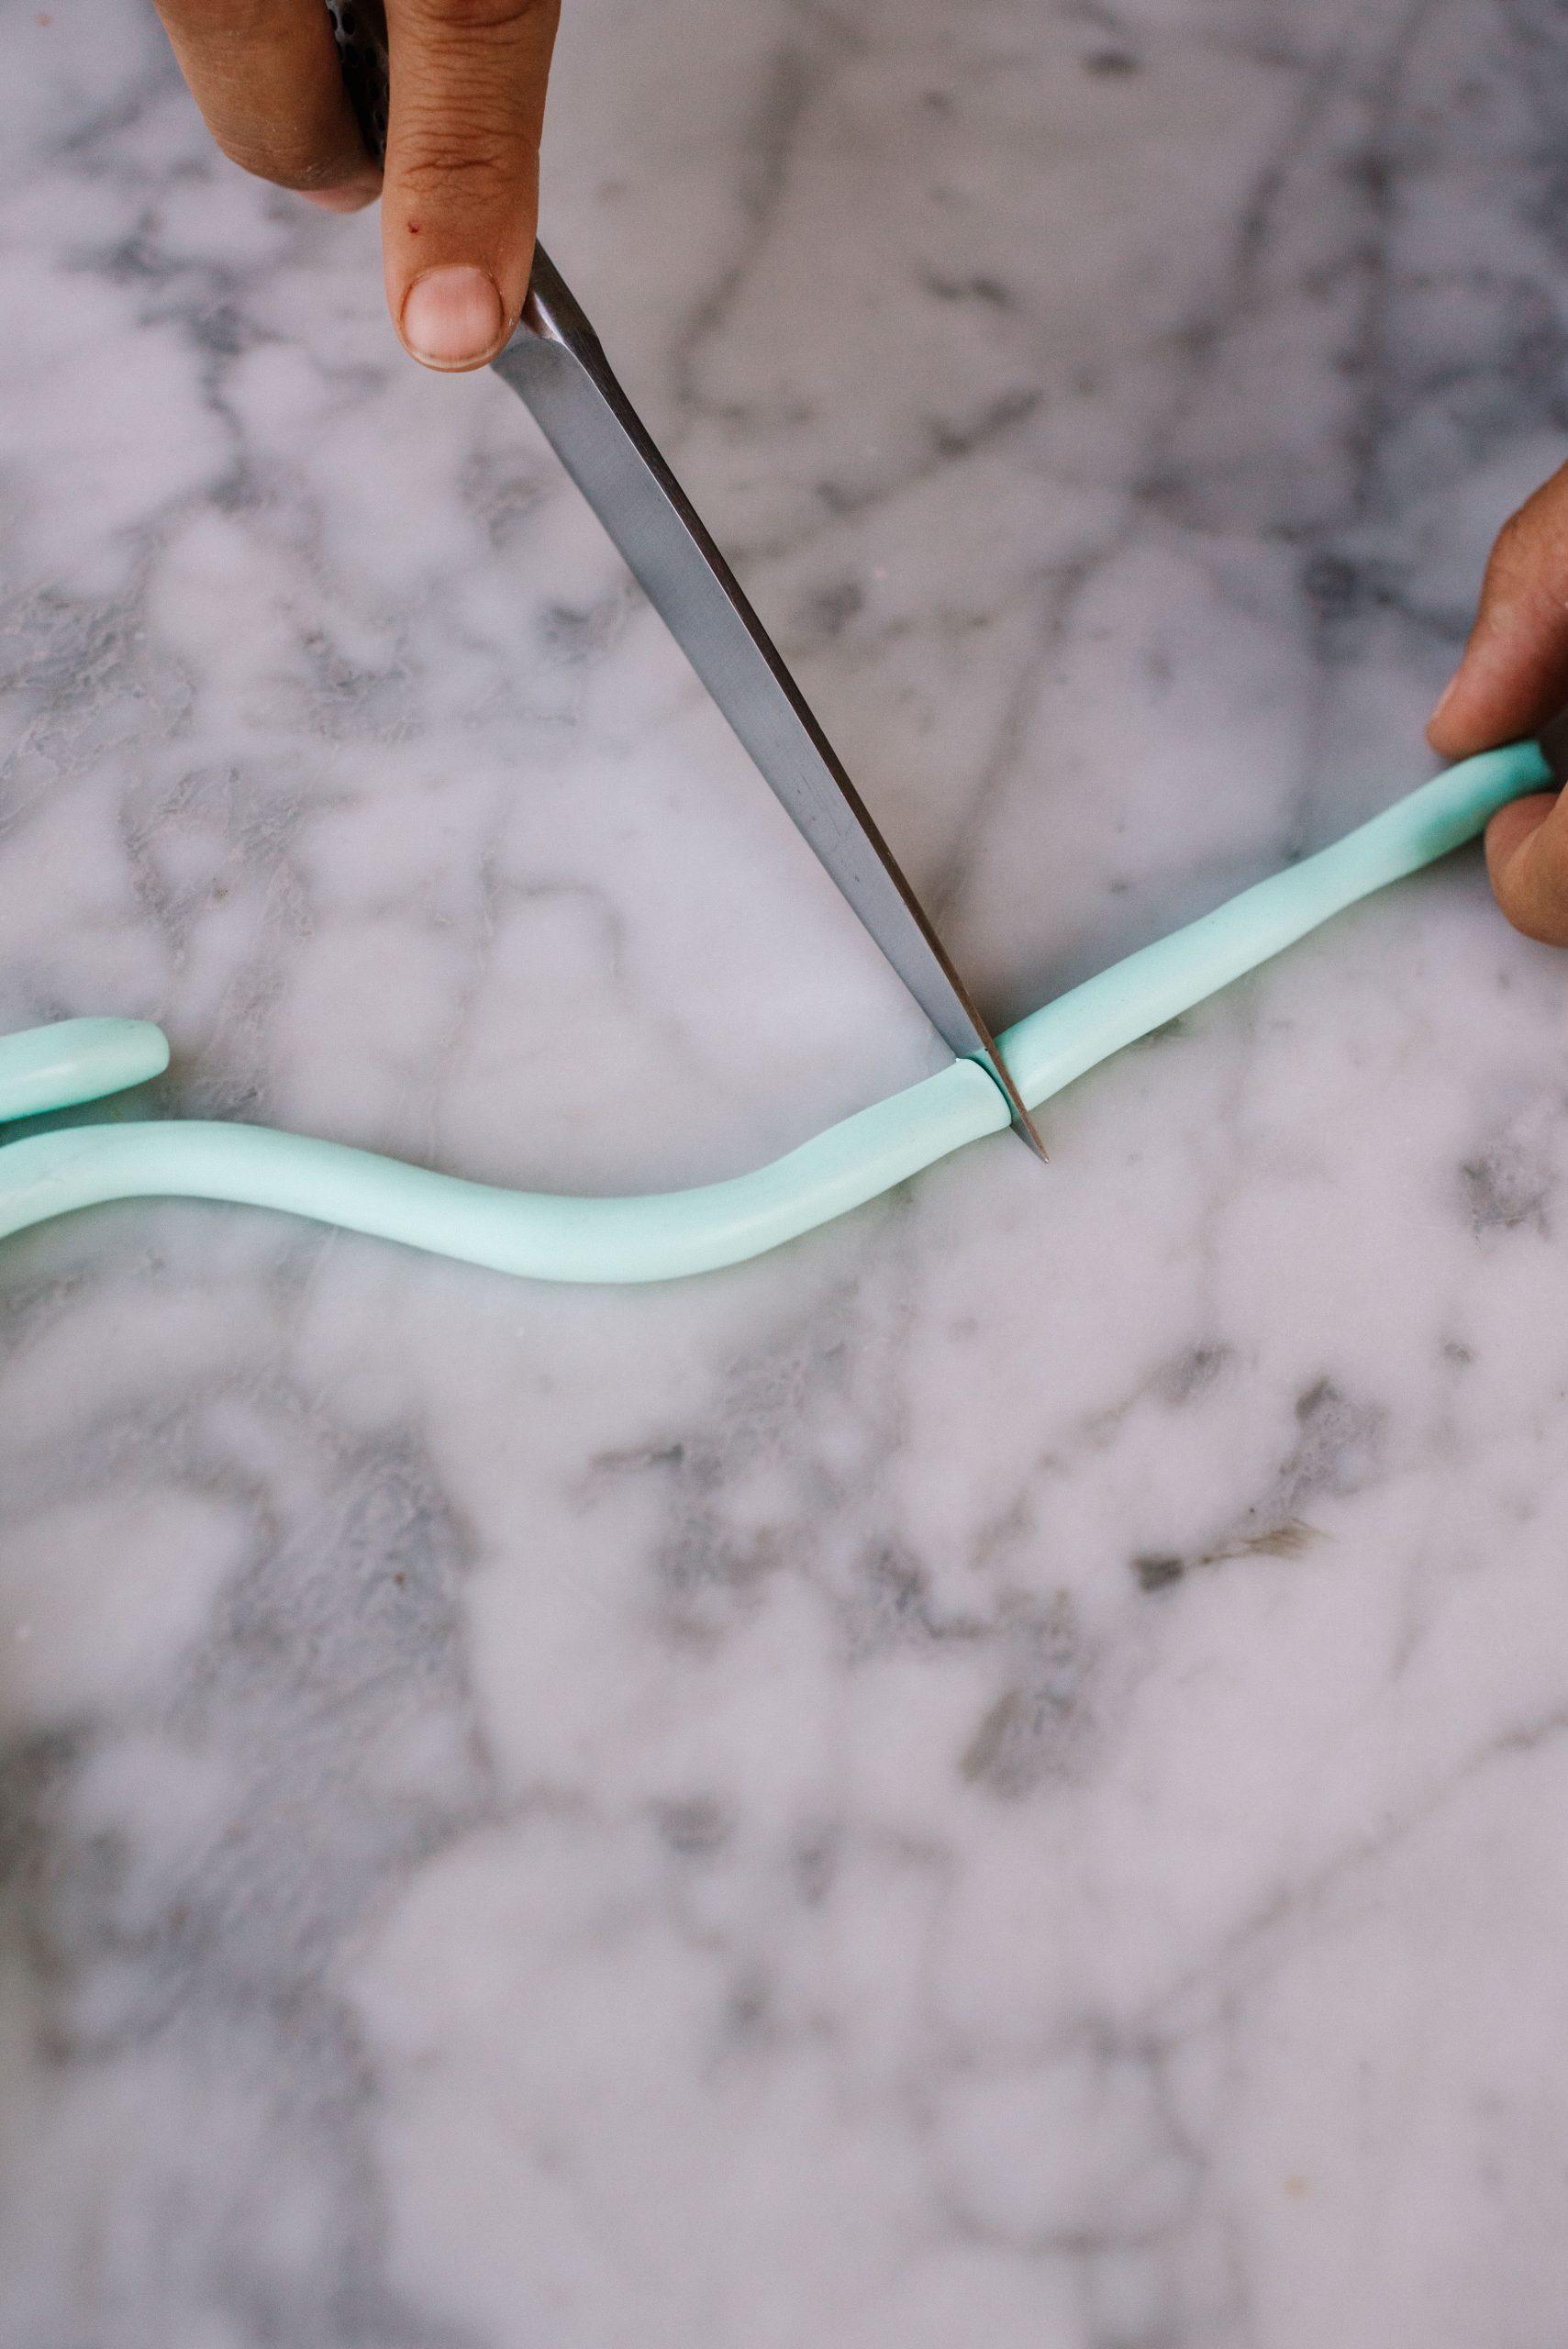
- Roll out your clay into a skinny strand. Make sure that it is even in width across the whole length. Lightly stretching it out can help to smooth it out.
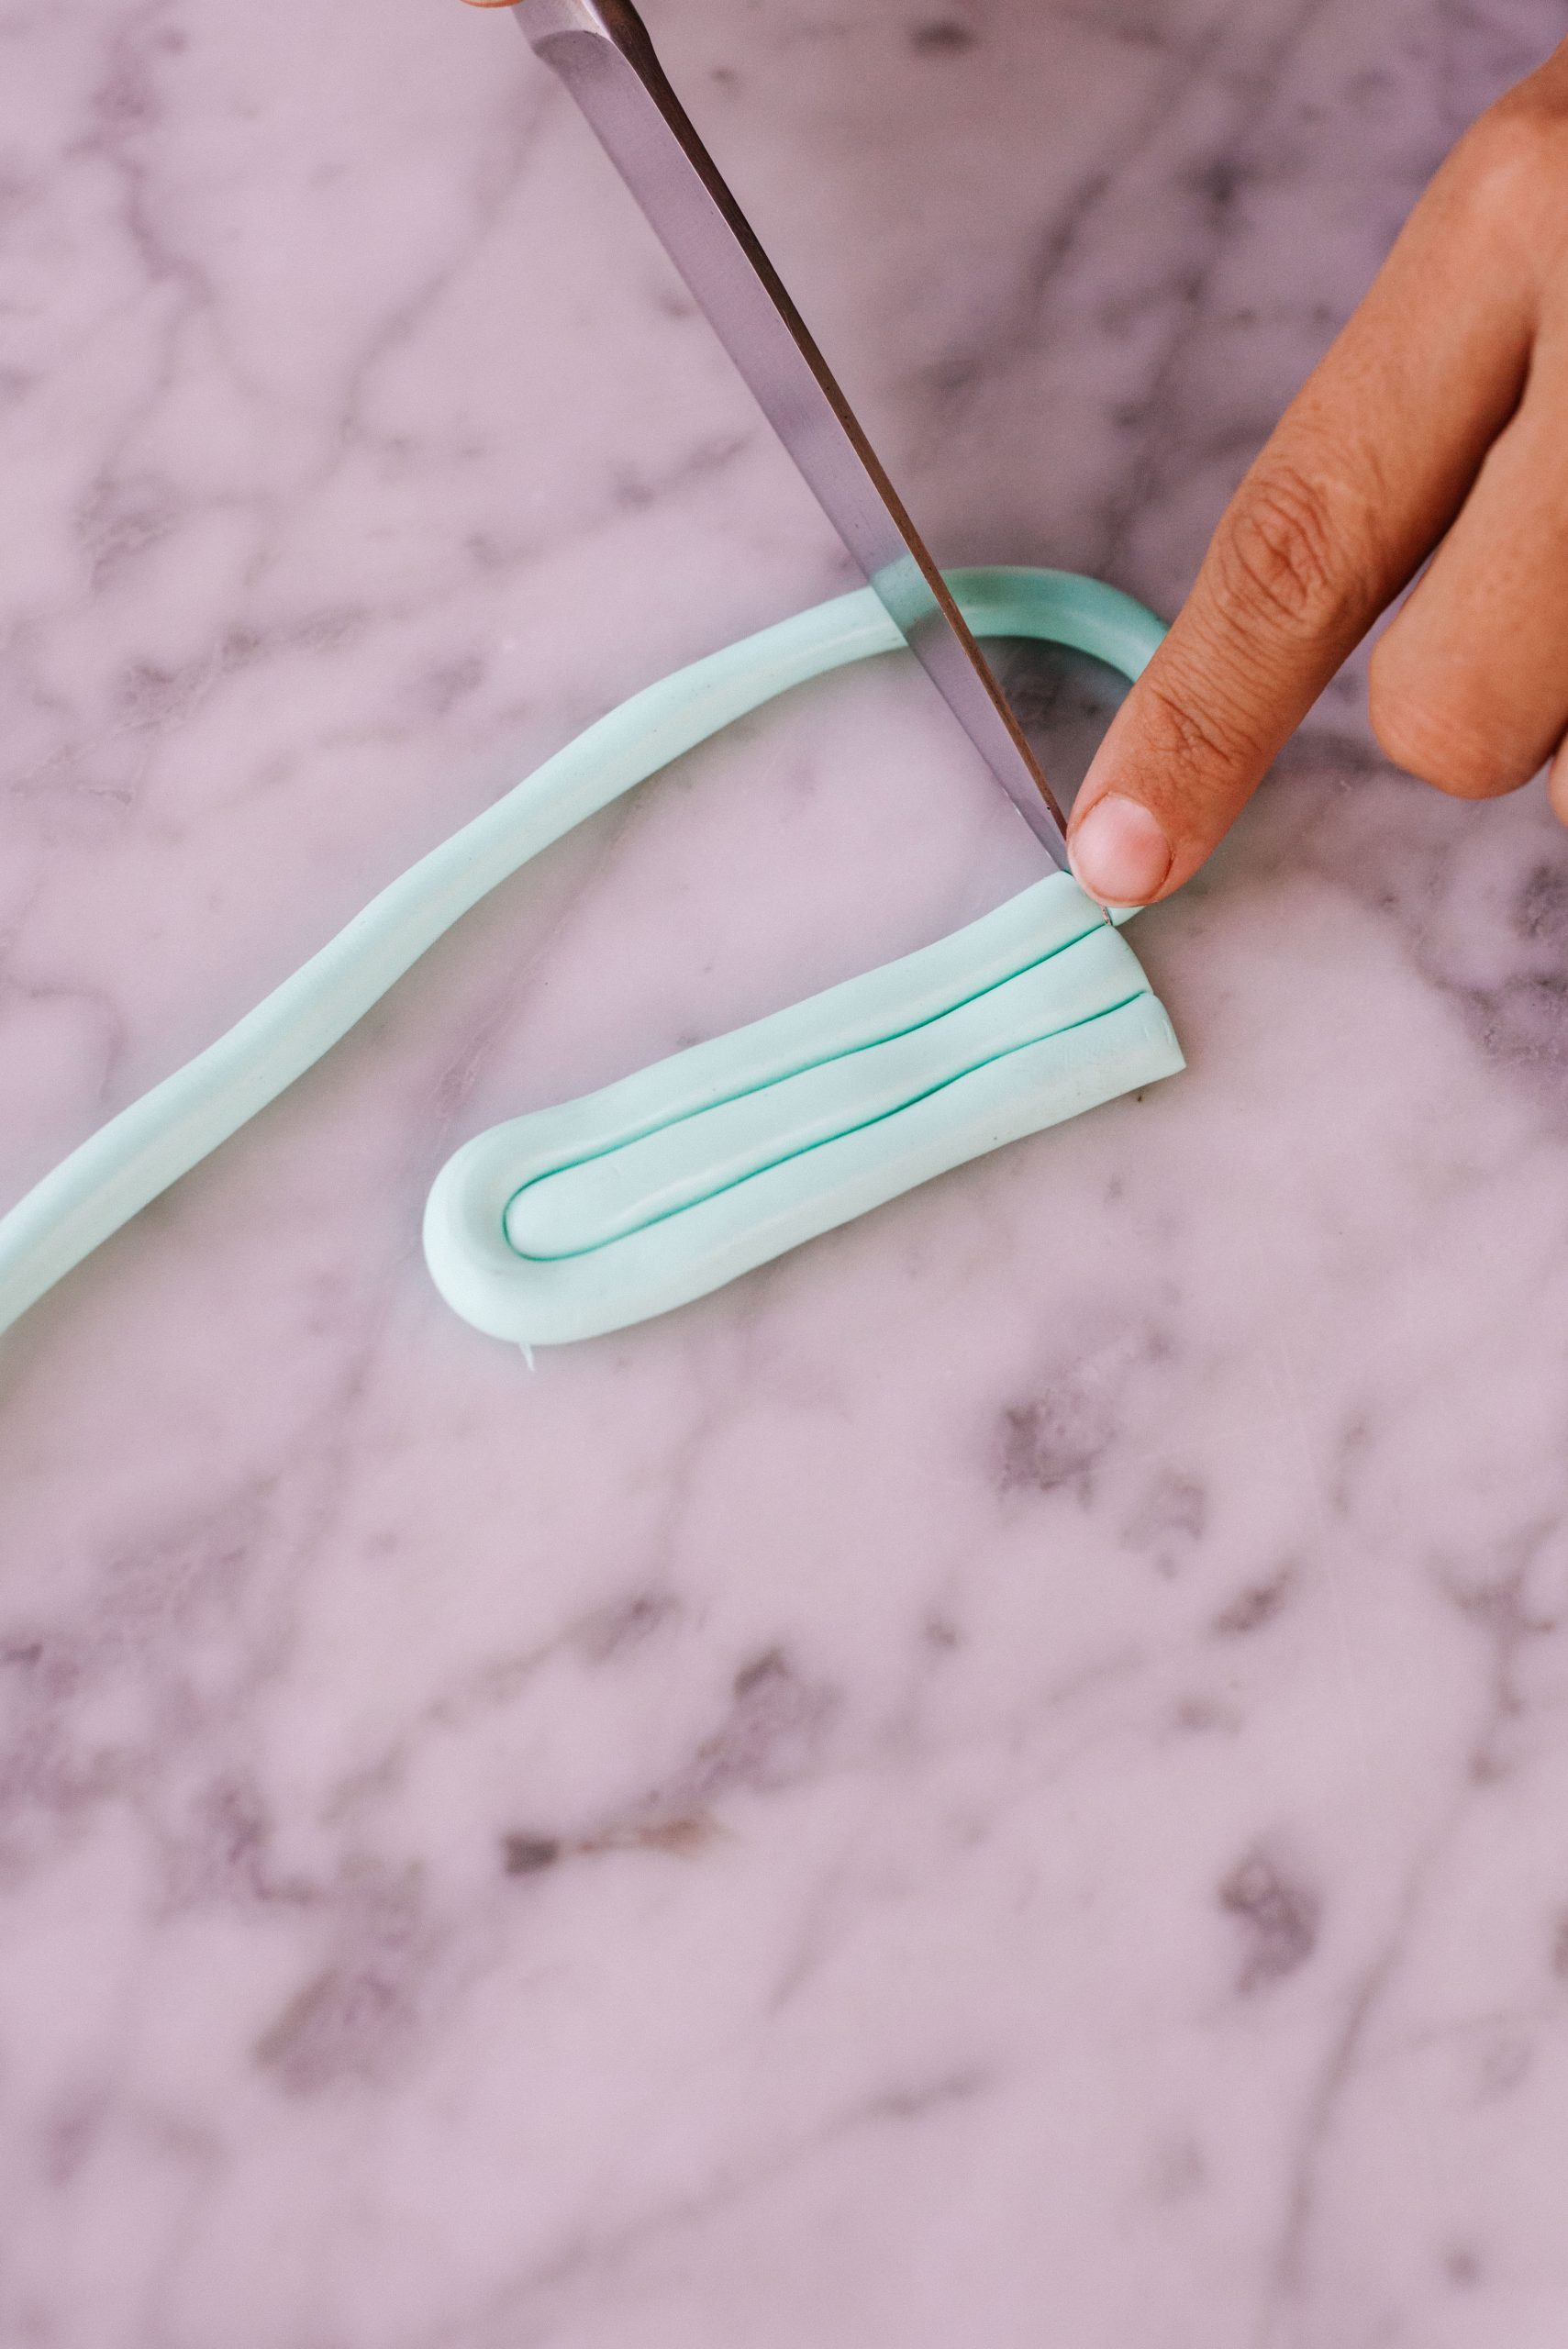
- Start by cutting a small section around 5cm (2 inches) long. Then take your longer strand and curve it around the short piece, to create a rainbow shape.
- Cut it off at the bottom and then repeat, continuing to layer the clay until you have the desired number of layers.
- Using the knife, trim the bottom so the edges are sharp and the bottom is neat.
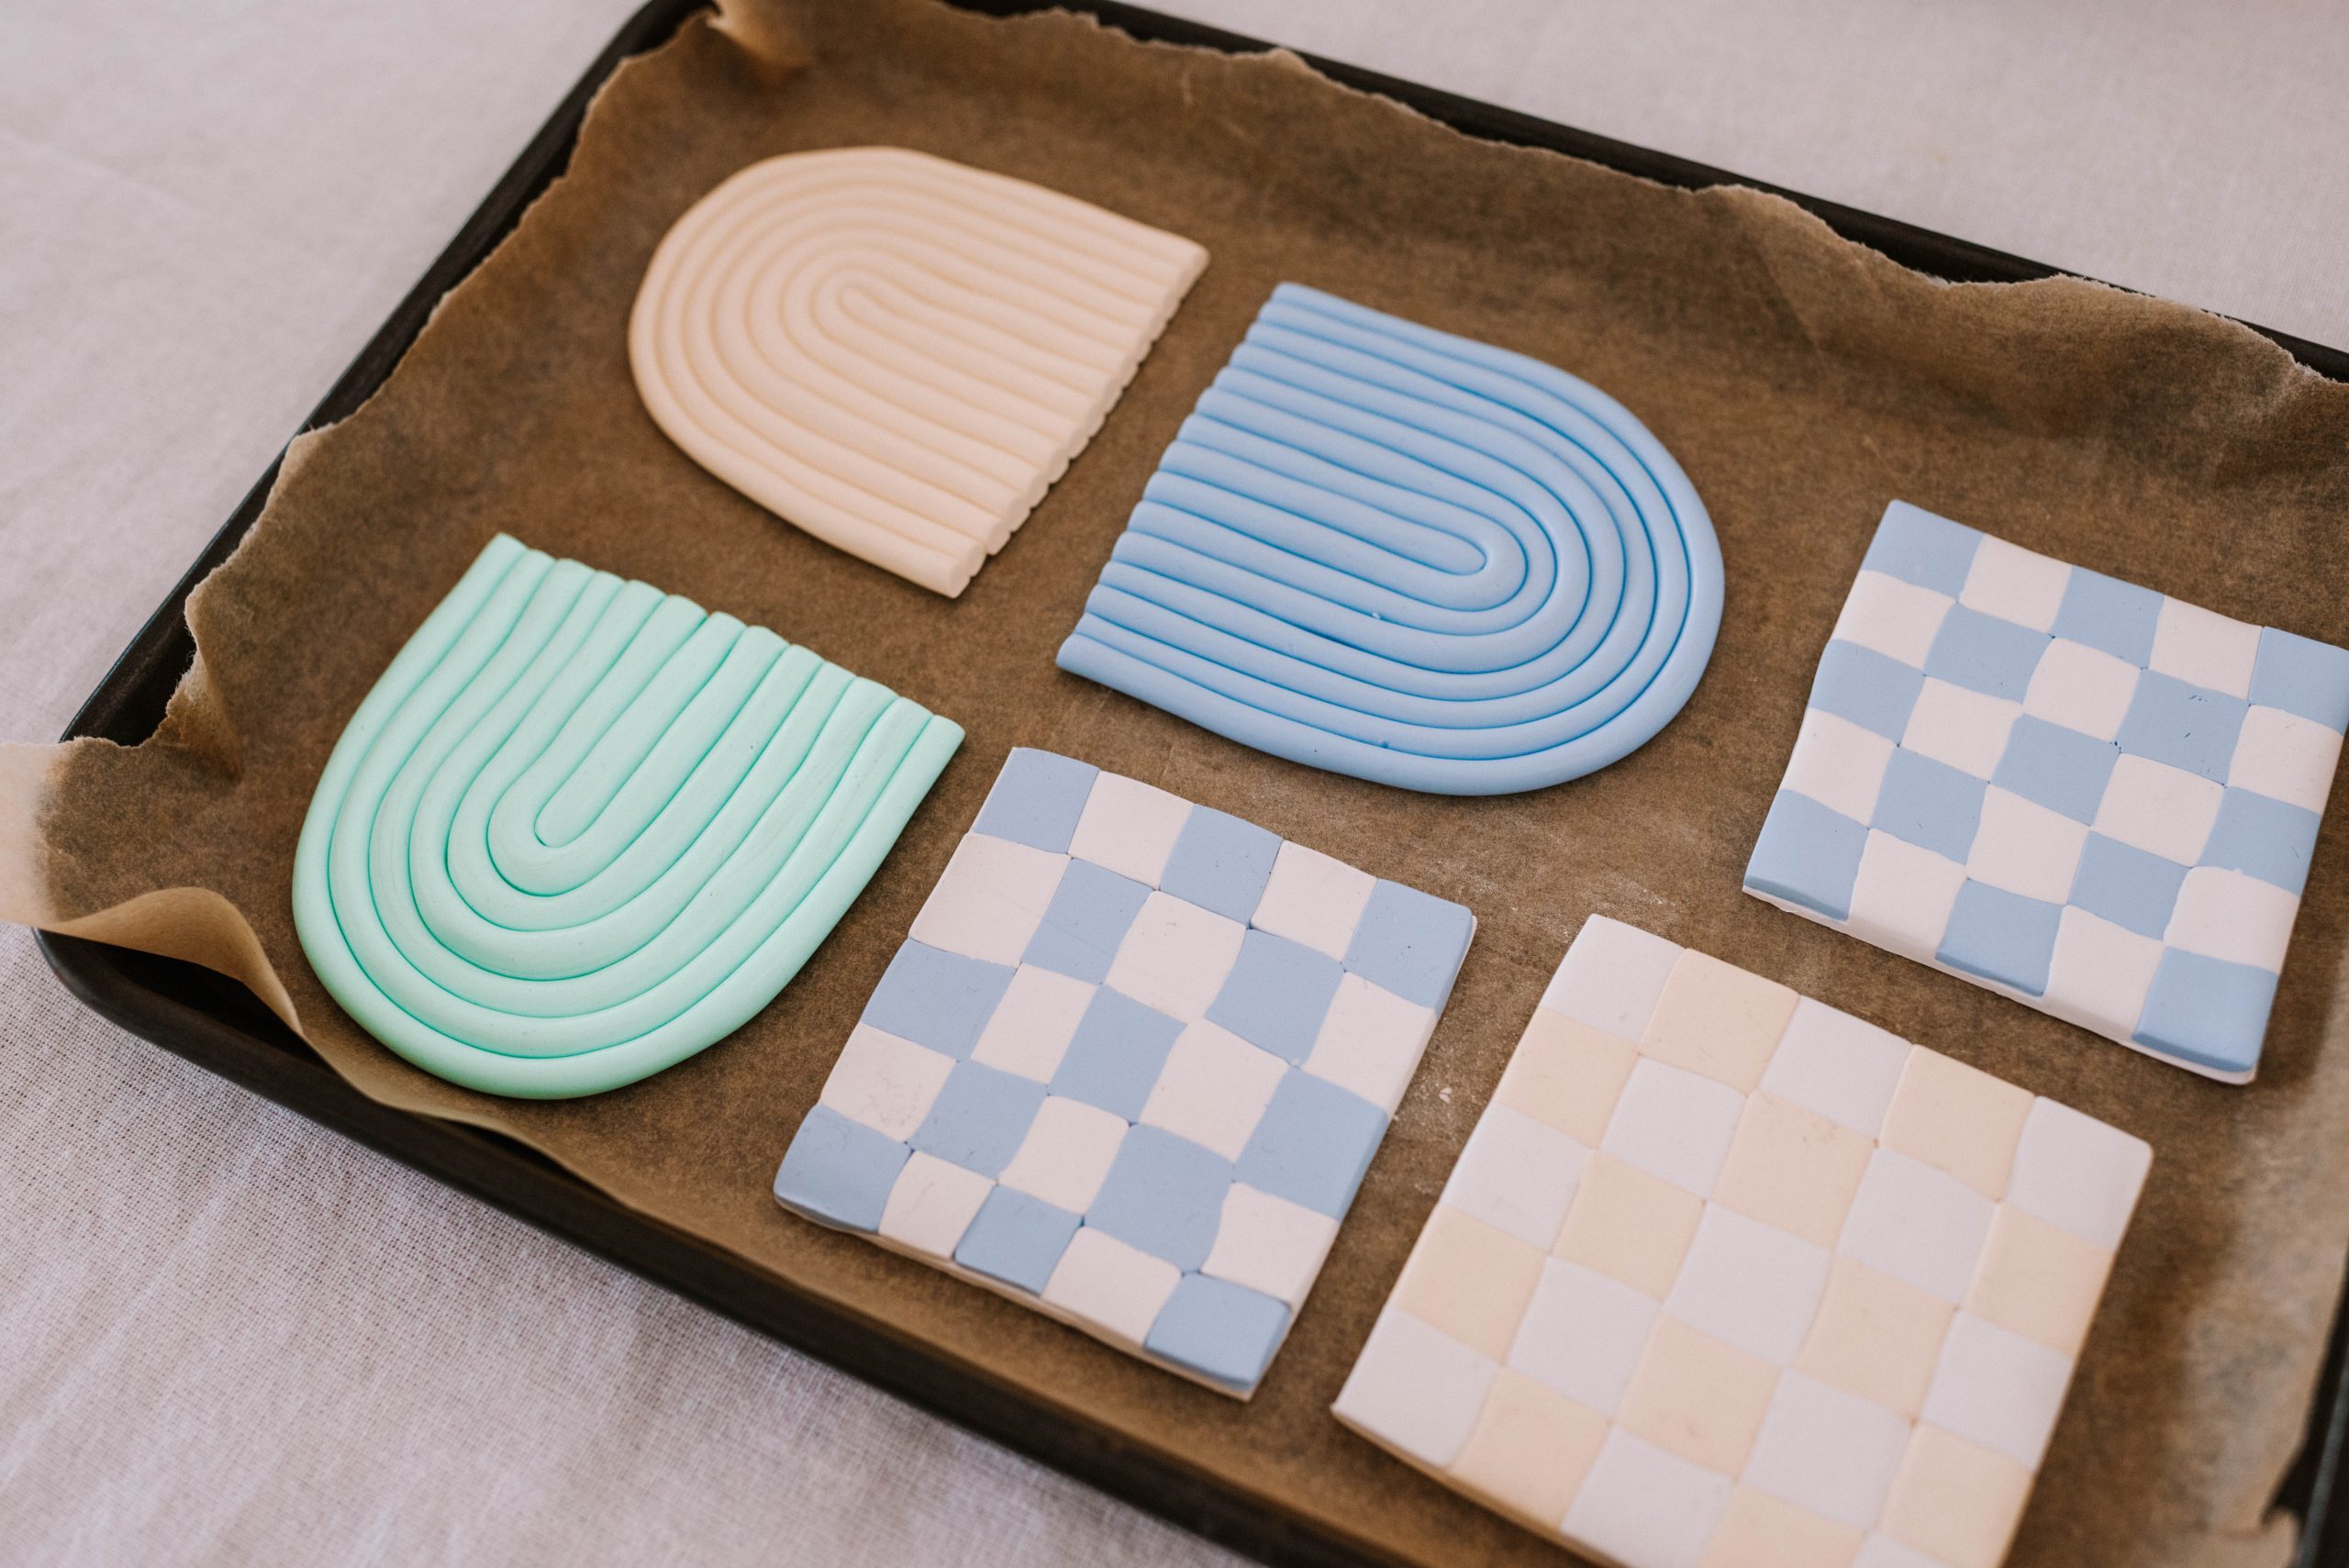
- Place them on the baking tray and bake on a low heat oven for 15 minutes, or until when you press your nail into the clay it doesn’t leave an imprint. Remove and let cool.
Checkered Coasters
- Start by finding a clean, non porous surface, I used a marble table but glass would also work.
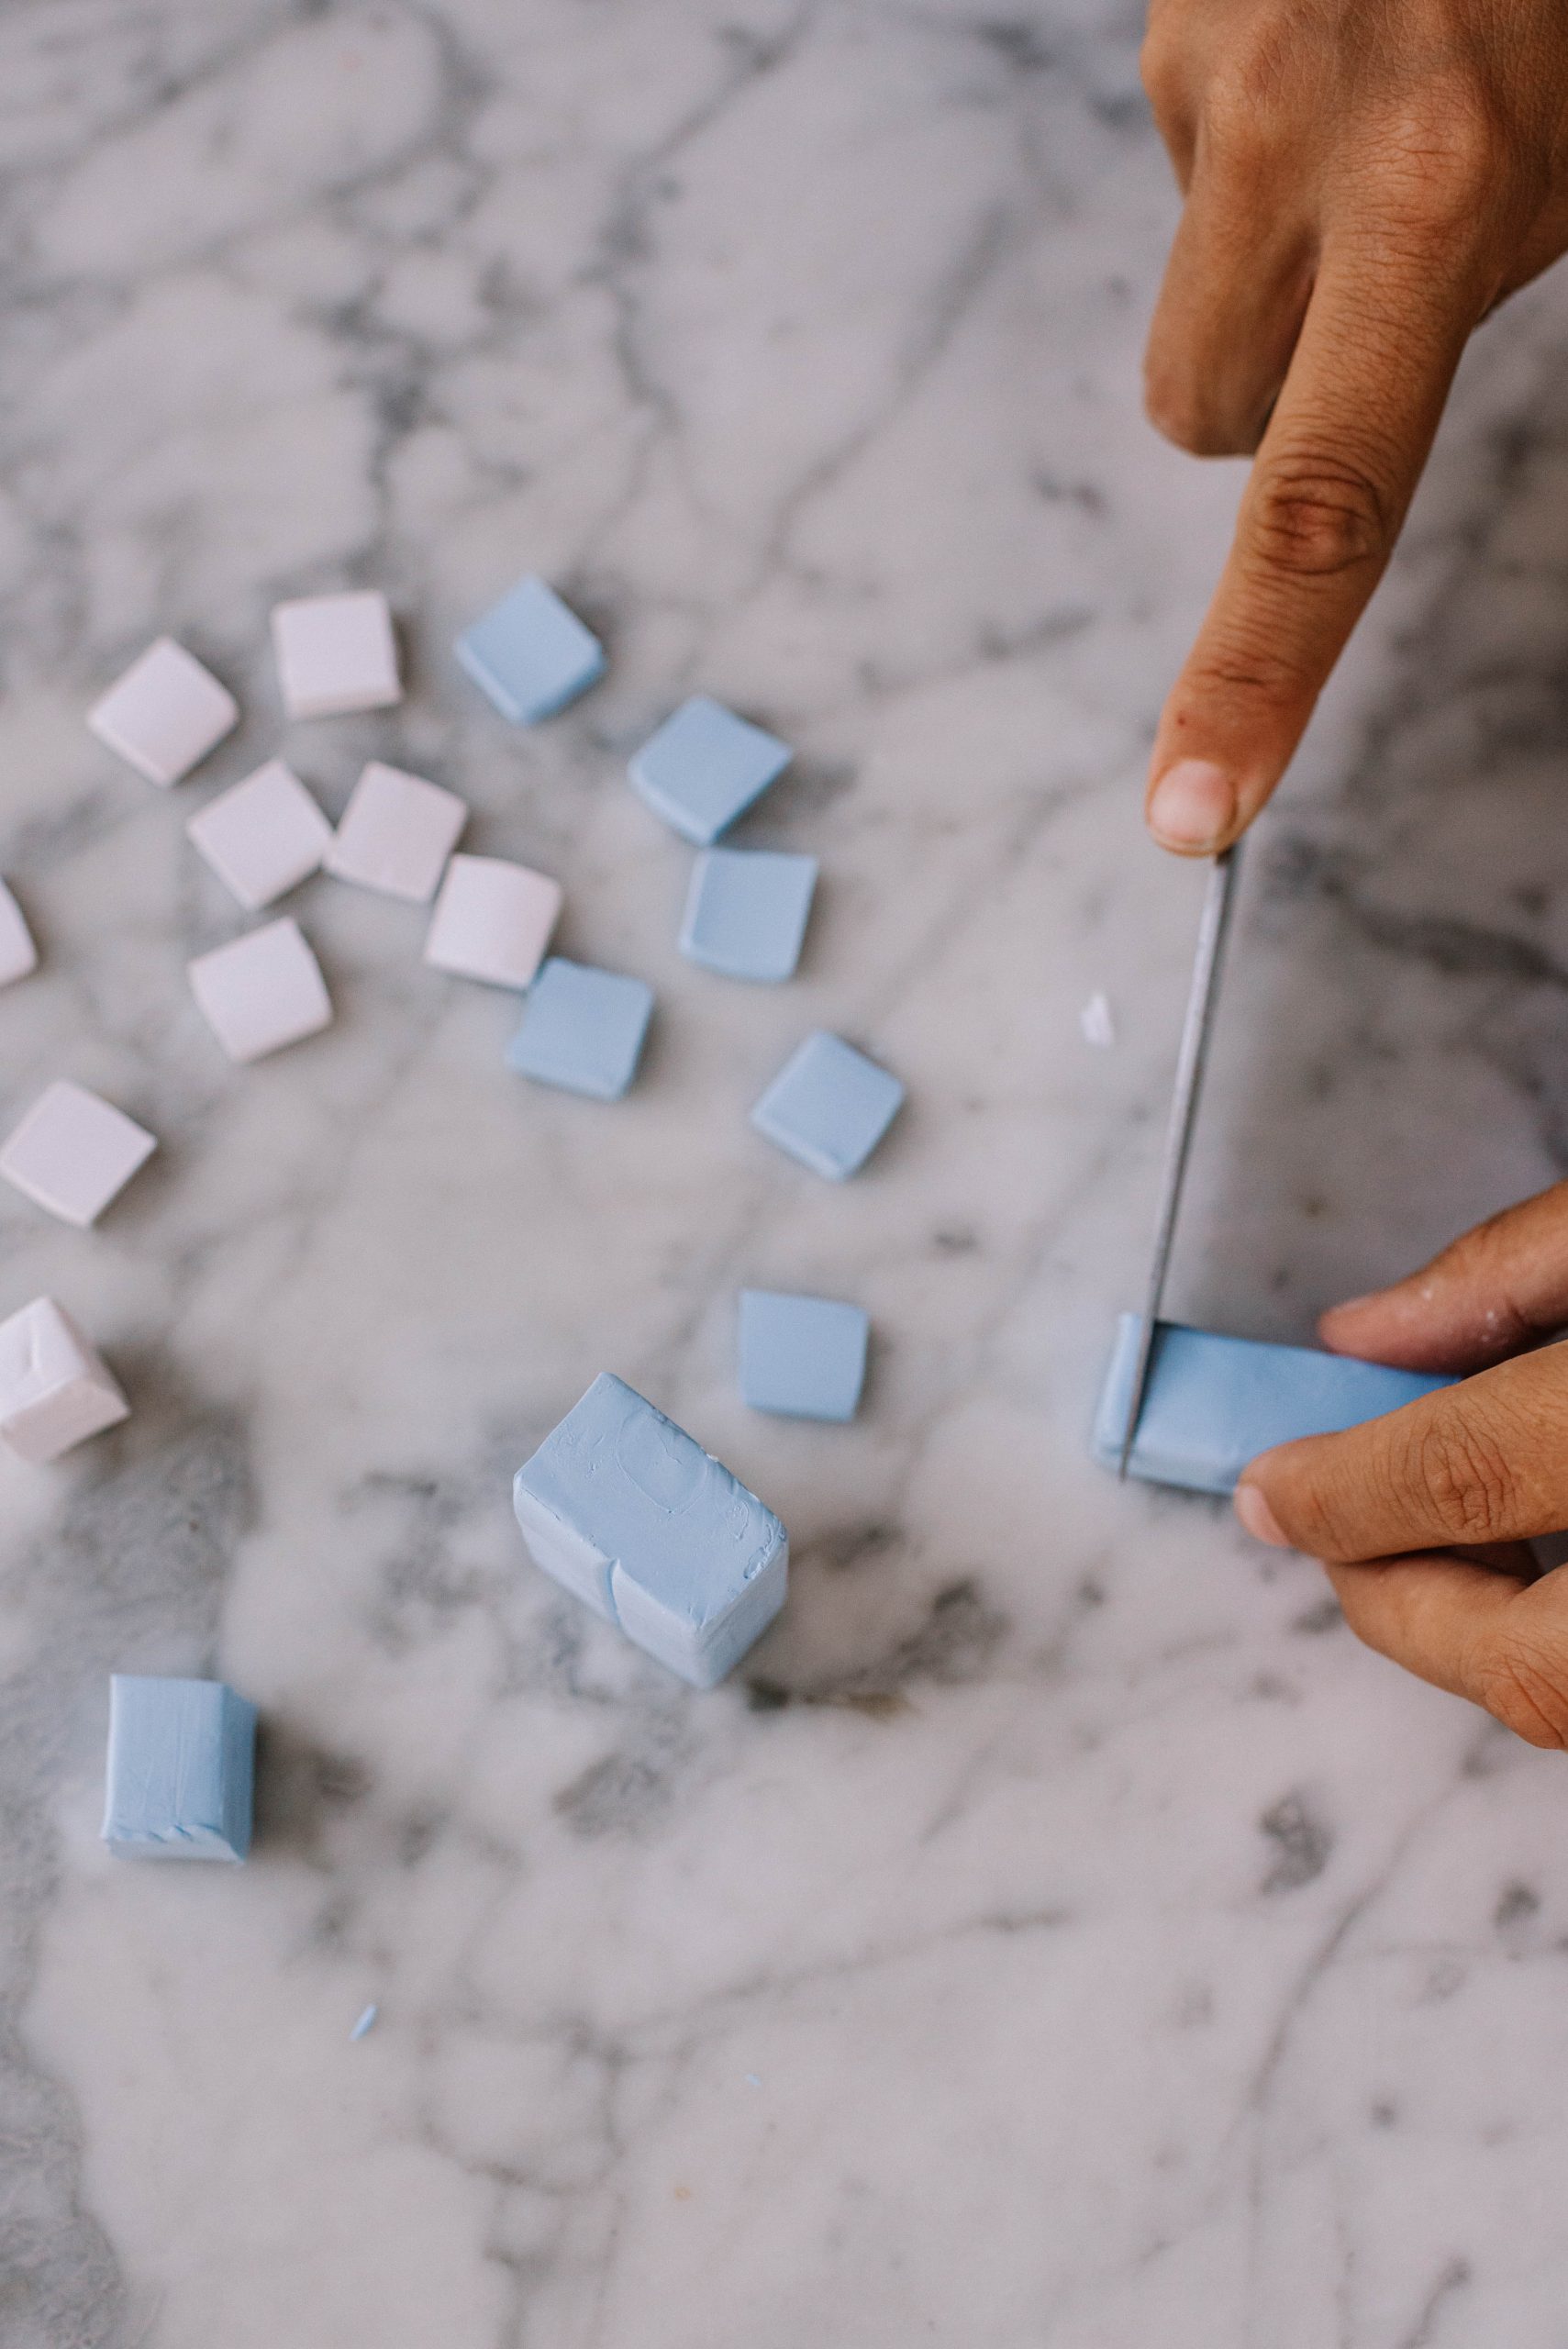
- Cut squares of clay in white and a contrasting colour. You can do this by cutting directly from the square of clay that the clay comes packages in.
- Otherwise, you can roll out your clay using the rolling pin and measure and cut matching squares.
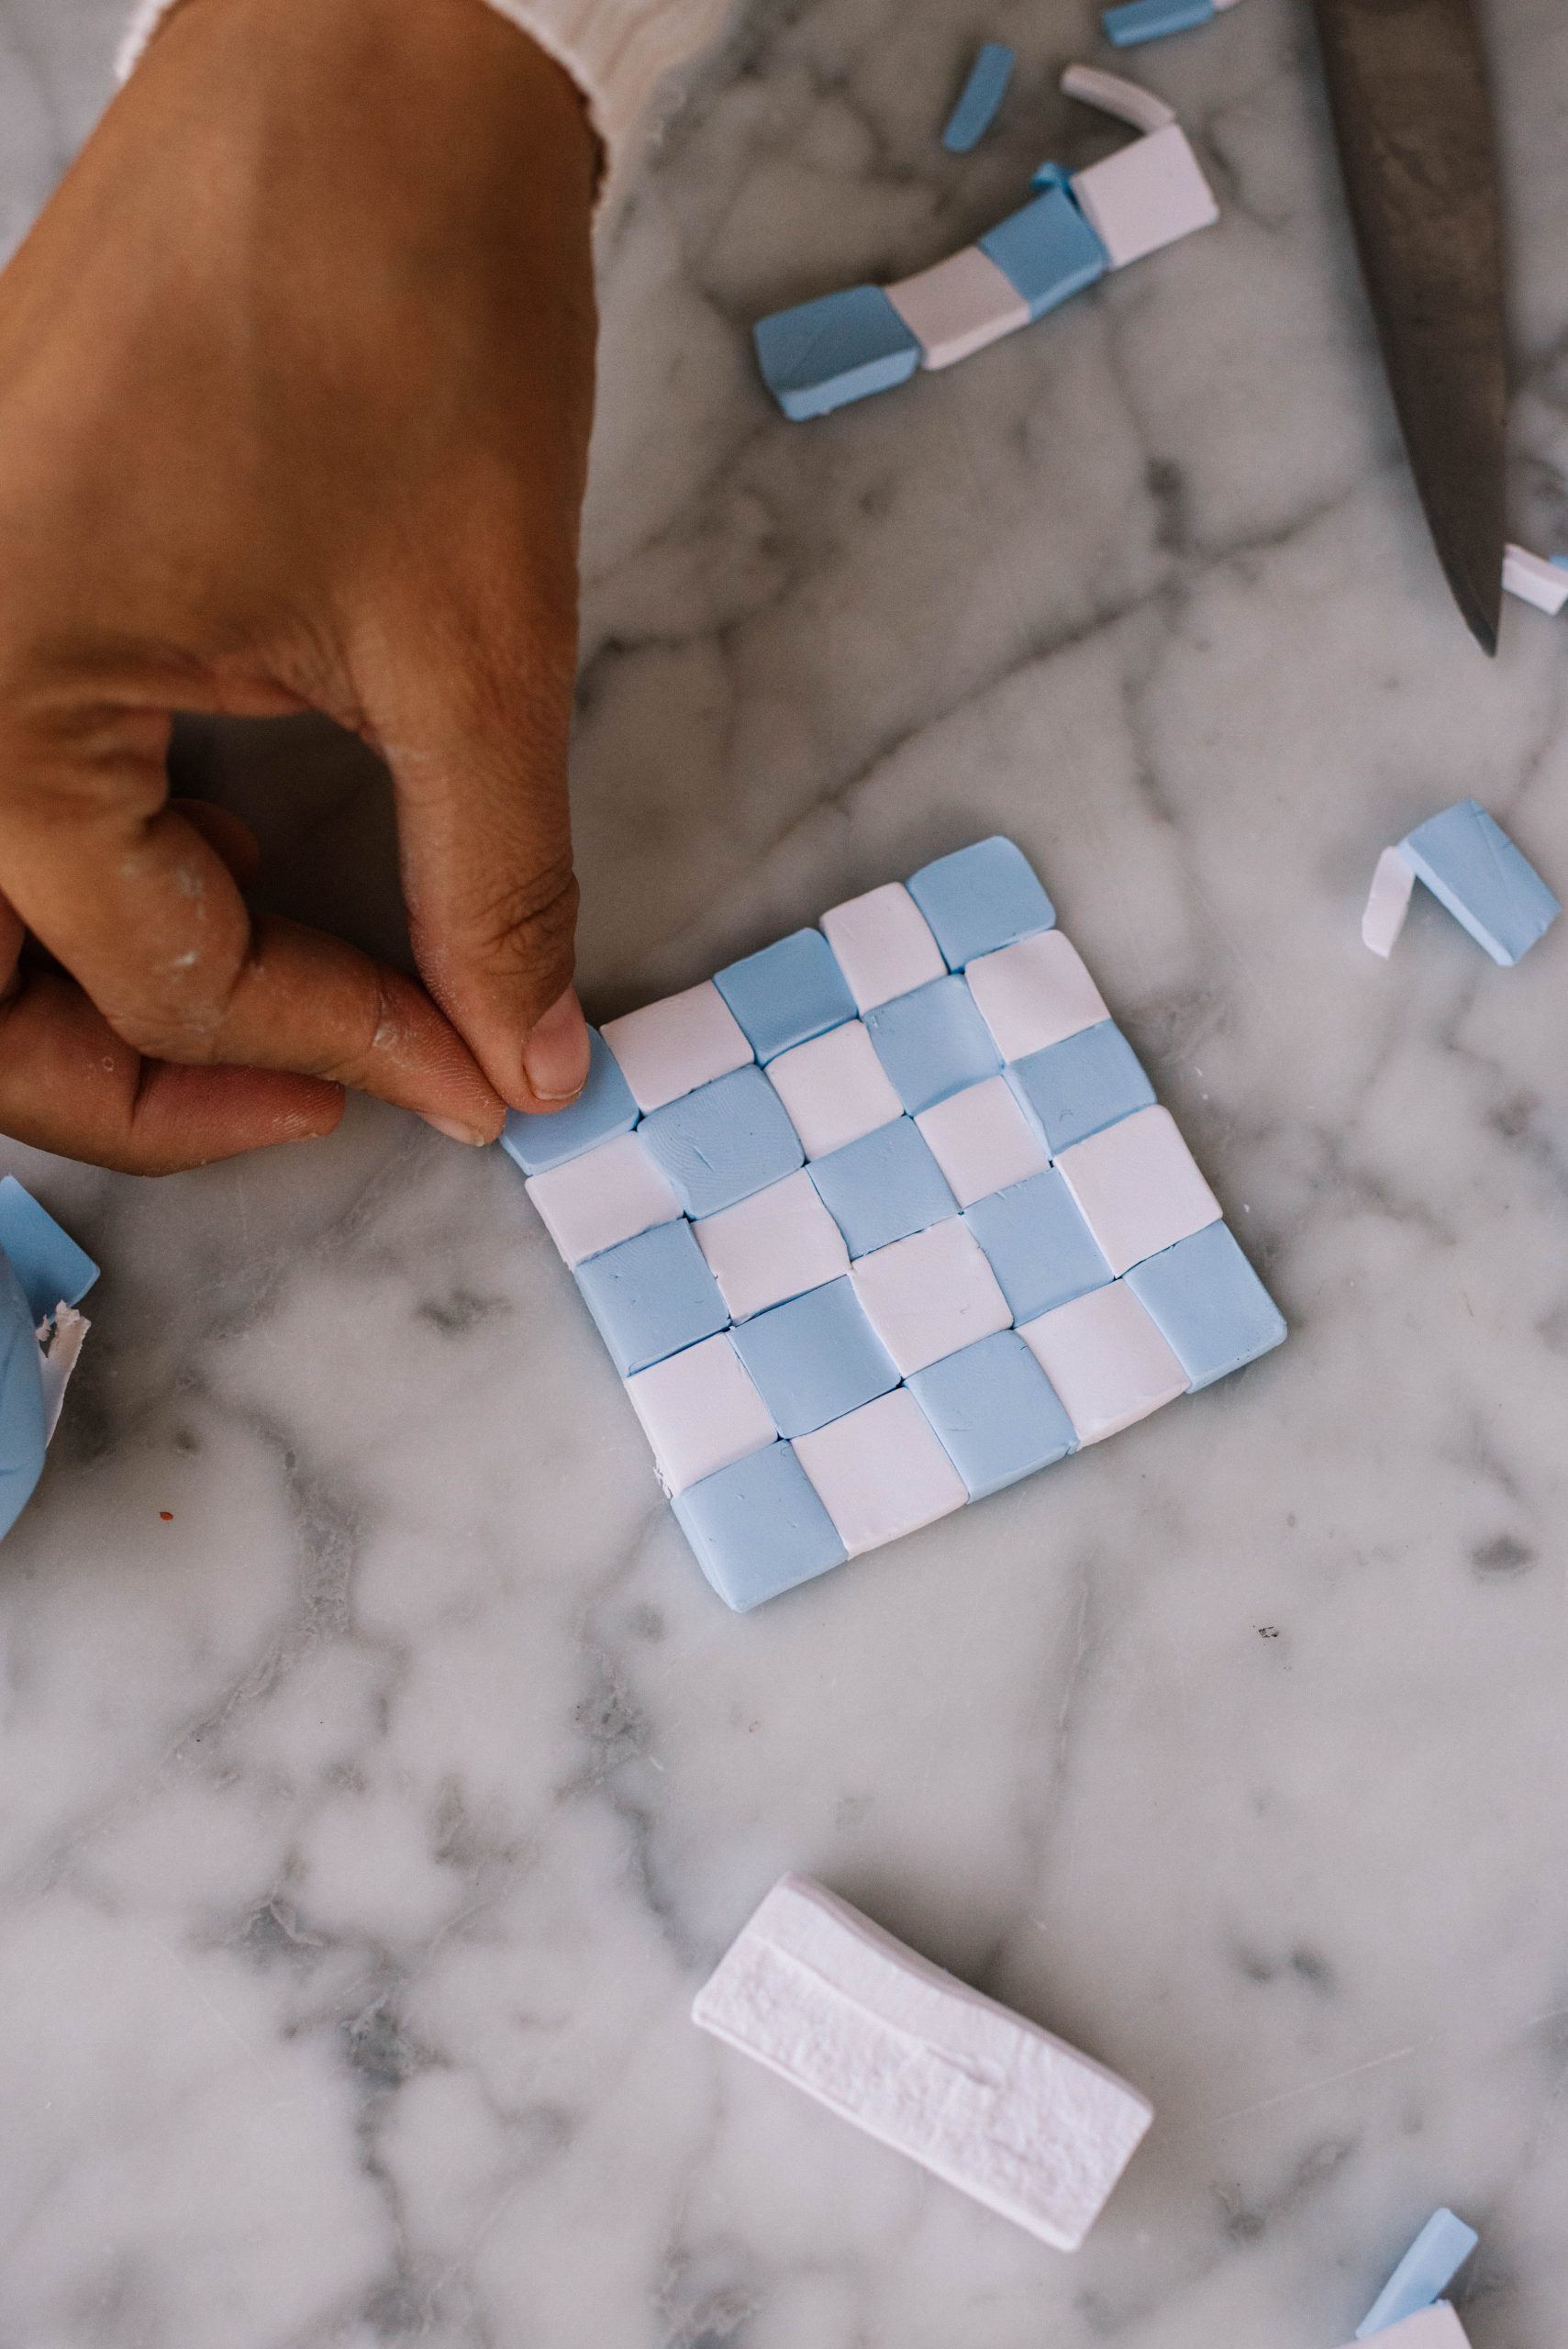
- Once you have your squares, lay them out, alternating colours. Trim them using the knife to make them even. We did 5 x 5 squares for a larger square coaster.
- Once you have done the checkered pattern, roll out a thin square of clay, and then place the patterned clay on top. Use a rolling pin to press the pattern onto the clay and trim the edges. Don’t worry if your checker pattern isn’t perfect! Mine certainly isn’t.
- Place them on the baking tray and bake on a low heat oven for 15 minutes, or until when you press your nail into the clay it doesn’t leave an imprint. Remove and let cool.
Voila!
This post is in collaboration with Sculpey.


