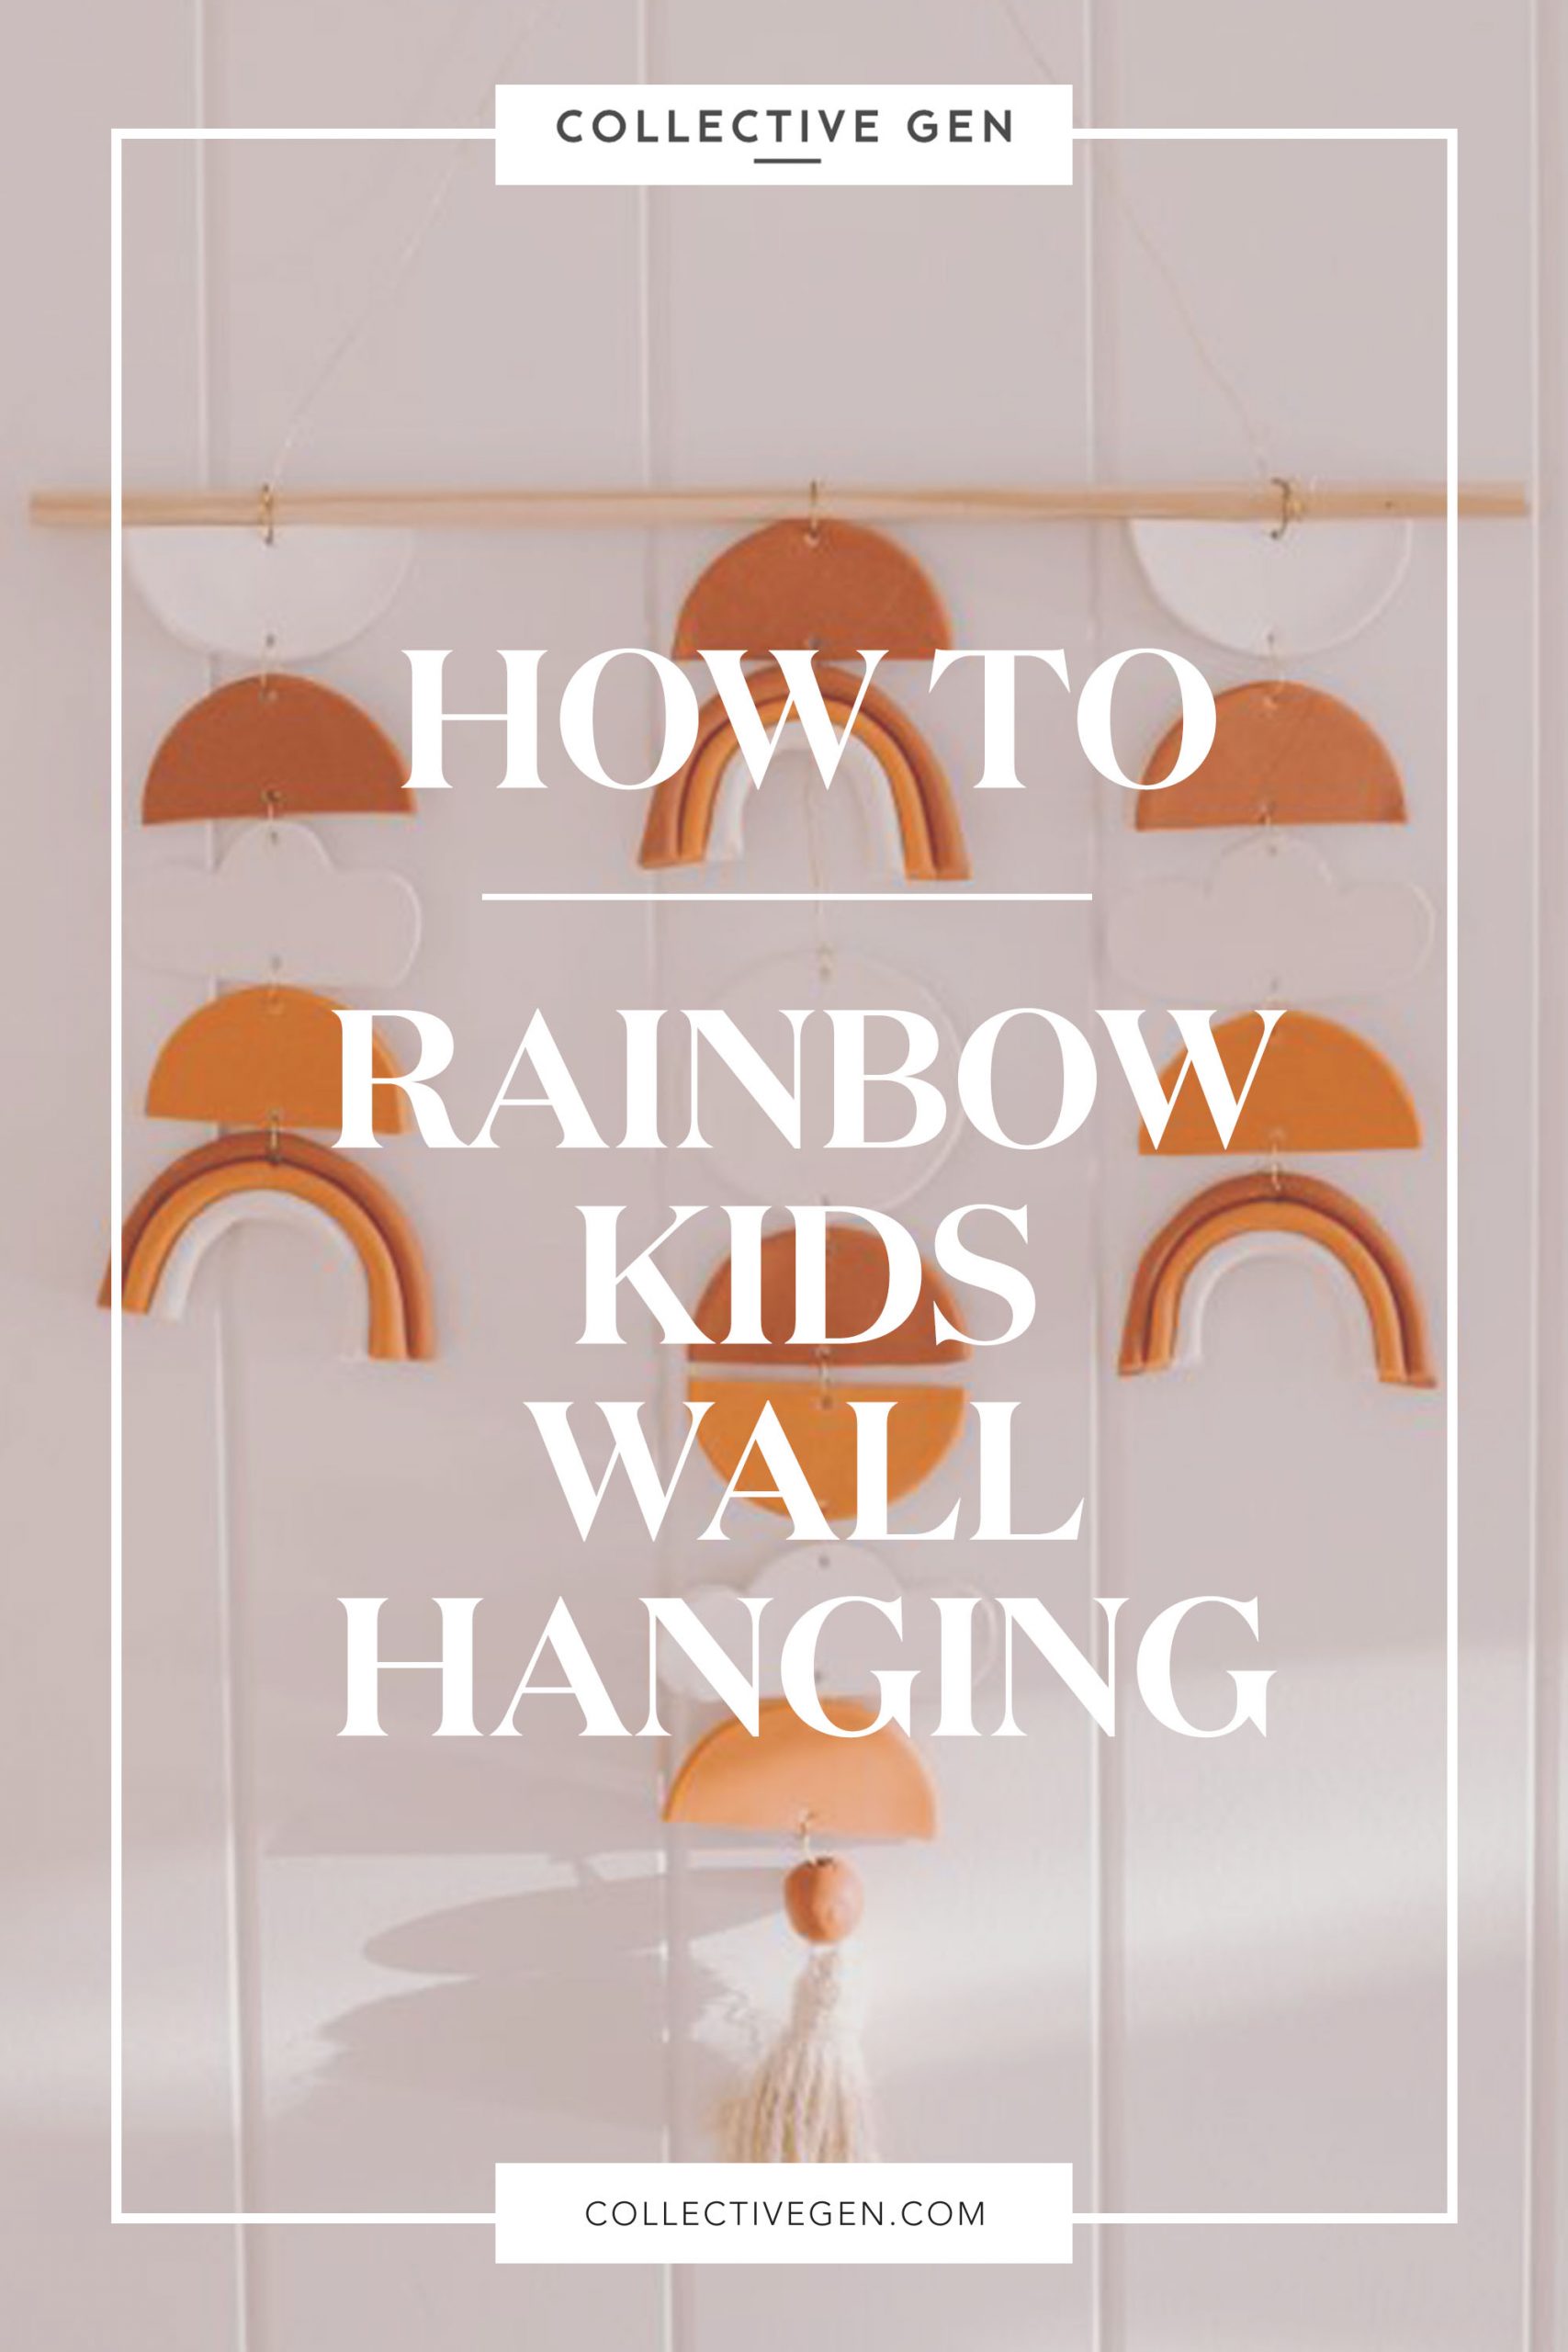
An easy little project for the young, or the young at heart.
I’ve been working with Sculpey polymer clay for a while now and I wanted to make some art for Frankie’s bedroom. I included shapes that I knew she would love – clouds, rainbows and geometric shapes. This easy DIY is a simple craft project for a great rainy day or during the school holidays and Sculpey is easy to find online and in craft stores. I love this type of clay because it’s so flexible and easy to use and pretty much anyone can make something pretty with it!
YOU NEED
- Sculpey polymer clay. I used the colours igloo, cream, cinnamon and pumpkin
- Rolling pin or bottle
- Sharp knife
- Skewer
- Scissors
- Hole punch
- Gold wire
- Stick or dowel
HOW TO
- Start by rolling out to clay to approximately 2mm thick. You can use a rolling pin for this, however I find a glass bottle gives a smoother finish. Make sure to do it on glass or marble so it doesn’t stick to the surface.
- Use a cookie cutter or glass to cut your shapes. To make the rainbow, I rolled out three skinny tubes, stuck them together, curved and trimmed at the edges for clean ends.
- Place all of the shapes on a baking tray and bake on a low heat for 10 minutes.
- Once the clay has cooled, plan your hanging design by laying it out on a bench. I decided to cut some half circles at this point to make a geometric look.
- Using your hole punch, punch holes in all pieces of clay where you want to connect them together.
- To connect it all together you can use gold wire or jump rings. I decided to use gold wire.
- Slide the clay pieces onto the dowel or stick. Add some string to the dowel to allow you to hang it.
- Voila!
I also decided to add a twine tassle which can easily be made by looping twine through a gold ring multiple times and using another piece of twine secure the top of the tassle. To finish, cut through the bottom loop to make the tassles.


