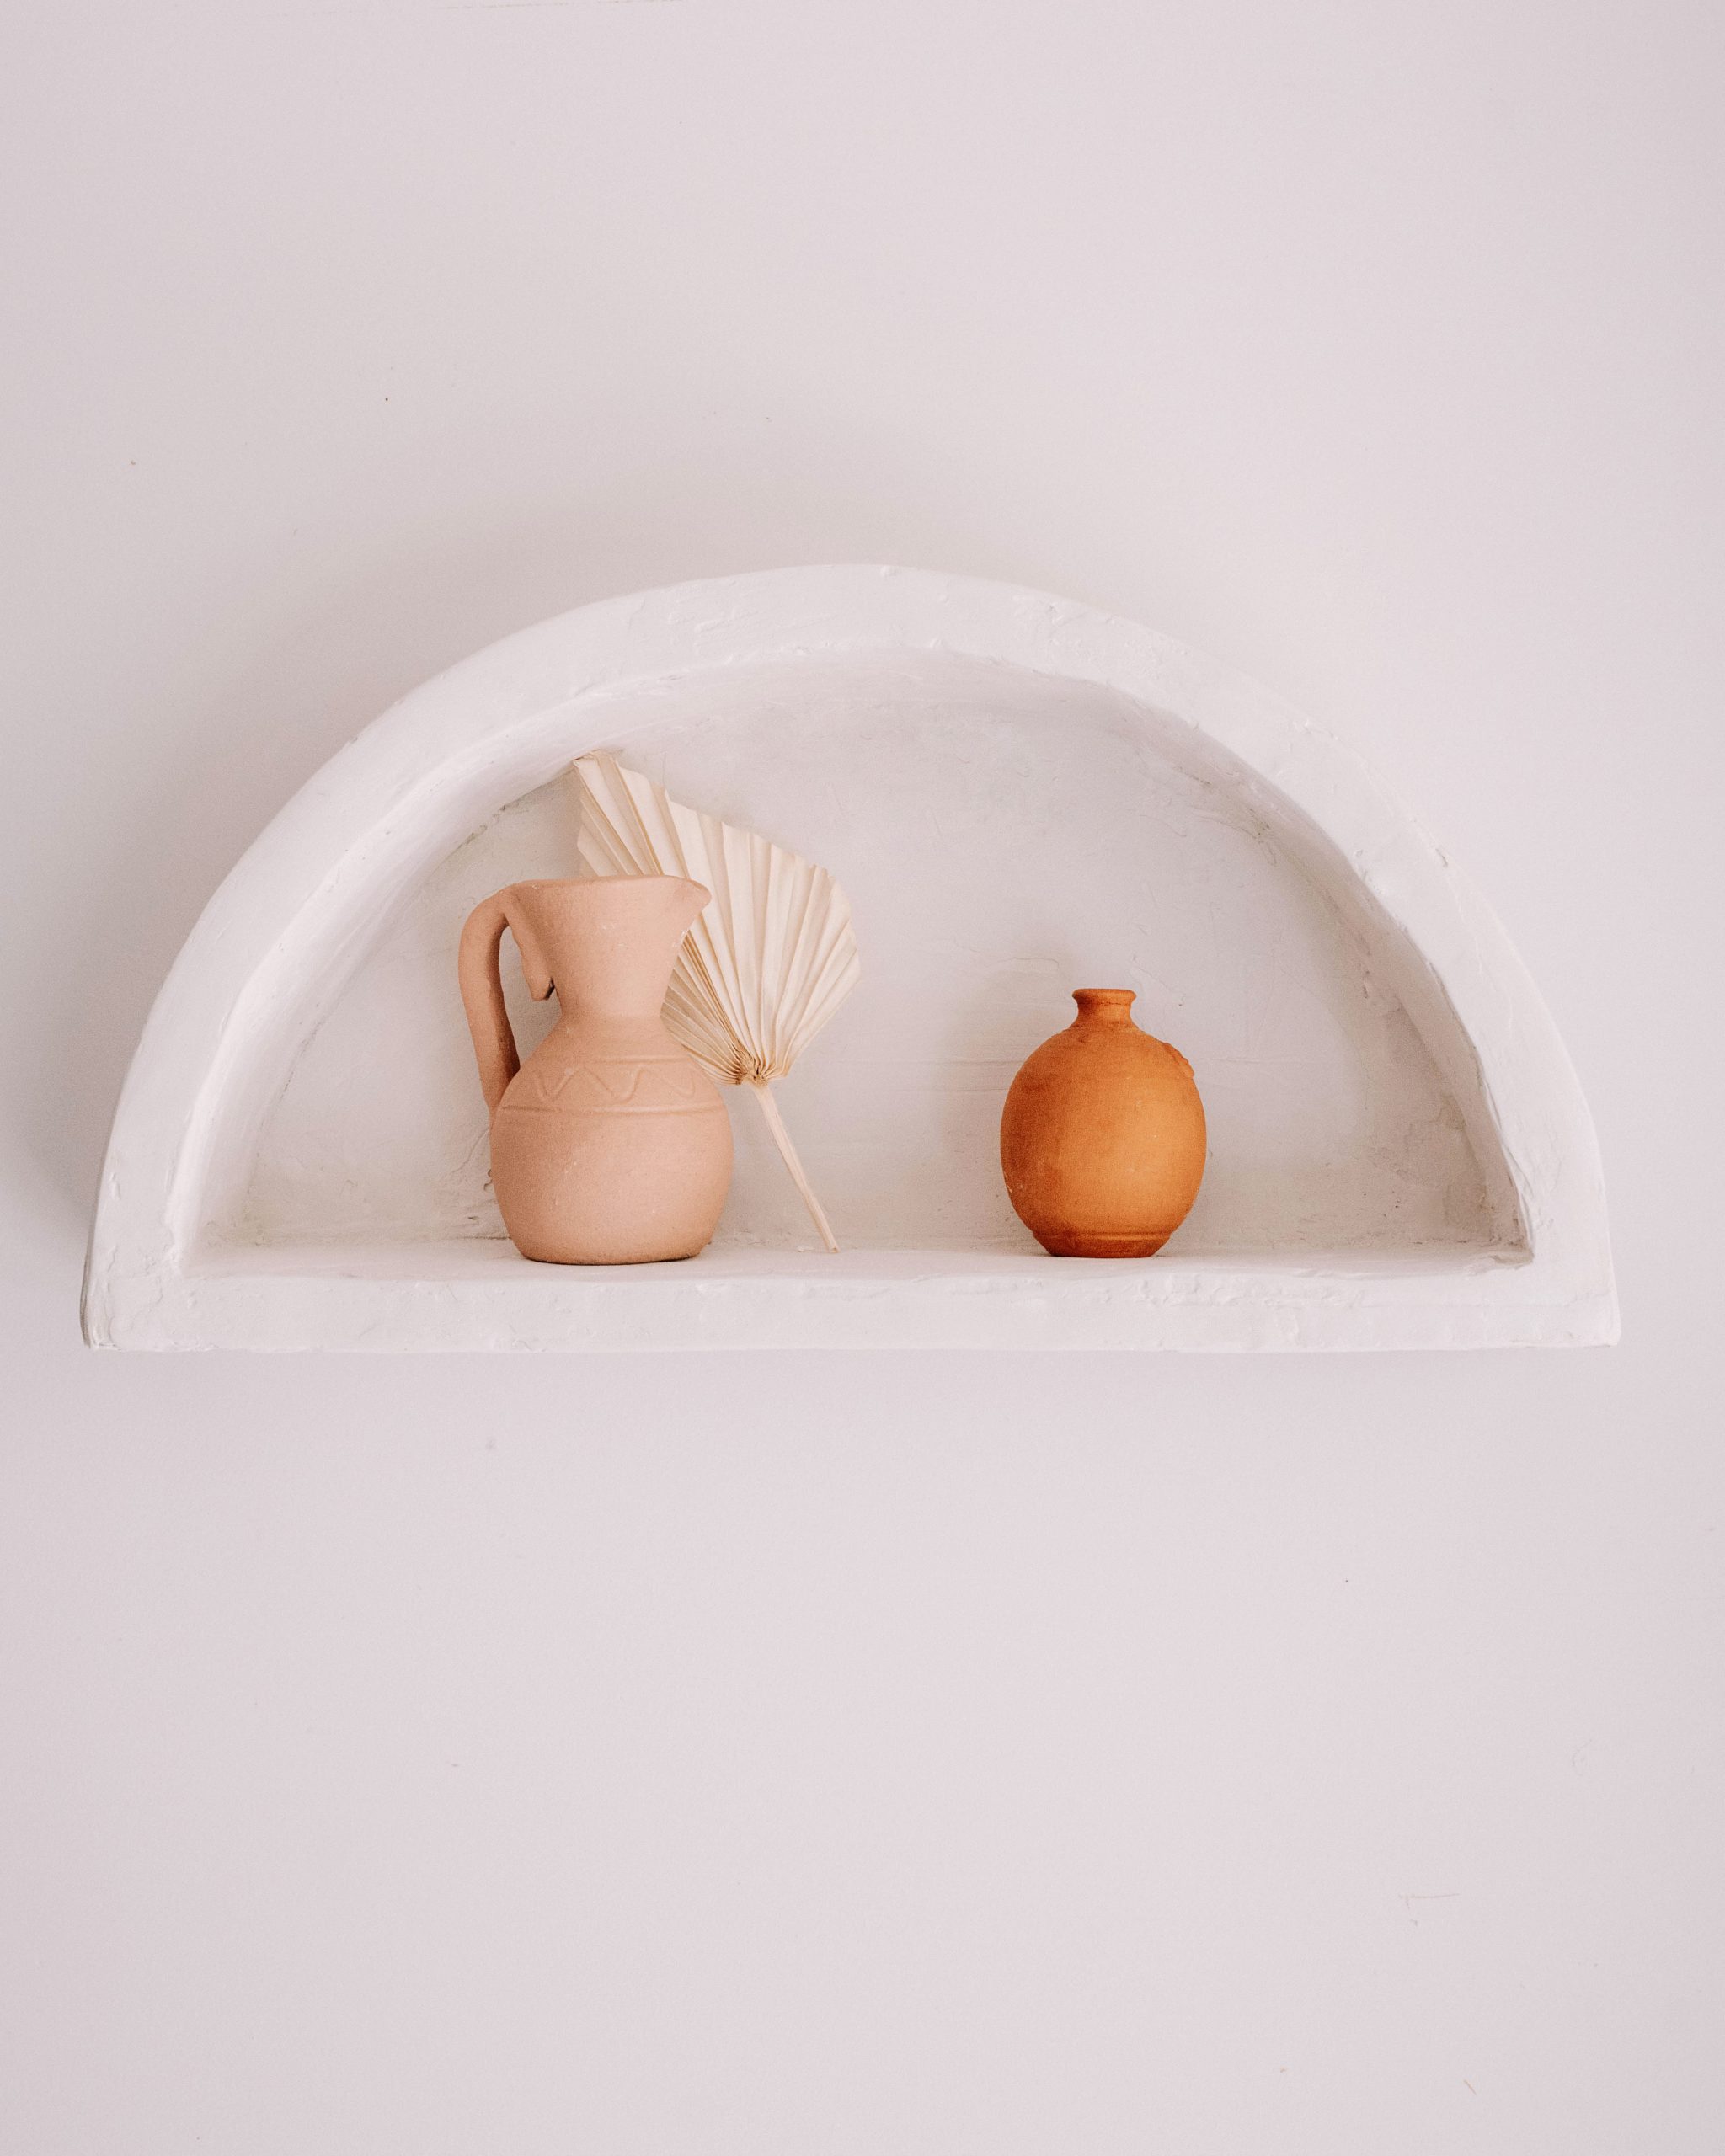
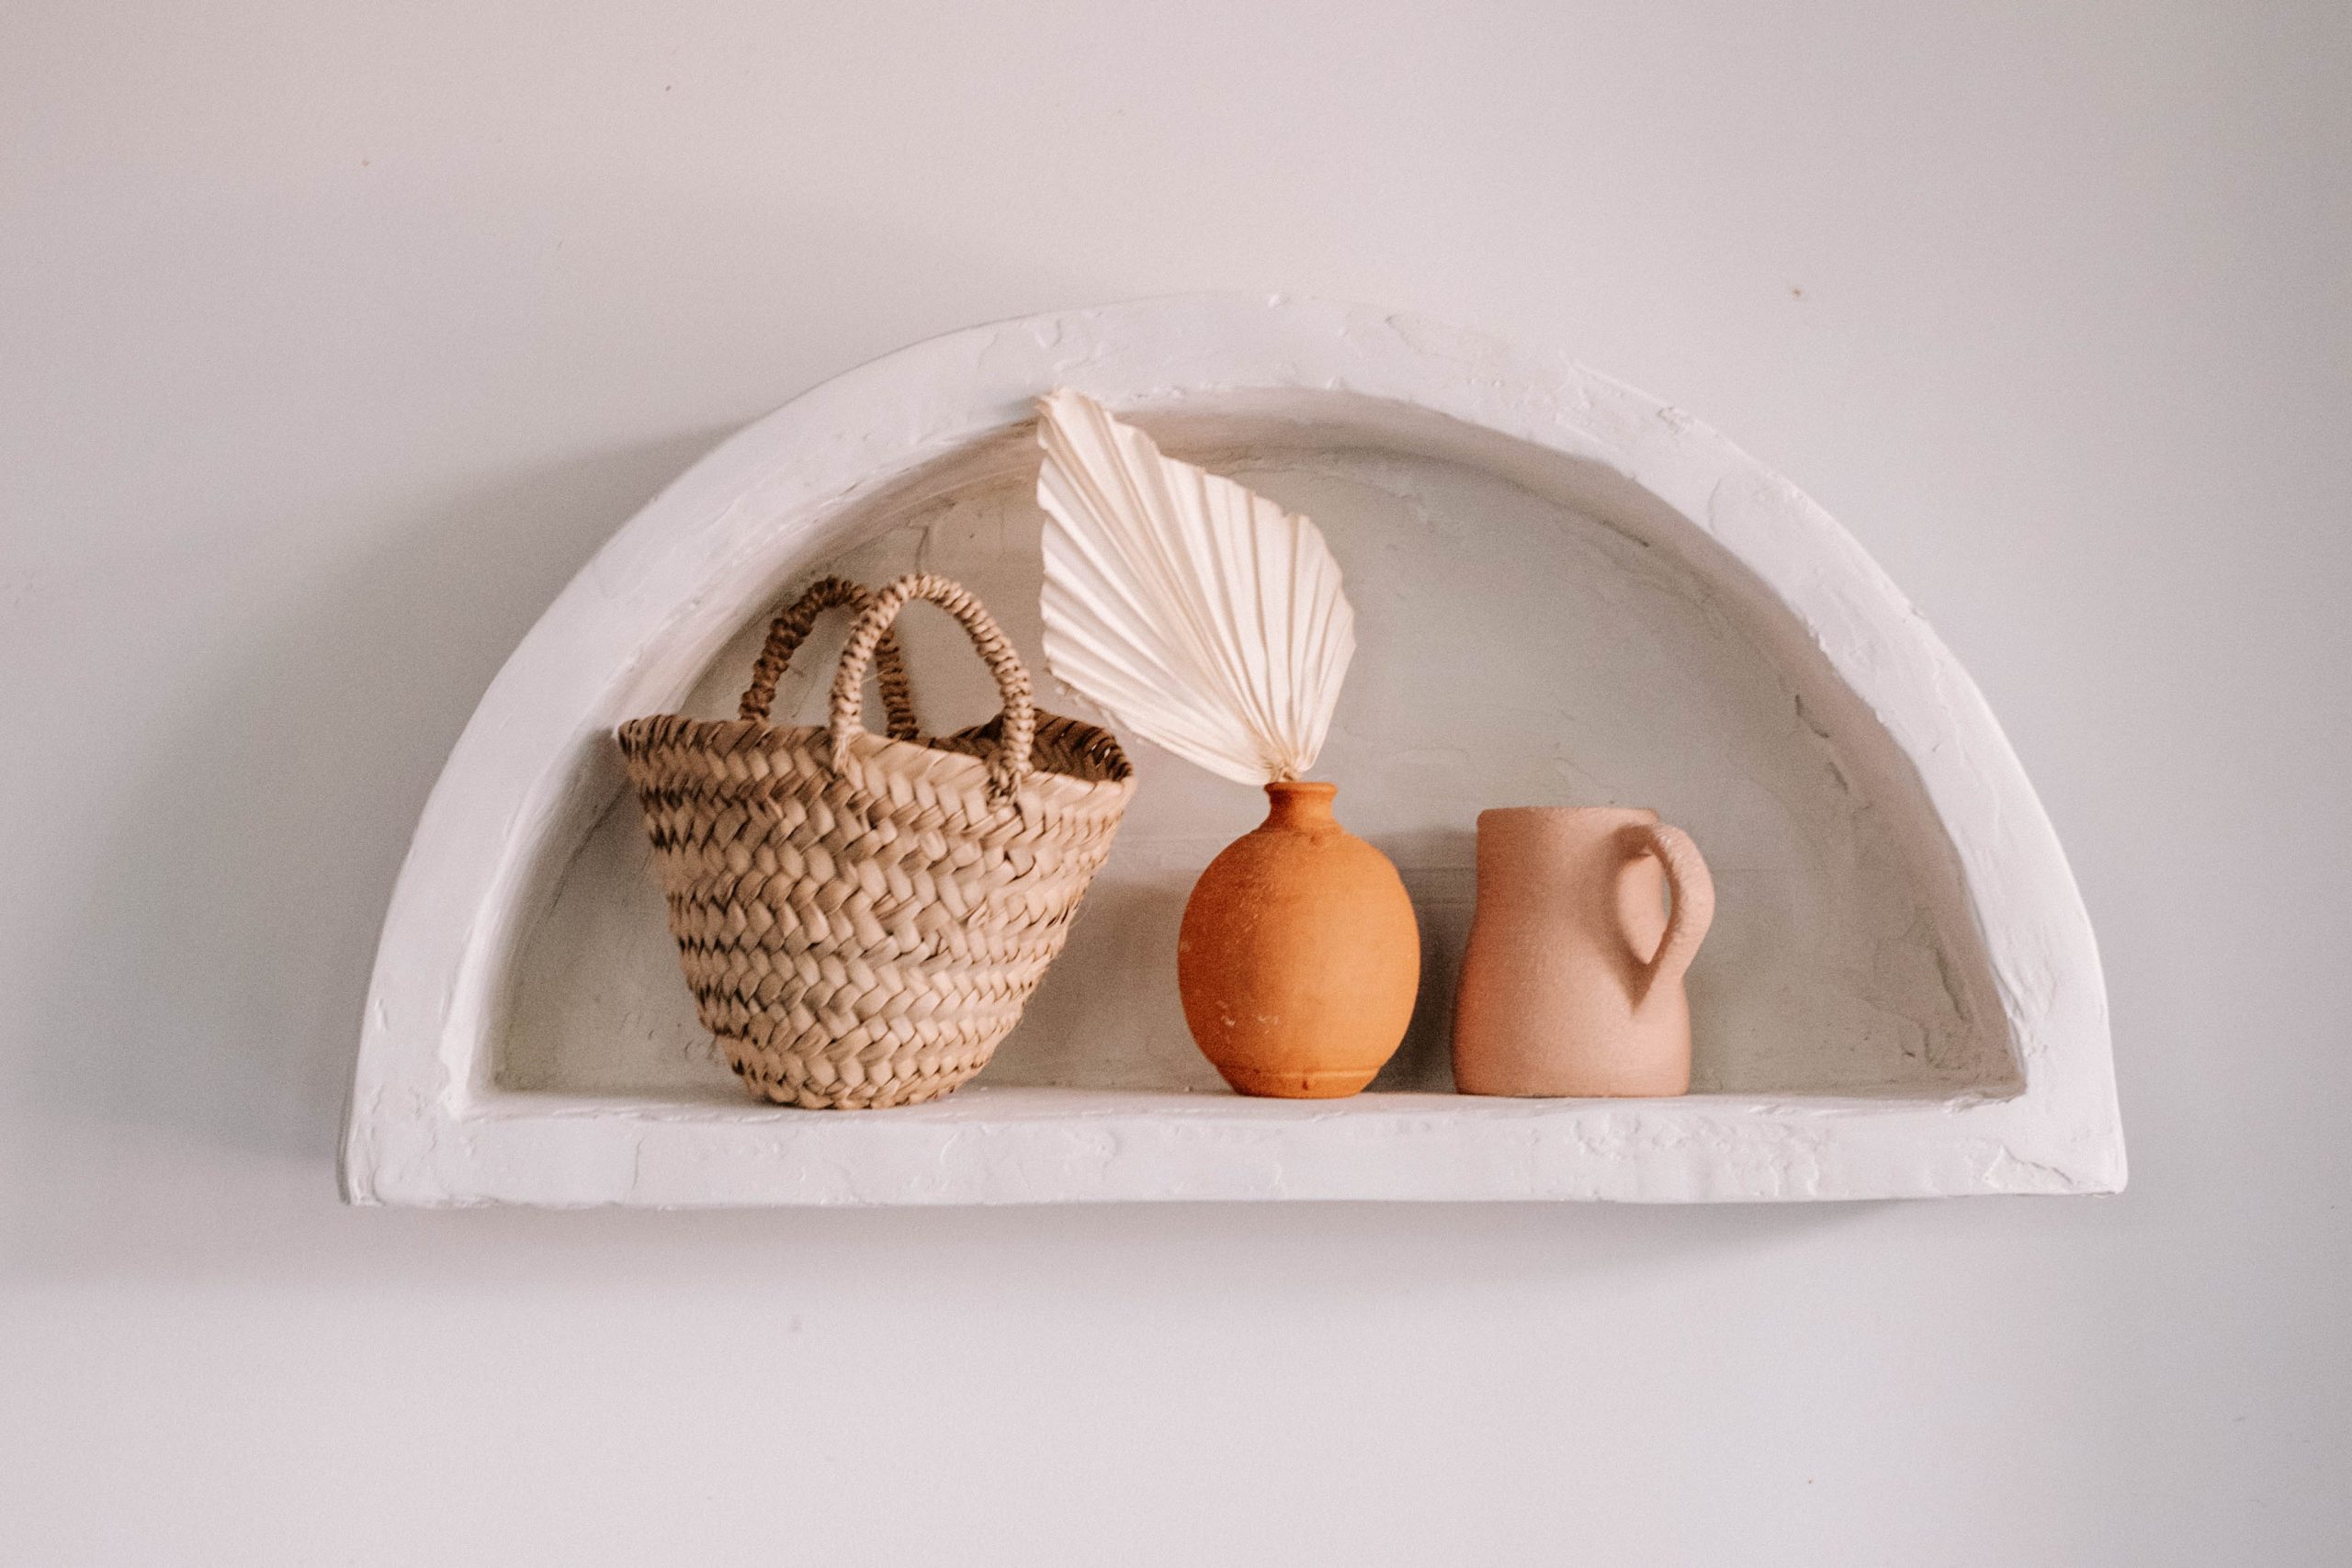
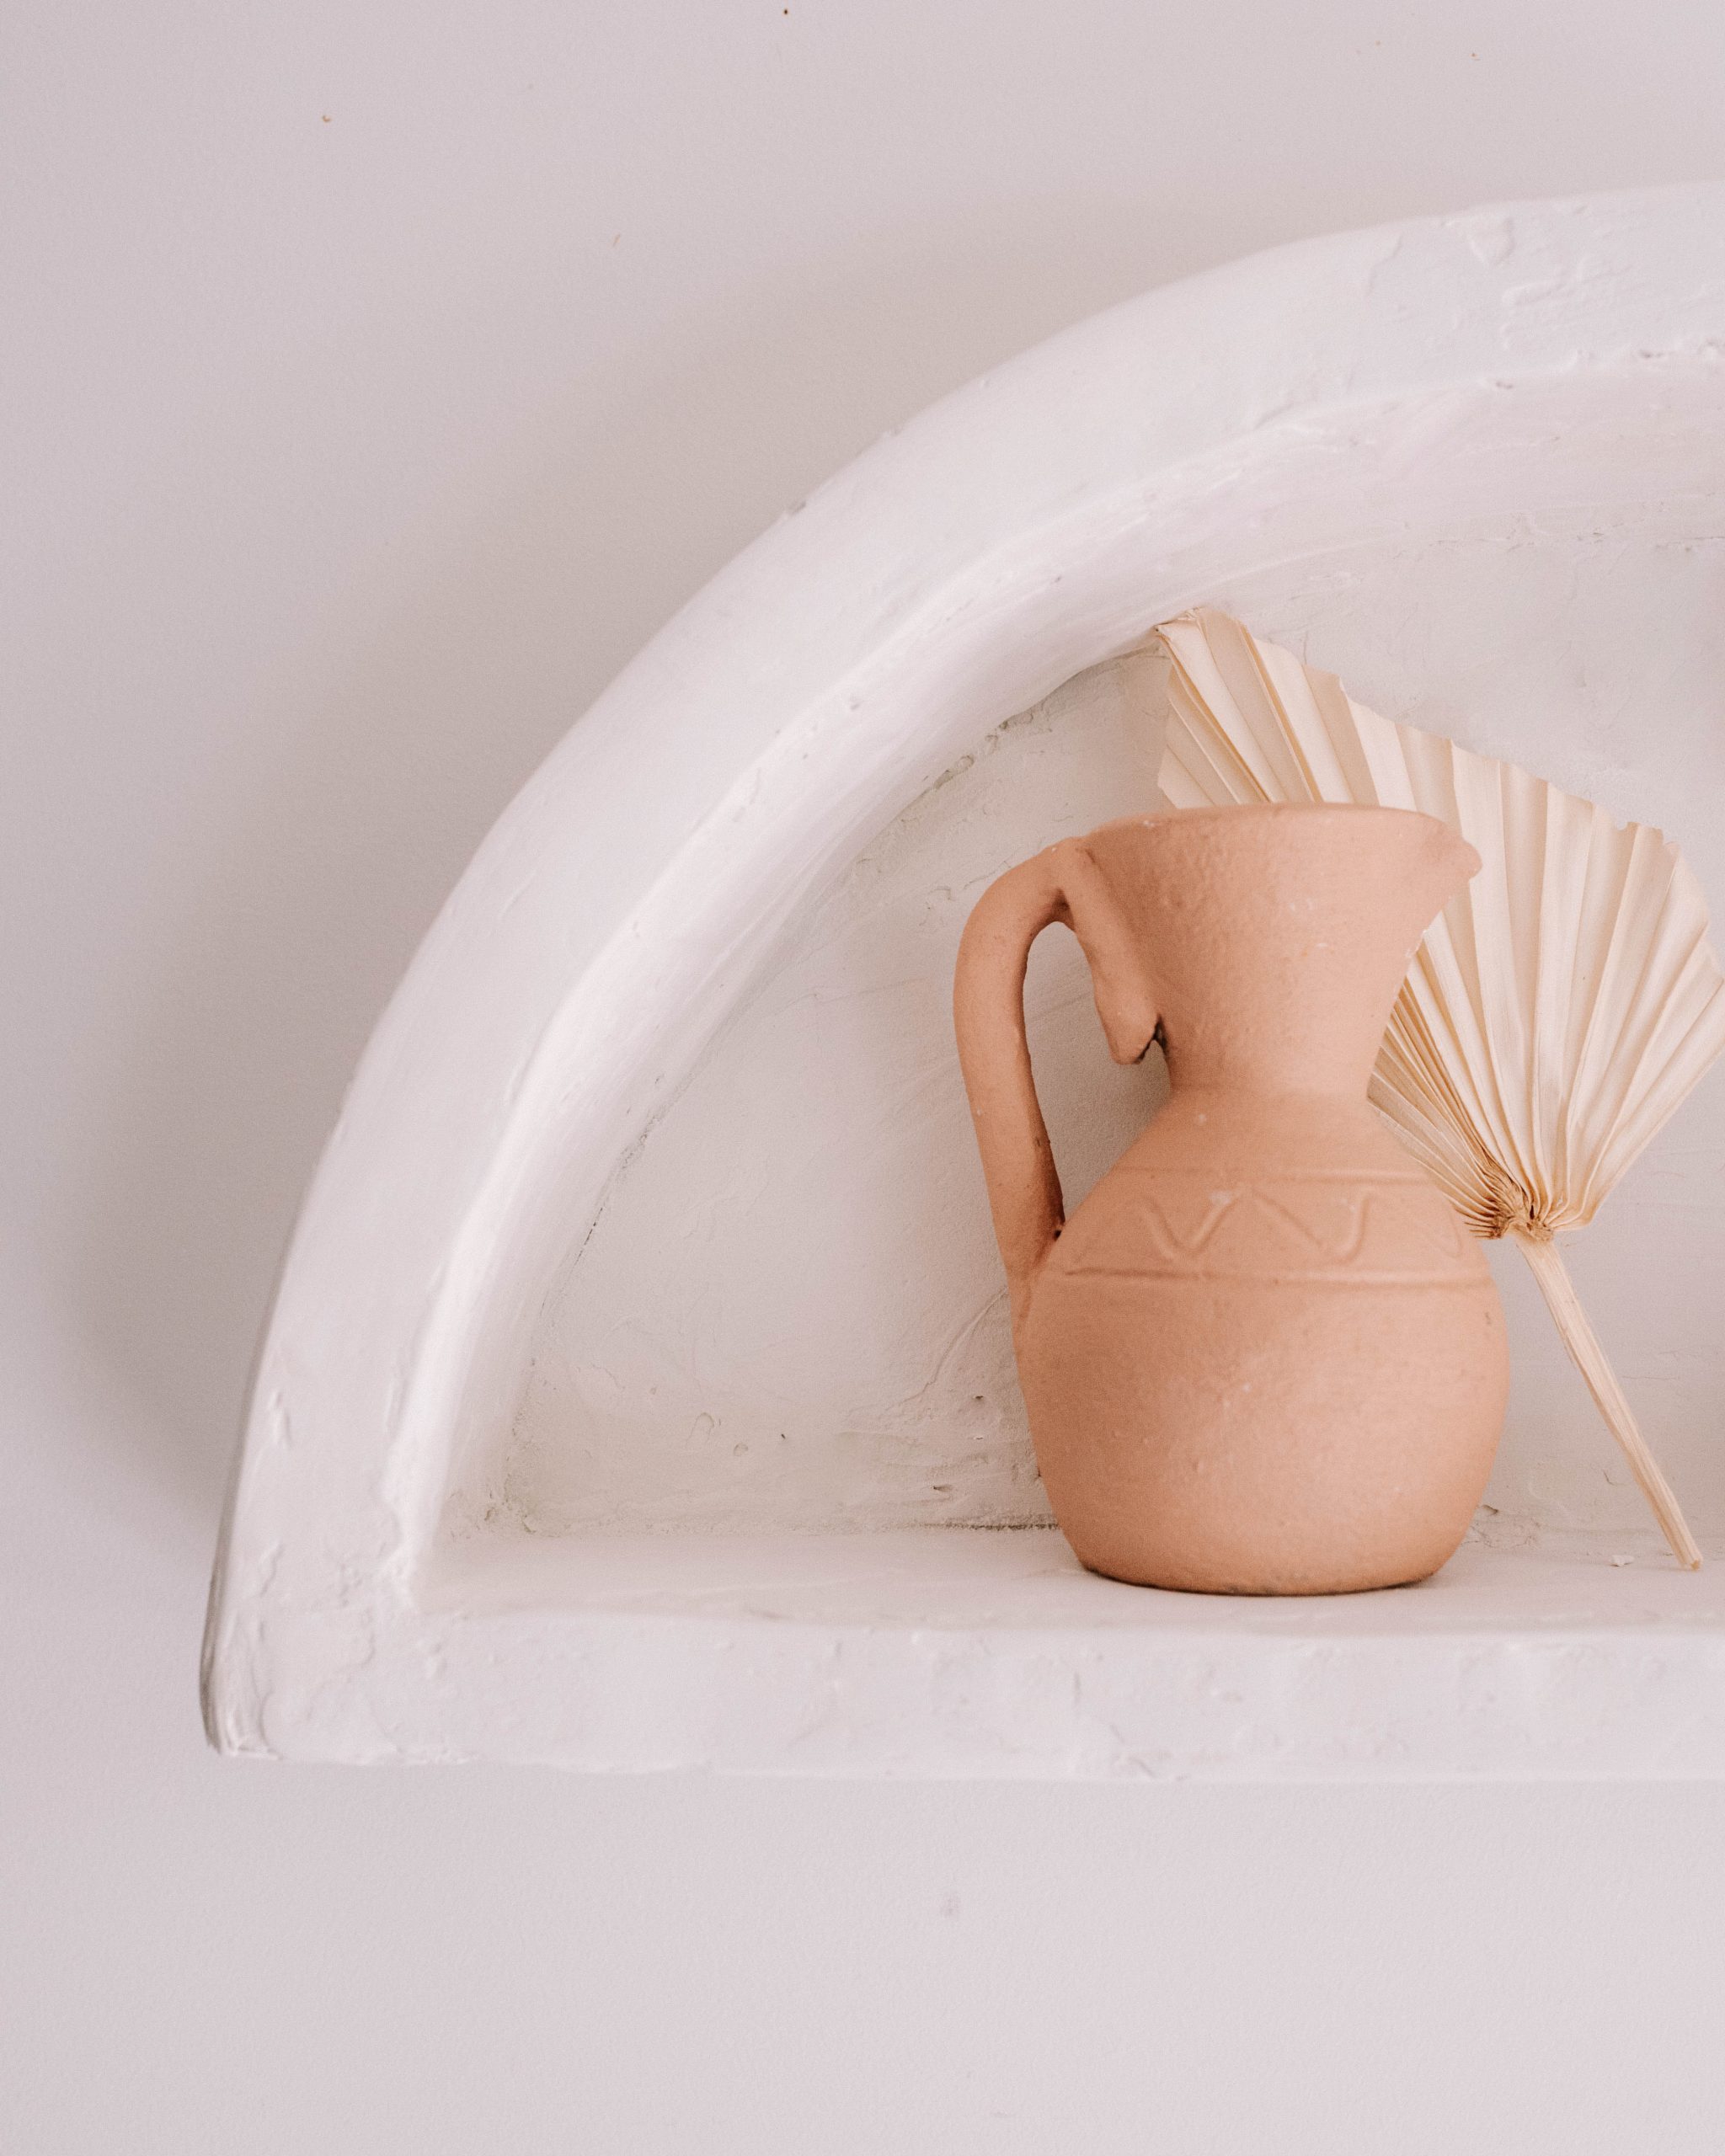
Say hello to #notcardbored.
Honestly, I’m so surprised this idea worked out… I’ve been pondering how to create a white plastered arch shelf style design for a while, inspired by ones you see in the Mediterranean and recently sold boy UrbanOutfitters. But I really wanted it to be easy, and not require too much cutting of wood, multiple materials or going too over the top with processes. I wanted it to be SIMPLE! If you’re in Australia you may be experiencing an extended lock down (I am in a state that isn’t luckily) so I also wanted to use things for this project that were easy to get your hands on, optimally things you would otherwise throw away. ENTER the cardboard shelf!
After making the cardboard and plaster mirror while we were in lockdown a few weeks ago, I got to thinking about how this concept and process could inform other designs. Someone on Tiktok actually commented that lots of products actually use cardboard hidden inside because it is light but can be useful for creating structure. I knew I was onto something! One a walk one day, I realised I could use cardboard rendered in plaster to make a rounded shaped shelf. I got to doing it and kind of just put it together using trial and error, it was actually so fun!
Before we get started, I’ve created a hashtag for this project over on Instagram and it’s #notcardbored. Feel free to share your projects using that so I don’t miss them!
Watch the video
I made a more detailed YouTube video of this project because I thought that would be easier for you guys. Enjoy.
You need
- Large pieces of cardboard
- Gyprock Multi Joint Compound or plaster
- Selley’s Hold Up or superglue
- Painters, masking or duct tape
- A pencil and string
- Newspaper
- White glue
- Paintbrush
- Plaster applicator
- Medium and fine grit sandpaper
- Timber plank cut to the diameter of your shelf, or timber plank and Hand saw
How to
1
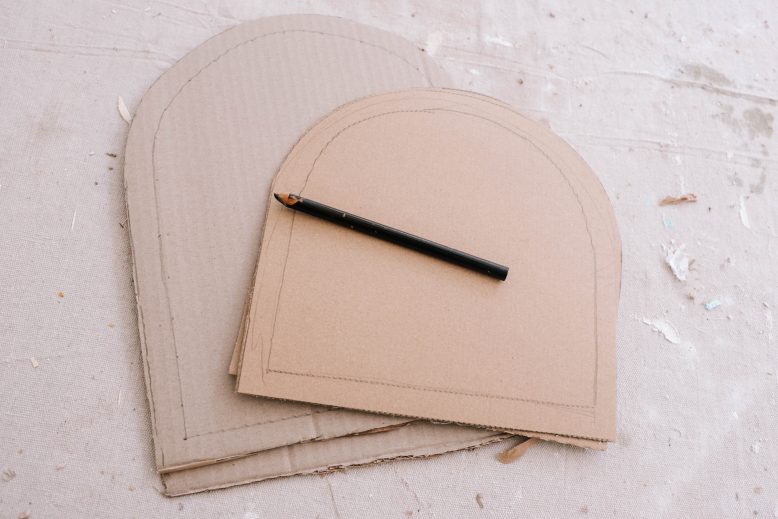
The first thing to do is to draw two half circles on your cardboard. To do this I simply use a piece of string taped to the middle of the cardboard and then attach a pencil to draw all the way around. I cut one our and then use that as a template for the second.
2
The next thing to do is to cut out the centre of one of the pieces of cardboard so one is a frame. Make it around 1 inch / 2.5cm thick. Cut your timber plank to the length of the flat edge, and also cut a few 1 inch/2.5 cm sections of timber.
3
Now it's time to assemble! Take your full half circle and place it on the table. Line the bottom straight edge with glue and press your timber plank onto the glue. Then, line the top edge of the timber with glue and then press on the frame semi circle. Add timber splints along the top of the frame, gluing them in place.
4
Once your have put your structure in place and let the glue dry for a few hours, the next stage is to cover the structure in cardboard. Cut lengths of cardboard the same width as your shelf, and then bend then around the top and inside of your shelf, using tape to secure in place.
5
Using newspaper and glue, papier mache the whole shelf, so that all the gaps and joins are nicely covered. This is actually an optional step, I have seen lots of people do it without this step and it has looked quite good.
6
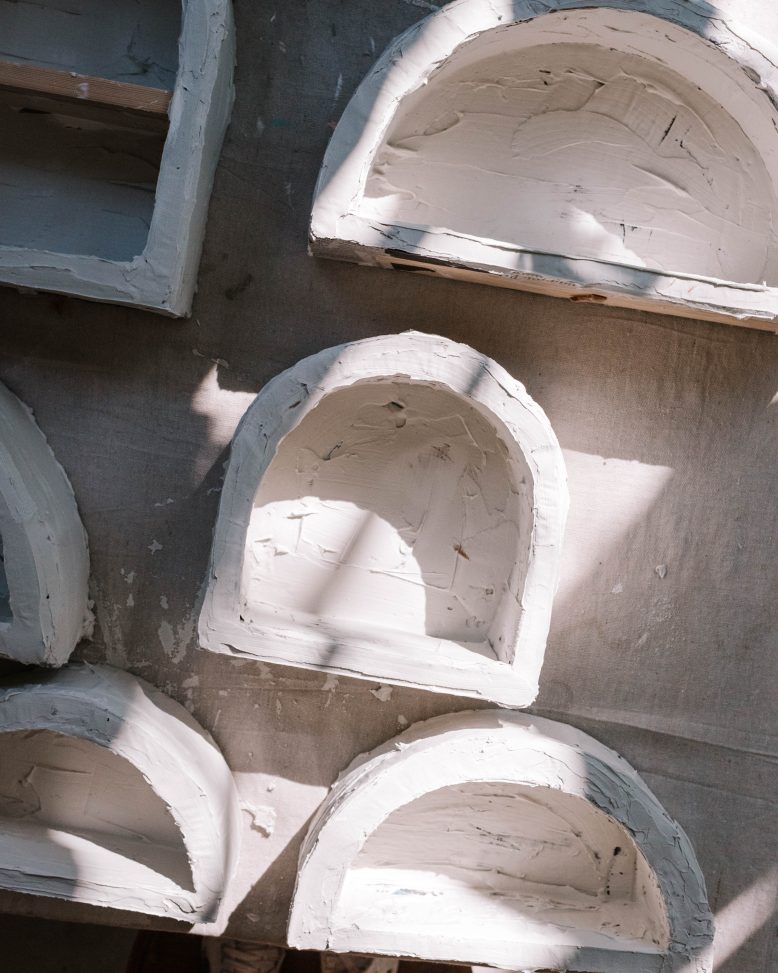
Finally, cover with a layer of joint compound or plaster and let dry overnight. Use some sandpaper to give it a nice finish and remove any lumps and bumps. And you're done!
How to Hang The Shelf
There are a few ways to hang this shelf, the most sturdy way being using white L brackets to hold it up. I like to hide the L brackets by attaching them to the wall vertical side up first, and then placing the shelf on top and screwing it in underneath. The other option is of course to use 3M velcro command hooks, which is something a few people have done with this and they looks great too but obviously can’t hold as much weight. A few vases and some trinkets would be fine though! Either way, there are options depending on how careful you need to be with your walls.


