Easter is such a fun time of year, particularly with little kids!
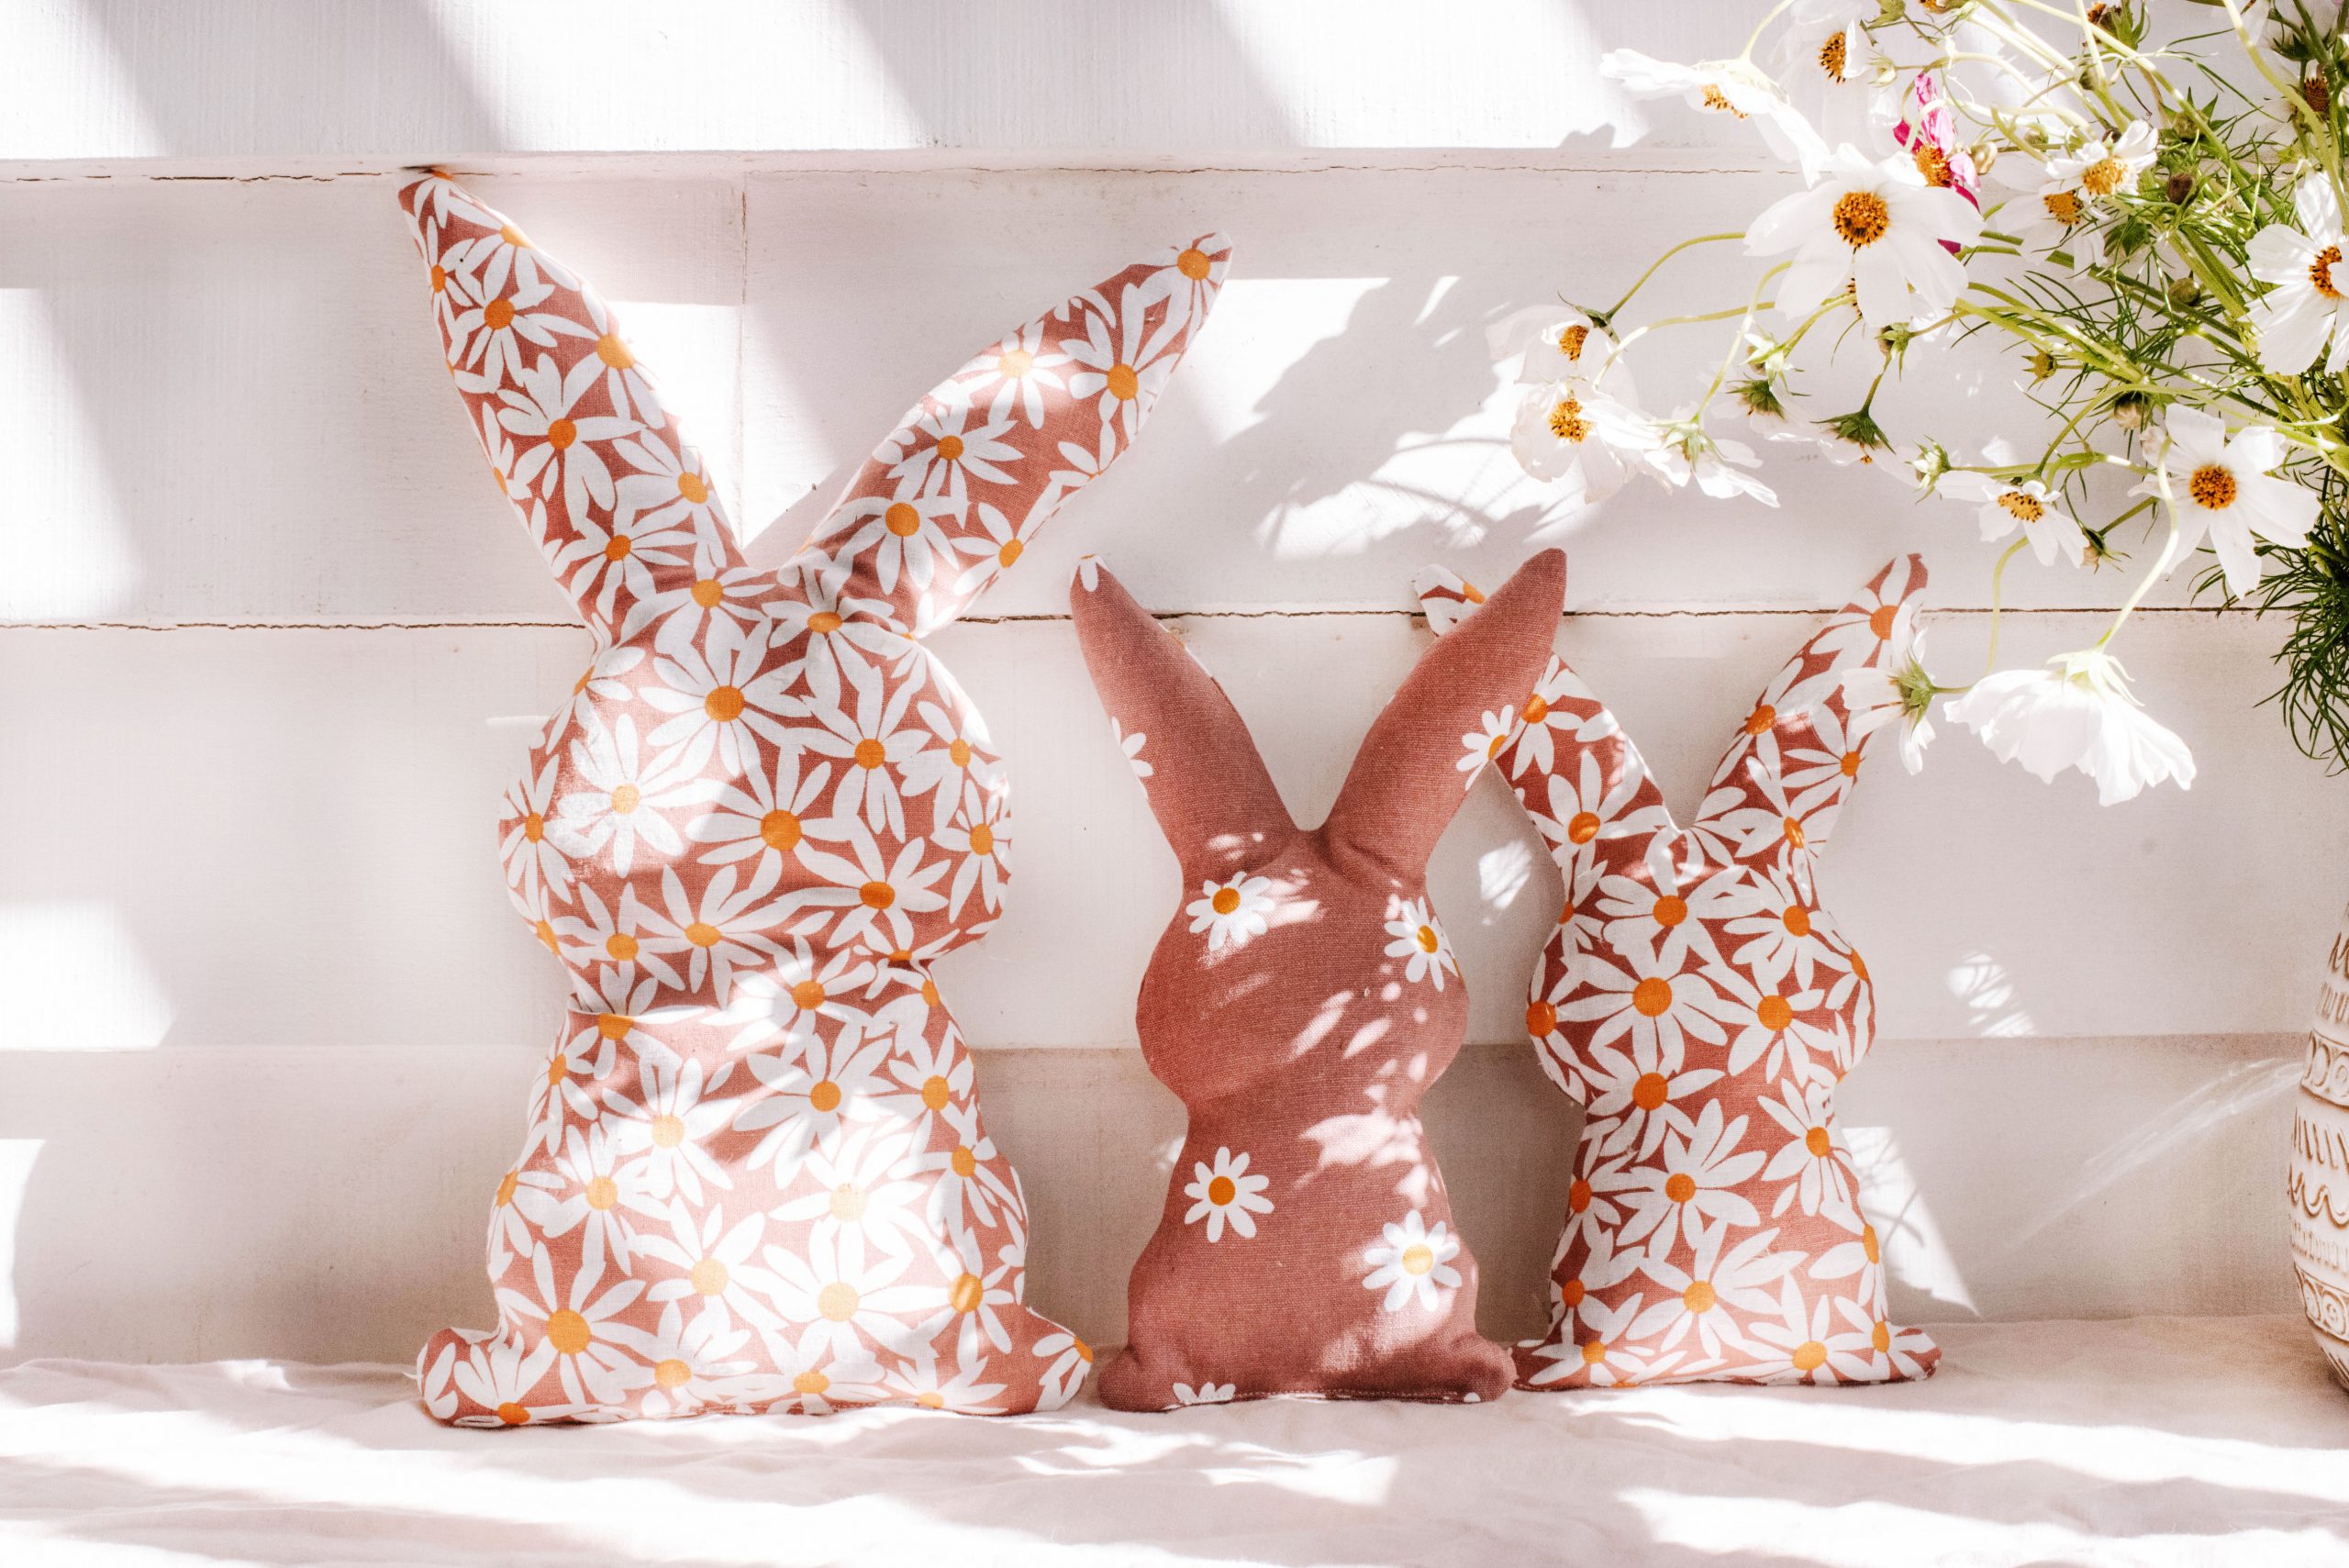
This year I wanted to create something for the girls that is a bit more memorable than just chocolate (even though I know there will be mountains of that!). So I decided to have a go at making some cute easter toys. Cutting fabric in smaller patterns can be a bit tricky, so I was excited to have my Cricut on hand to help me do it, with a super professional finish! The best thing about these little toys is that you can use fabric scraps to make them. Read on to see how I did it.
You need:
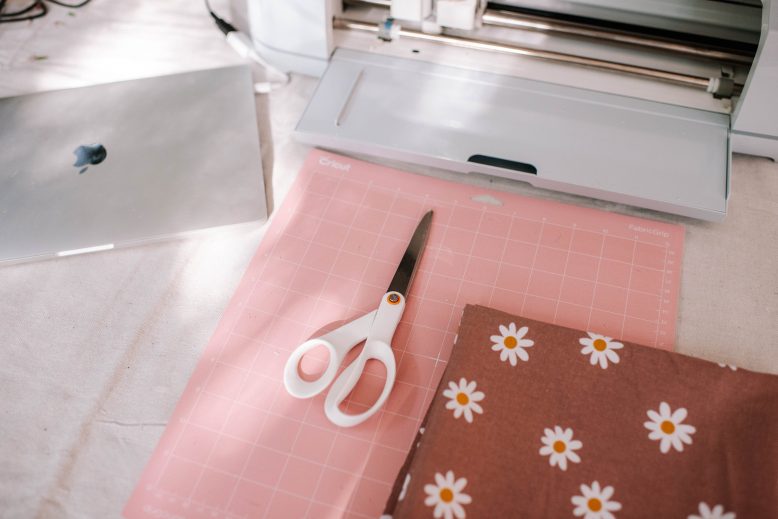
- Cricut Maker 3 Machine
- Cricut Rotary Cutting Tool
- Thick cotton, linen or canvas fabric
- Fabric Grip Mat
- Needle and Thread or Sewing Machine
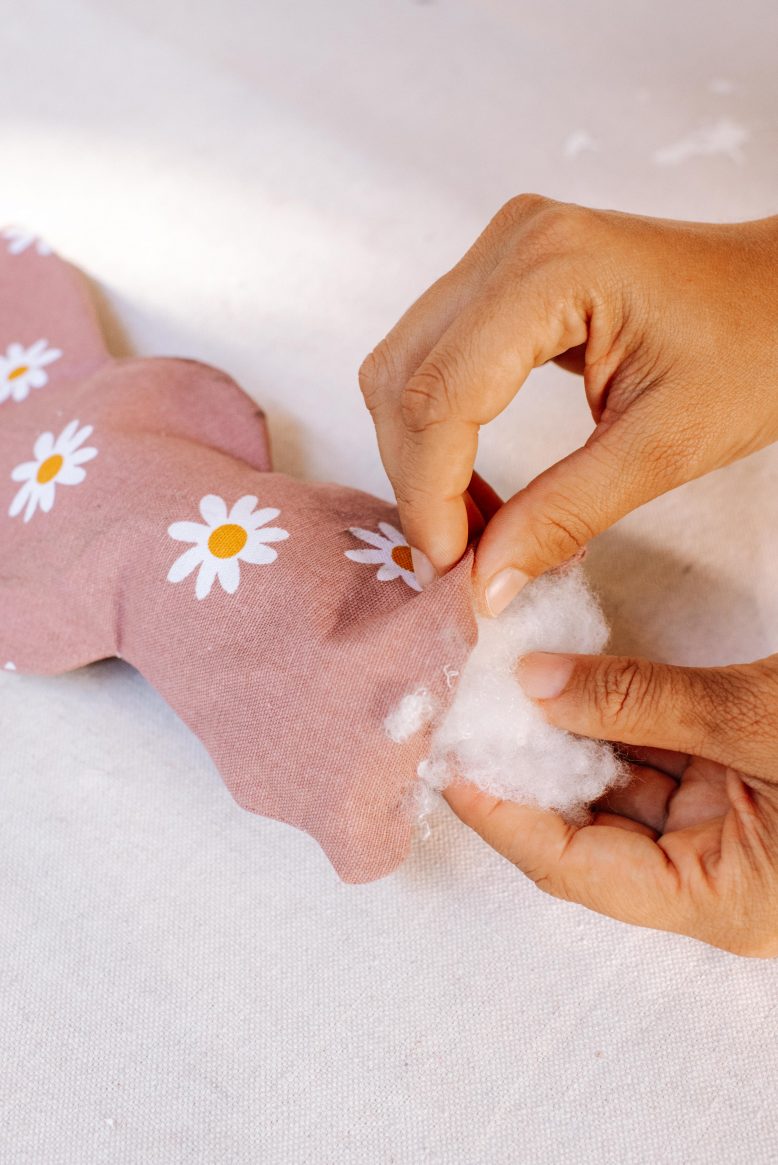
- Toy or cushion stuffing
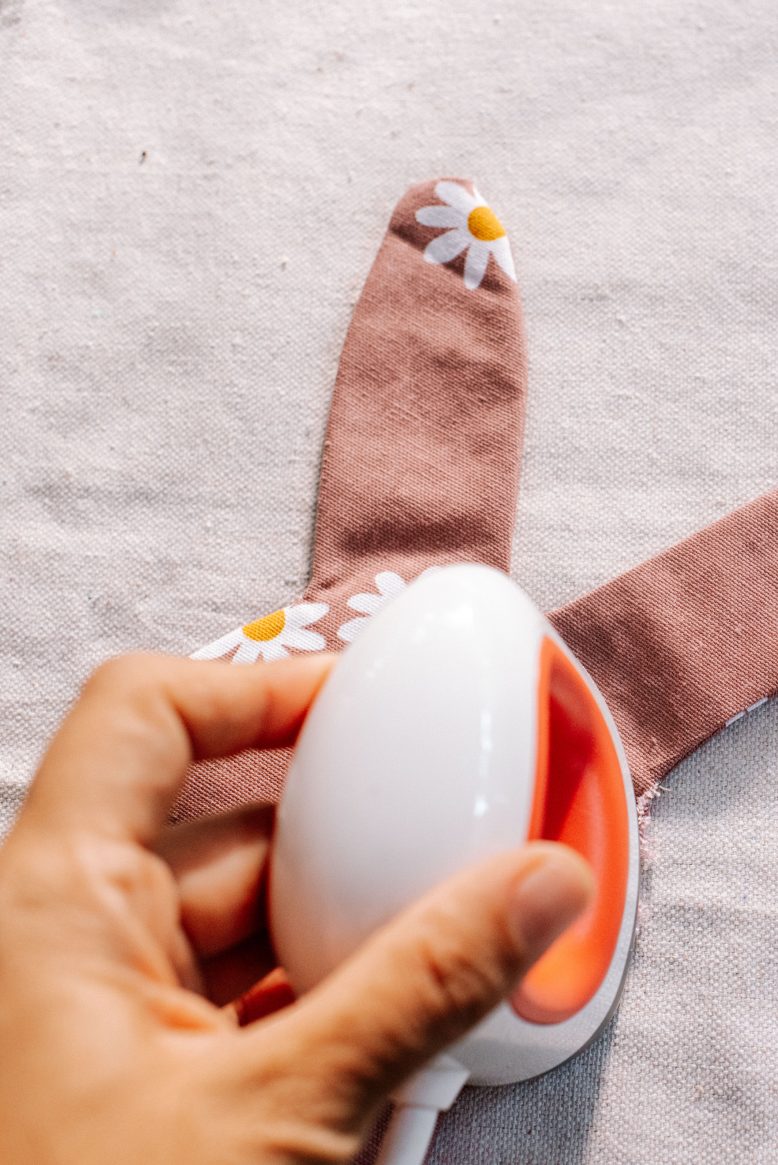
- Cricut Easypress Mini or iron
Creating My Design
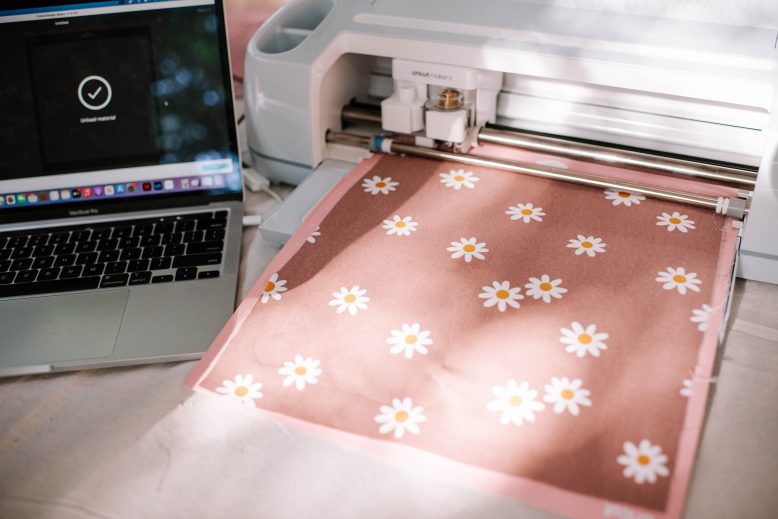
For this project, I simply selected an image from the image library and used that as the outline of my design. These particular designs actually had a line detail, but I simply hid that by de- selecting it in the sidebar. To size the toy, I simply cut it to match the size of the fabric cutting mat. It was so easy!
how to
4
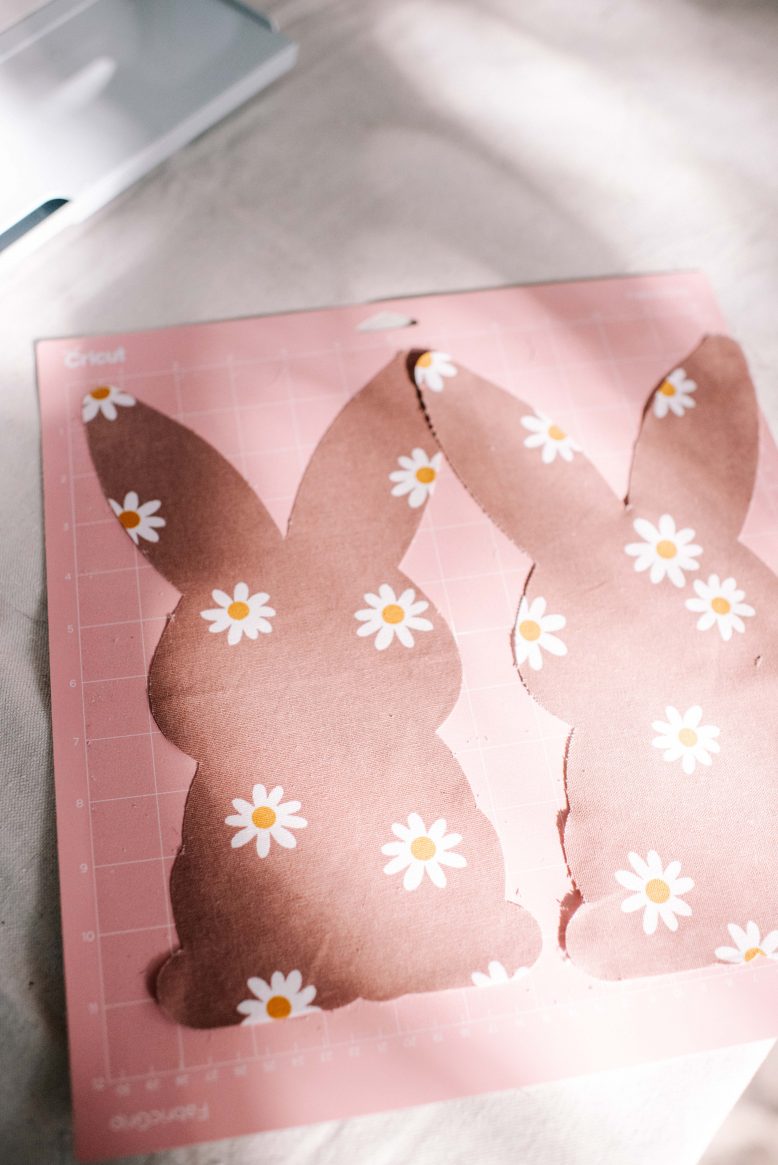
Then, follow the instructions on the Design Space app to cut out your design.
Once the machine is finished cutting, remove the mat from the machine.
5
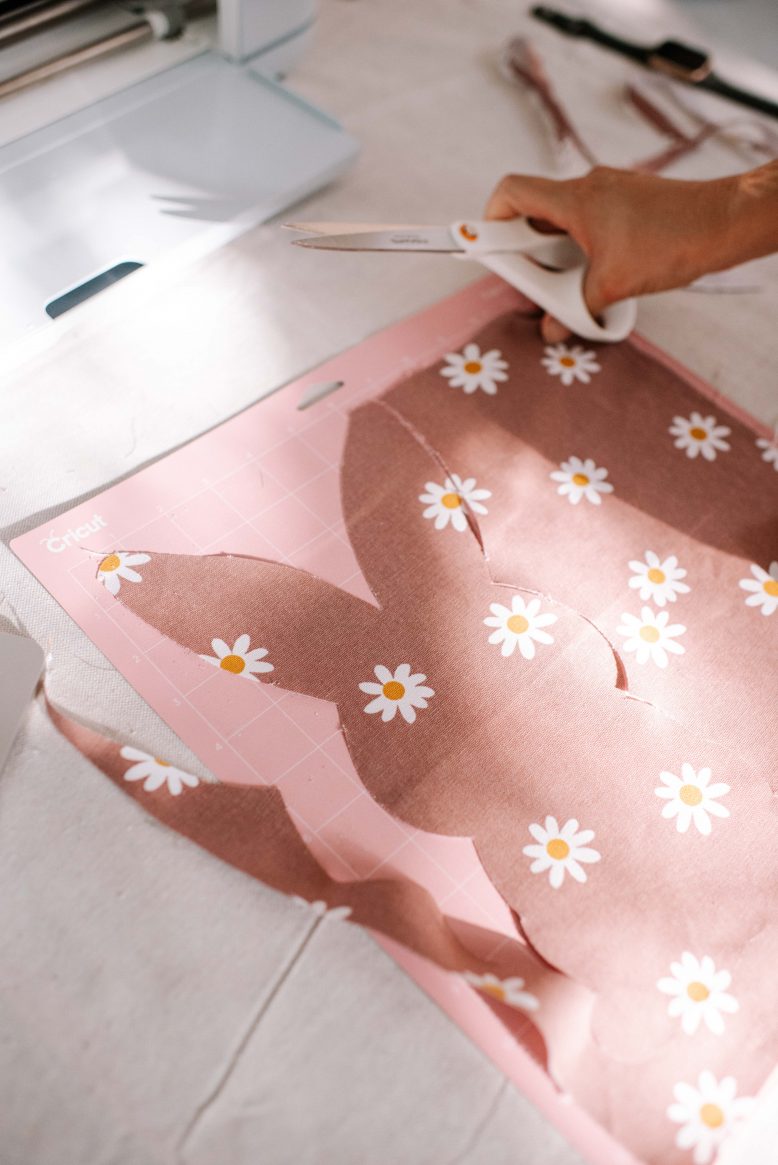
Carefully remove the fabric from the mat, and disregard the fabric on the outside
edge of the design, you may need to snip away any threads that are still in place.
Cut another piece of fabric, this time making sure to mirror the design so that it is
the same layout on the back side of the toy. You don’t need to worry about this if
the toy is symmetrical.
6
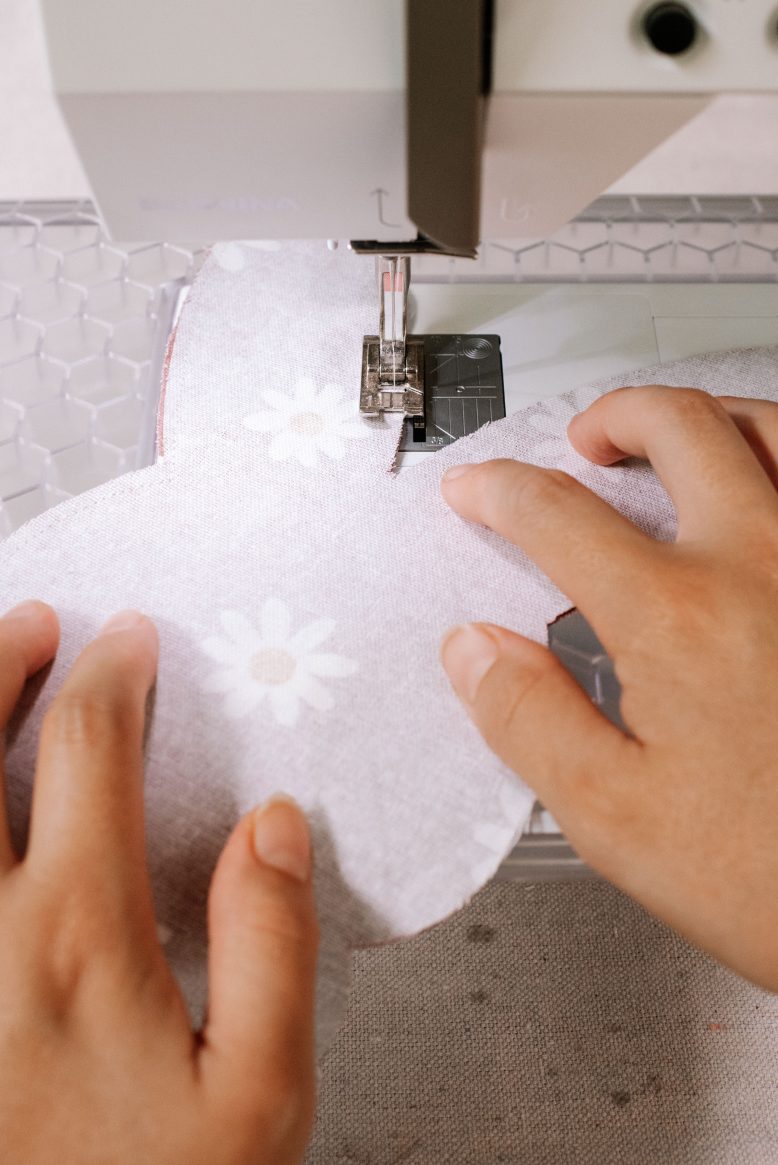
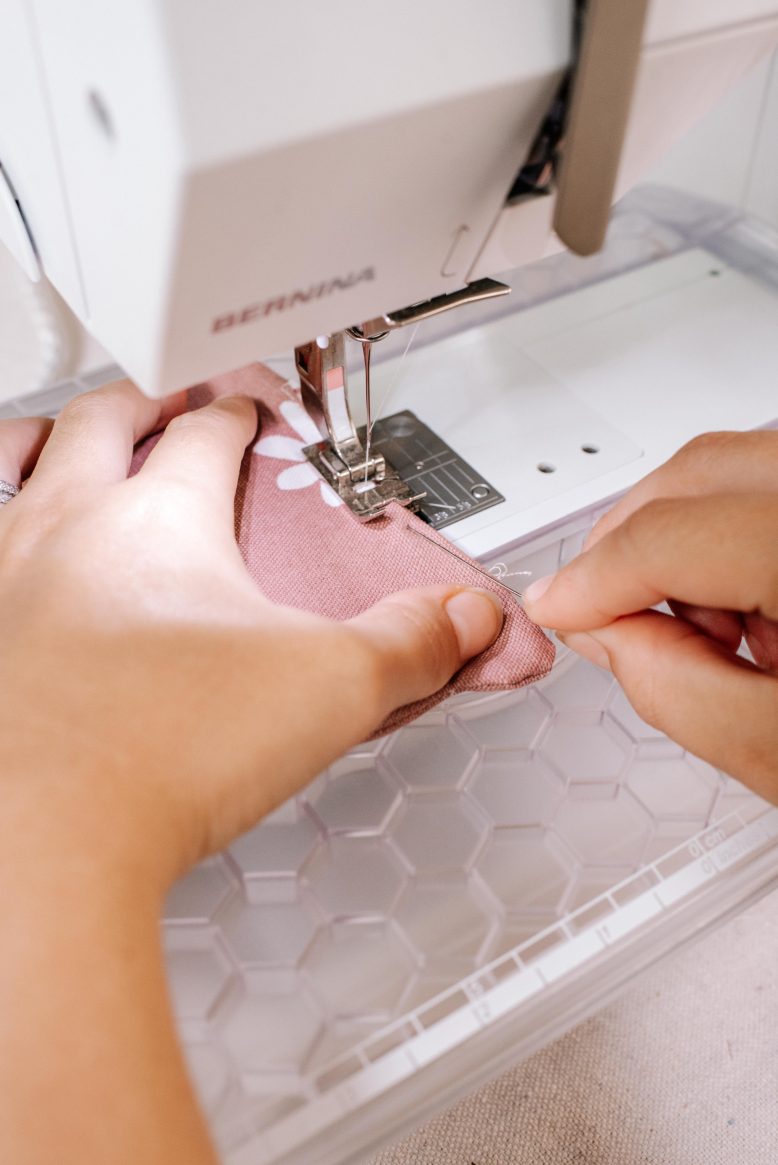
Place the two pieces of fabric right side facing together, and then using a needle
and thread or your sewing machine, stitch around the edge leaving the bottom
open.
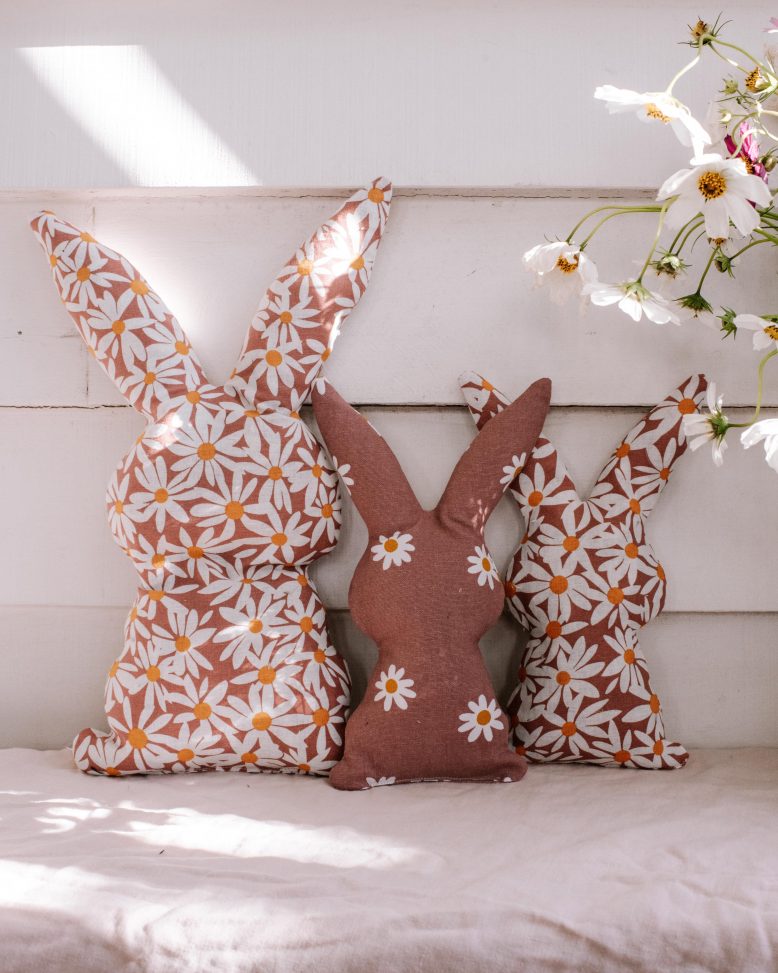
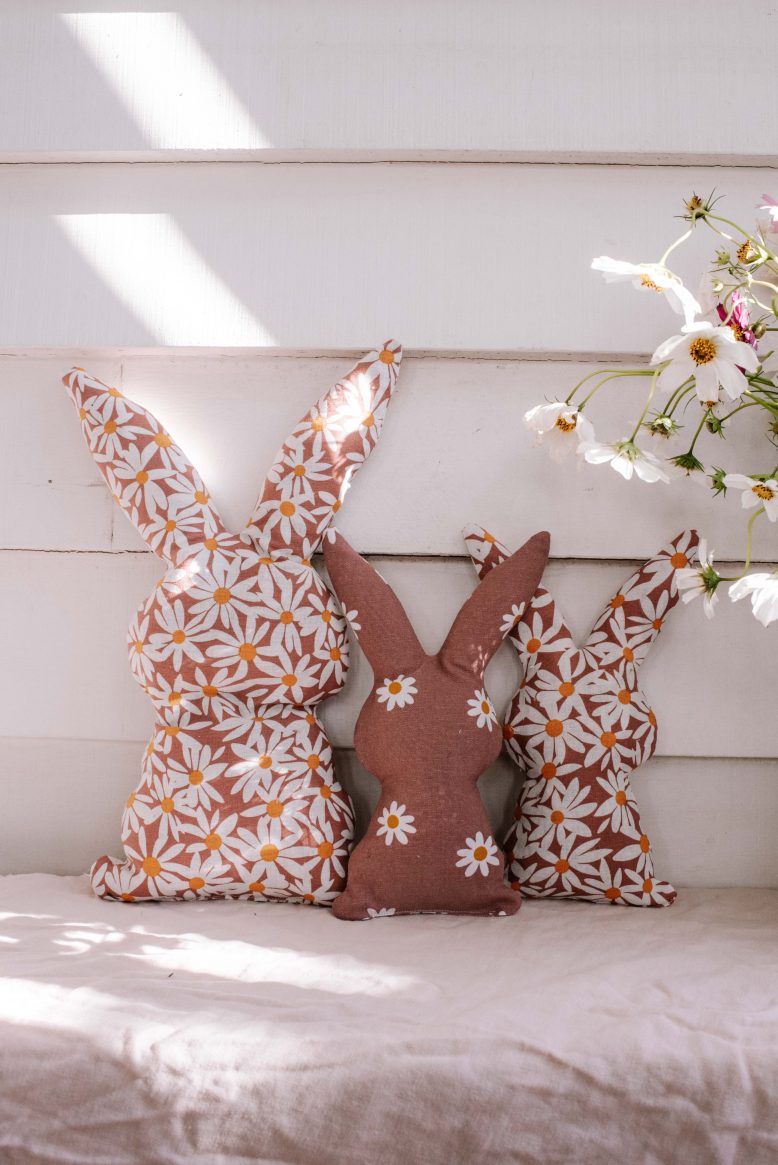
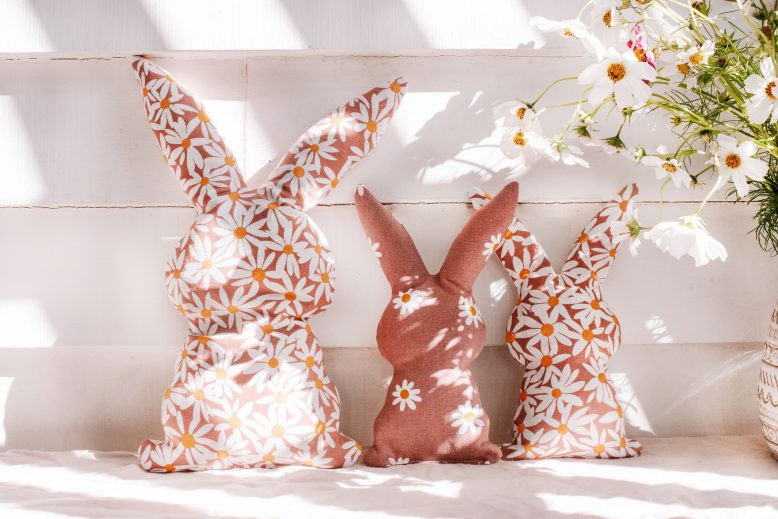
I absolutely love how these little toys turned out! They are just so cute. And because they are
relatively small, you can use any fabric scraps you like to make this.
This project is in collaboration with Cricut.


