It’s DIY July everyone! You know what that means, another day another DIY project.
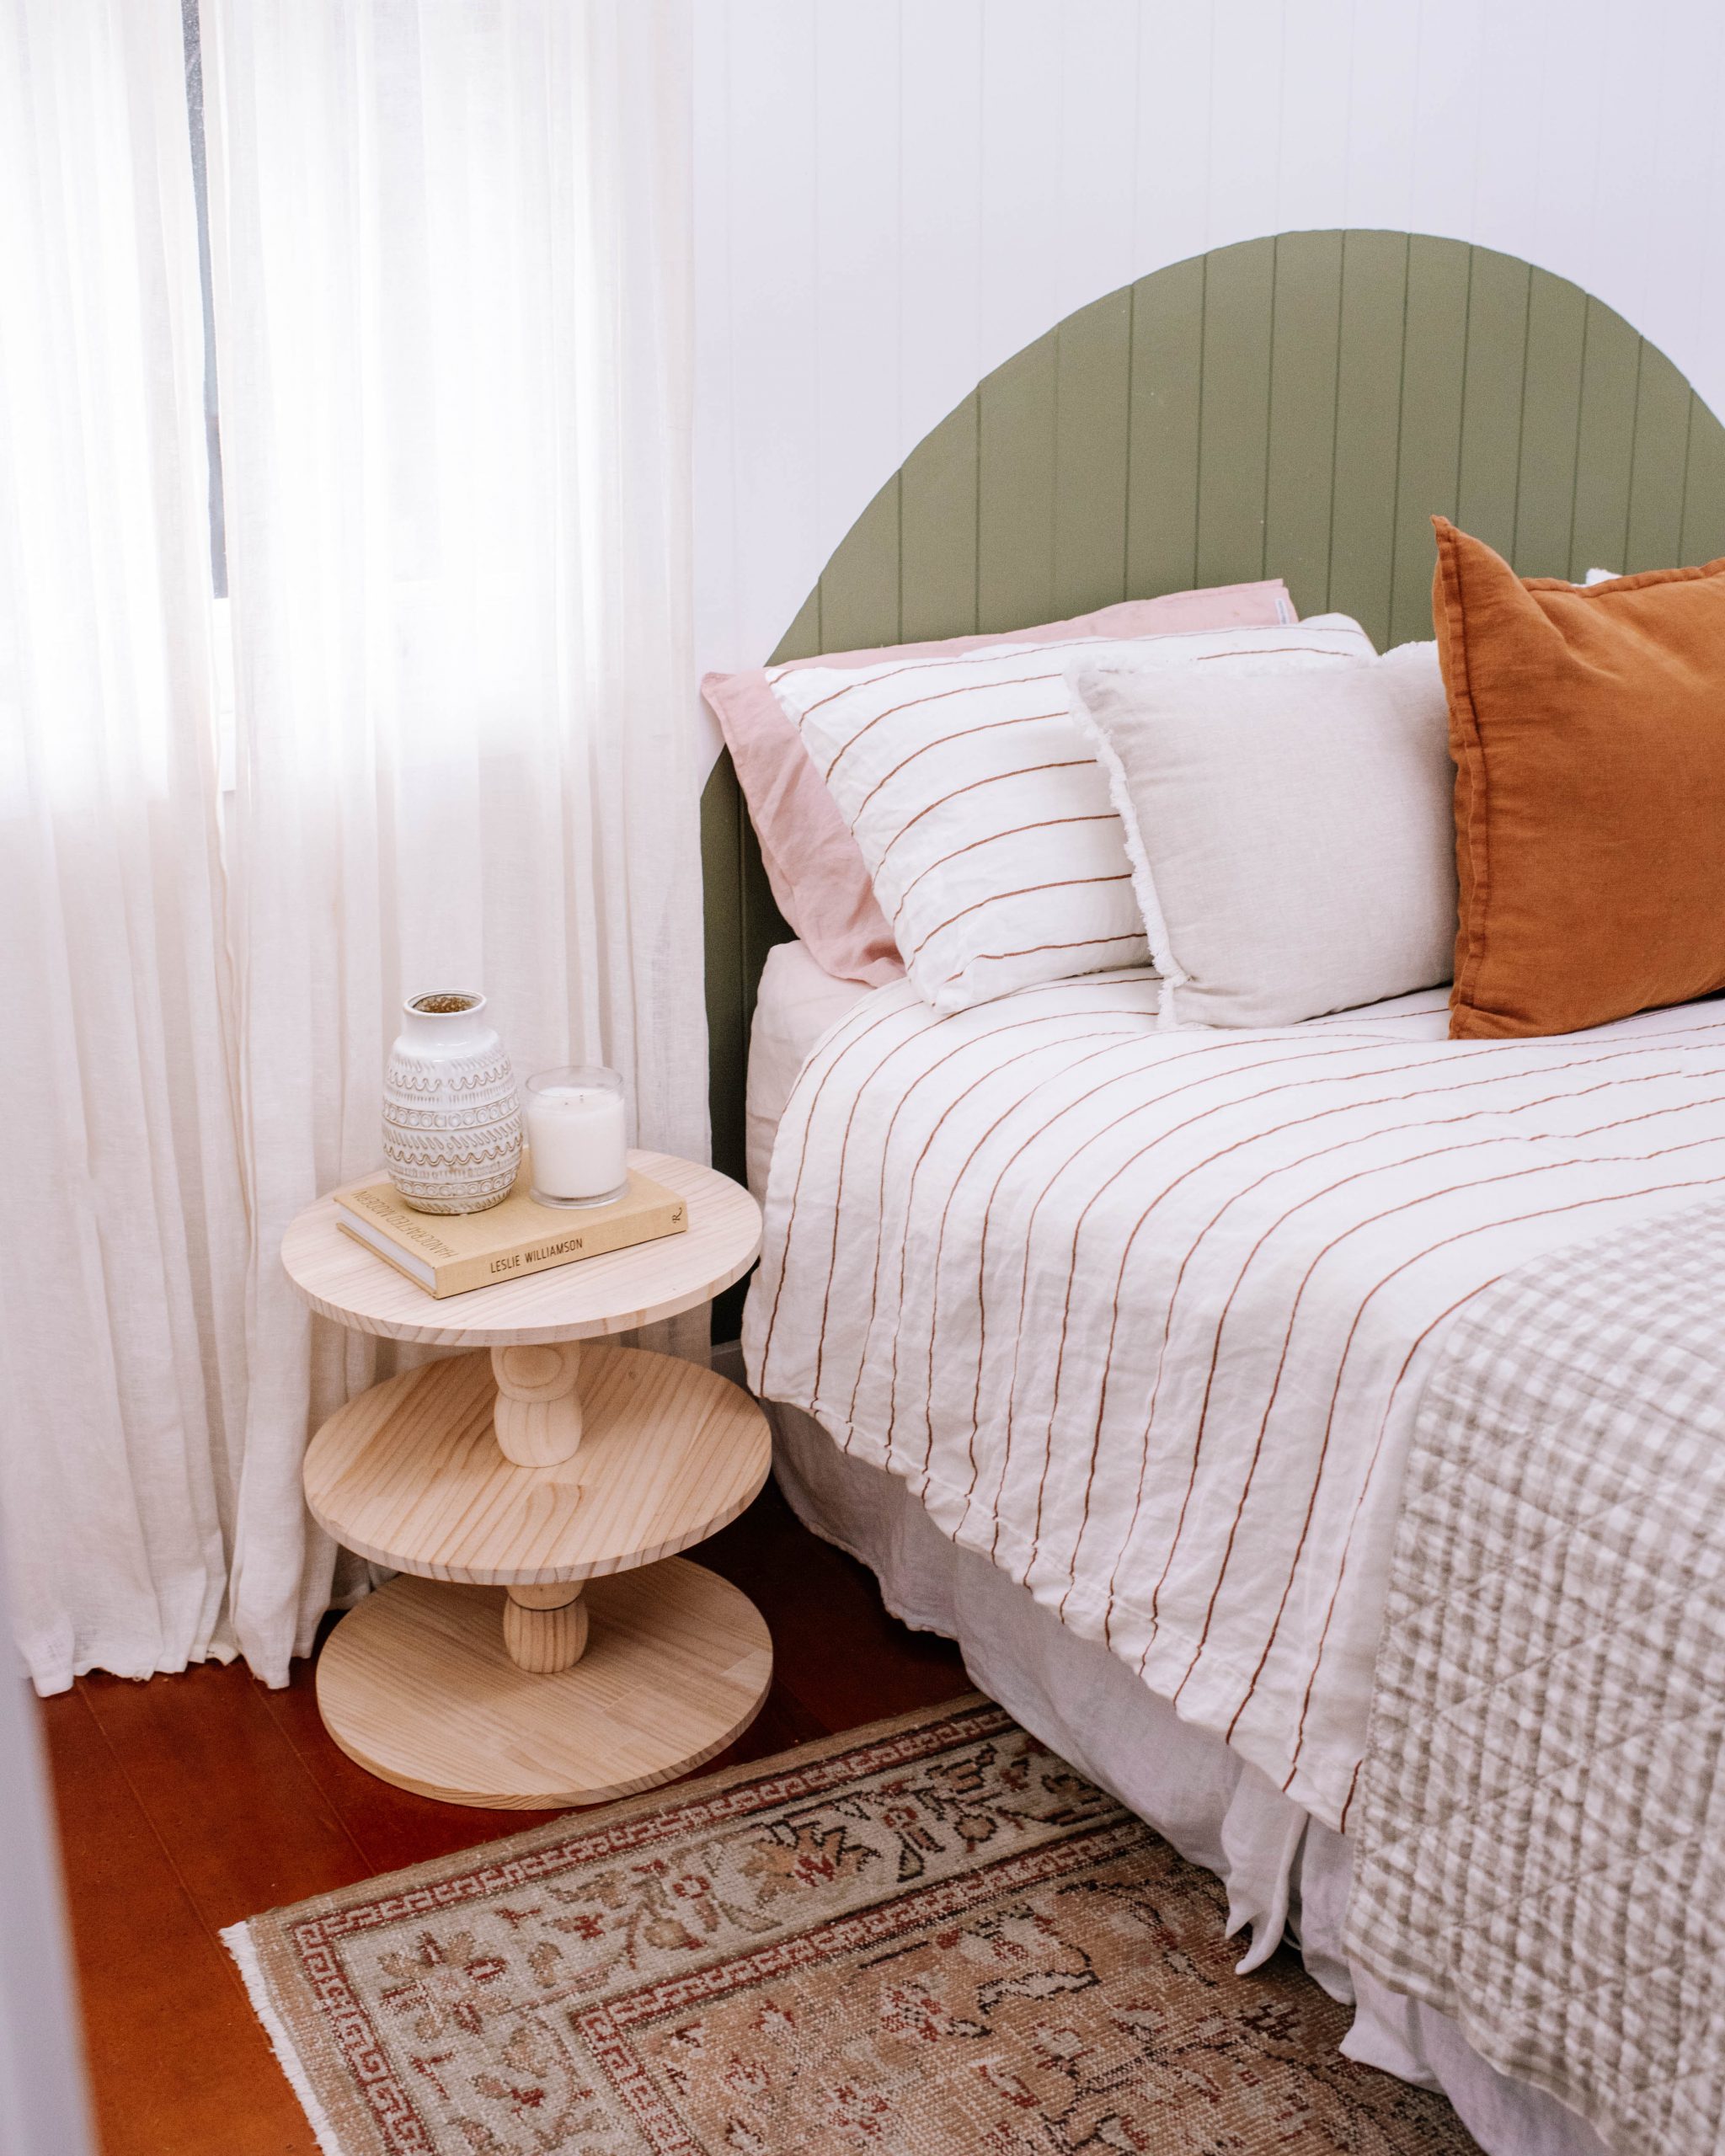
Today I’ll show you how to make a bobbin side table created from just two items which can be found at Bunnings. What I love about this piece is the unique design and simplicity of the project. This is a DIY you could easily do in just a couple of hours.
MATERIALS YOU NEED
HOW TO MAKE A BOBBIN SIDE TABLE
2
Once I found the centre, I carefully drilled a hole for my ball furniture legs to screw into. Note: Make sure you don't drill the top side of the top panel, otherwise you will have a rough edged hole on the top of your side table.
3
Because these round wooden legs already had a screw attached on one side, I needed to drill a hole on the other so I could screw them together. While drilling I used a cardboard box so I could poke the already attached screw through it to keep the wooden leg stable while drilling.
4
Then came the assembly stage! I found starting with the middle was the best and then I went ahead and attached the bottom panel by drilling a screw from the underside into the wooden leg. This is so the screw from the bottom leg can face upwards and connect to the next leg.
6
When assembling the final top pieces, I drilled pilot holes into the top leg and then attached it from the bottom side of the top wooden panel.
7
The final step to this project is to simply screw the top panel and leg onto the rest of the piece!
How simple was that?! If you’re not loving the natural wood, you could easily paint or stain each of these pieces before or after assembling.
Get inspired and decorate your space with more simple DIY projects!
This project is in collaboration with Bunnings.


