I feel like I owe you all a well overdue update on Frankie’s dollhouse makeover.
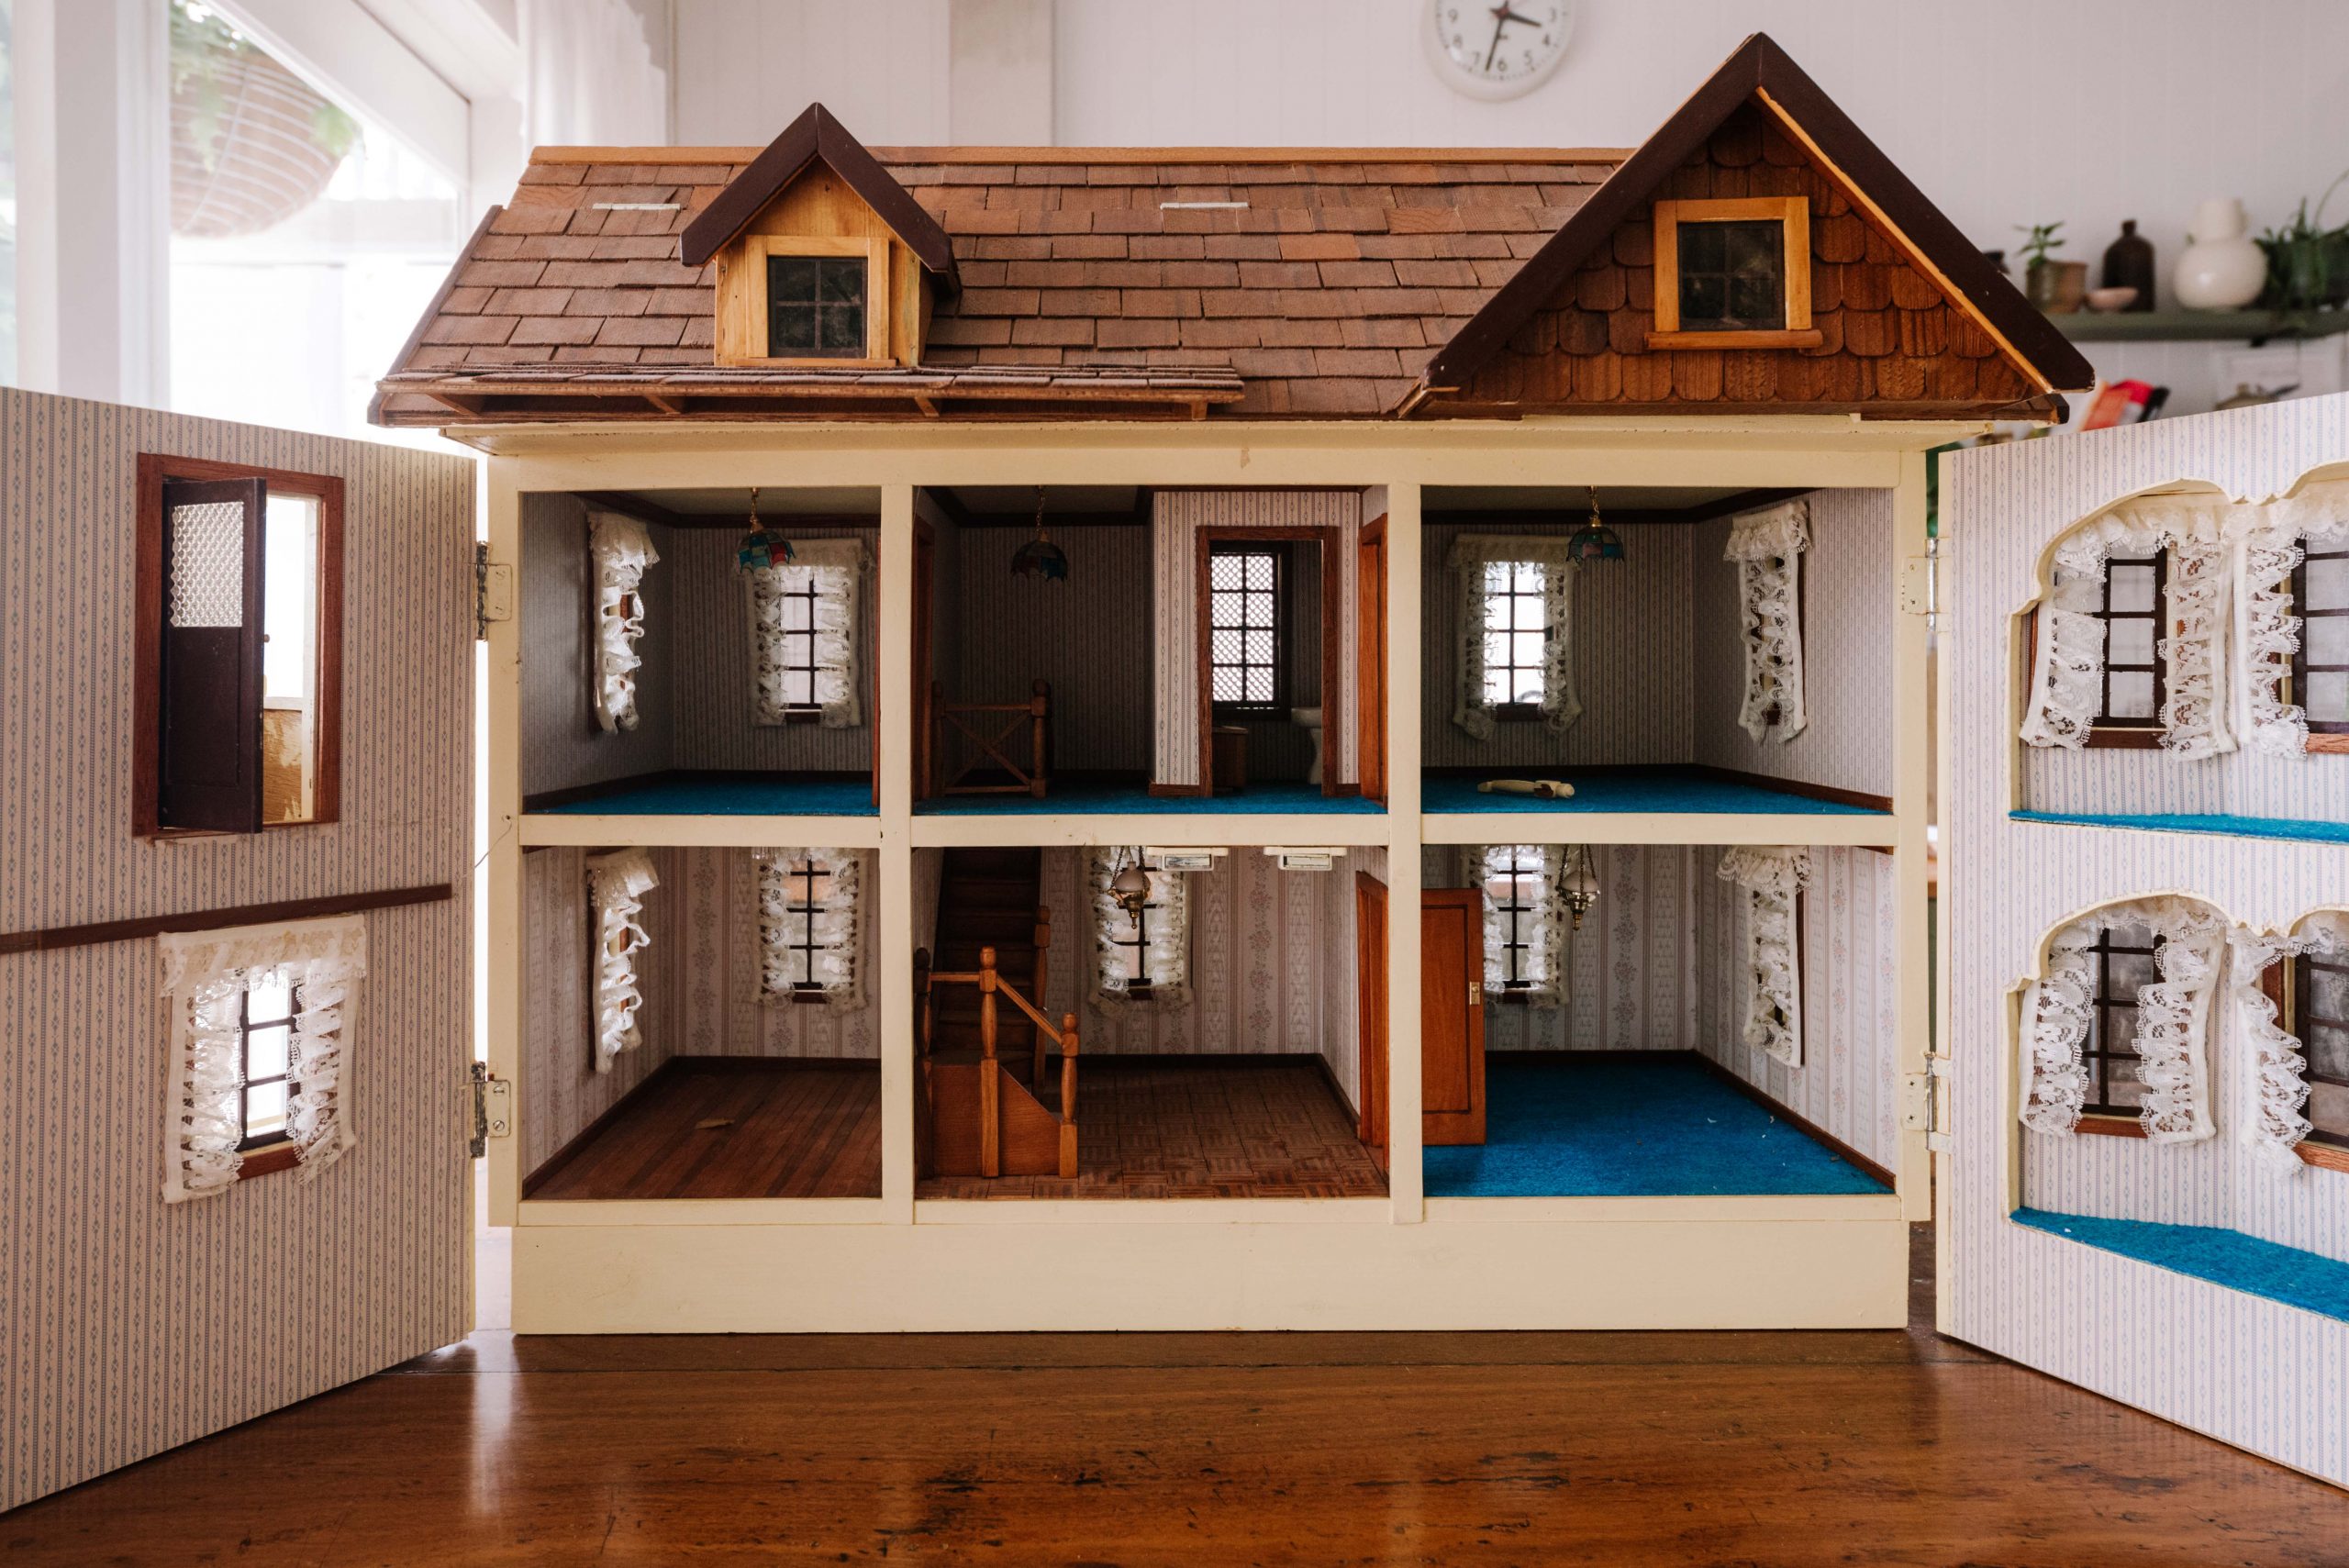
If you’re new around here, a few years ago we received the most incredible gift from Ben’s parents. This amazing dollhouse! I guess it wasn’t really a gift per say, it was actually made by Ben’s grandfather for Ben. So I guess it’s Ben’s gift to give to Frankie? But Ben’s parents have been very kindly holding on to it while we gallivanted around the world, and recently dropped it off for Frankie. Ben’s grandfather was a master craftsman, and made one of these for each of his grandchildren, complete with swinging doors, staircases, furniture and lights that actually TURN ON! It’s truly a work of art, and Frankie has fallen in love with it.
When we first received it, I gave it a detailed clean with my Dremel, removed the lace curtains, tore off some of the old wall paper and pulled up the blue felt carpet to find a beautiful light pine wood floor underneath!
With so much going on and much to Frankies dismay, I haven’t had much time to work on the dollhouse. But for the past few months I’ve been doing bits here and there. I started with the floors, using Feast Watson wood stain and popsicle sticks to try and match the beautiful wood flooring that you can see in the bottom left corner above! You may be thinking, ‘wow, popsicle sticks? That must have taken so long’. You’re right, it did take agessss, but I think the result was so worth it! If this was any other dollhouse I would have probably just used contact paper for the floors. But because this is a family heirloom, I really wanted to focus on not losing the original charm and beauty of this piece.
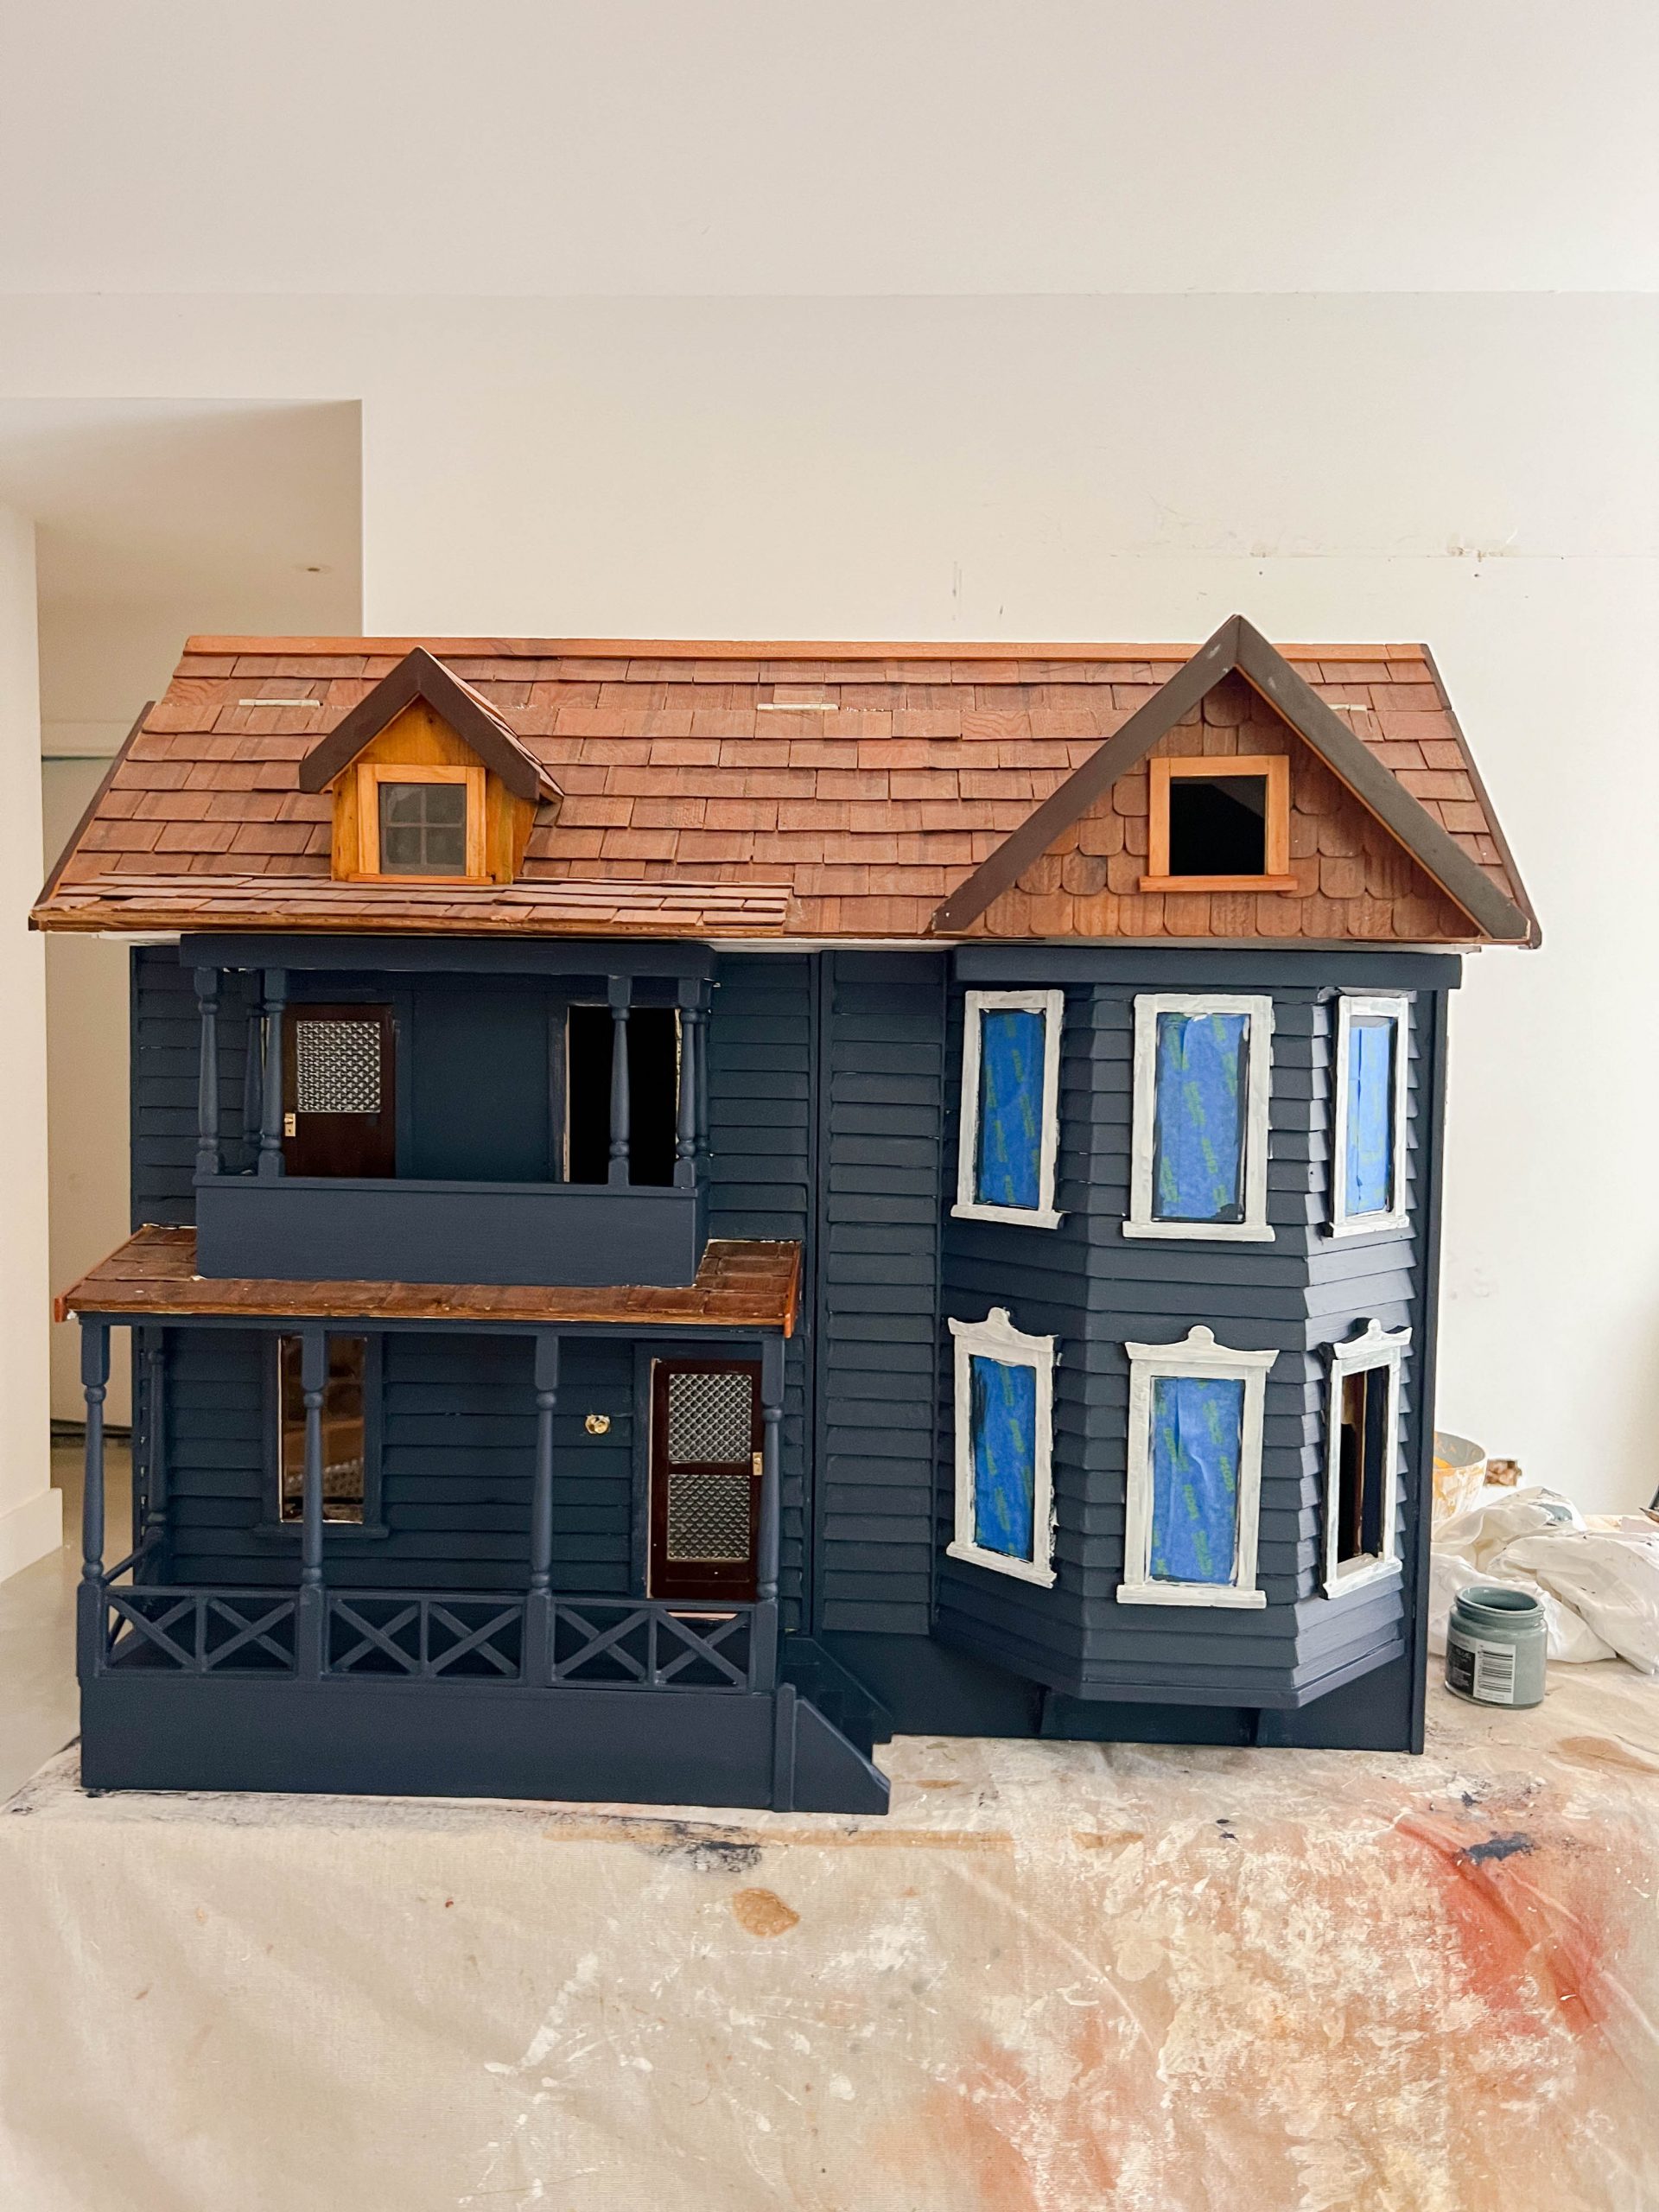
Next was painting the outside and boy, was this a process! I started off by painting the entire thing white to give myself a blank canvas to work with. And since the dollhouse is technically Frankie’s now, I decided she should get the final say in what colour we paint it! She ended up choosing a dark blue, not a colour I would normally use so I was excited to see how it would turn out!
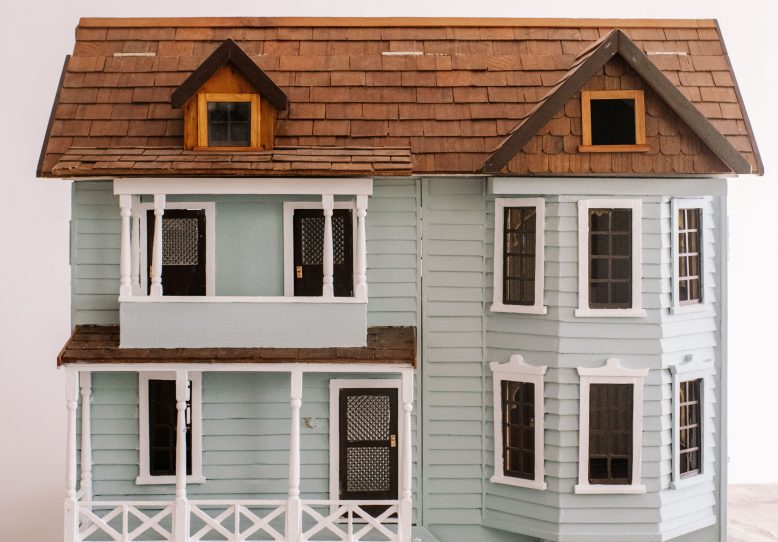
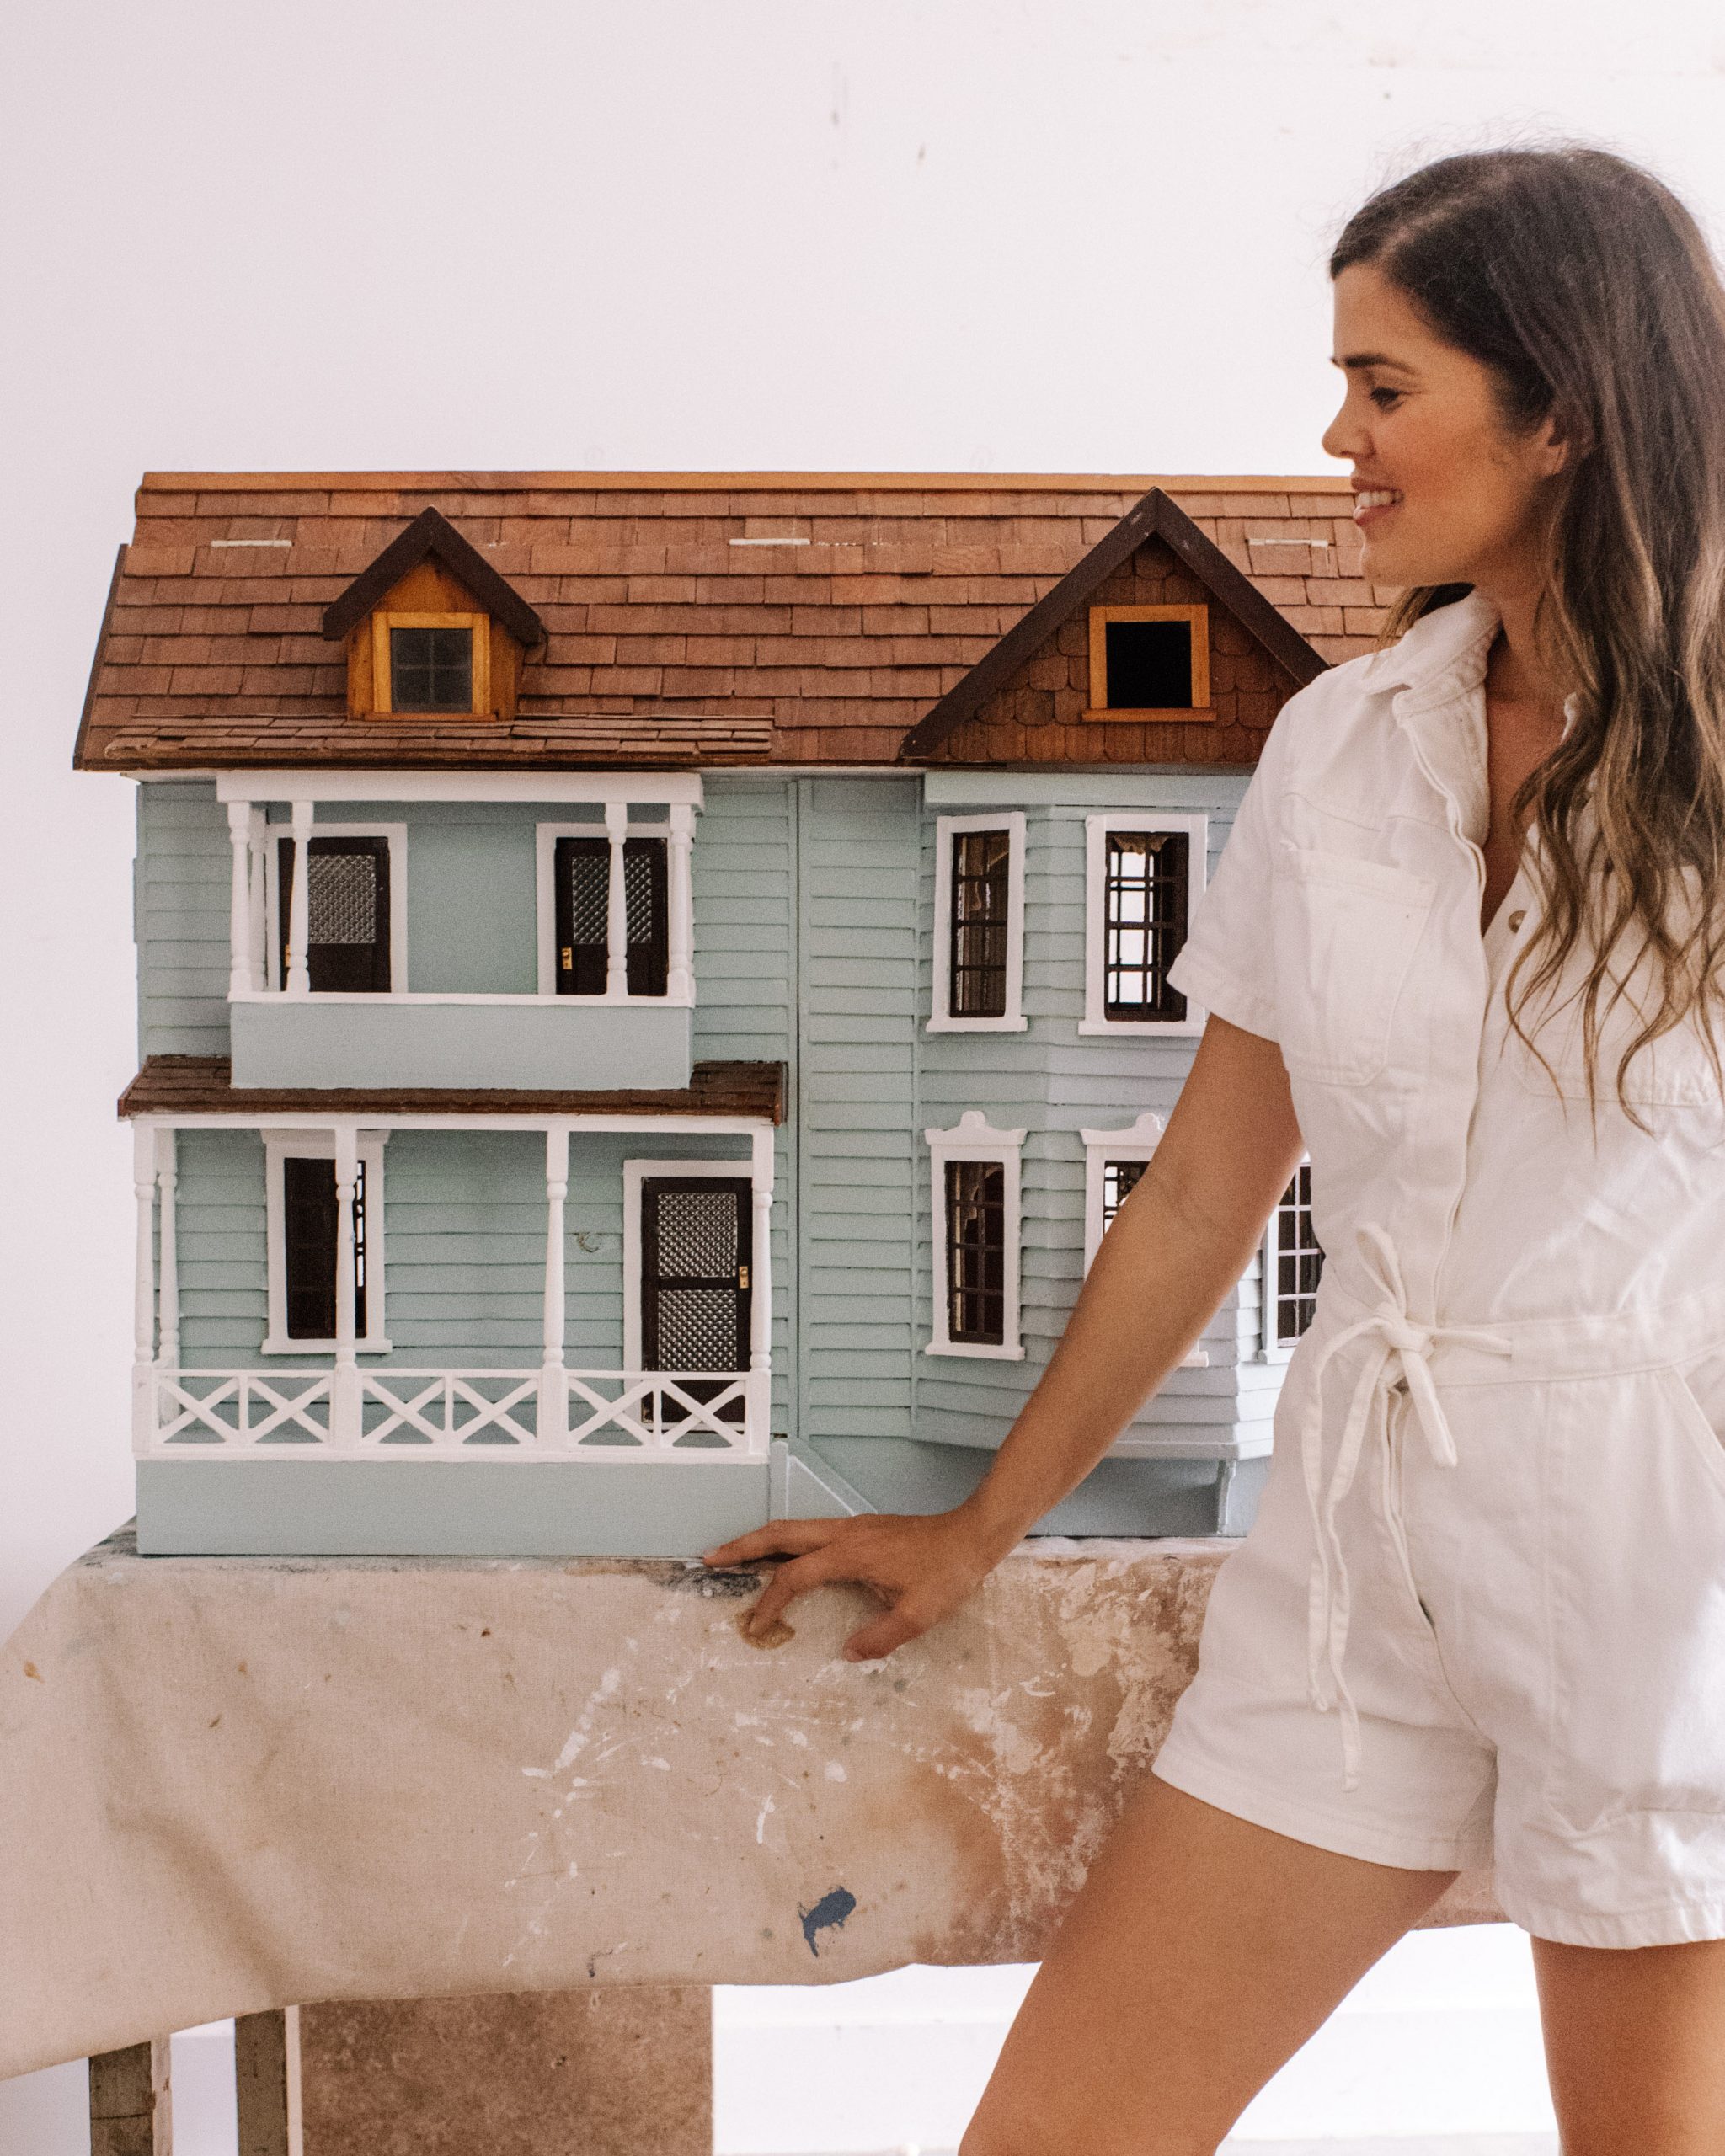
Once I painted on the first coat I immediately thought it was too much, it was giving haunted house vibes and that’s definitely not what we wanted. I tried adding a white trim, but miss Frankie agreed with me about it looking a bit too dark and we decided to go with something lighter, more of an “Elsa blue” as Frankie describes it.
I absolutely love how this lighter blue turned out, and even though I wasn’t 100% in love with the white trim at first, I feel like it really matches the style of the house and I’m so glad I stuck with it!
I’m starting to research different wallpaper options and ways to decorate the inside. Stay tuned for another update coming soon!
If you’d like to read my previous posts about this dollhouse project, you can find them below.
My New Project! Frankie’s Dollhouse.


