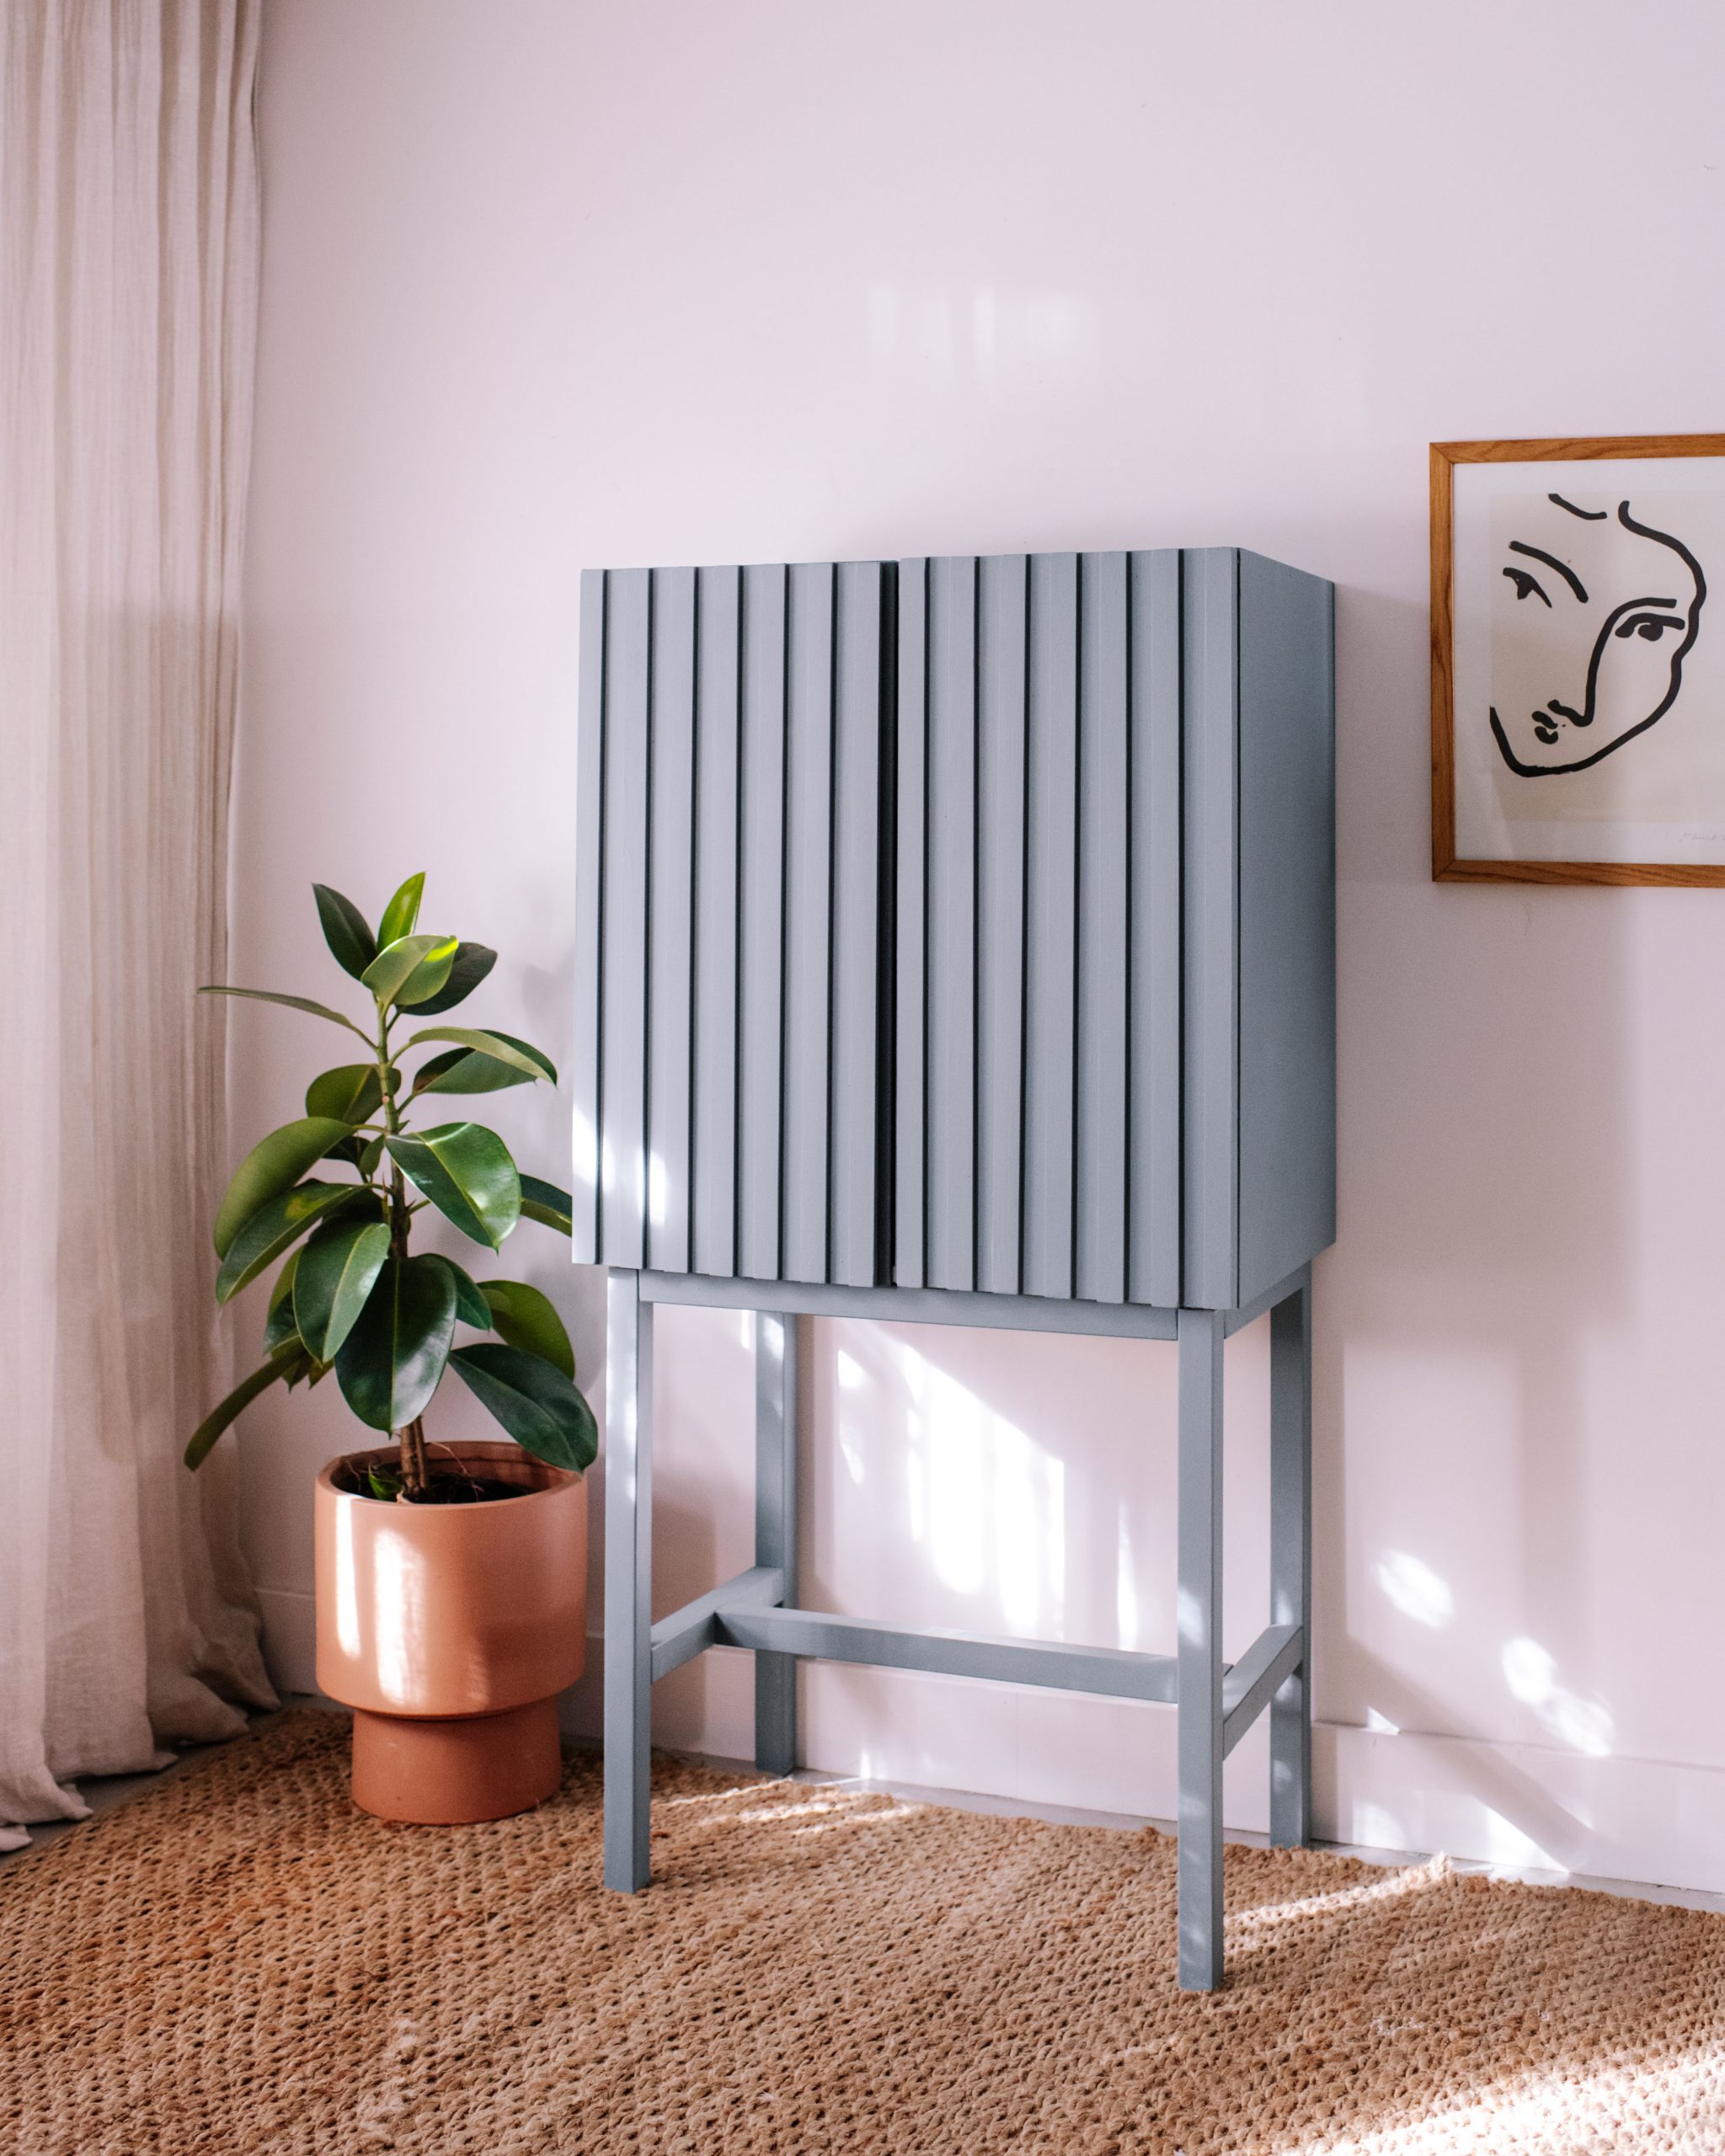
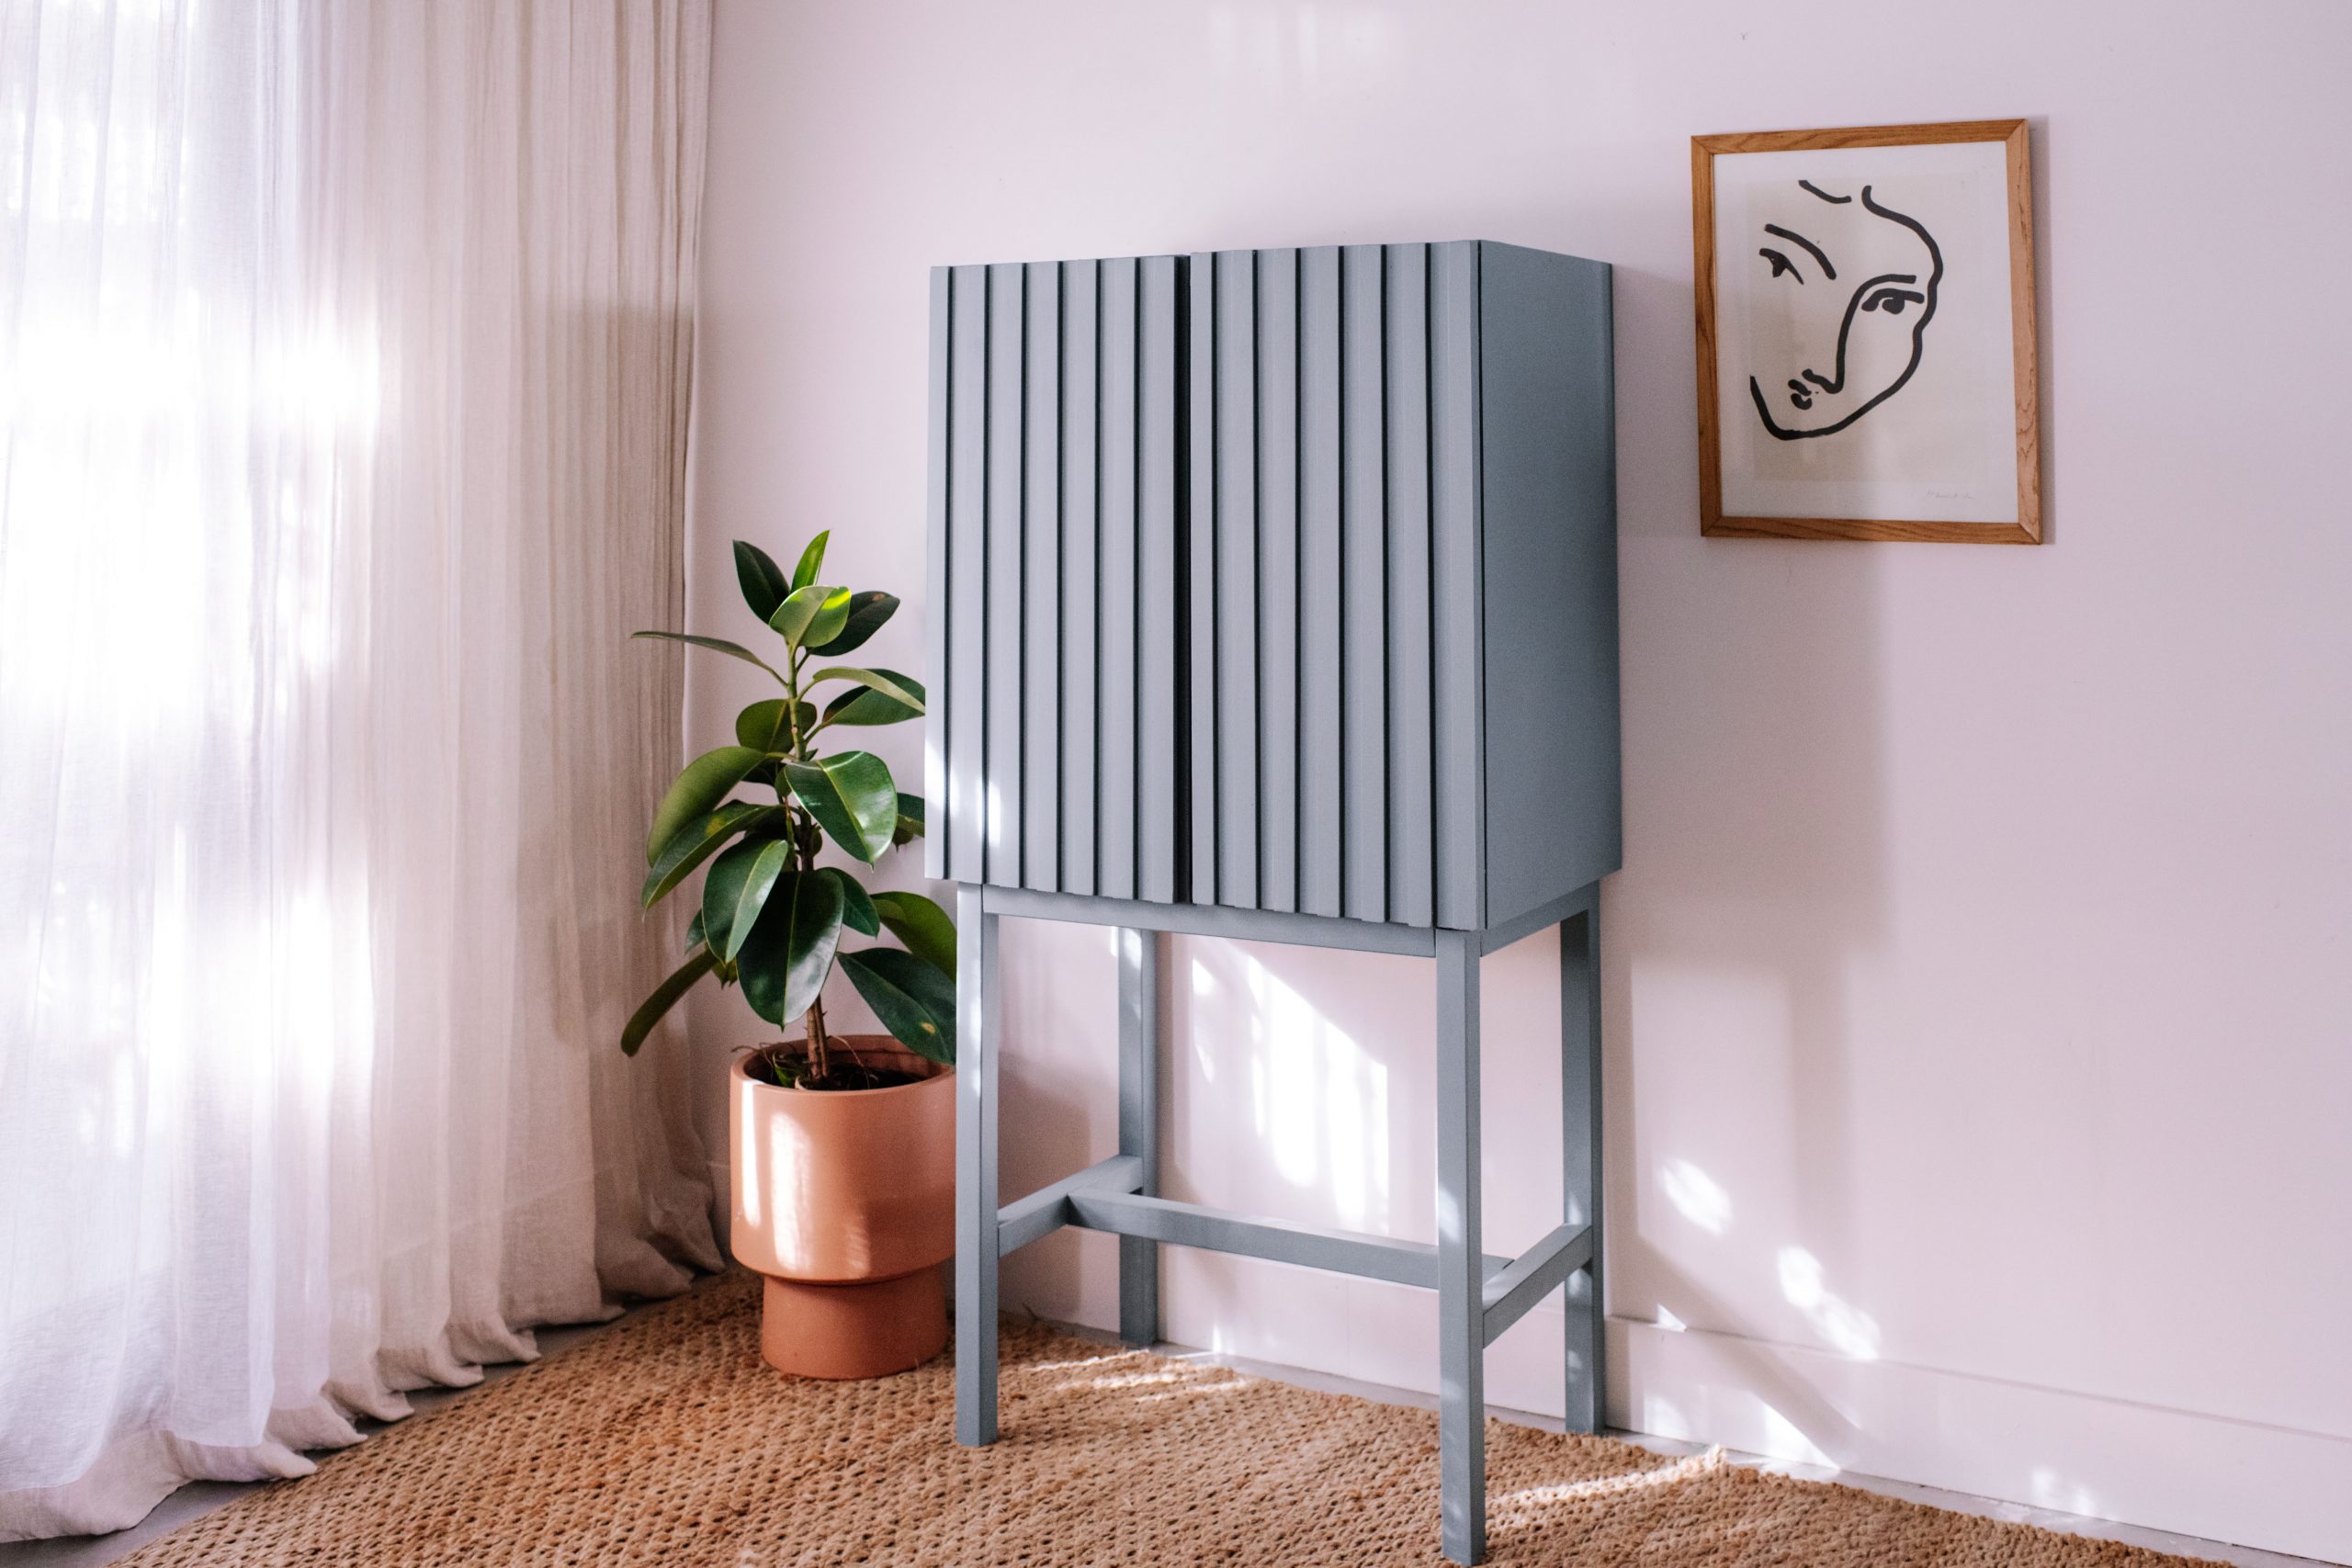
Tall storage cabinets are everywhere at the moment and I’ve been keeping my eye out for a cabinet that I could upcycle to create my own.
When I came across a set if old wooden cupboards on Marketplace, I could see allll the potential. I knew the additions of some legs, some detail on the front and paint would transform it in to the best version of itself! I was also so happy to get to try out all my new paint accessories from Monarch for this project. Often, detailed pieces like these can be so hard to paint but their brushes made the whole thing so easy!
before & after
Materials:
- Cabinet
- Wooden legs
- Leg brackets
- Pine moulding
- Wood glue
- Monarch paint brushes
- Monarch paint roller
- Monarch plant based drop sheet
- Primer (This is Easy Pour from British Paints)
- Paint (Hamptons Blue from Porters and Witching from British Paints)
- Drill
I was excited to get a chance to try out the new plant based drop sheet from Monarch, it worked so well!
My approach to this project was quite trial and error, I honestly wasn’t sure whether the legs I wanted to put on would work, and I ended up adding more of a structure in the middle of the project as I thought it needed it. I guess that’s the joy of the journey of DIY!
Making A Tall Bar Cabinet
1
To start, I wanted to give the cupboard some legs, I find that the Bunnings ready made legs are great for DIY projects like this!
2
Next up I decided to add some wooden slatted detail to the doors. I cut the timber moulding a little bit longer than the height of the cabinet and glued each piece down to the front with wood glue, making sure there was an equal gap between each piece.
3
I left the glue to dry and once I was sure the moulding wouldn't lift, I cut the overhanging moulding at the top and bottom with a jigsaw and gave the ends a light sand.
4
Next up was paint using my Monarch paint brushes and roller! I laid the piece on the Monarch plant based drop sheet and gave the whole piece (inside and out) a coat of primer.
5
After I had primed the top of the piece, I decided I wanted to create an elegant looking frame for it. So, I attached 4 pieces of wood of the same thickness as the legs to the base of the cabinet using my drill and some screws. I then used 3 more pieces of wood to create the 'I' in the middle of the legs about halfway down. This helps keep the piece balanced when standing. I just screwed the 2 side pieces in to the legs and then screwed the cross piece in.
6
Once I finished giving the whole piece a coat of primer I think it looks so nice! At this point I also used Monarch's filler to fill the nail and screw holes in the piece to give a nice streamlined look.
7
The final step was to decide what to paint the outside of the cabinet and get started! I was a bit worried about how hard it would be to give these slatted details a nice finish with the topcoat but in the end it was so simple with this detail brush.
8
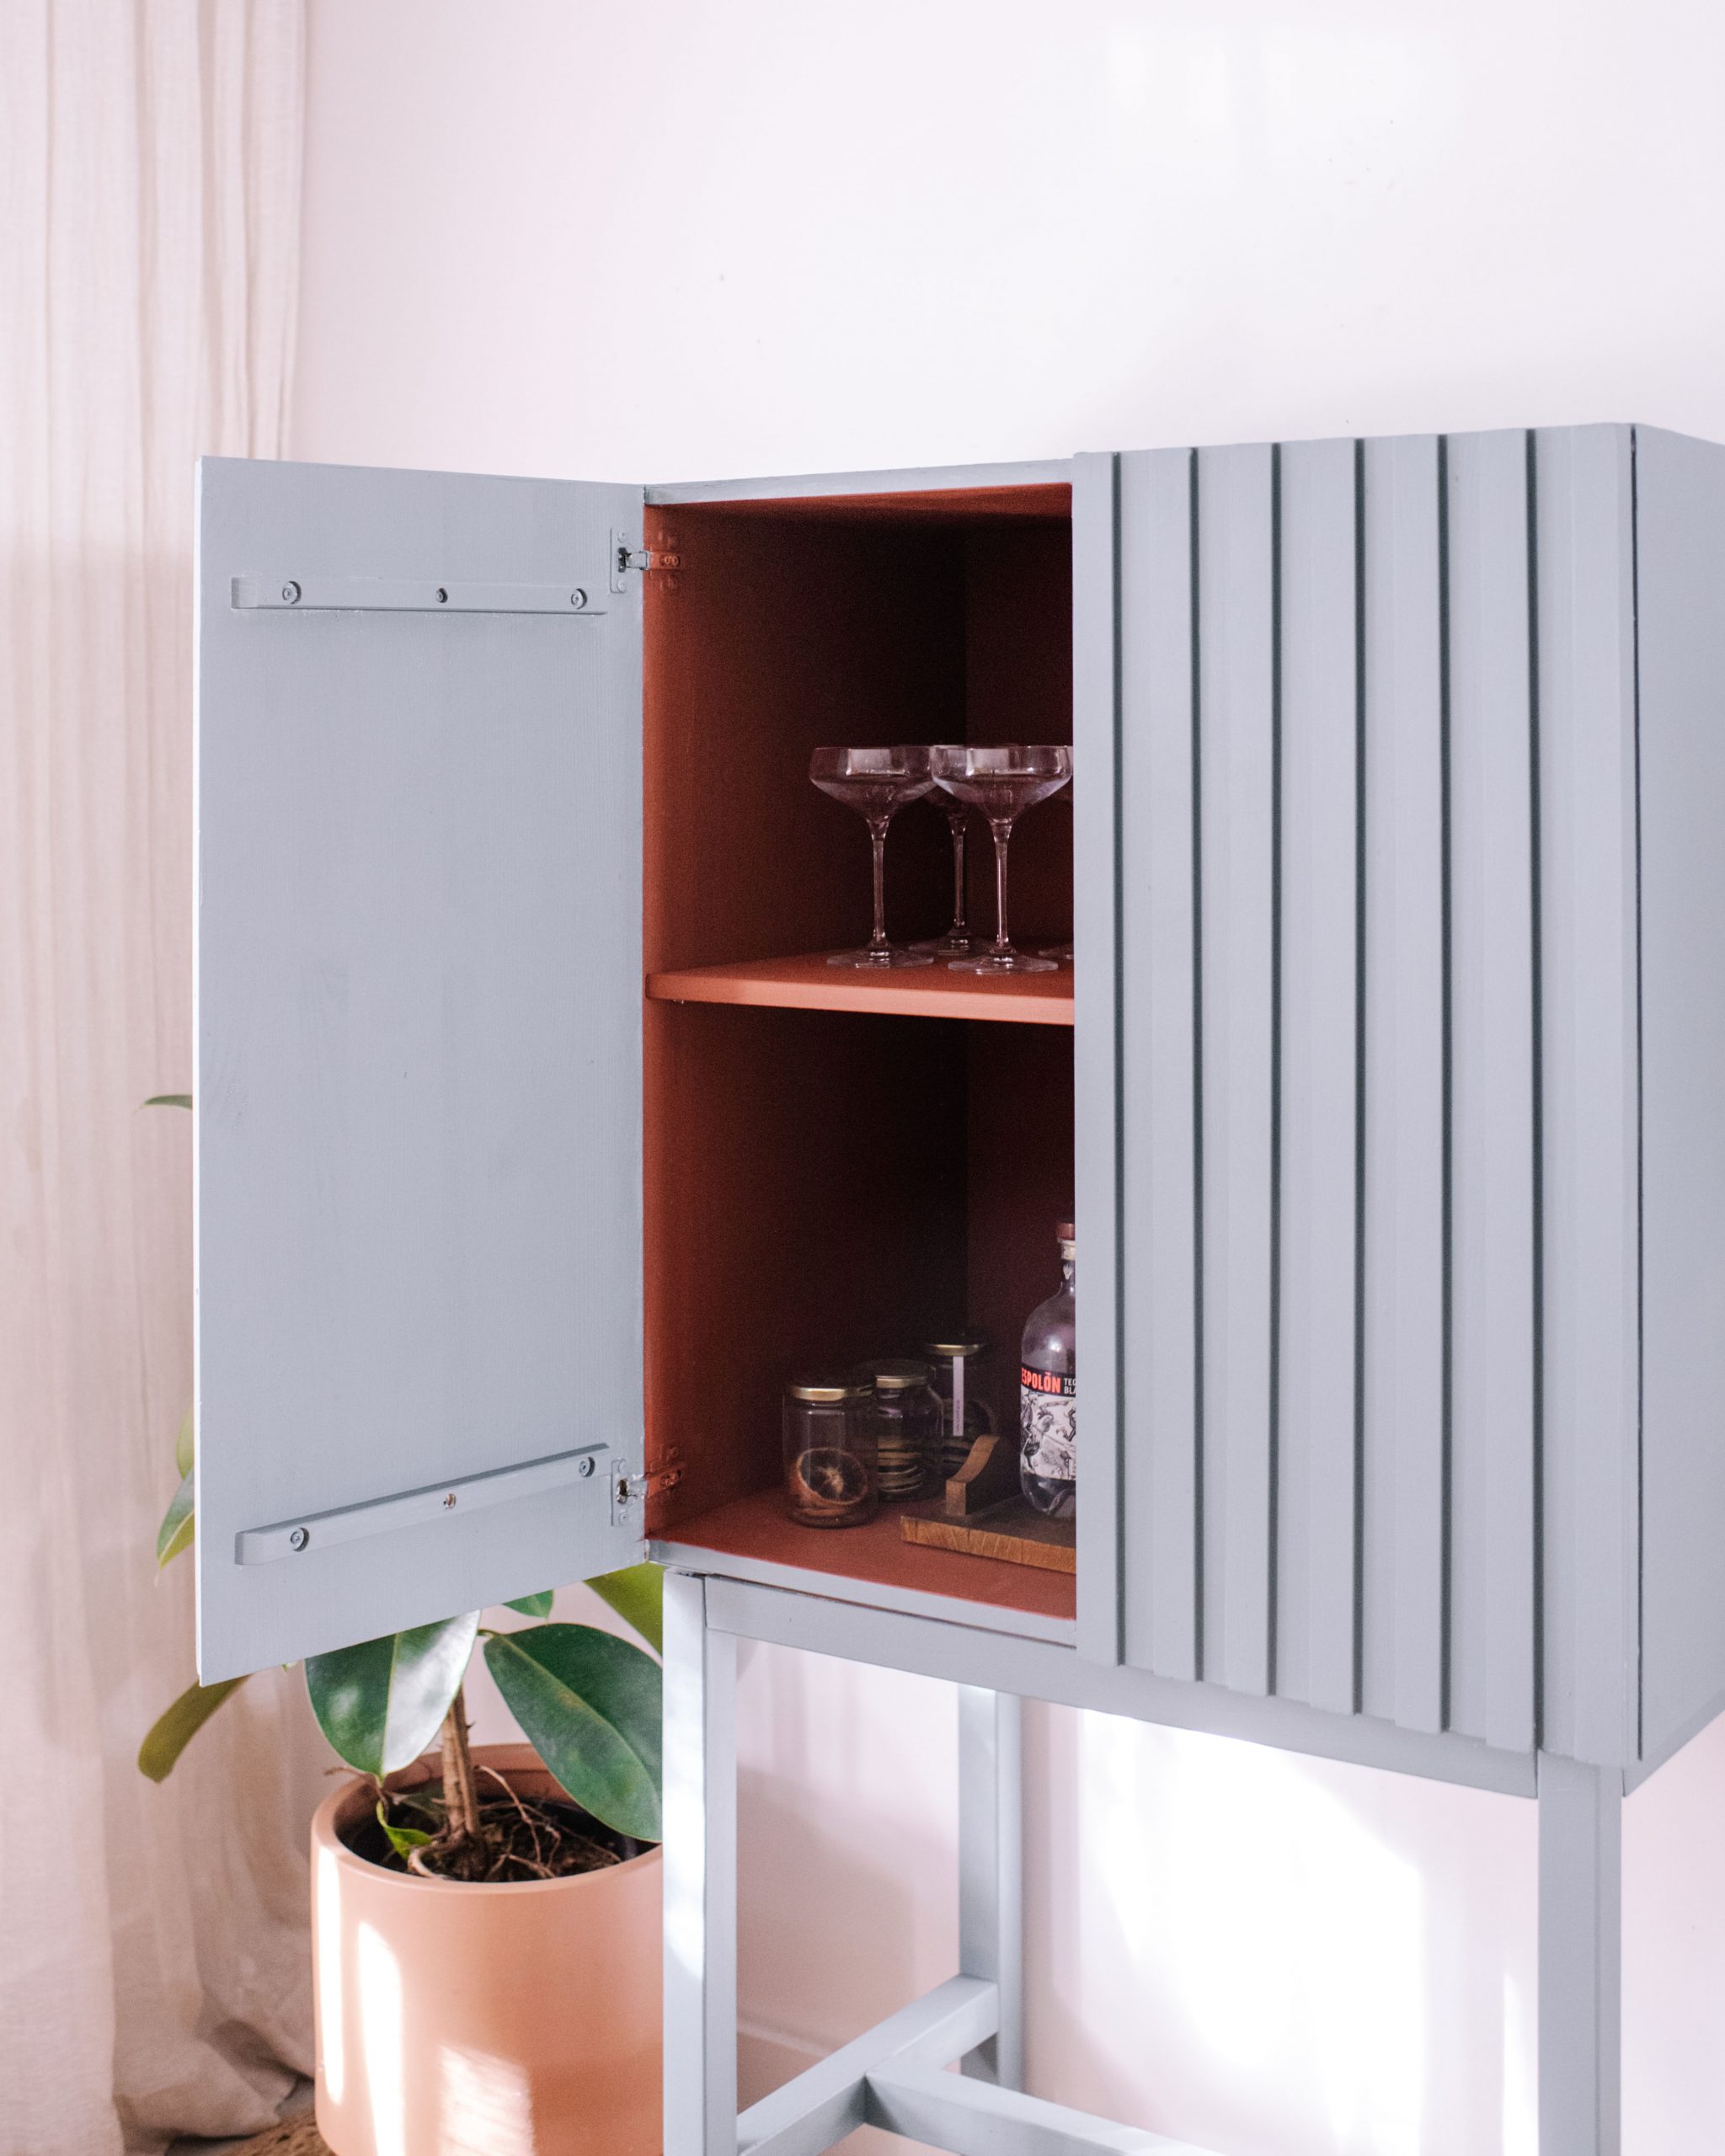
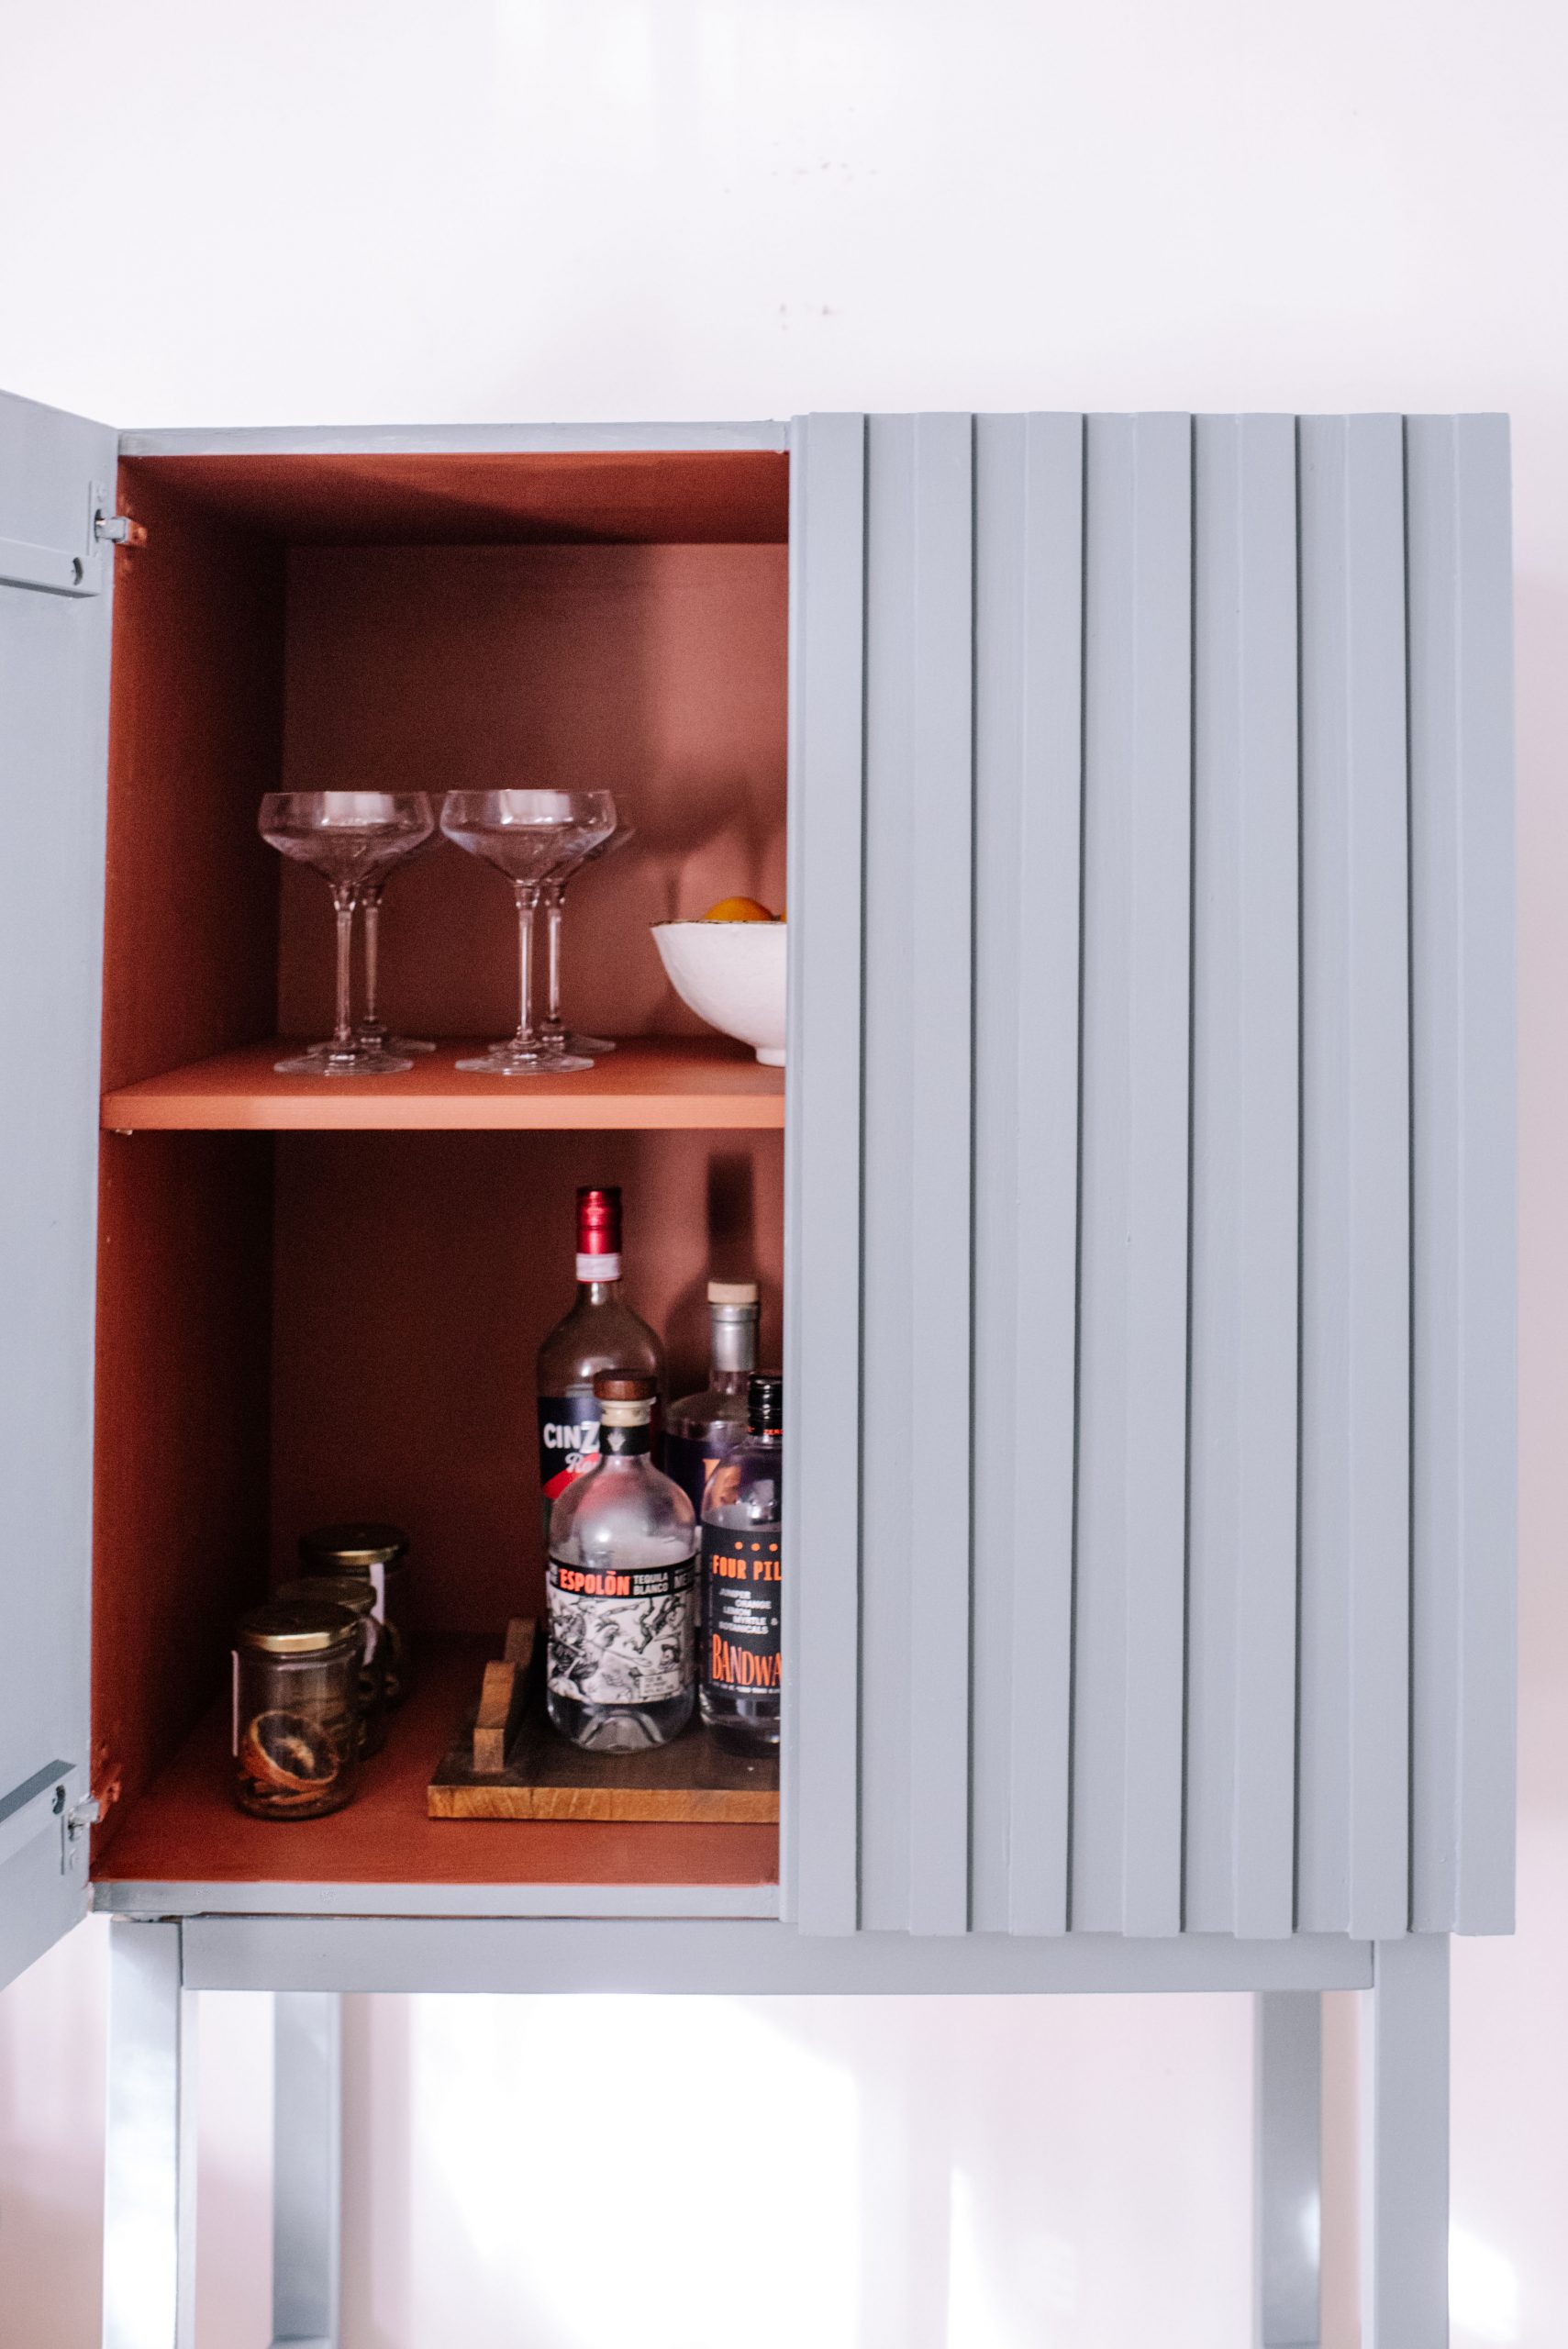
I decided to go with a steel blue on the outside and a deep rusty red on the inside!
Voila!
This post is in collaboration with Monarch


