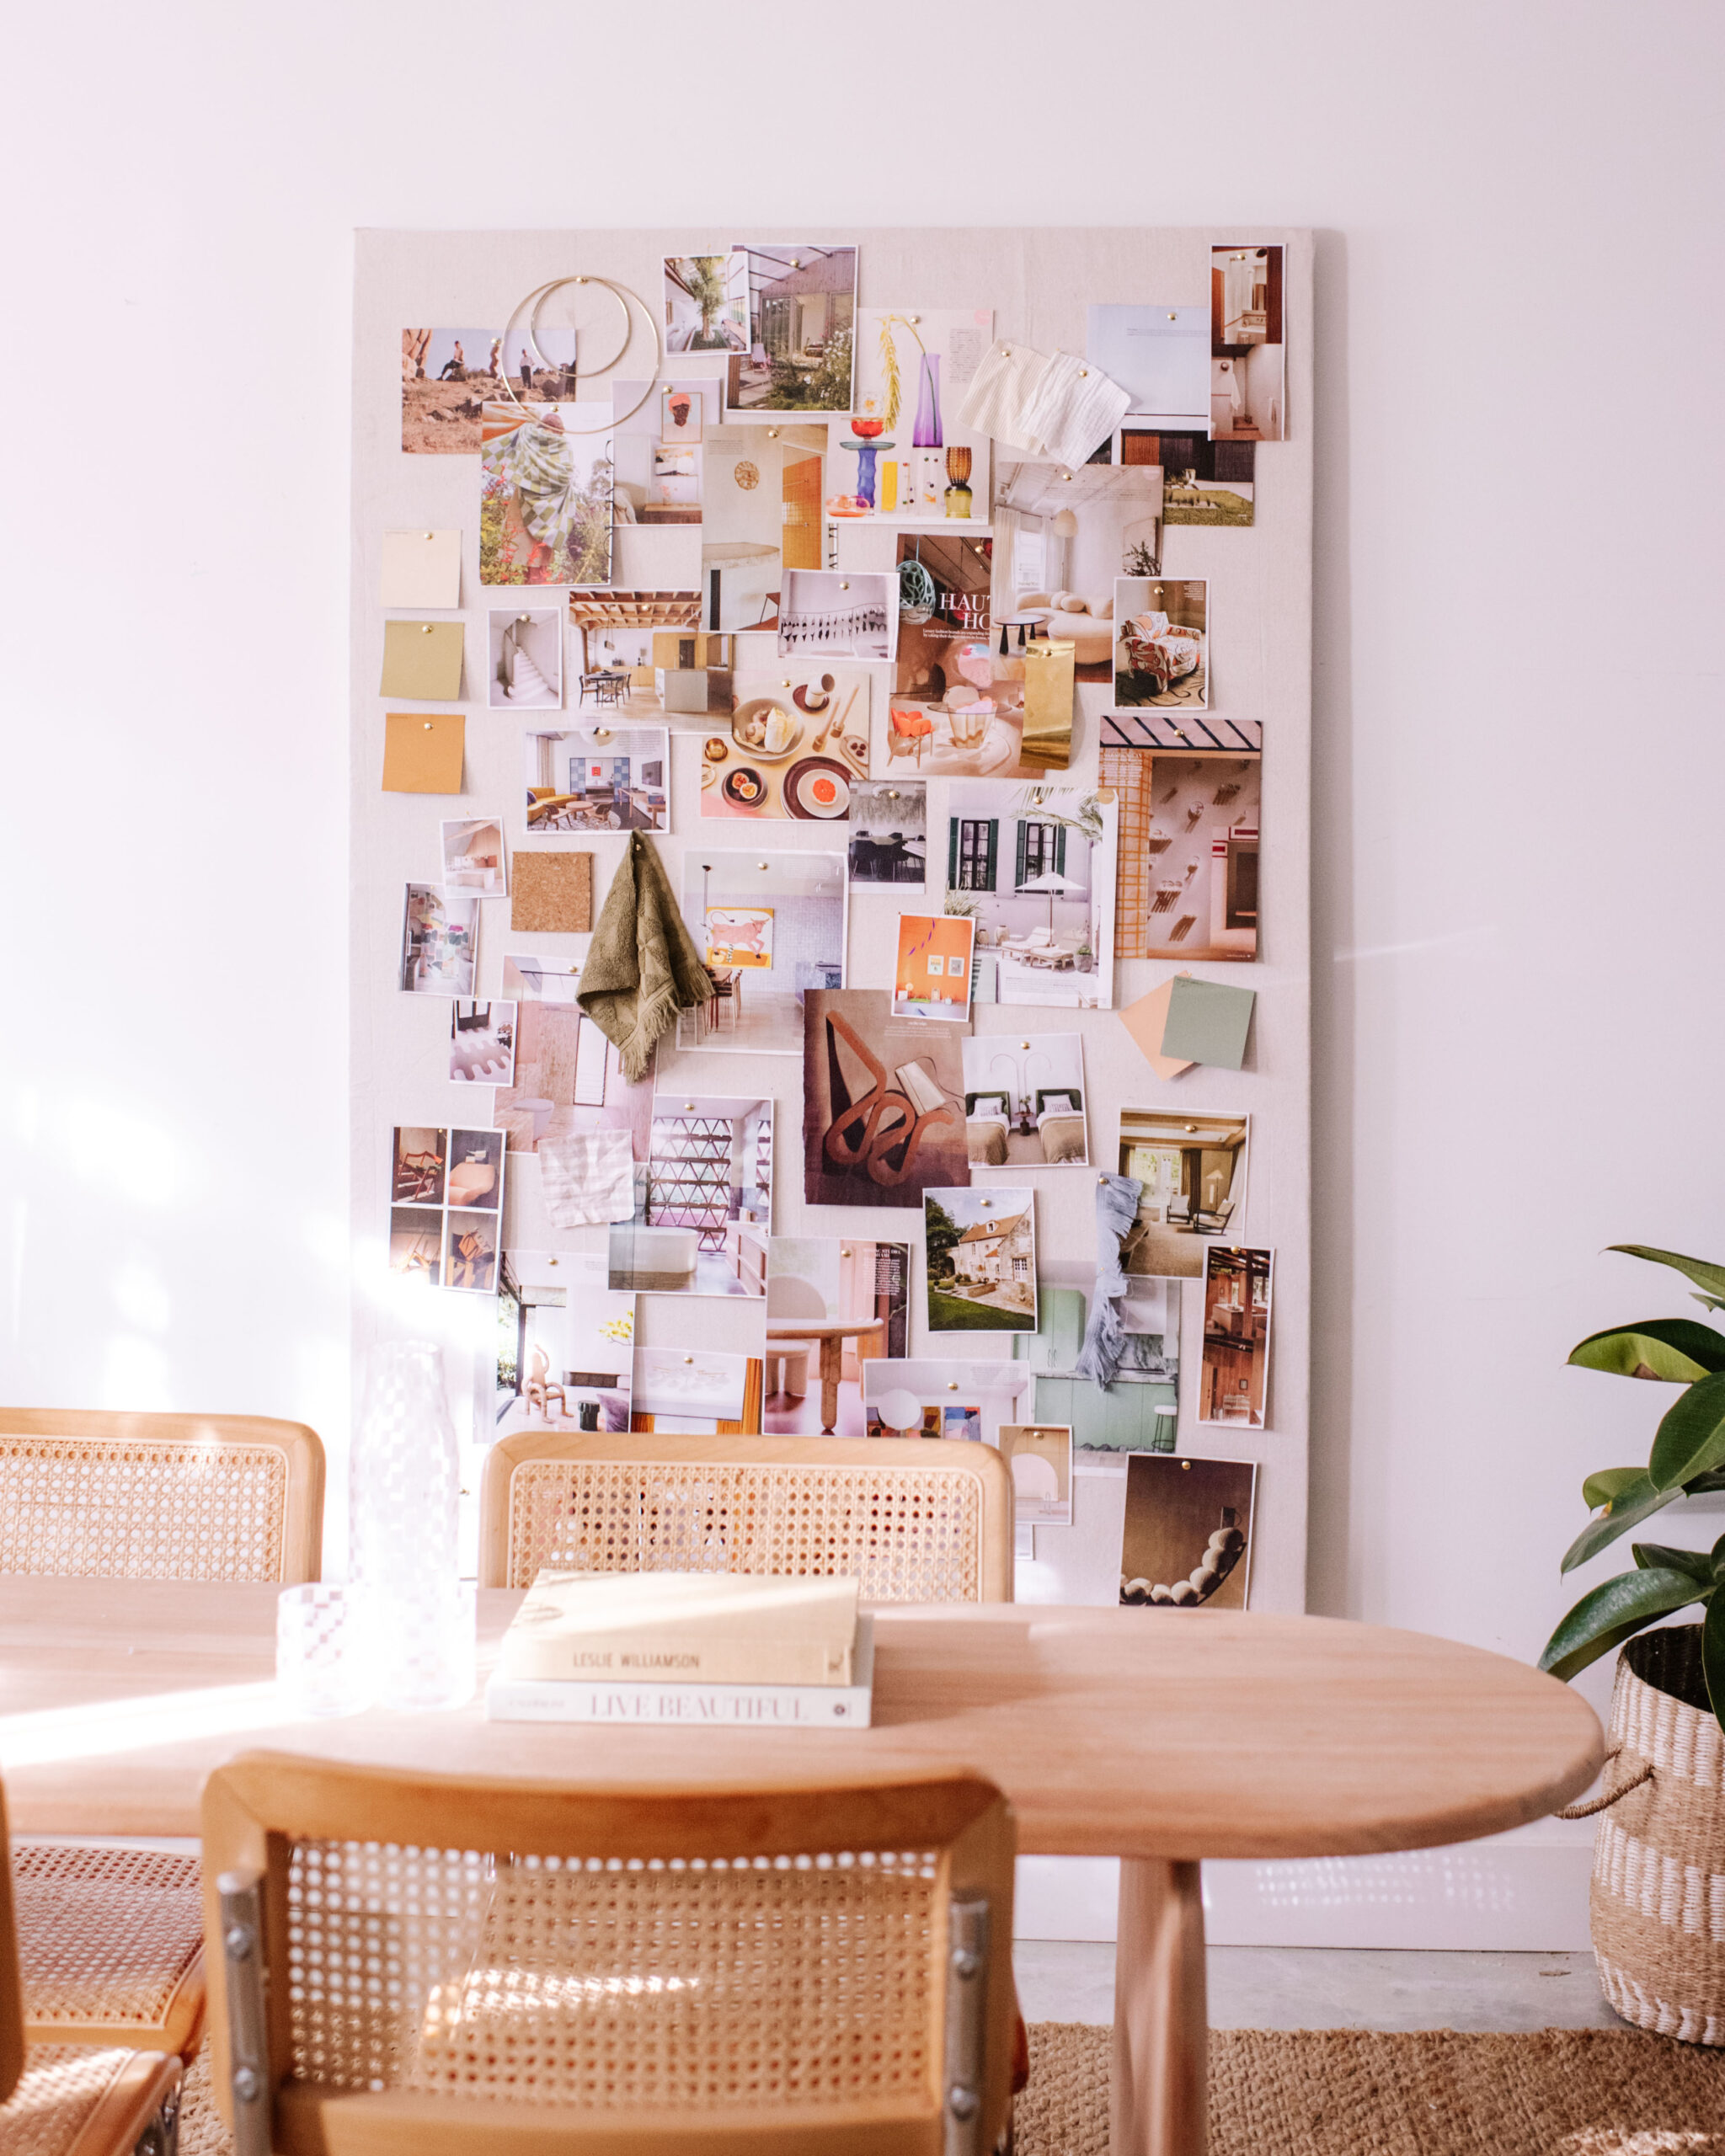
There’s nothing more satisfying than a project that doesn’t take long to do, and (importantly) doesn’t blow the budget! Which is why I’m excited to kick off my new series, ‘$100 DIY which is all about making simple and affordable little projects for your space. Stay tuned over the next few weeks for lots of projects in this series!
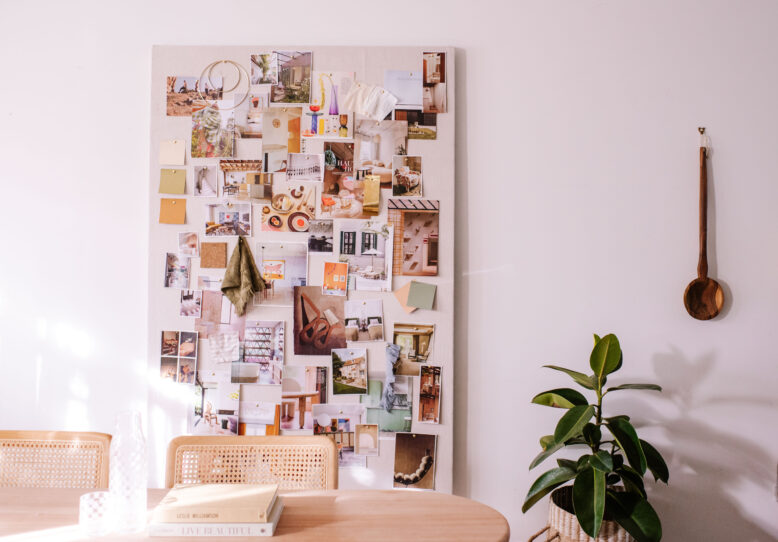
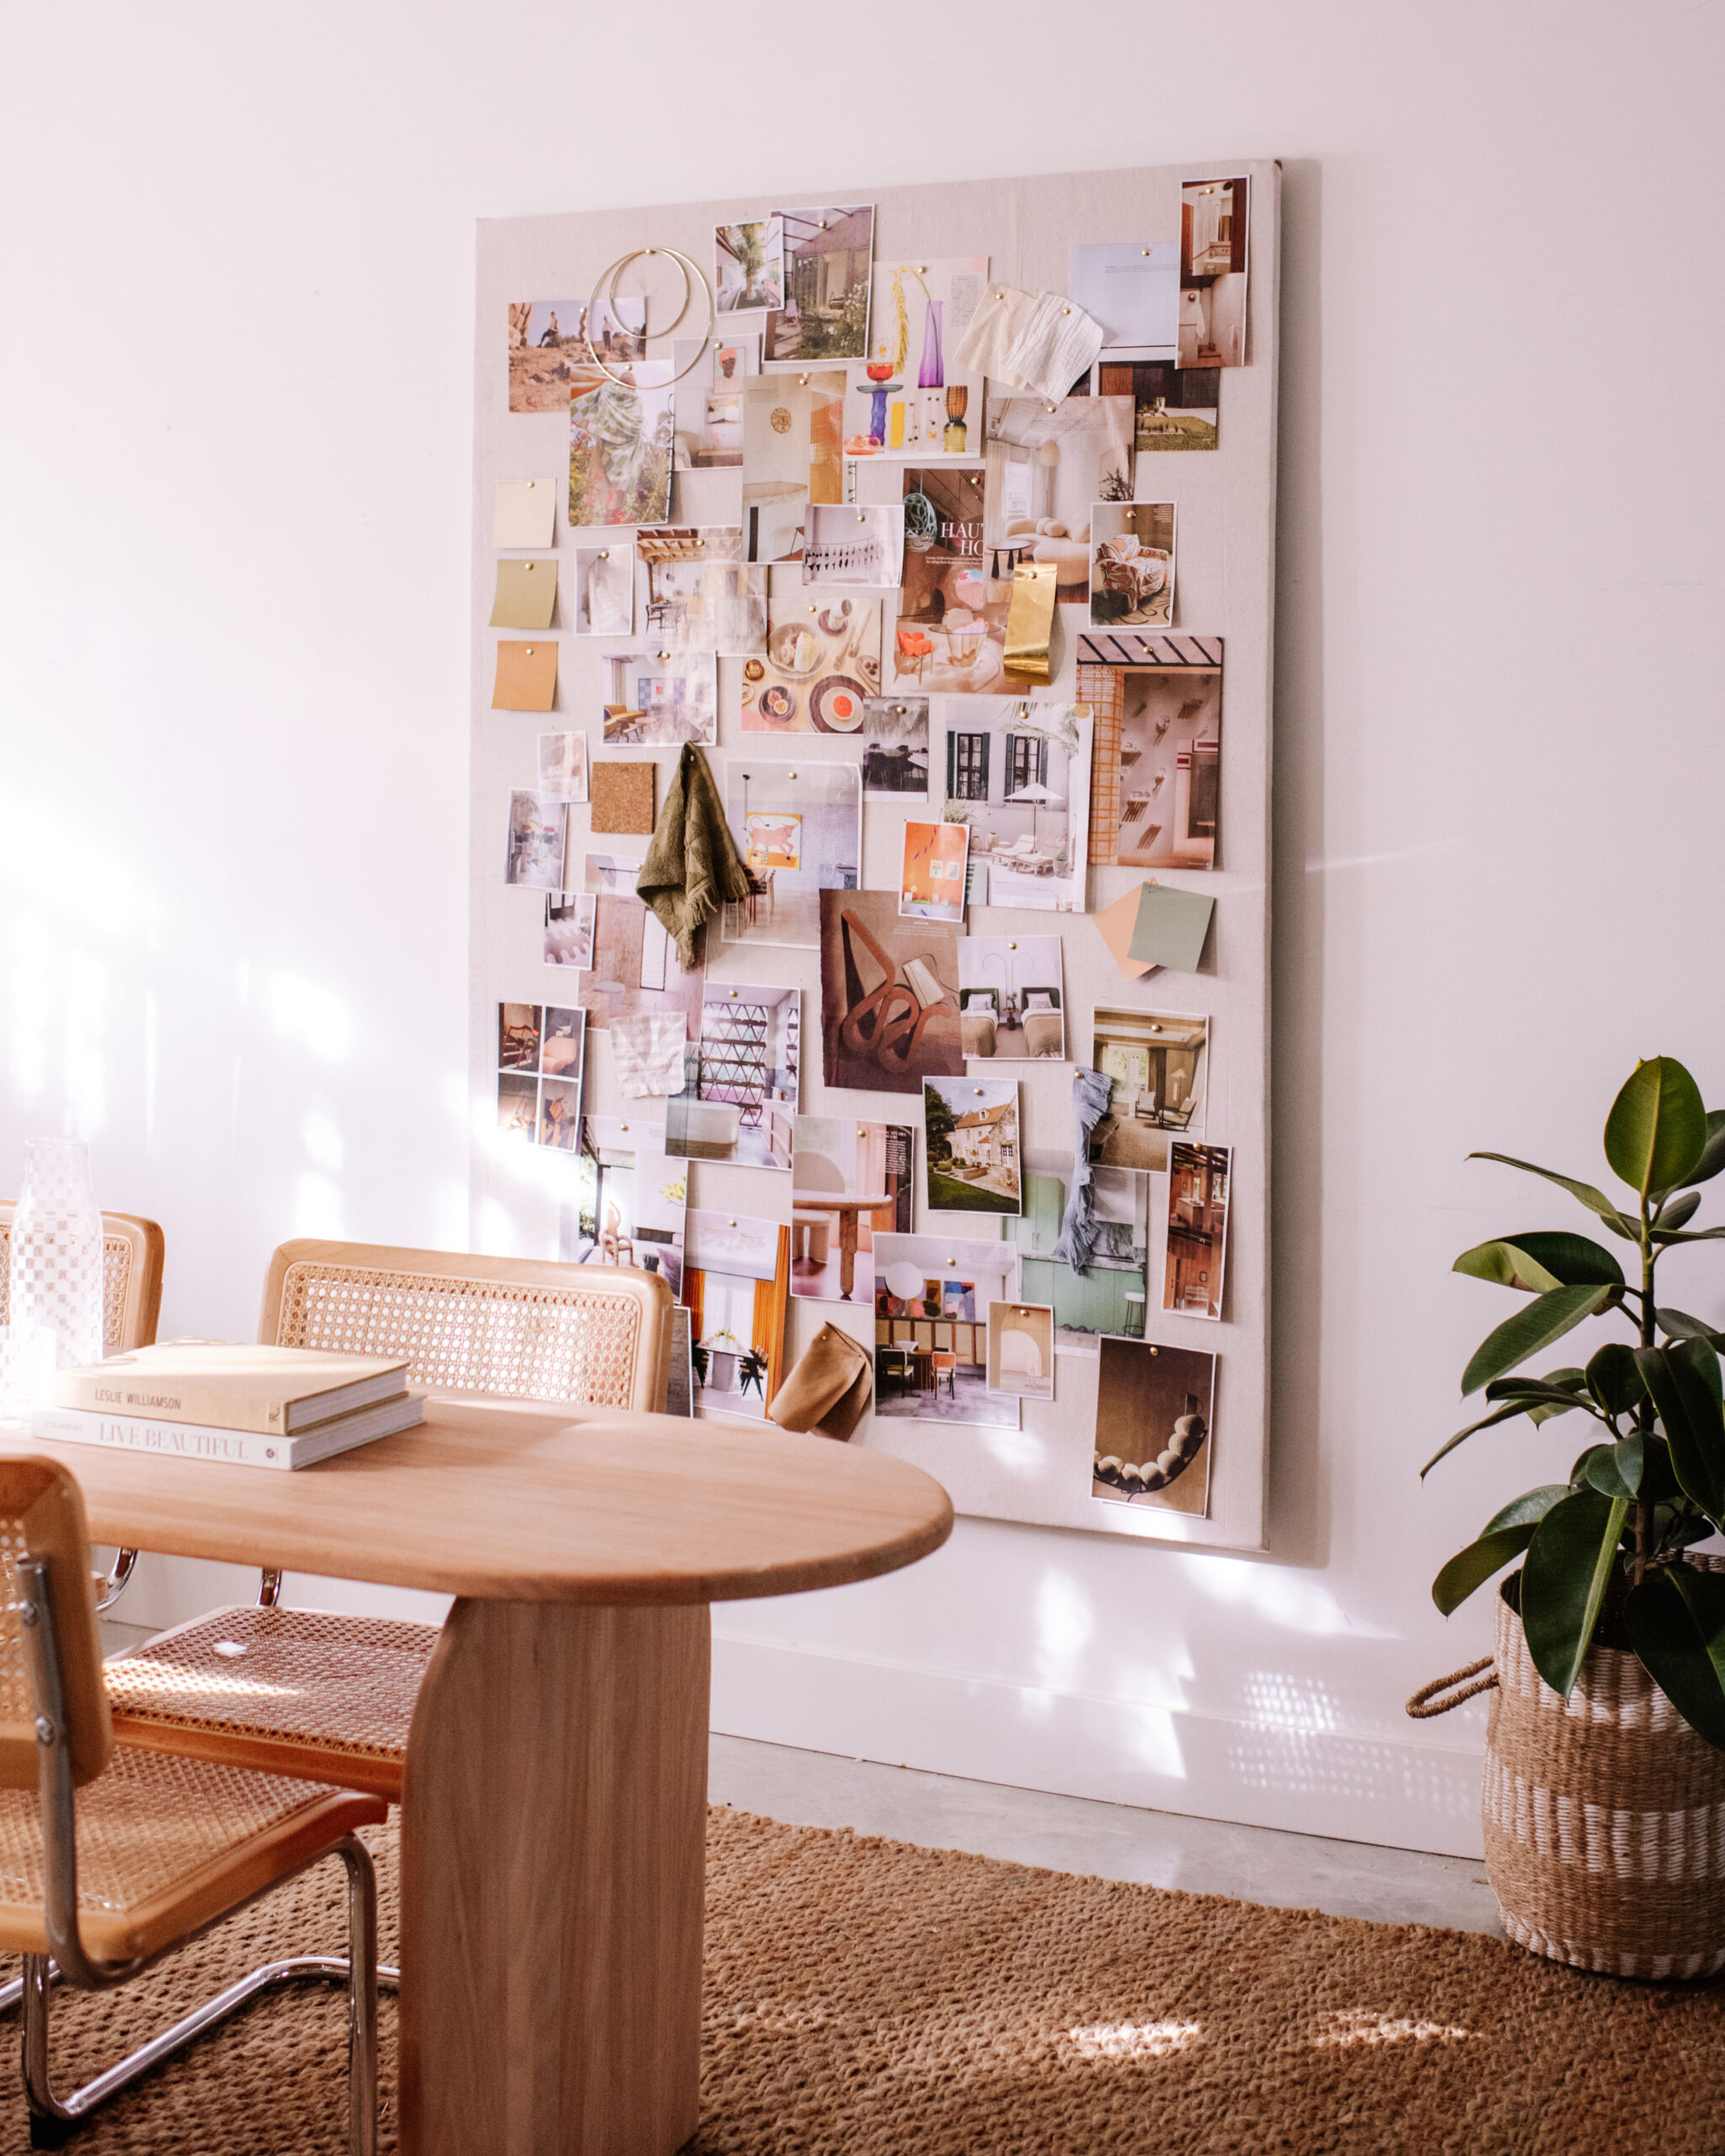
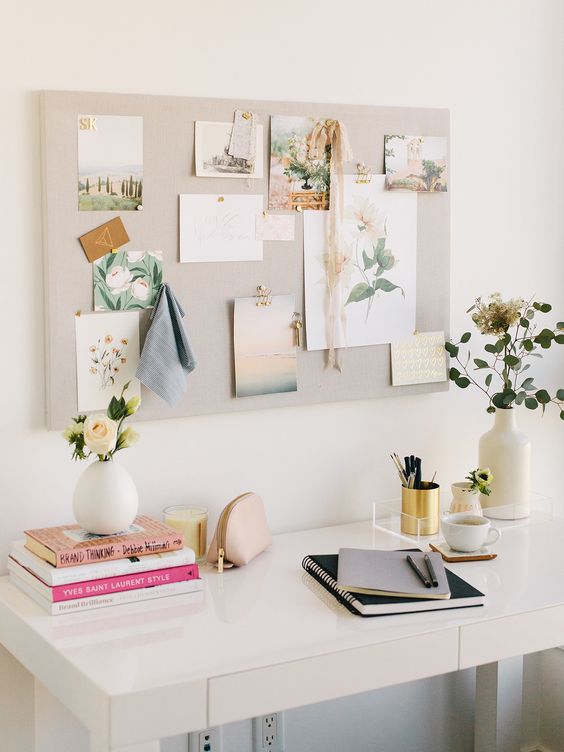
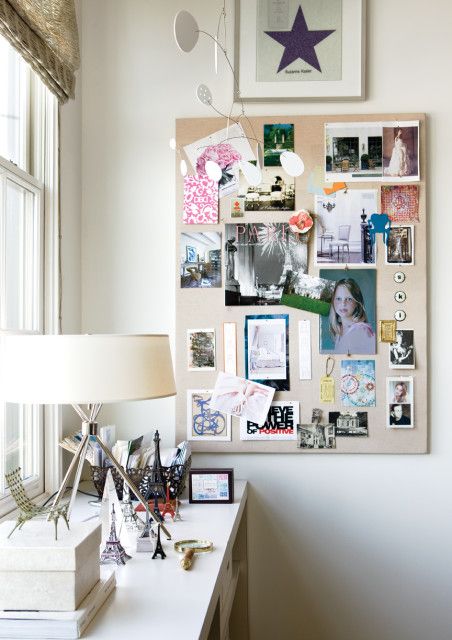
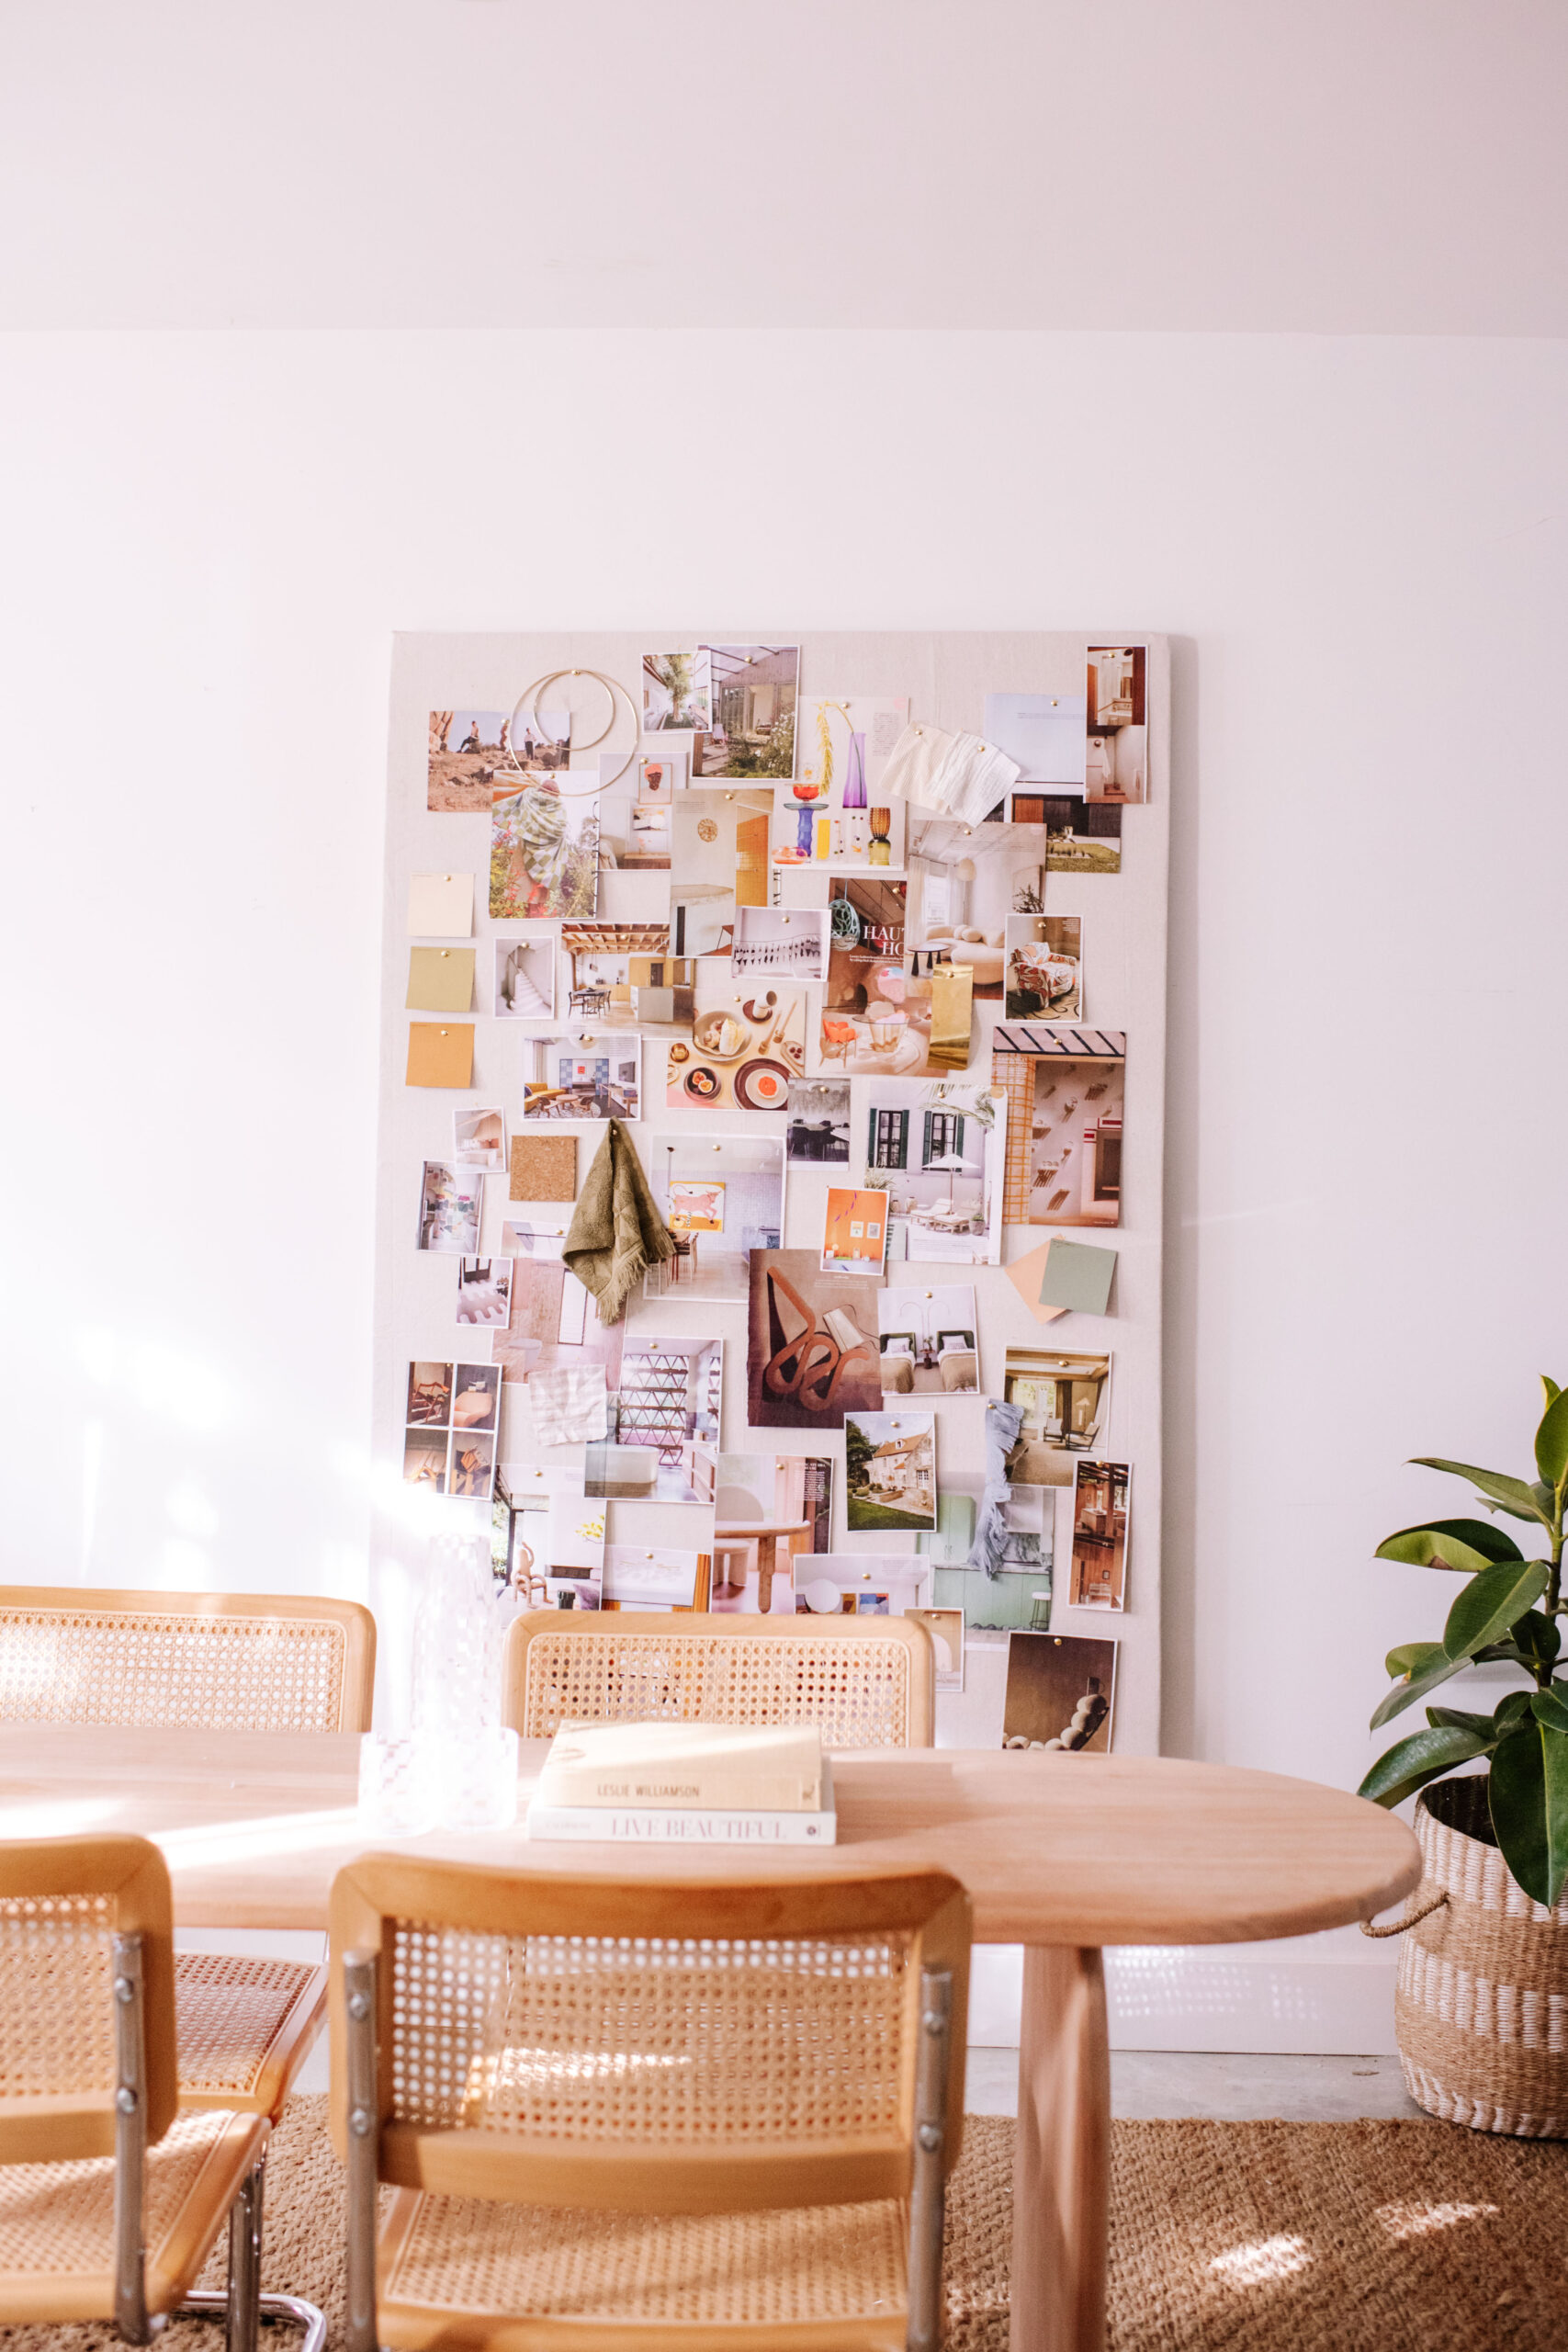
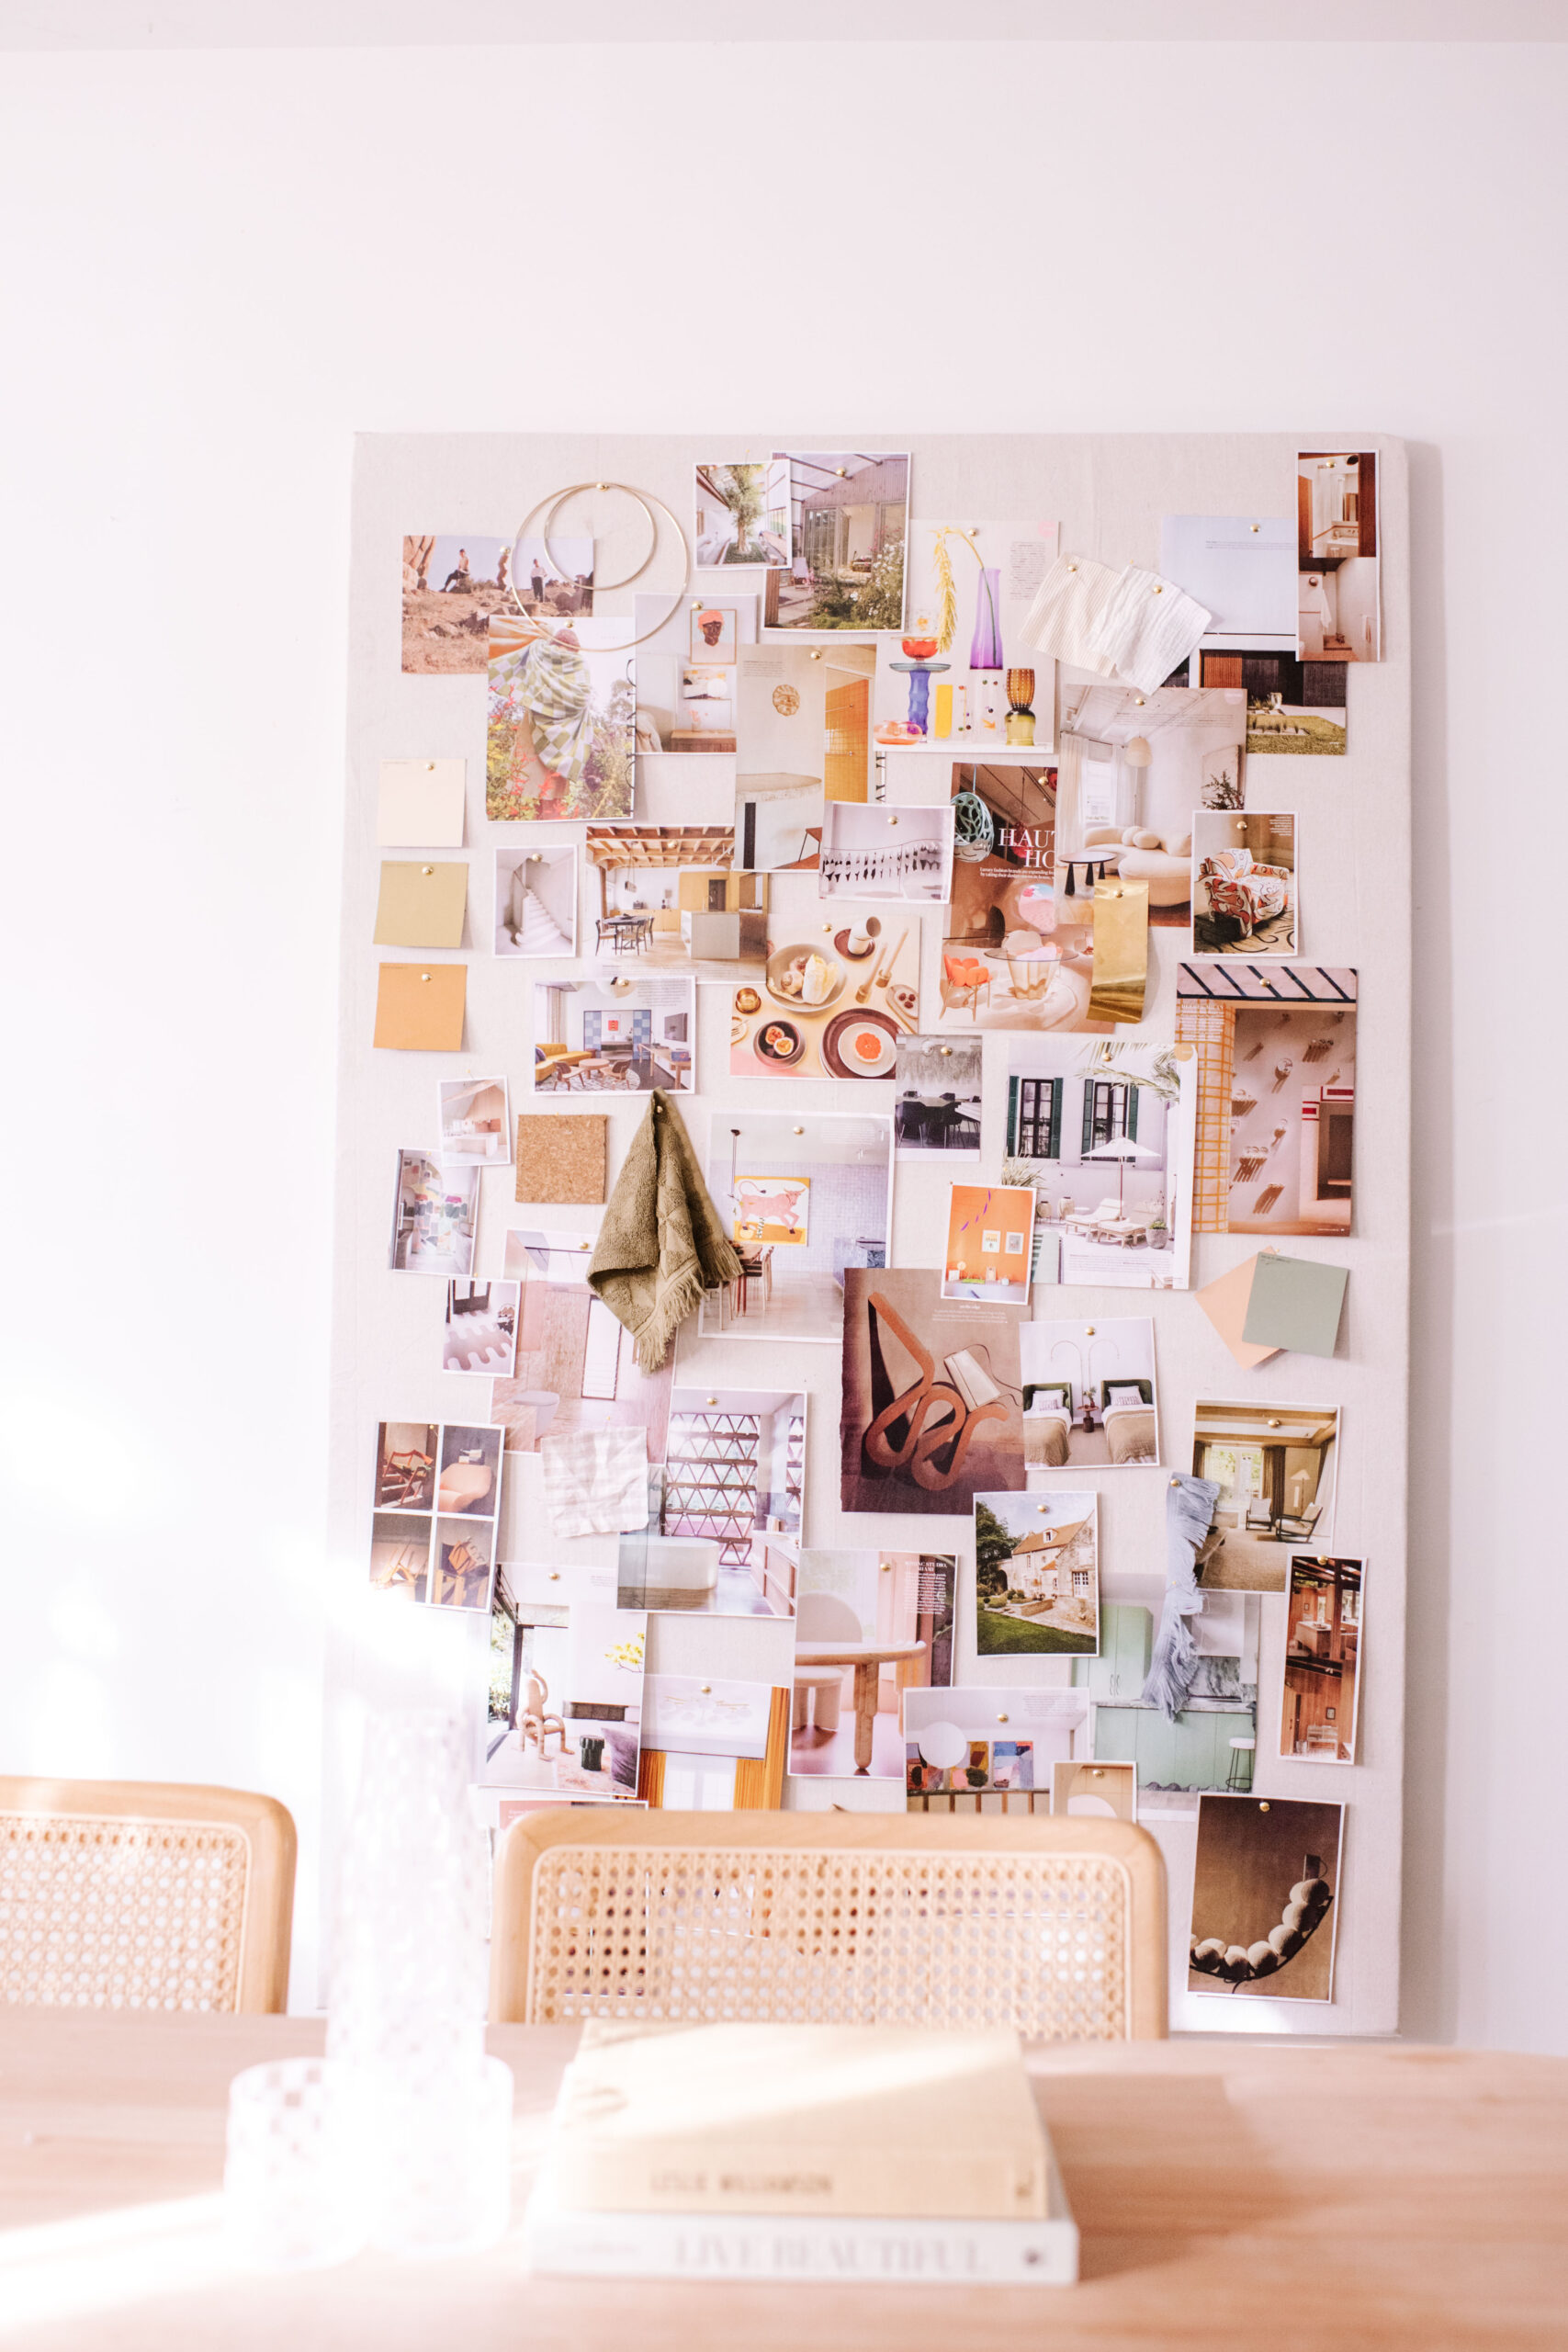
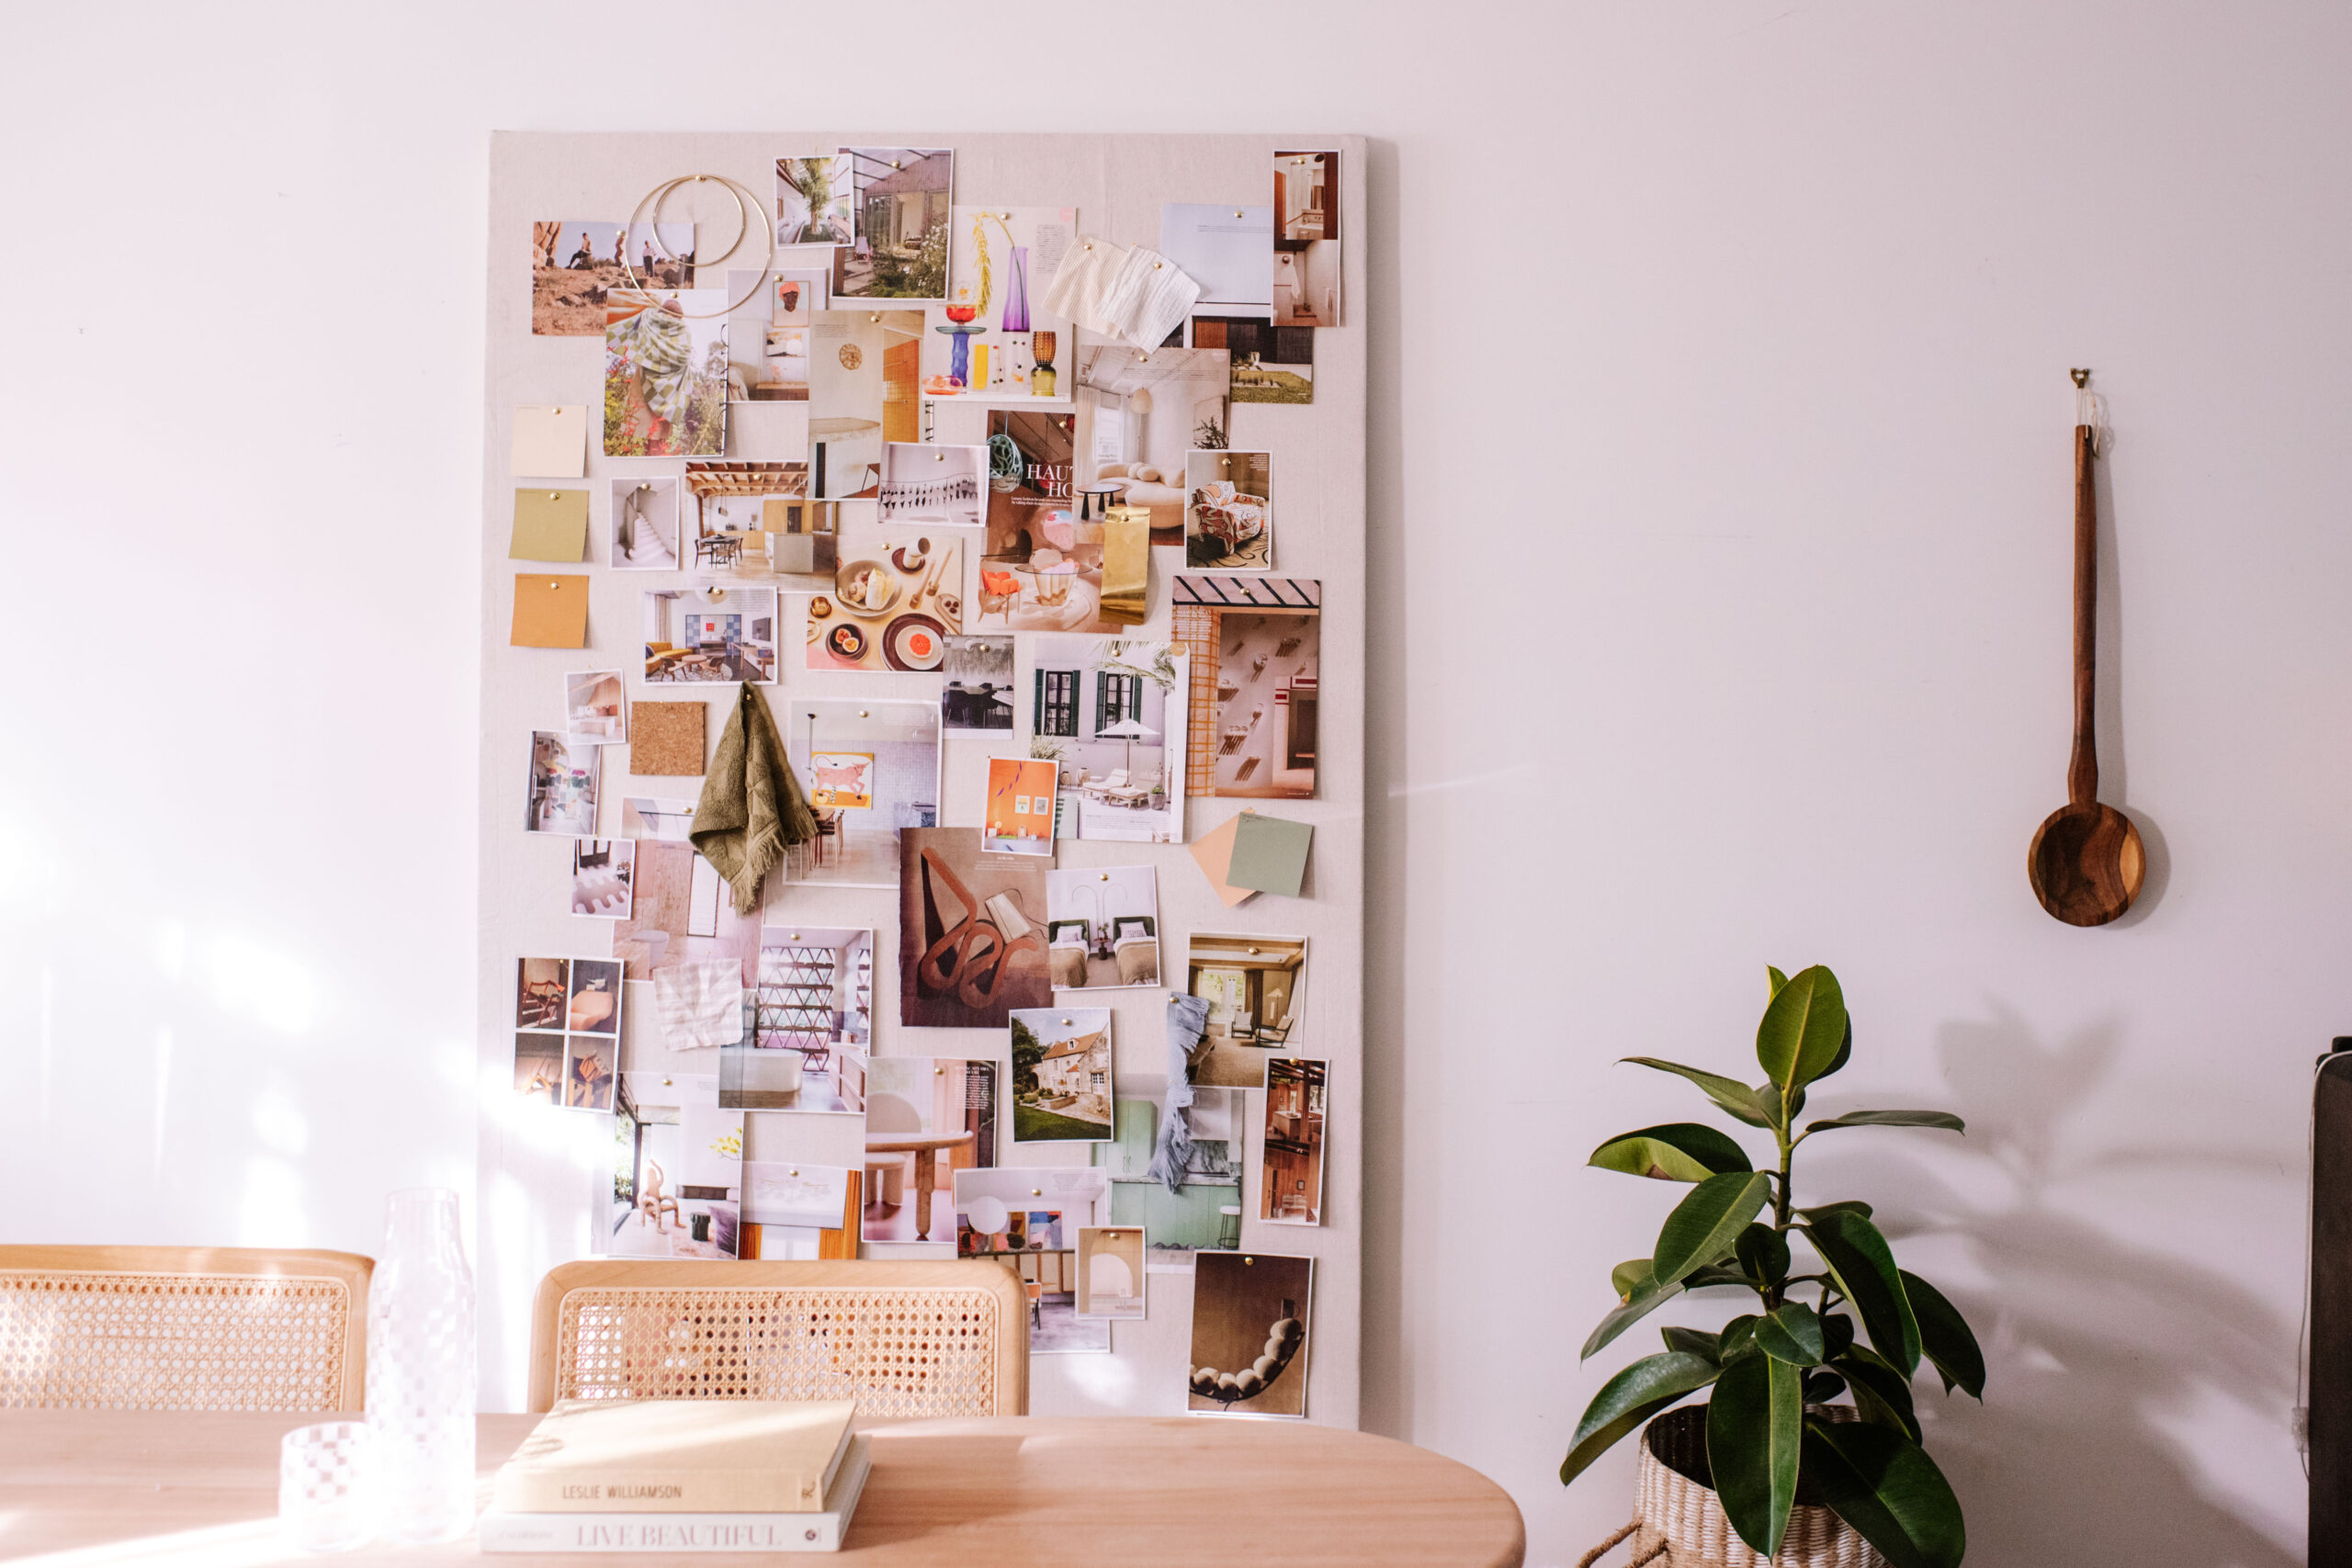
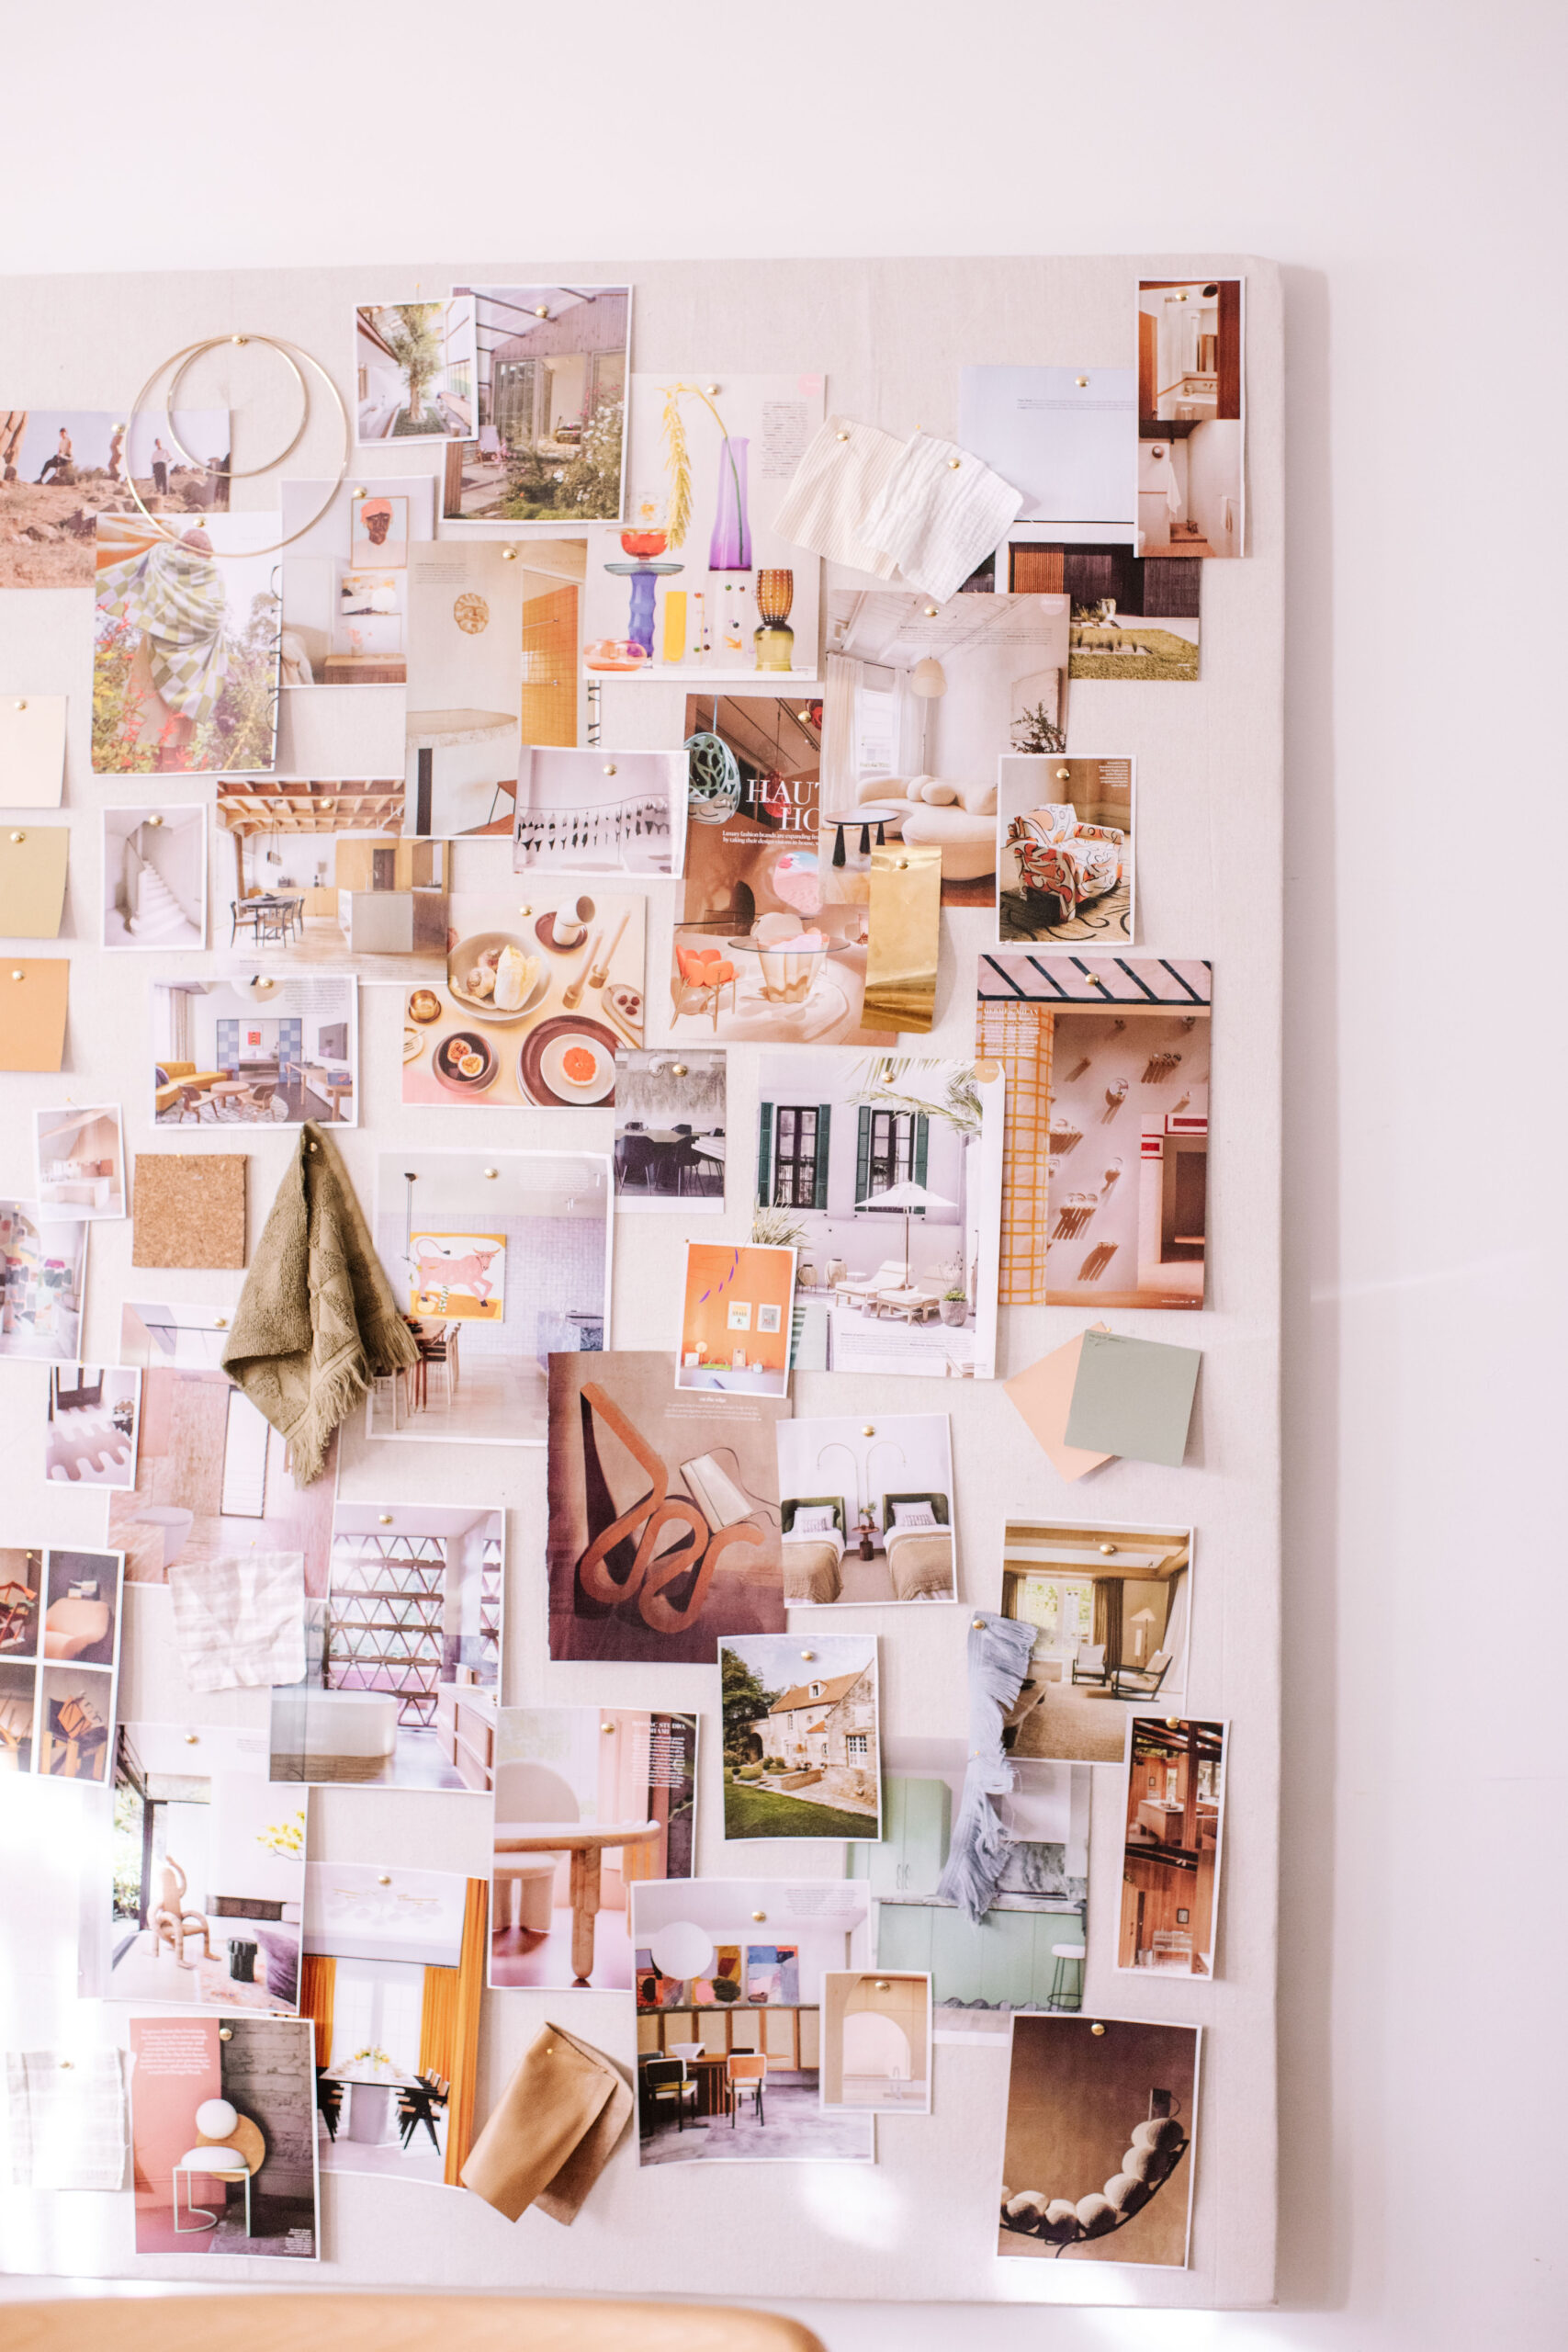
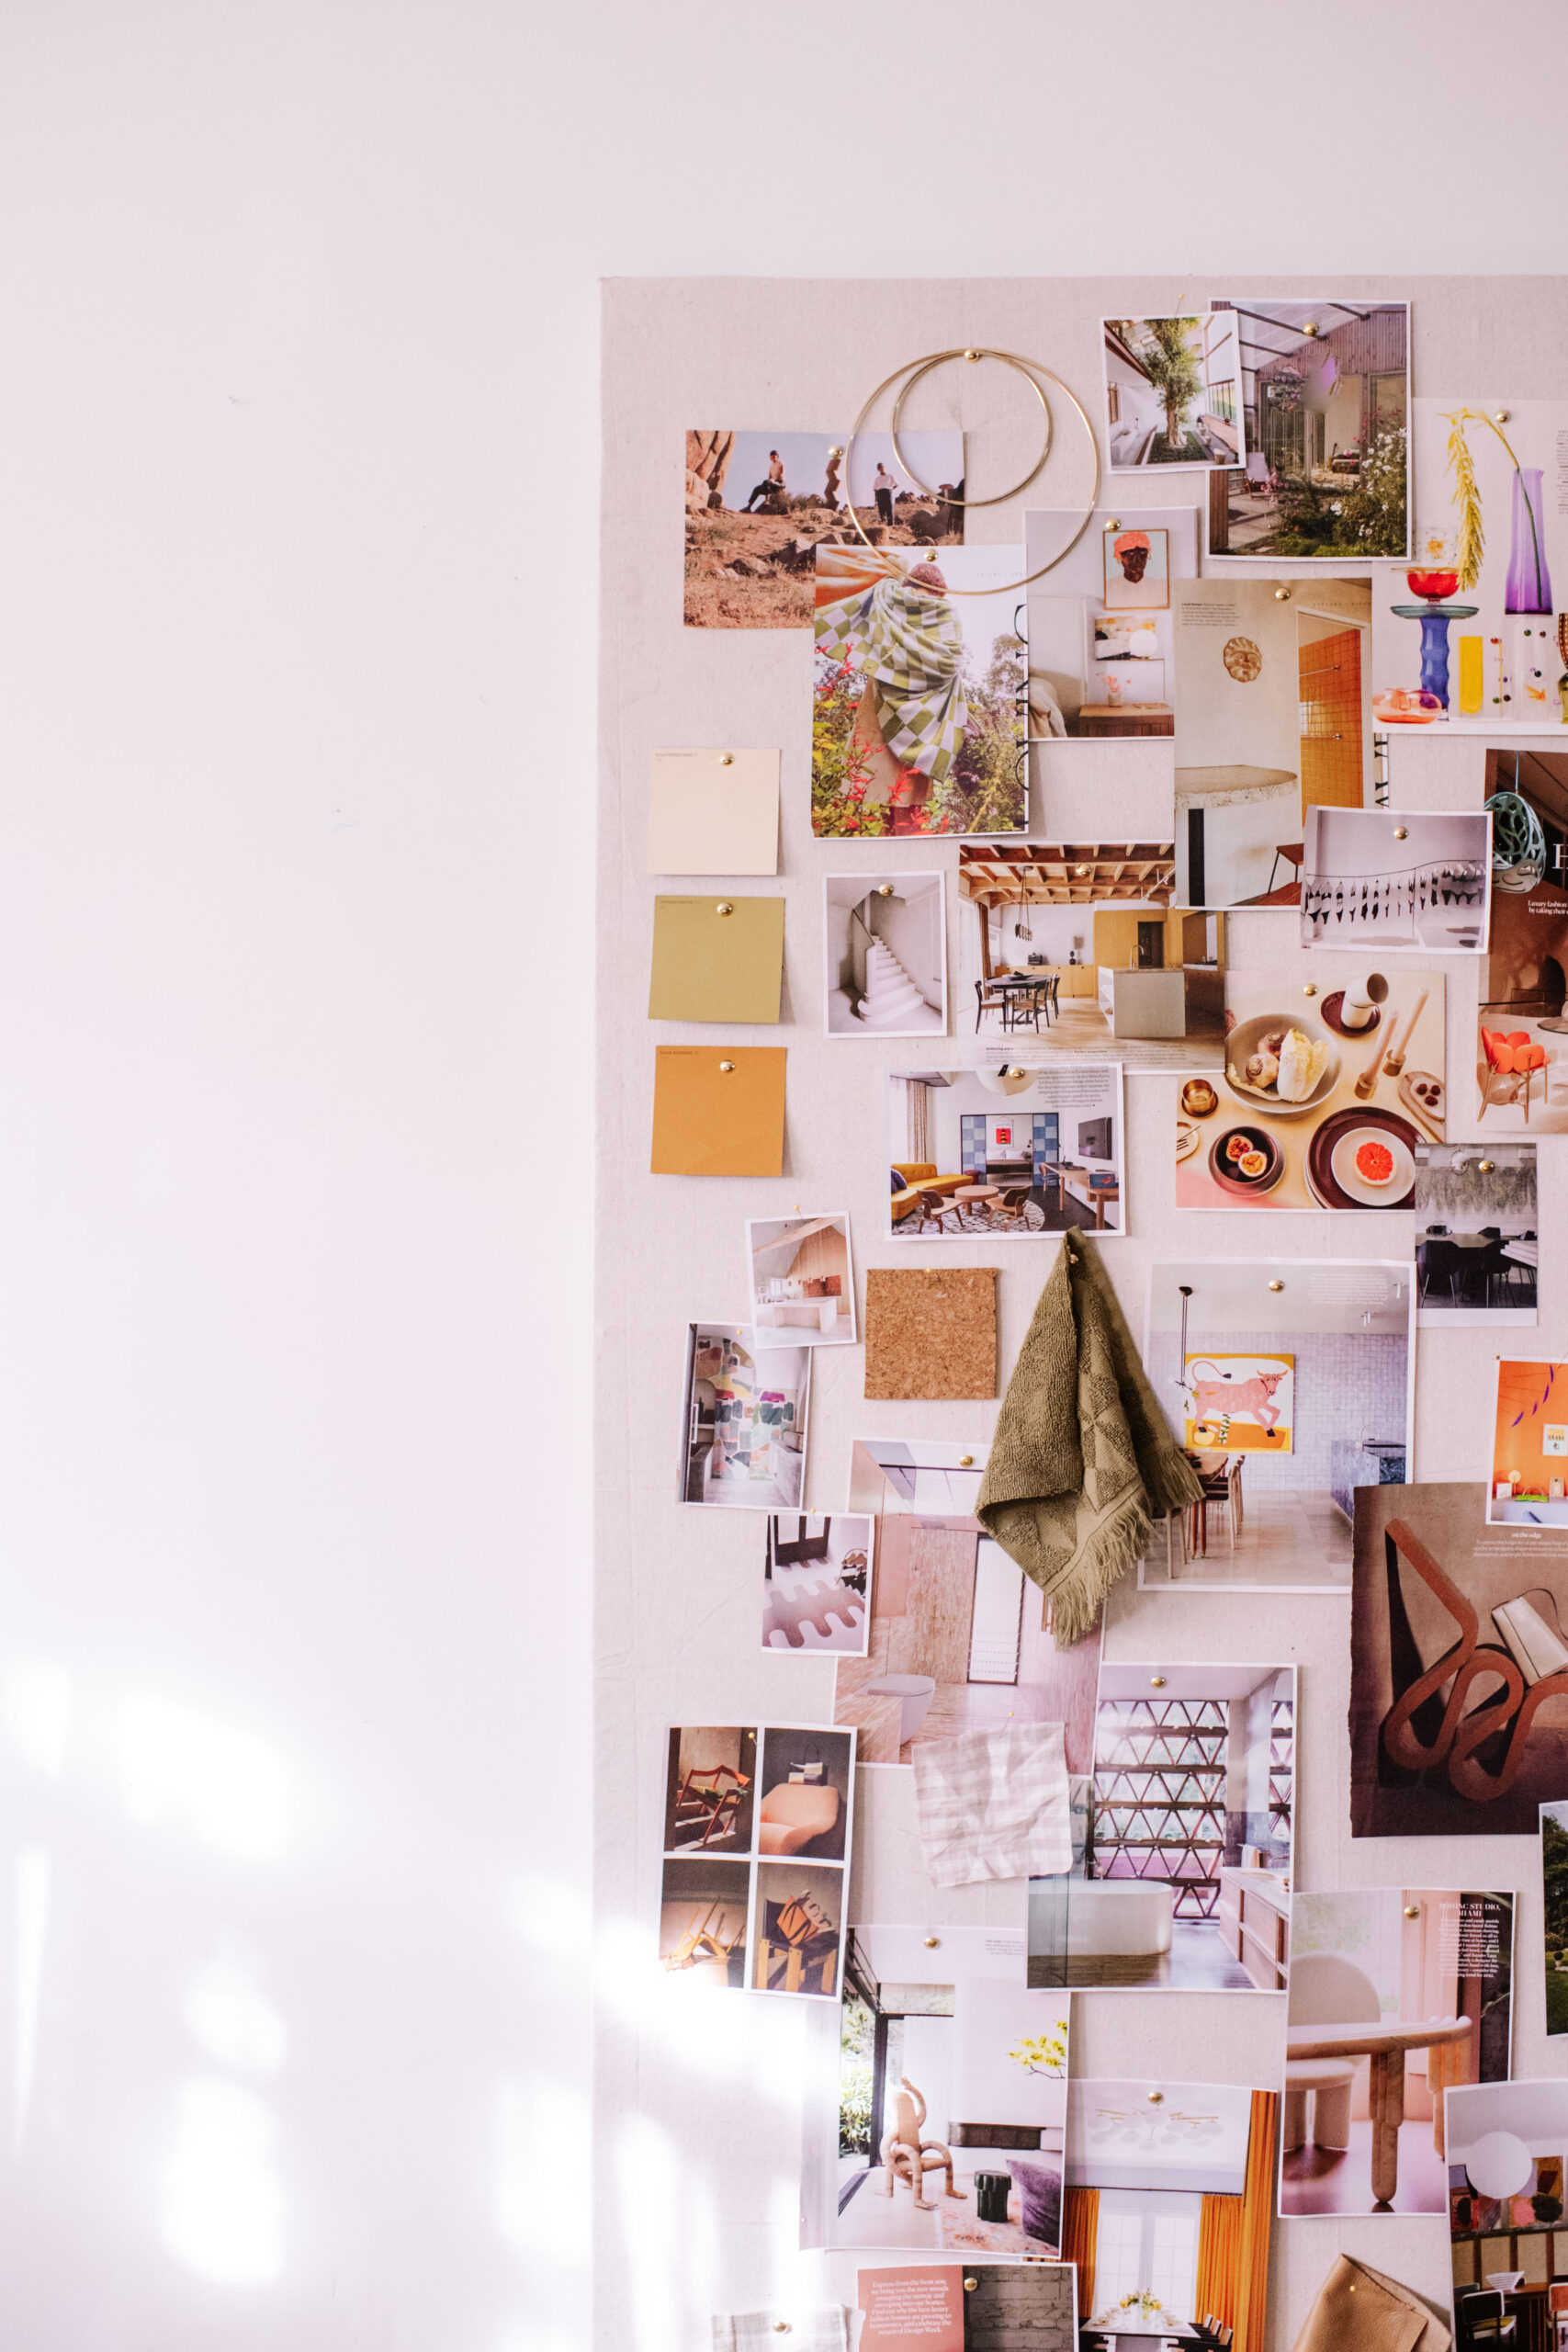
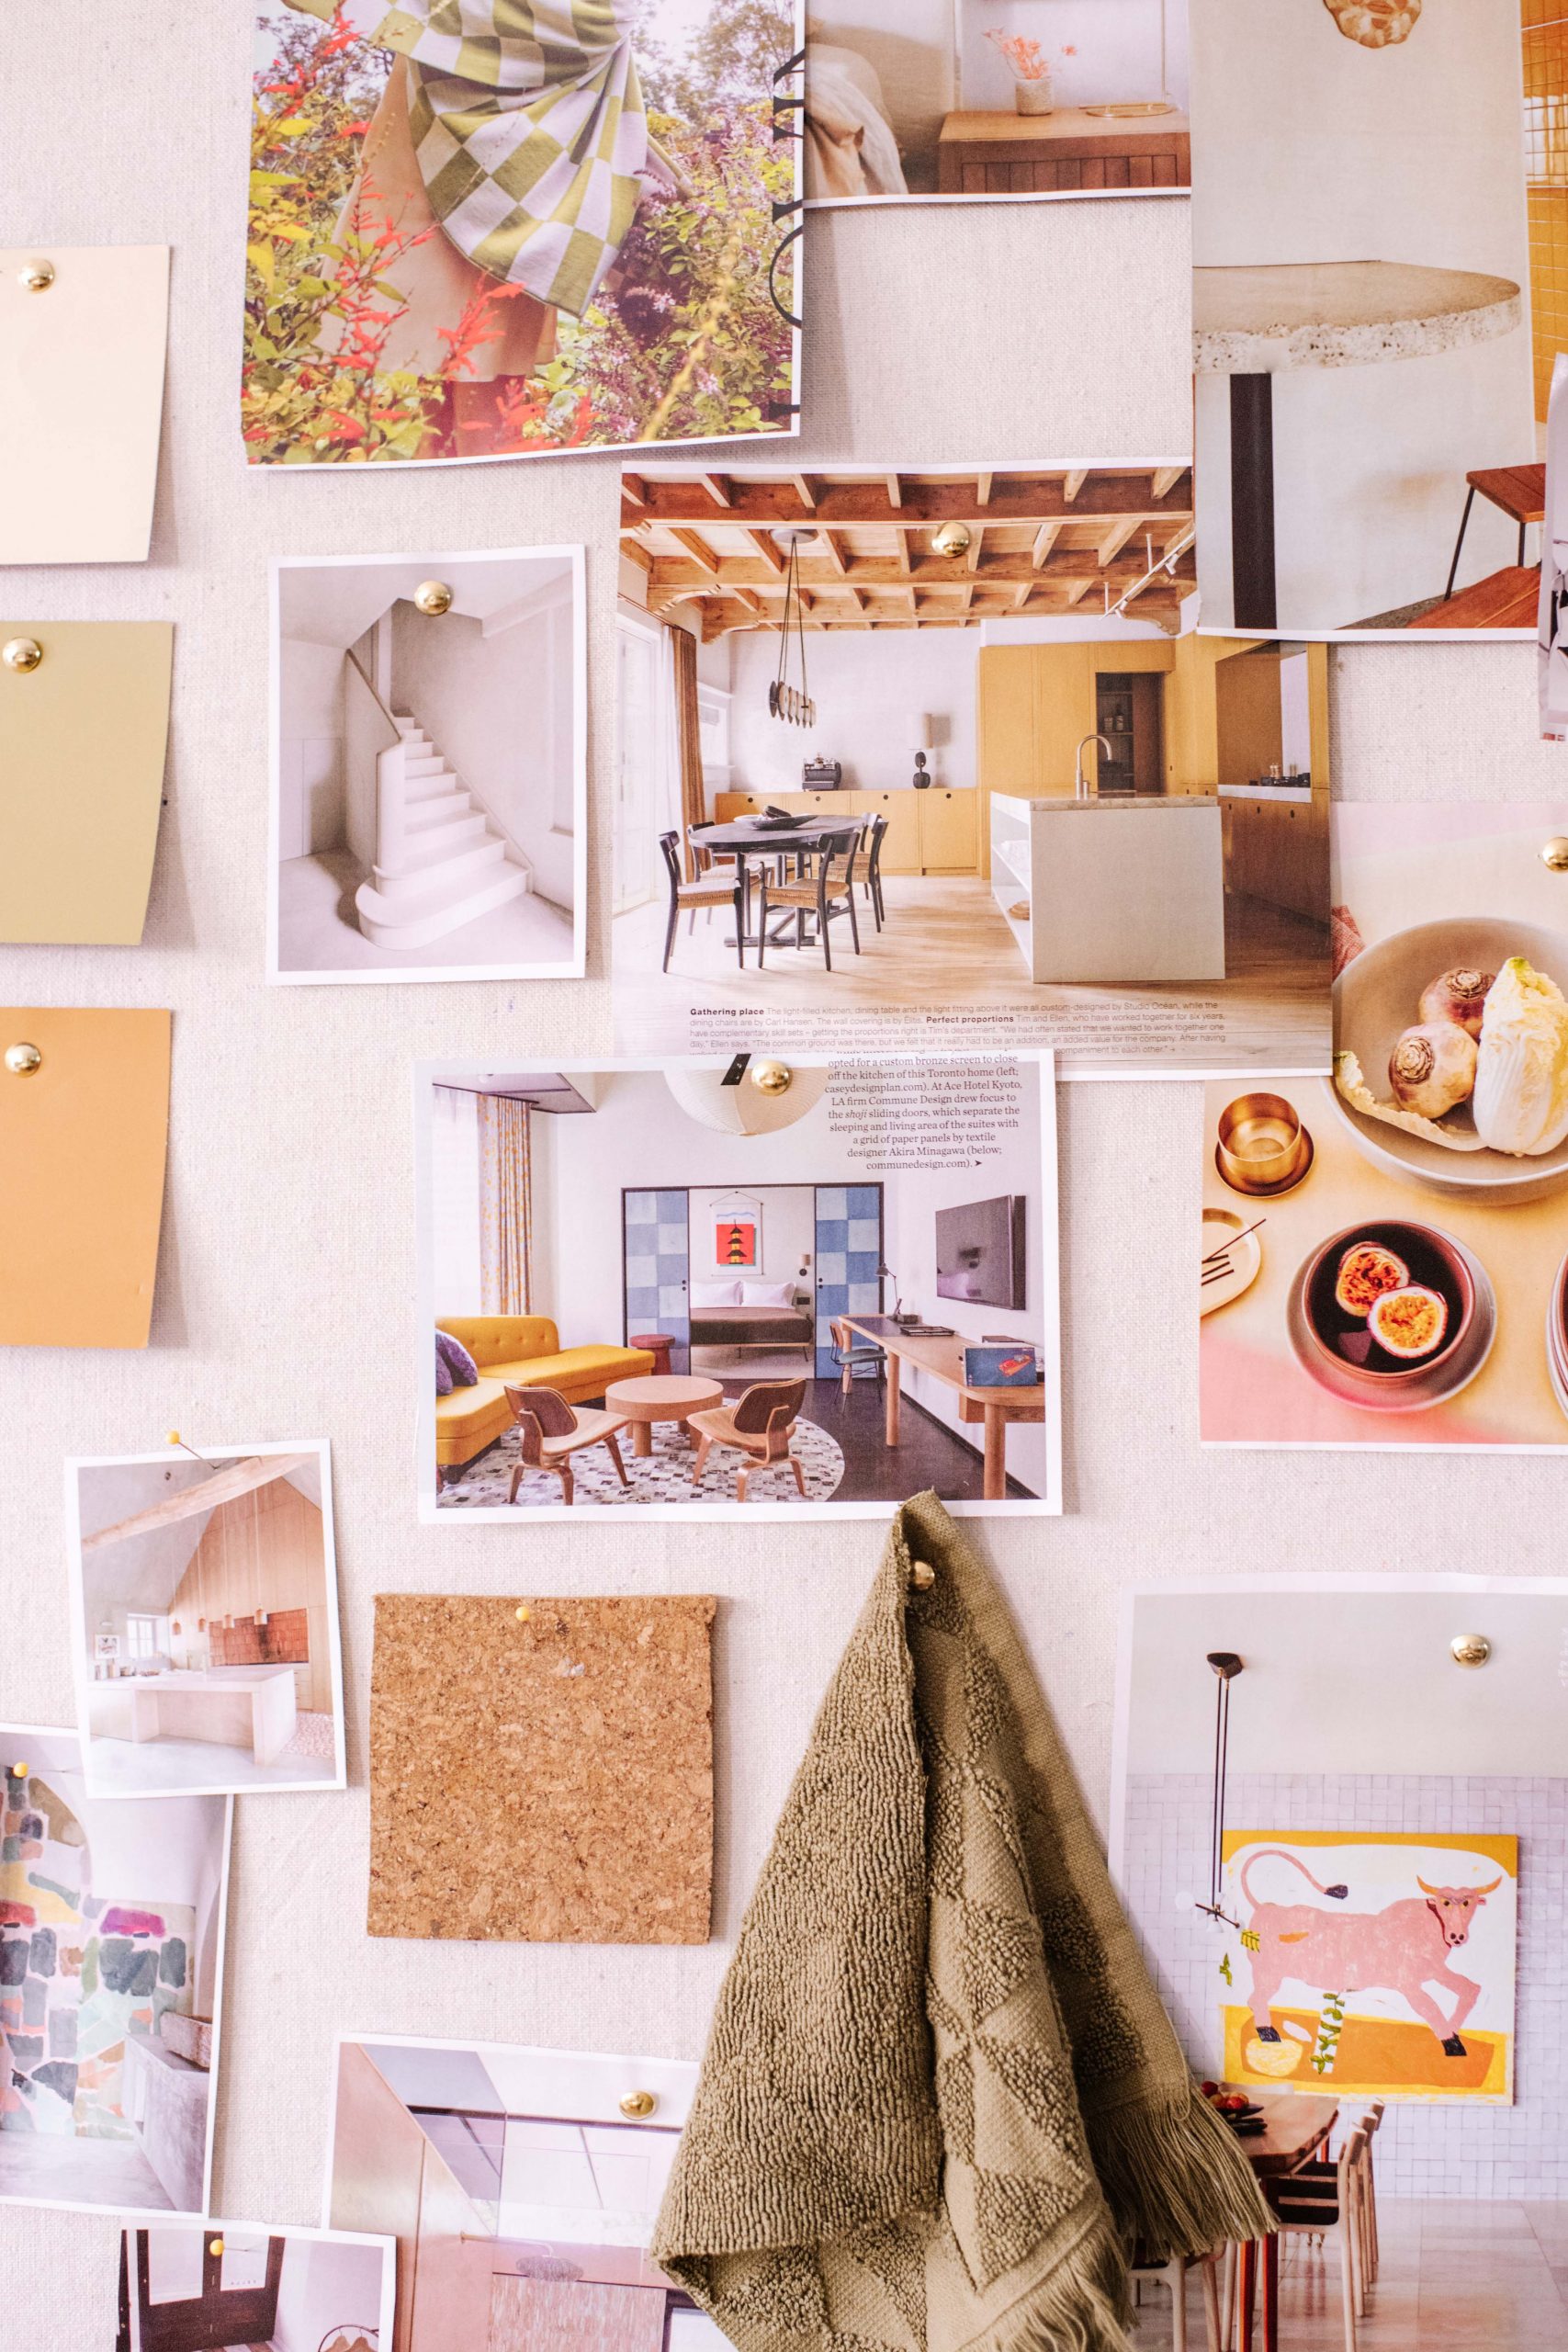
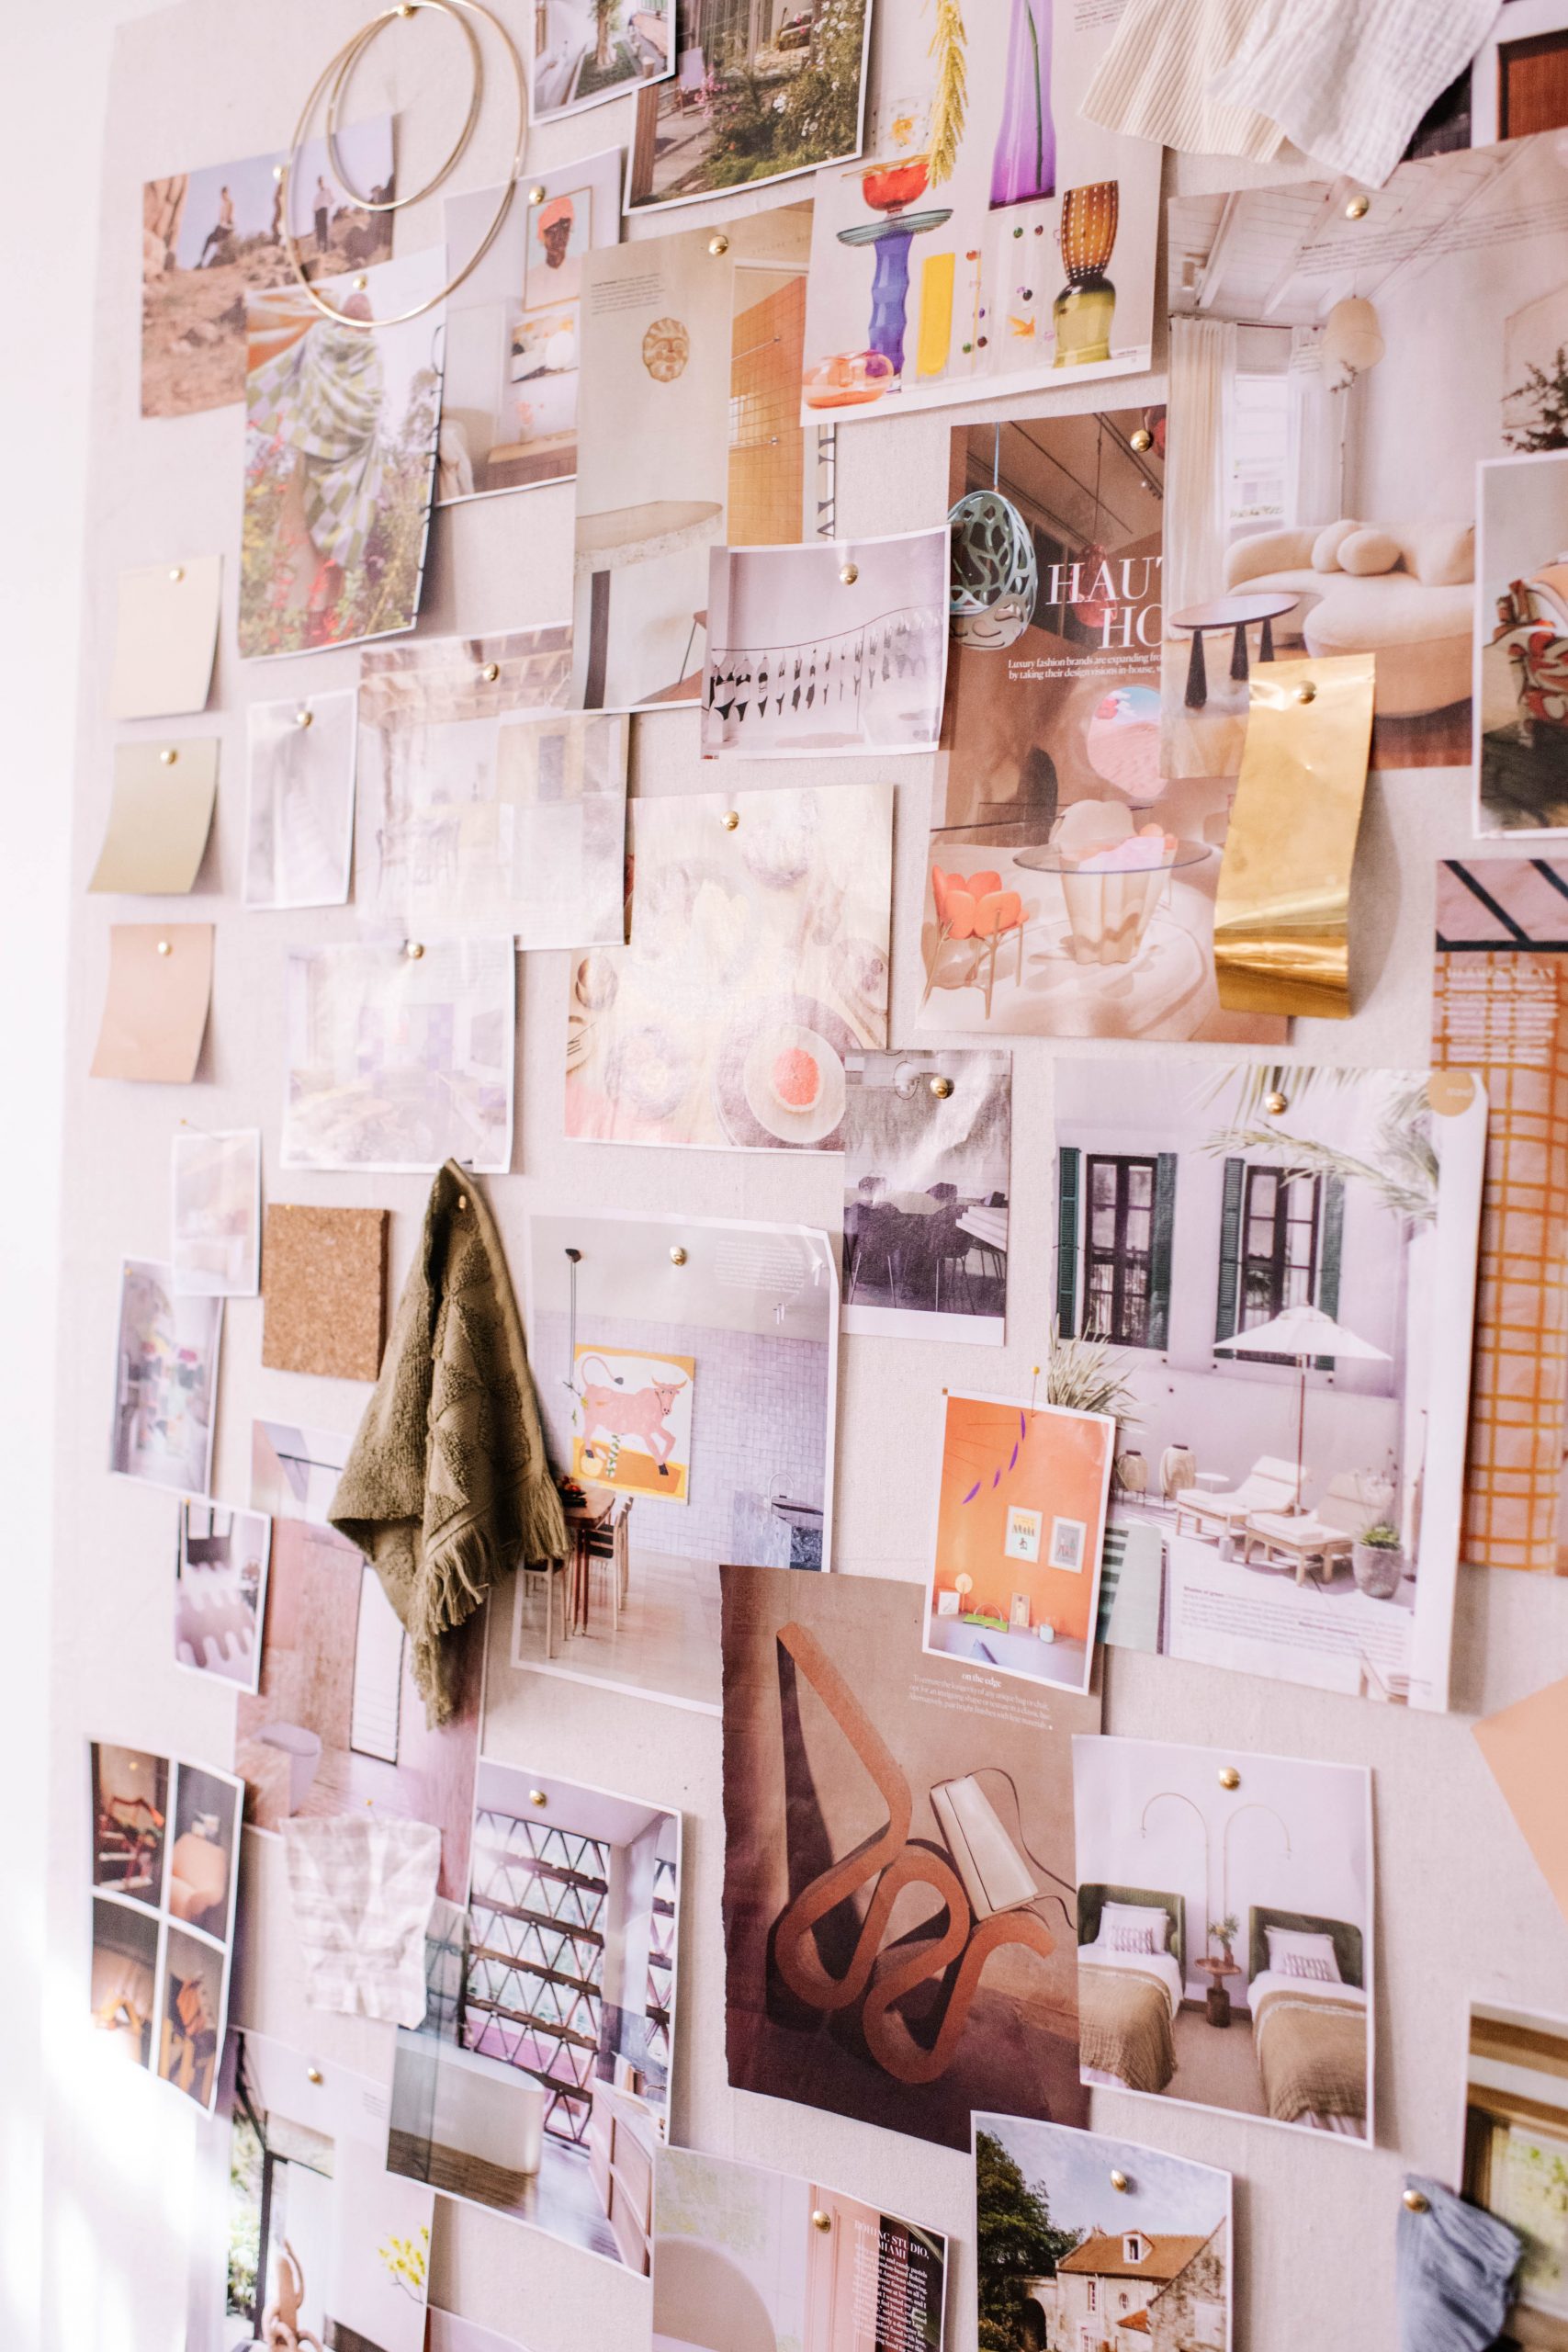
I’ve wanted a pinboard for the studio for ages, and finally worked out how to do it. The thing is, I have A LOT of ideas…So the pinboard had to be a little bigger than your average inspiration board. But honestly, I think the bigger – the better! There are lots of tutorials for this project around the place, but ultimately I wanted something super super easy, that doesn’t cost much. Coming to a total of around $75 (the drop sheets come in a pack of 3 so you can use the others for something else) this project just makes me so happy. Read on for how to do it yourself.
inspo
Materials You’ll Need:
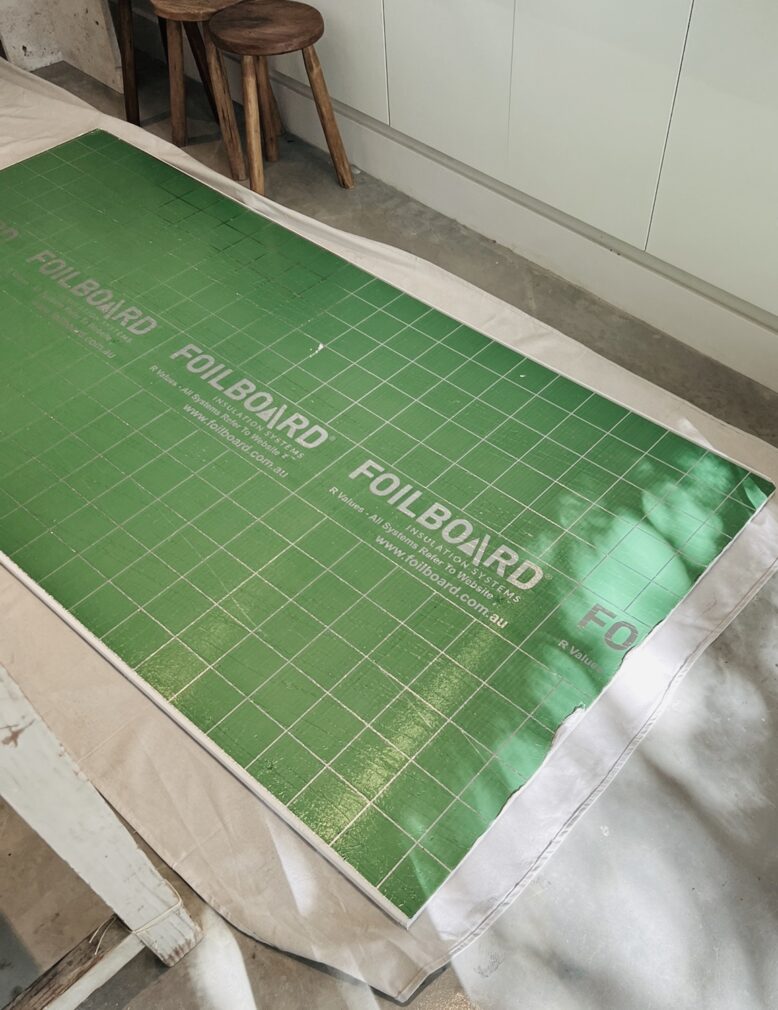
- Foilboard
- 1 x canvas drop sheet (this pack comes with 3 so you can save the rest and use later!)
- Cloth Tape
- Scissors
- Staple gun and staples (optional)
- Thumbtacks
How To Make A Giant Inspiration Pin Board
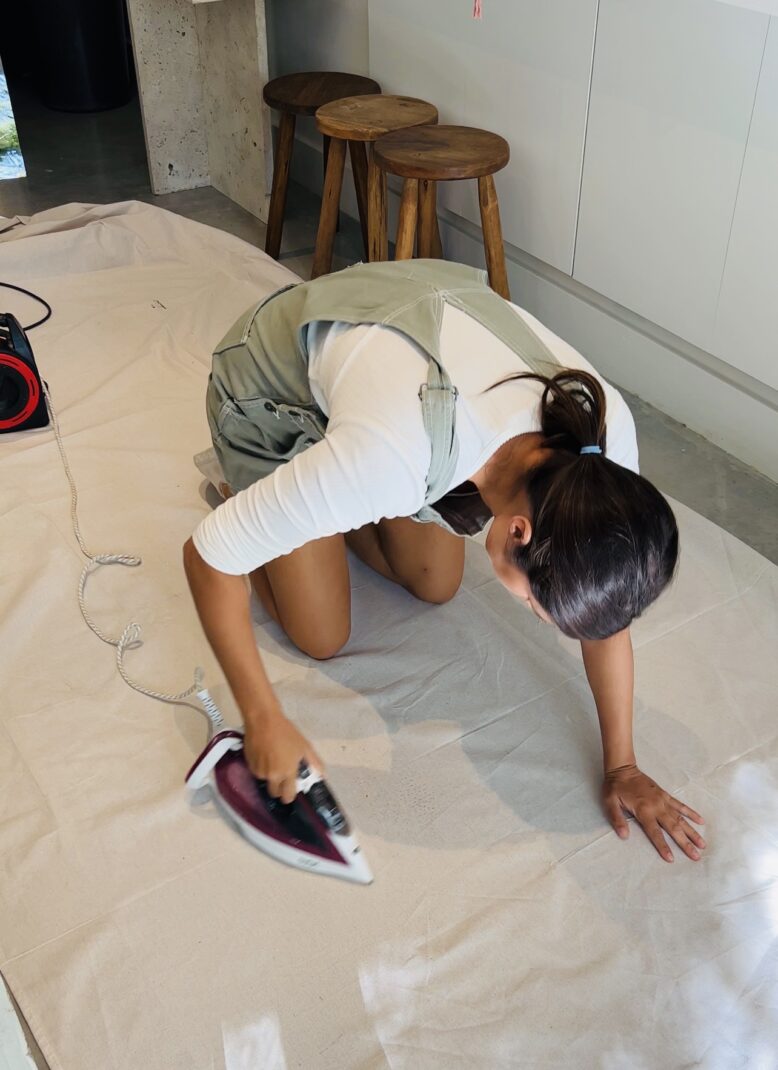
- After I held this board up to the wall, I realised it was a bit too big so I cut some off (to make a mini one). I then ironed the drop sheet really well to remove any lines in the fabric.
- I then lay the drop sheet down and placed the foilboard on top of it.
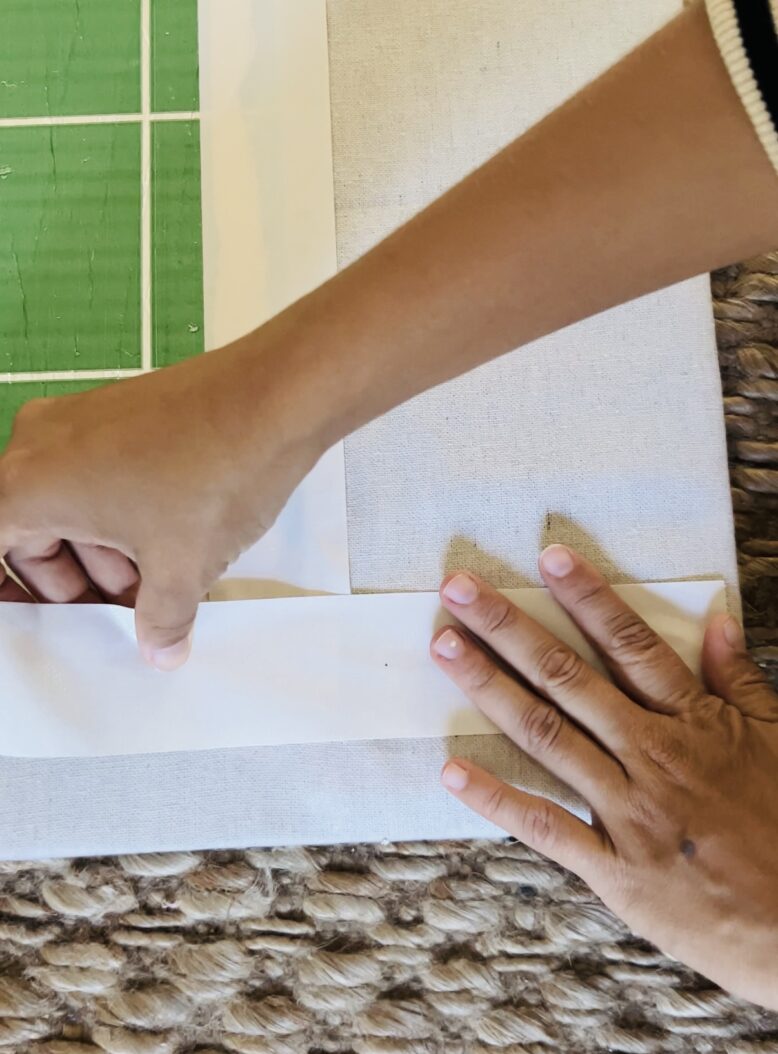
- To secure the drop sheet onto the board I folded the drop sheet over and used cloth tape to secure it. It’s similar to upholstering so you want to pull tightly and make sure that it’s secured well, at first I actually tried using staples to do this but they just came out of the foam so tape was the best option.
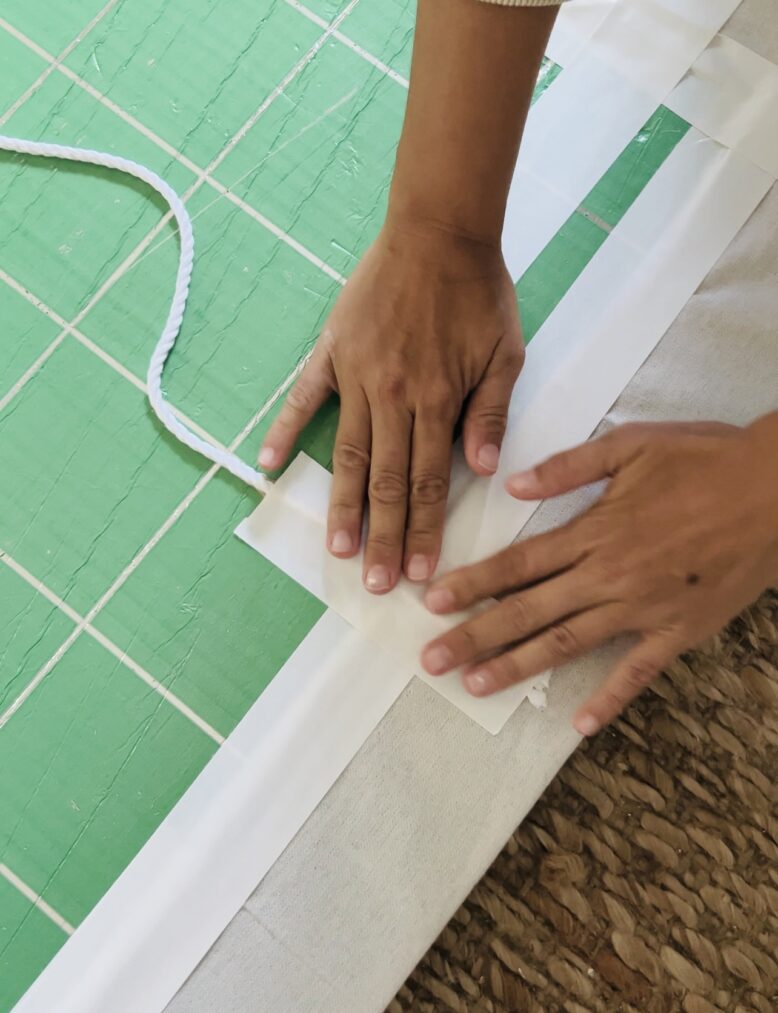
- In order to hang this, I attached a piece of rope to either side of the back and used liquid nails and another piece of tape over the top to secure it. Then I simply let it dry and hung it up. The fun part was to put all my inspiration all over it!
Voila
I’m so happy with the way this turned out! It’s added such a fun touch to my studio that the entire team is finding to be really useful!
This project is in collaboration with Bunnings.


