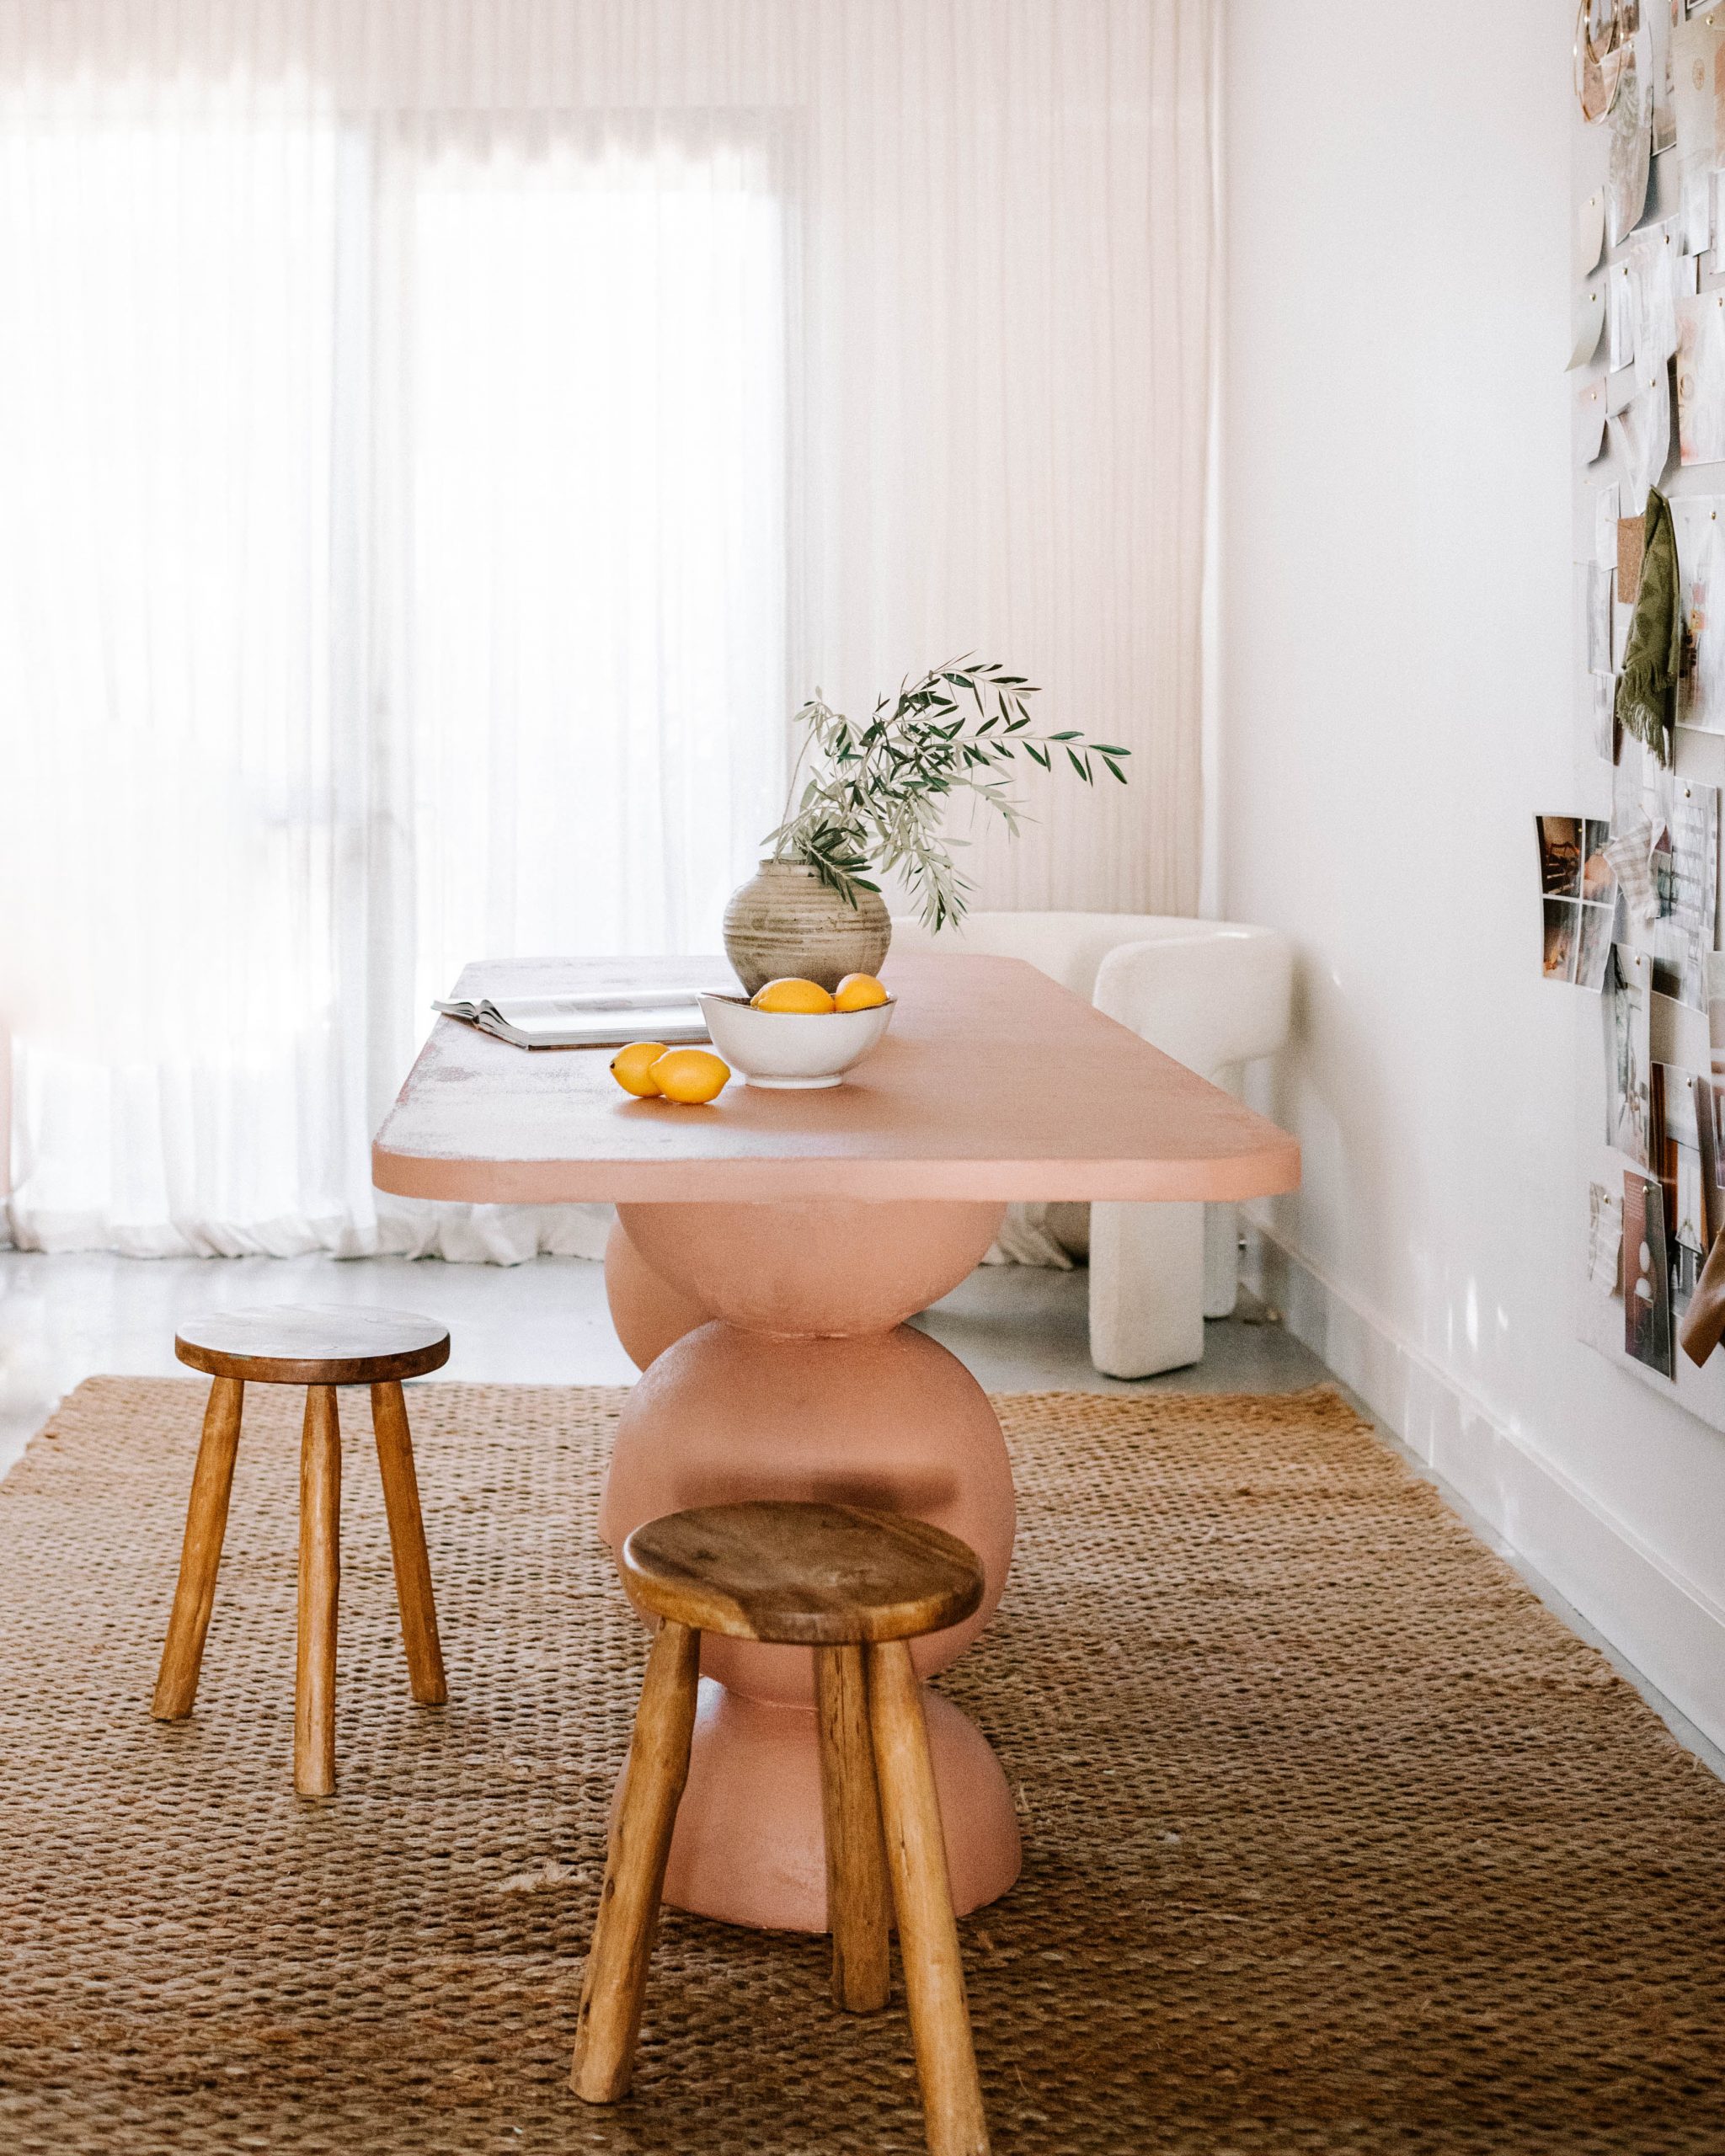
If you’re in the market for a new dining table, you’ve come to the right place.
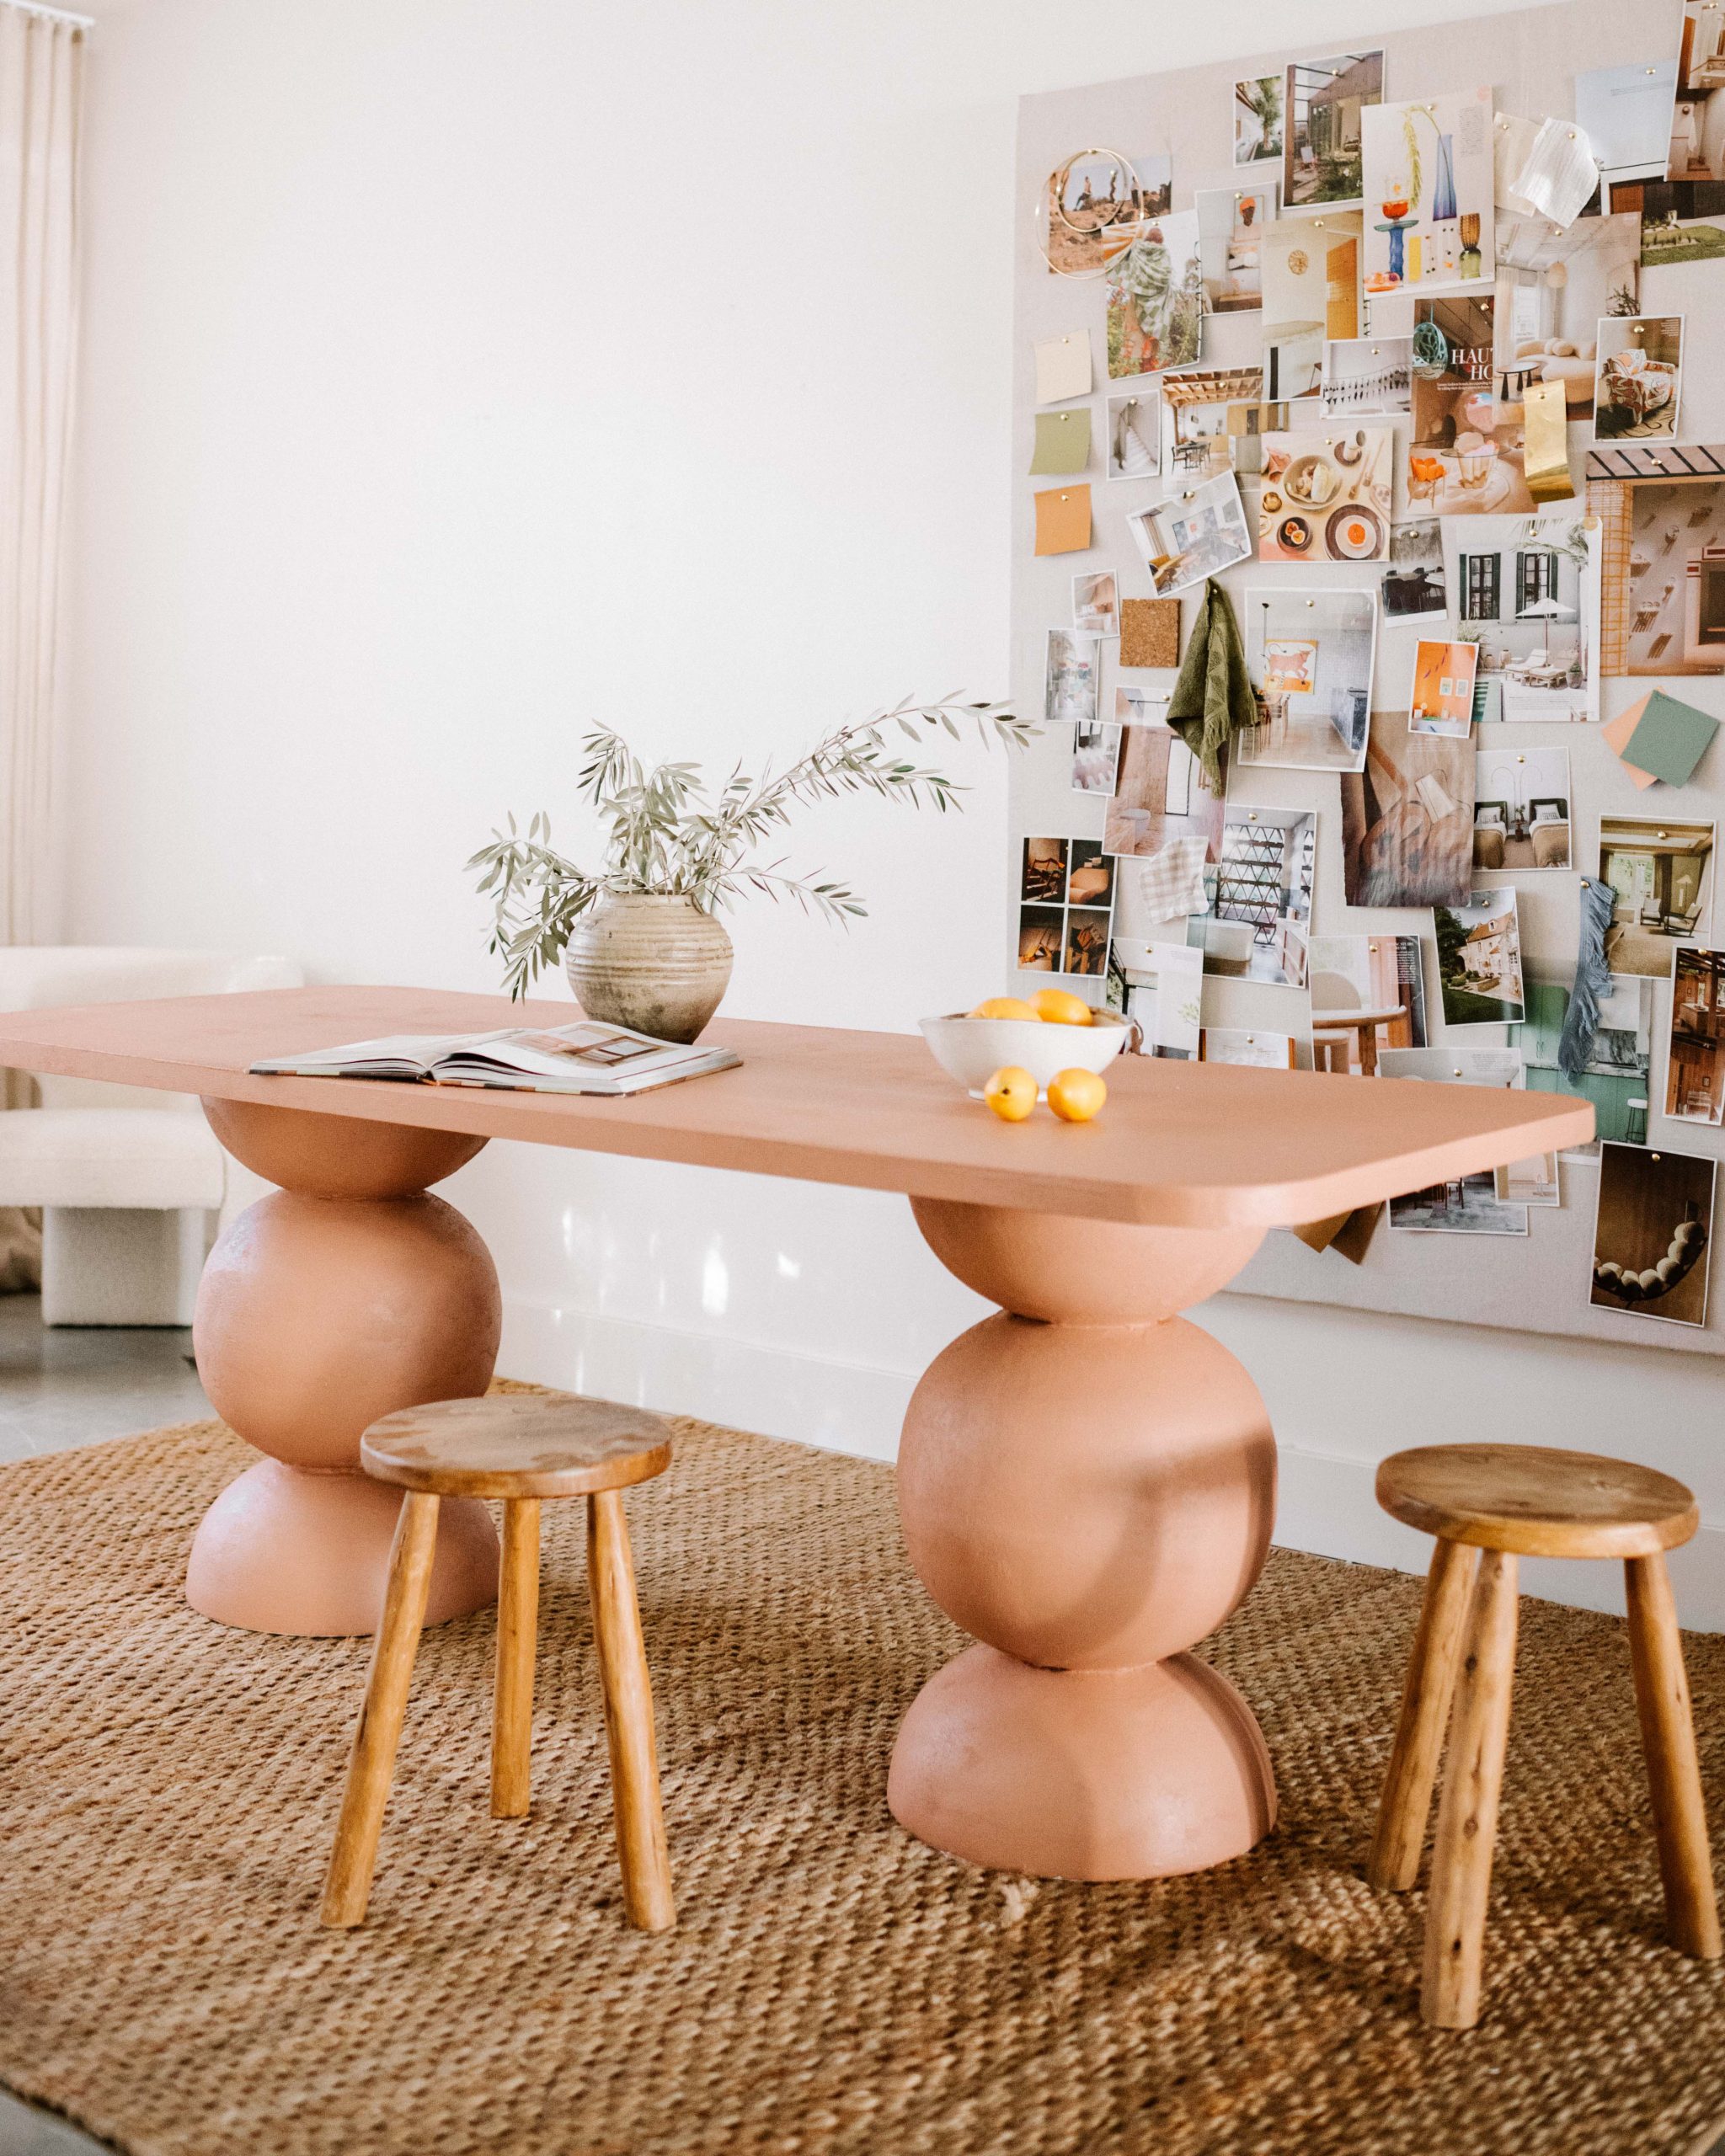
After creating the sculptural outdoor (Anthropologie dupe!) table, I wanted to make a longer dining table version to use as a meeting table in the studio. A lot of you had asked how to turn that original style into a dining table so I was excited to try it out. Last weekend I happened upon a free door on there side of the road and I took it as a sign, time to get making! This is a super easy, cheap and effective DIY table made out of a free door, some planters and paint.
For this design, I went with a slightly different look to my previous table. I wanted to try something a bit different but I also heard from people they found it hard to get the right combination of bowl planter and wooden circle, so I wanted to try a design that was more simple in terms of materials. You could also do the original design using this dining table look too!
- Before
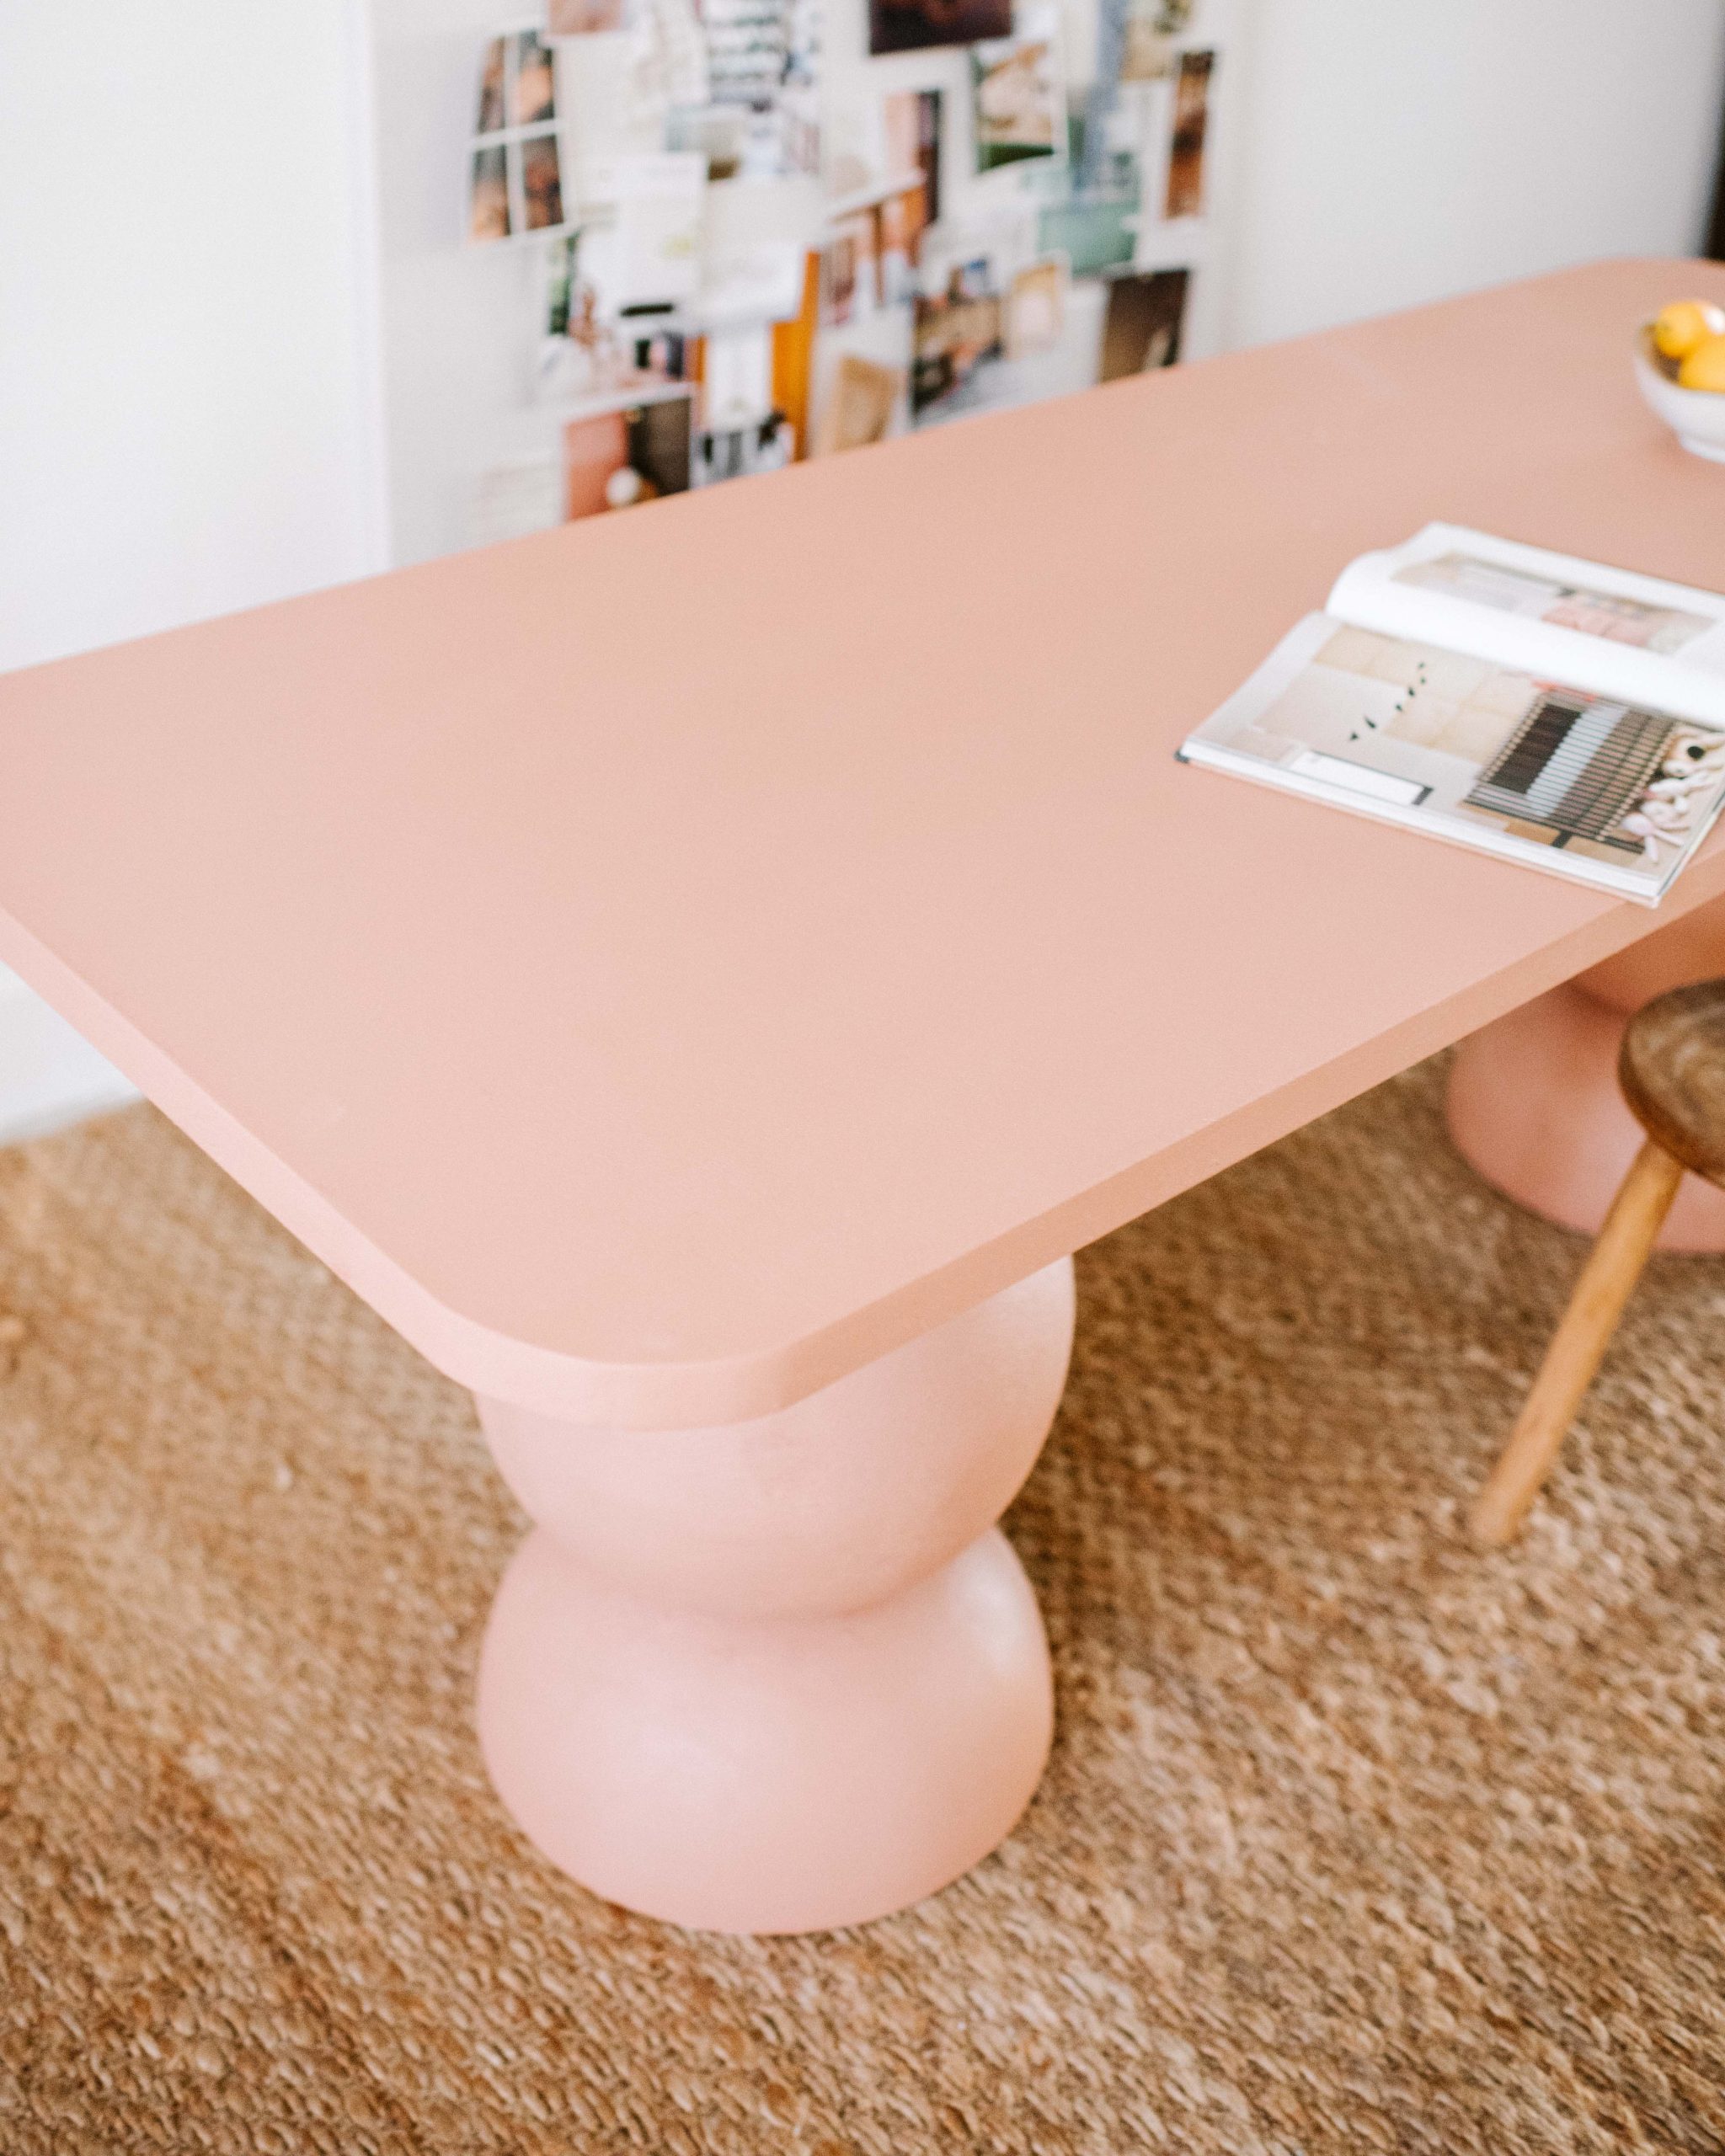
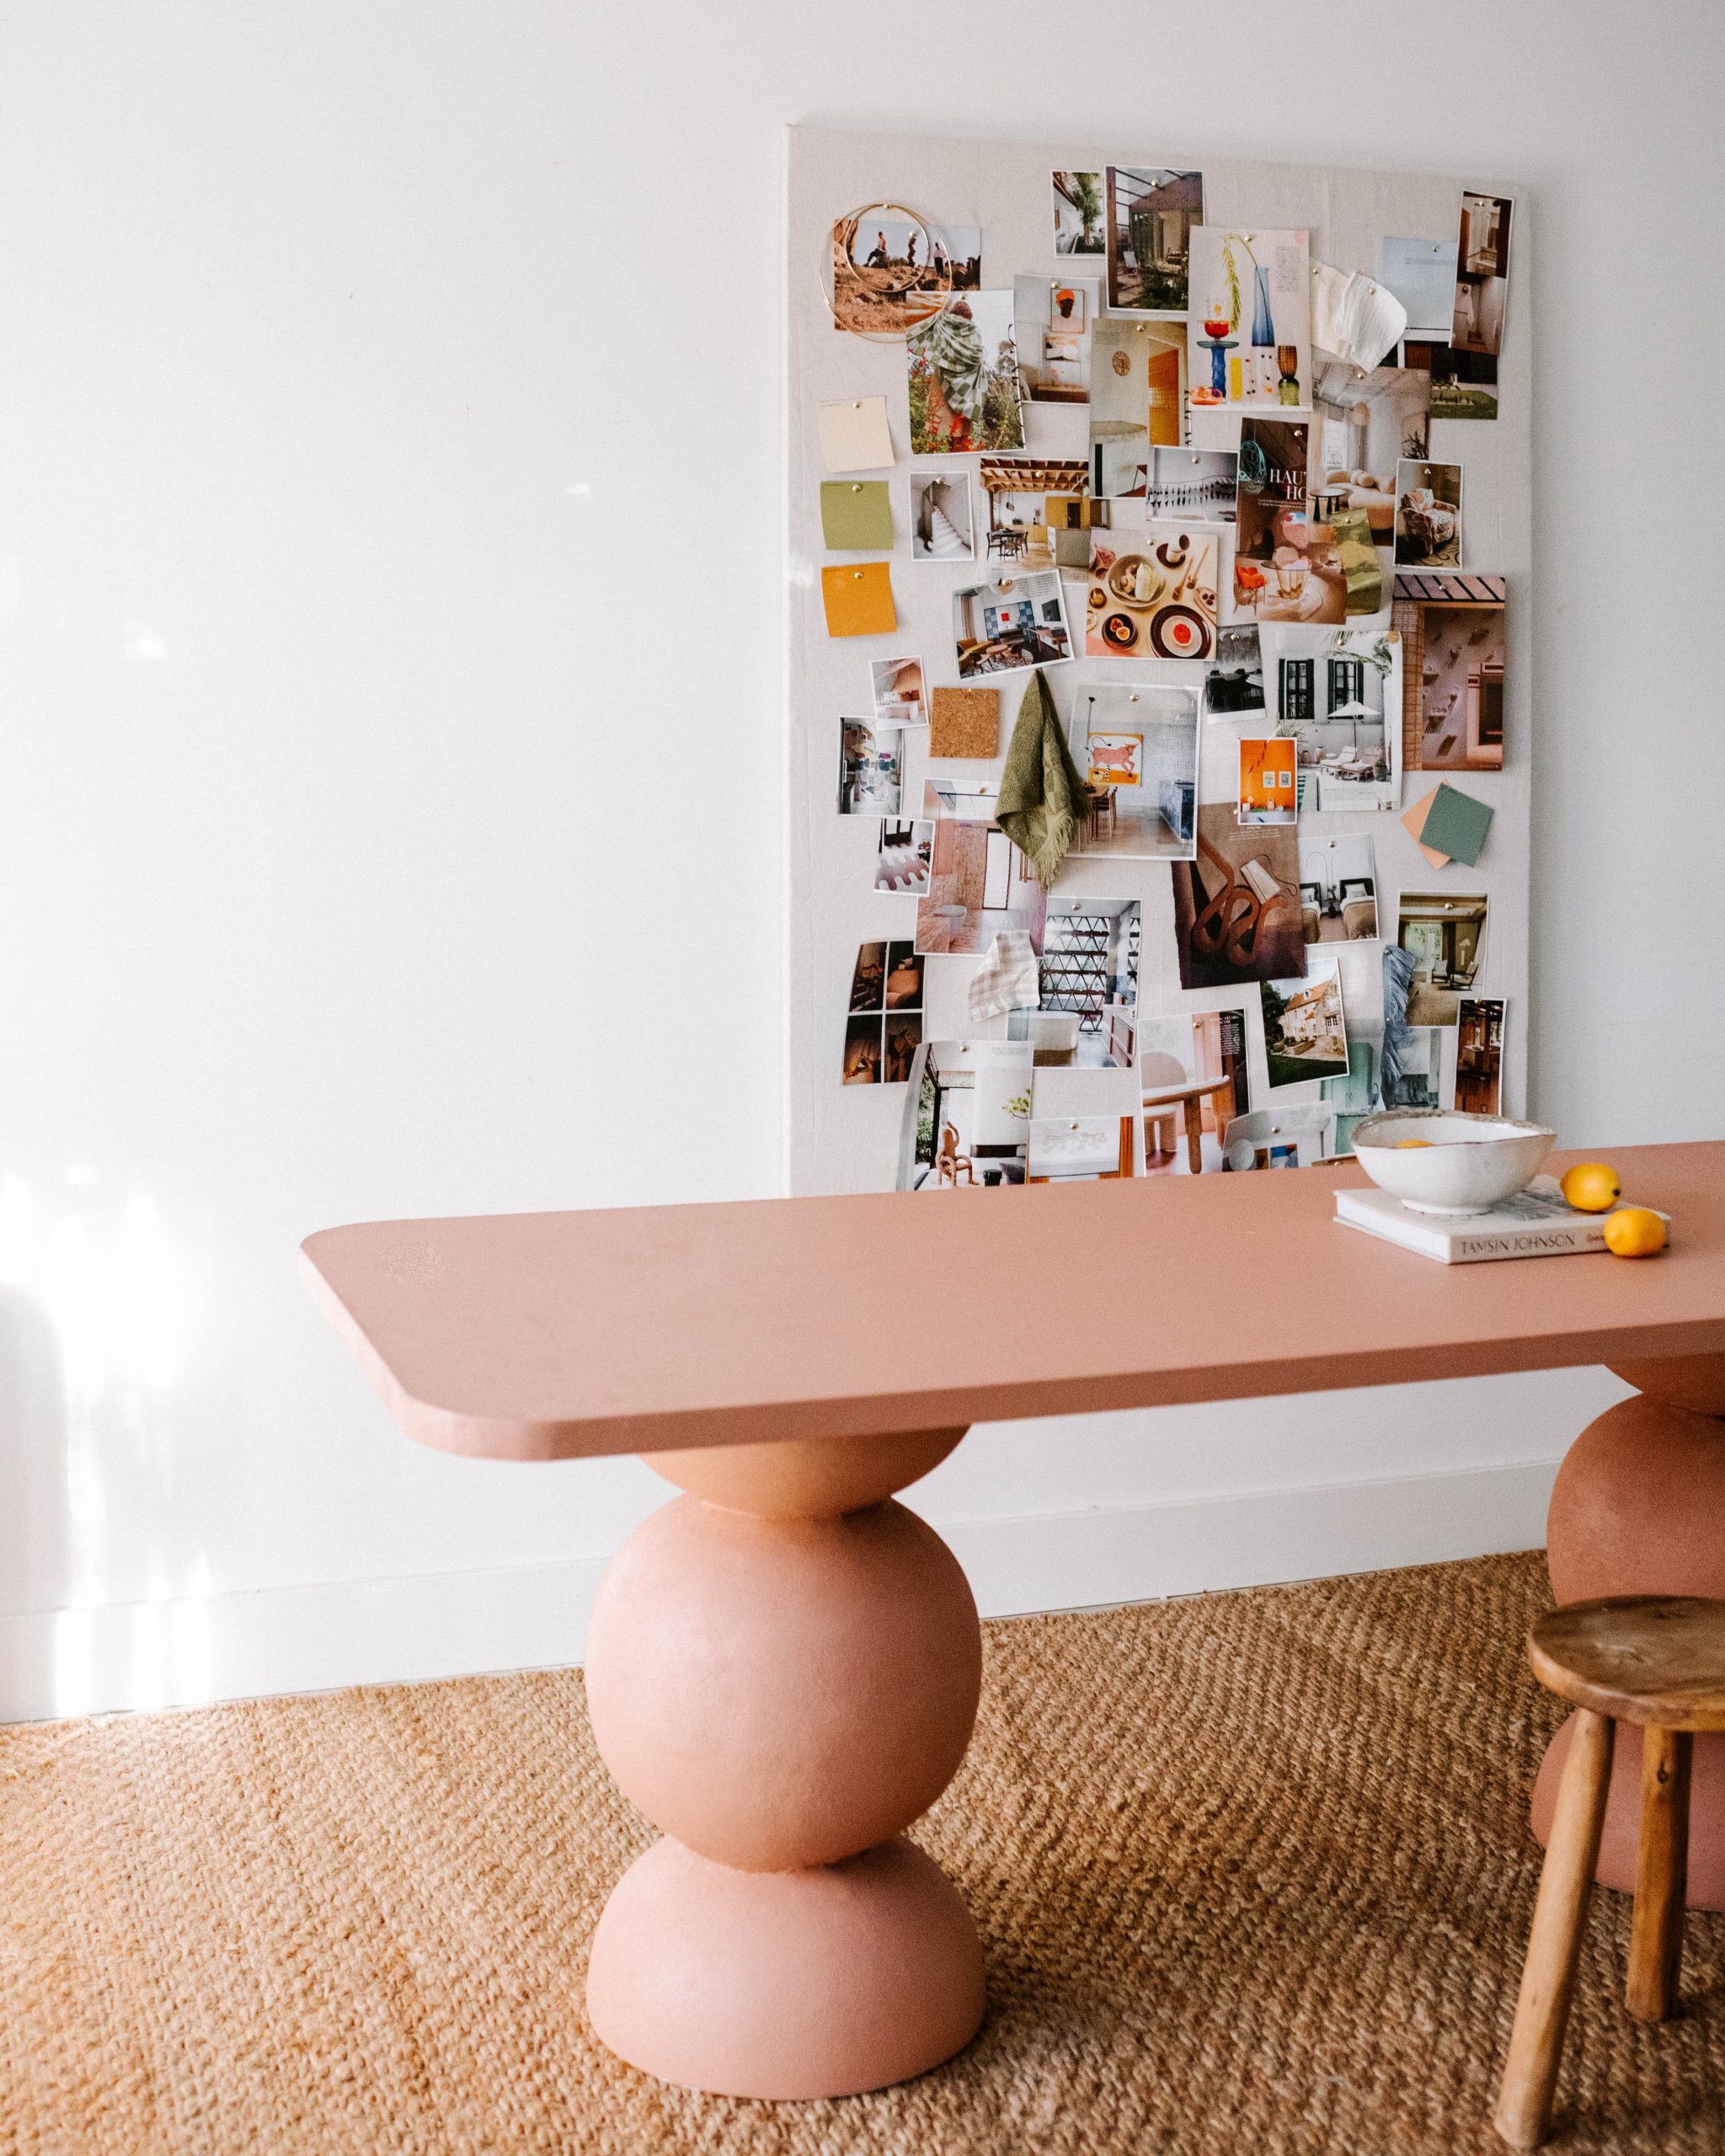
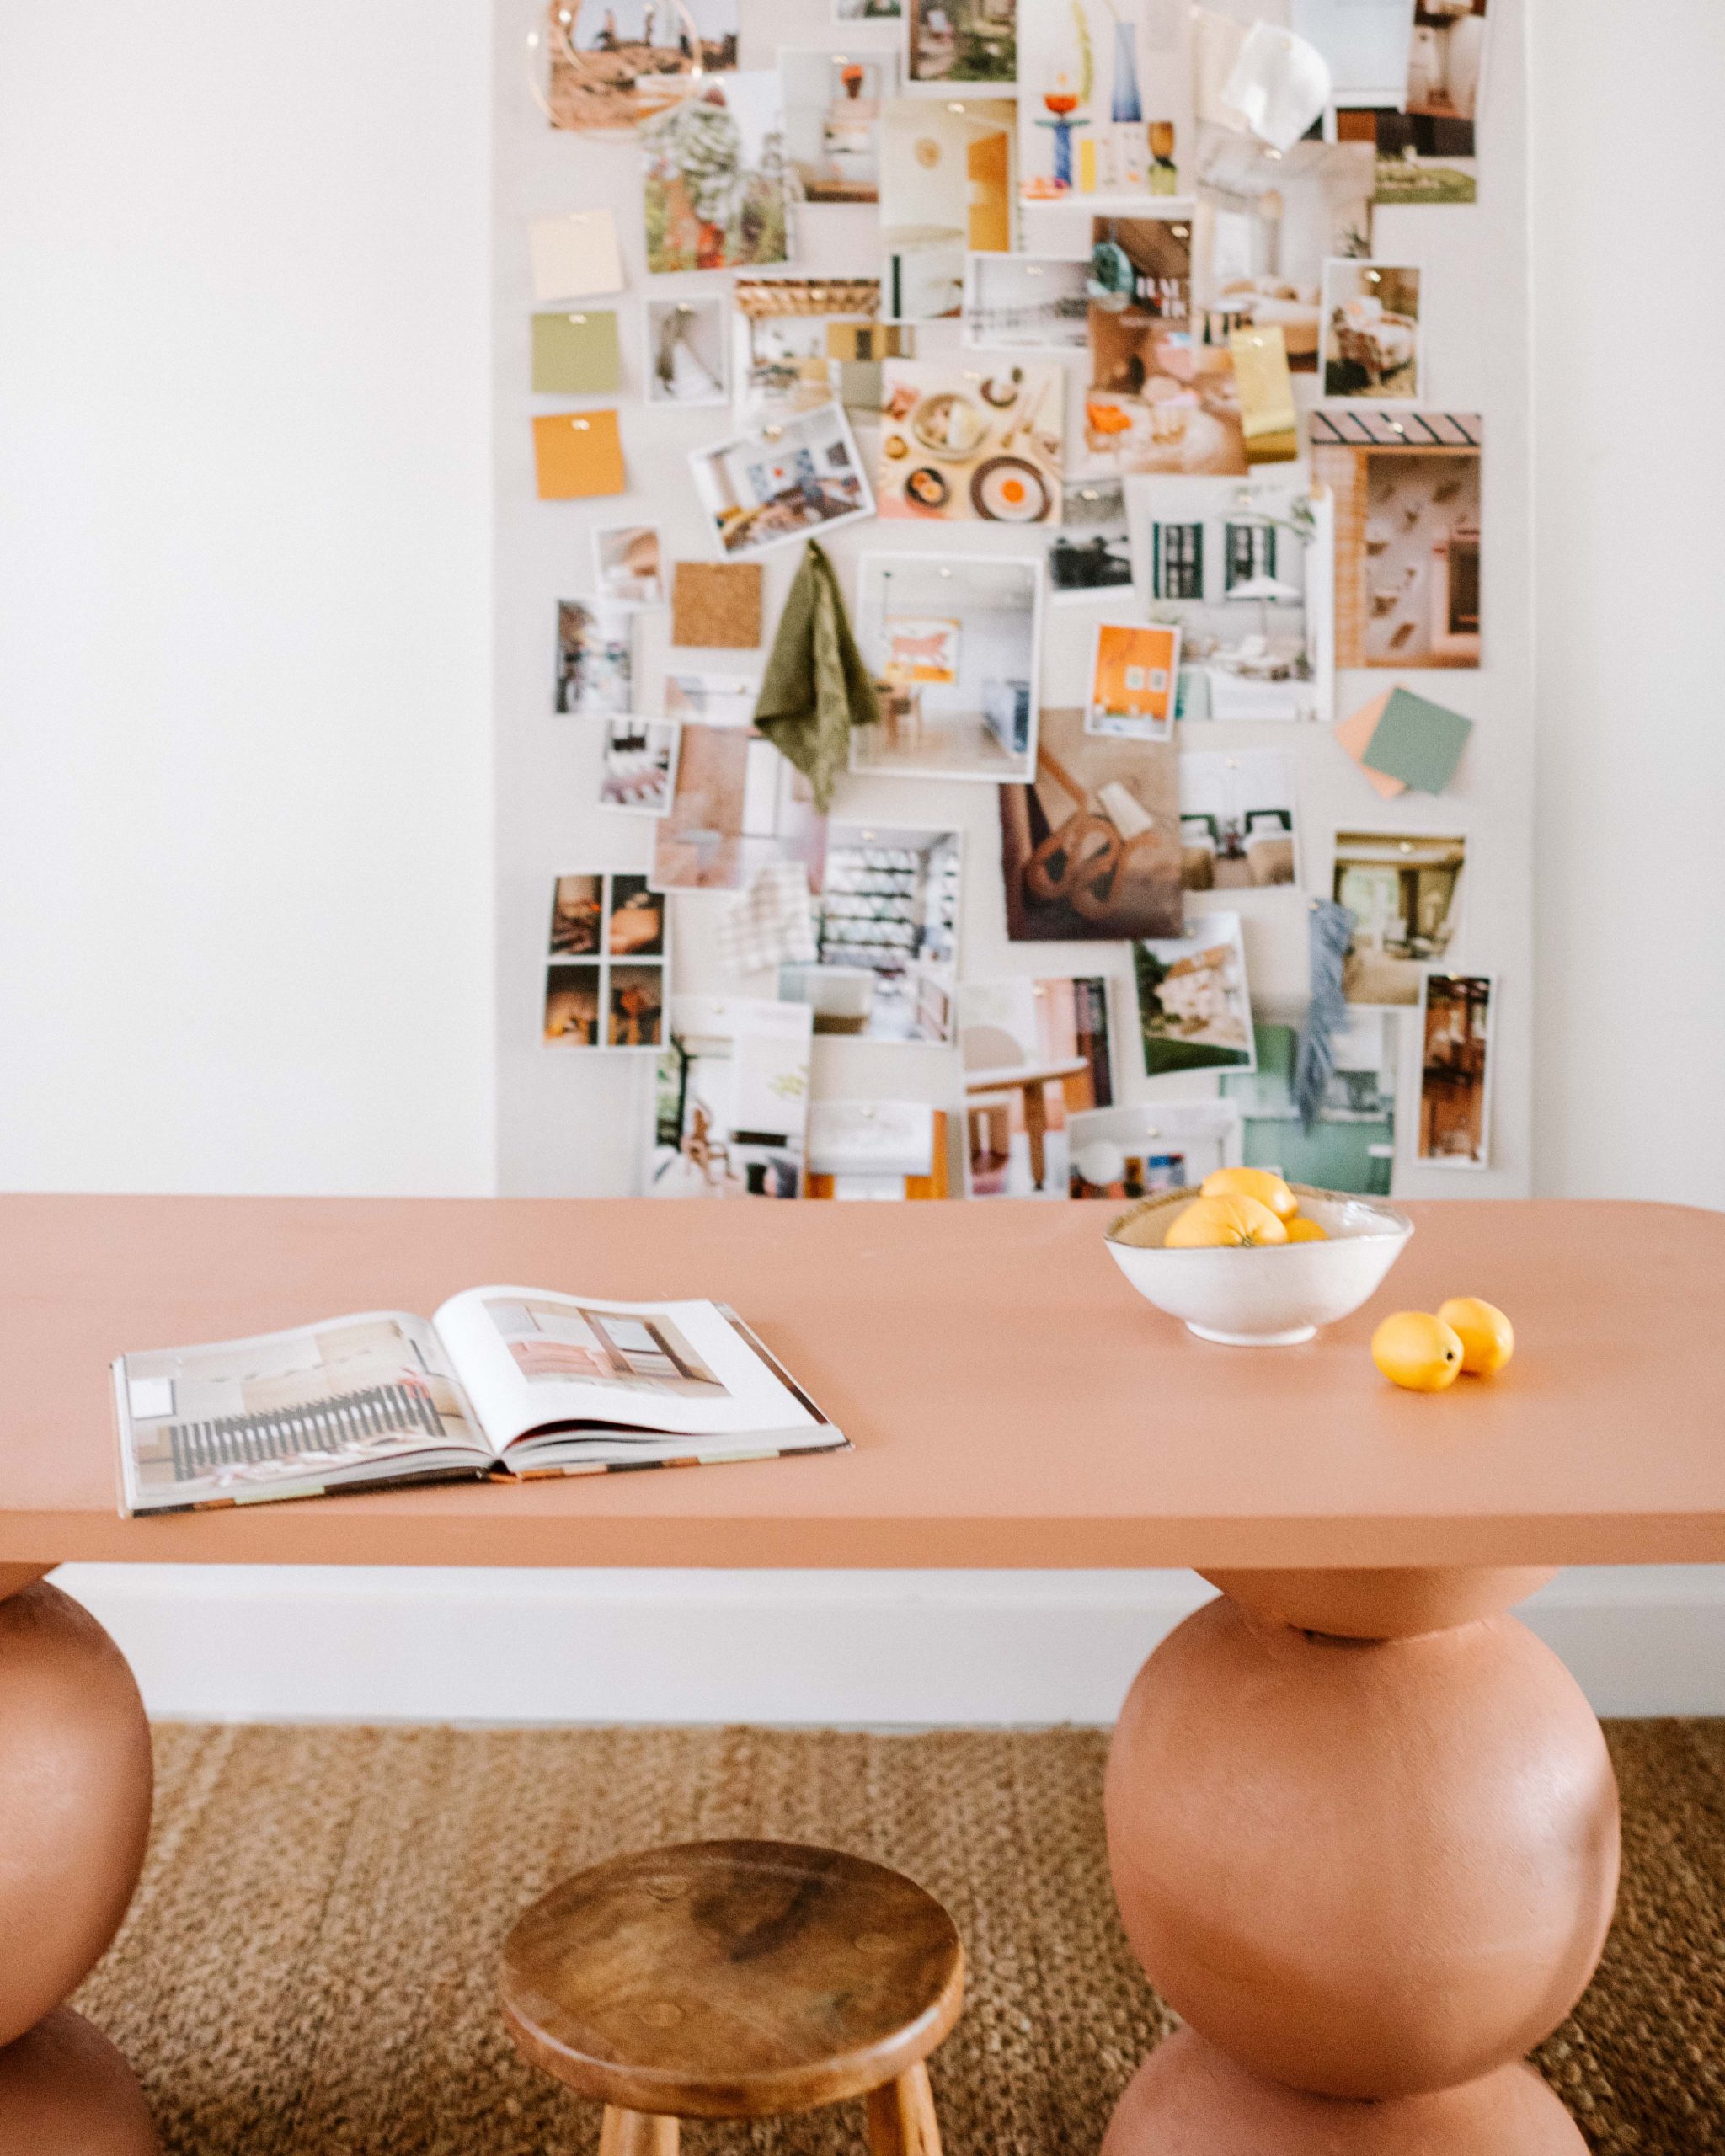
- After
Materials:
- An old door, or a project panel of timber, or a piece of plywood or MDF. Mine was 3cm thick.
- Jigsaw
- 8 x Northcote Pottery 40cm Bowl Planter Pots planter pots
- Selley’s liquid nails
- Gyprock Joint compound or topping plaster
- Fine sanding block
- Indoor Interior Paint (I mixed my own with brown and pink together)
- Texture Paint (optional)
- Primer
- Paint roller
- Paint brush
How to Make a Sculptural Dining Table:
1
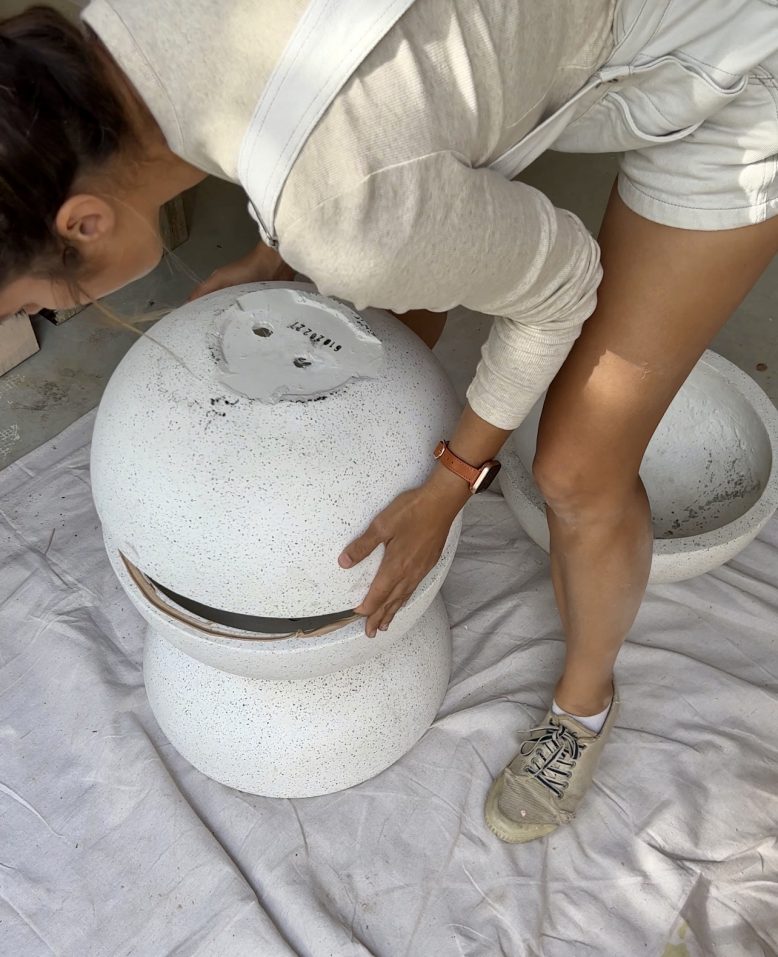
Firstly, I created the sculptured legs by gluing four planters together. Place one planter (opening down) and add glue to the base. Then place the next planter on the glue (opening up) and add glue to the rim, line up the rim with the next planter (try to get the best two planters that match) to make the ball. Add glue to that piece and then place the final planter on the glue (opening up). It's complicated but works so well!
2
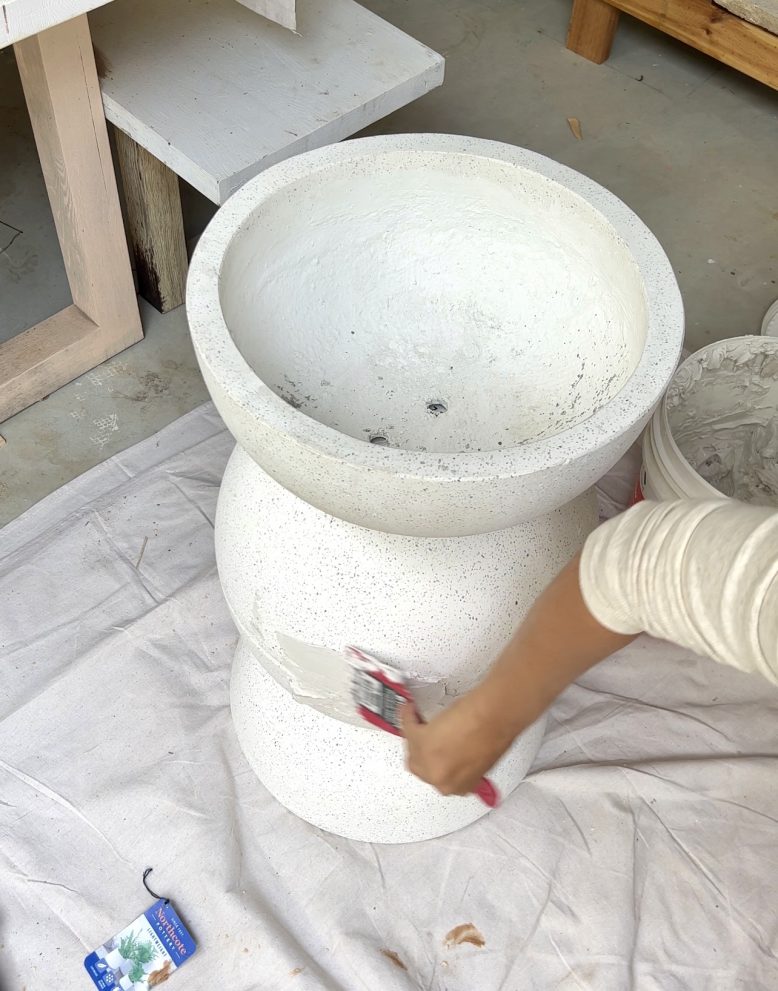
After this, I filled in the joins of the planters with plaster. I actually did two coats, as I find that one coat isn't enough to really fill the join so that there's no trace of it in the final look. Once the plaster dried, I sanded it with a fine grit sanding block. I then gave both legs a coat of primer.
3
The next thing I did was prep the door for use as a table top. I removed the handle and filled the hole with wood and wood filler. I then cut the corners into a rounded shape and used plaster tape to fill the holes on the corners (my door was hollow core). I then sanded the whole thing down once it was dry.
4
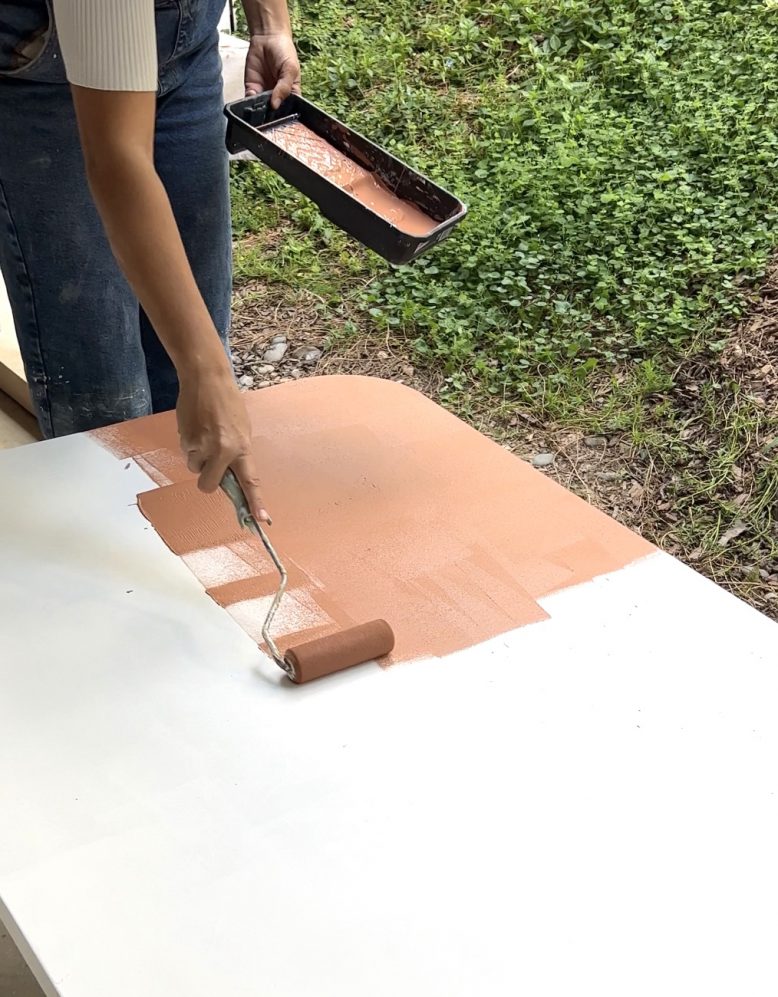
All of the pieces were now ready to be painted. I mixed up a browny pink colour and added a little bit of texture paint and then painted the table top and legs.
6
Finally, I assembled the table. I wanted to make this table moveable so instead of gluing the top directly onto the legs I glued two pieces of wood onto the legs.


