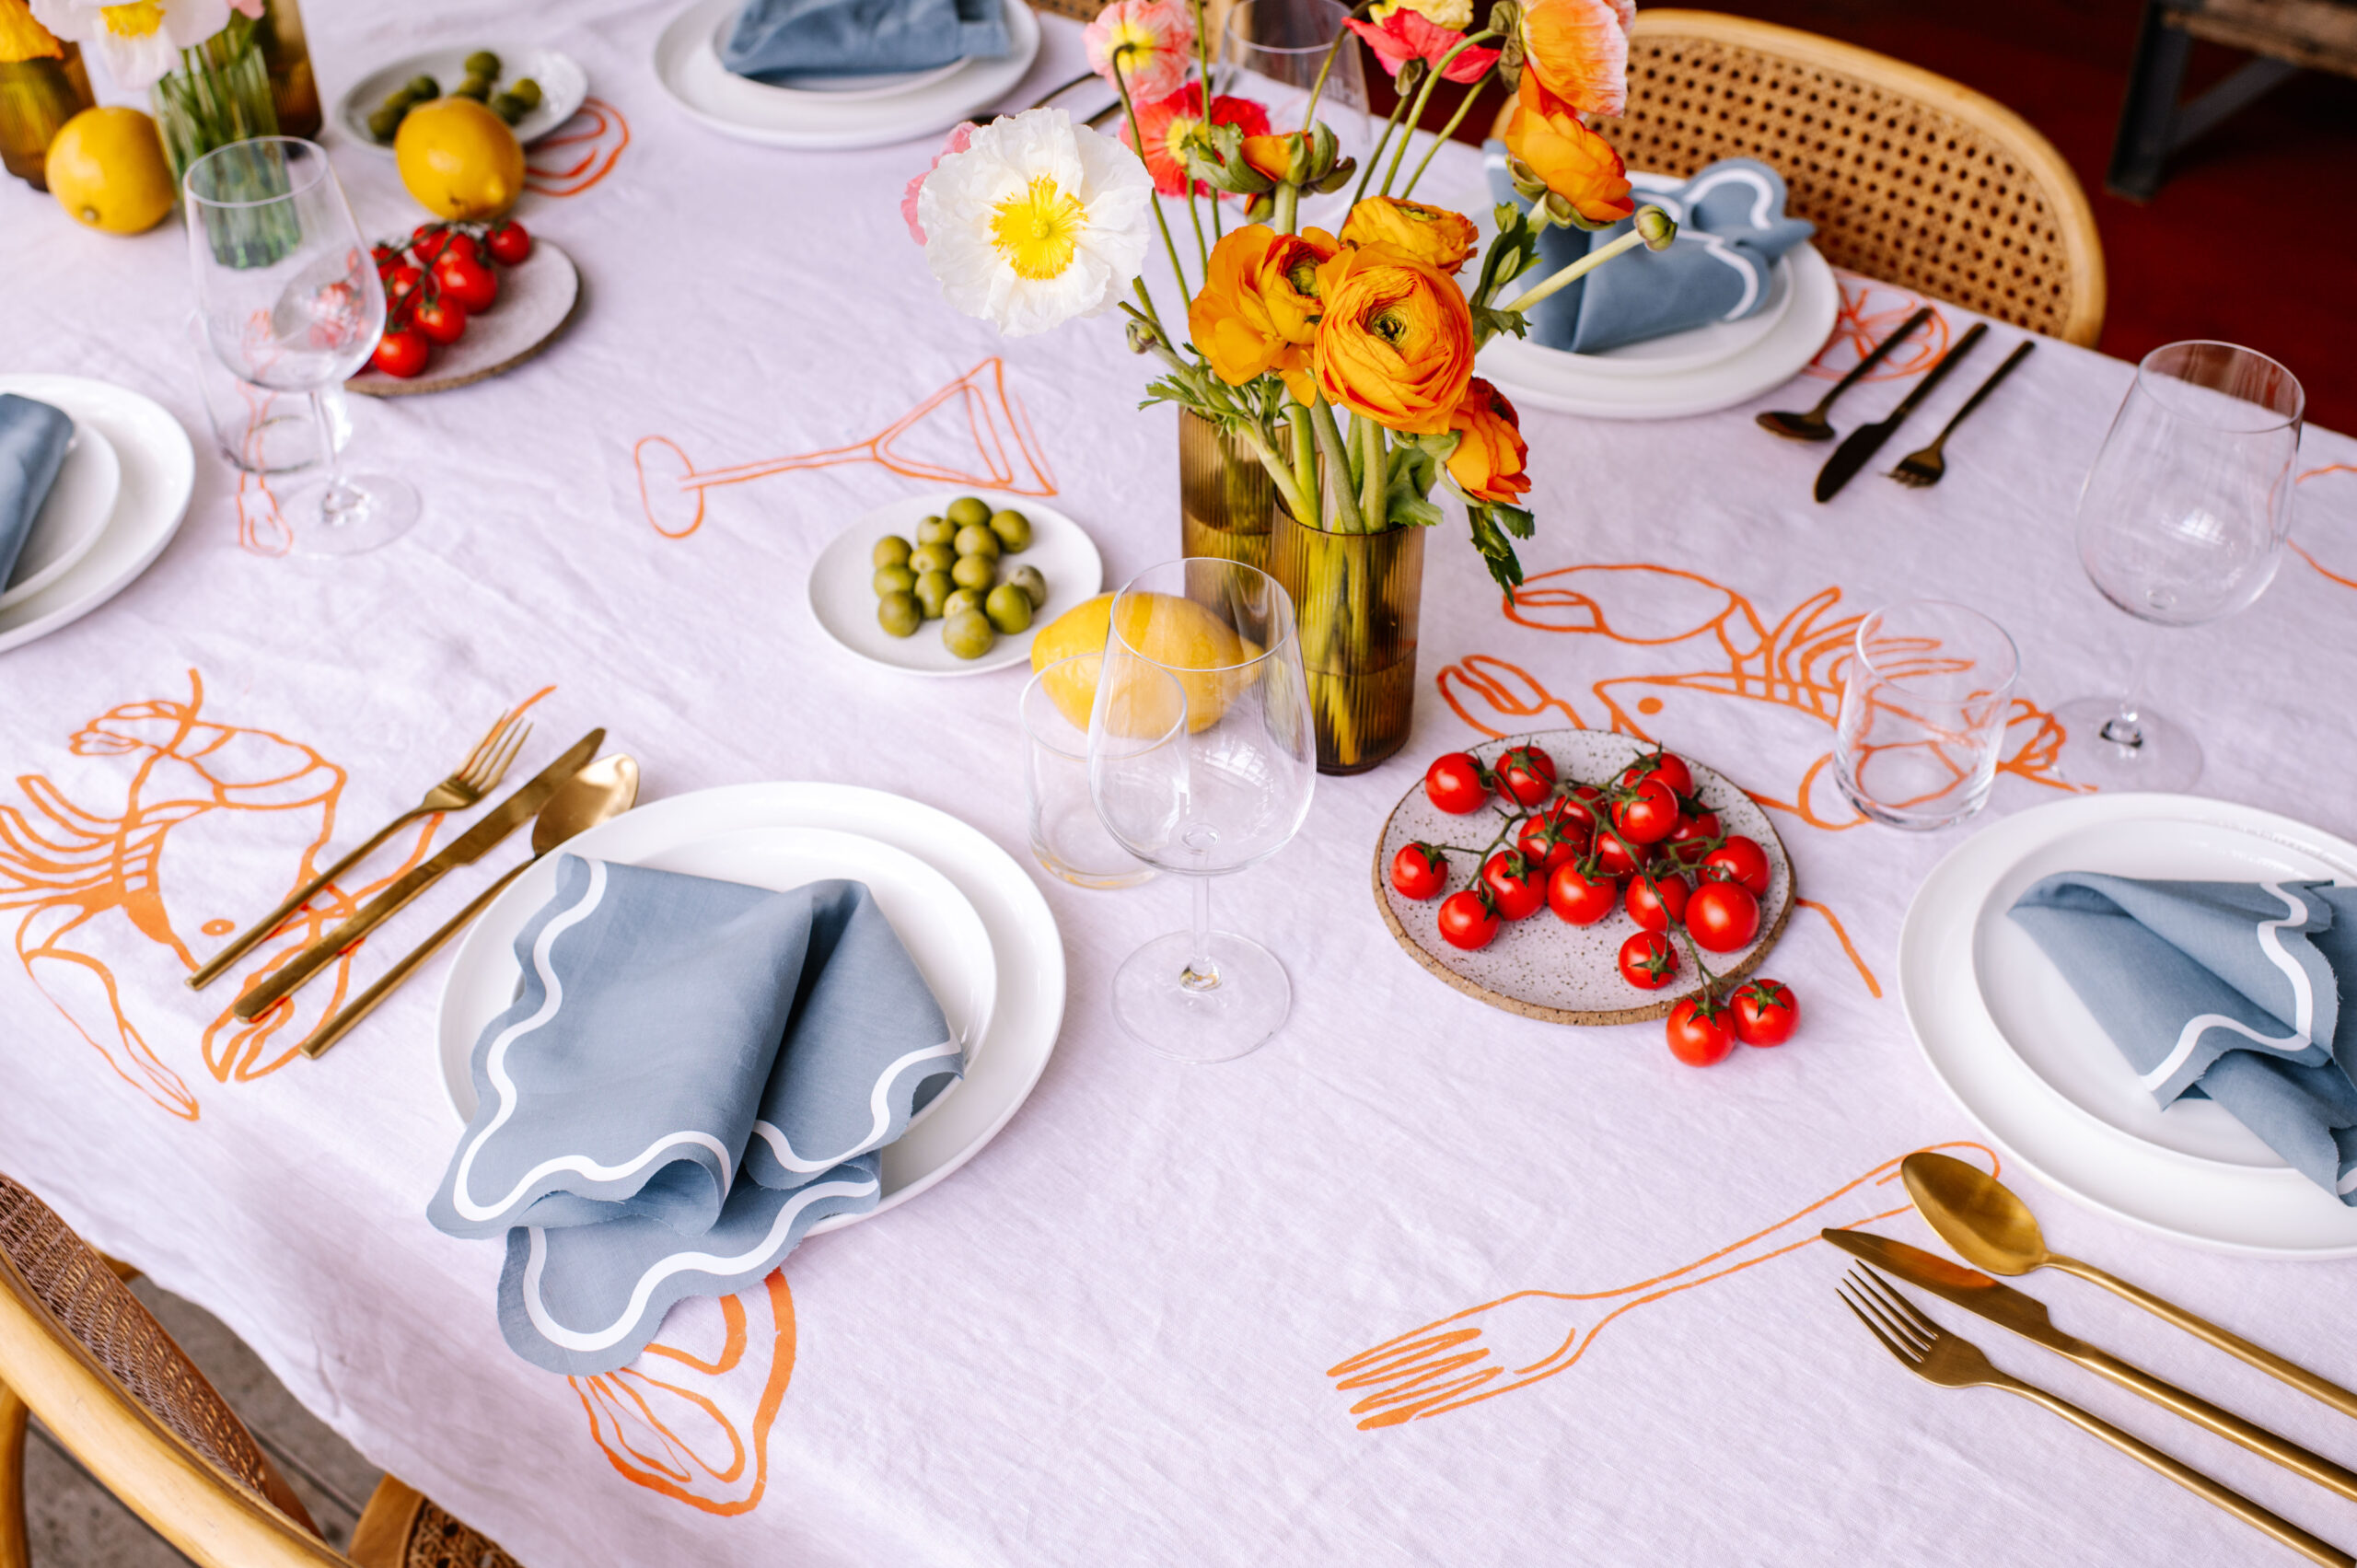
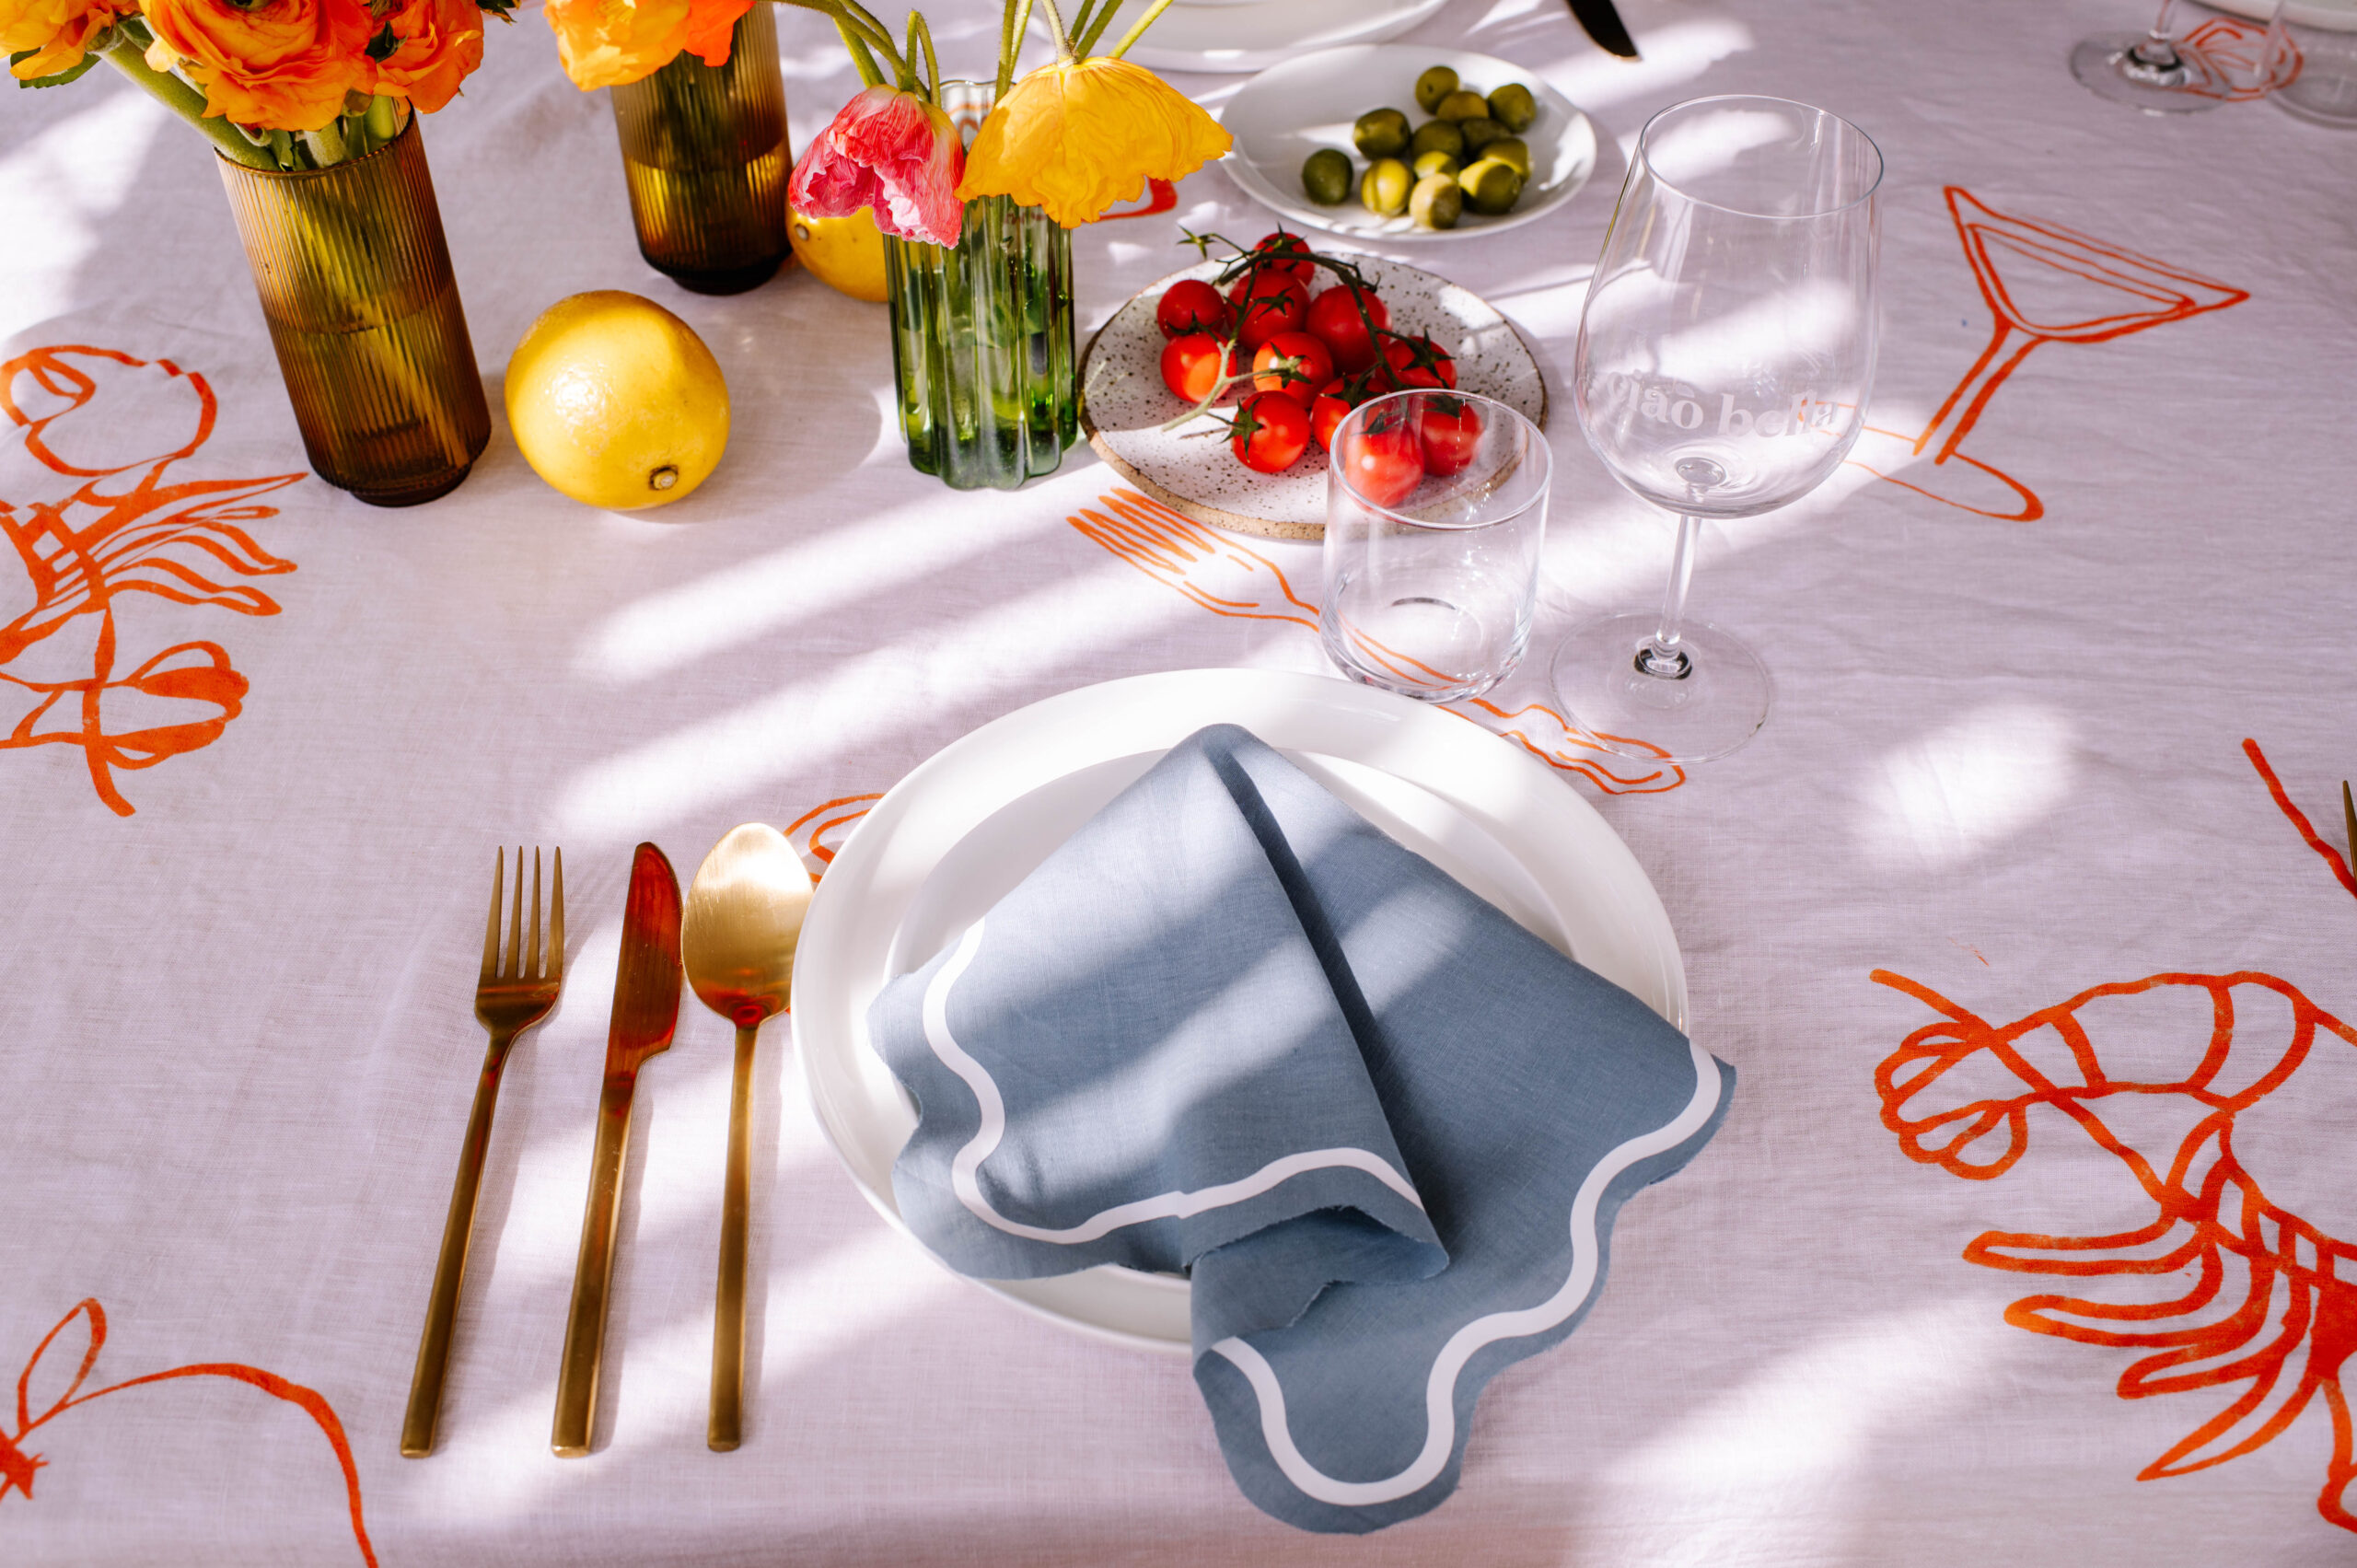
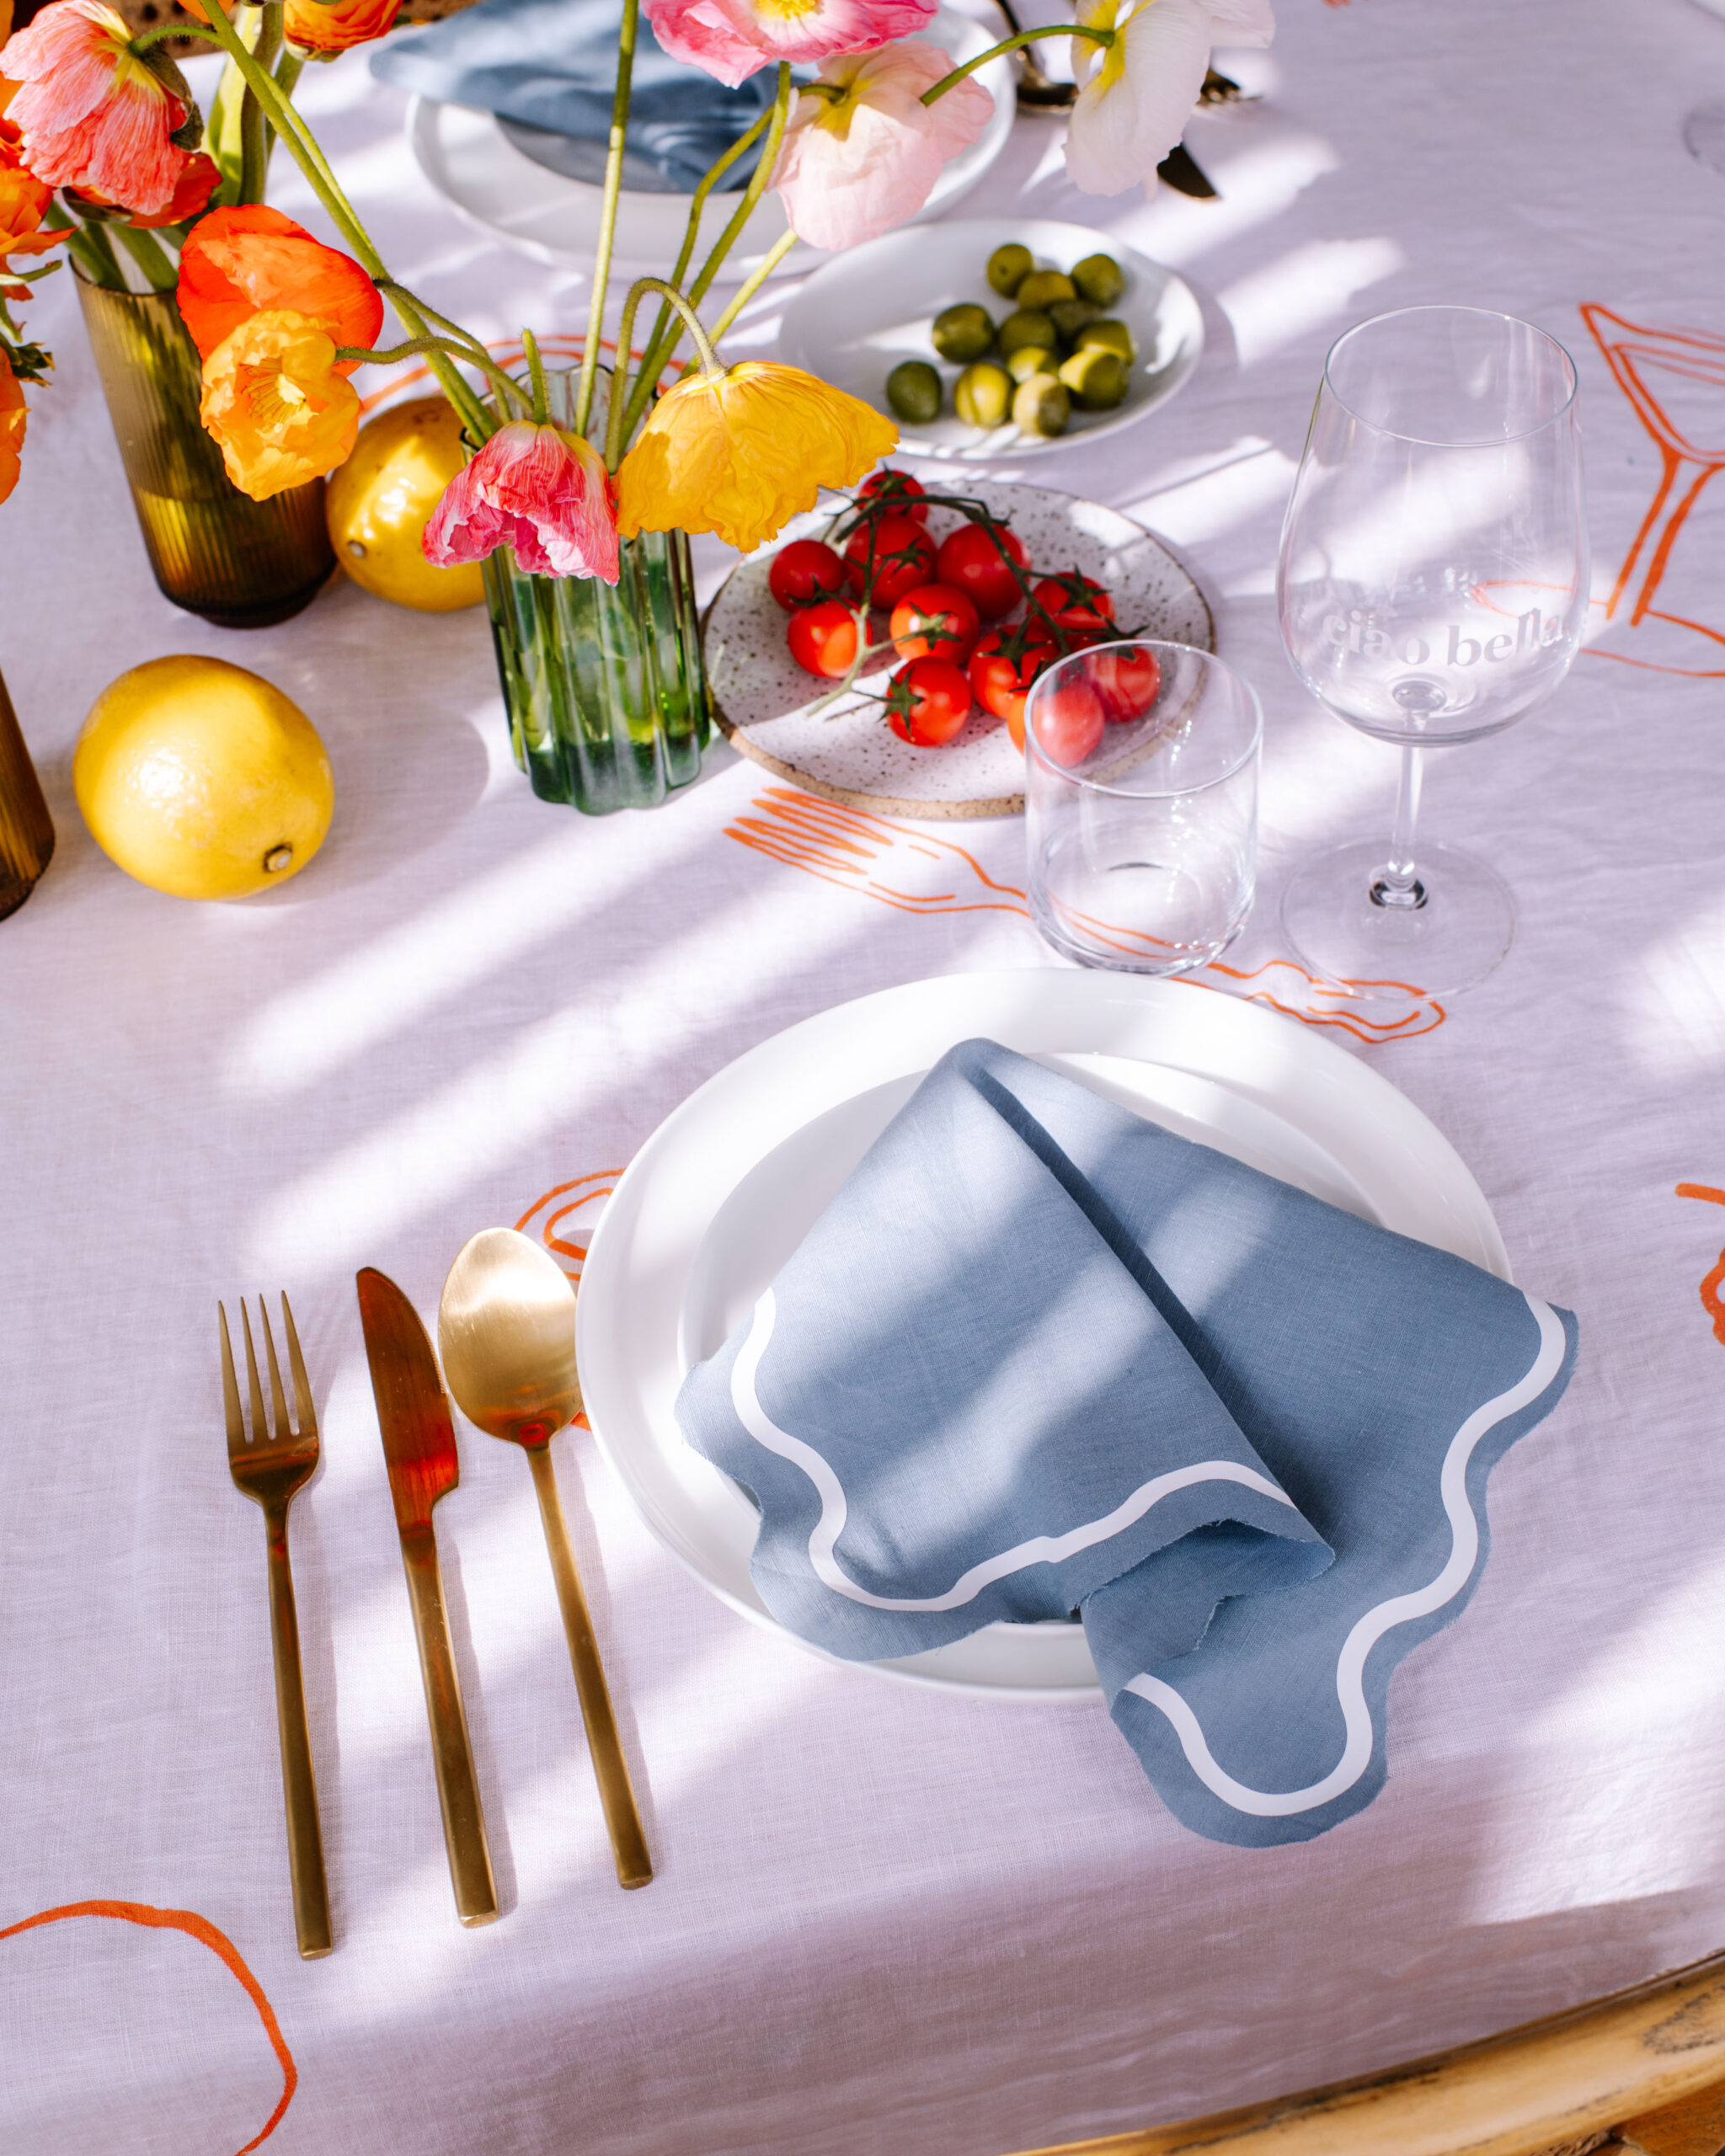
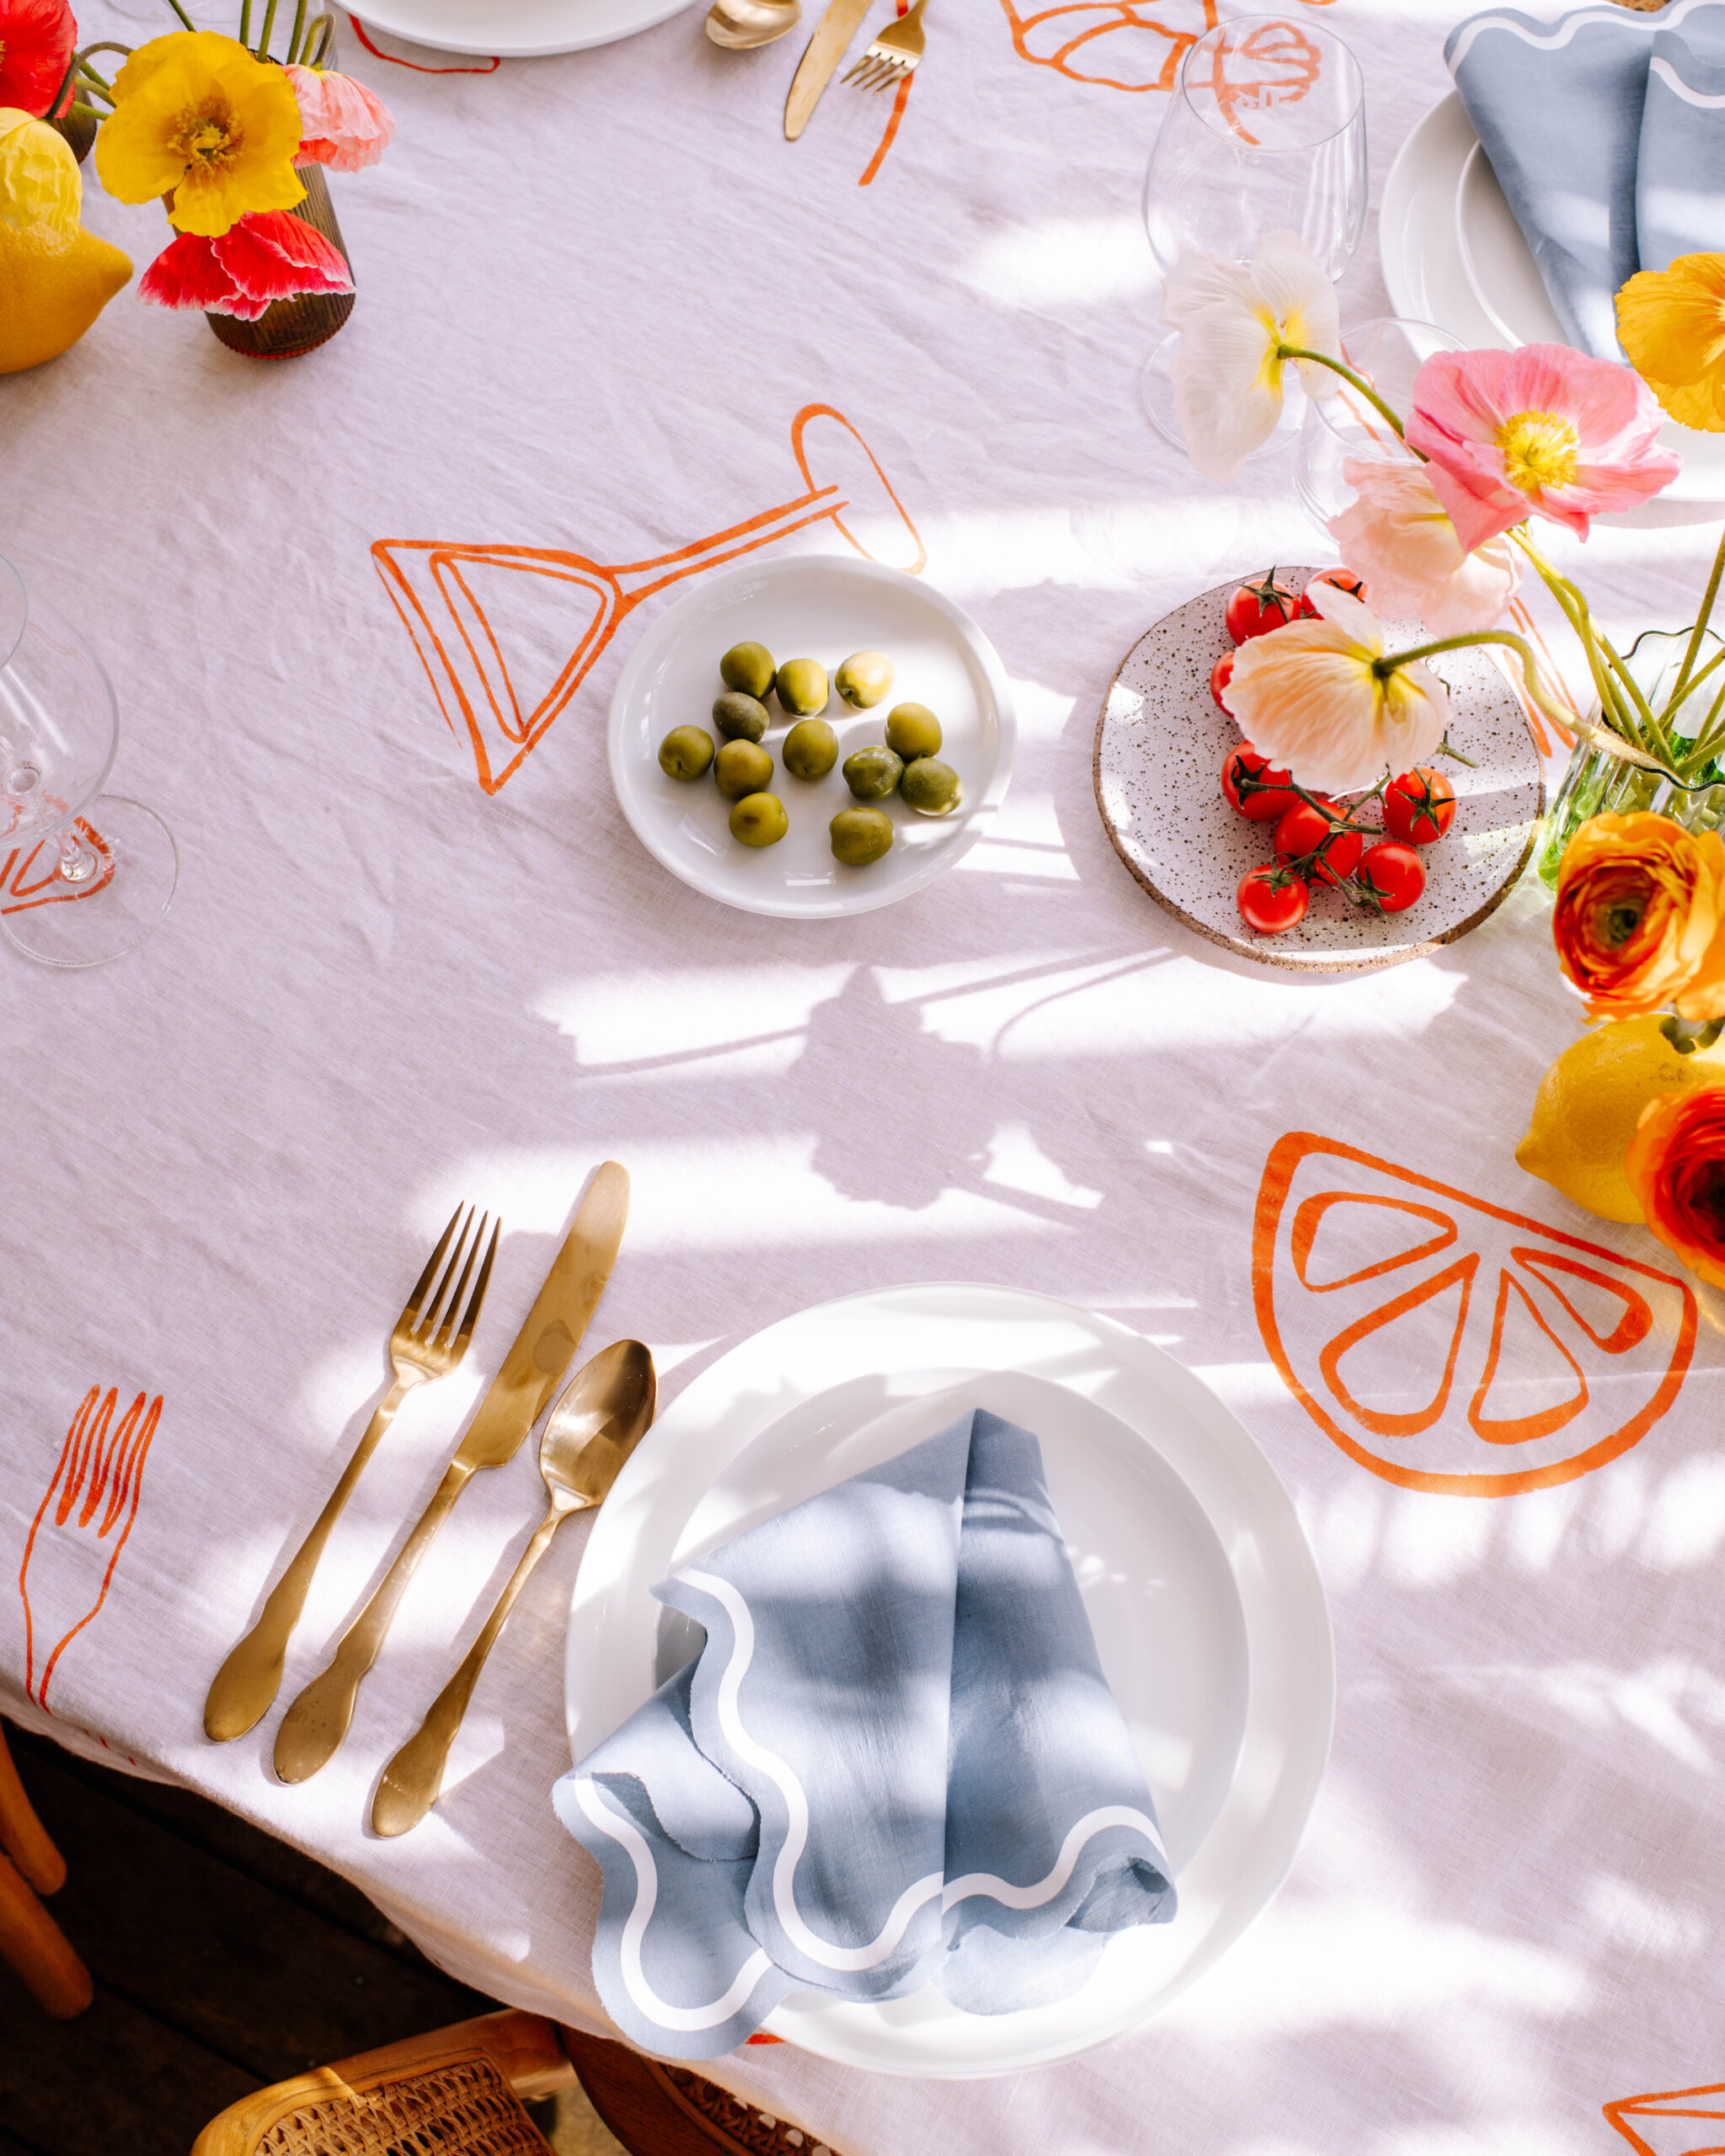
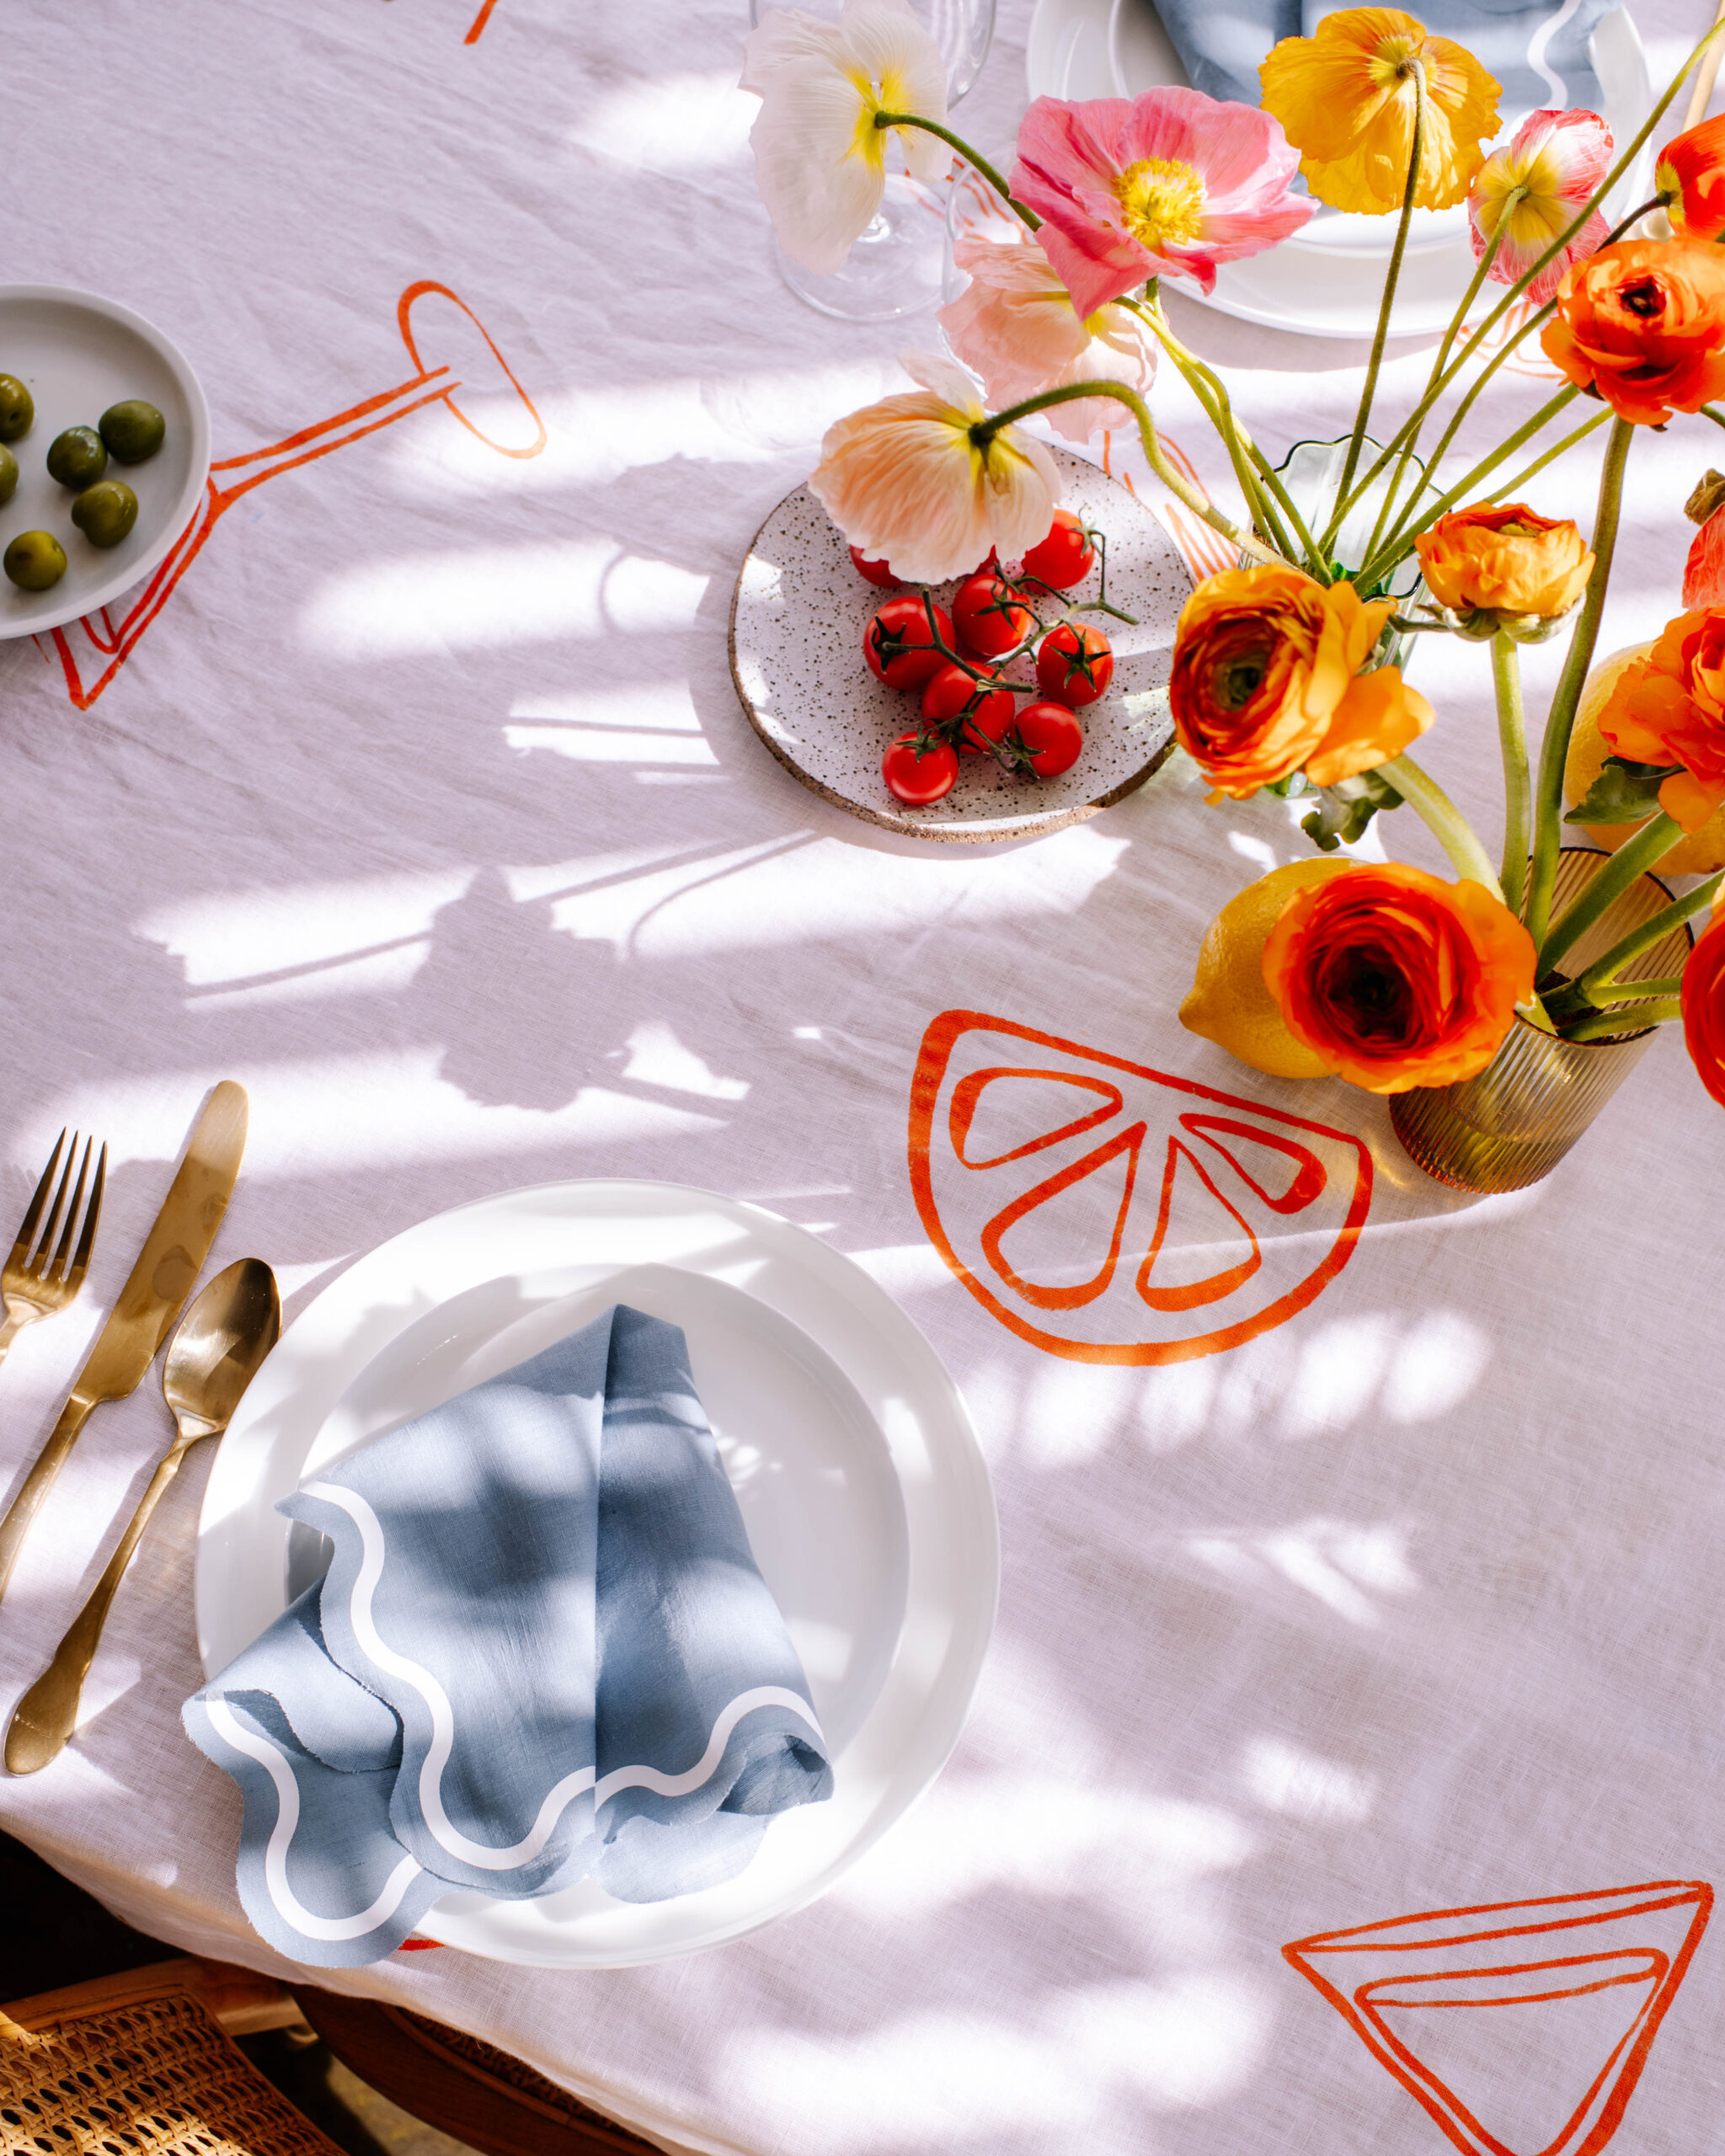
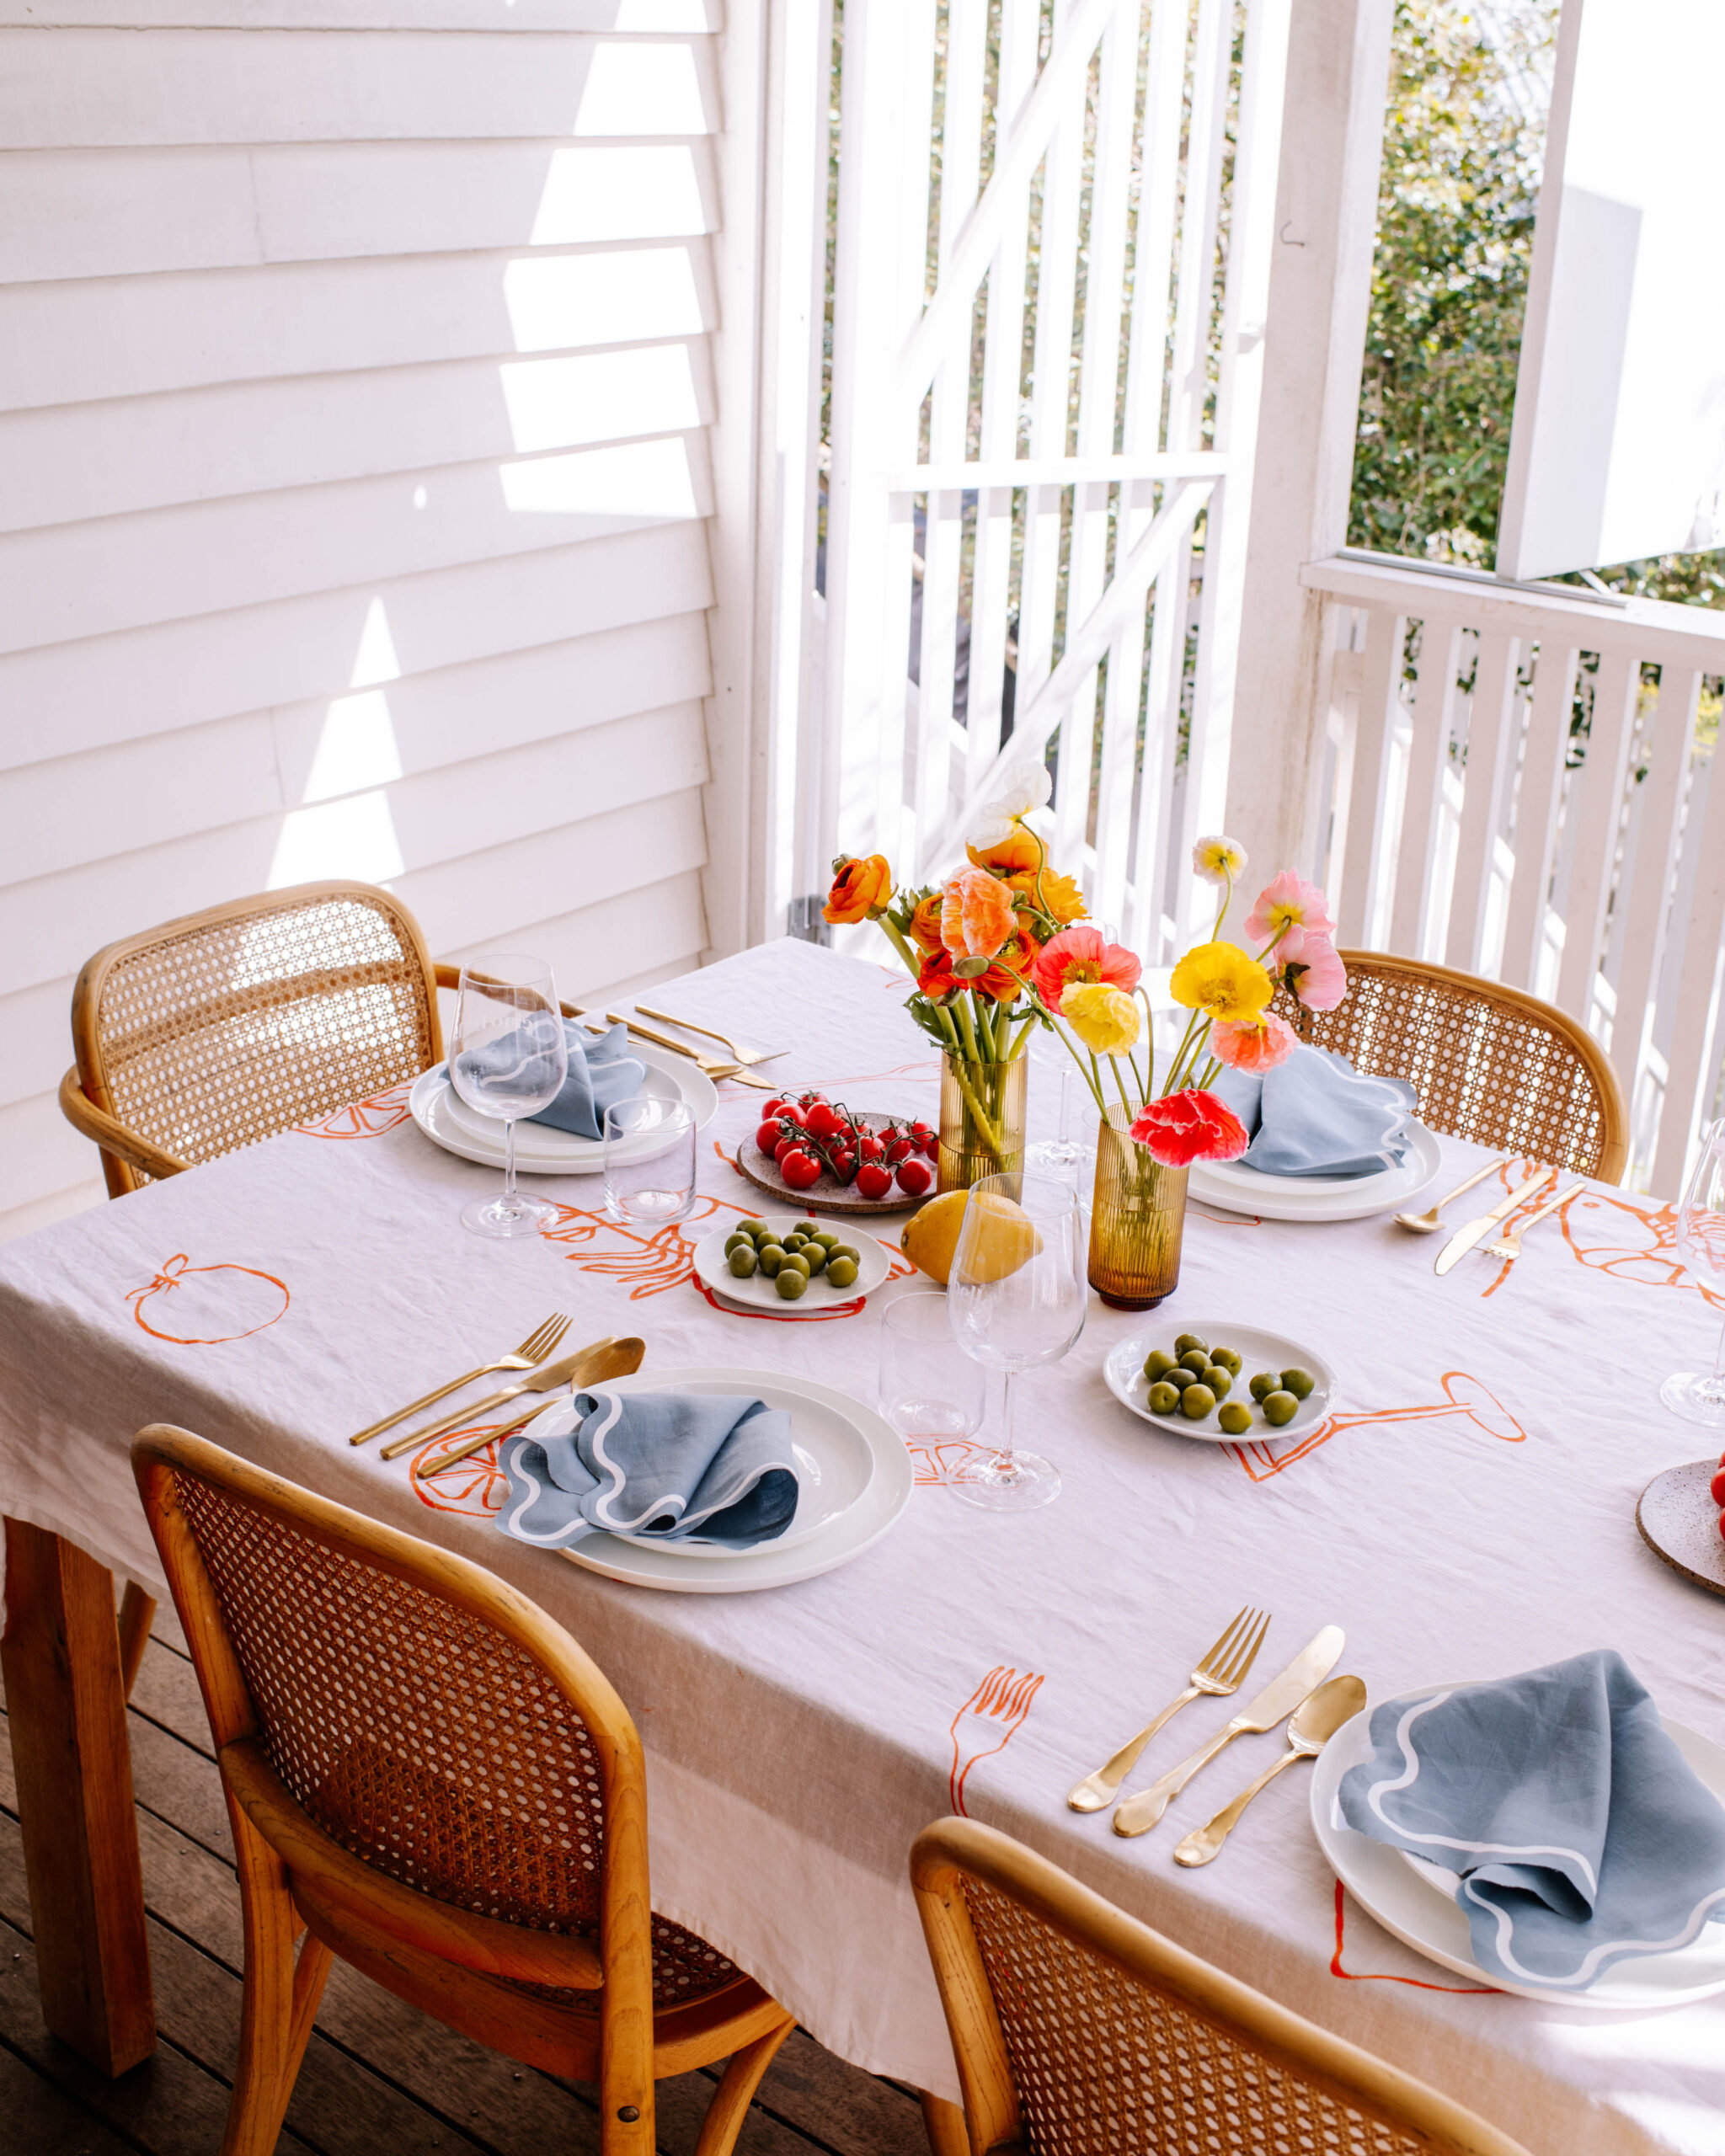
What’s even better than going to Italy for your birthday? Bringing Italy to you! (LOL)
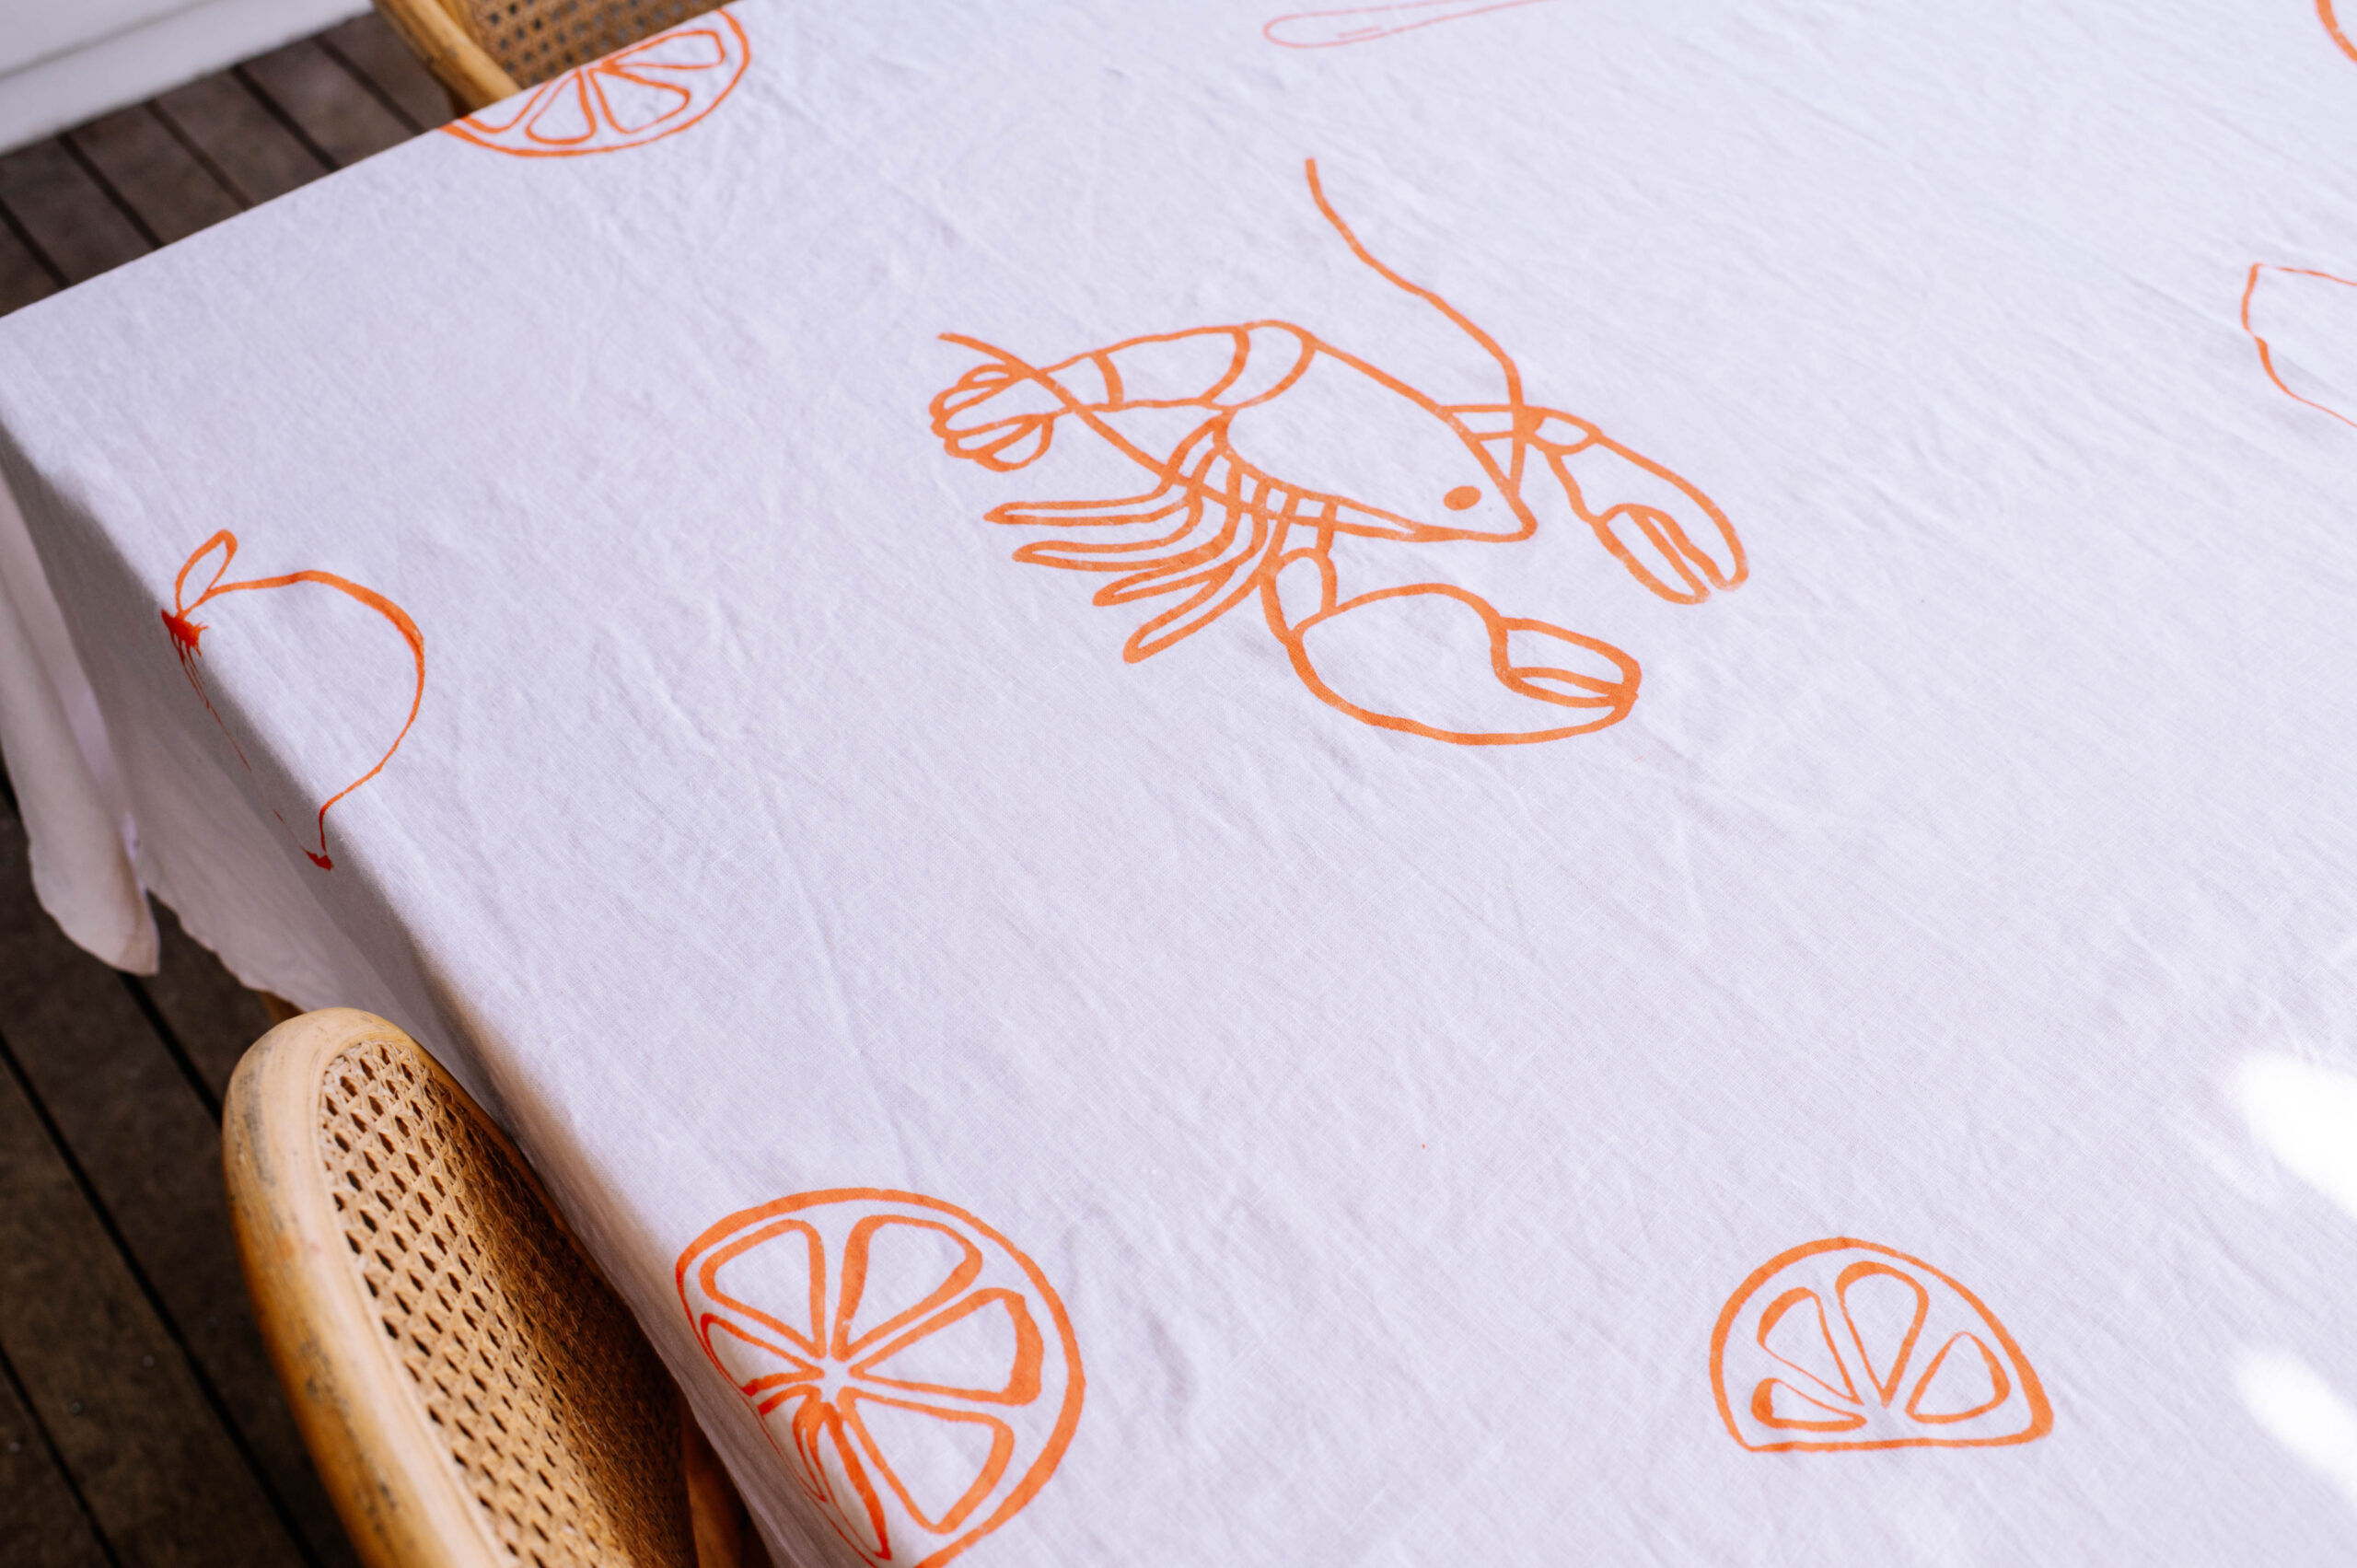
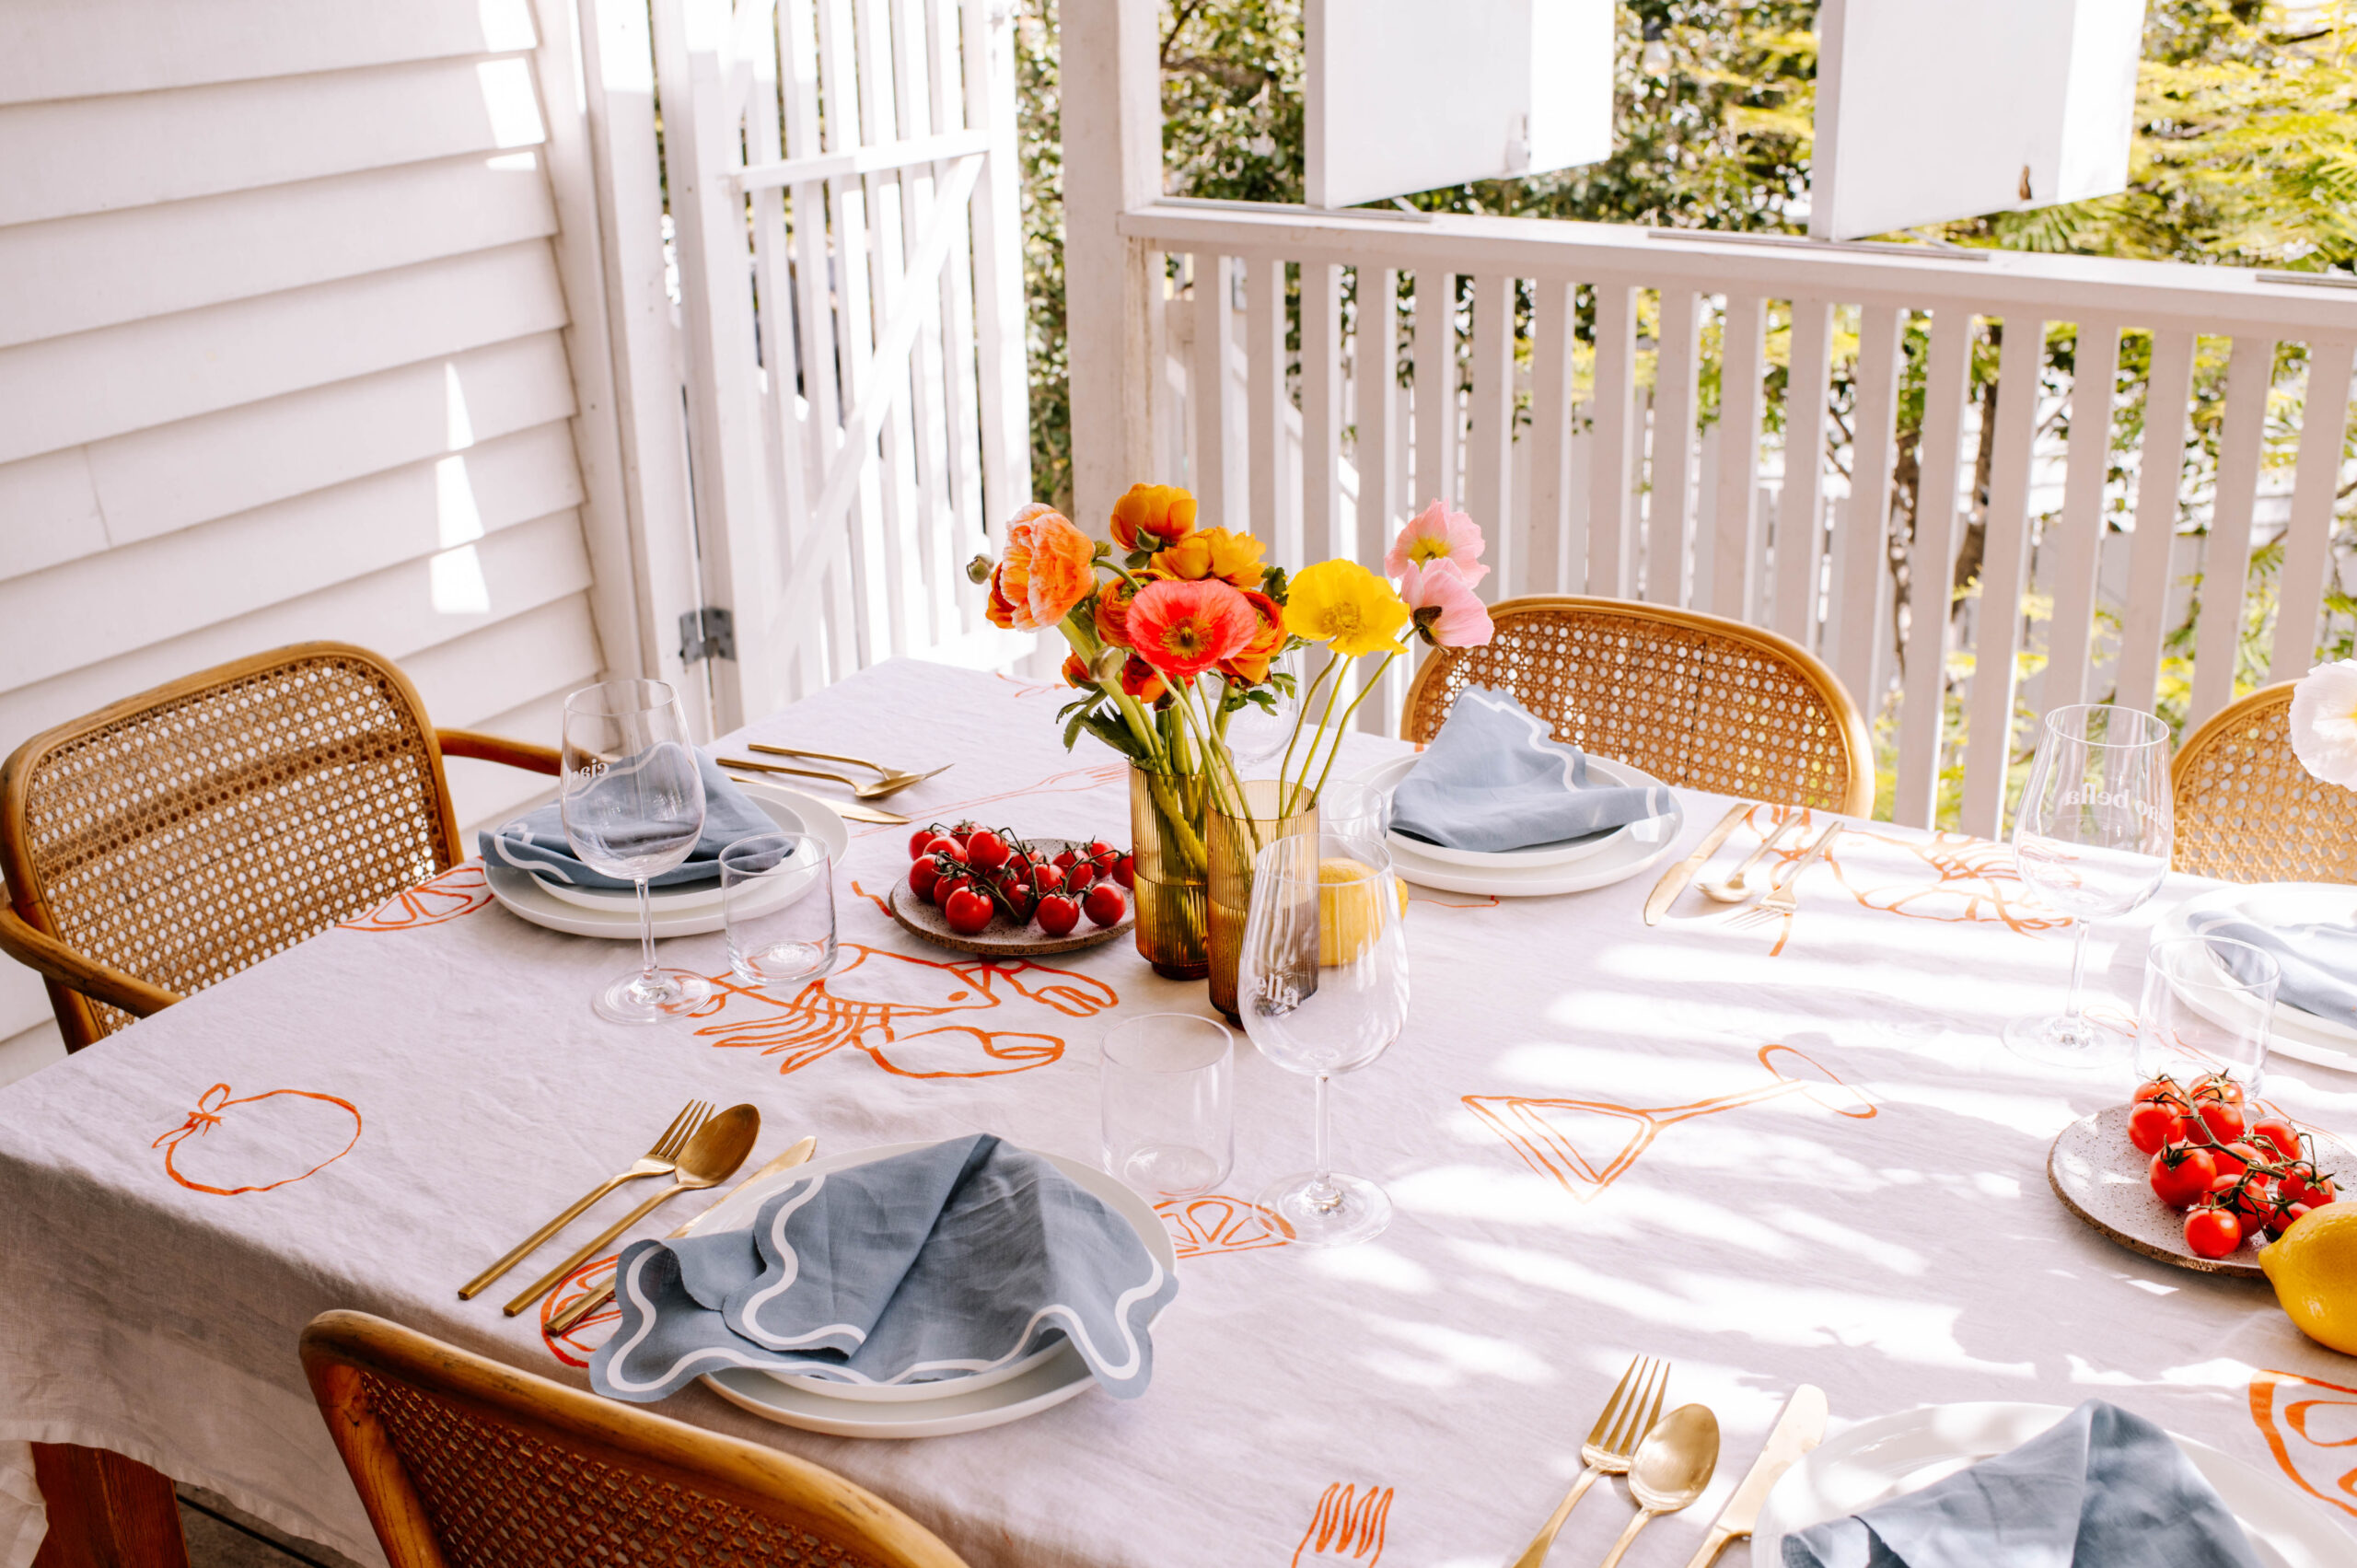
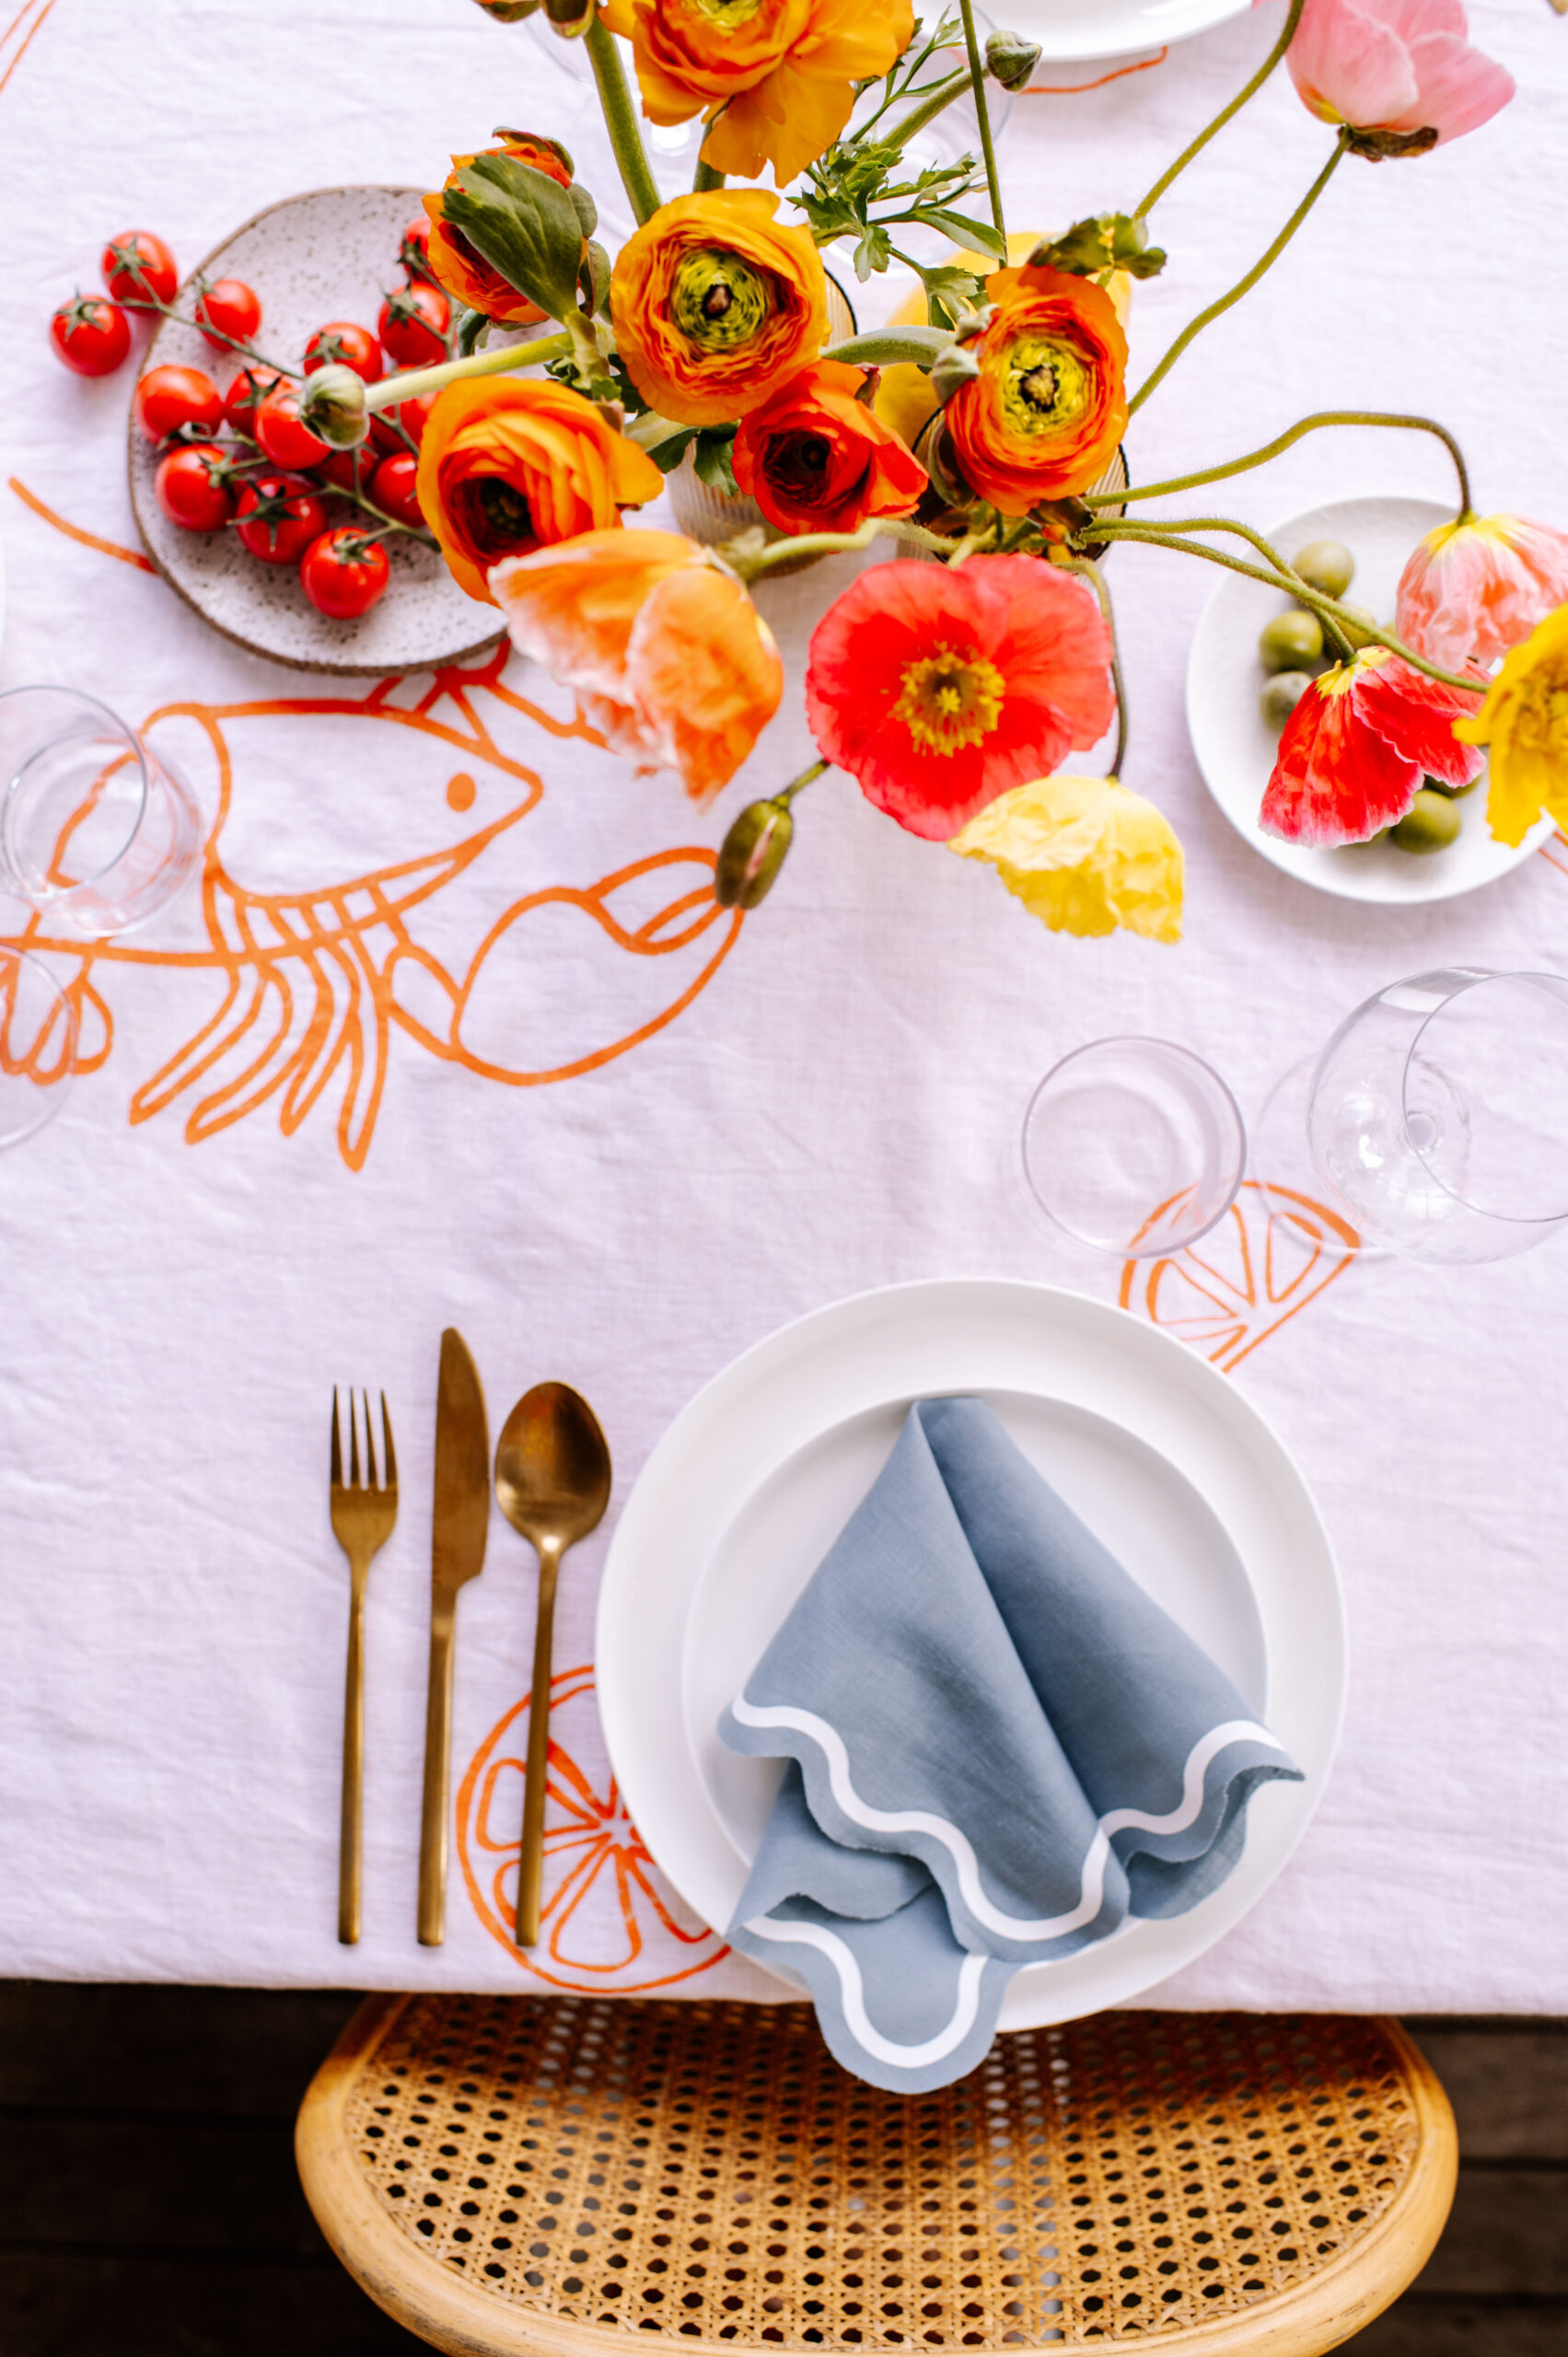
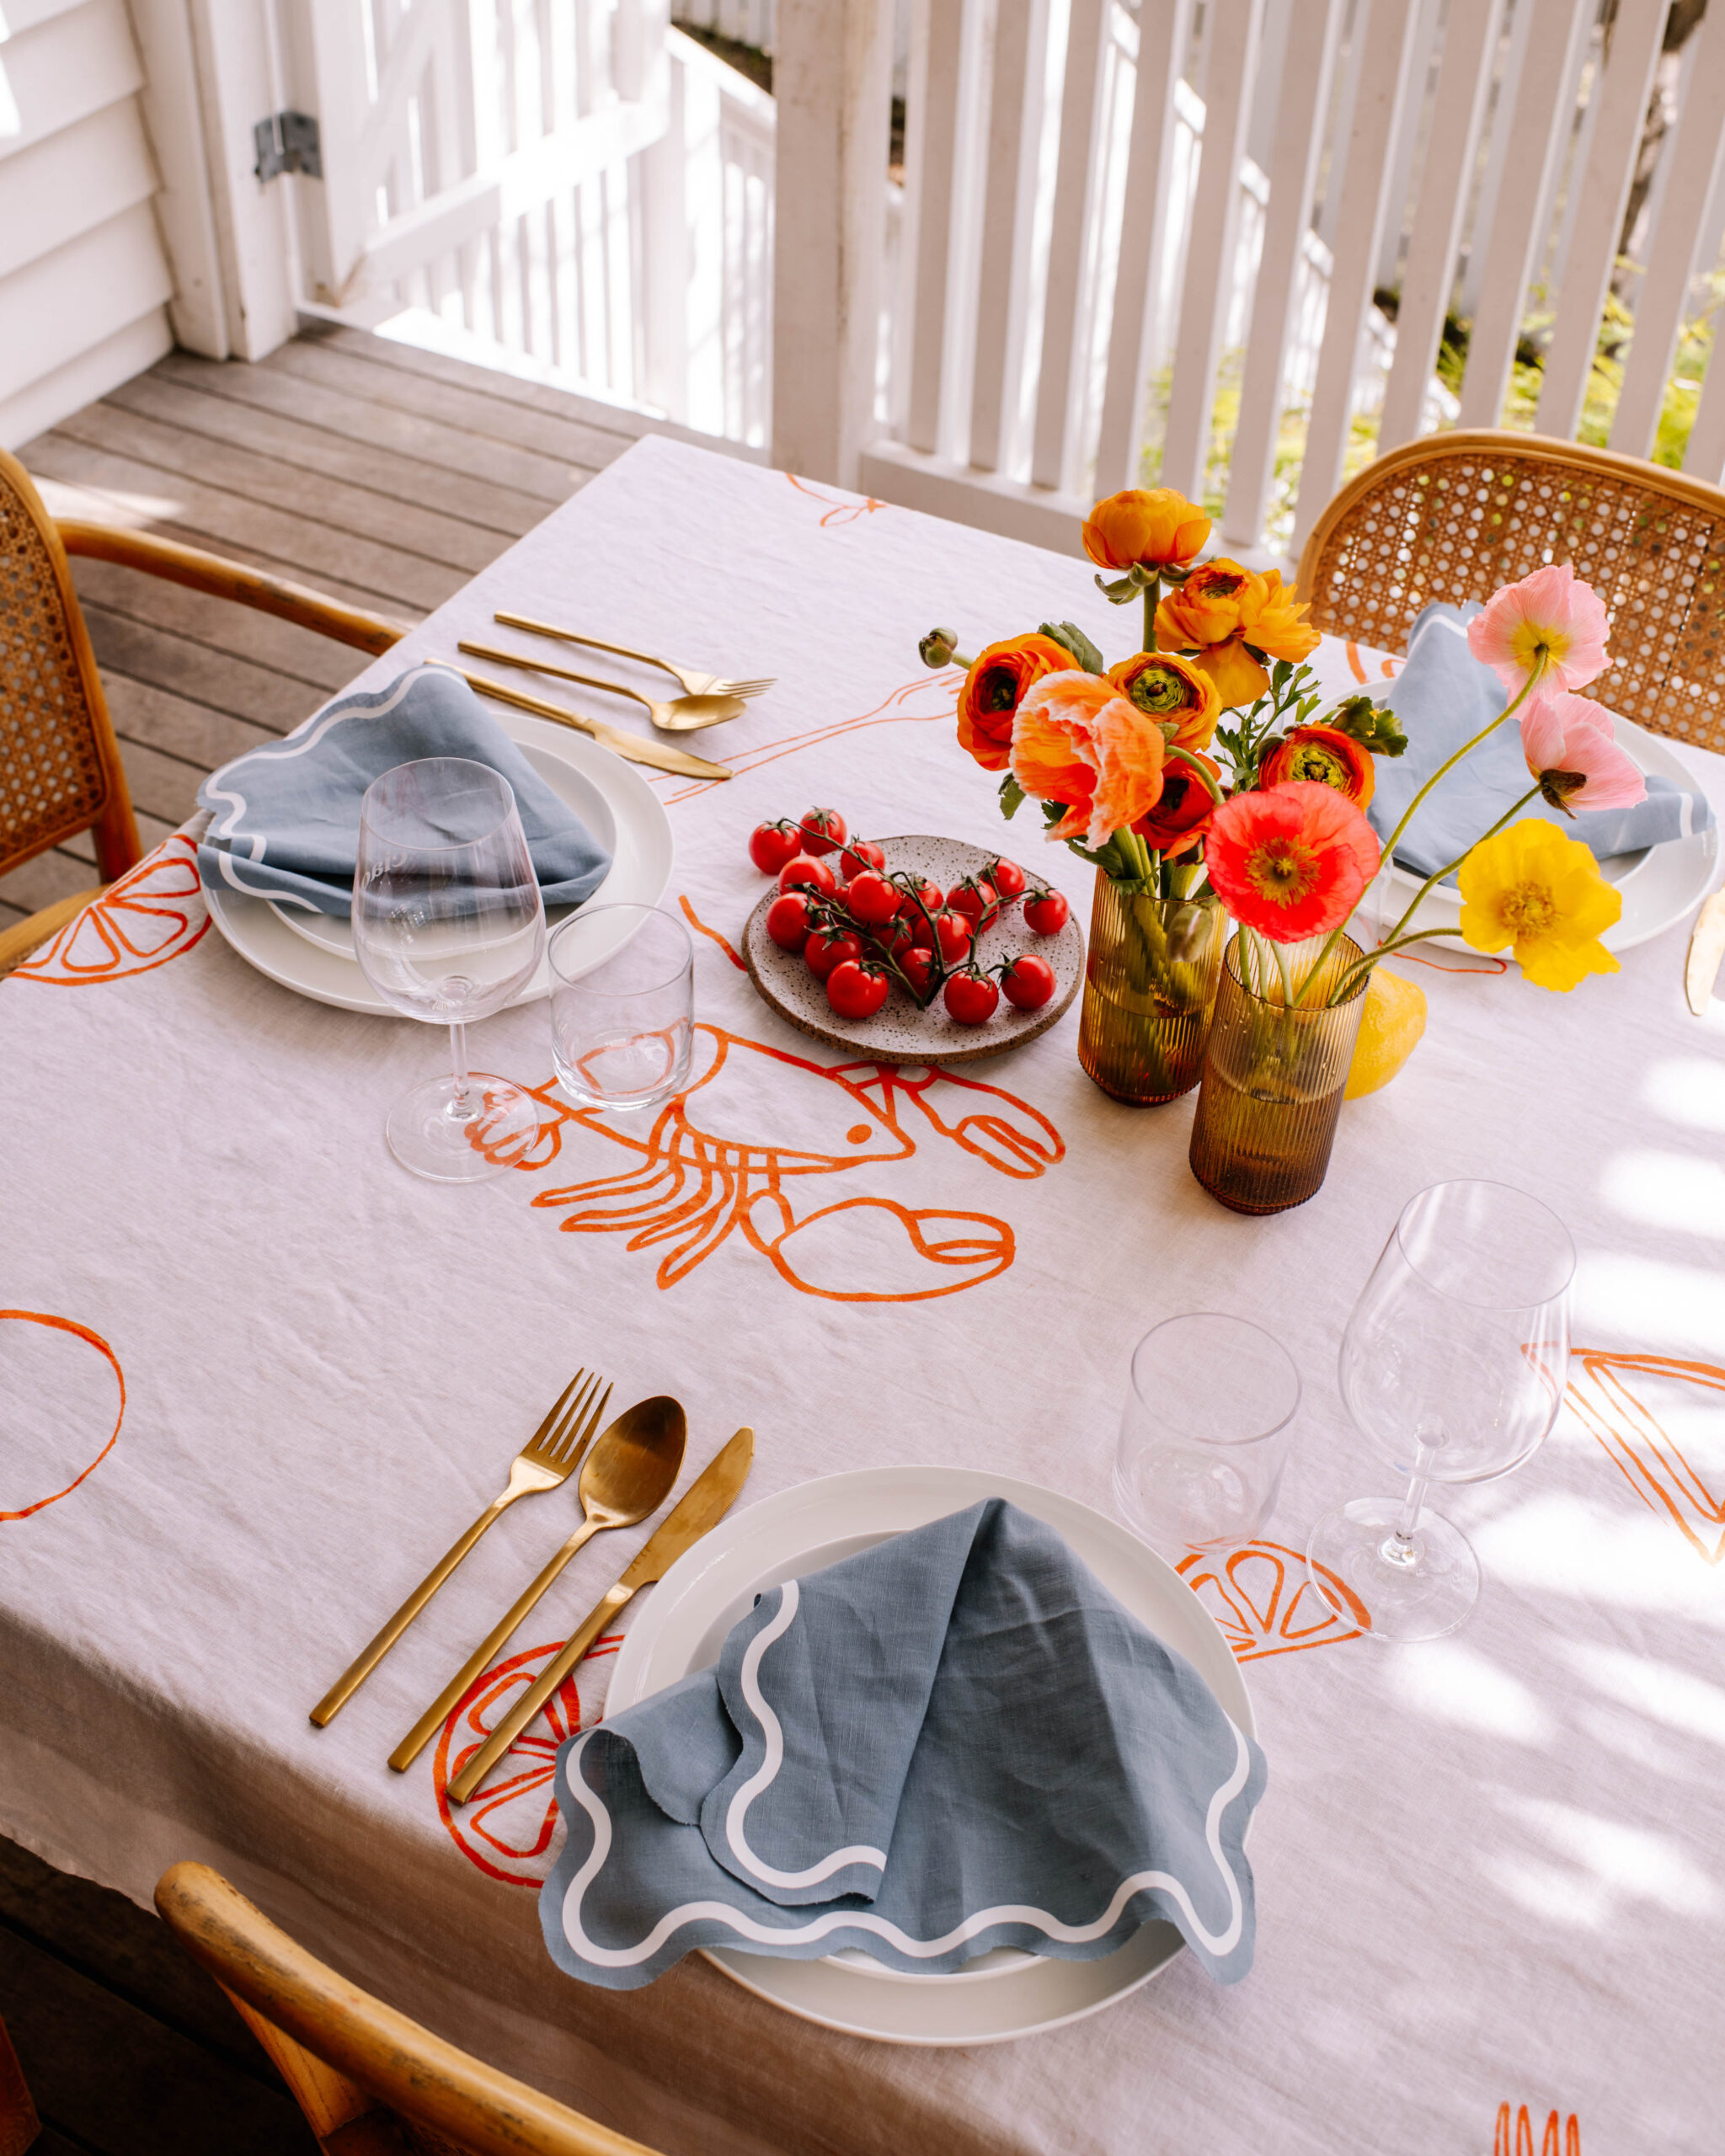
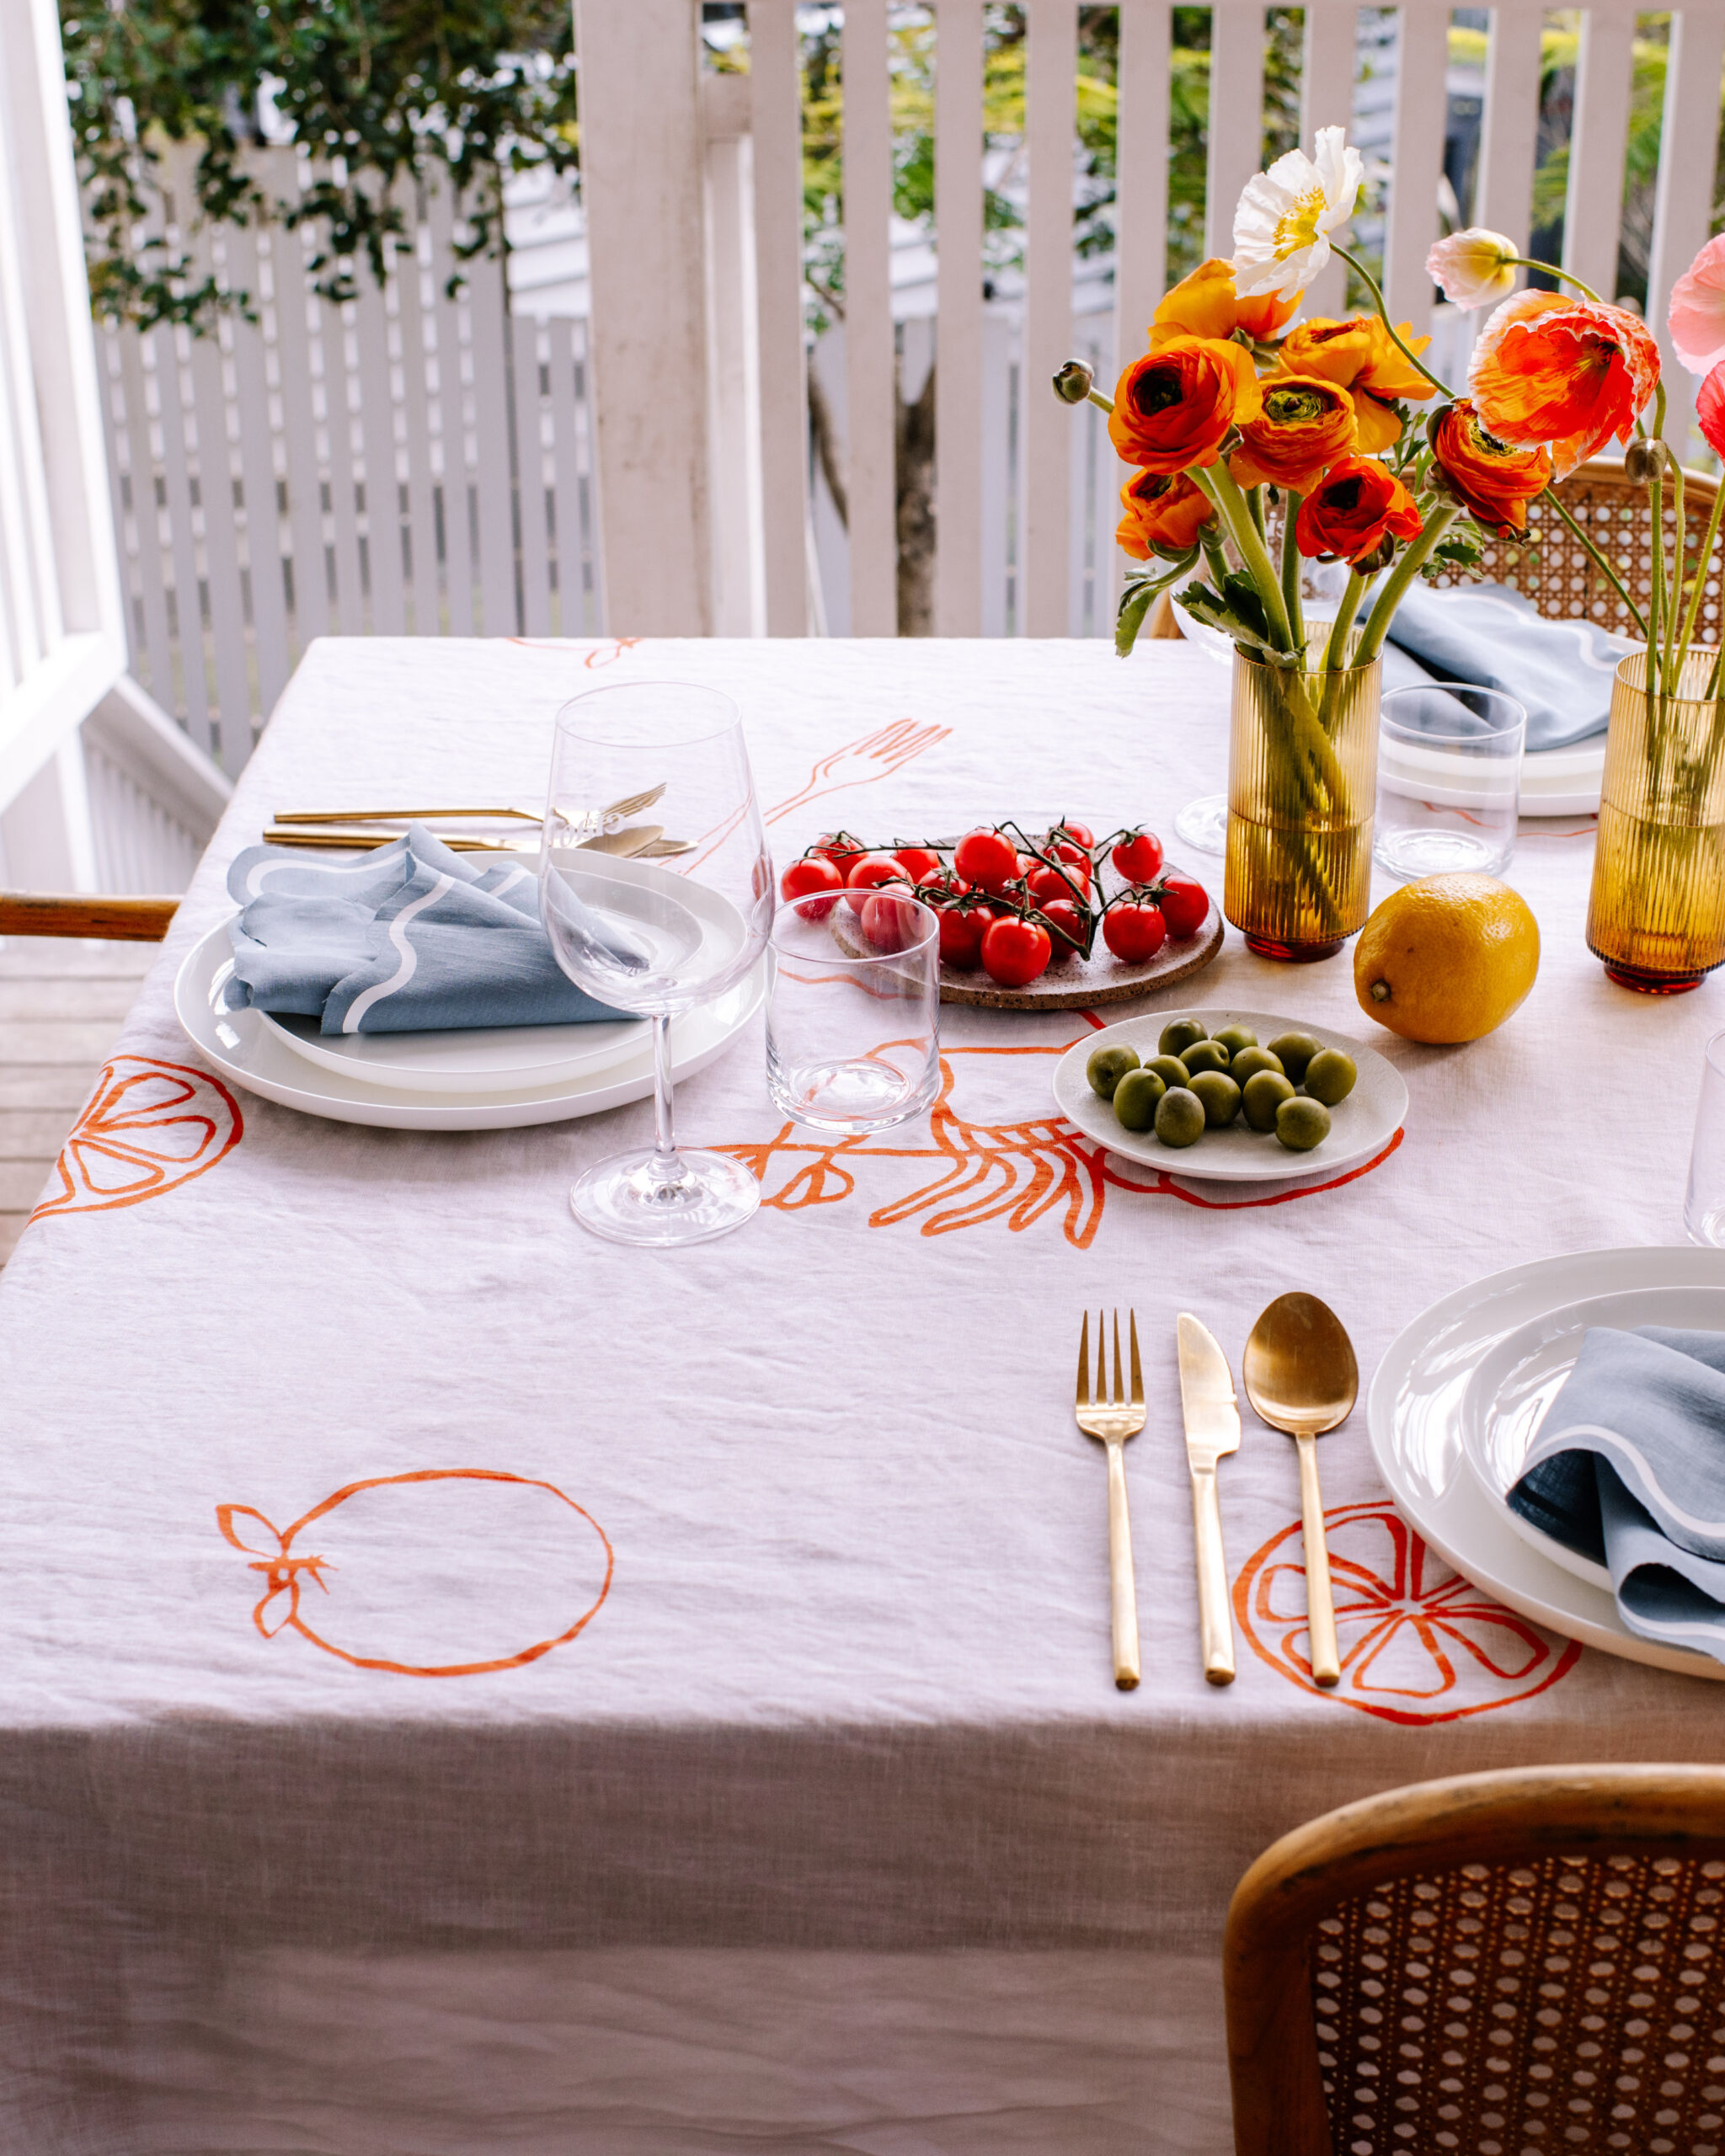
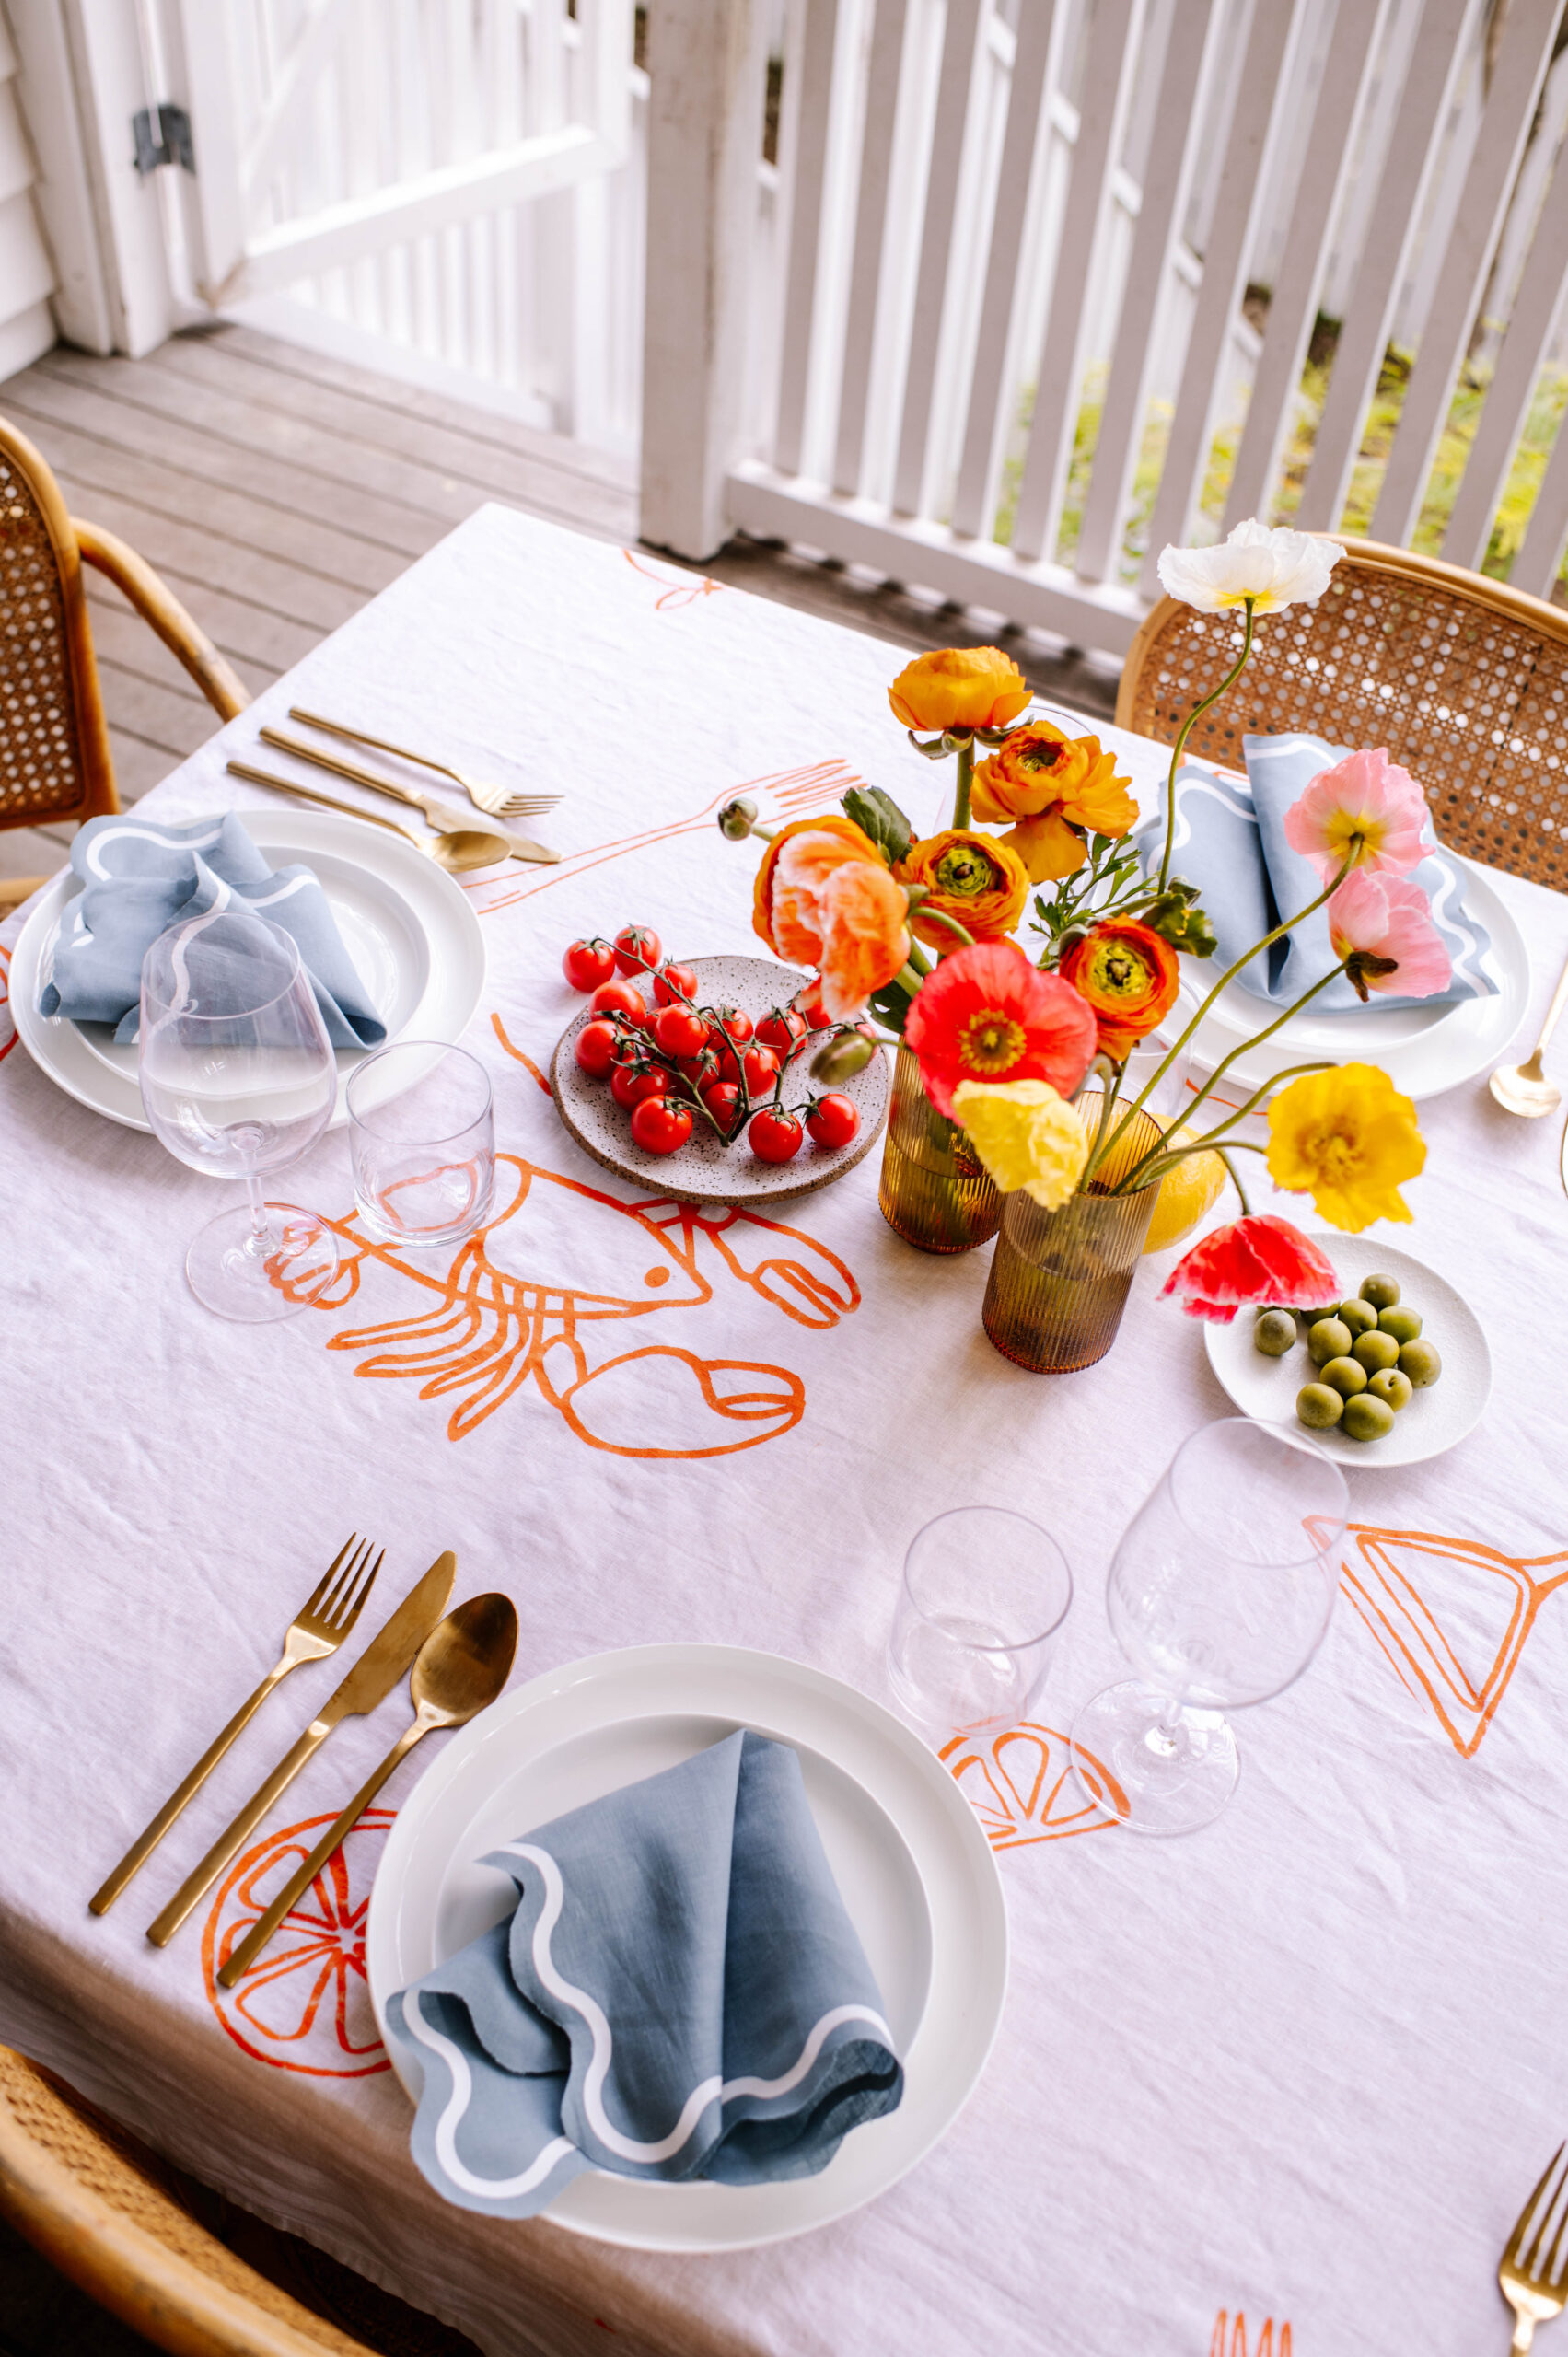
Every year I tell myself I’m going to host a lunch for my birthday, and I finally got around to it this year. I decided to make it Italian themed – wine, pasta and seafood. I decided to create a whole bunch of decor to match. Using my Cricut of course! I made a tablecloth, napkins and etched the glassware, and topped that off with yummy food that Ben very kindly made for us. Lots of you wanted to know more about the tablecloth, and luckily I chronicled the whole process while I was making it so I could share it here. Read on for how I did it.
Creating The Design
I really wanted to give a seaside Italian holiday vibe with a touch of playfulness, so I decided to make the personalised tablecloth the centre for the design. I’ve also been wanting to make wavy napkins for a long time using my cricut, so I decided this was the perfect time. To top it off, I decided to use my favourite etching cream hack to personalise some glassware. To create the look, I made my design using the Design Space app, customising the colours and getting the look just right. I used the font Didot for the lettering, and simply picked images and shapes from the Design Space library to create the other items. You can access my design here.
Making The Tablecloth
Materials you need
- Linen or cotton tablecloth (I used this one)
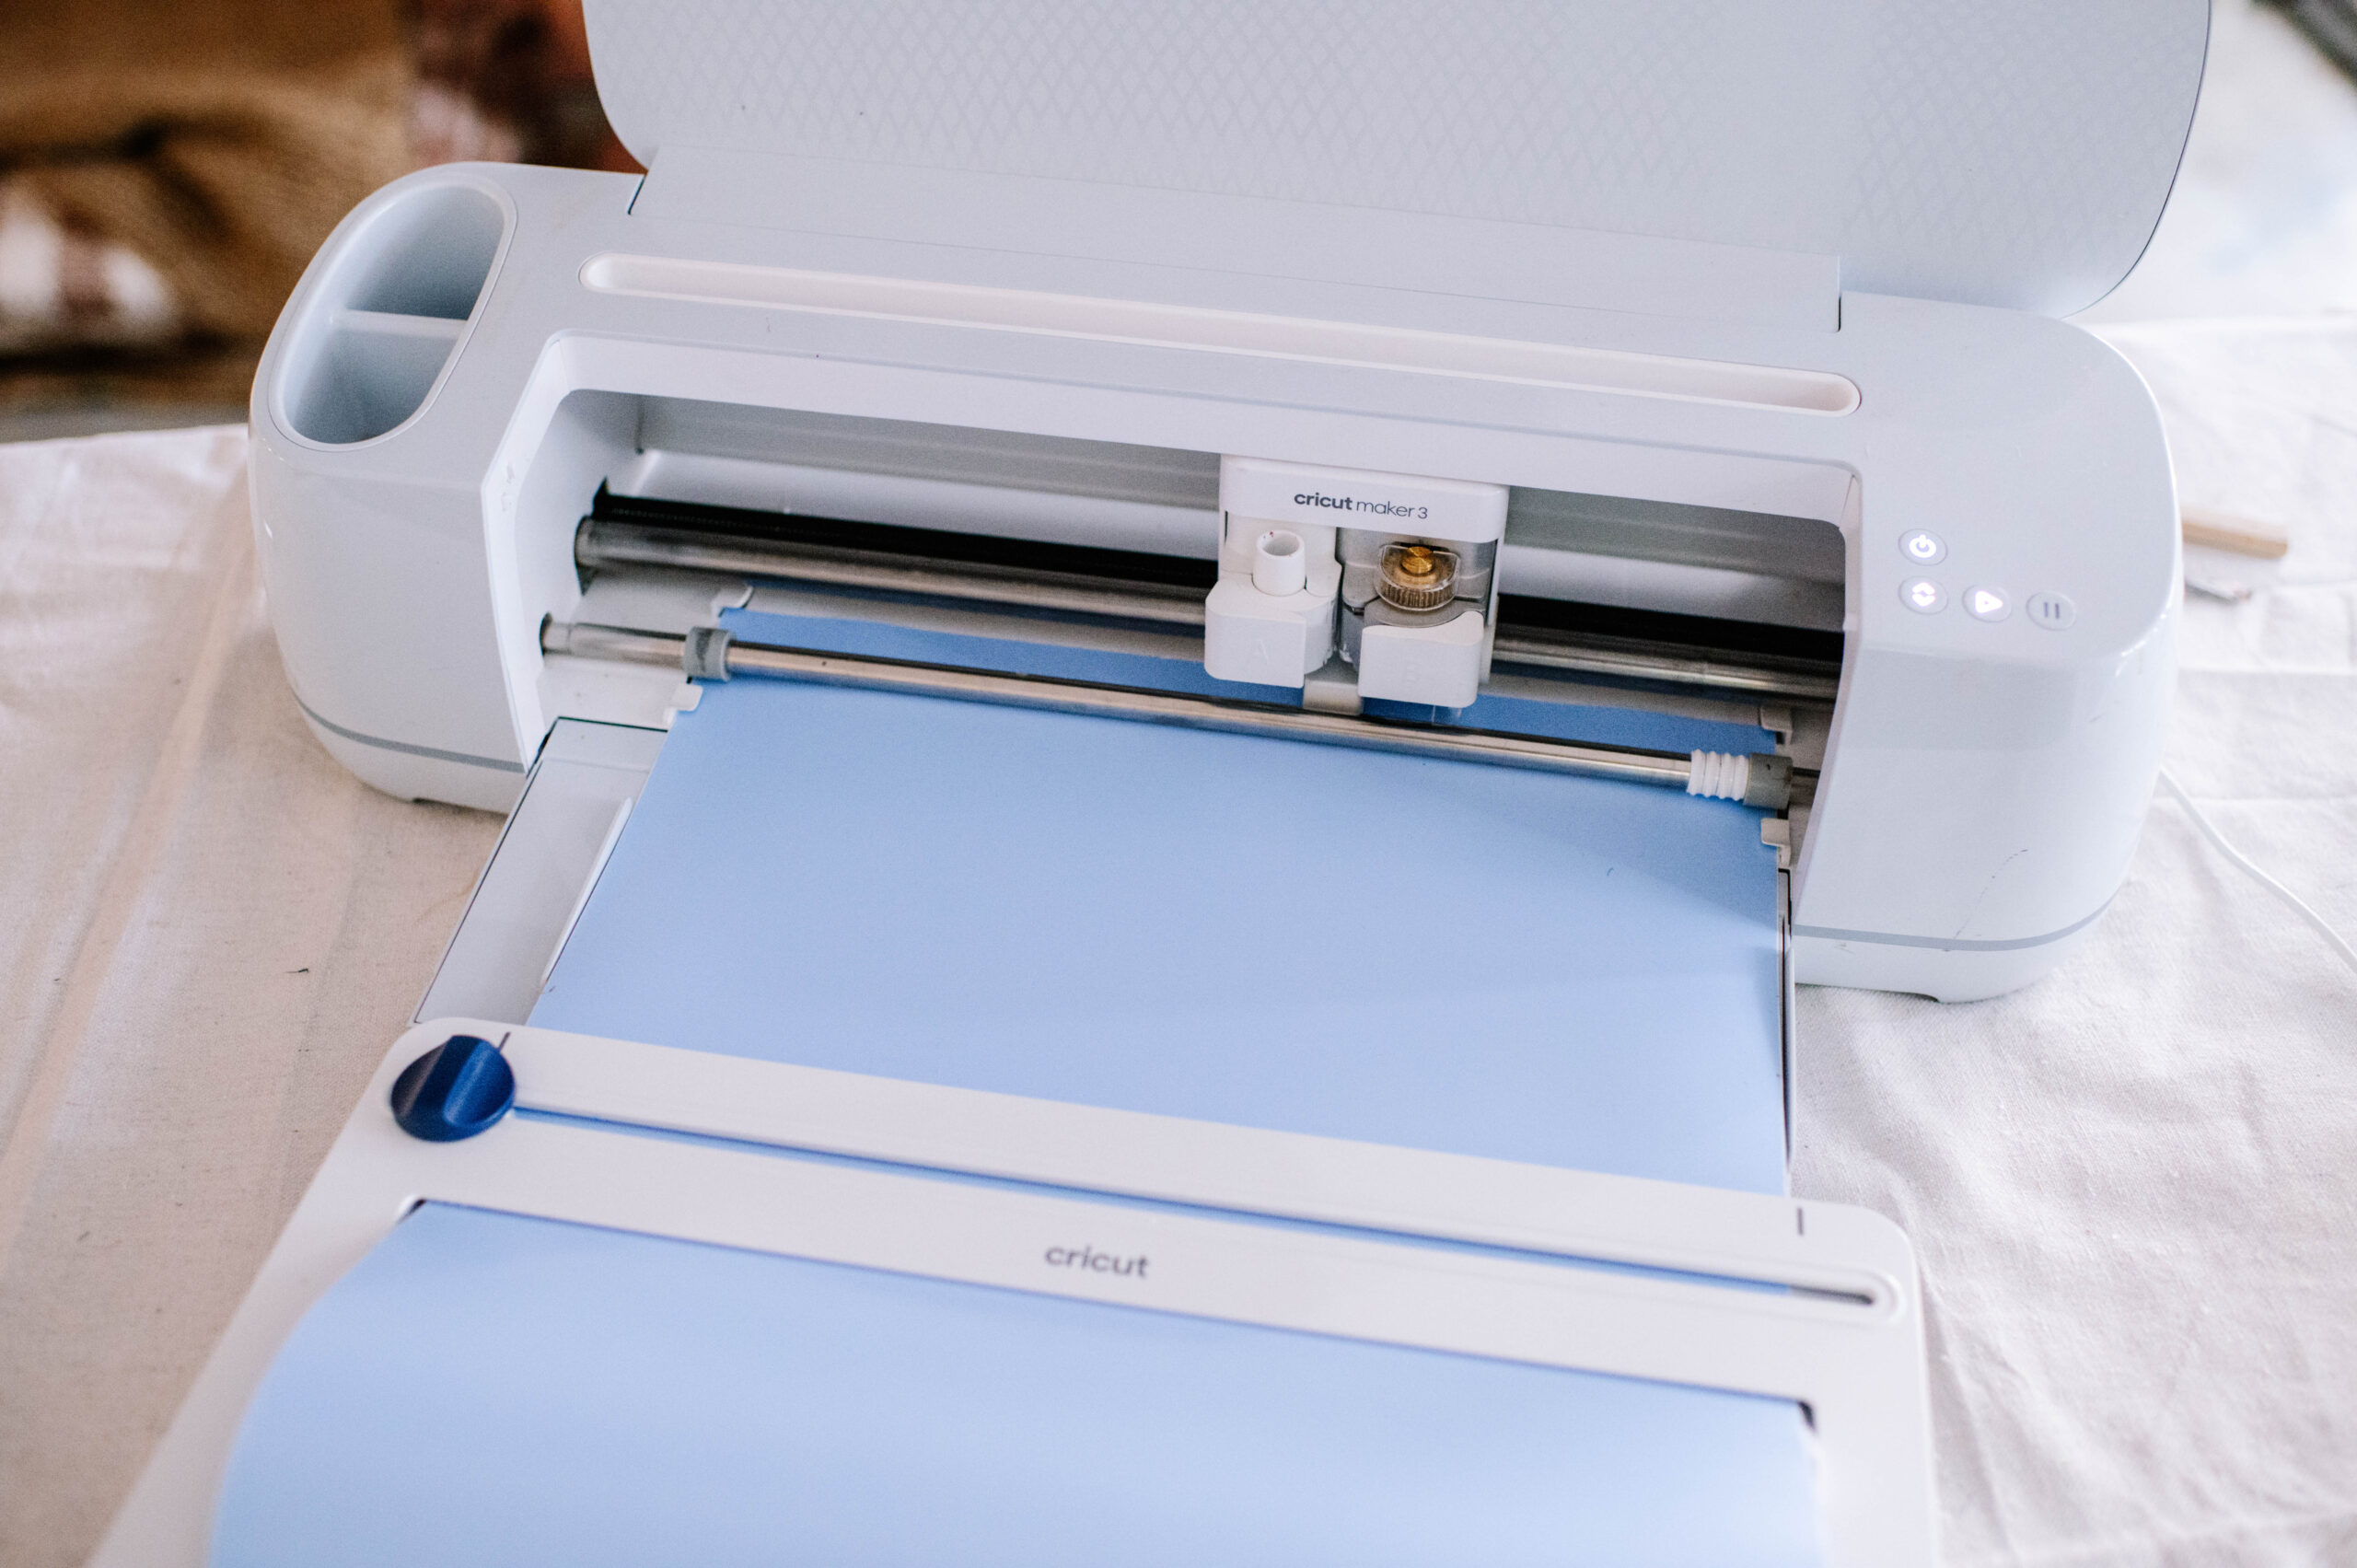
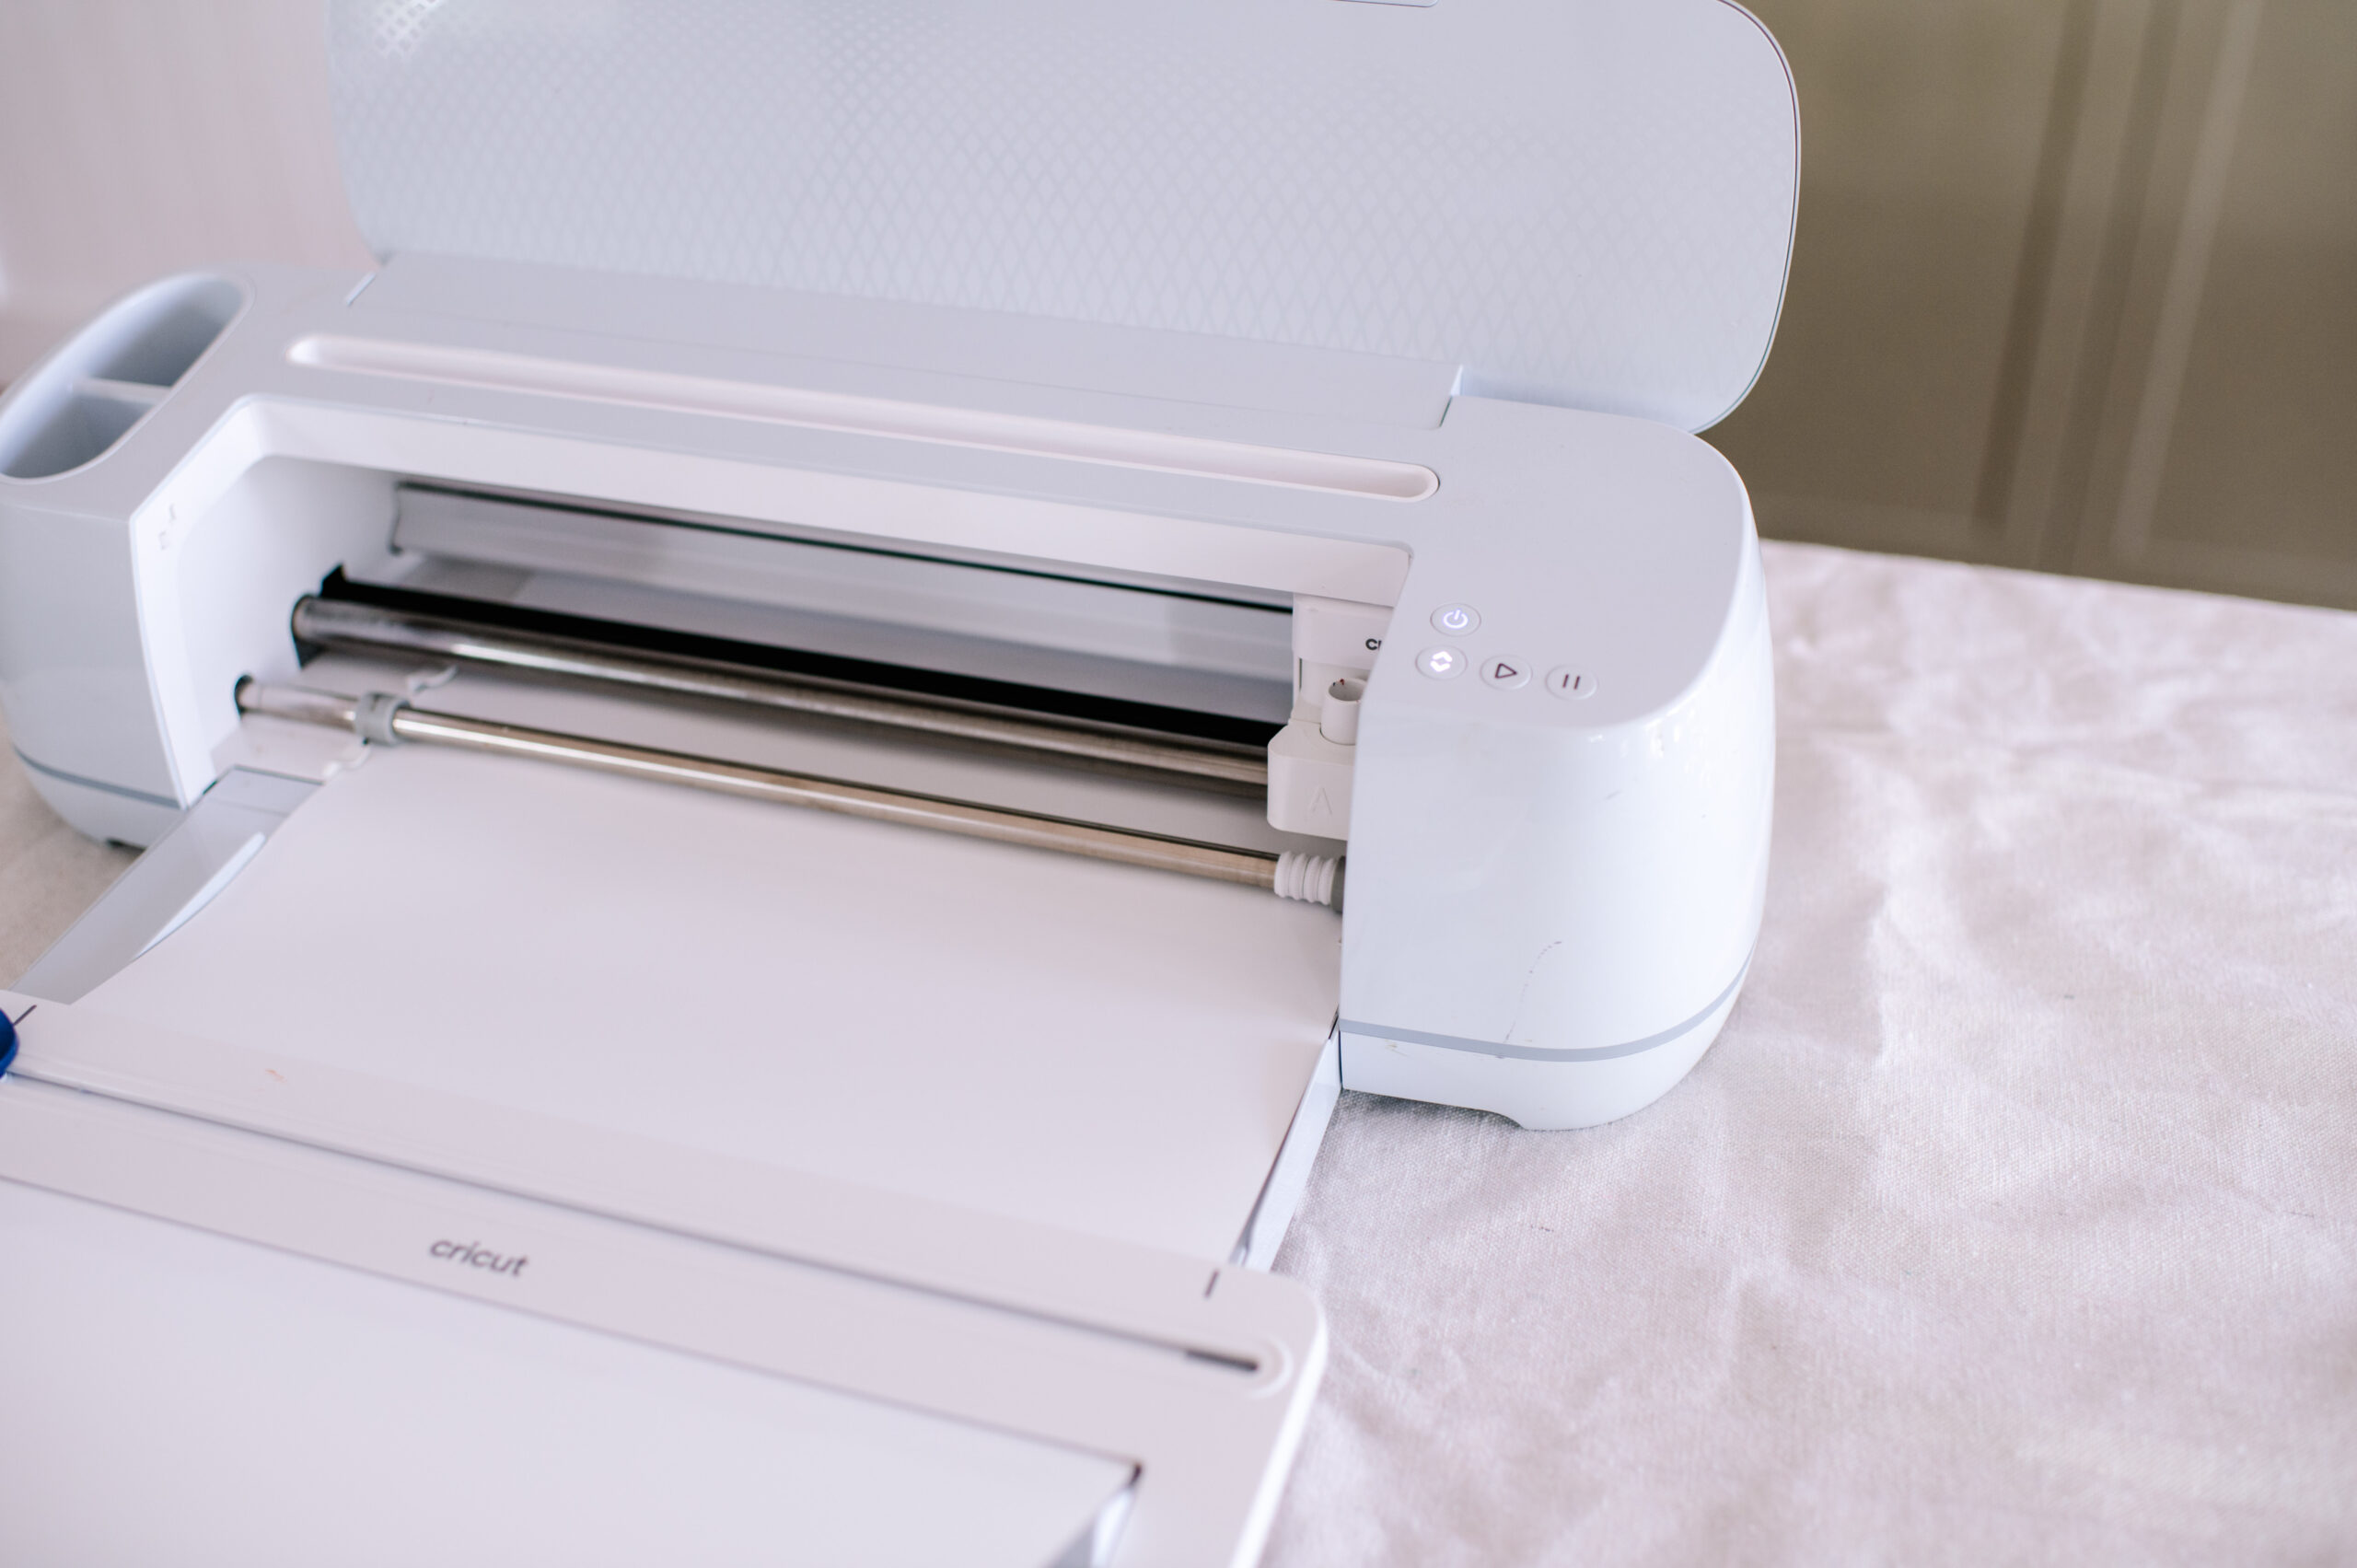
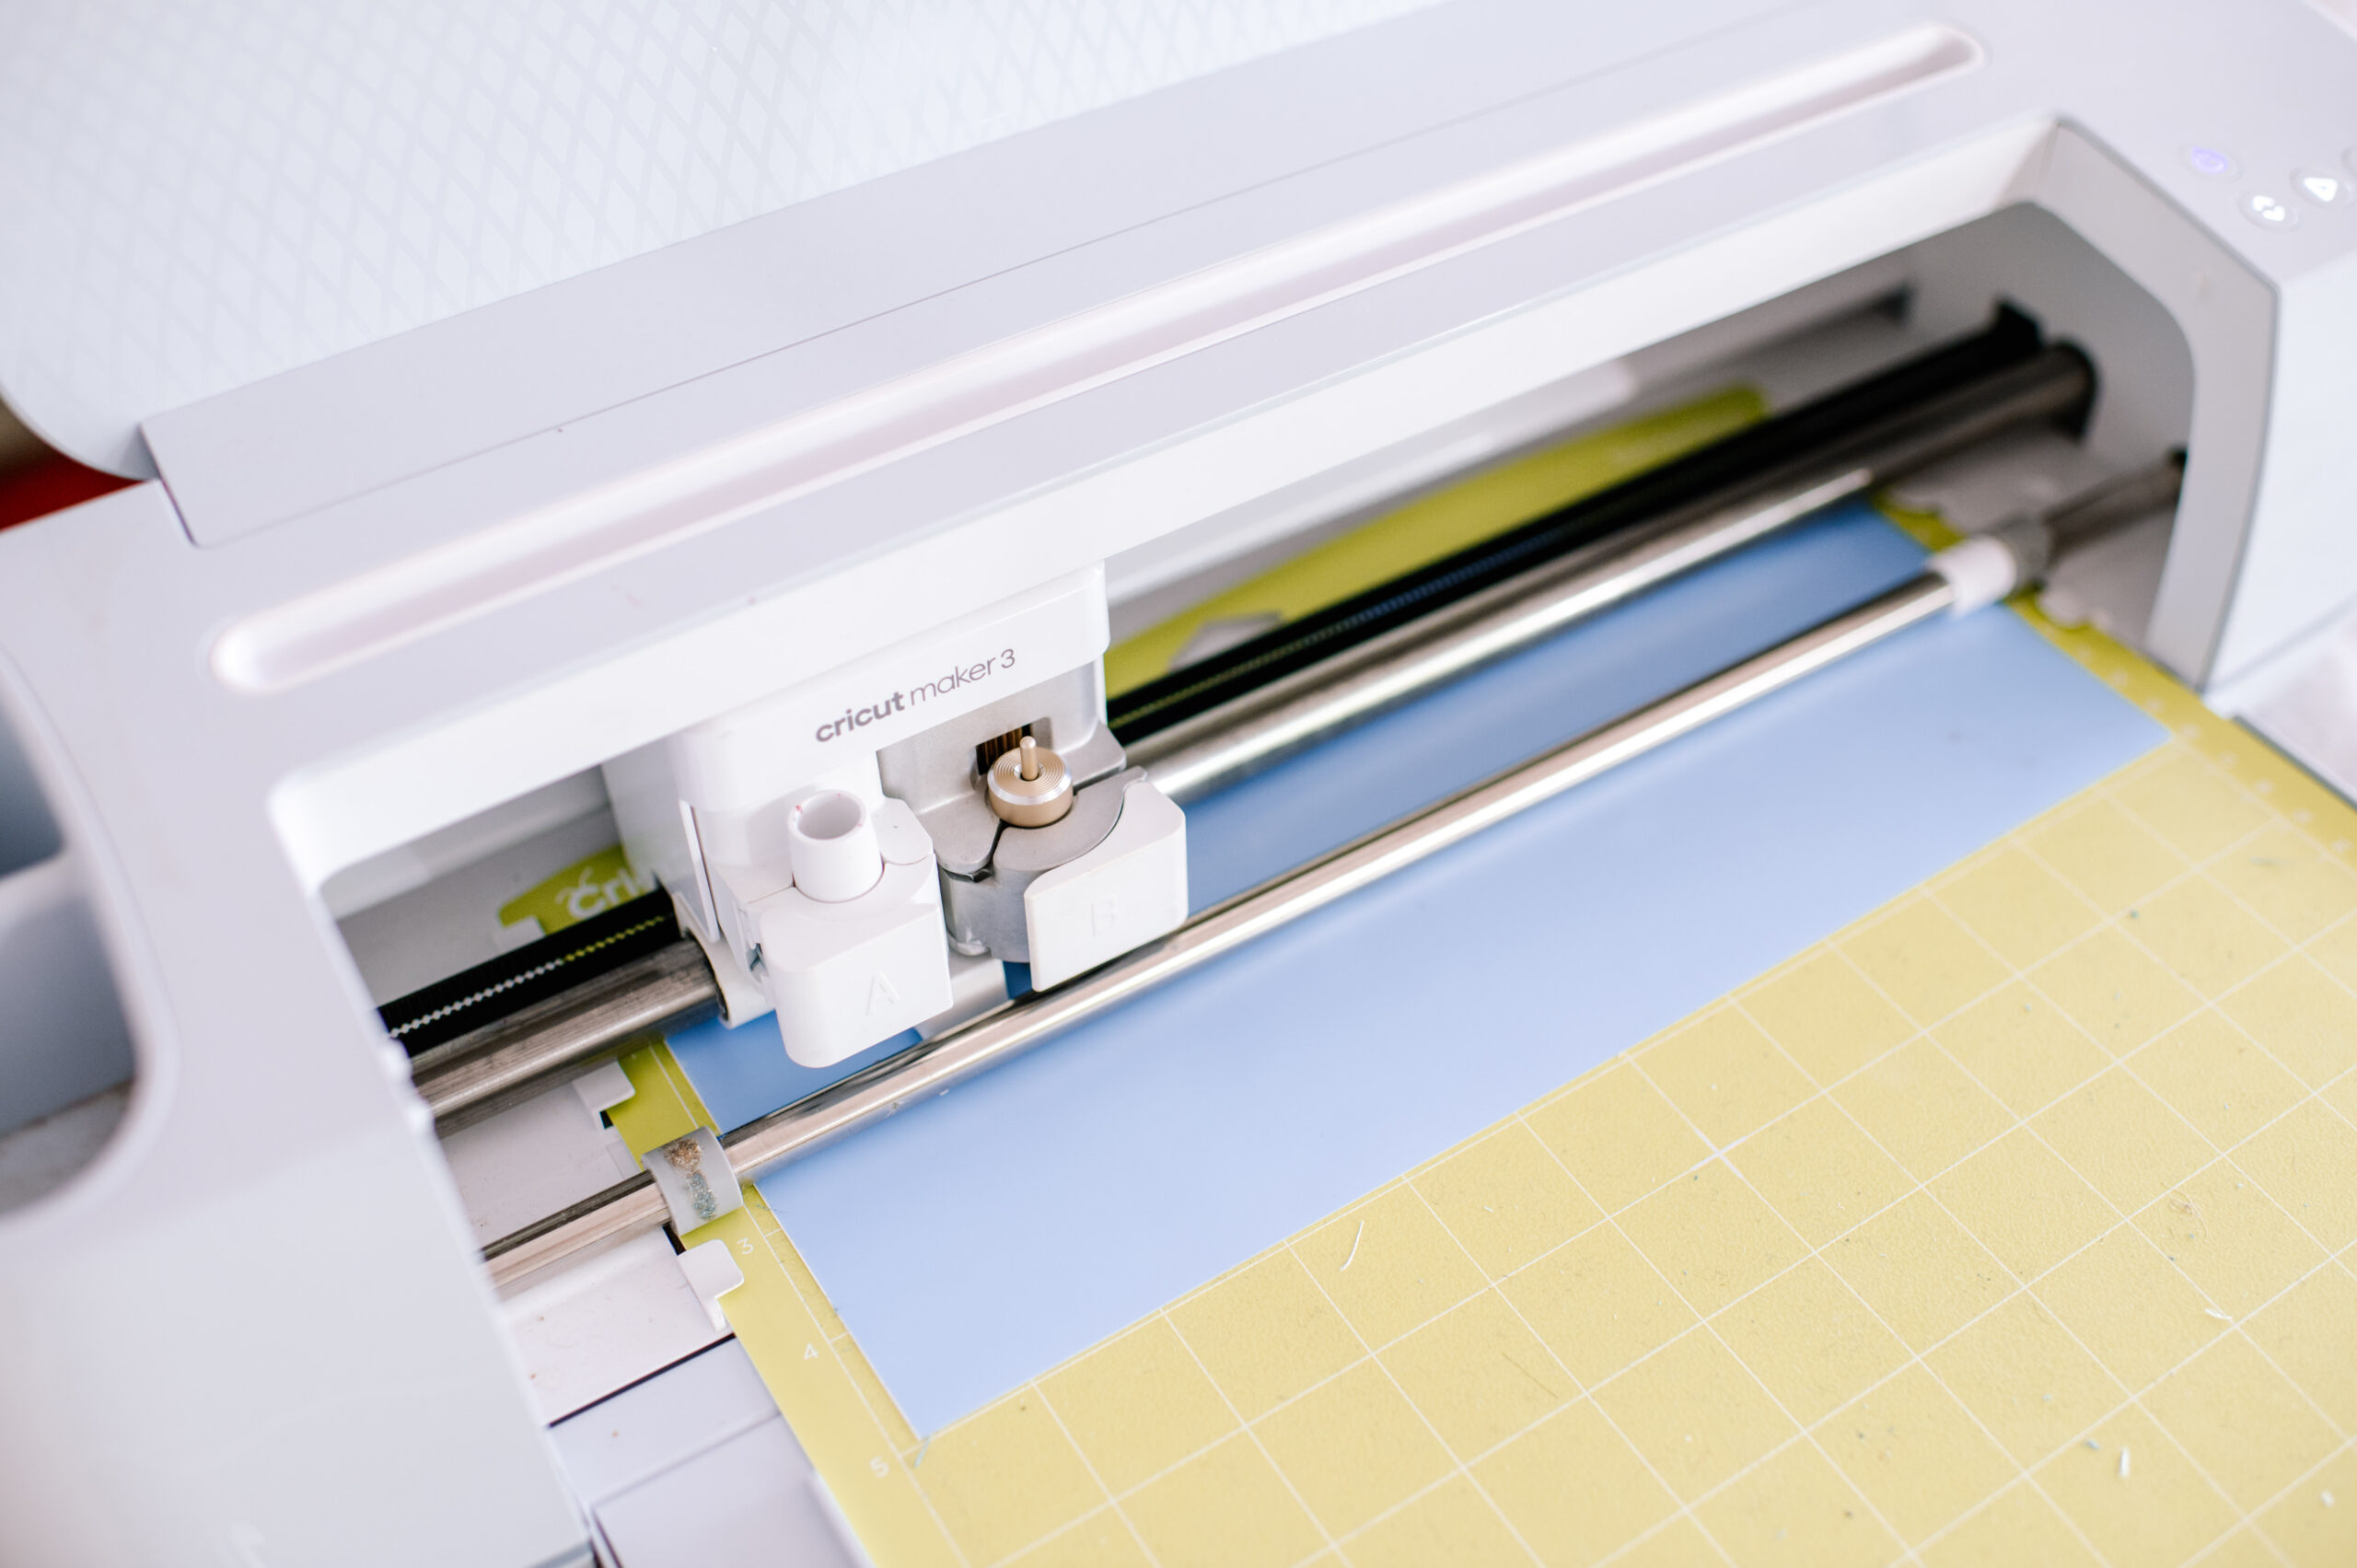
- Cricut Maker 3 Machine
- Cricut Smart Stencil Material
- Fabric Paint and Paint Brush
- Cricut Fine Point Blade (this comes as standard with the machine)
- Transfer Tape
- Weeding tools
How to
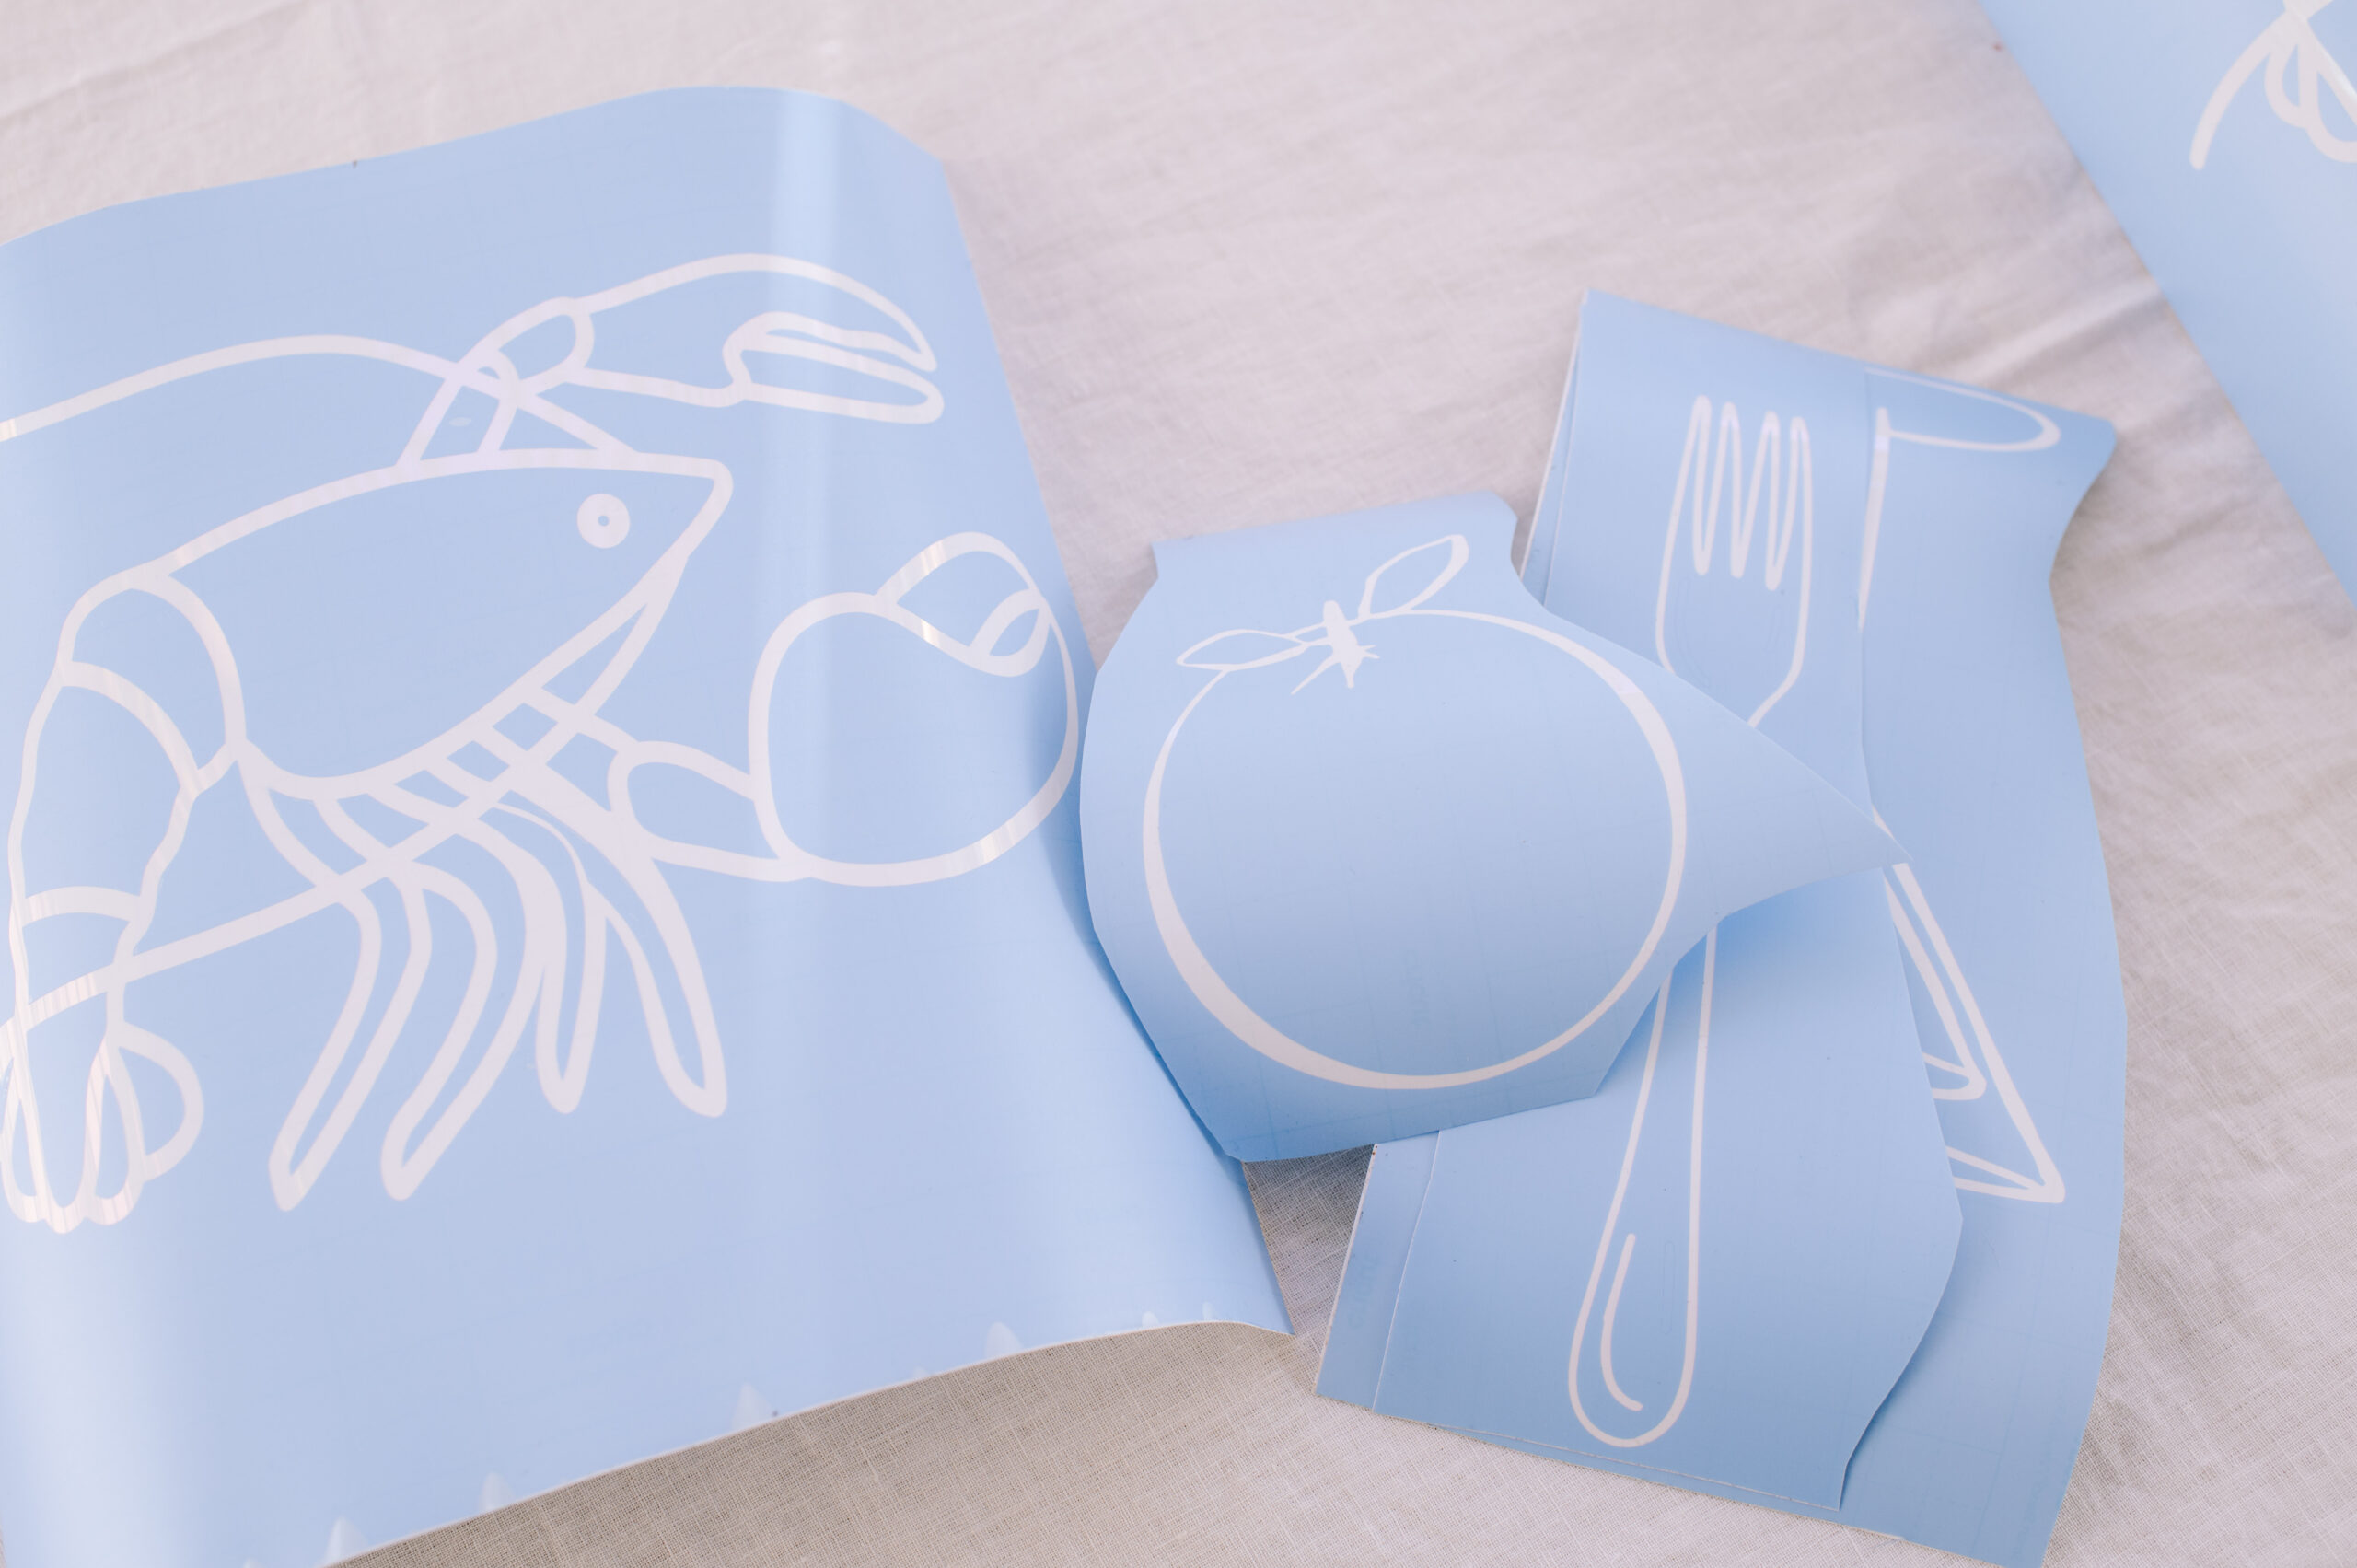
- After creating your design in the Design Space app, load the stencil material into the machine and follow the prompts to cut your design.
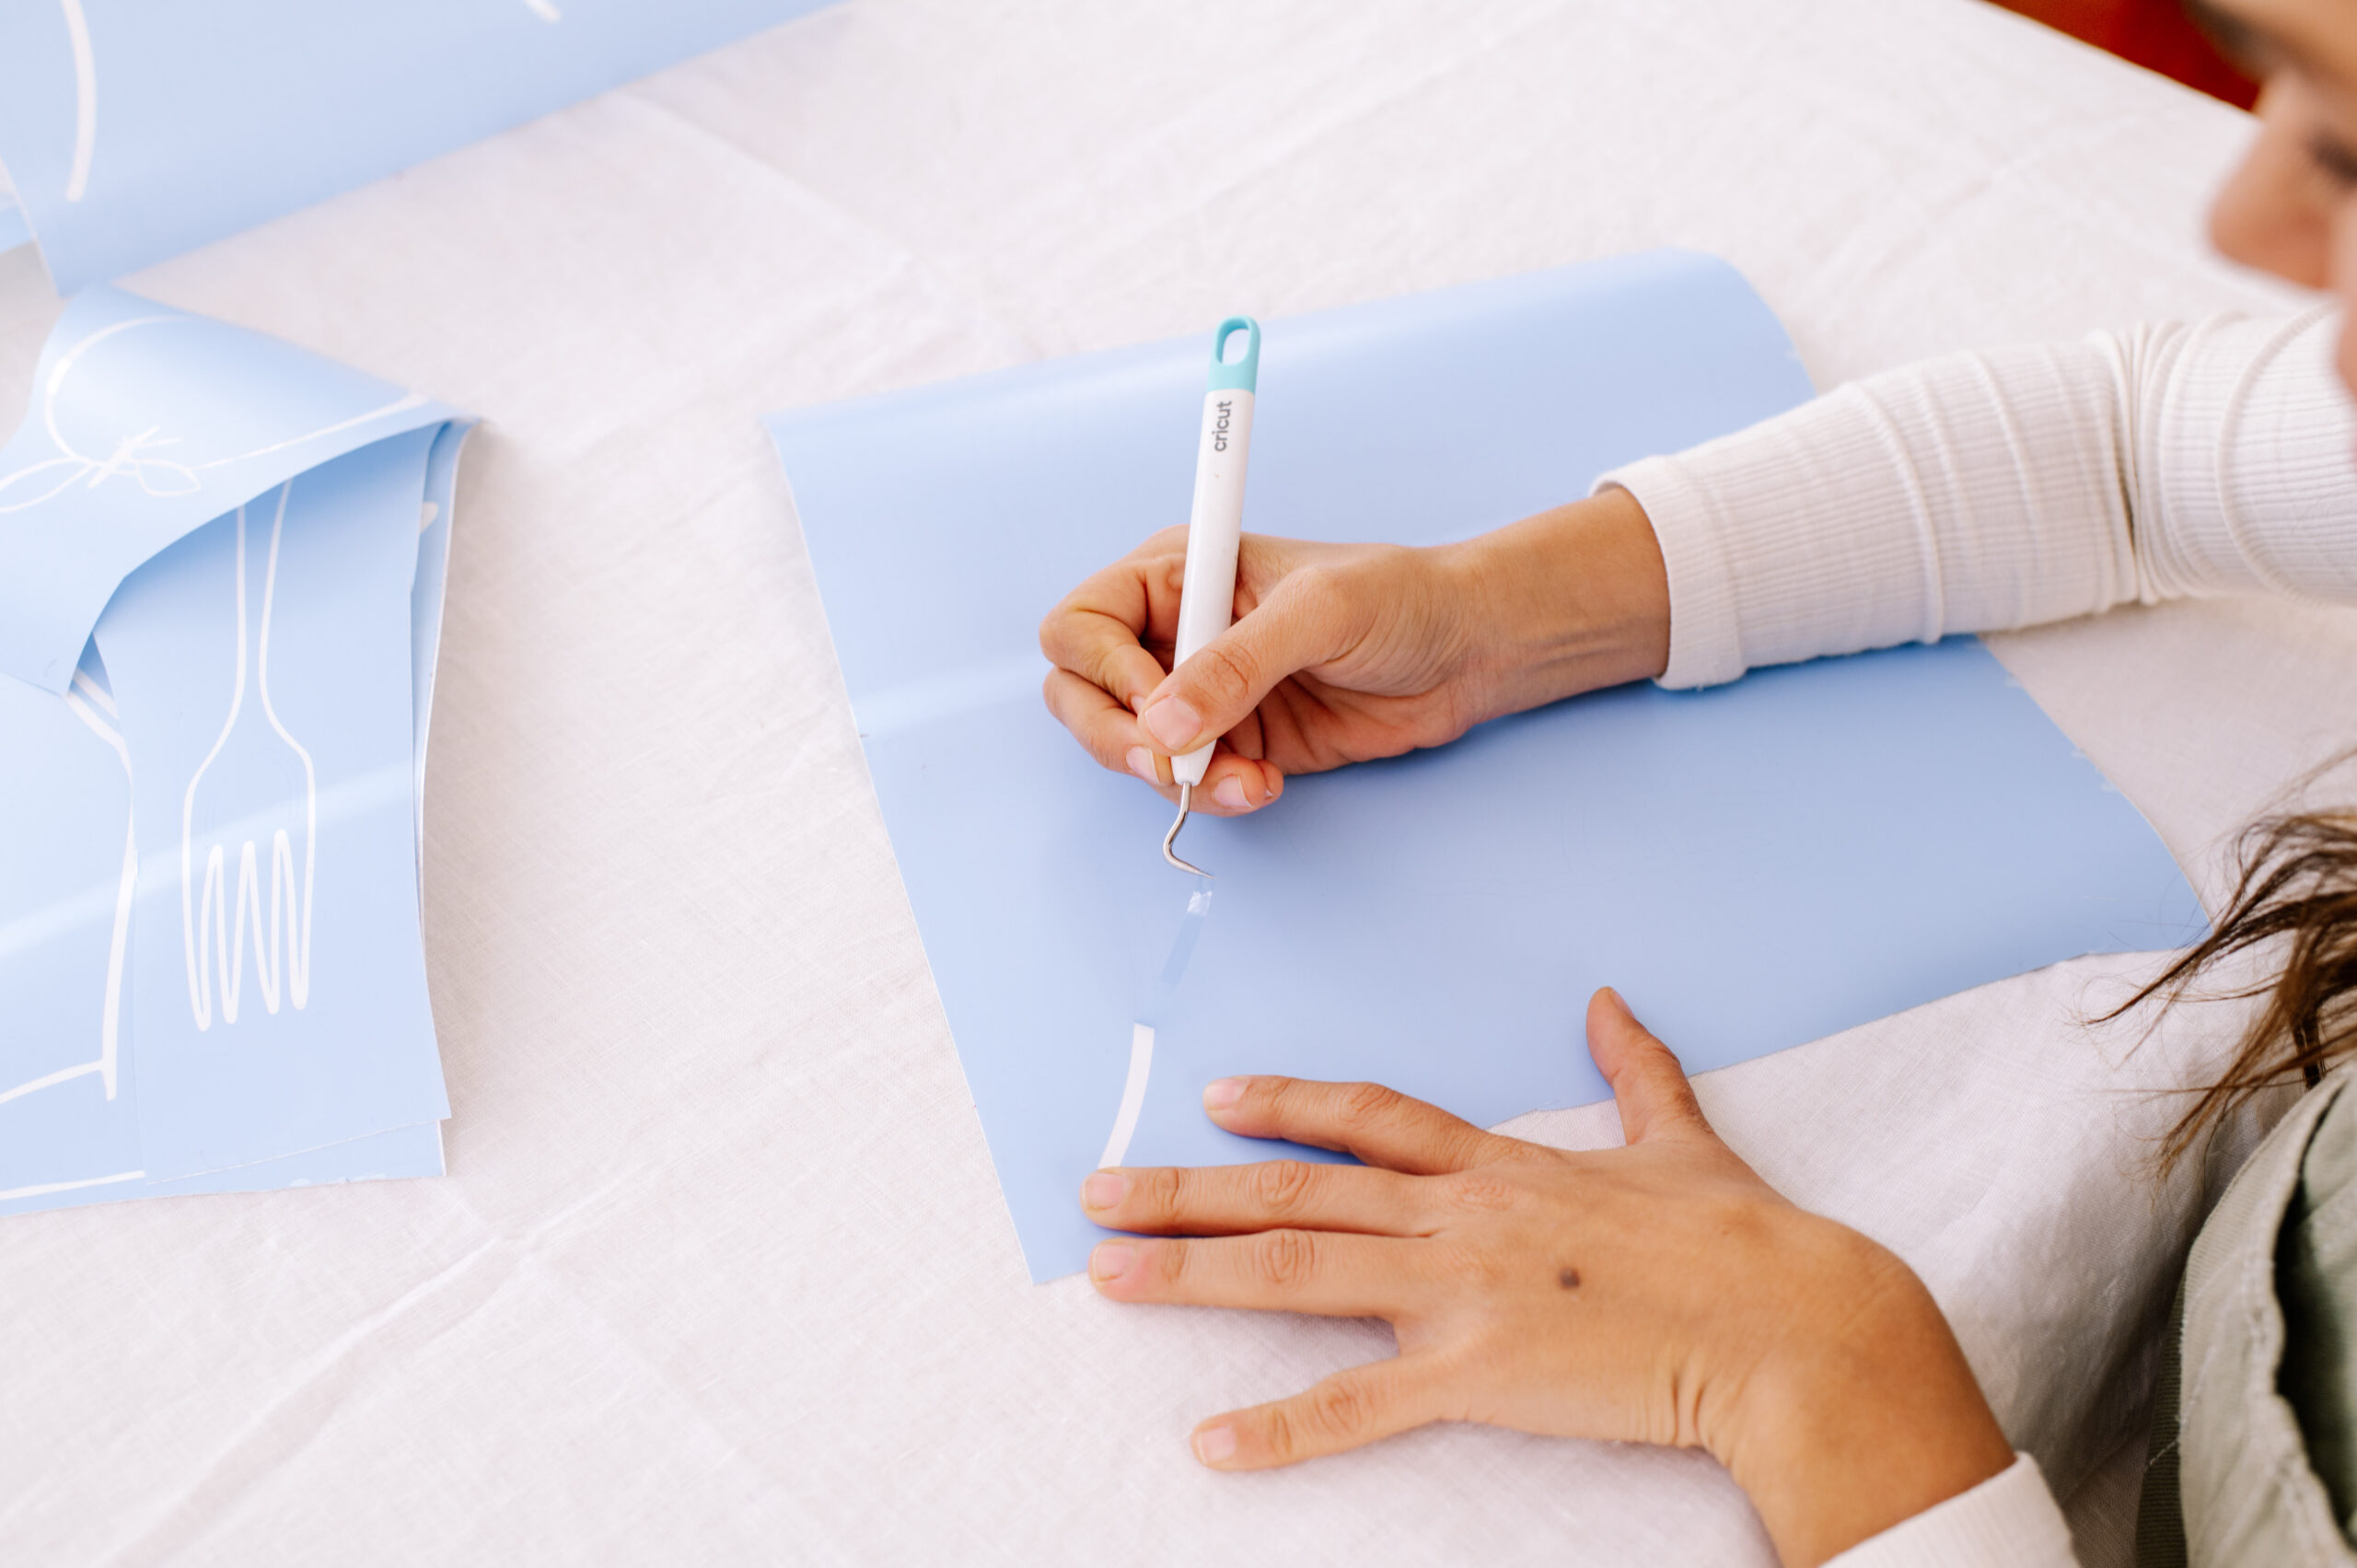
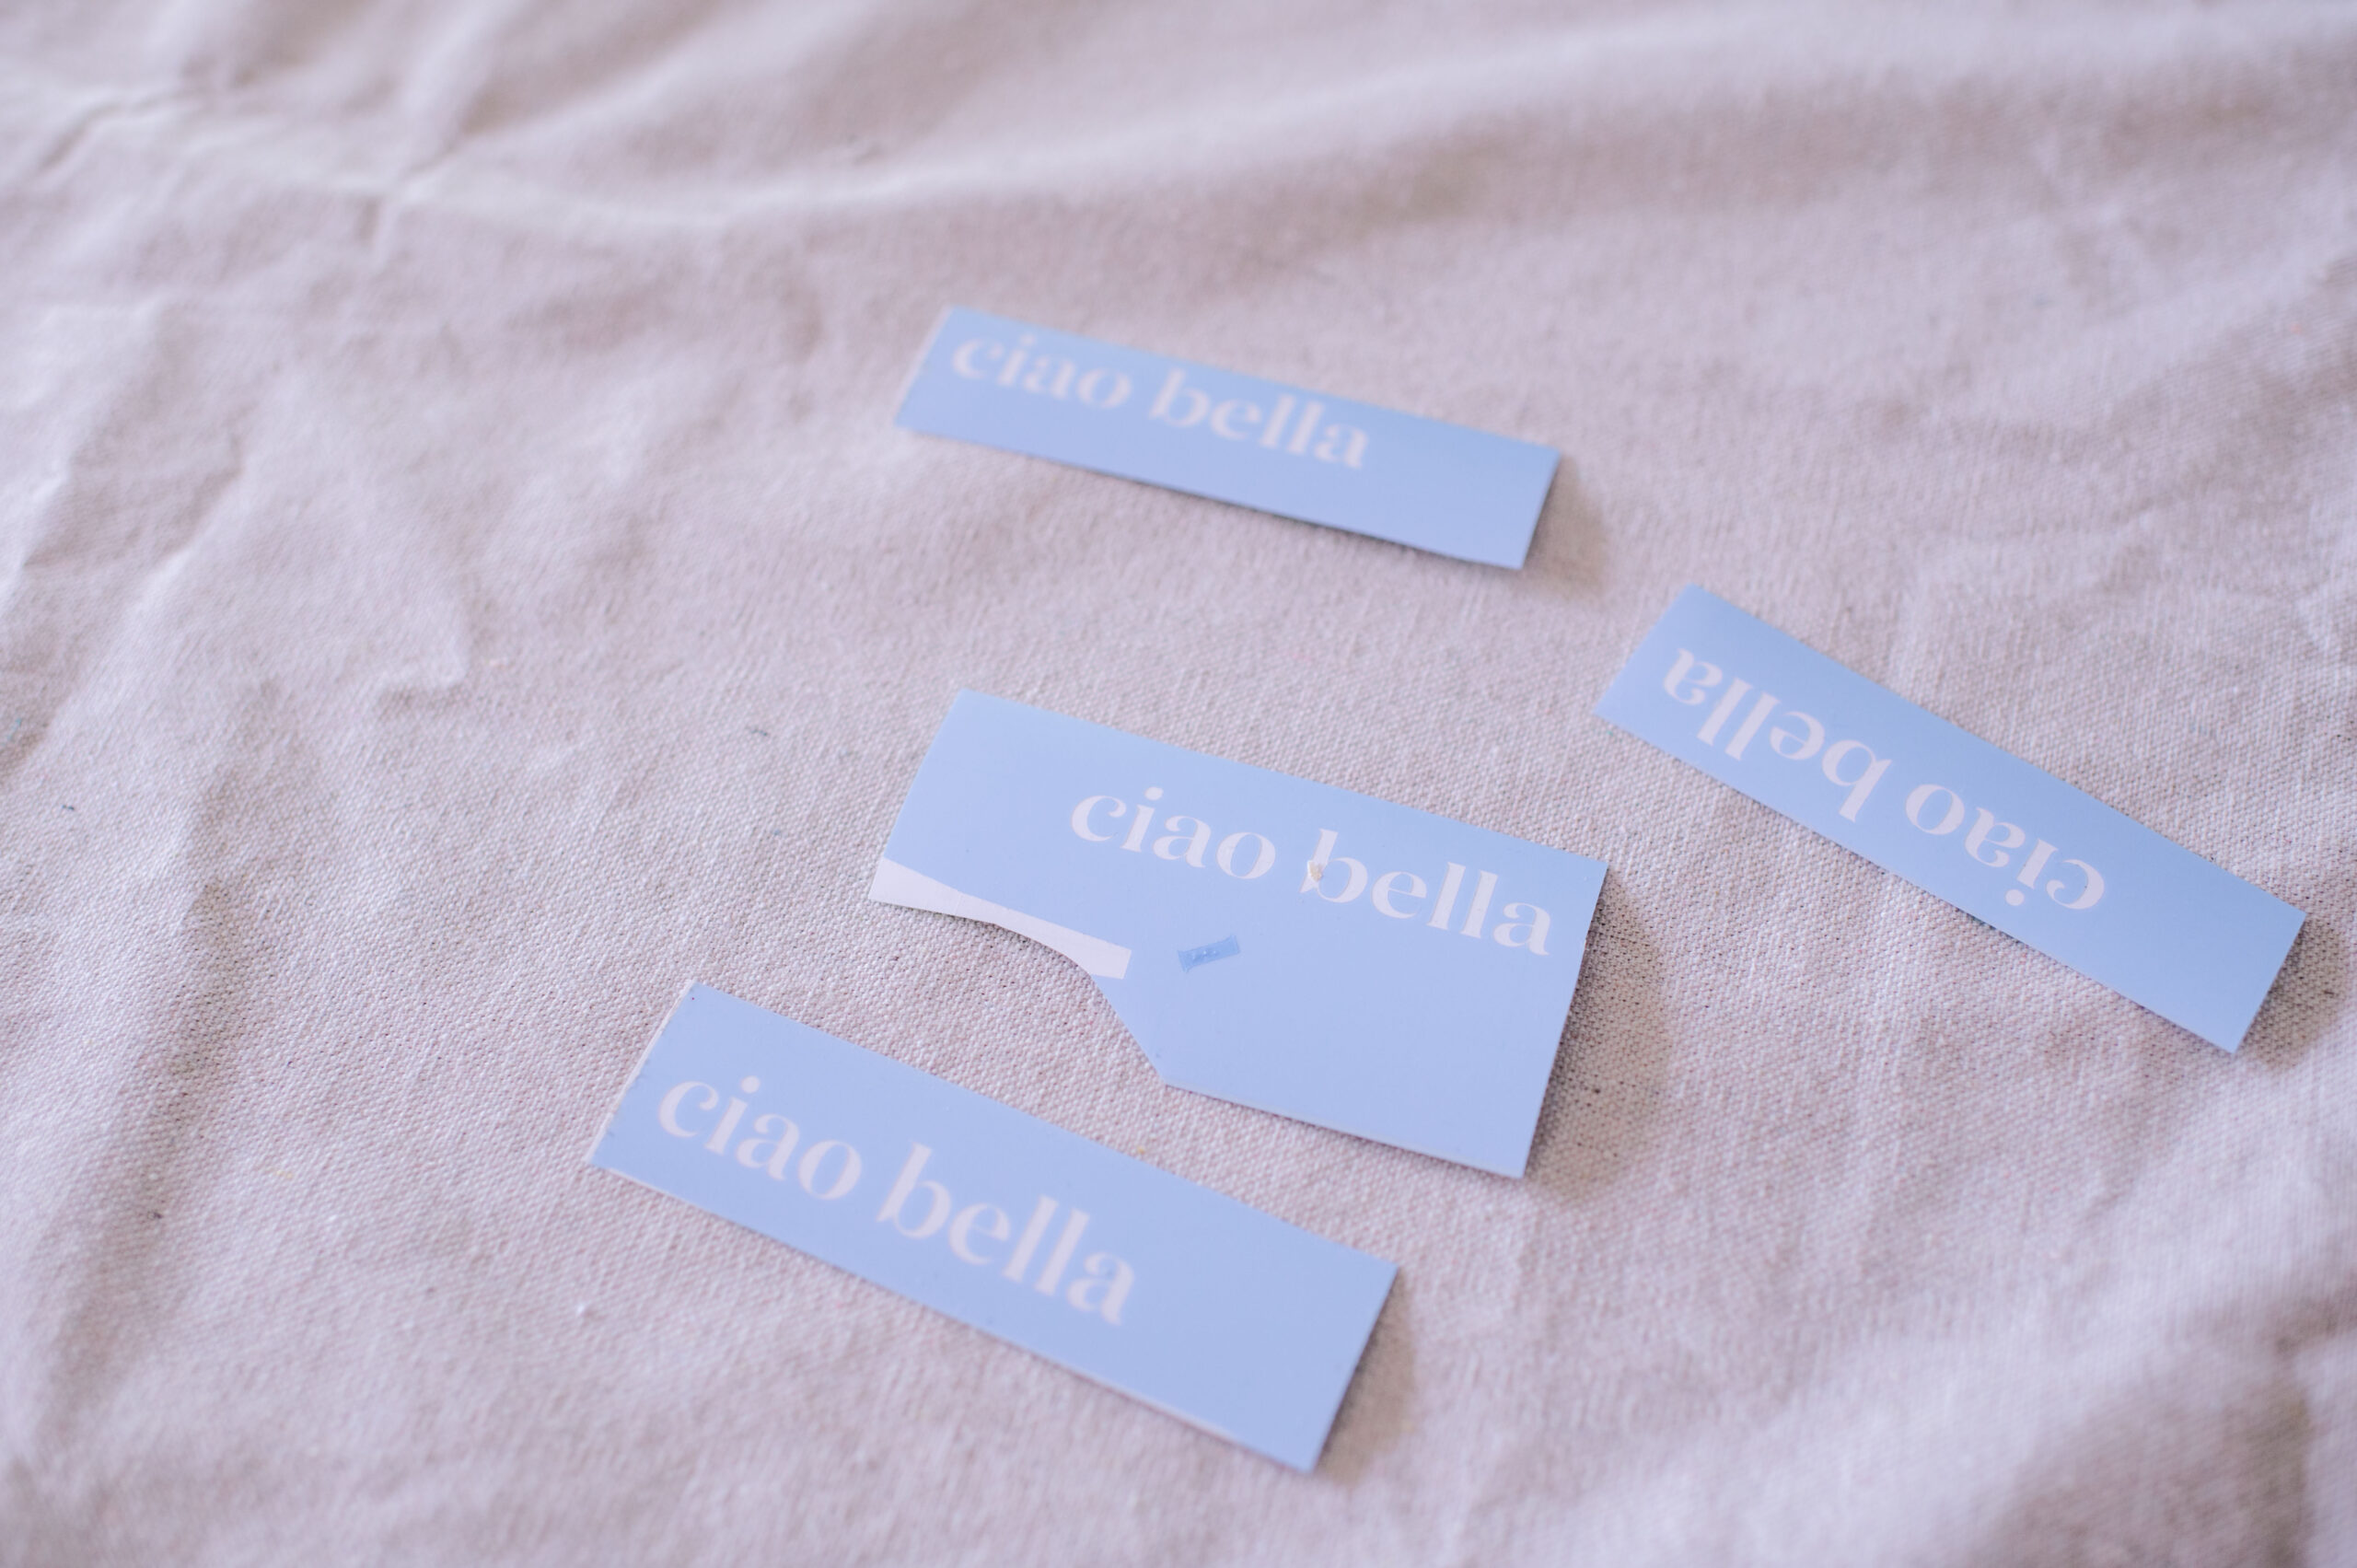
- Cut around the designs and weed all the negative space using the weeding tools.
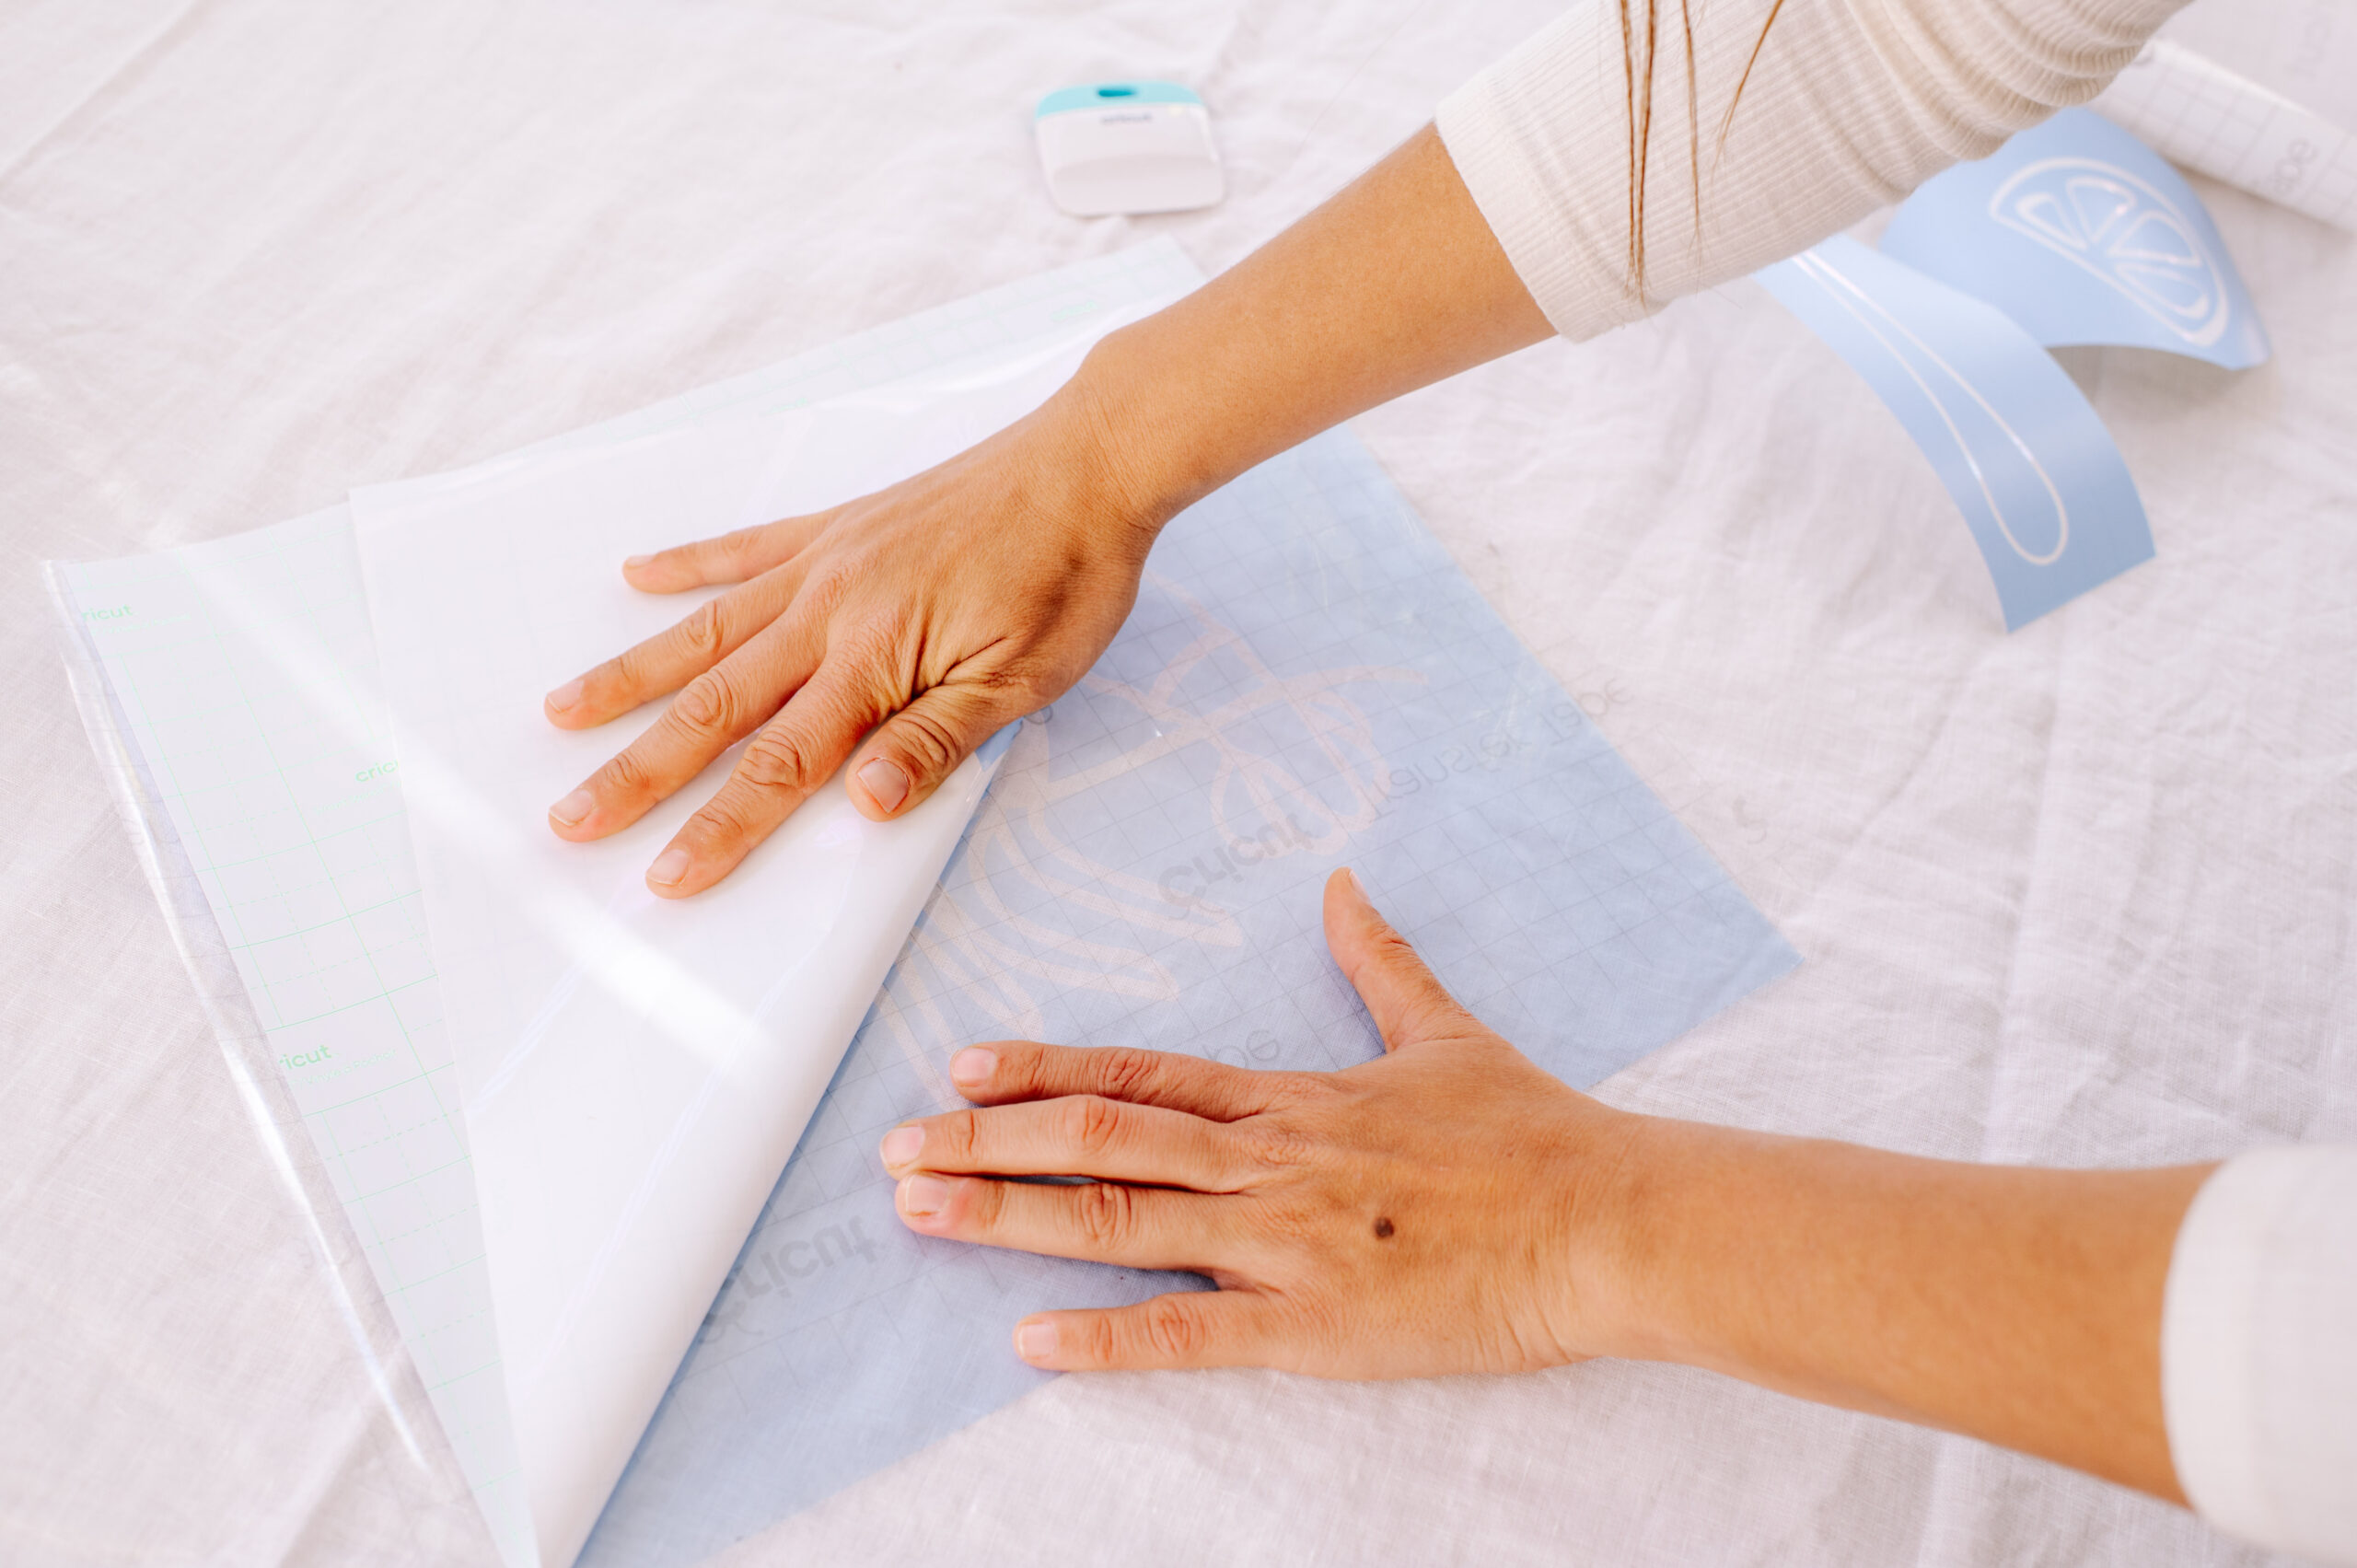
- Then use transfer tape to remove the stencil.
- Lay a drop cloth onto the floor or a table, and put the tablecloth on top of that. You may need to iron the tablecloth if it is overly creased.
- Transfer the stencil designs onto the tablecloth, making sure to evenly distribute them. I like to use the scraping tool to make sure the stencil is really well adhered.
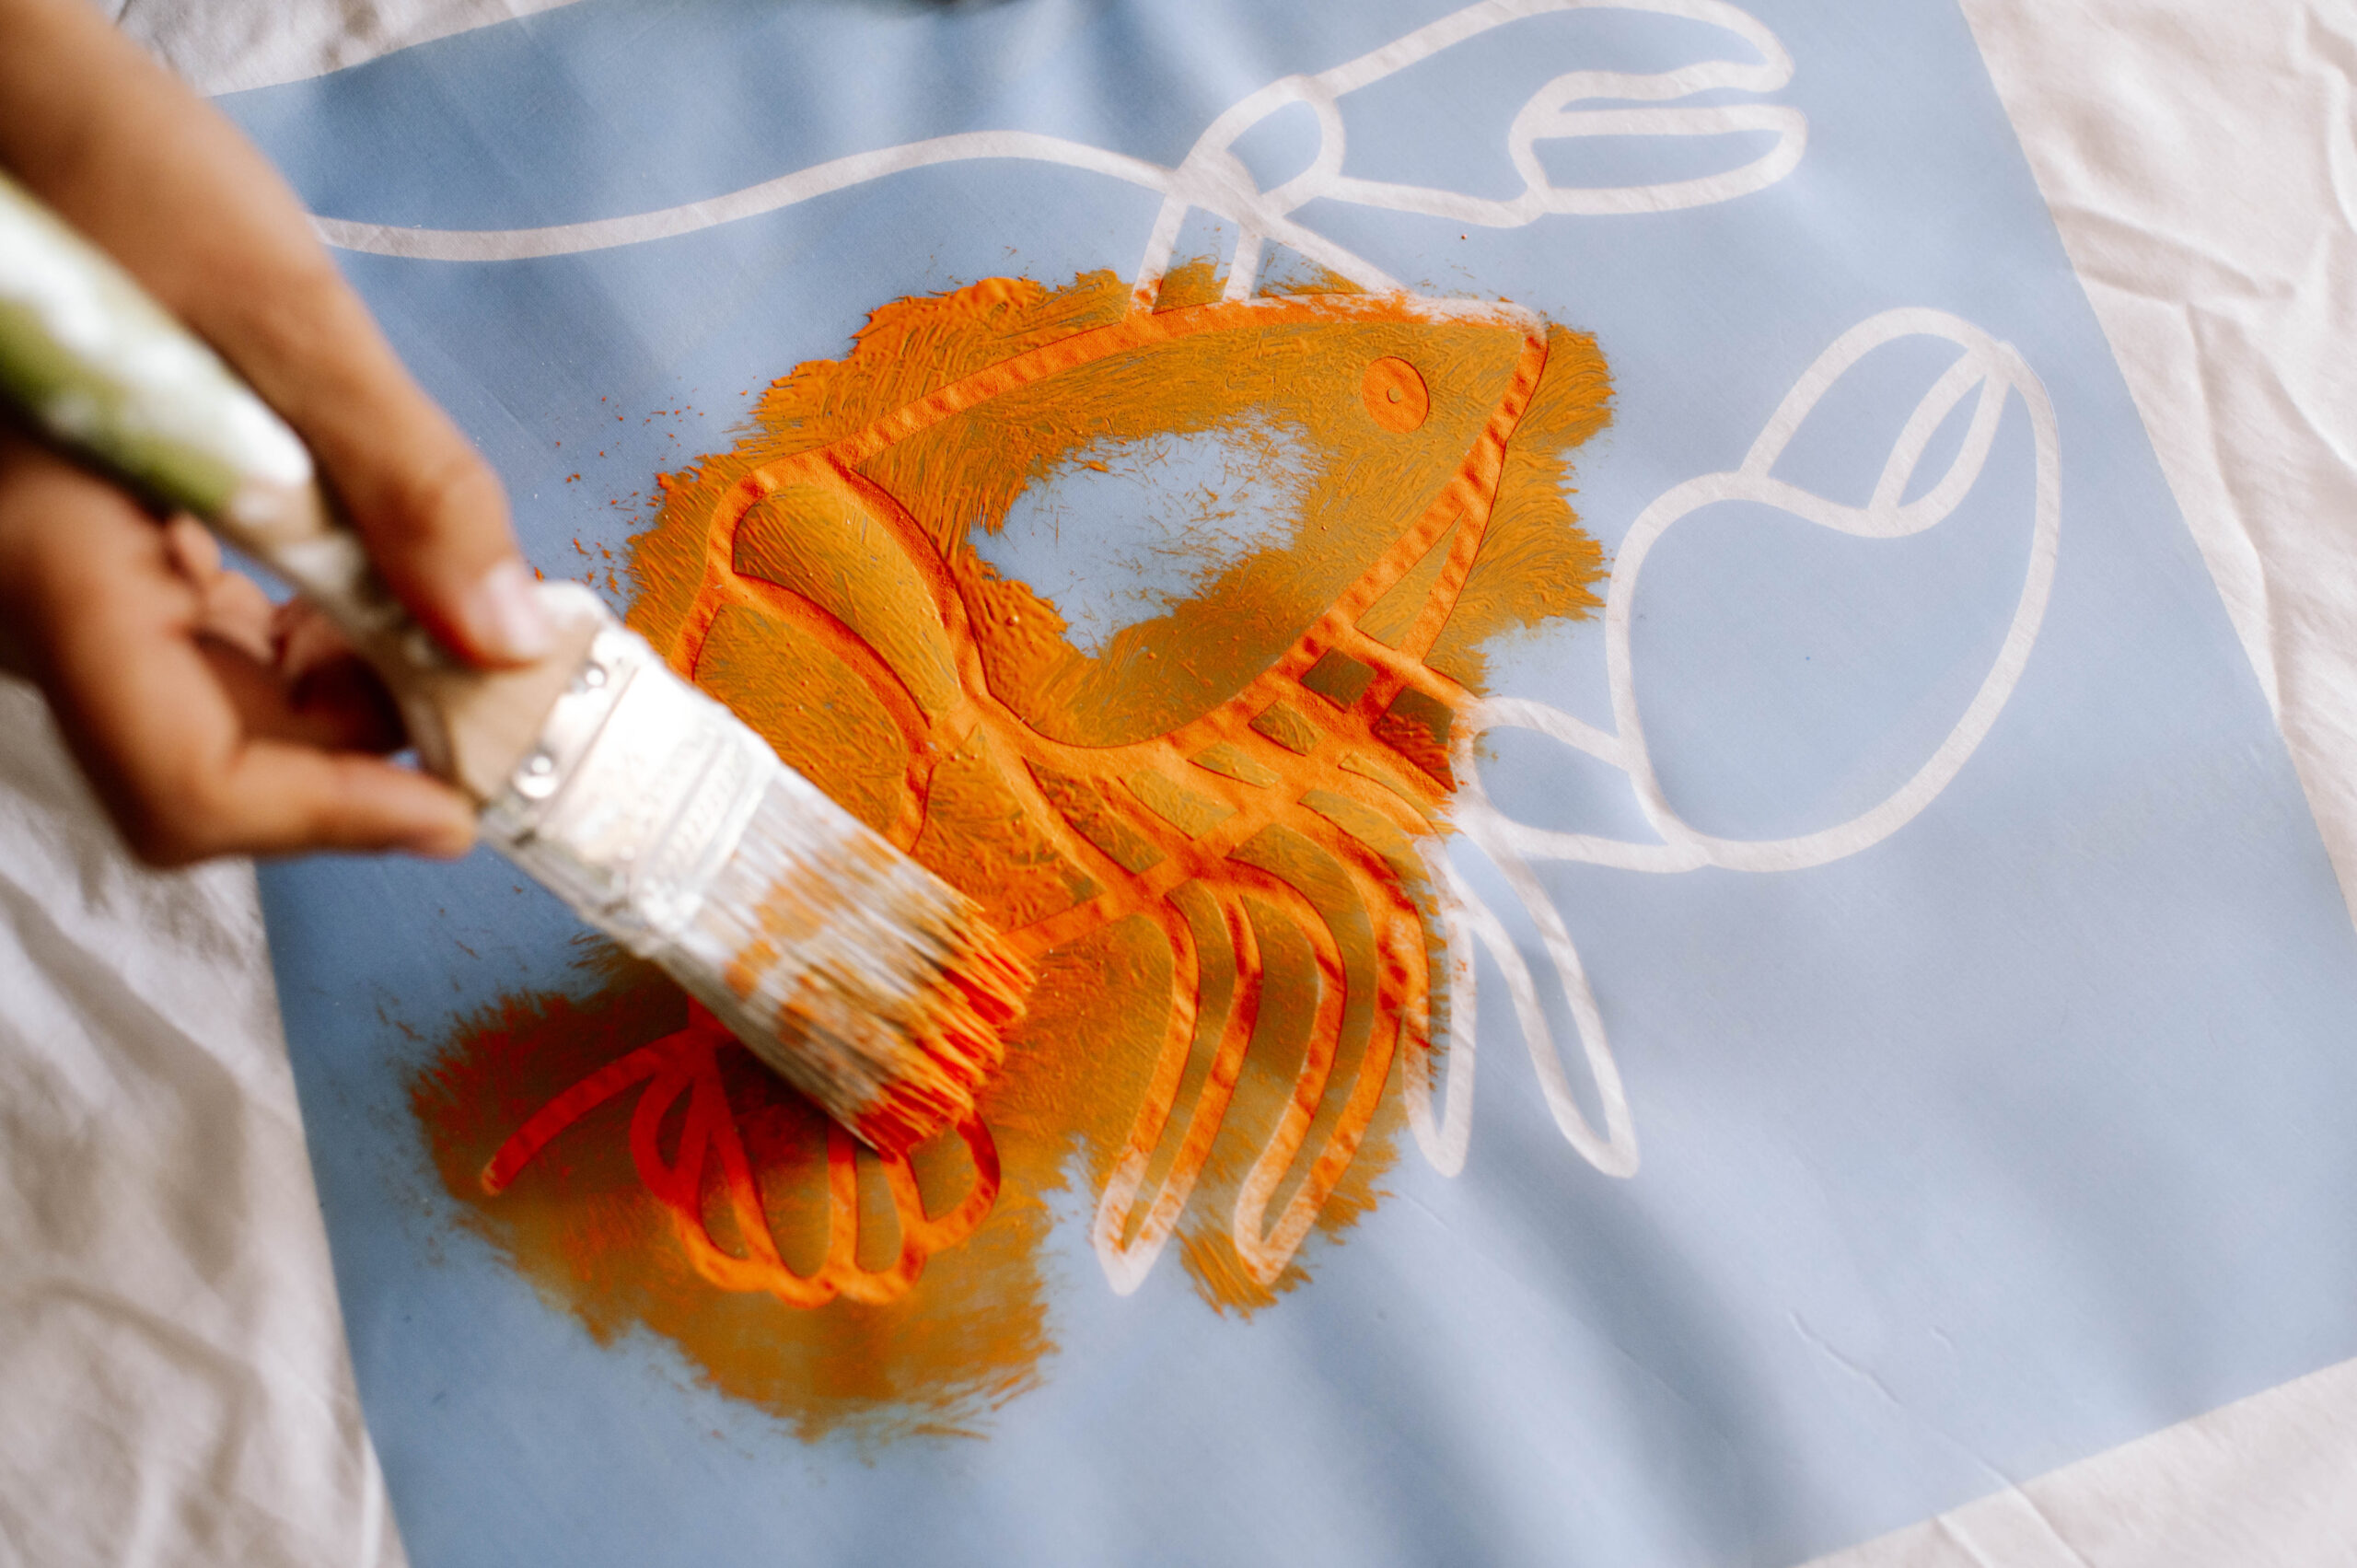
- Using a paintbrush, dab the fabric paint onto the design, making sure not to push any paint underneath the stencil, or drip it onto the cloth.
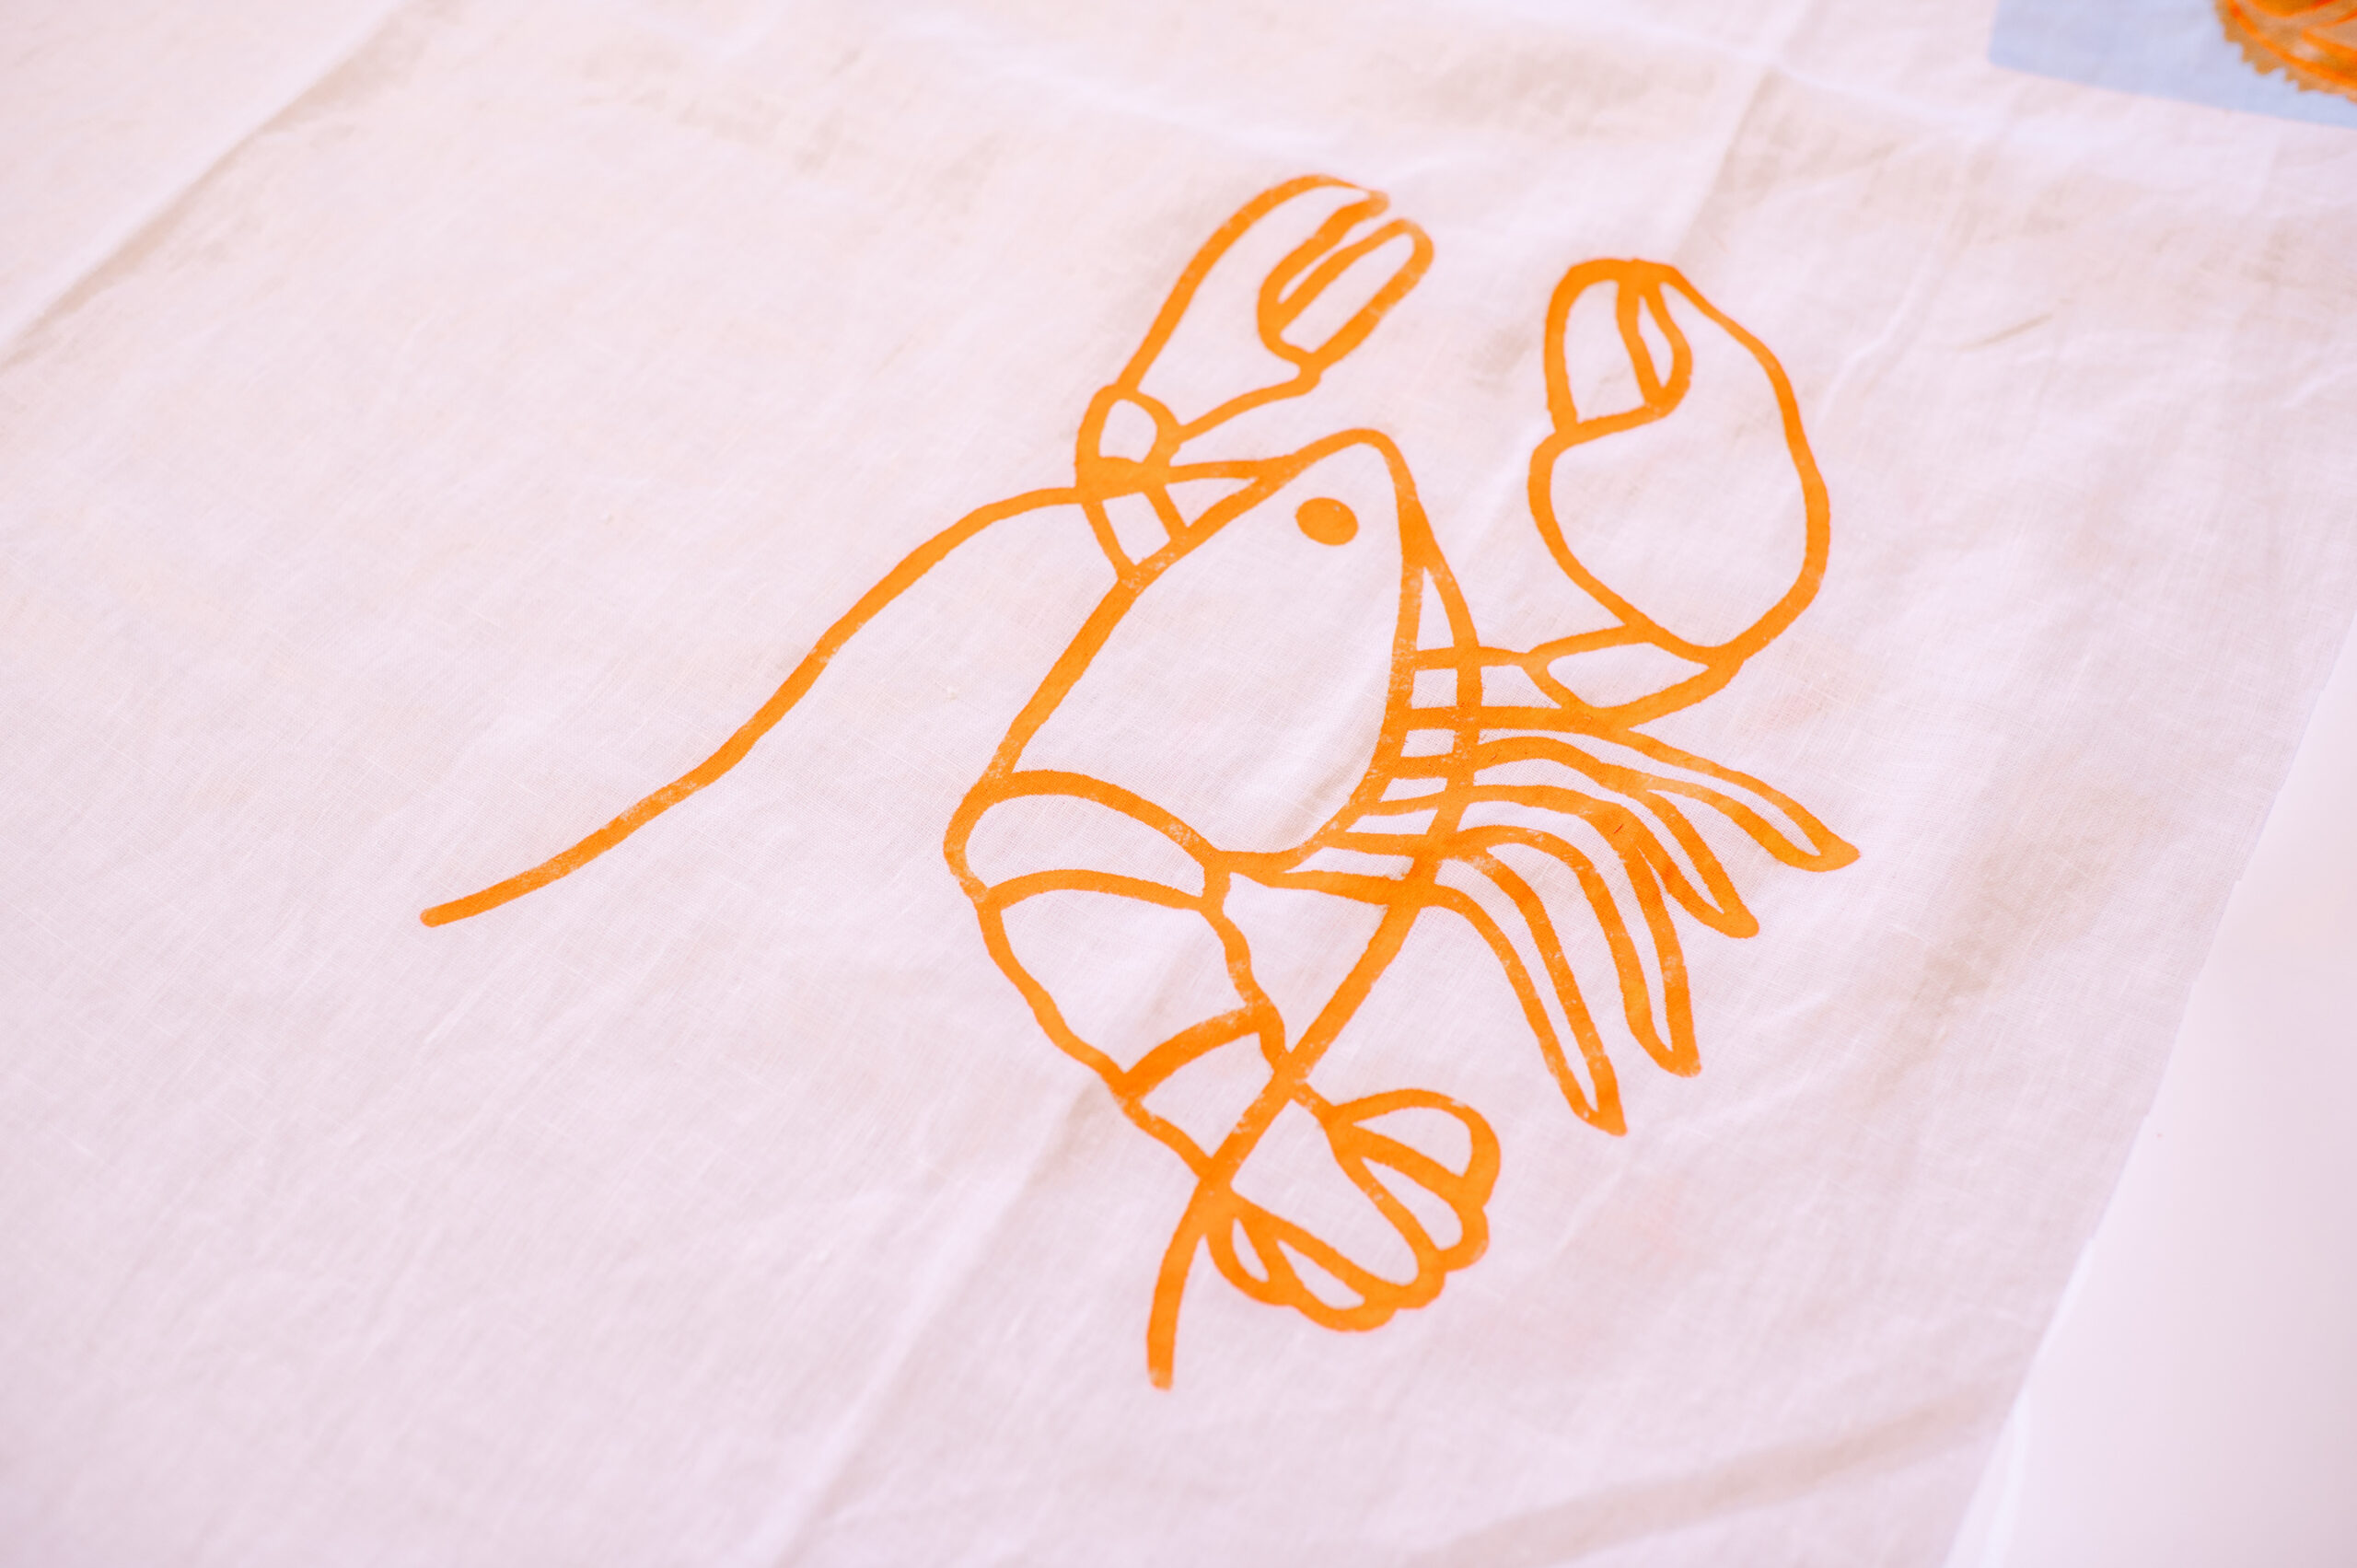
- Allow the shapes to dry for a few minutes then remove the stencil material.
Making the Wavy Napkins
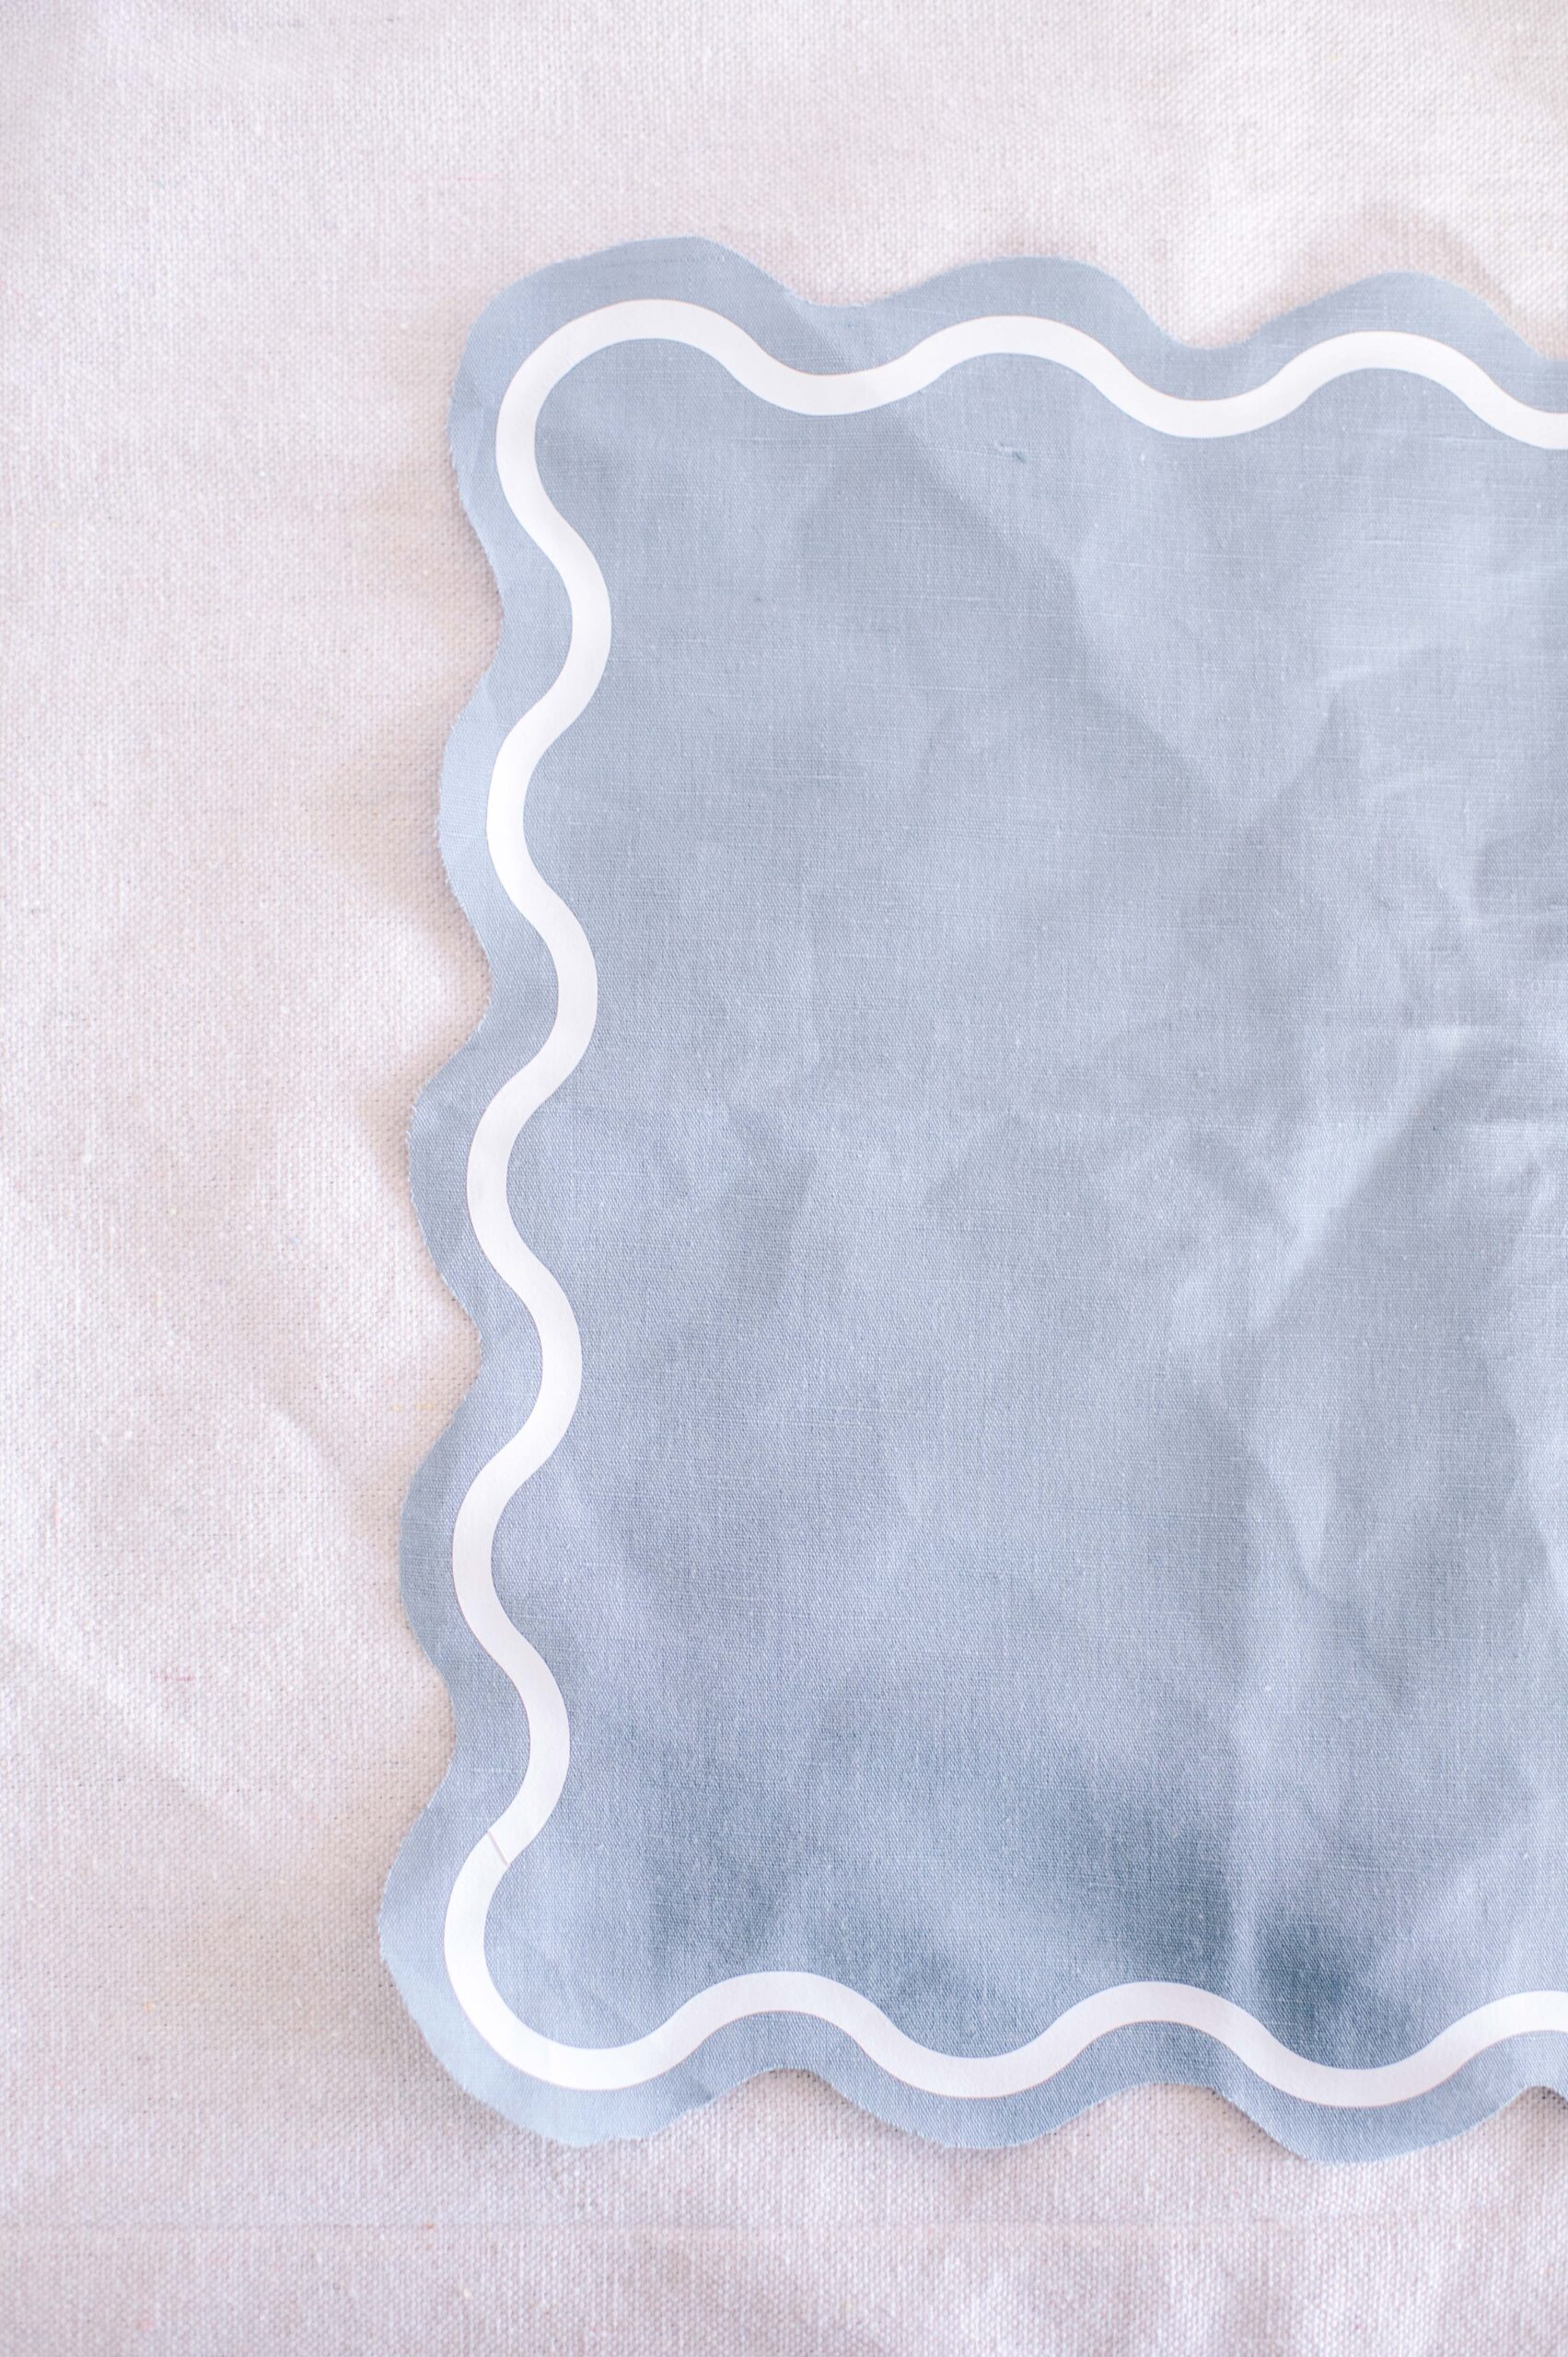
Ever since I saw wavy napkins and placemats hit the market, I knew they would be such an easy and cute Cricut project to do. I’m so glad I got a chance to try them out and I was so happy with how these turned out. Just as a note, I used linen fabric to do these, but you could just as easily use old napkins you have to do this, and just have a straight edge on them.
Materials needed
- 1 metre of Linen fabric
- Cricut Iron On Smart Material in white
- Cricut Maker 3
- Cricut rotary blade and fine point blade
- Fabric mat
- Tape
- Cricut Easy Press or Autopress
How to
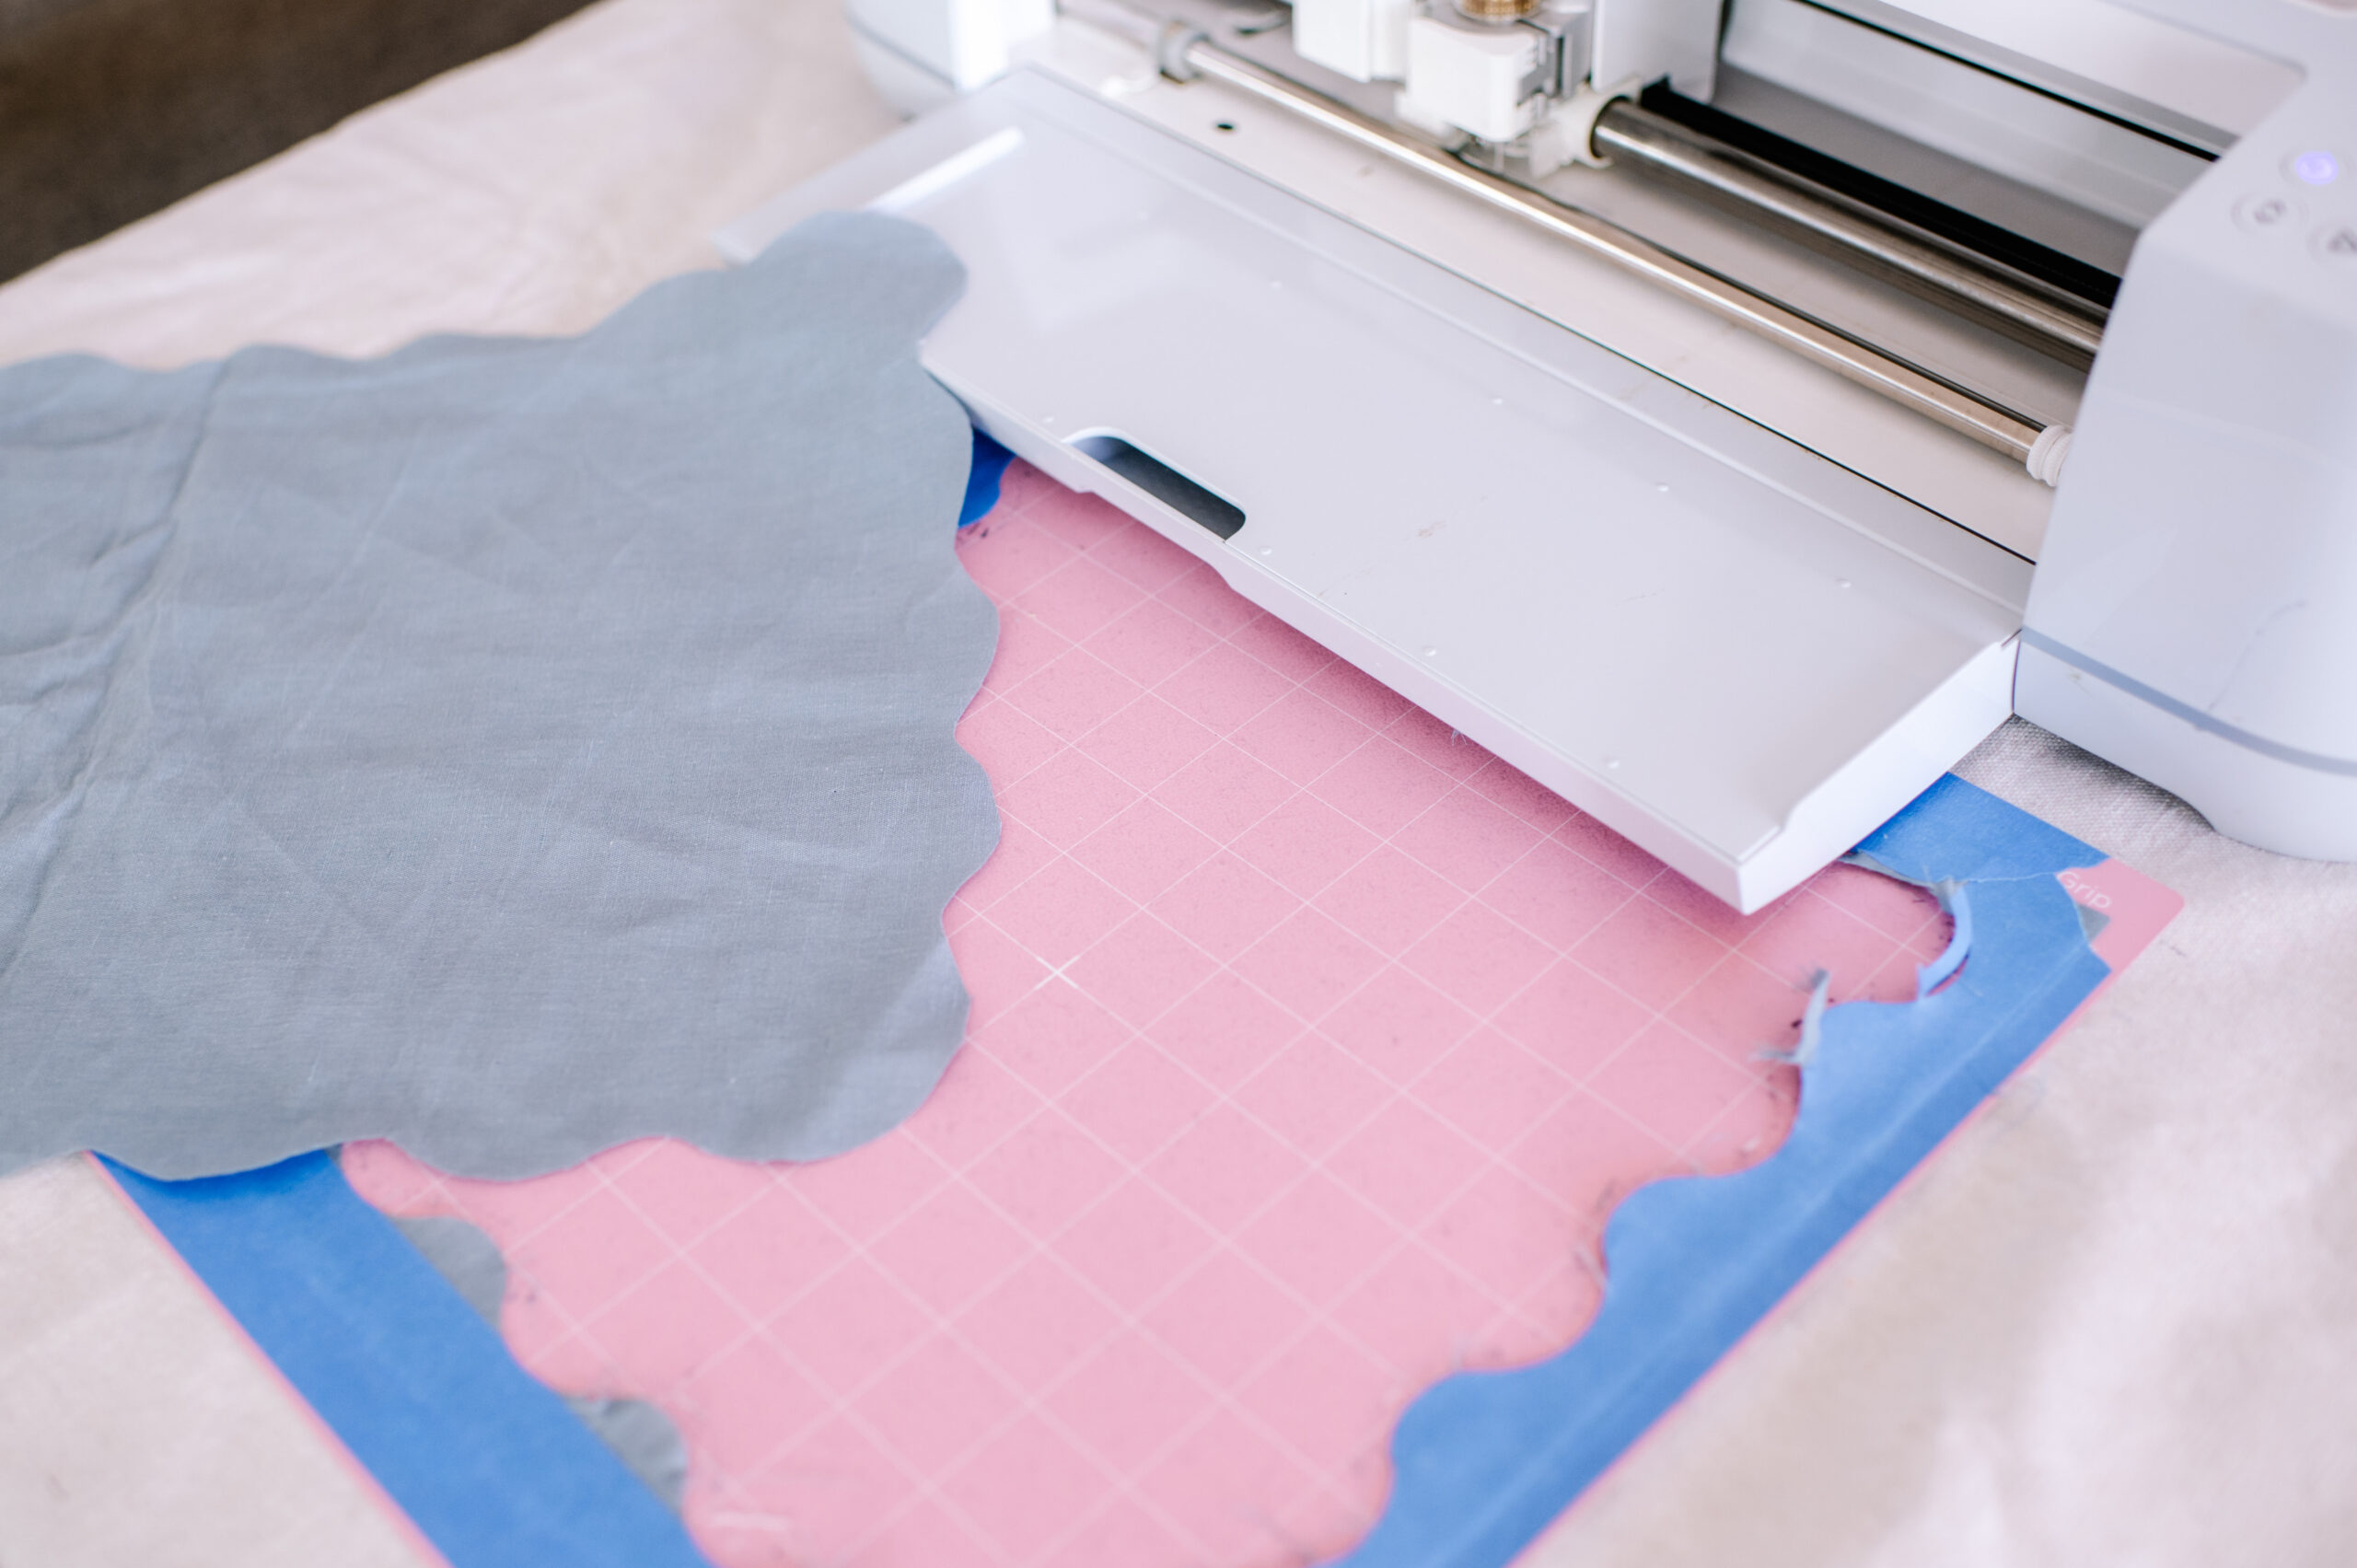
- After creating the wavy design in Design Space, cut a piece of linen and press it onto the fabric mat, adding tape around the edges if you feel it’s needed.
- Insert the mat into the machine and cut the wavy shape out.
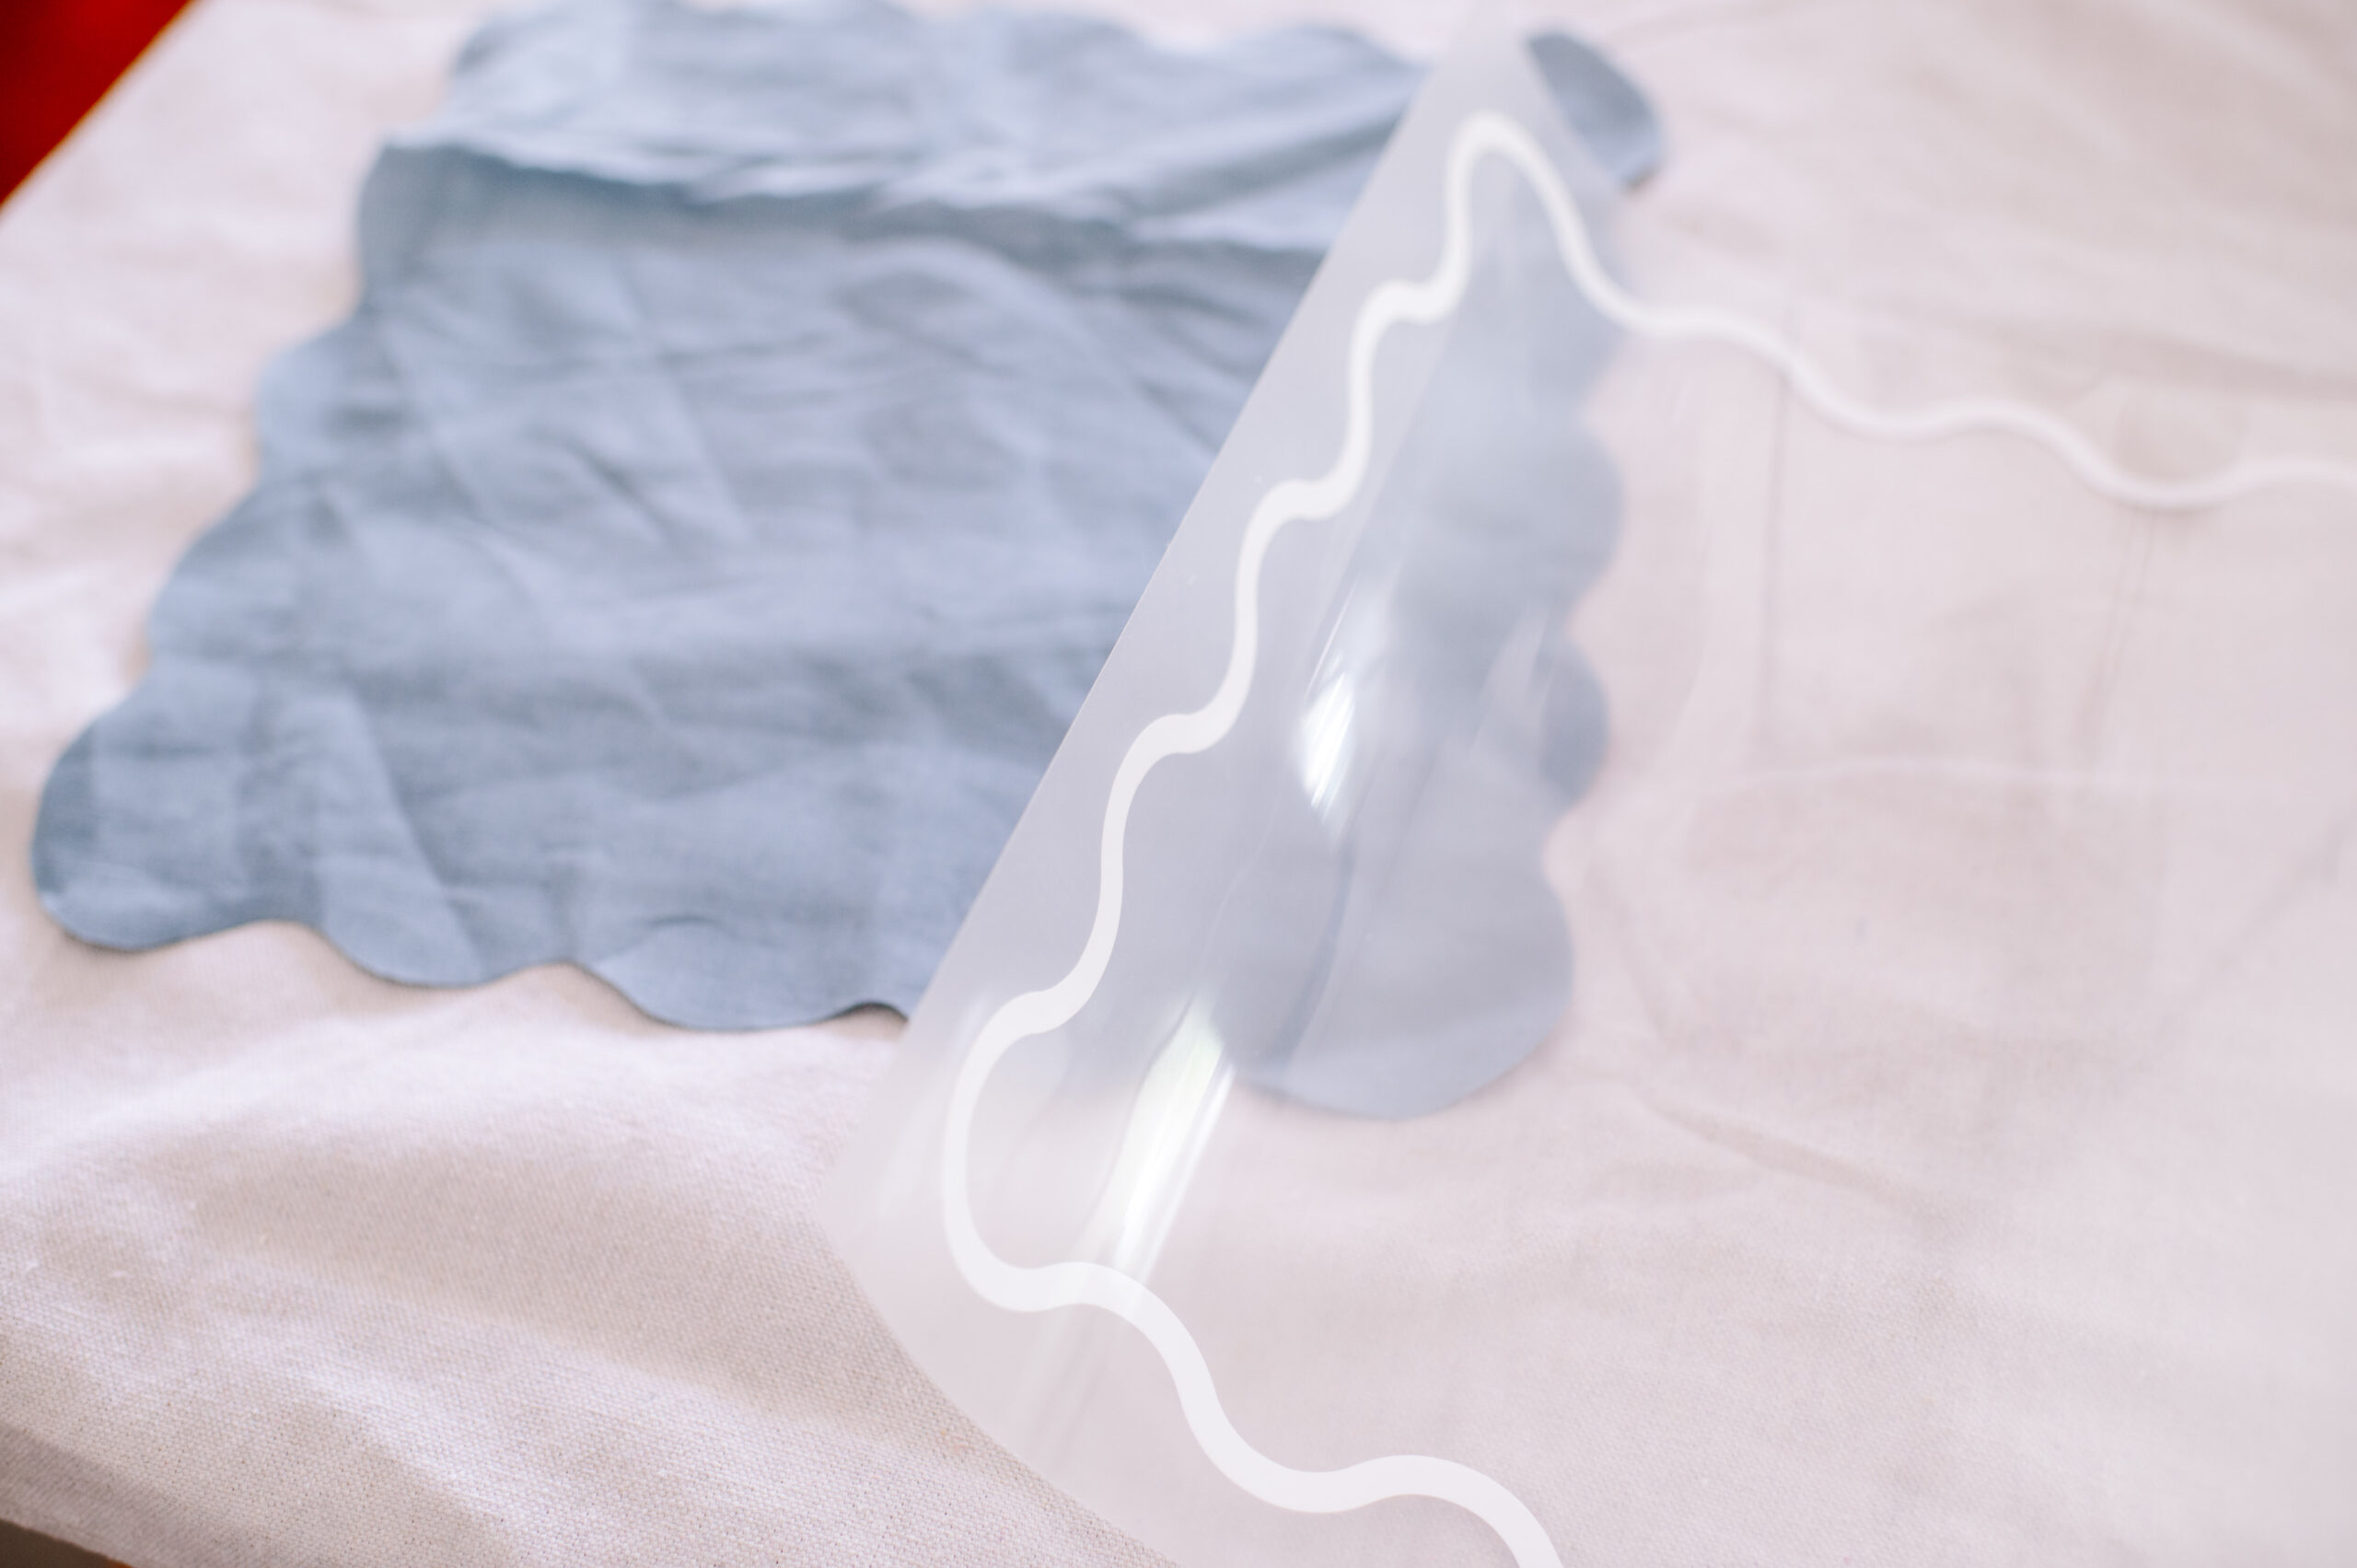
- After switching the blade, cut the next wavy design out using the Iron On material.
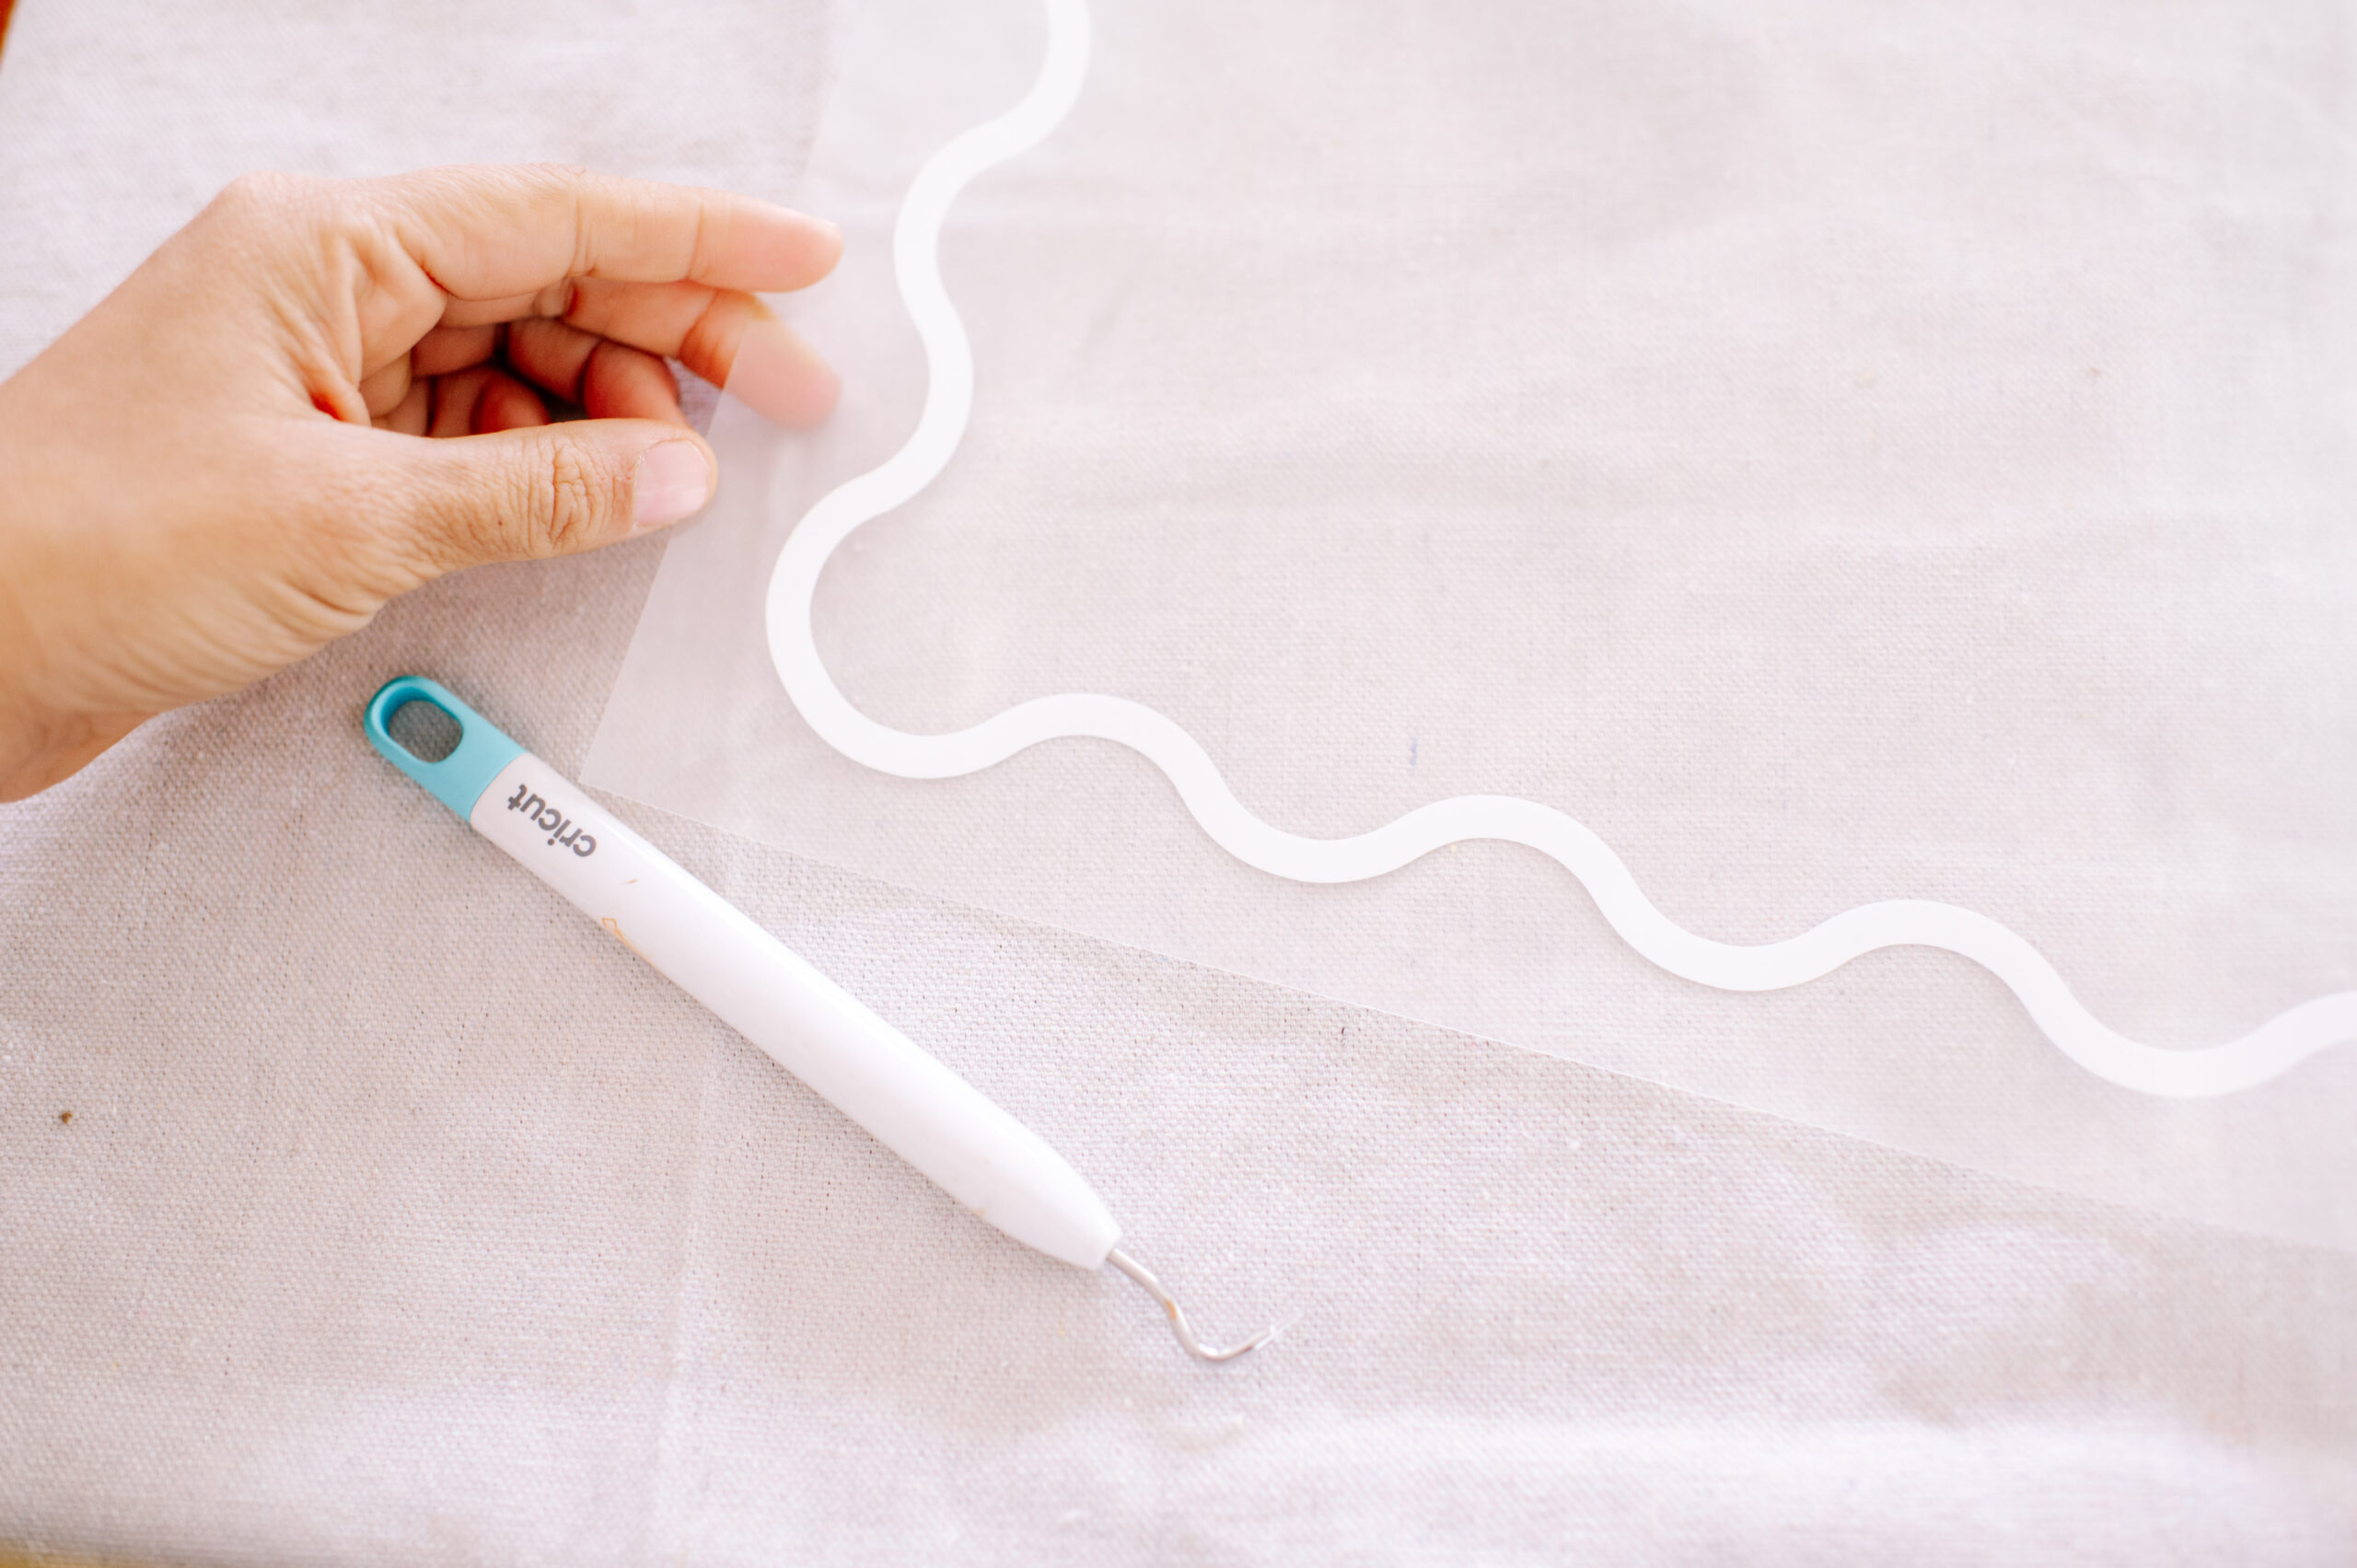
- Remove the material from the machine and use the weeding tool to weed out the unwanted material. You may want to cut the centre of the material out (including the backing) to use it for another project.
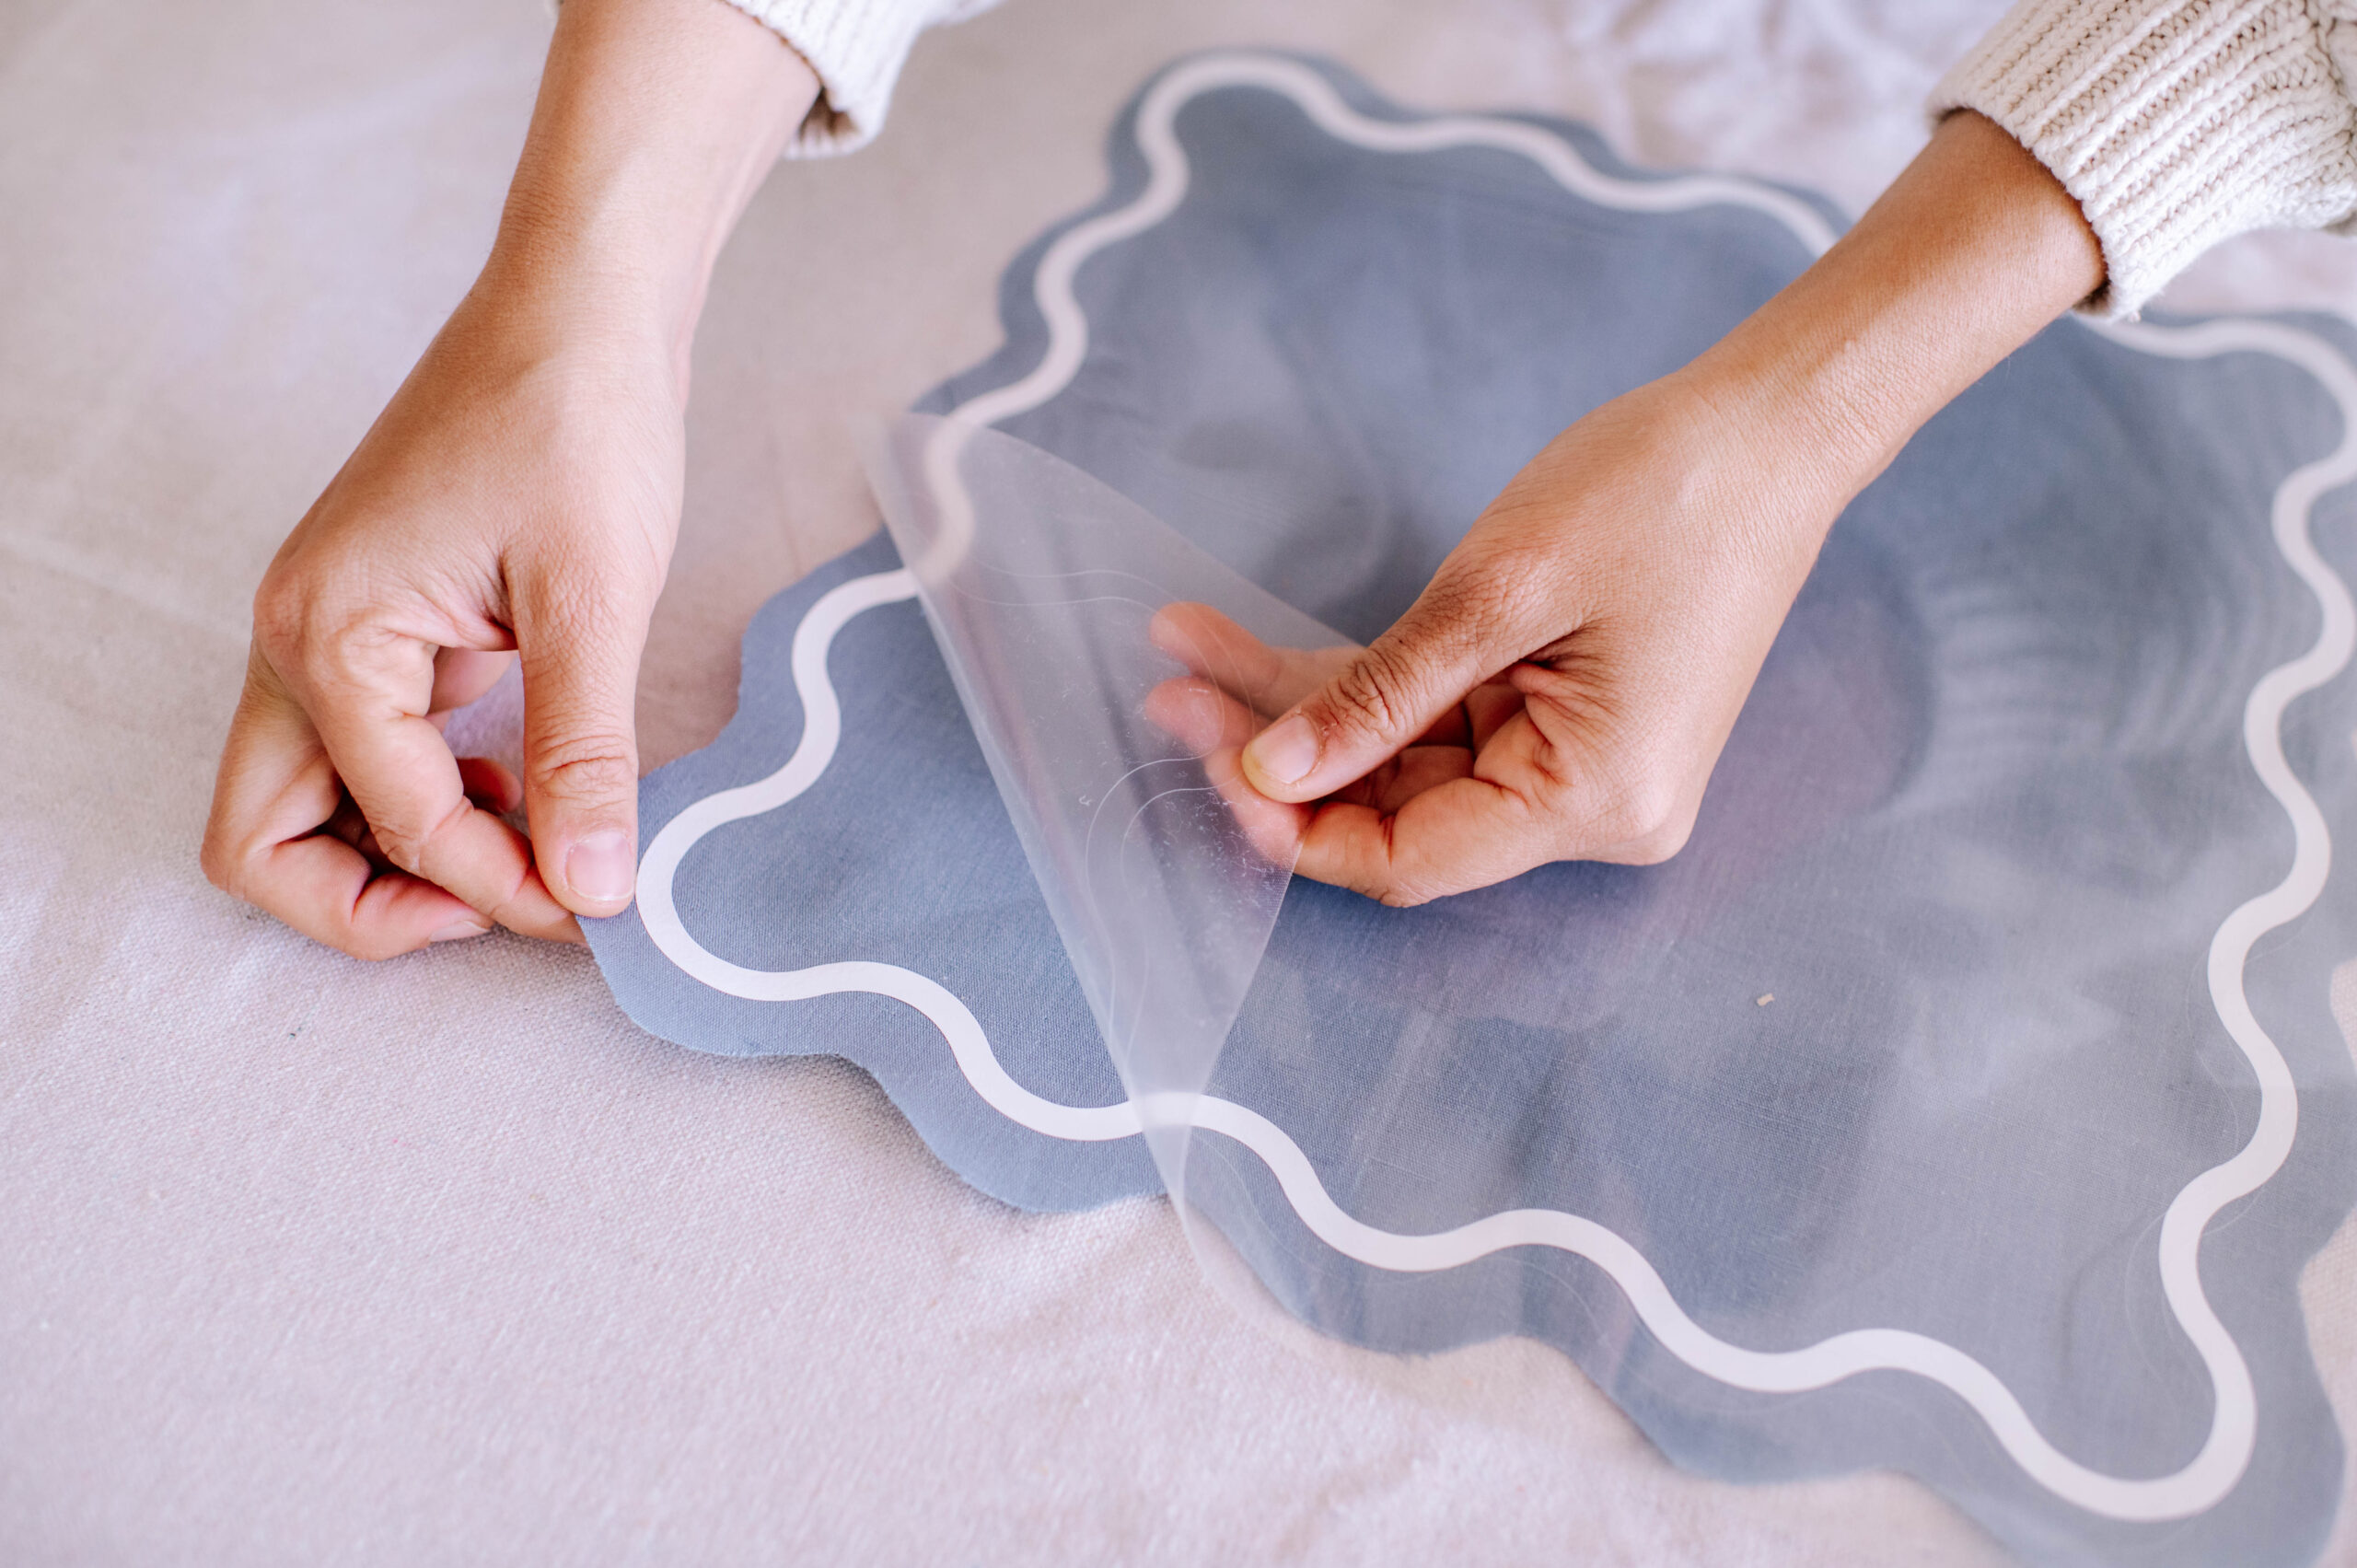
- Lay the Iron On Material onto the fabric sticky side down, making sure to align the waves.
- After selecting the right time based on the material (for Linen, 150 degrees for 30 seconds) use the Easy Press to press the project.
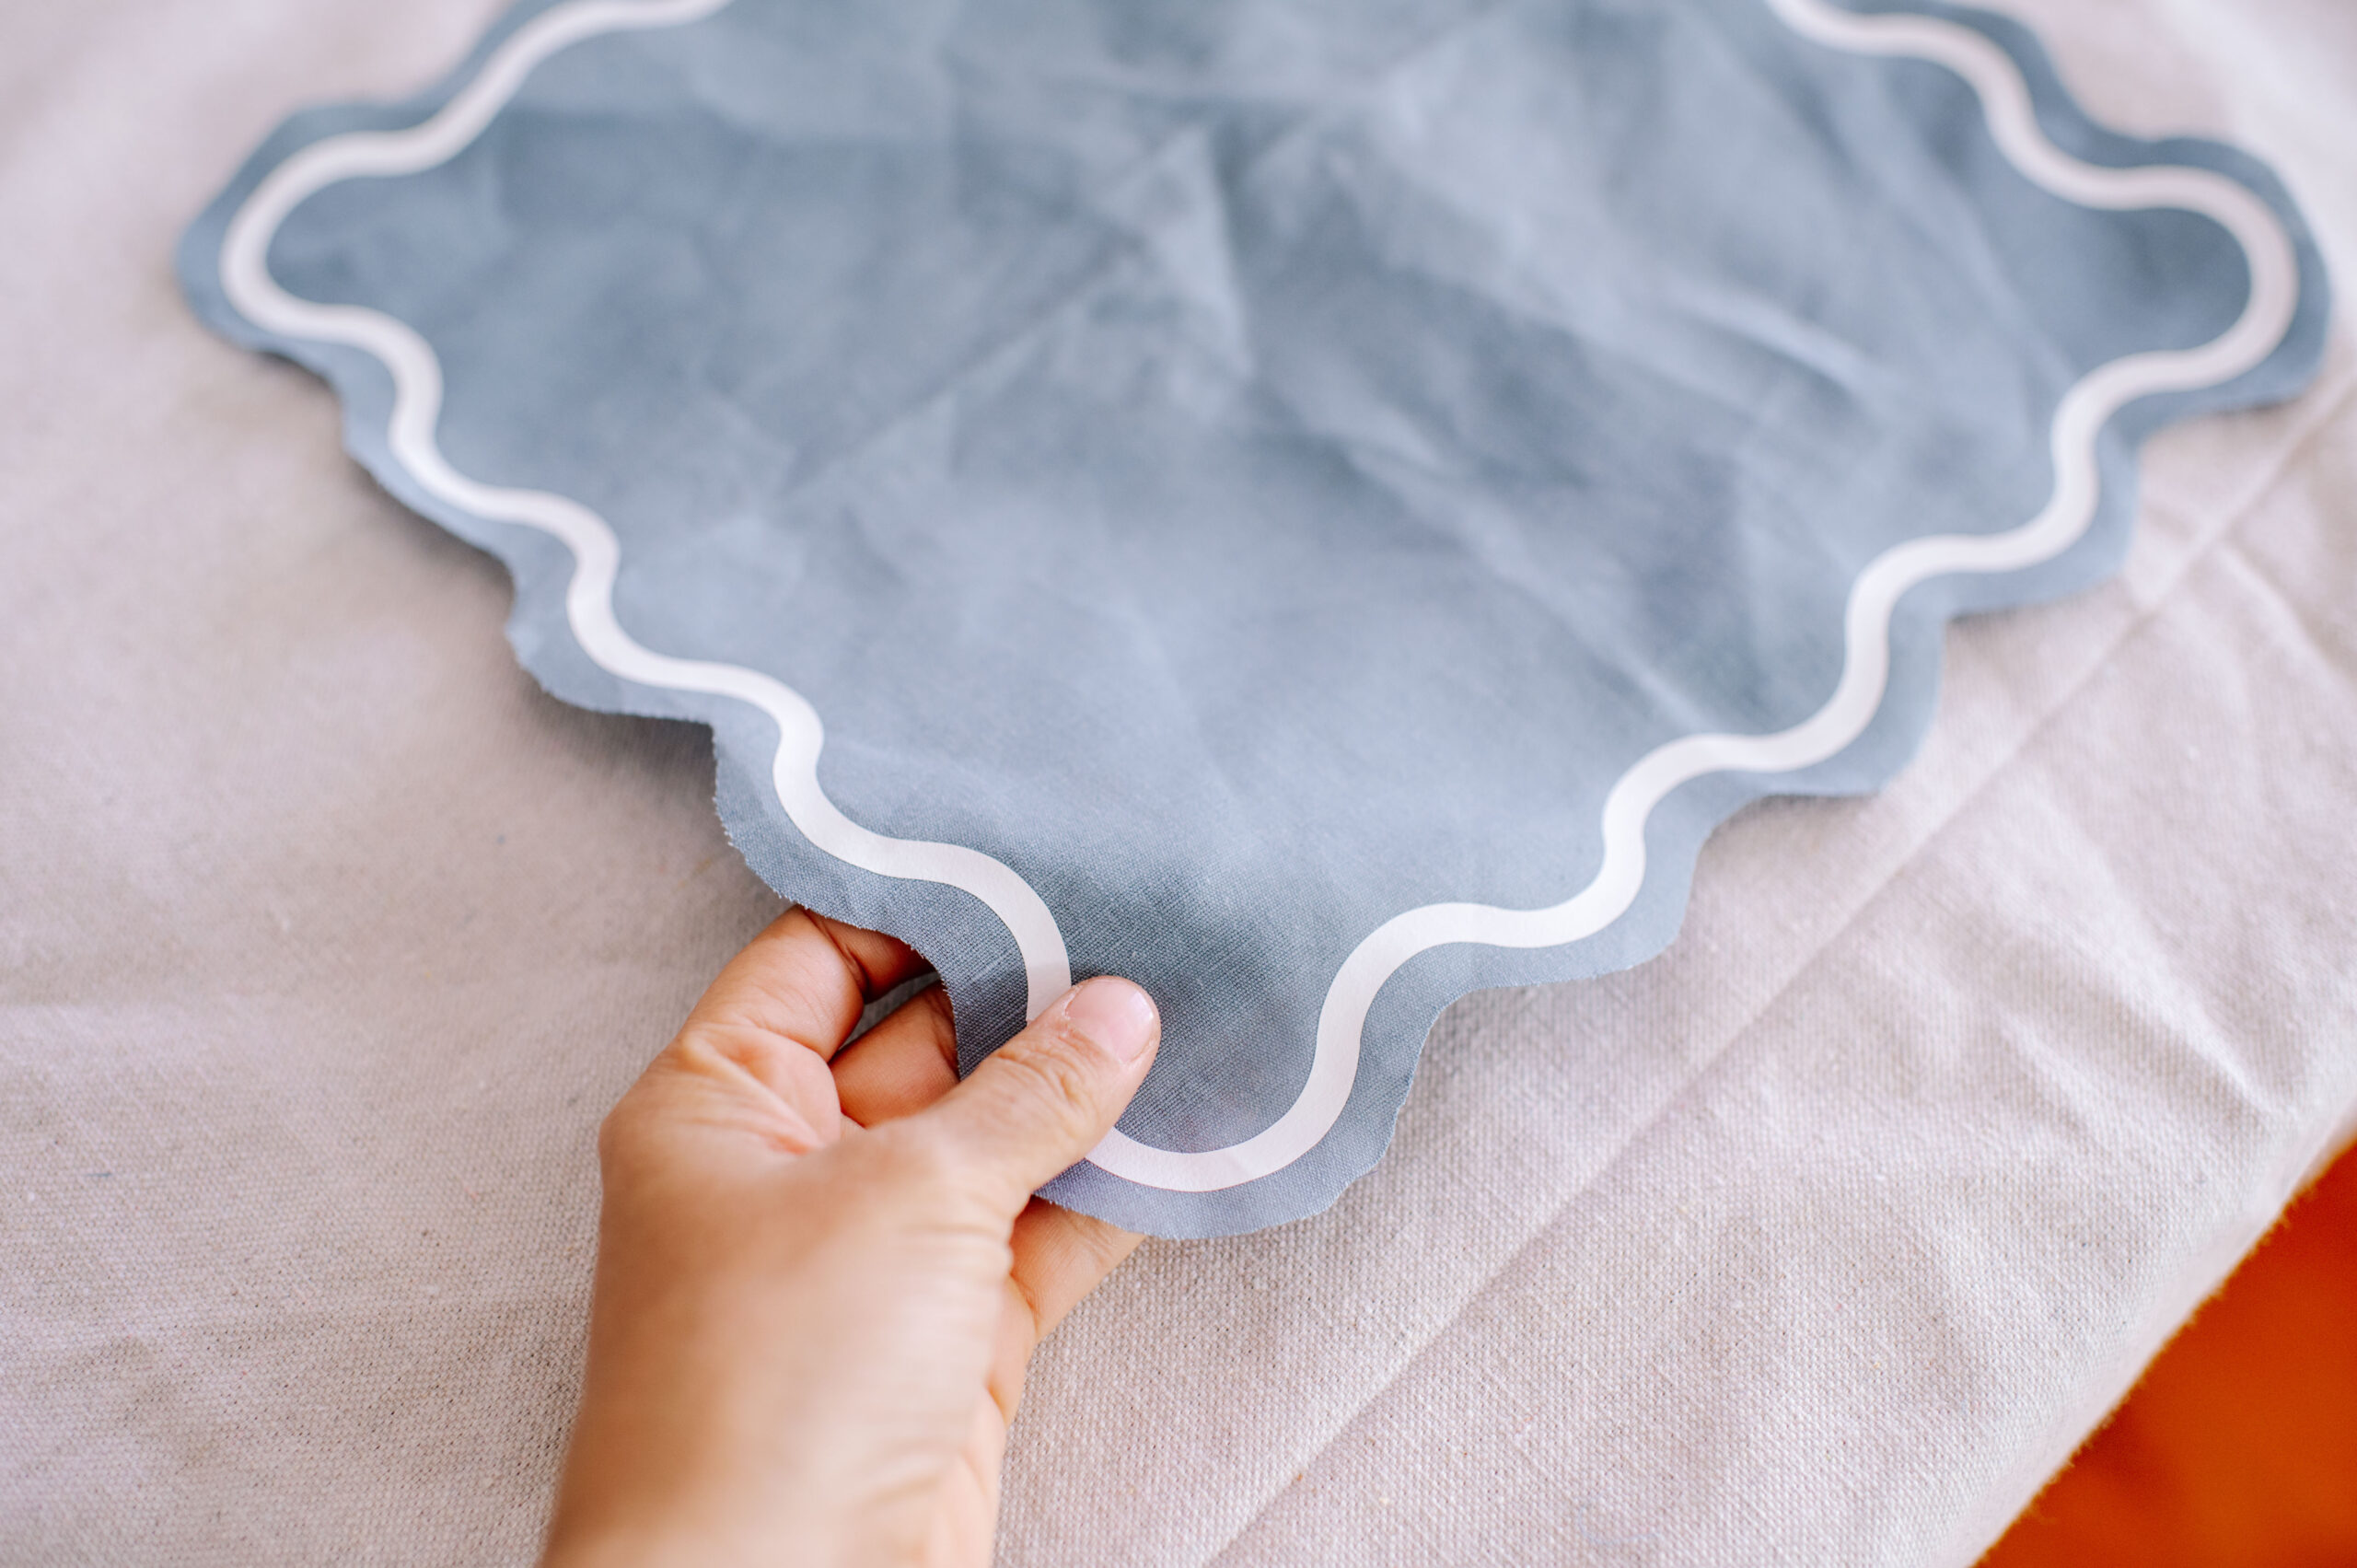
- Remove the sticky backing to reveal your wavy napkins.
To finish the edges, you can either sew them, sew some binding on them or you some no fray adhesive. Alternatively you can leave them to fray for a more rustic look. Either way, I would hand wash these when cleaning.
Personalising the Glassware
There’s just something so nice about when the details are just right, so even the glassware at my little bday soiree weren’t safe! I am such a huge fan of using etching cream with my Cricut designs (remember my chequered glassware?!), so I jumped at the chance to do it for this project!
Materials needed
- Wine glasses (not tempered glass such as Ikea)
- Etching Cream
- Paint Brush
- Cricut Machine
- Cricut Smart Stencil Material
How to
- I started by giving the glasses a good clean with warm soapy water to remove any dirt or dust. Once I was happy with my design in Cricut Design Space, I simply pressed Make It and the app guided me through the process of cutting the design out.
- I then weeded the design using my weeding tool by removing all the negative space. This can be a little tricky with words (especially serif fonts) so I took my time with this.
- I then took some transfer tape and pressed it onto the words, carefully pushing it down with the scraping tool.
- To transfer the design into the glass, I took the transfer tape that held the design and pressed it down on the glass, making sure to check the design was straight. I used the scraping tool to remove any bubbles and make sure the design was adhering to the glass.
- I then removed the transfer tape by folding it back on itself carefully and pulling it away.
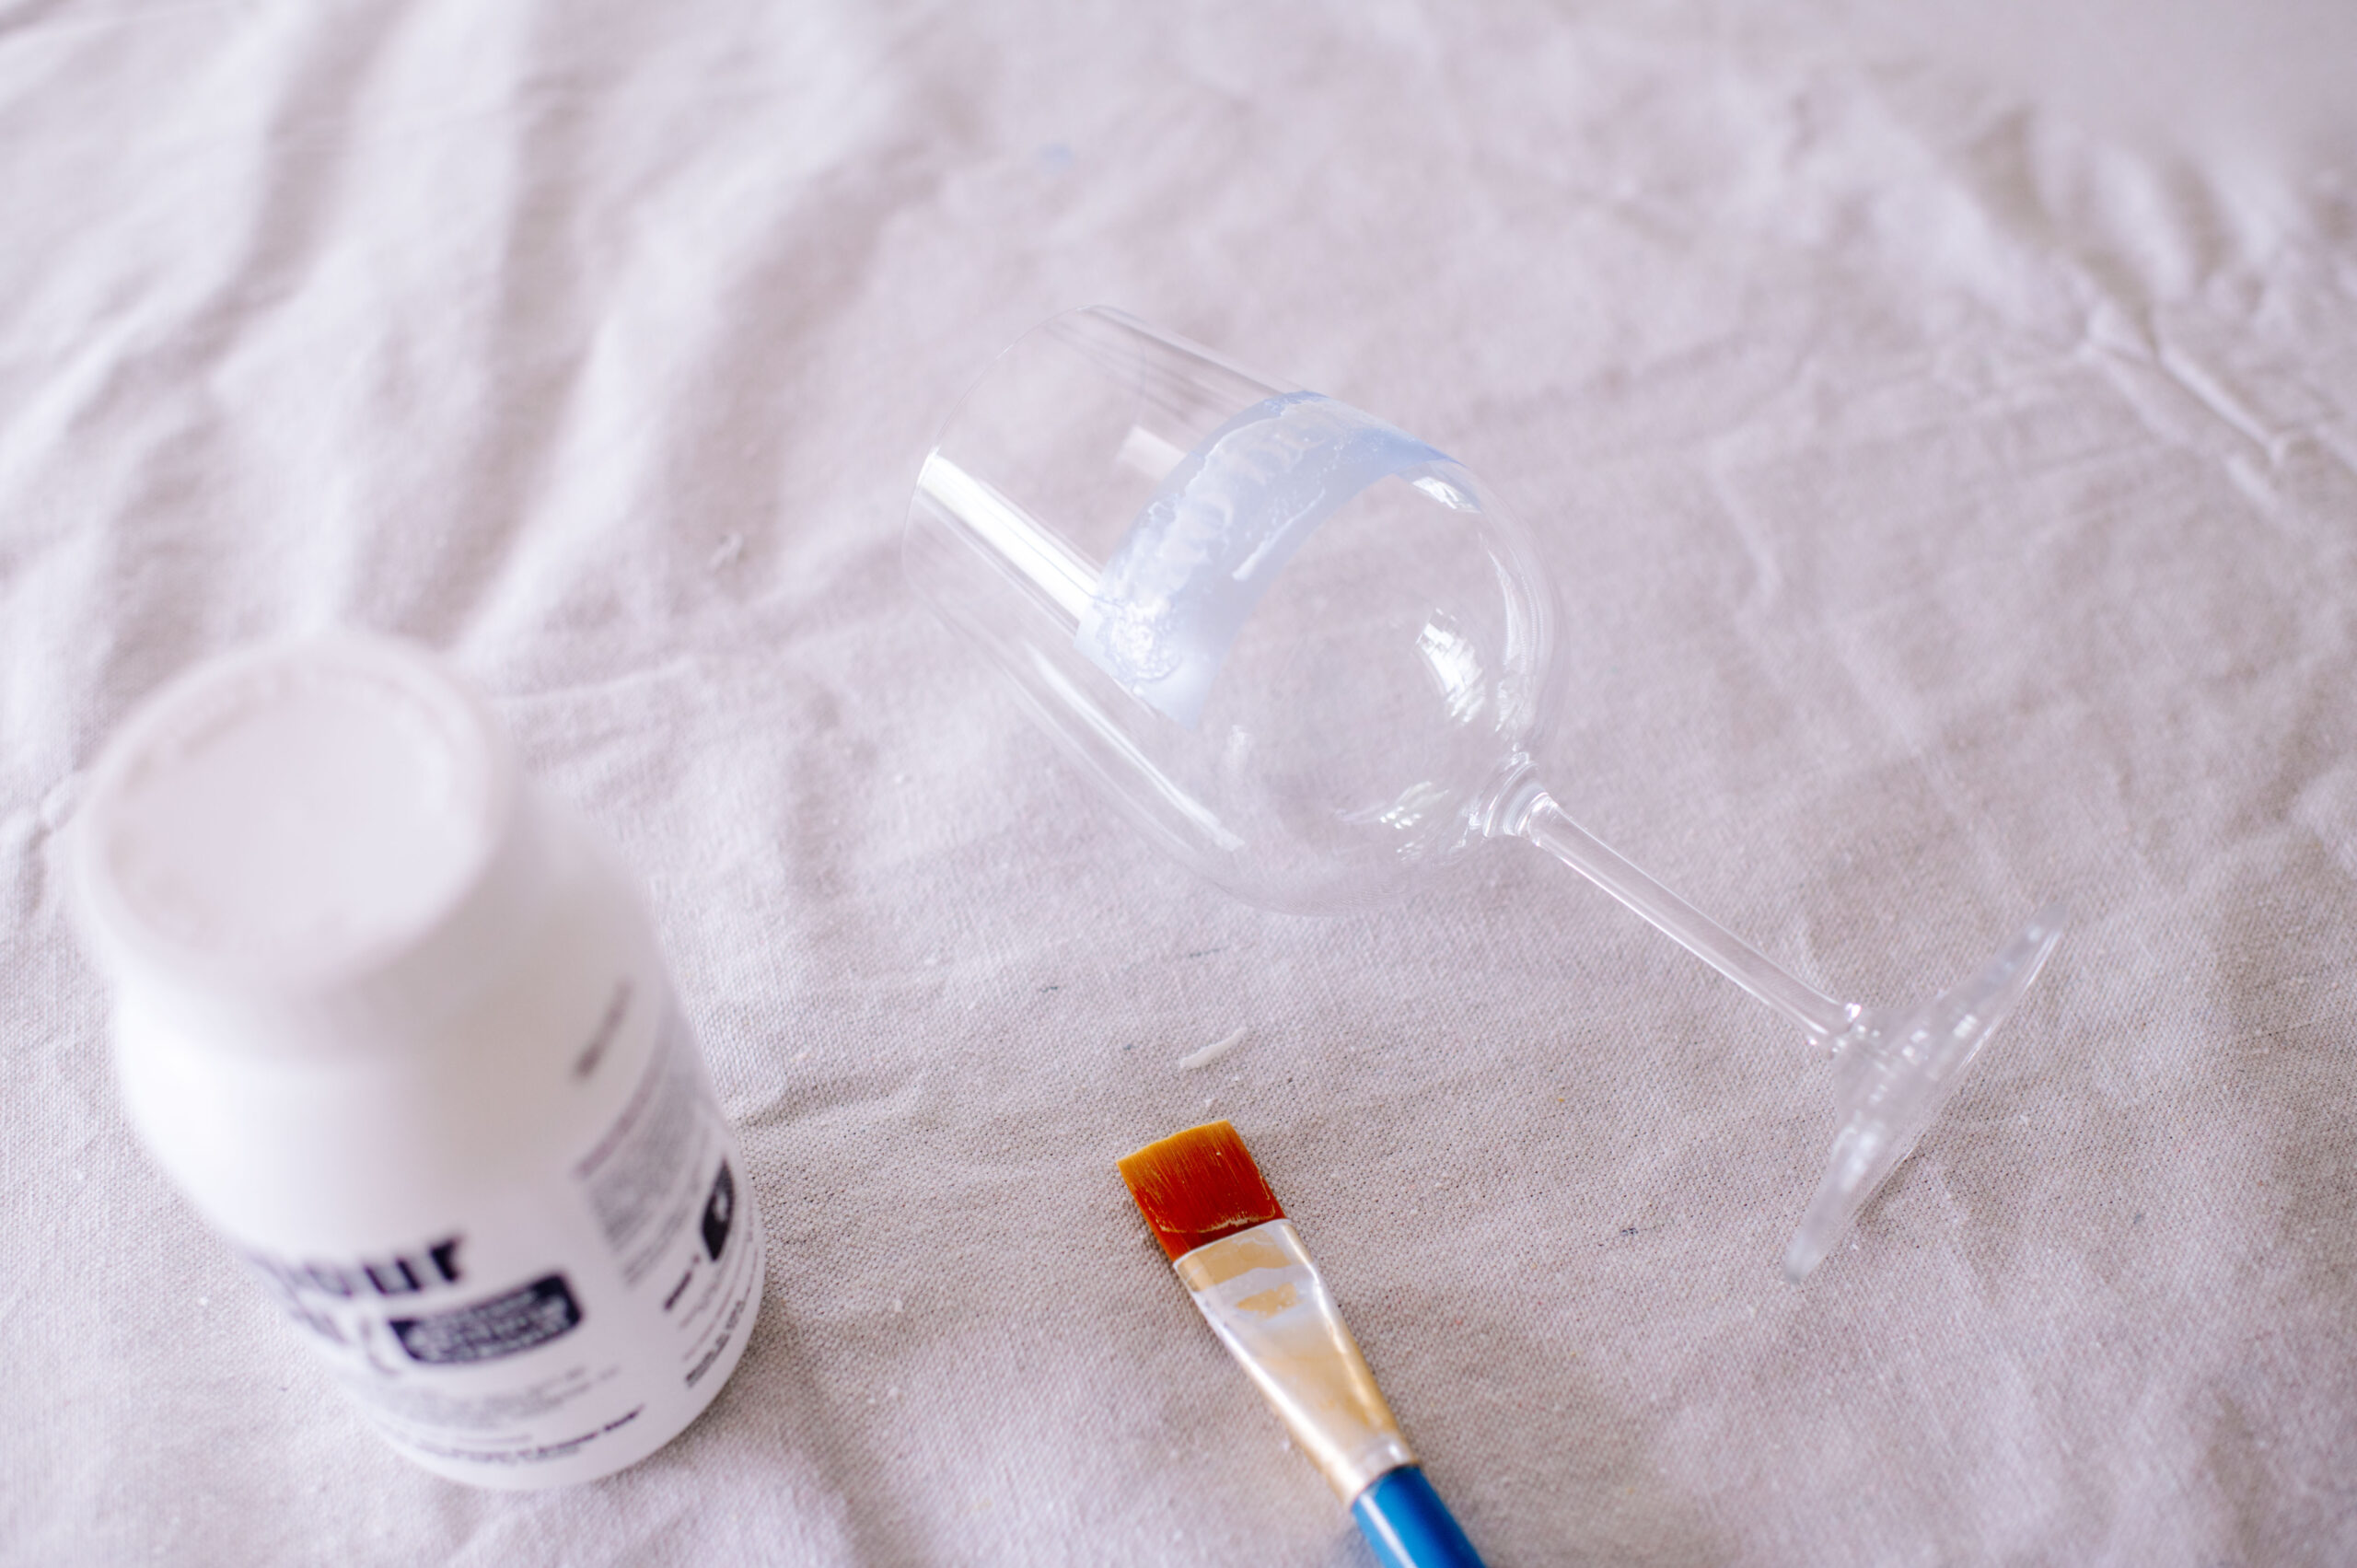
- I then covered the outside of the design with the Armour Etch using a paintbrush.
- I let the Armour Etch sit for about 10 minutes before gently rinsing off any residue with warm water and then thoroughly cleaning with hot soapy water.
- Using my Cricut precision tools, I carefully peeled off the Smart Stencil Film and then gave the glasses another very good clean in hot soapy water.
I seriously love how these little table decor pieces look, and they give exactly the vibe I was wanting. It’s just so fun that you can recreate something you have in your imagination or have seen on Pinterest, using your Cricut!
Bon appétit!
This post is in collaboration with Cricut


