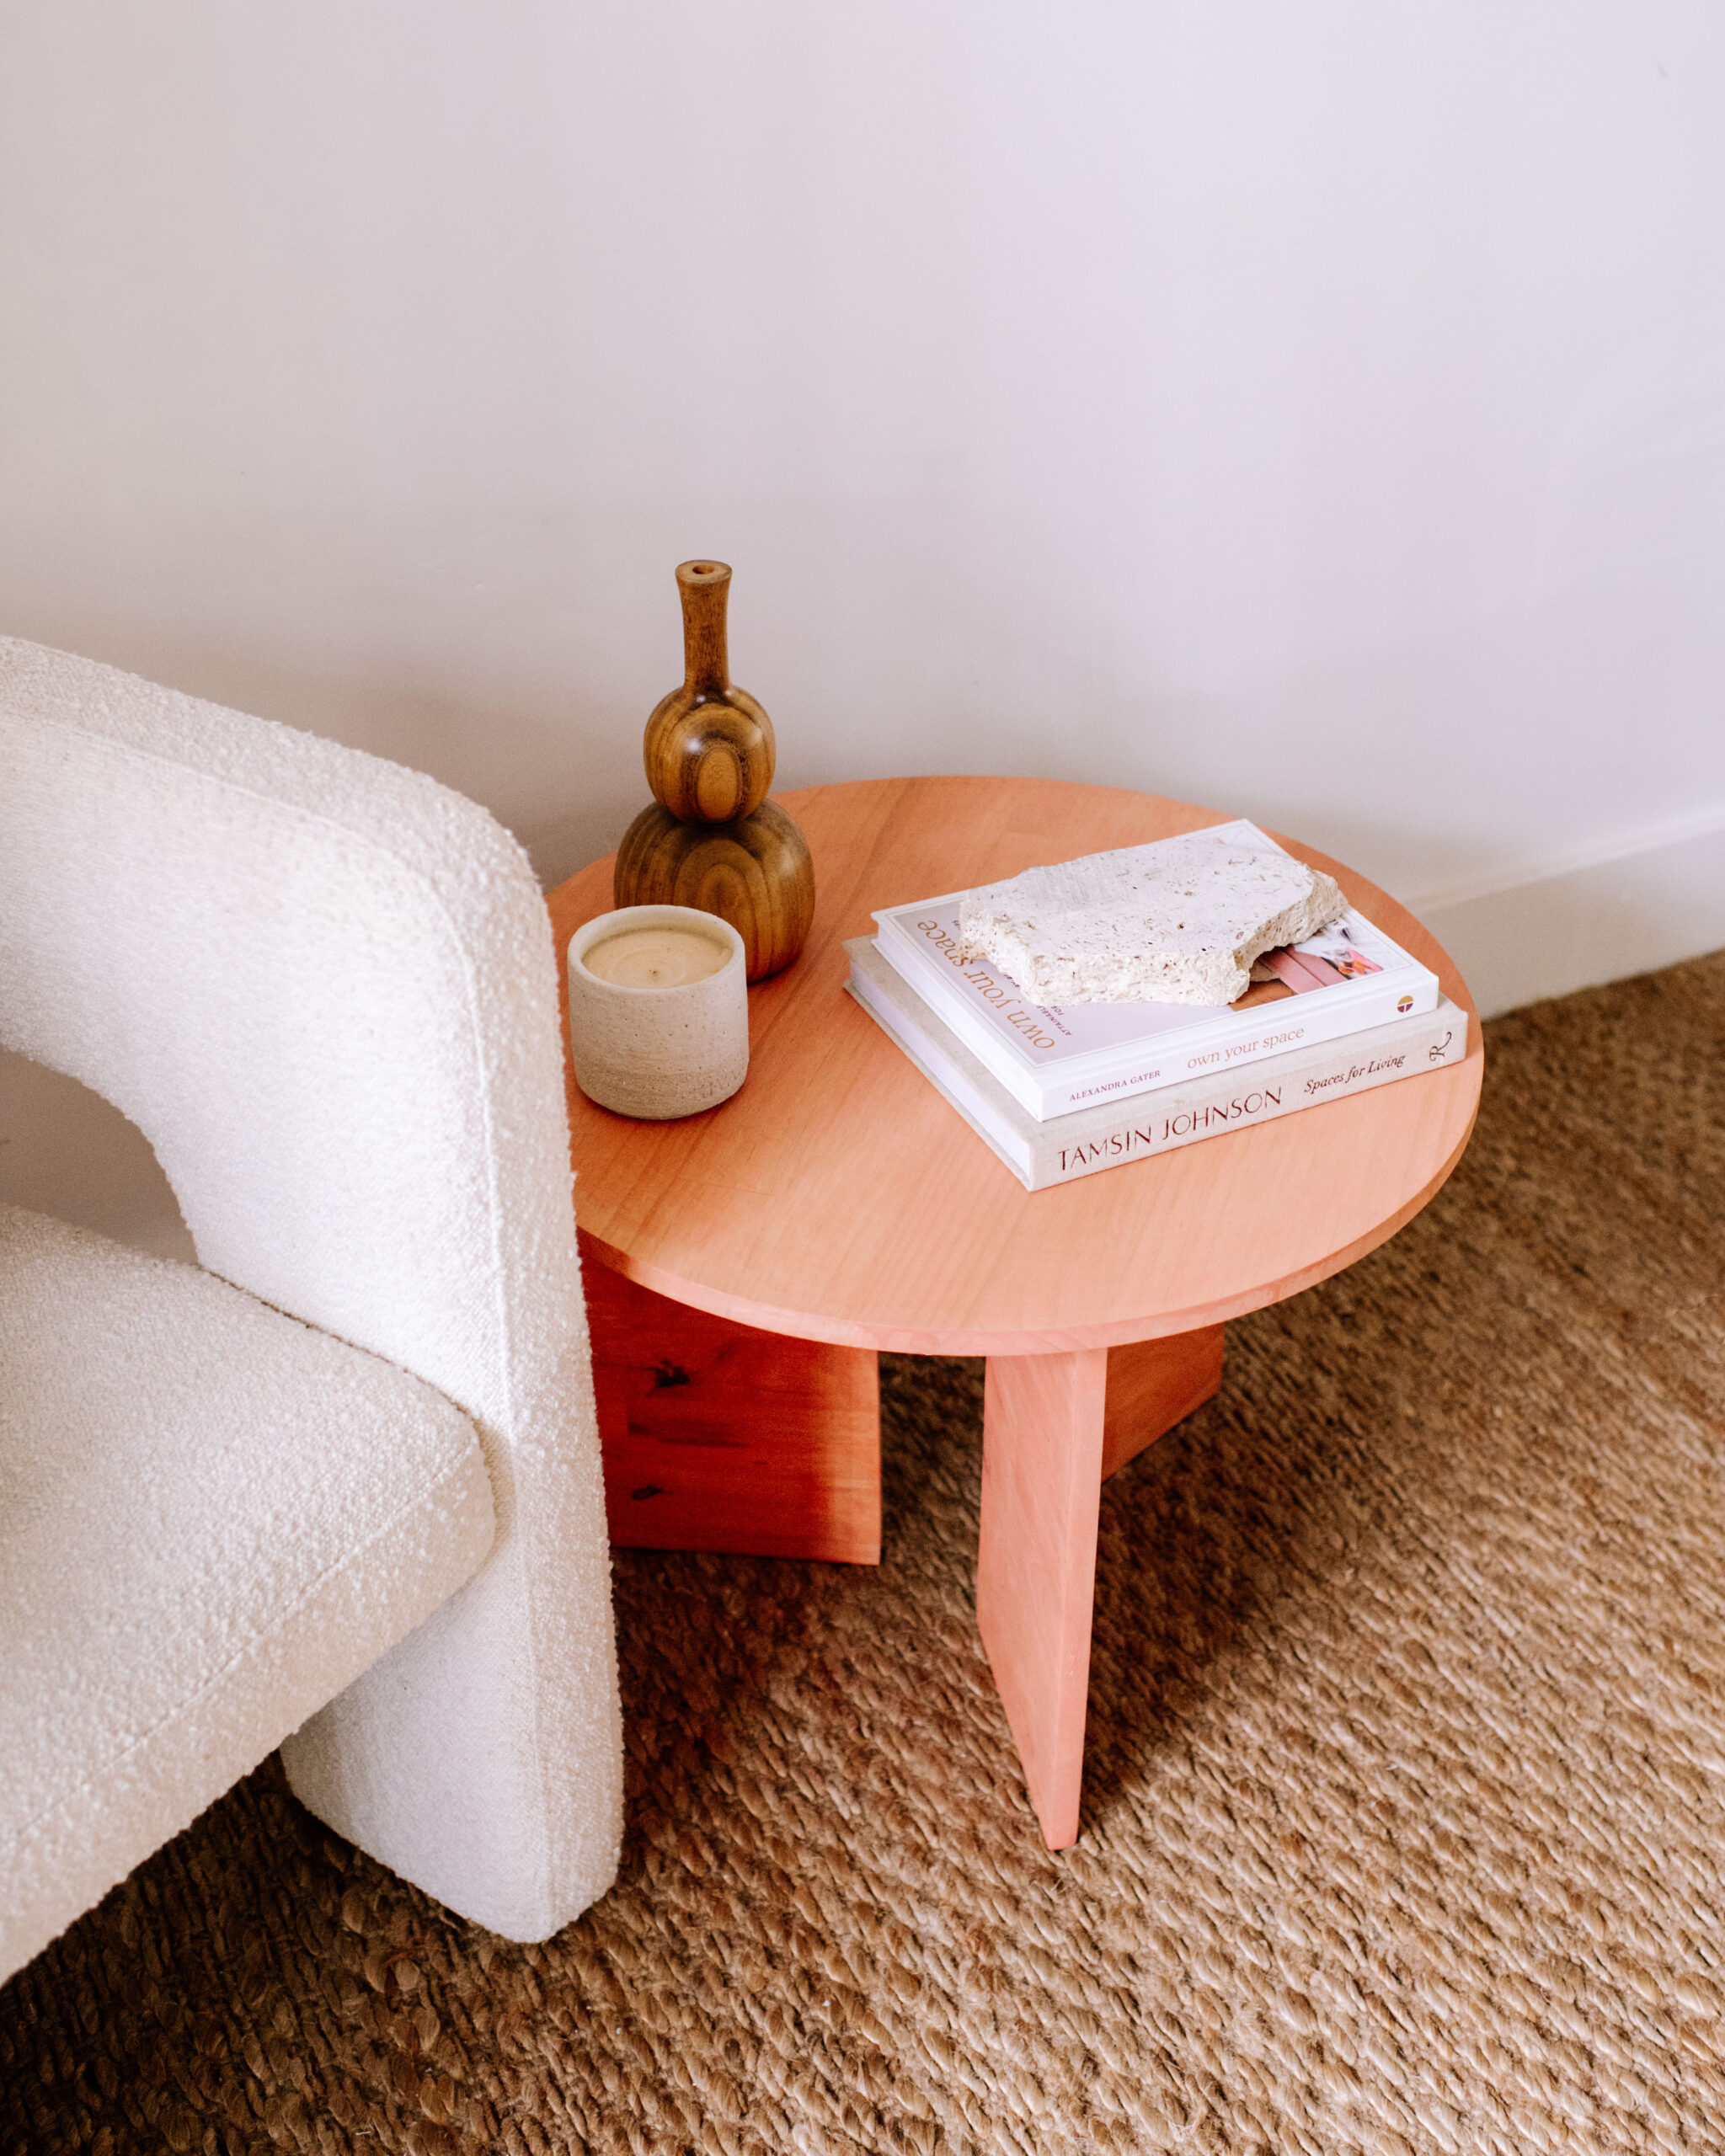
After seeing coloured wood stain everywhere and not knowing where to buy them, I finally discovered how to make them myself!
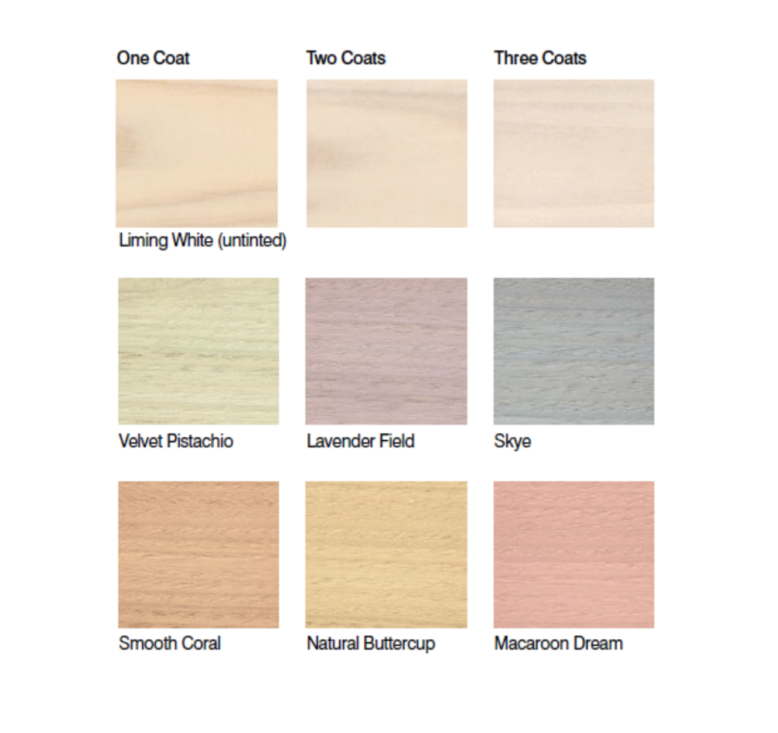
It will come as no surprise that I am such a fan of staining wood, it’s just so fun to be able to change the colour of something but still see the texture and grain. But I didn’t realise I could do this with colour, I kind of thought it had to be just brown wood colours. When I recently found a colour chart of some stain swatches on the Feast Watson website, I knew this was the idea I had been searching for. It’s a really simple technique of adding Prooftint stain to Liming White Stain and Varnish to transform the stain colour into a unique pastel shade. I couldn’t believe I already had everything I needed in my craft cupboard to create these colours all along and all I needed was this idea – mind blown.
Making Coloured Wood Stains
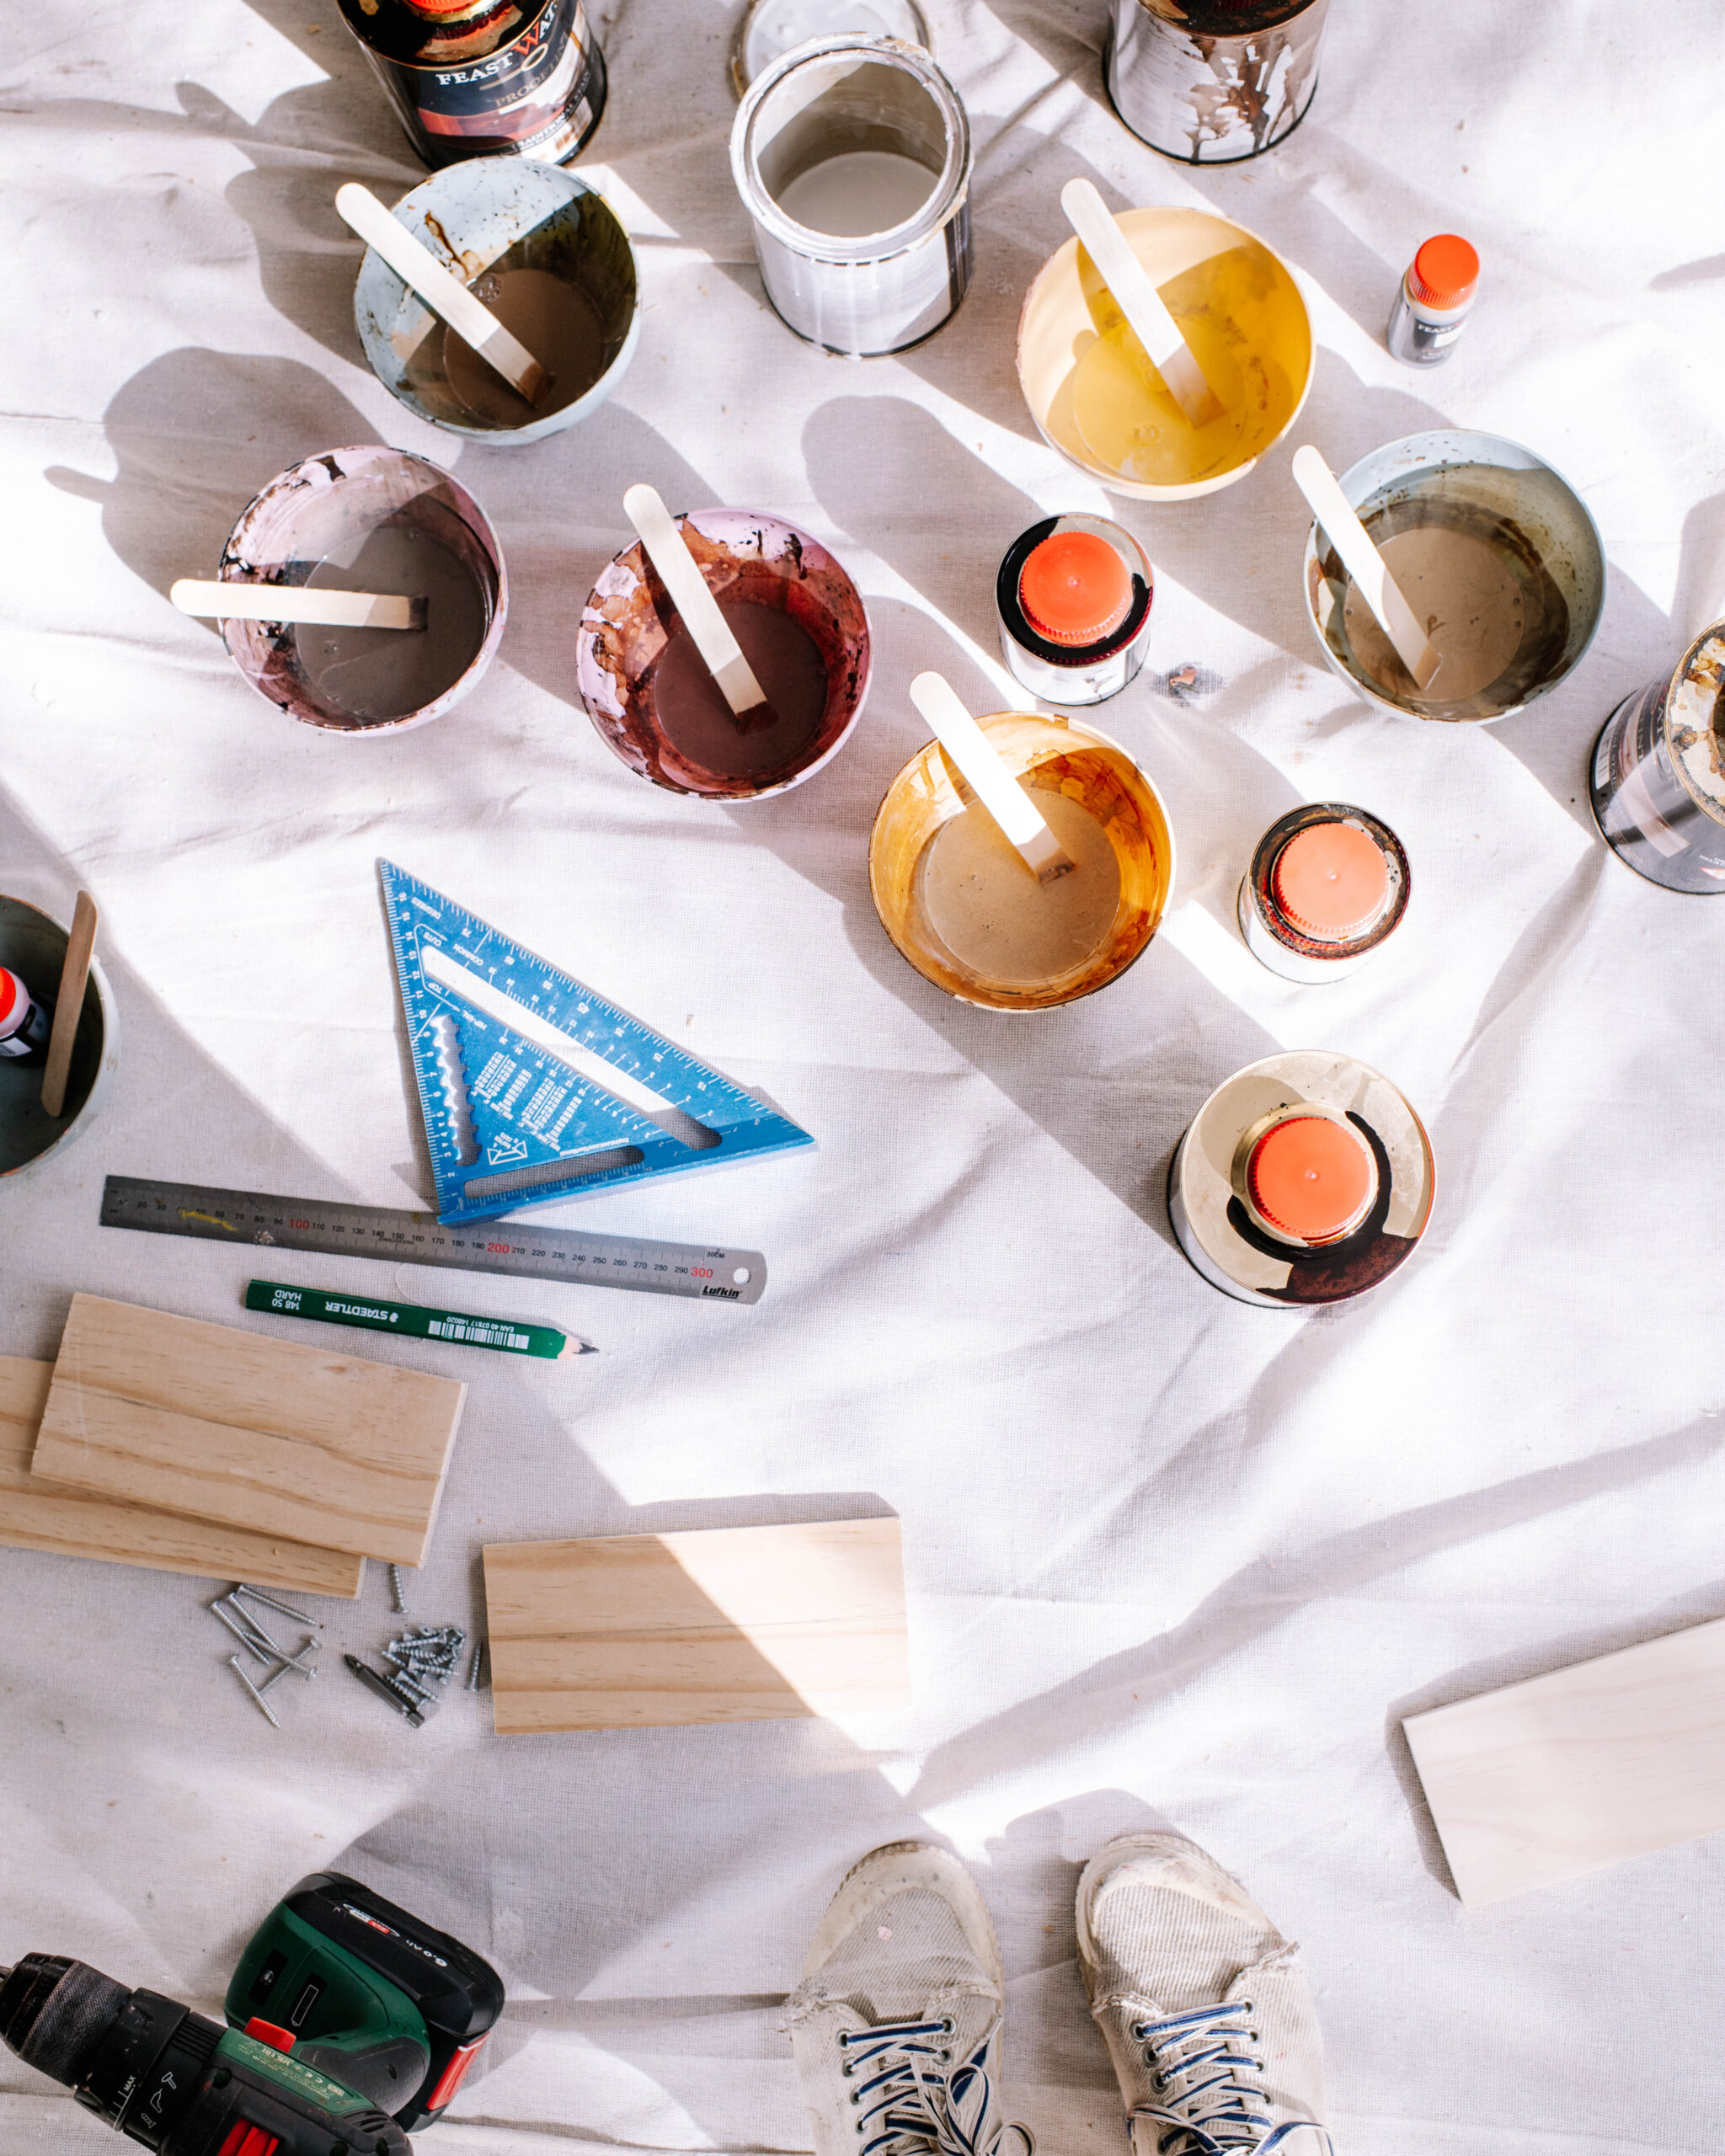
As soon as I heard about this idea I immediately pulled out my Prooftint stains and started experimenting with all the colours. According to Feast Watson you need to add around 5% of the stain to the Liming White to tint it into a colour, but I simply experimented with amounts to get the colour I liked. I found a few drops in a cup seemed to work well. I was so shocked and ended up creating some seriously cool shades of pinks, yellow, purple and grey. One of my favourite things about DIY is the experimental phase, mixing different ratios and creating all the colour swatches to see what’s possible and make something new. You can find the colour chart on the Bunnings website under Liming White which is really good place to start, and I recommend having a play around yourself to see what shades you can make.
Making A Side Table
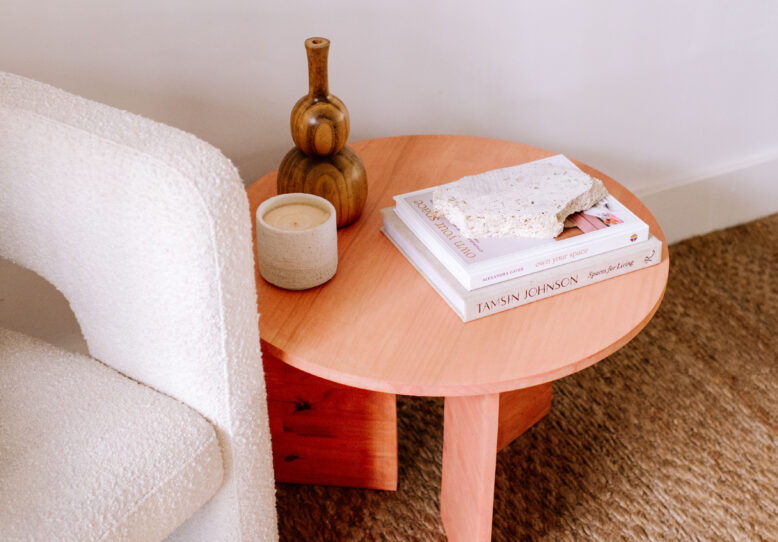
I decided to make a little side table just to fully test out the colour and process. Because I’ve been so inspired by all things Barbie pink at the moment, I decided to go for the bright pink (Macaroon) which I absolutely love. Here’s what I used for the side table.
- Wood circle
- Wood for legs and connection points
- Wood screws
- Drill
- Jigsaw
- Tape measure
- Pencil
How to:
1
After all my experimenting, I made up the colour I had decided on. I poured some Feast Watson liming white into a bowl and then added a splash of Cedar proof tint (around 5%) into it and mixed well. You can immediately see the pastel colour coming through and can decide from there if you like the vibrancy of the colour or if you want to add more proof tint.
2
Once I had a colour I loved, I cut all the wood for my table so it was ready for staining. I had an existing circle so I used my jigsaw to cut 3 pieces of wood to make the legs. These were roughly 200mm by 400mm. I also cut 3 smaller rectangles 200mm by 90mm) to use to attach the legs.
3
Once all my piece were ready, I started staining the wood. I used a paint brush to first apply the stain colour and then removed any excess with a rag. This creates a nice even coverage.
4
Once dried, you can decide if you like the colour with one coat or if you want to add another coat for a richer colour.
5
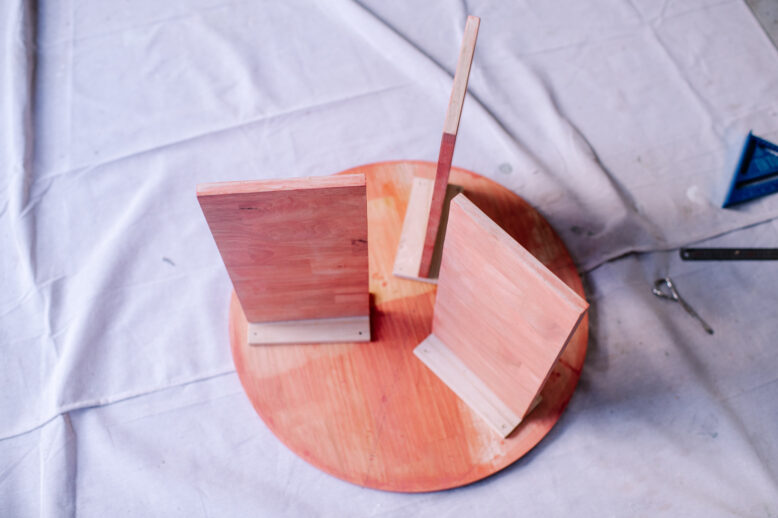
Now to put it all together! I drew a line down the centre of the bracing pieces and then drilled two pilot holes.
7
Once that was done I simply turned the legs upside down and screwed the bracing pieces into the underside of the table top. You'll need to divide the circle up into 3 parts and then mark where the legs go, so they're all centred.
And there you have it! A simple table with a very fun coloured stain technique. I now have endless ideas for more and see a lot of coloured furniture in my future.


