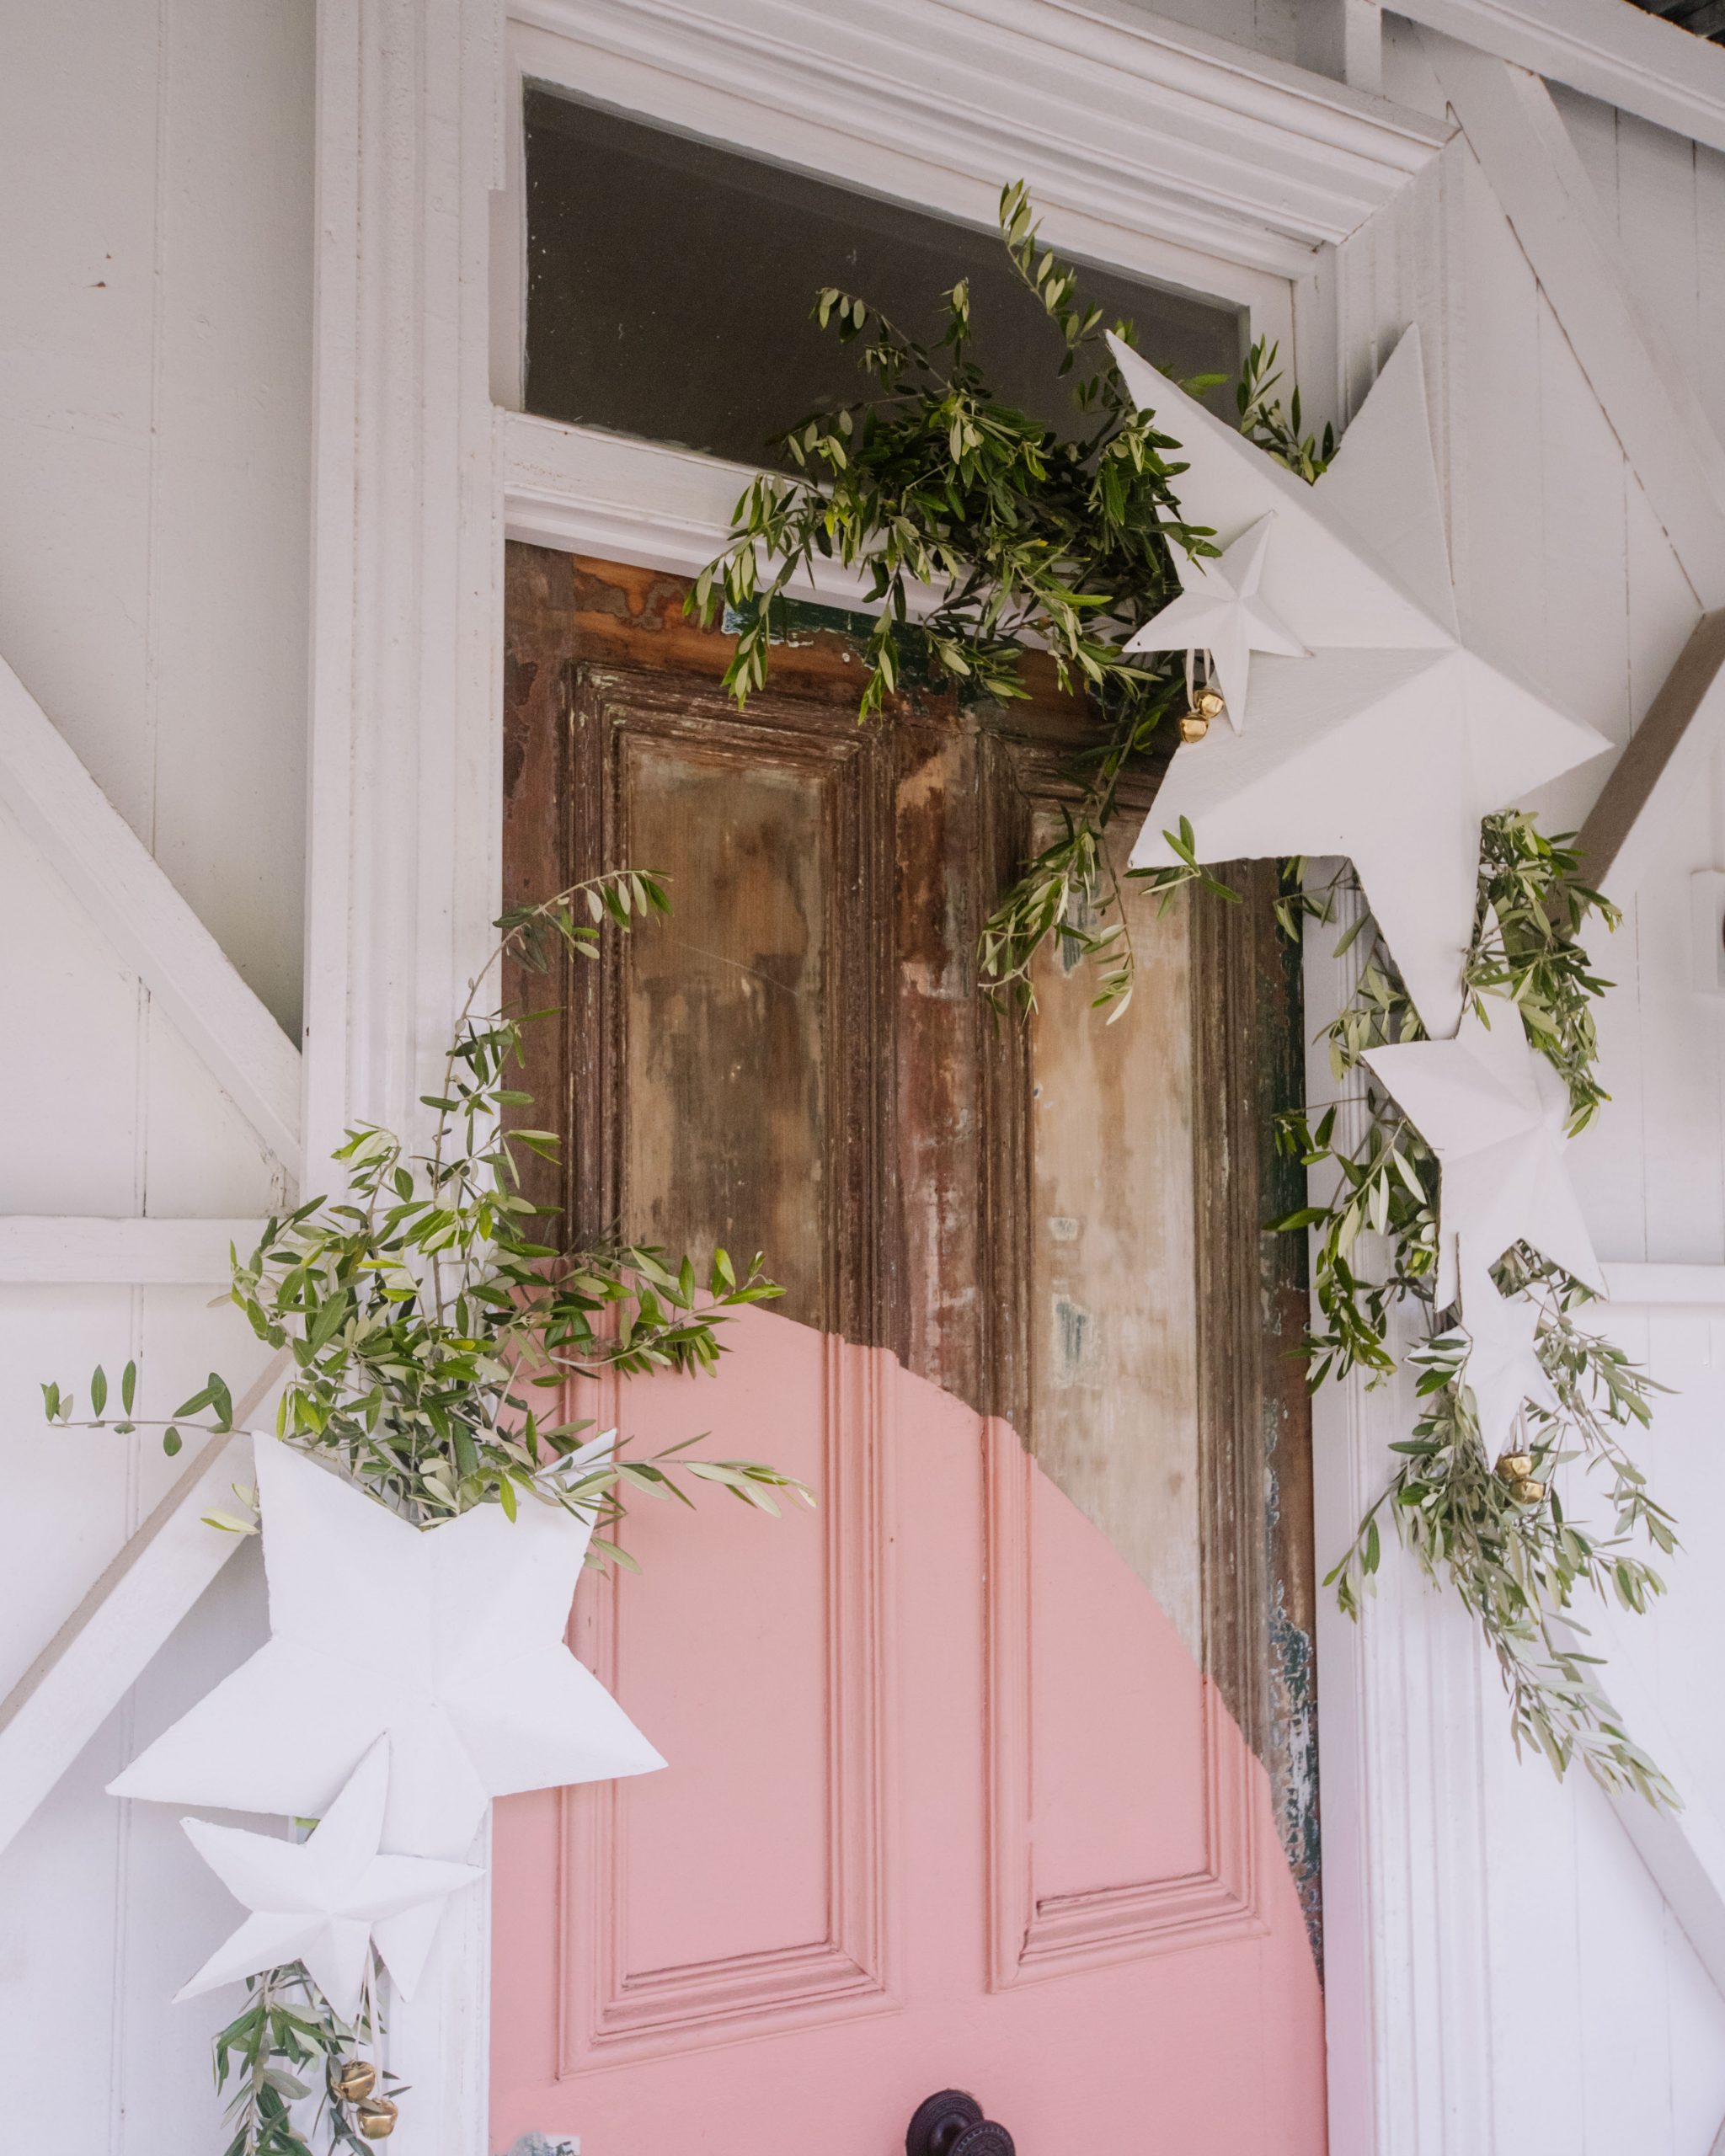
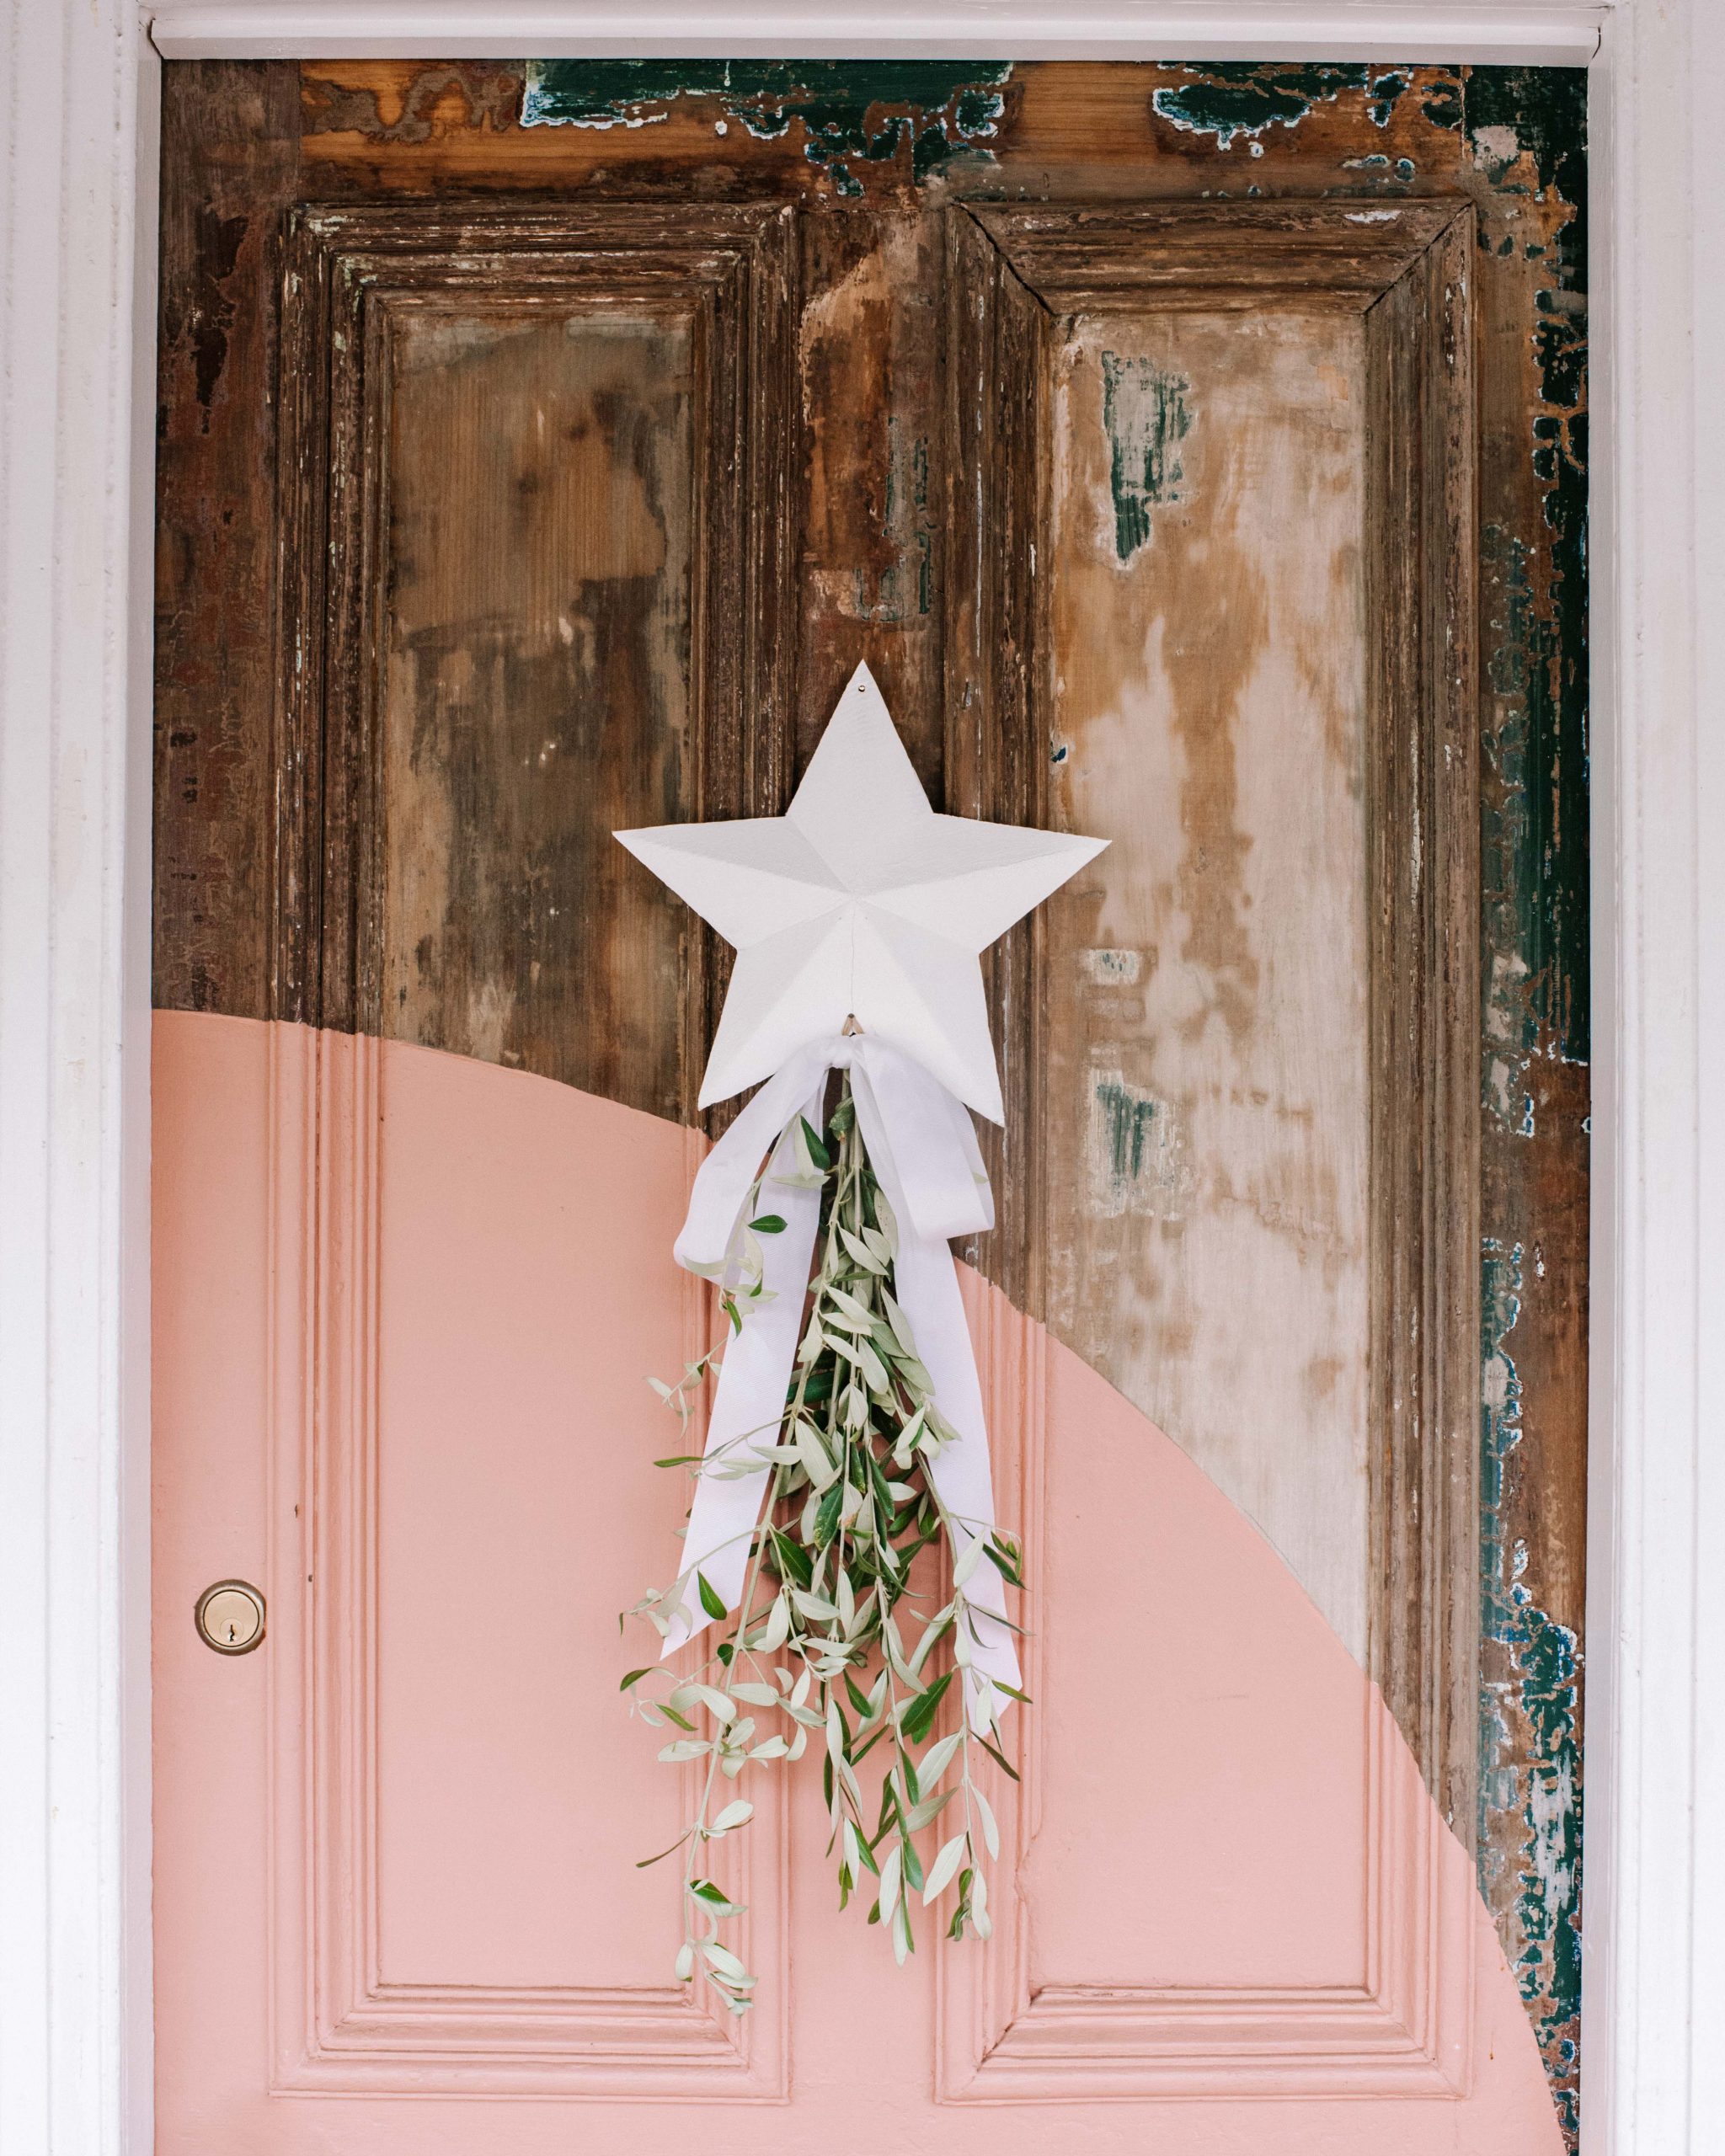
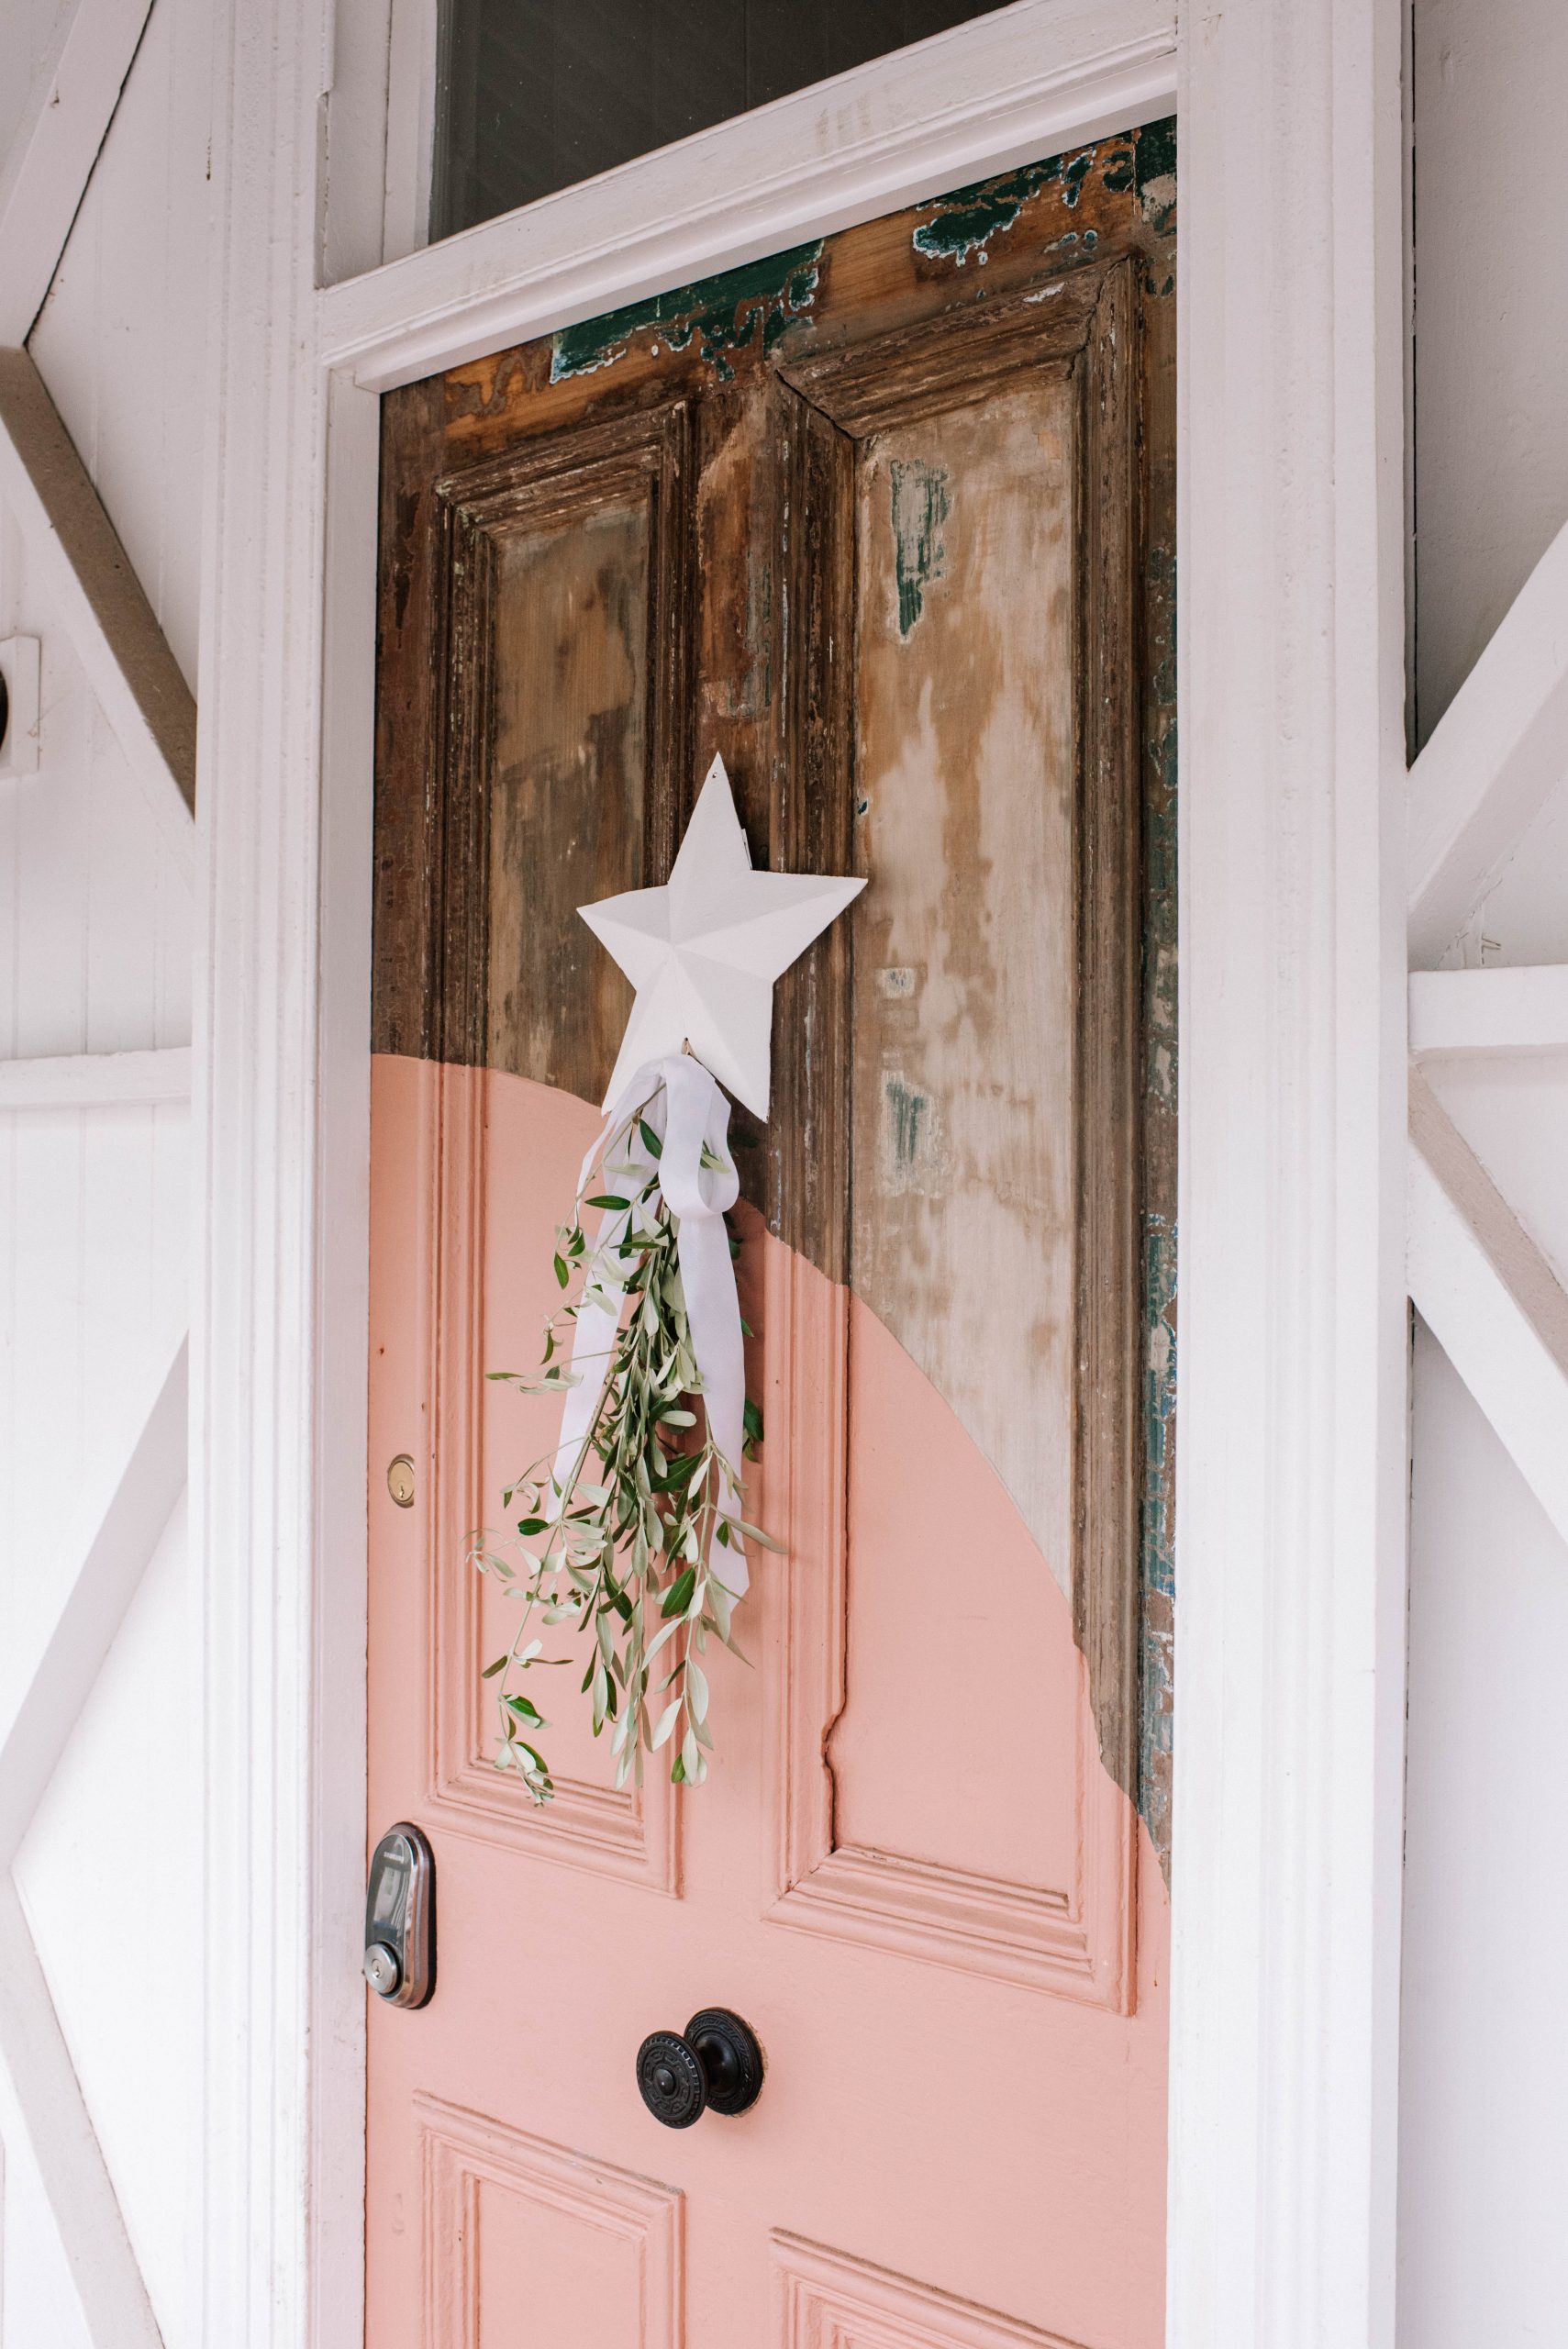
I’m happy to say that thanks to this project, your recycling bin might go hungry this Christmas!
Christmas is my favourite time of the year and the absolute best time to make something. This project is simple but an old favourite – cardboard stars to adorn the front door. I realised I had not done a recent rundown of this, and the last time I shared something similar was like 6 years ago so I thought you might want an updated tutorial!
Print the cardboard star templates here.
Materials You’ll Need
- Cardboard (keep your boxes!)
- Star Template
- Marker
- Scissors (Fiskars PowerCut are the best for cardboard!)
- Ruler
- Tape
- Plaster and paint or paint mixed with baking powder.
How to make cardboard christmas stars
1
I start off by printing out a star shape from the internet to use as my template. If I want it to be bigger print out two half stars onto A4 or A3 and then cut those out and stick them together. Once I have my template, I lay it down on a piece of cardboard and trace it out using a marker.
3
I have found the best way to get a clean fold is to score the underside with a pair of scissors. I do this by lining up my ruler from the tip of one point and then running a pair of closed scissors along it. This will score the cardboard but not cut it completely which will allow for a clean fold. Make five score lines starting from the tip of each point.
4
Next, I fold along these score lines to give the star a 3D effect. For each acore line you want to fold the longer section down, and the shorter sections up. You can go around and go the longer section first then come back and do the shorter section. To keep the 3d shape and stop them from flattening out, you may want to add some tape on the underside to hold it together.
5
Once the star is finished, I like to paint them using a mix of Gyprock plaster and paint, or you can also use baking powder mixed with paint to create your own textured paint.
This is one of my favourite projects to make around the holidays, it’s just so easy but looks so good!
Here are a few more Christmas projects you could try this year:


