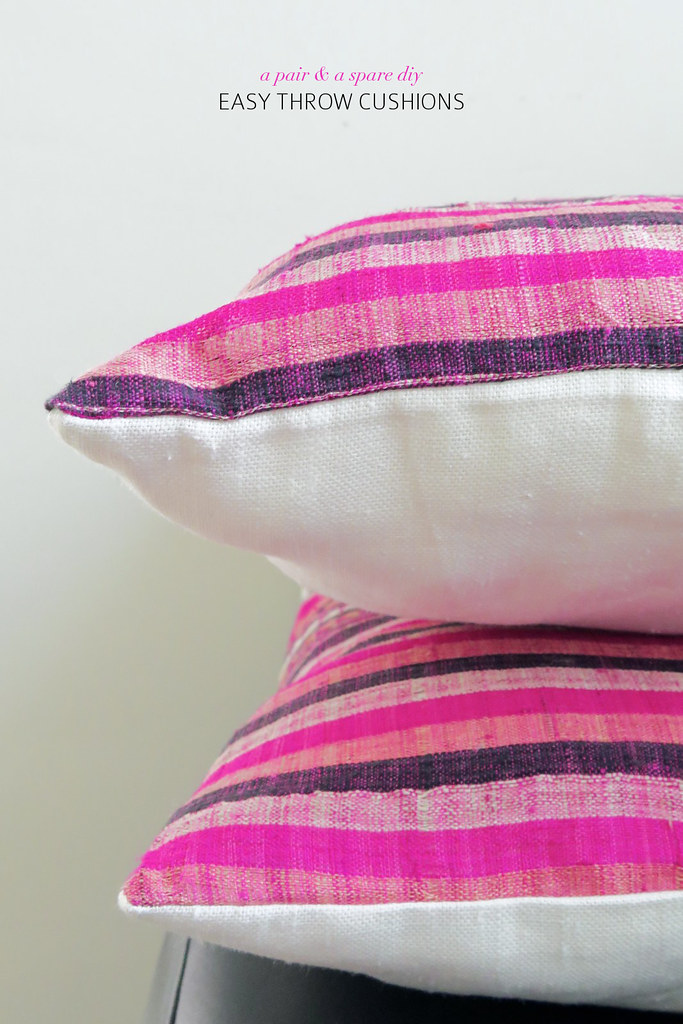
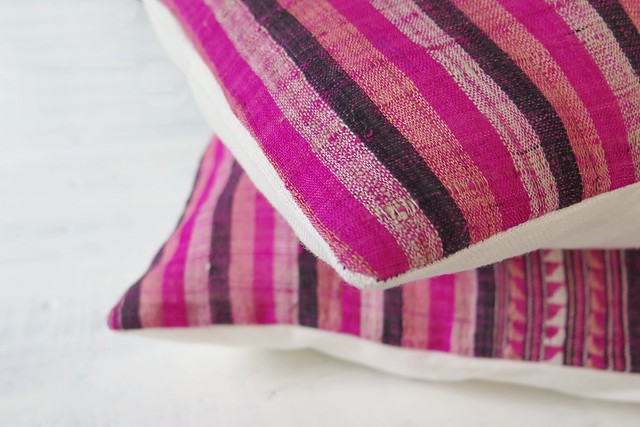
As you can probably imagine, when I’m travelling I can’t help but buy fabrics wherever I go. Usually it’s a case of having to put a limit on myself lest I end up in one of those awkward, and costly, excess baggage situations. Sadly often the small scraps of fabric I buy are too small for a skirt or a pair of shorts, but too dear to my heart to throw away so end up sitting in a box. While in the process of finishing off my favourite nook in the studio I got a craving for throw cushions, and rather than buying them myself I realised it would be a great opportunity to use some of those colourful fabric scraps. My one main issue with sewing cushions though was that putting a zip in can take aggges (I wanted to make seven cushions), but the last thing you want is a cover you can’t wash. After a bit of pondering I worked out a way to create a cushion with a folding flap so you don’t need a zip. What’s even better is that if you have time you can totally make these by hand! Read on the see how.
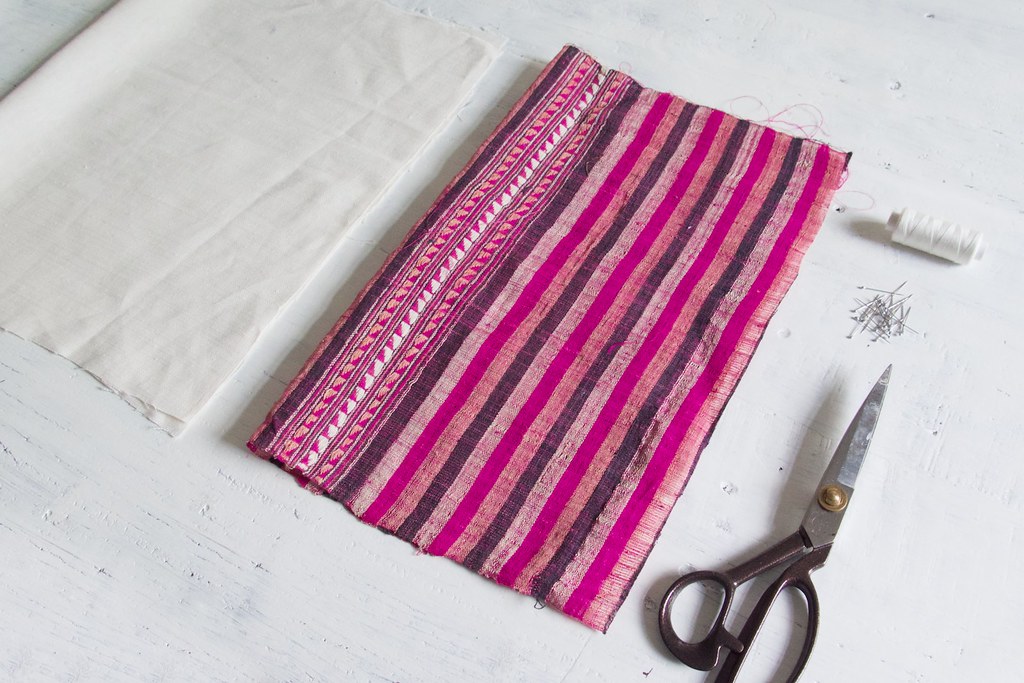
You need:
- A piece of colourful fabric for the front
- Some canvas or linen for the back
- Scissors
- Pins
- A sewing machine or needle and thread.
- Cushion stuffing or inner.
How to:
1. First cut your fabric pieces. I used the shape of my fabric scraps to determine the size of my cushions, this colourful piece is roughly 45cm x 30cm (17 in x 12 in). Cut a piece of cotton or linen 1.5 to 2 times the length (longways) of your statement piece of fabric. If your fabric is square just pick a side to use as the longways. The longer you cut the backing piece the bigger the overlap of the flap at the be will be so I made mine closer to 2 x because I was using cushion stuffing and I didn’t want it to come out.
2. Cut the piece of backing fabric in half width ways.
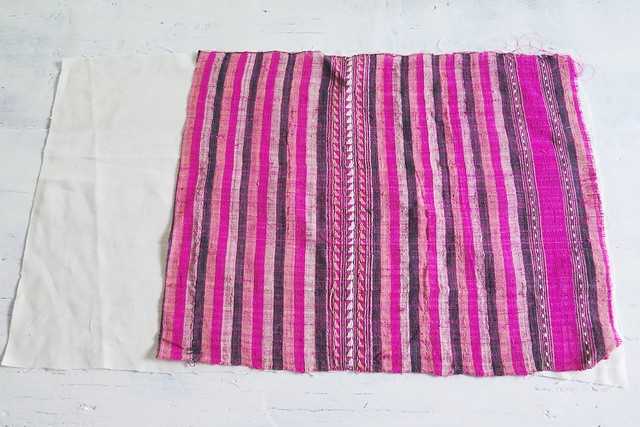
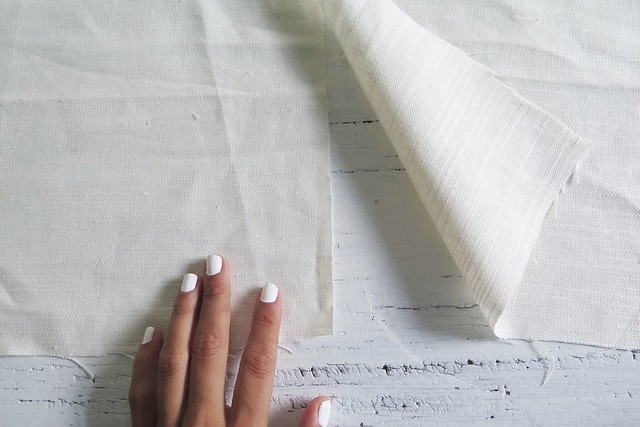
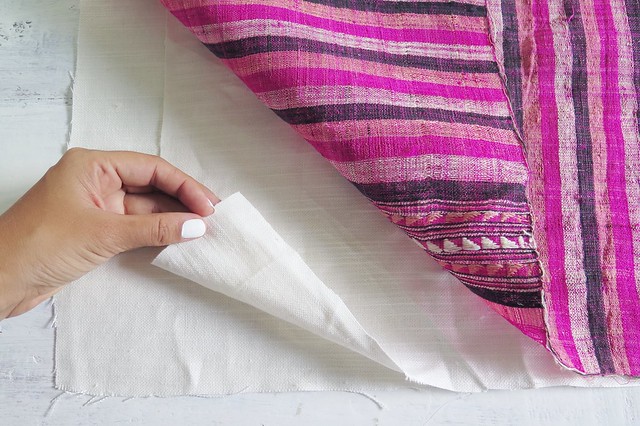
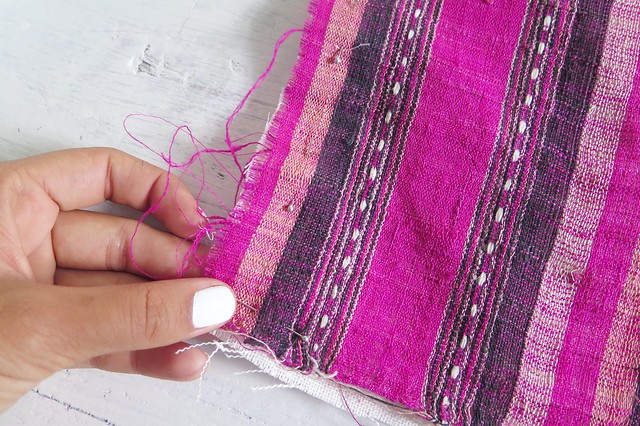
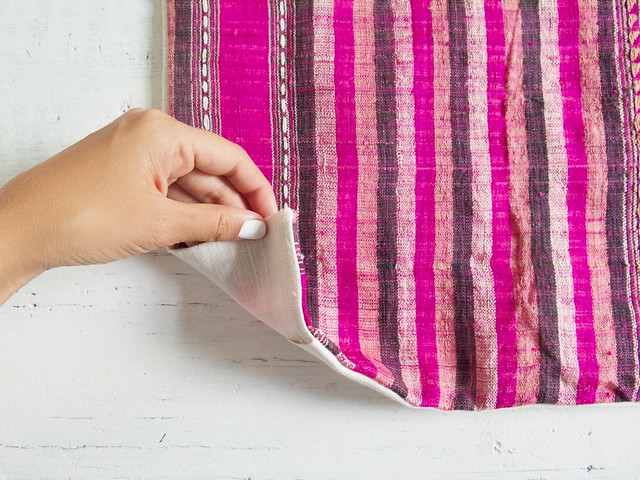
3. Lay the fabric together, first one side of the backing fabric, then the other and then the statement fabric right side down. Note that the backing piece that is second from the bottom will be the outer flap, which is why I oriented the clean selvedged edge here. In the event you don’t have a clear selvedged edge on this piece, the best thing to do is to hem this along the short edge so when you turn it inside out it has a nice finished edge.
4. Pin together.
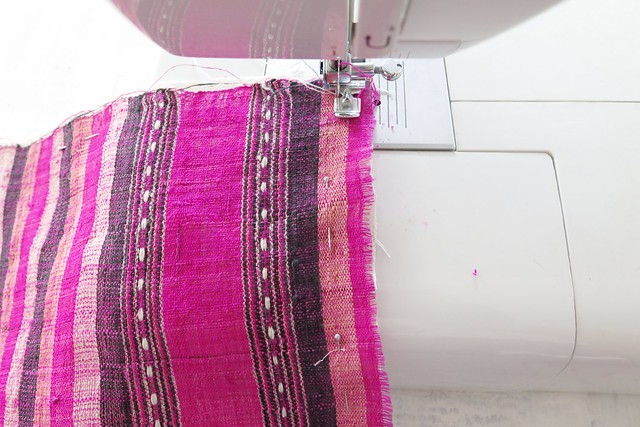
5. Sew all the way around the cushion about 2.5 cm (1 in) from the edge.
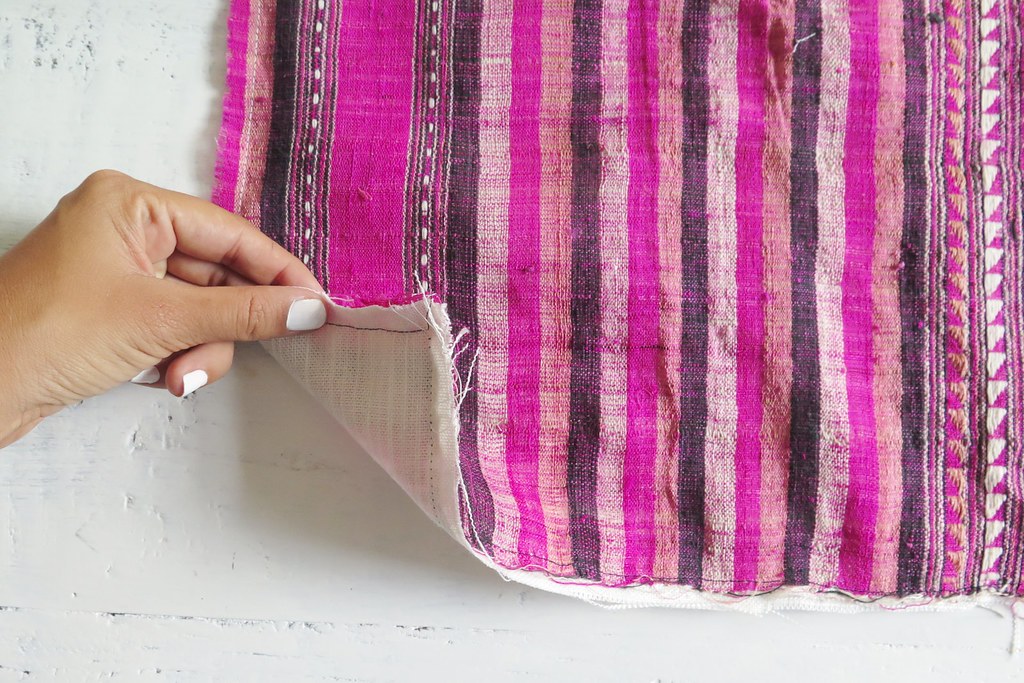
6. After sewing the fabric should look like this.
7. Turn the fabric inside out by pulling it through the flaps in the backing and then iron down well, making sure to turn the points of the cushion out, you can use a pencil or chop stick to do this.
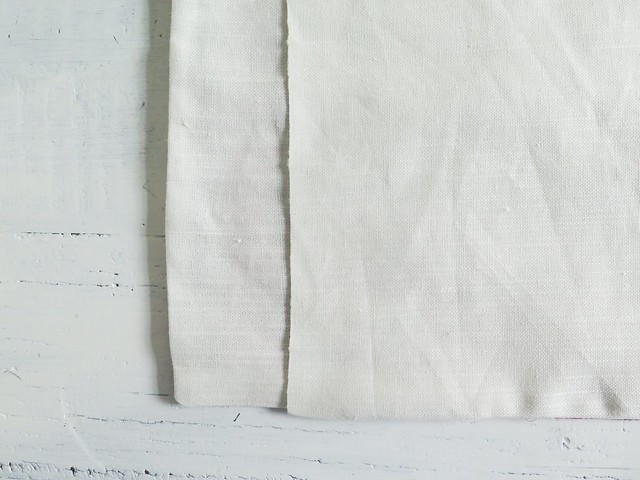
8. The back of your cushion should look like this – you can see that my back piece overlaps a lot to keep the stuffing inside but yours may be more centred.
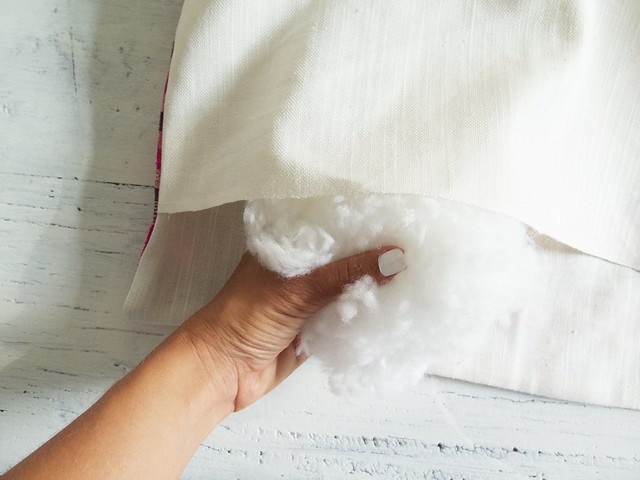
9. Stuff your cushion or if you’re using an insert put that in.
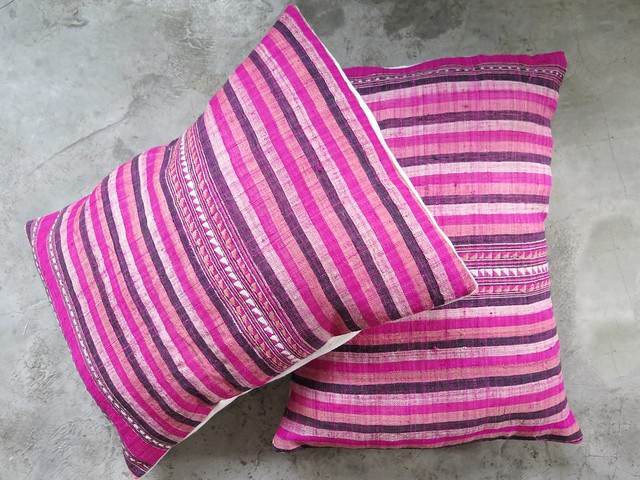
Voila! I can’t wait to show you all the different ones I made with fabrics from all over the world. Nothing better than hanging in the studio sitting on cushions that remind me of places I’ve been!


