Earlier this year, we set about asking you guys what kind of DIYs you would like to see more of and we were overwhelmed by your responses! They have been invaluable in helping shape our content so a big heart felt thank you to you! As a nod to our DIY roots, the girls and I at the studio are starting a new series where we share the tricks of the trade that help take any fashion DIY from “holds together long enough to walk to the bar in” to “so wearable you can run a marathon in” (ok, maybe that’s a little ambitious but we all want our clothes to go the distance, right?).
If you’ve been around this part of the woods long enough, you’ll know that an indispensable element for any fashion DIY or before & after is the trusty ol’ invisible zipper. But reality is, if you’ve ever put your hand to sewing in an invisible zipper in the past and found that it is anything but invisible then welcome to the club. The good news is you only have to keep in mind one or two rules when sewing in an invisible zipper and you’re all set to sew one into anything (save your mum’s curtains). Read on to see how!
Sew An Invisible Zipper
Equipment
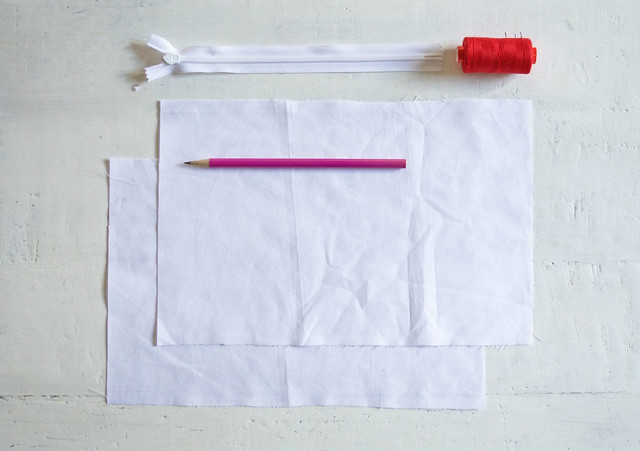
- Cotton fabric (2 rectangles about 30 x 25cm)
- An invisible zipper
- Contrasting coloured thread
- Sewing machine
- Pins
How to
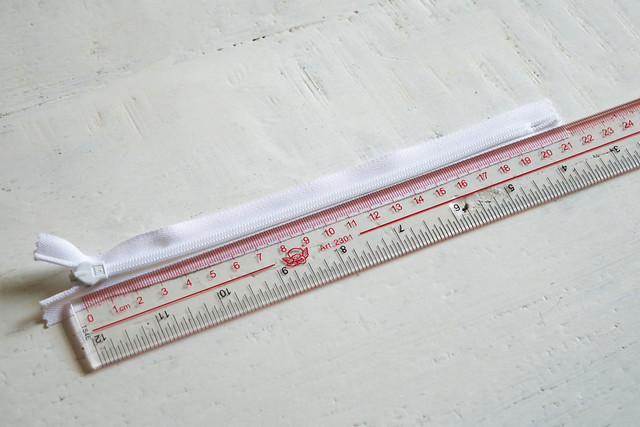
- Measure the length of your zipper from the top of the metal puller to the bottom of the plastic stop. My zipper measured 20cm. (Note: in the picture below, the invisible zipper is facing wrong side up because the teeth are visible).
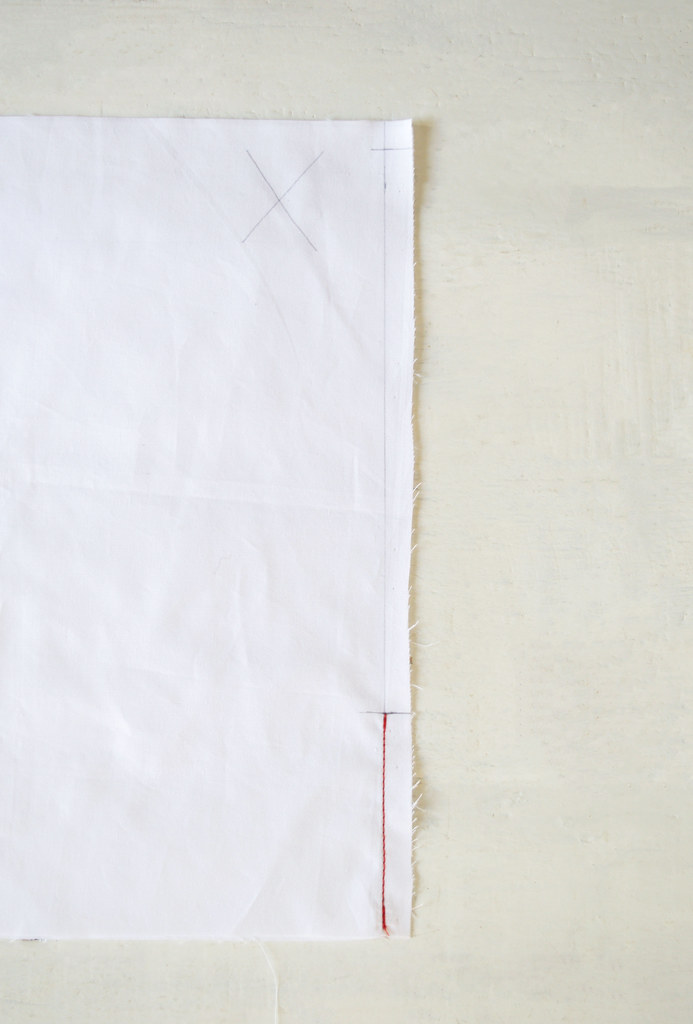
2. An invisible zipper requires a 1cm seam allowance which I’ve drawn in below for this demonstration. On the wrong side of the fabric, which I’ve marked with an ‘X’, mark in the zipper gap (i.e. the length of seam we will leave open for the invisible zipper will be inserted). Coming down 1cm from the top edge (this will accommodate the extra zipper tape above the puller), mark a line from there 2cm shorter than your zipper, so in my case I came down another 18cm.
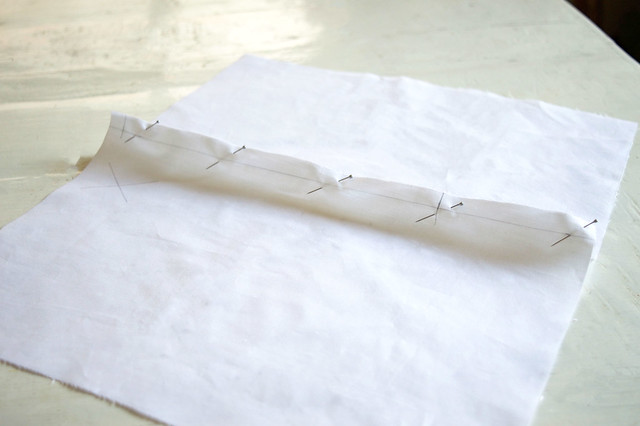
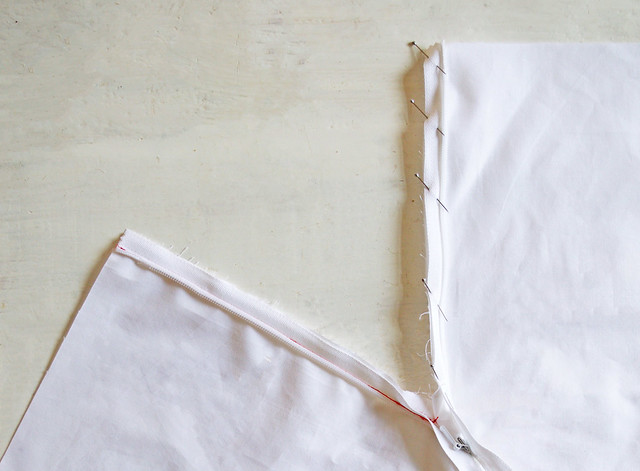
3. Pin the seam allowances together
4. Sew the seam allowance together from the zipper gap mark down (as stitched here in red thread).
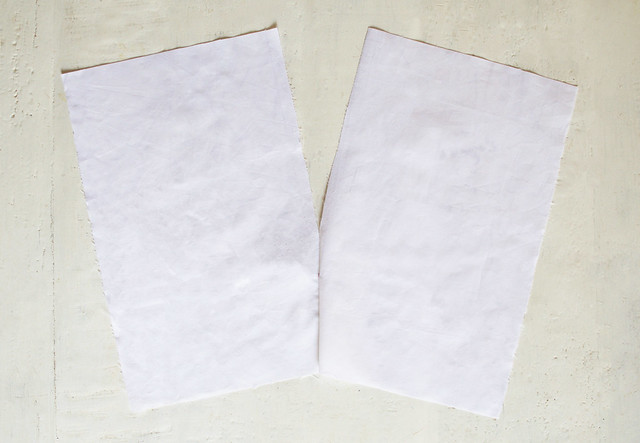
5. Open up the two pieces of fabric, right sides up (note, the ‘X’s are now facing down).
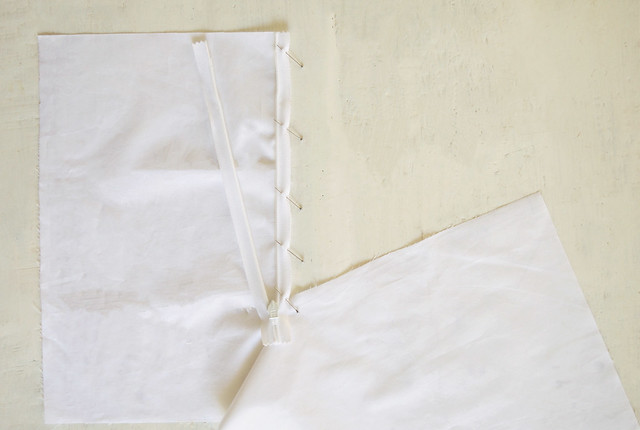
6. Unzip your zipper all the way down. With the wrong side of the zipper facing upwards (i.e. teeth side up), take the right arm of the zipper and pin it to the seam allowance on the left. Keep the edge of the zipper tape flush with the edge of the seam allowance.
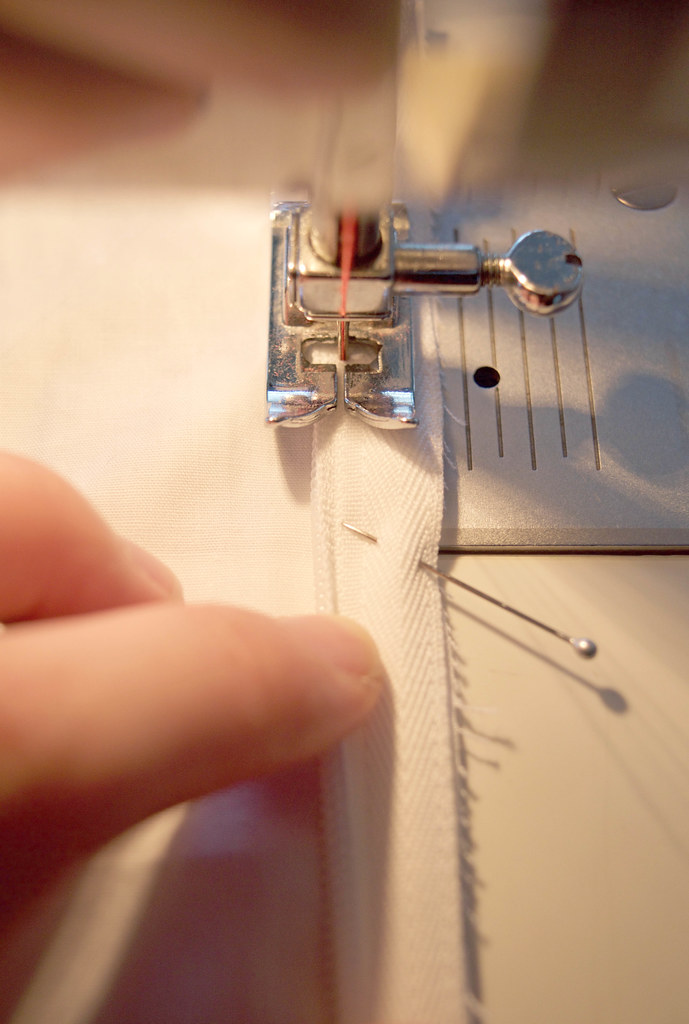
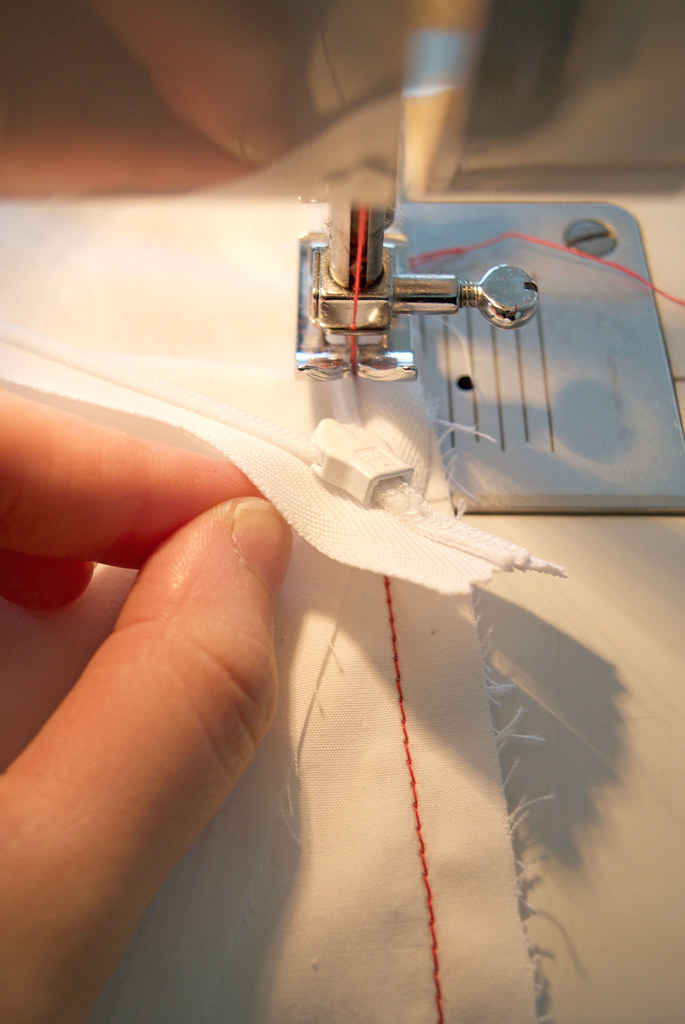
7. Using your standard machine foot, sew on the zipper by gently rolling back the zipper teeth and letting the needle fall in the crevice between the teeth and the tape.
8. Sew until you reach the end of the zipper gap, not the end of the zipper. You will notice that you will stop about 2cm before the end of the zipper, this intentional as to avoid hitting the metal puller with the foot or sewing needle.
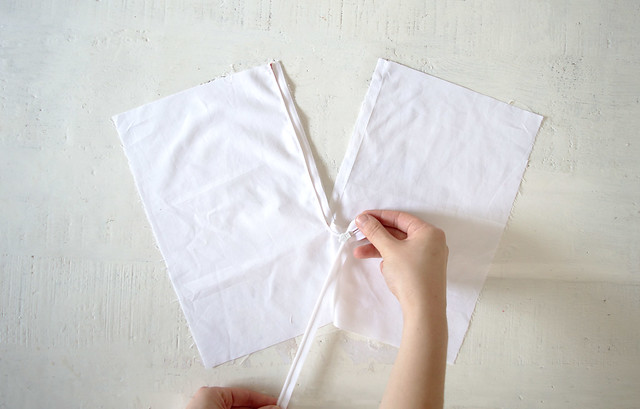
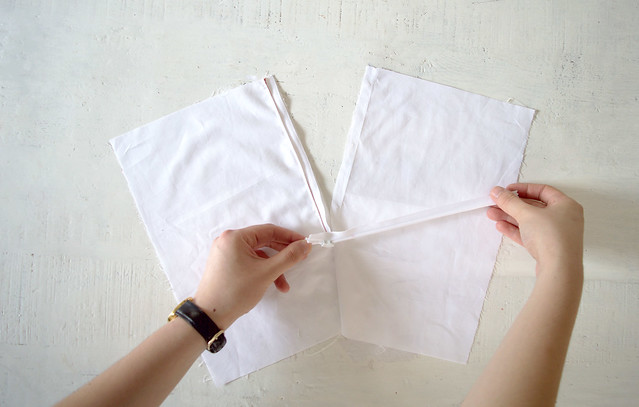
9. Now pin the left arm of the zipper tape to the seam allowance on the right. The trickiest part about this step is not getting the zipper tape tangled. The key when bringing the left zipper tape arm over to the right seam allowance is to turn the left arm anti-clockwise (imagine you are turning back the hands of a clock) until the edge of the left zipper tape matches with the right seam allowance. You will notice that during this process, the metal puller will automatically flip over.
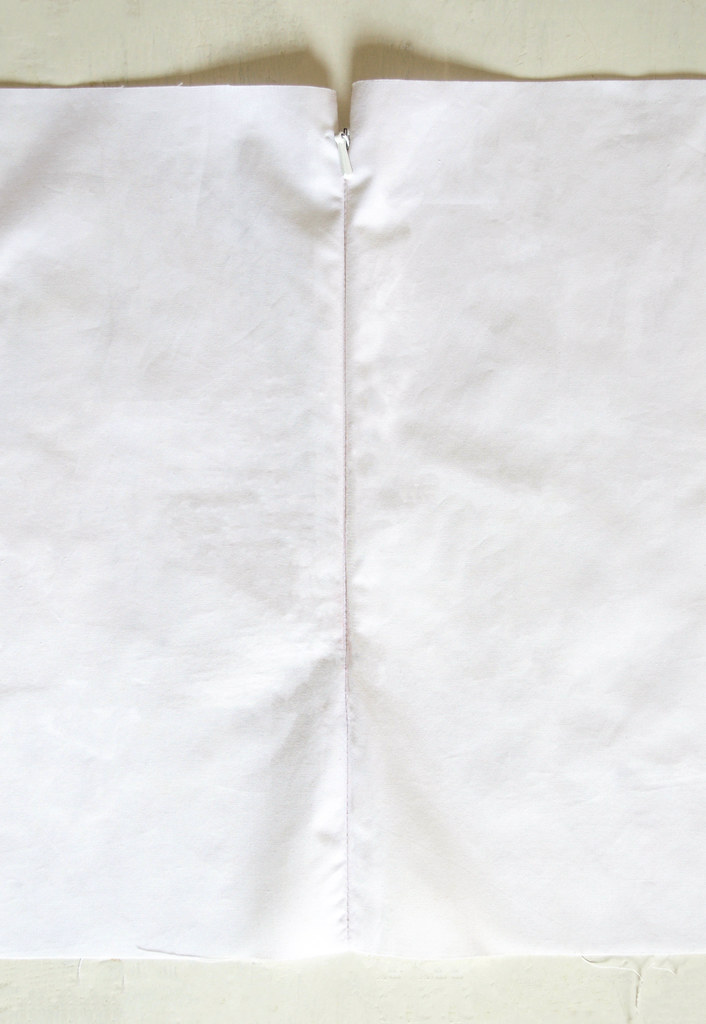
10. Sew the left arm of the zipper in as you did the previous arm, again, stopping at the end of the zipper gap. When you are done, close the zipper by carefully drawing the puller up through the space at the end of the zipper gap and voila!
Oh and guys, let me introduce Annie, our in-house expert in anything involving a needle and thread who also happens to be a trained pattern maker. She’s full of neat tips and tricks for this new expert series and we can’t wait to share more of them with you. Stay tuned!
Photos by Annie Huang & Bryant Lee


