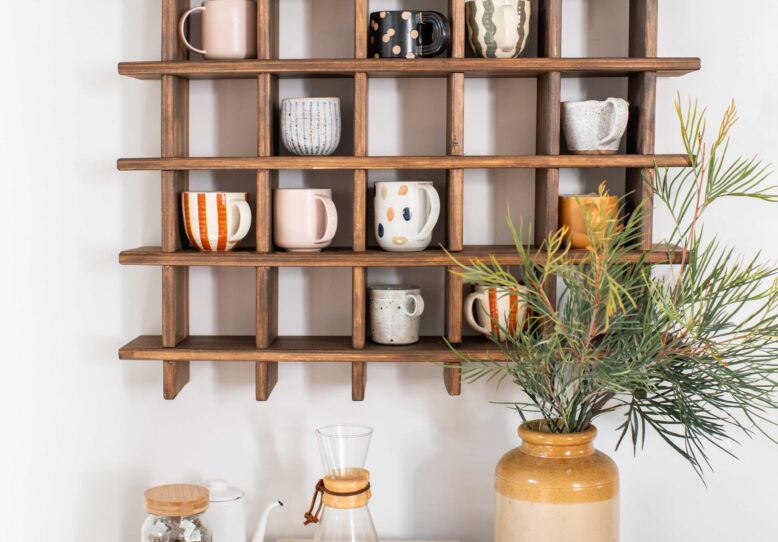
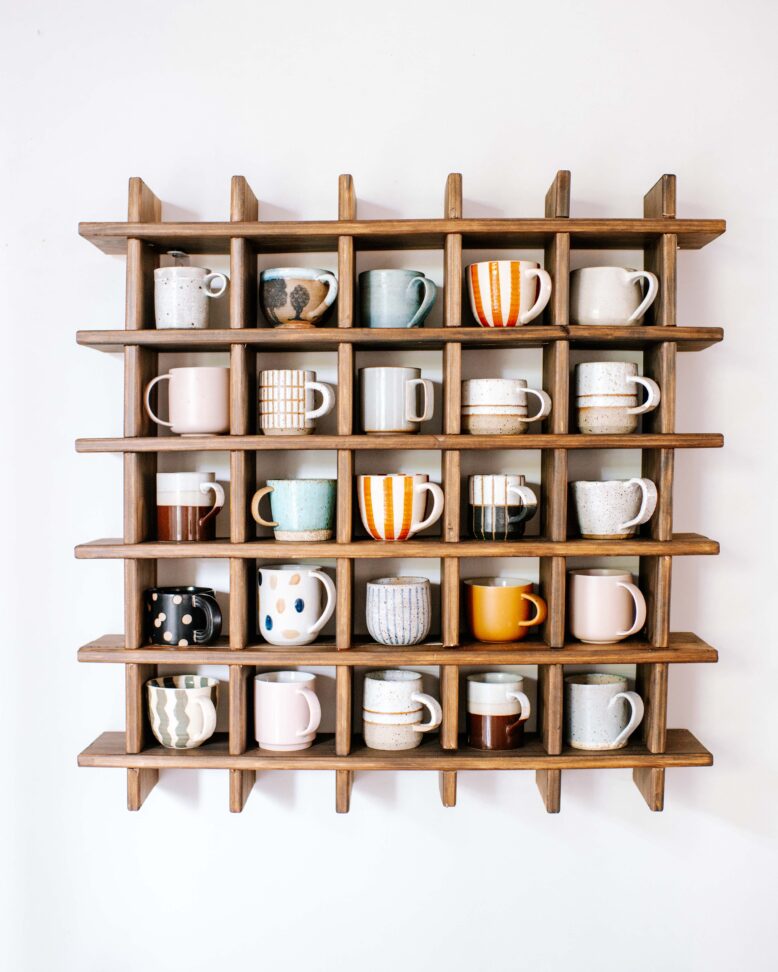
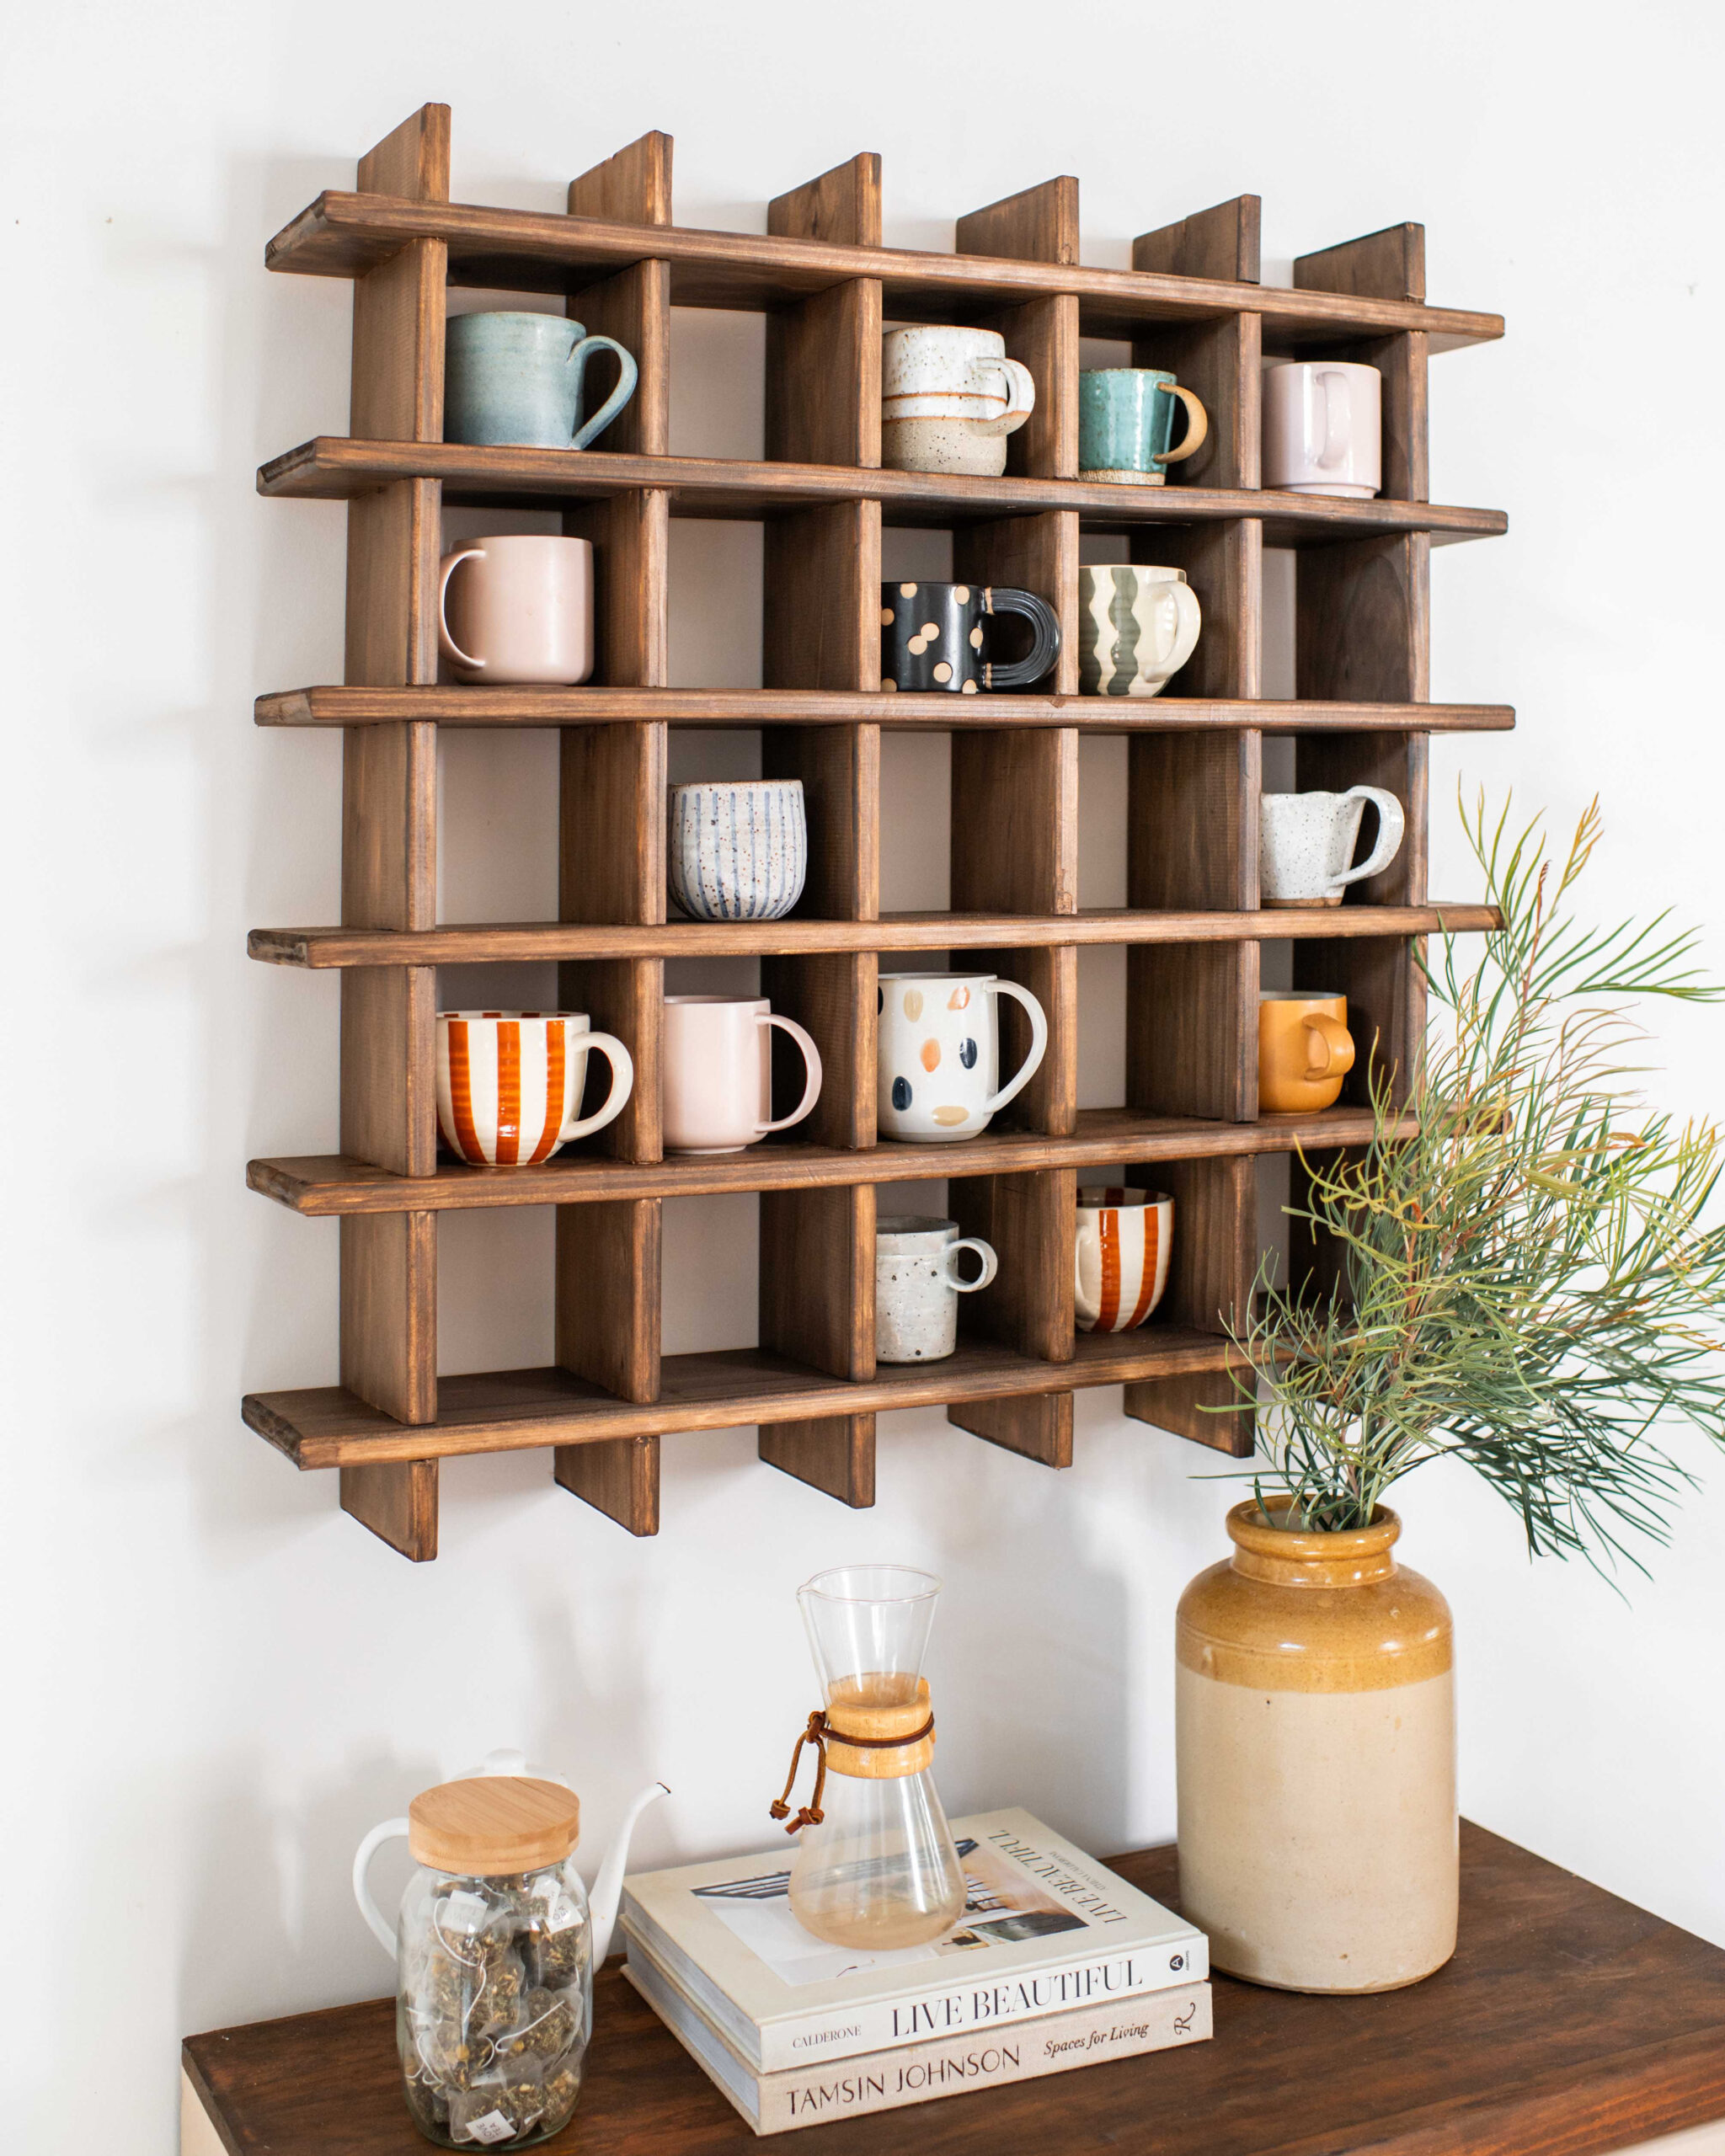
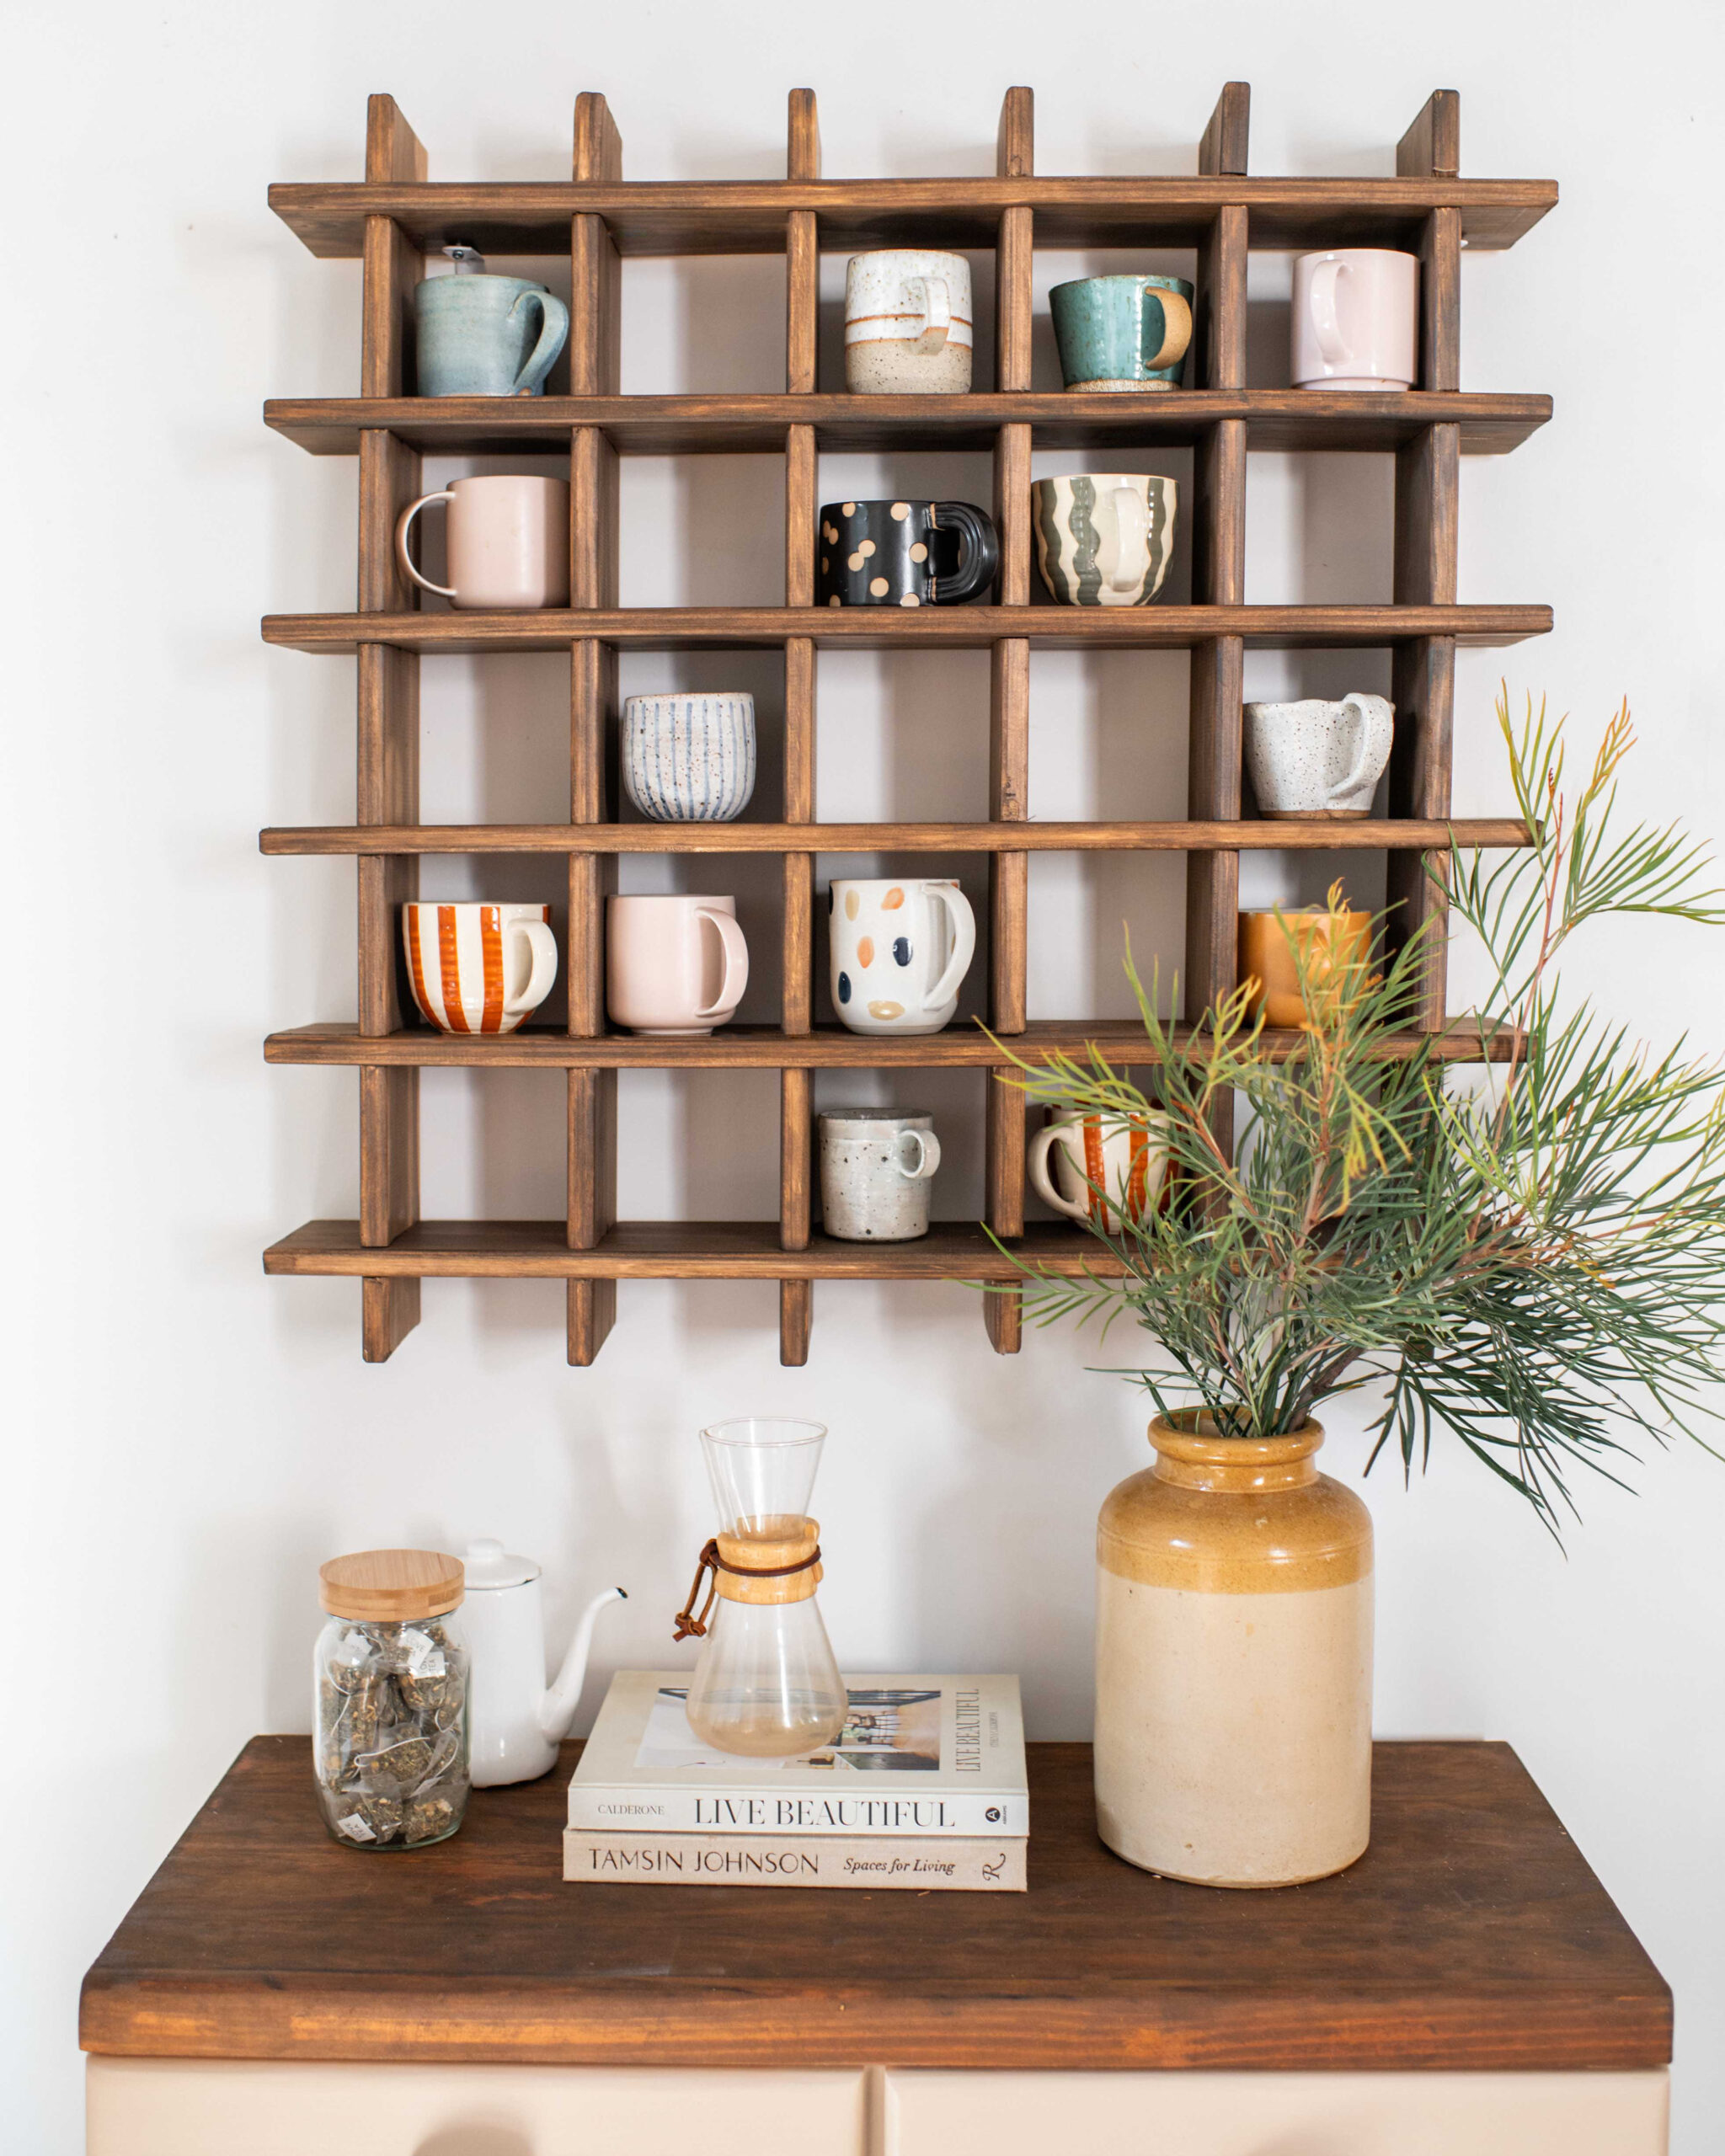
We made a house for our mugs!
You are probably all aware of my love of tea, and I have a huge collection. This addiction extends to mugs and I have to say, this obsession has overflowed into the studio where we take mugs VERY seriously. For that reason, we decided to make a mug house, basically mug storage specifically designed to store my lovely collection. Using my Bosch Advanced Trim Router, this was so easy to do! Read on for the full tutorial.
Materials:
- Bosch Advanced Trim Router
- Bosch Router Bit Set
- Bosch Advanced Vac
- 12 pieces of 1200mm x 70mm timber
- Ruler and square
- Timber stain (I used Feast Watson ProofTint in Oak)
- 2 x L wall brackets and screws
How To:
1
The first thing to do is mark up all your timber - measure the centre then mark a line every 140mm to each end. Trim any excess.
2
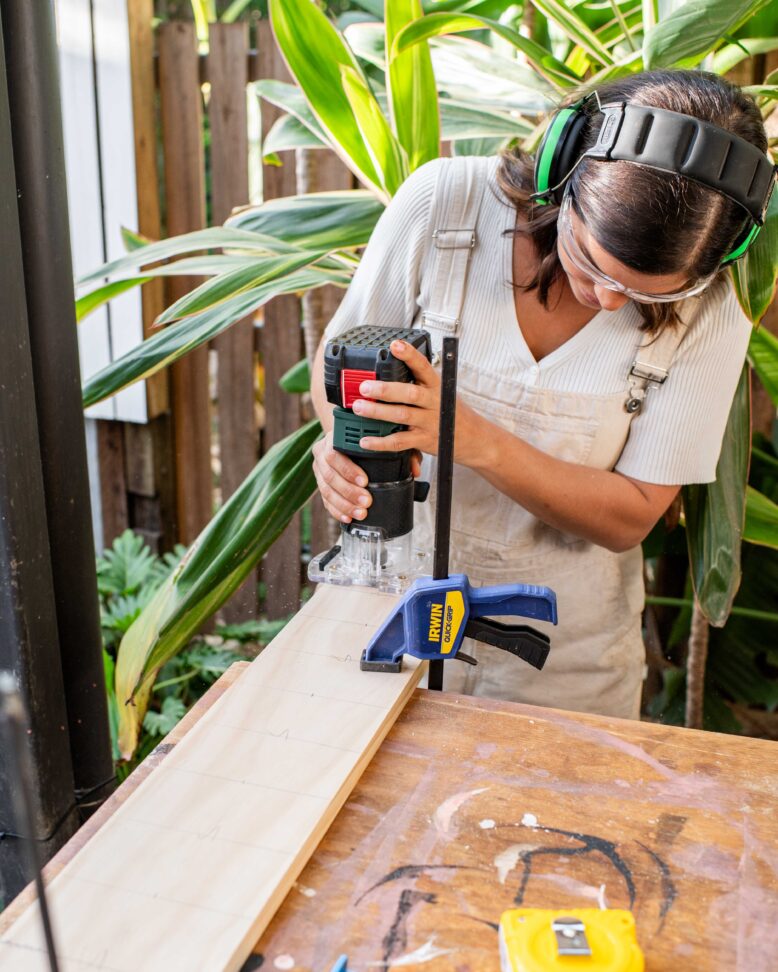
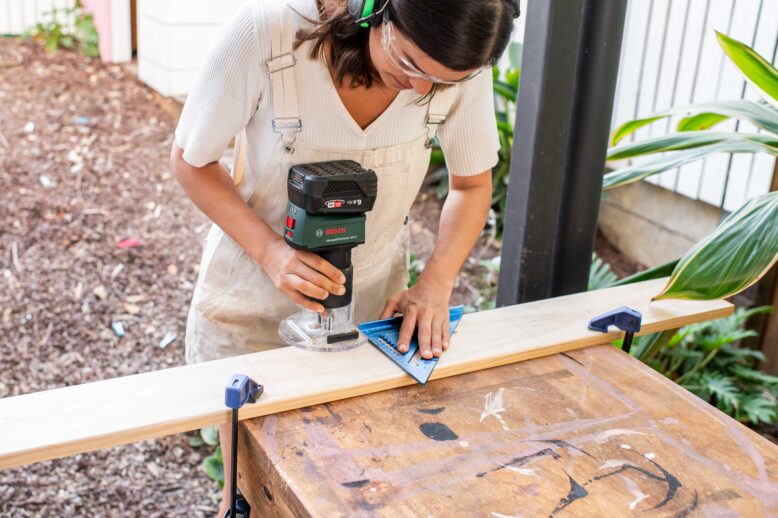
I like to use the Bosch Advanced Vac, and attach it onto the router to extract as much dust and wood chips as possible. Then, using the trim router, I rounded the front edges of the timber using a roundover bit.
3
It was then time to create slots in the timber so I could fit the shelves together. I changed bits and routed a straight slot into the wood, coming in at a 90 degree angle to the wood and following the lines I marked. I decided to do this in two stages, the first being shallower, and then dropping the level of the router down to do a second pass all the way through the wood.
4
I did this for all the timber (it took a while!), but for half of it I did the slots coming from the front (the rounded edge) and for the other half I did the slots coming from the back (the flat edge).
5
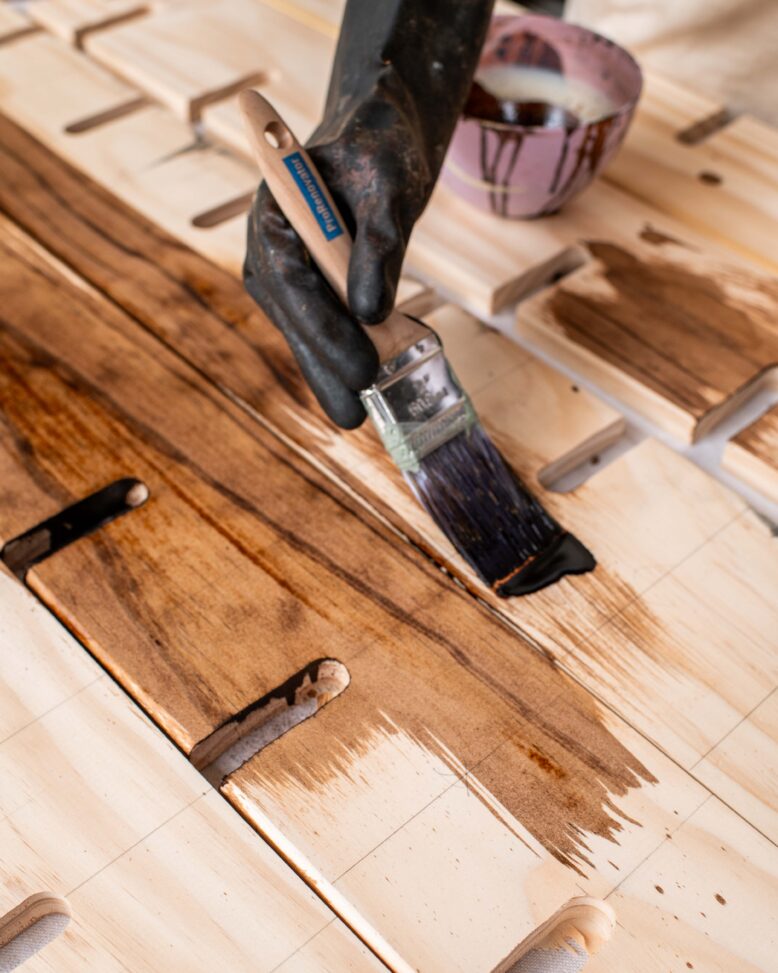
The next step was to stain the shelves, this is optional but I love a darker timber look.
6
Once the timber was dry, Ben and I fitted the shelves together, first laying out the timber with the slots at the front, then wedging the timber with the slots at the back on top. We used a mallet to wedge them together in places where it was tight. We then hung the completed mug house on the wall using L brackets.
