Hey guys! Weekends are for making, right?
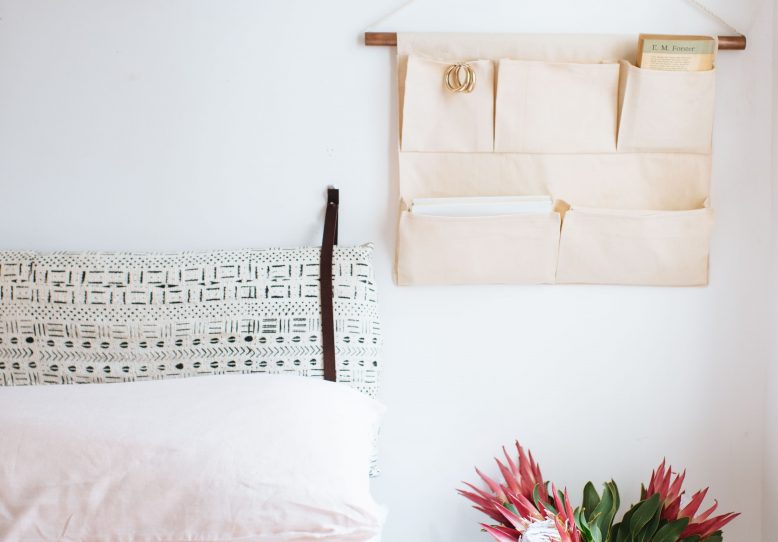
And we’ve got a great little project for you, particularly if you’re feeling like getting a little organised this weekend. This great canvas wall pocket perfect for storage!
What You'll Need
DIY Canvas Wall Pocket
We used a canvas fabric for this DIY, but other thick fabrics with no stretch will also work. Using lightweight fabrics is not recommended though, even if you add interfacing to them, since the pockets will eventually go out of shape over time and use.
Feel free to adjust the dimensions and number of pockets to your liking. For the one we made, it’s 20” (51 cm) x 16″ (41 cm), with 3 pockets on the top row and 2 on the bottom. Each pocket will need two 1/2″(1.3cm) extending folds on either side, as illustrated in the diagram. So it doesn’t matter how many pockets you decide to do, just remember to add 1″ for the folds on either side of the pocket during the drafting process. Remember to also add an extra allowance for the top to accomodate a copper tube or rope for hanging on walls.
1
Draw your pattern onto the fabric and cut. The pattern for the pockets is one continuous rectangular strip, including the widths of all the pockets and the folds.
2
Fold and iron the top and bottom seams of the pockets first, and sew or fuse the top seam closed. Then mark, fold, and iron the fold lines in between the pockets.
4
Pin your pockets along the folded seam to the backing, right-sides together.
With the top of the pockets facing the bottom edge of the backing.
Sew and secure the pockets.
6
This is what your pockets look like after securing them to the backing fabric.
The sides of the pockets should line up with the sides of the backing fabric.
7
Pin down the middle of the pocket folds and sew. This will act as dividers between the pockets.
8
To finish off the sides, we did a folded seam. You can always add a colored bias trim or decorative trims, if you'd prefer.
9
Fold the top seam down to the back and sew a tunnel for the copper tube, then insert the tube.
You can hang the ends of the tube on hooks, or insert rope into the tubing for hanging.
Voila!


