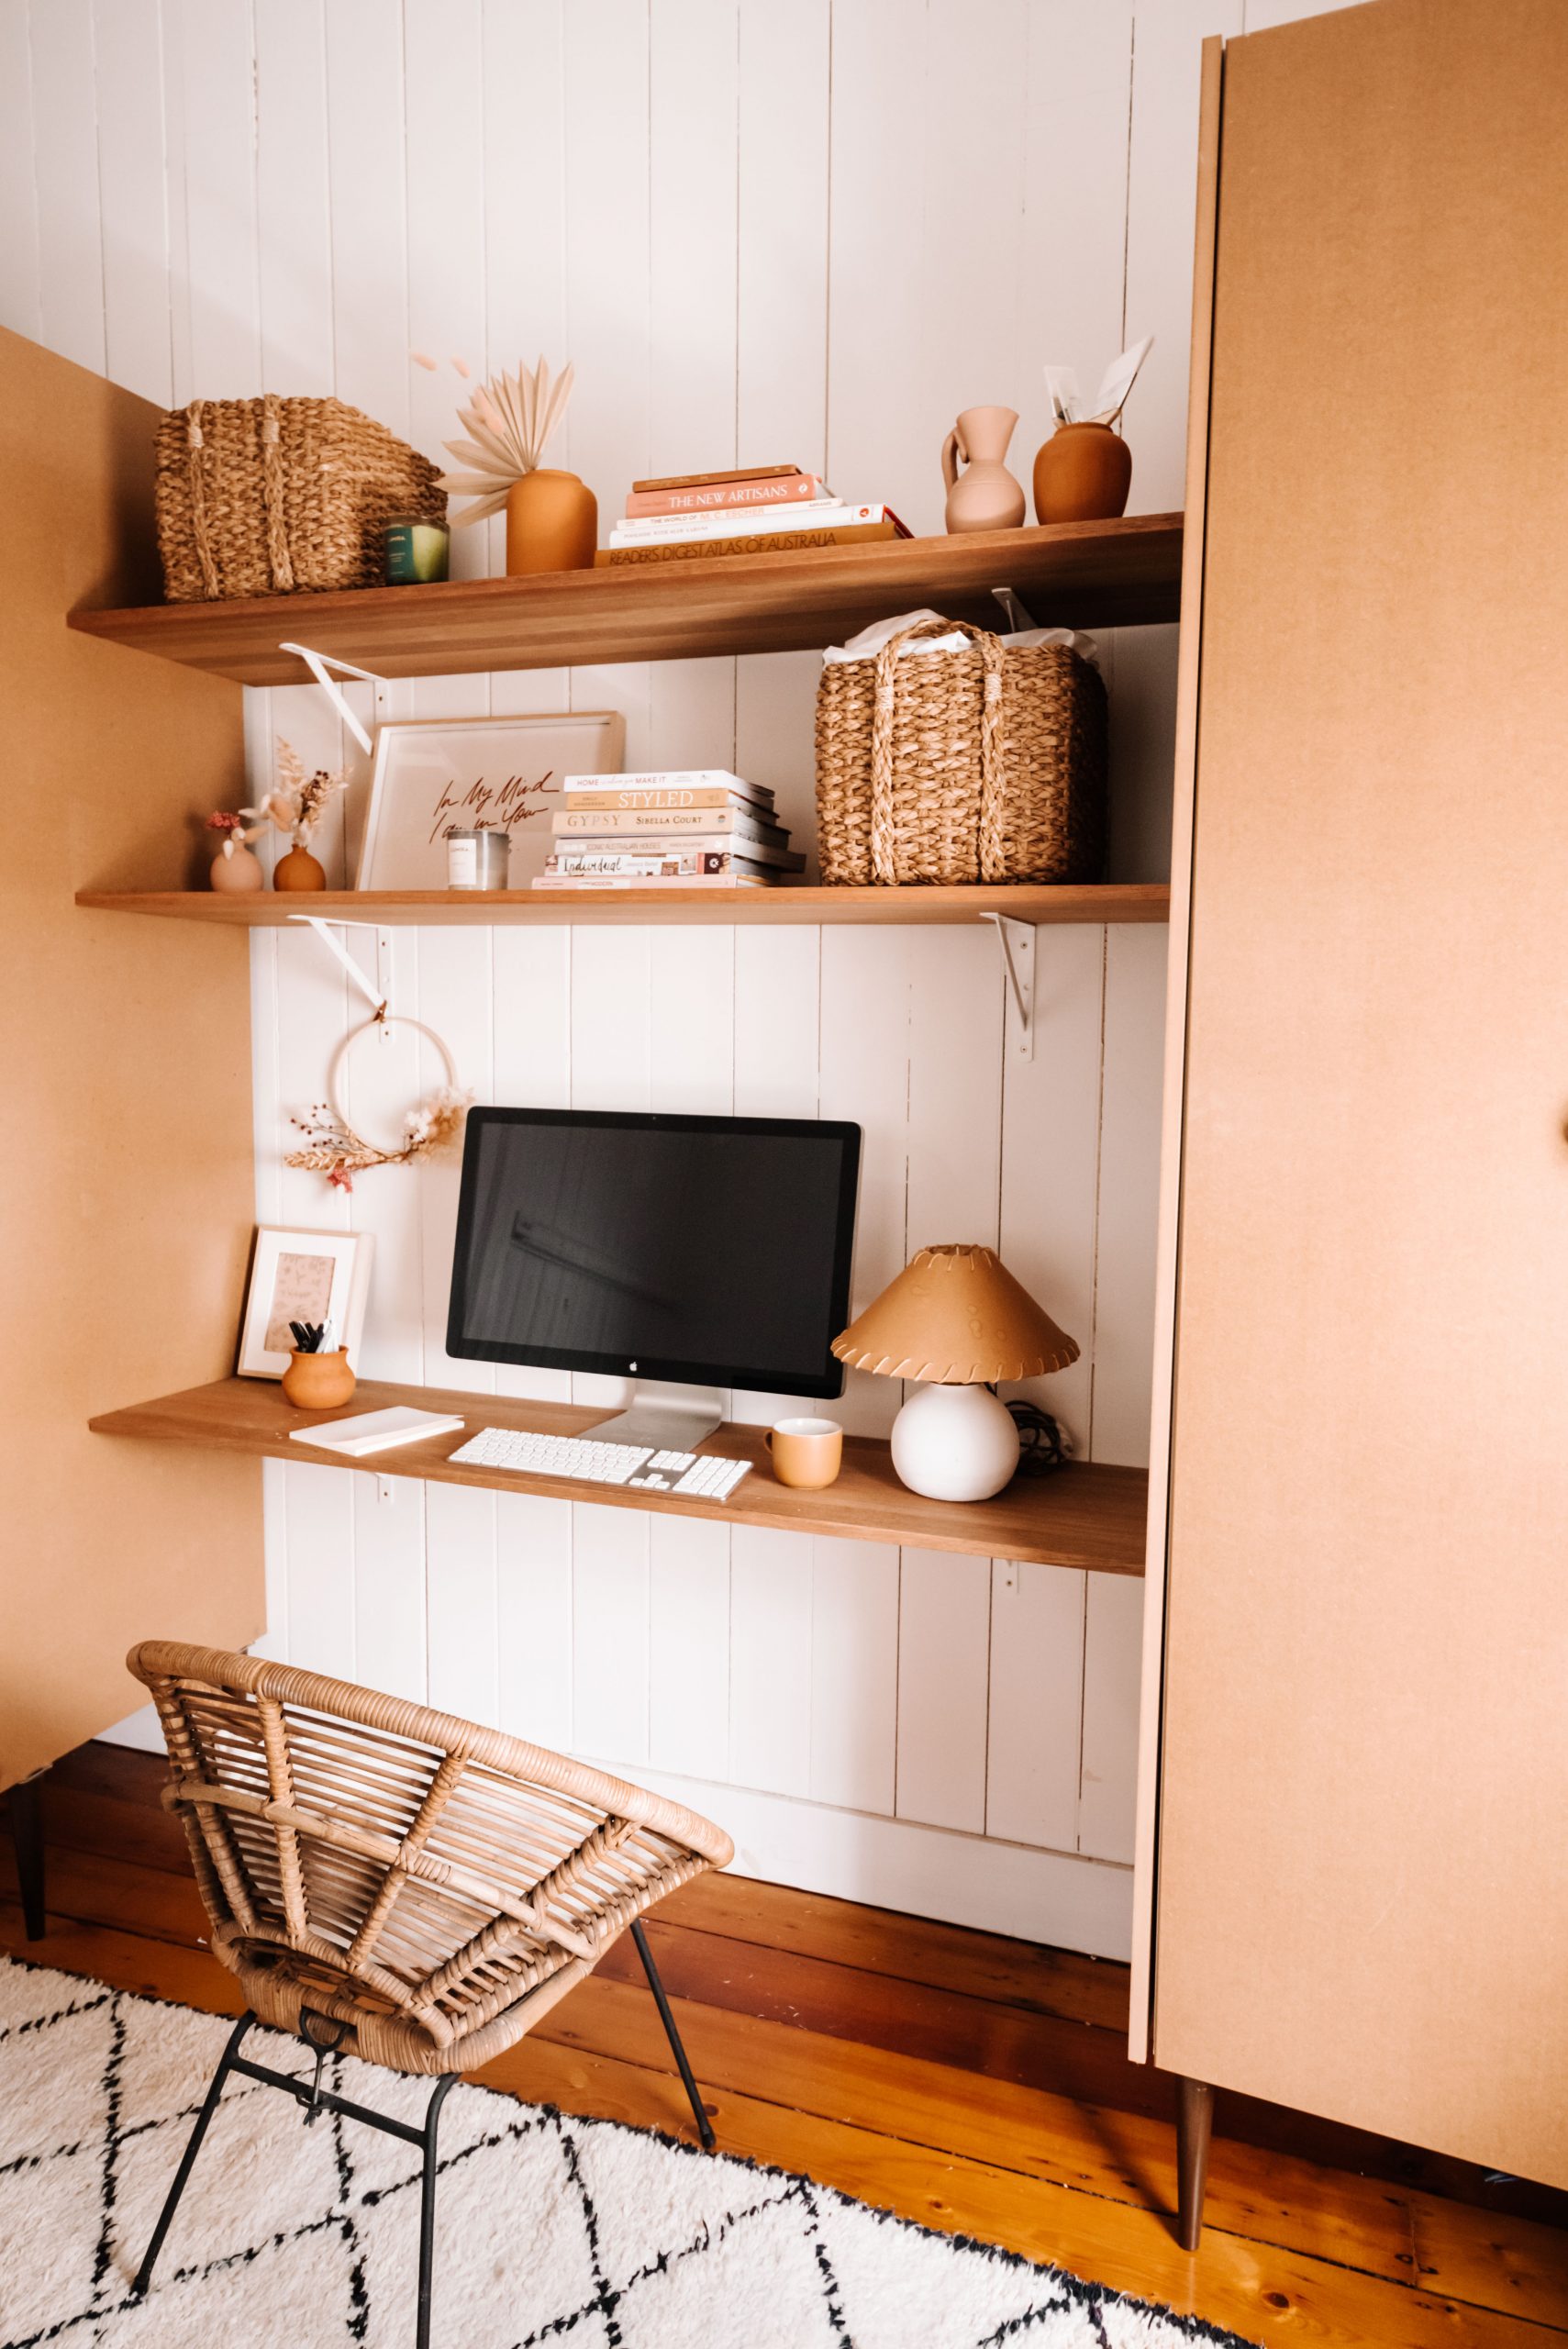
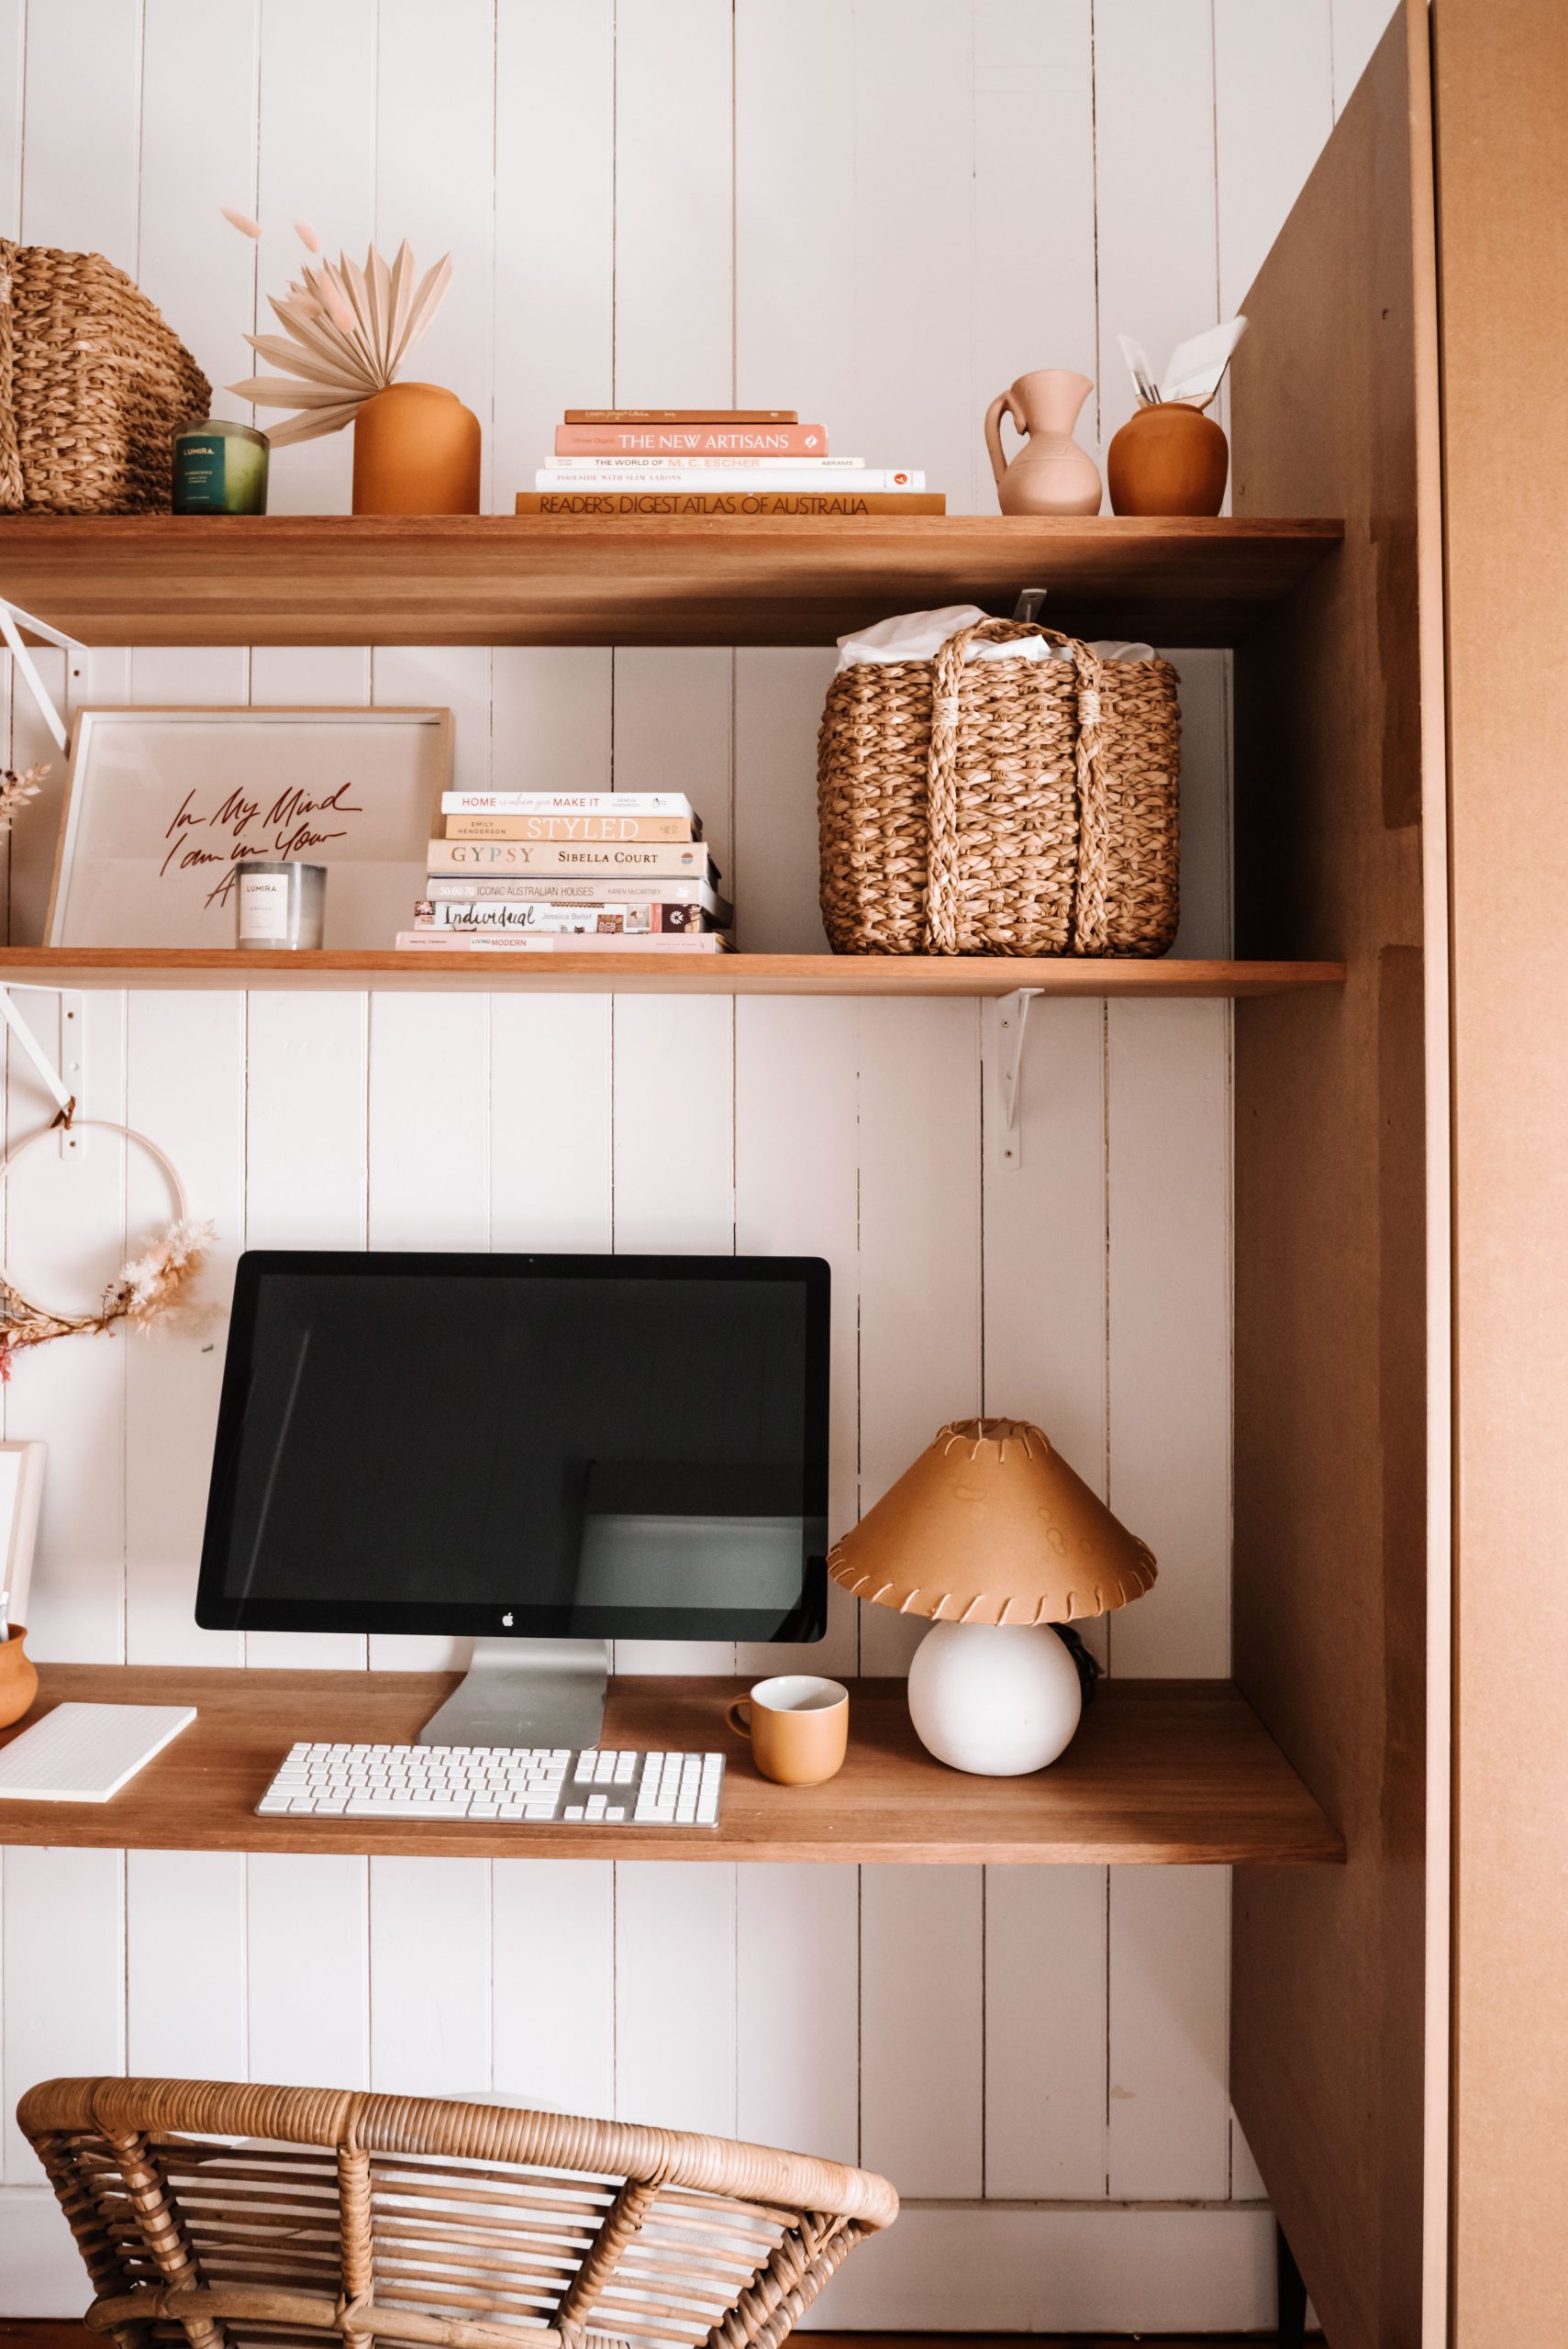
Anyone else need to spruce up their WFH situation? Then you’ve come to the right place.
I have to admit that I started working from home last year when we moved back from Hong Kong, so I really should have been ahead of the game in terms of getting the office space organised. But one thing lead to another and it kind of got put on the back burner. I had a makeshift situation but it was time to get sorted, and I felt like this was a good project to take on as a distraction.
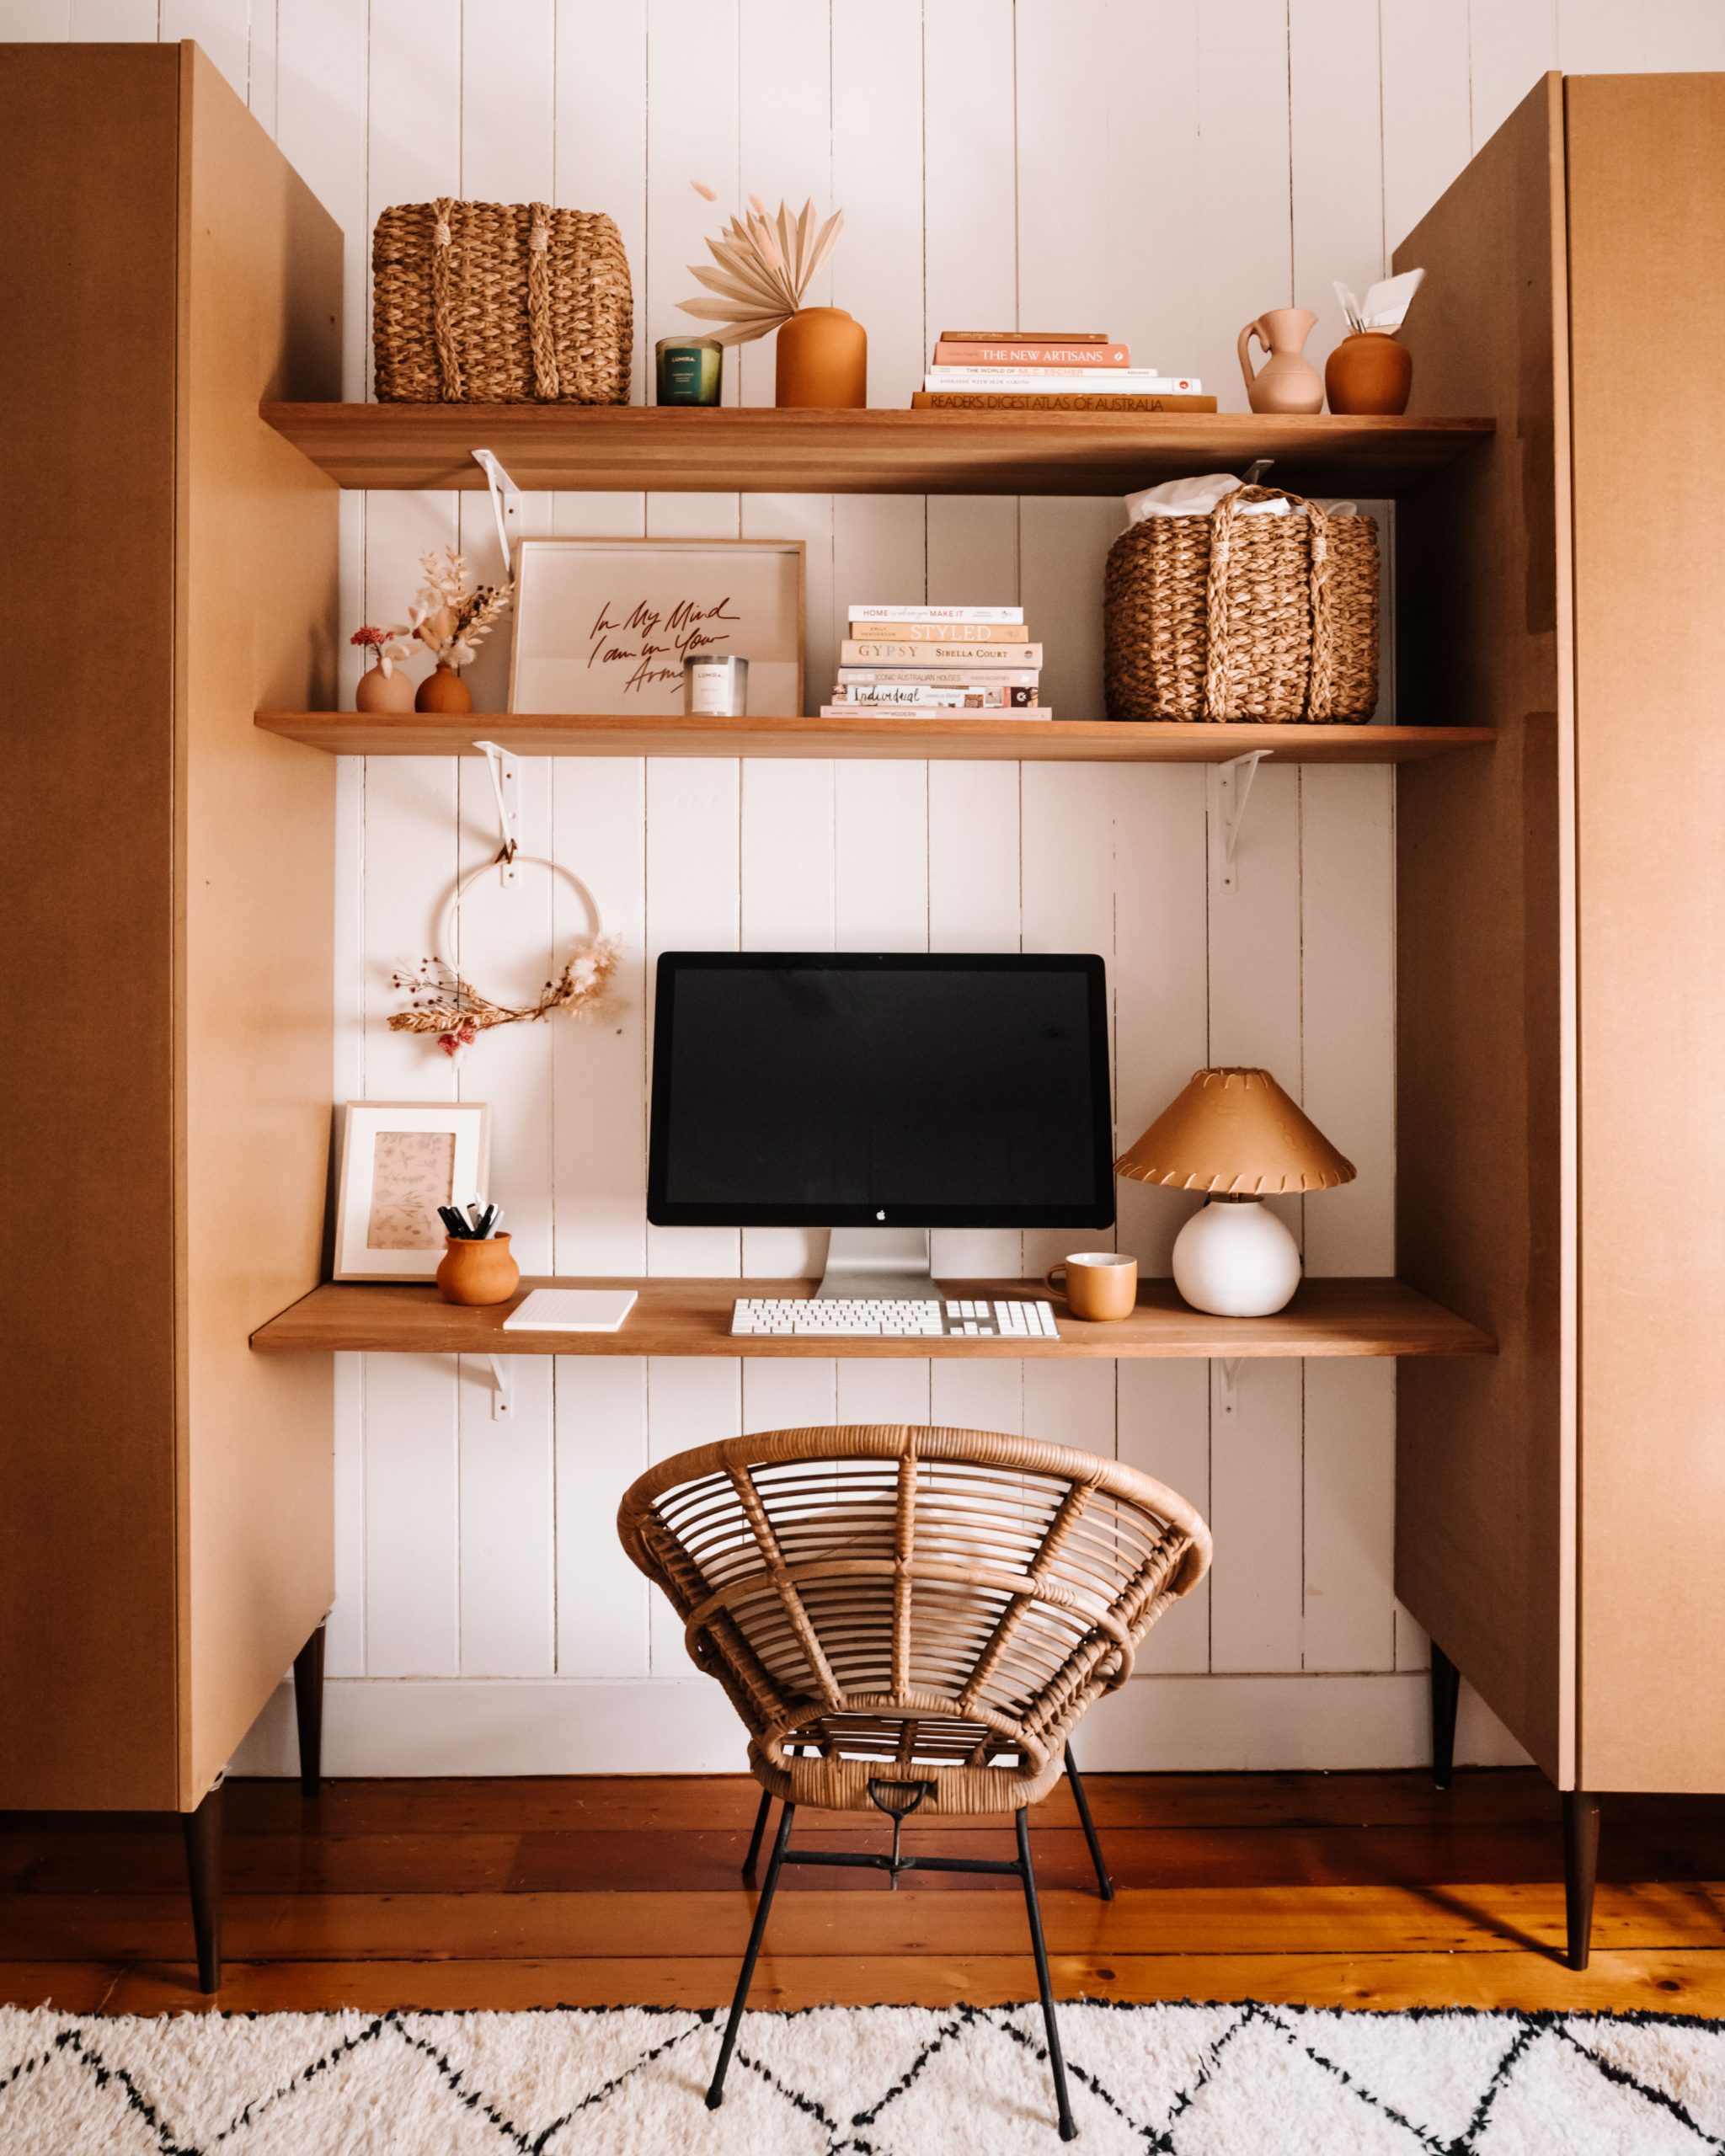
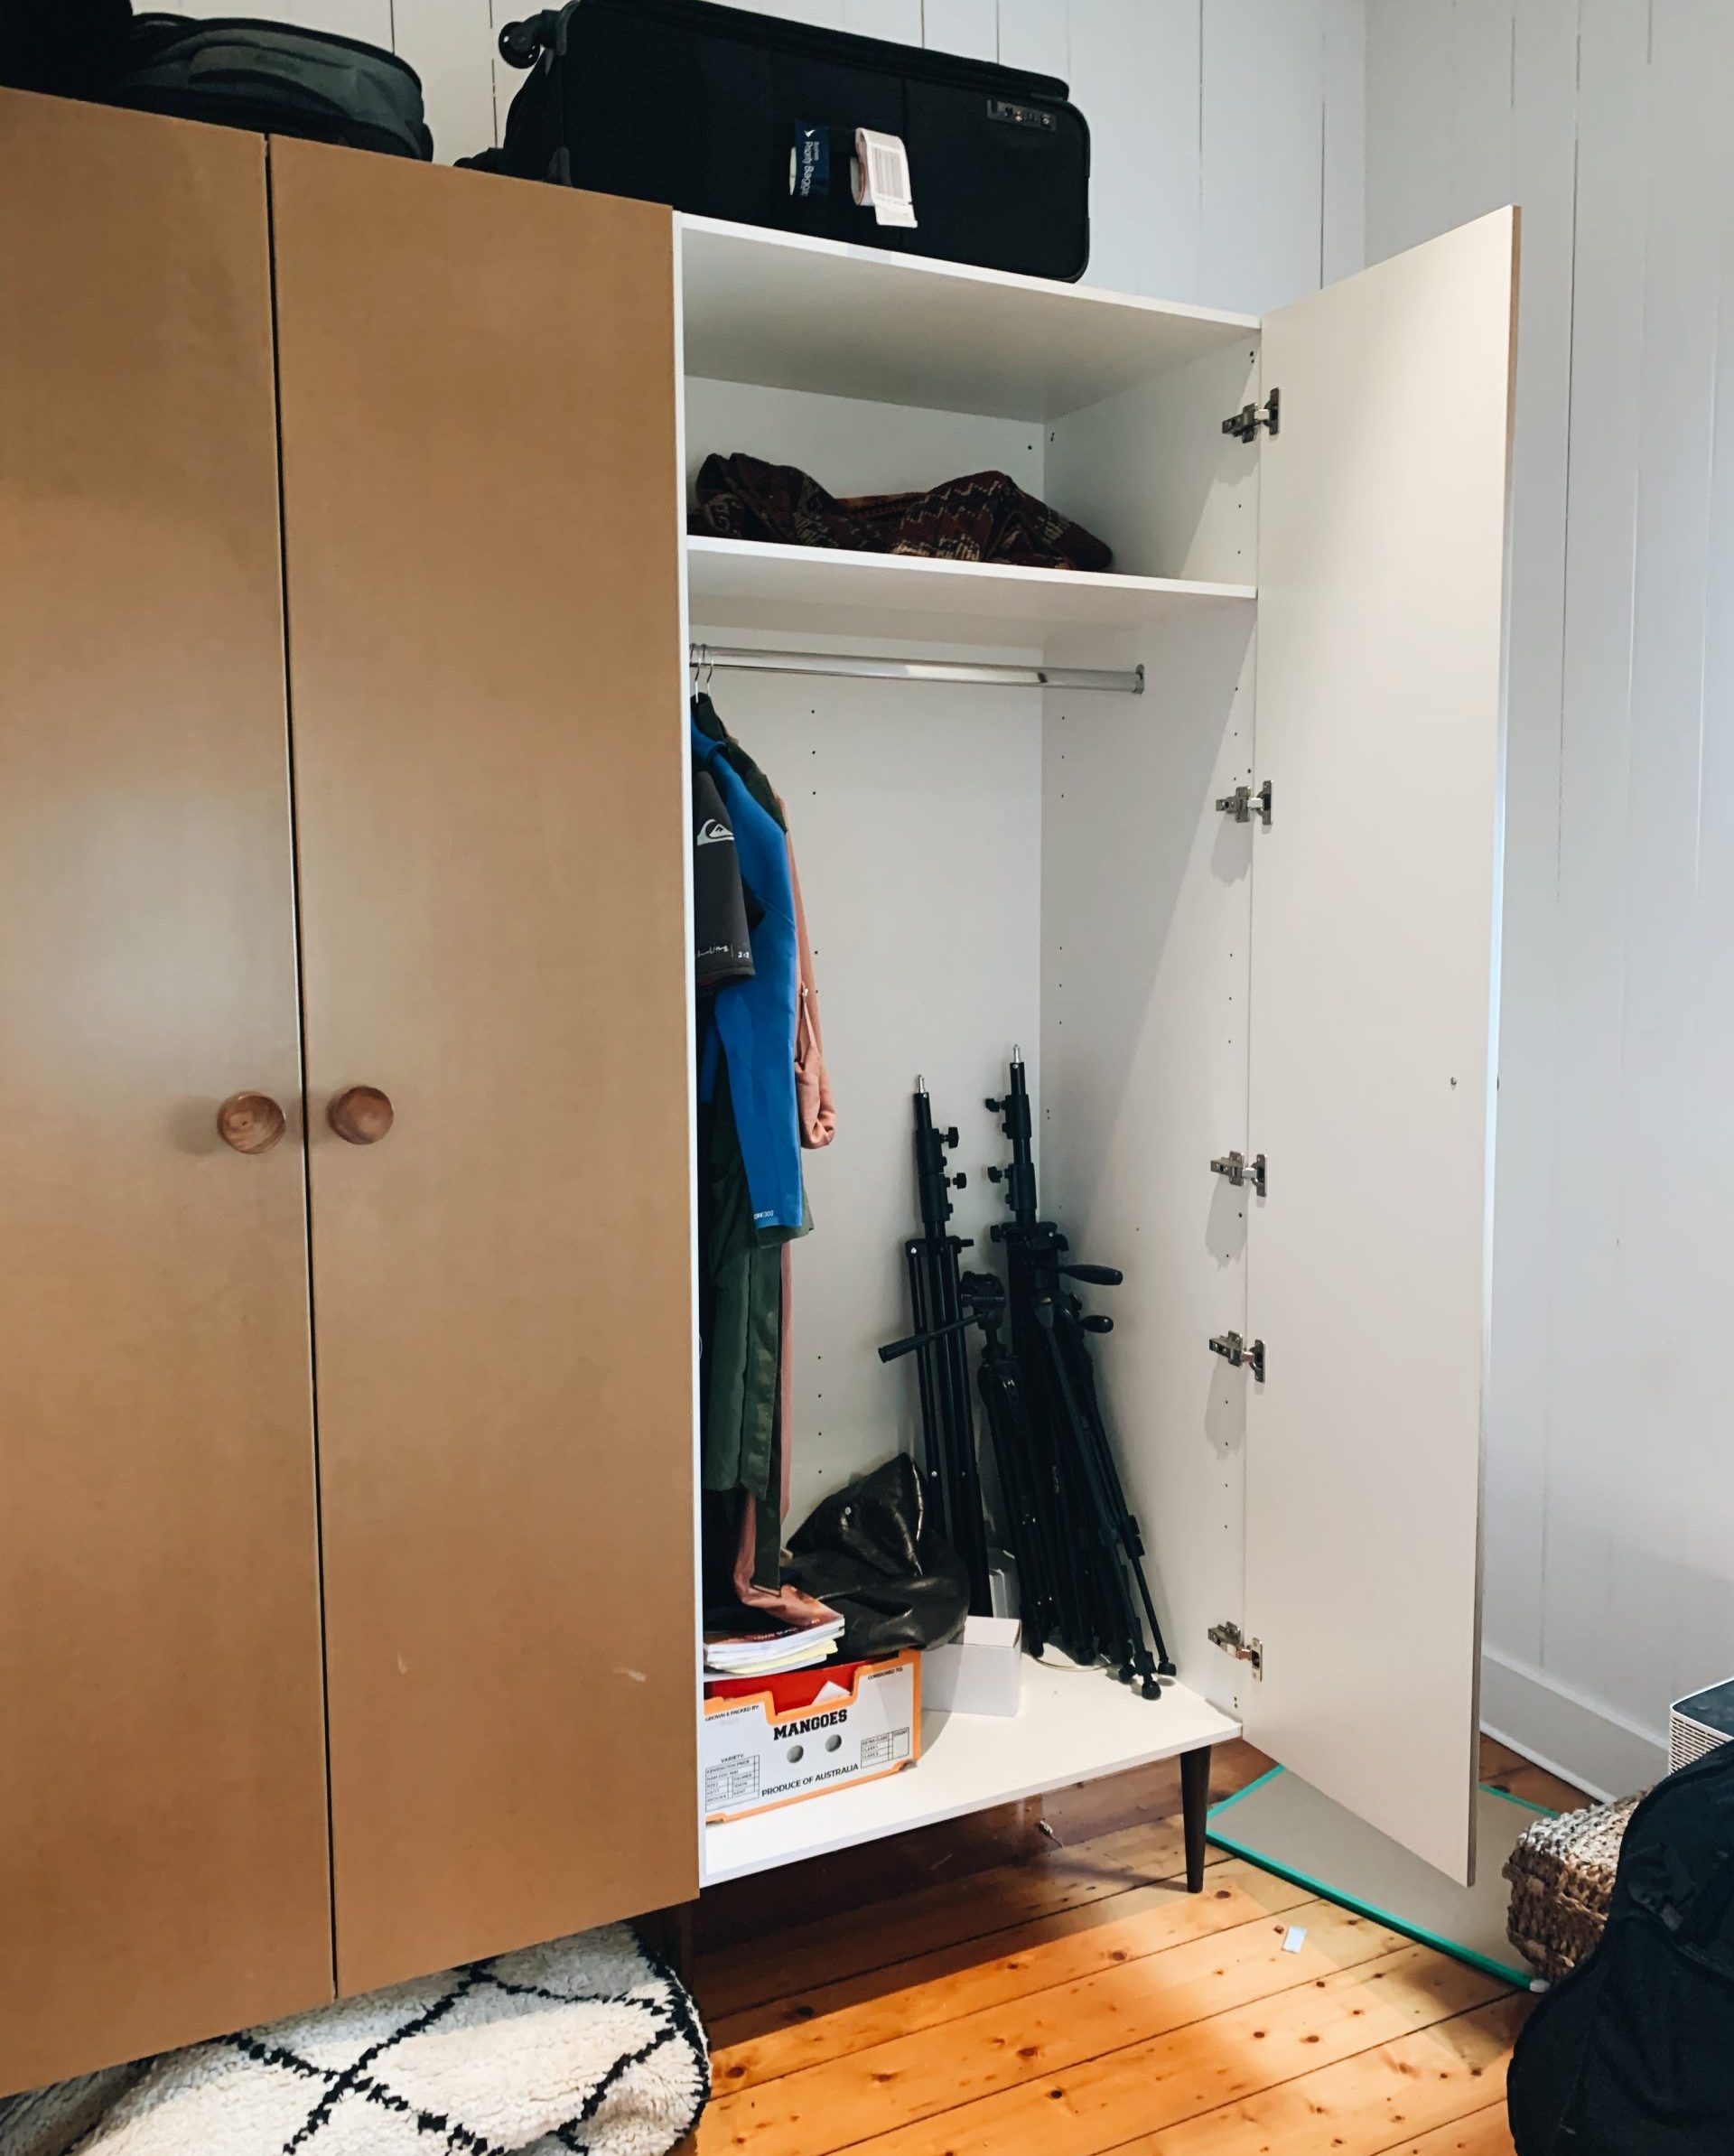
You’ll remember that our front room had those great wardrobes that we hacked using kitchen cabinets (see the post here), but given that we have heaps of storage and this room was more of an office than a bedroom, we wanted to do something else on this wall. Instead of simply chucking out the wardrobes (which are sooo nice), we decided that it was worth repurposing them into a desk/shelves situation. Read on to see how we created this built in wardrobe.
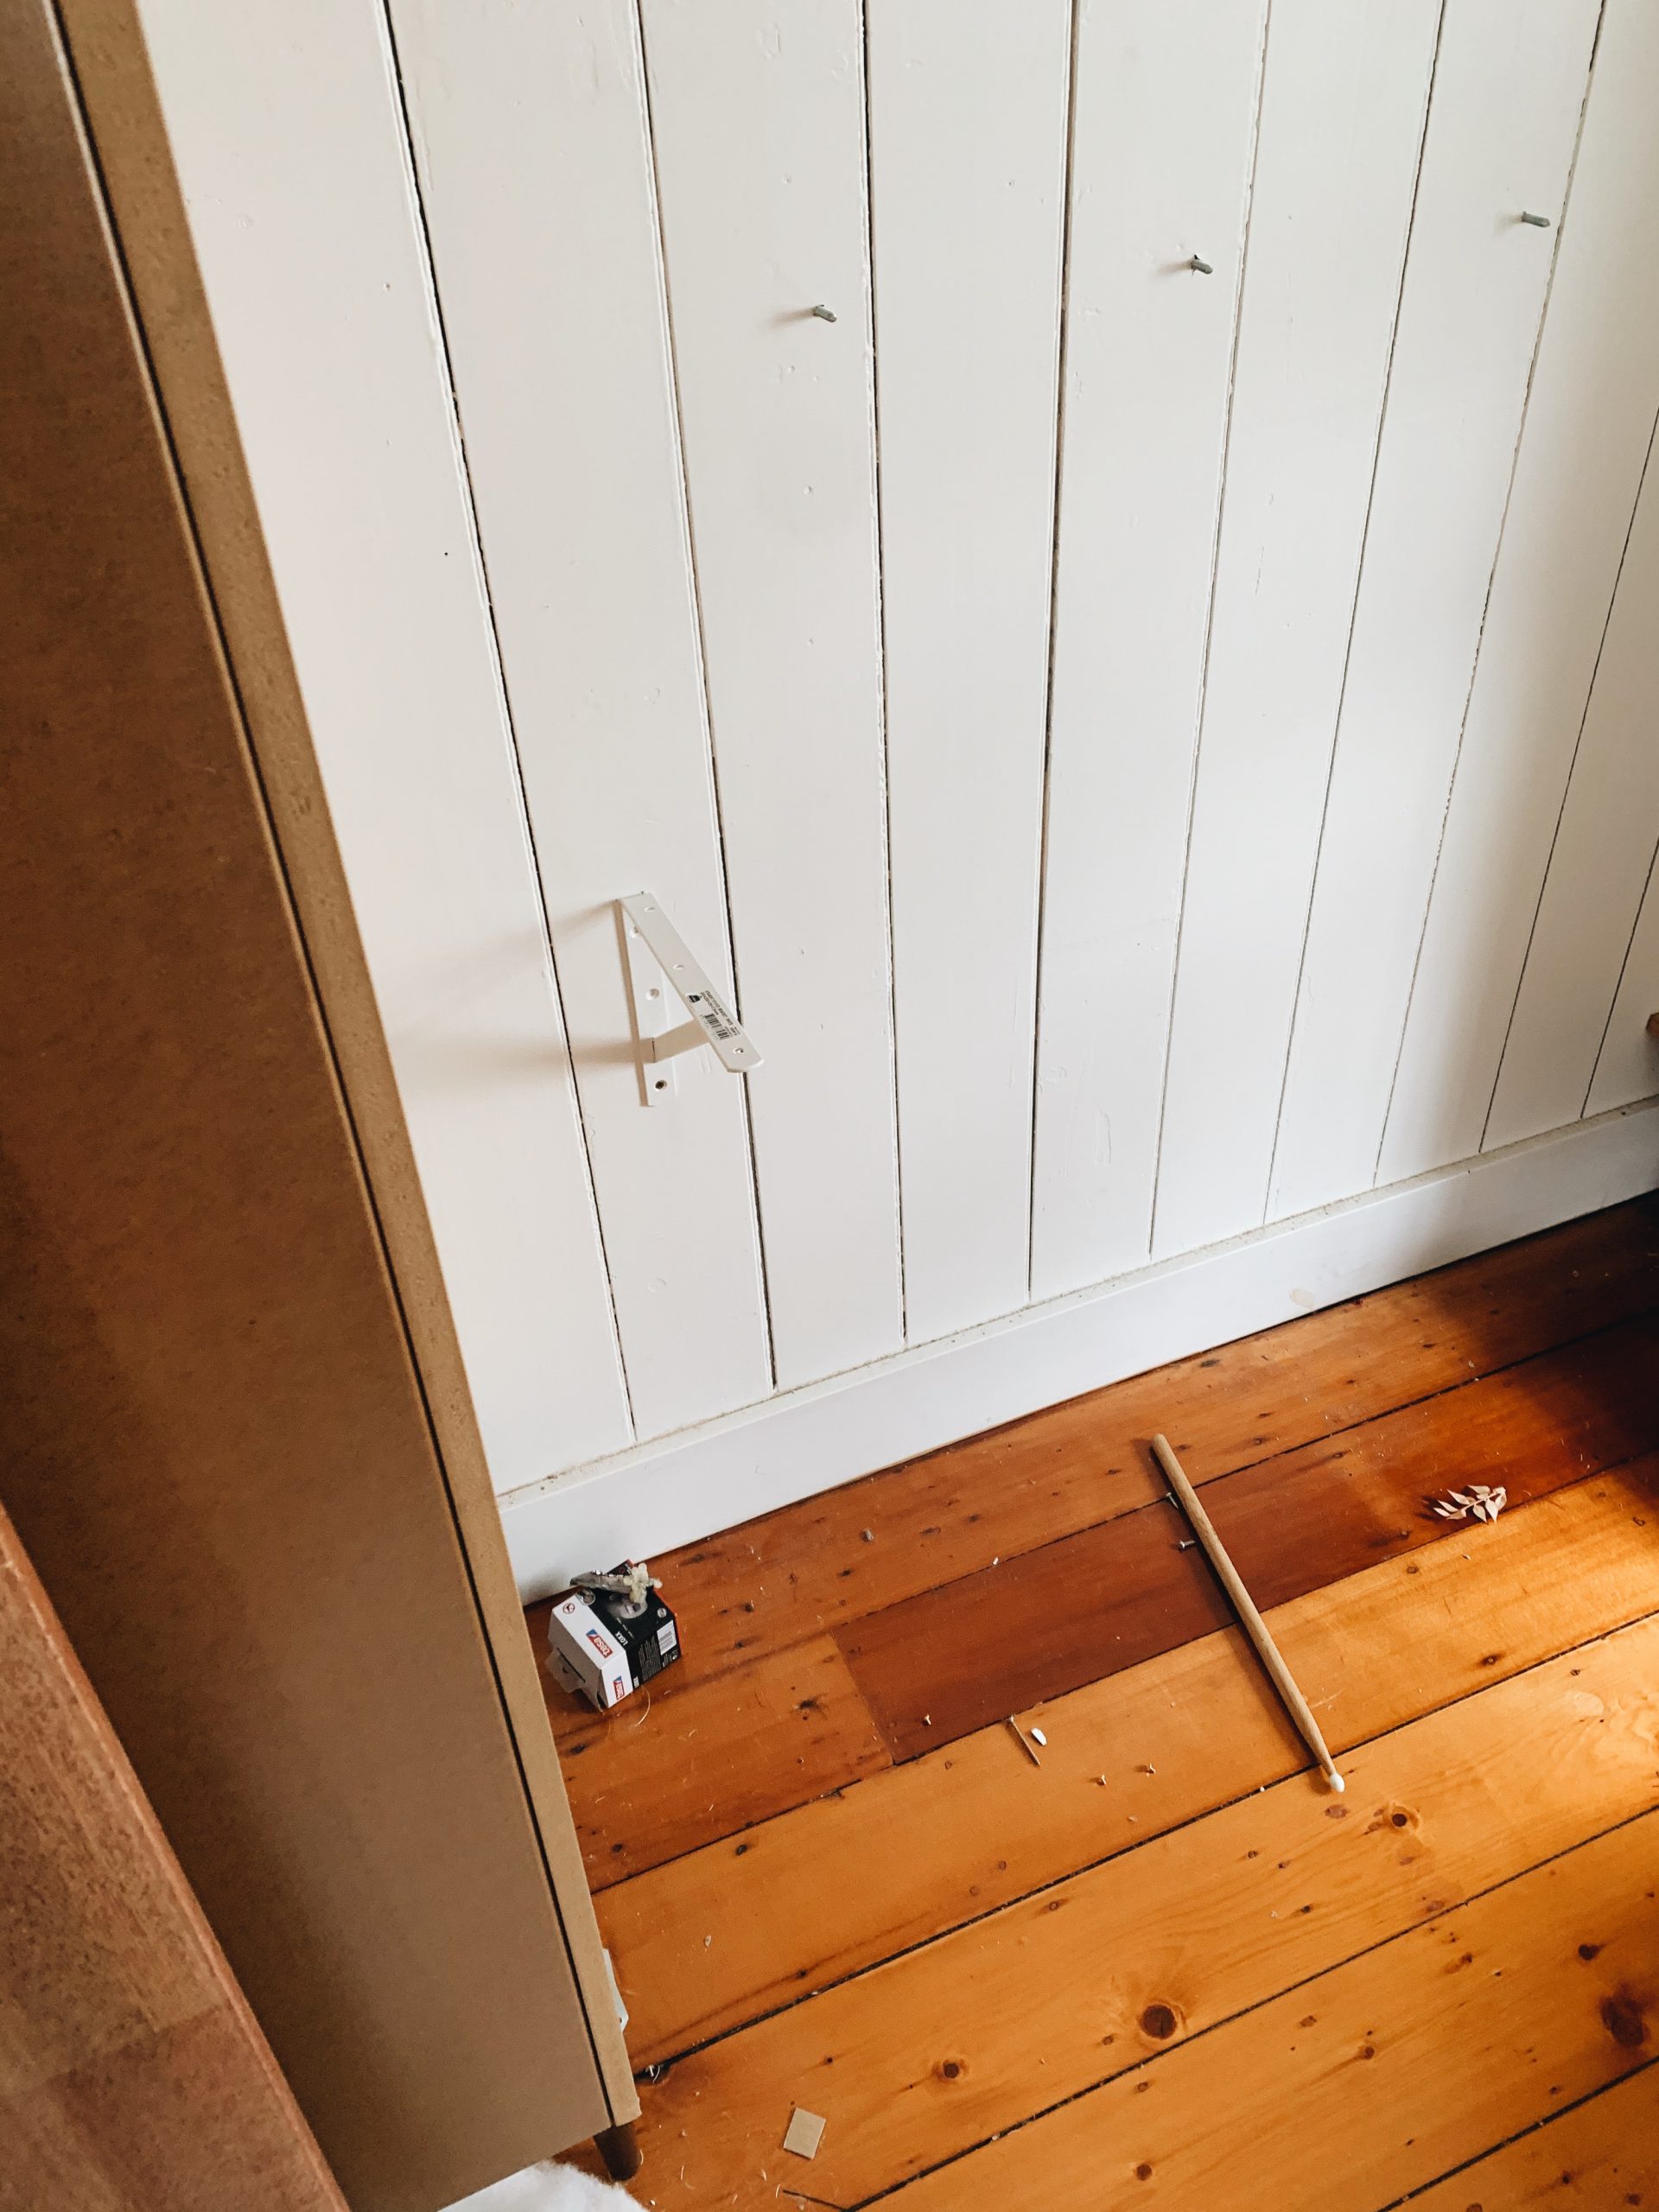
- Before
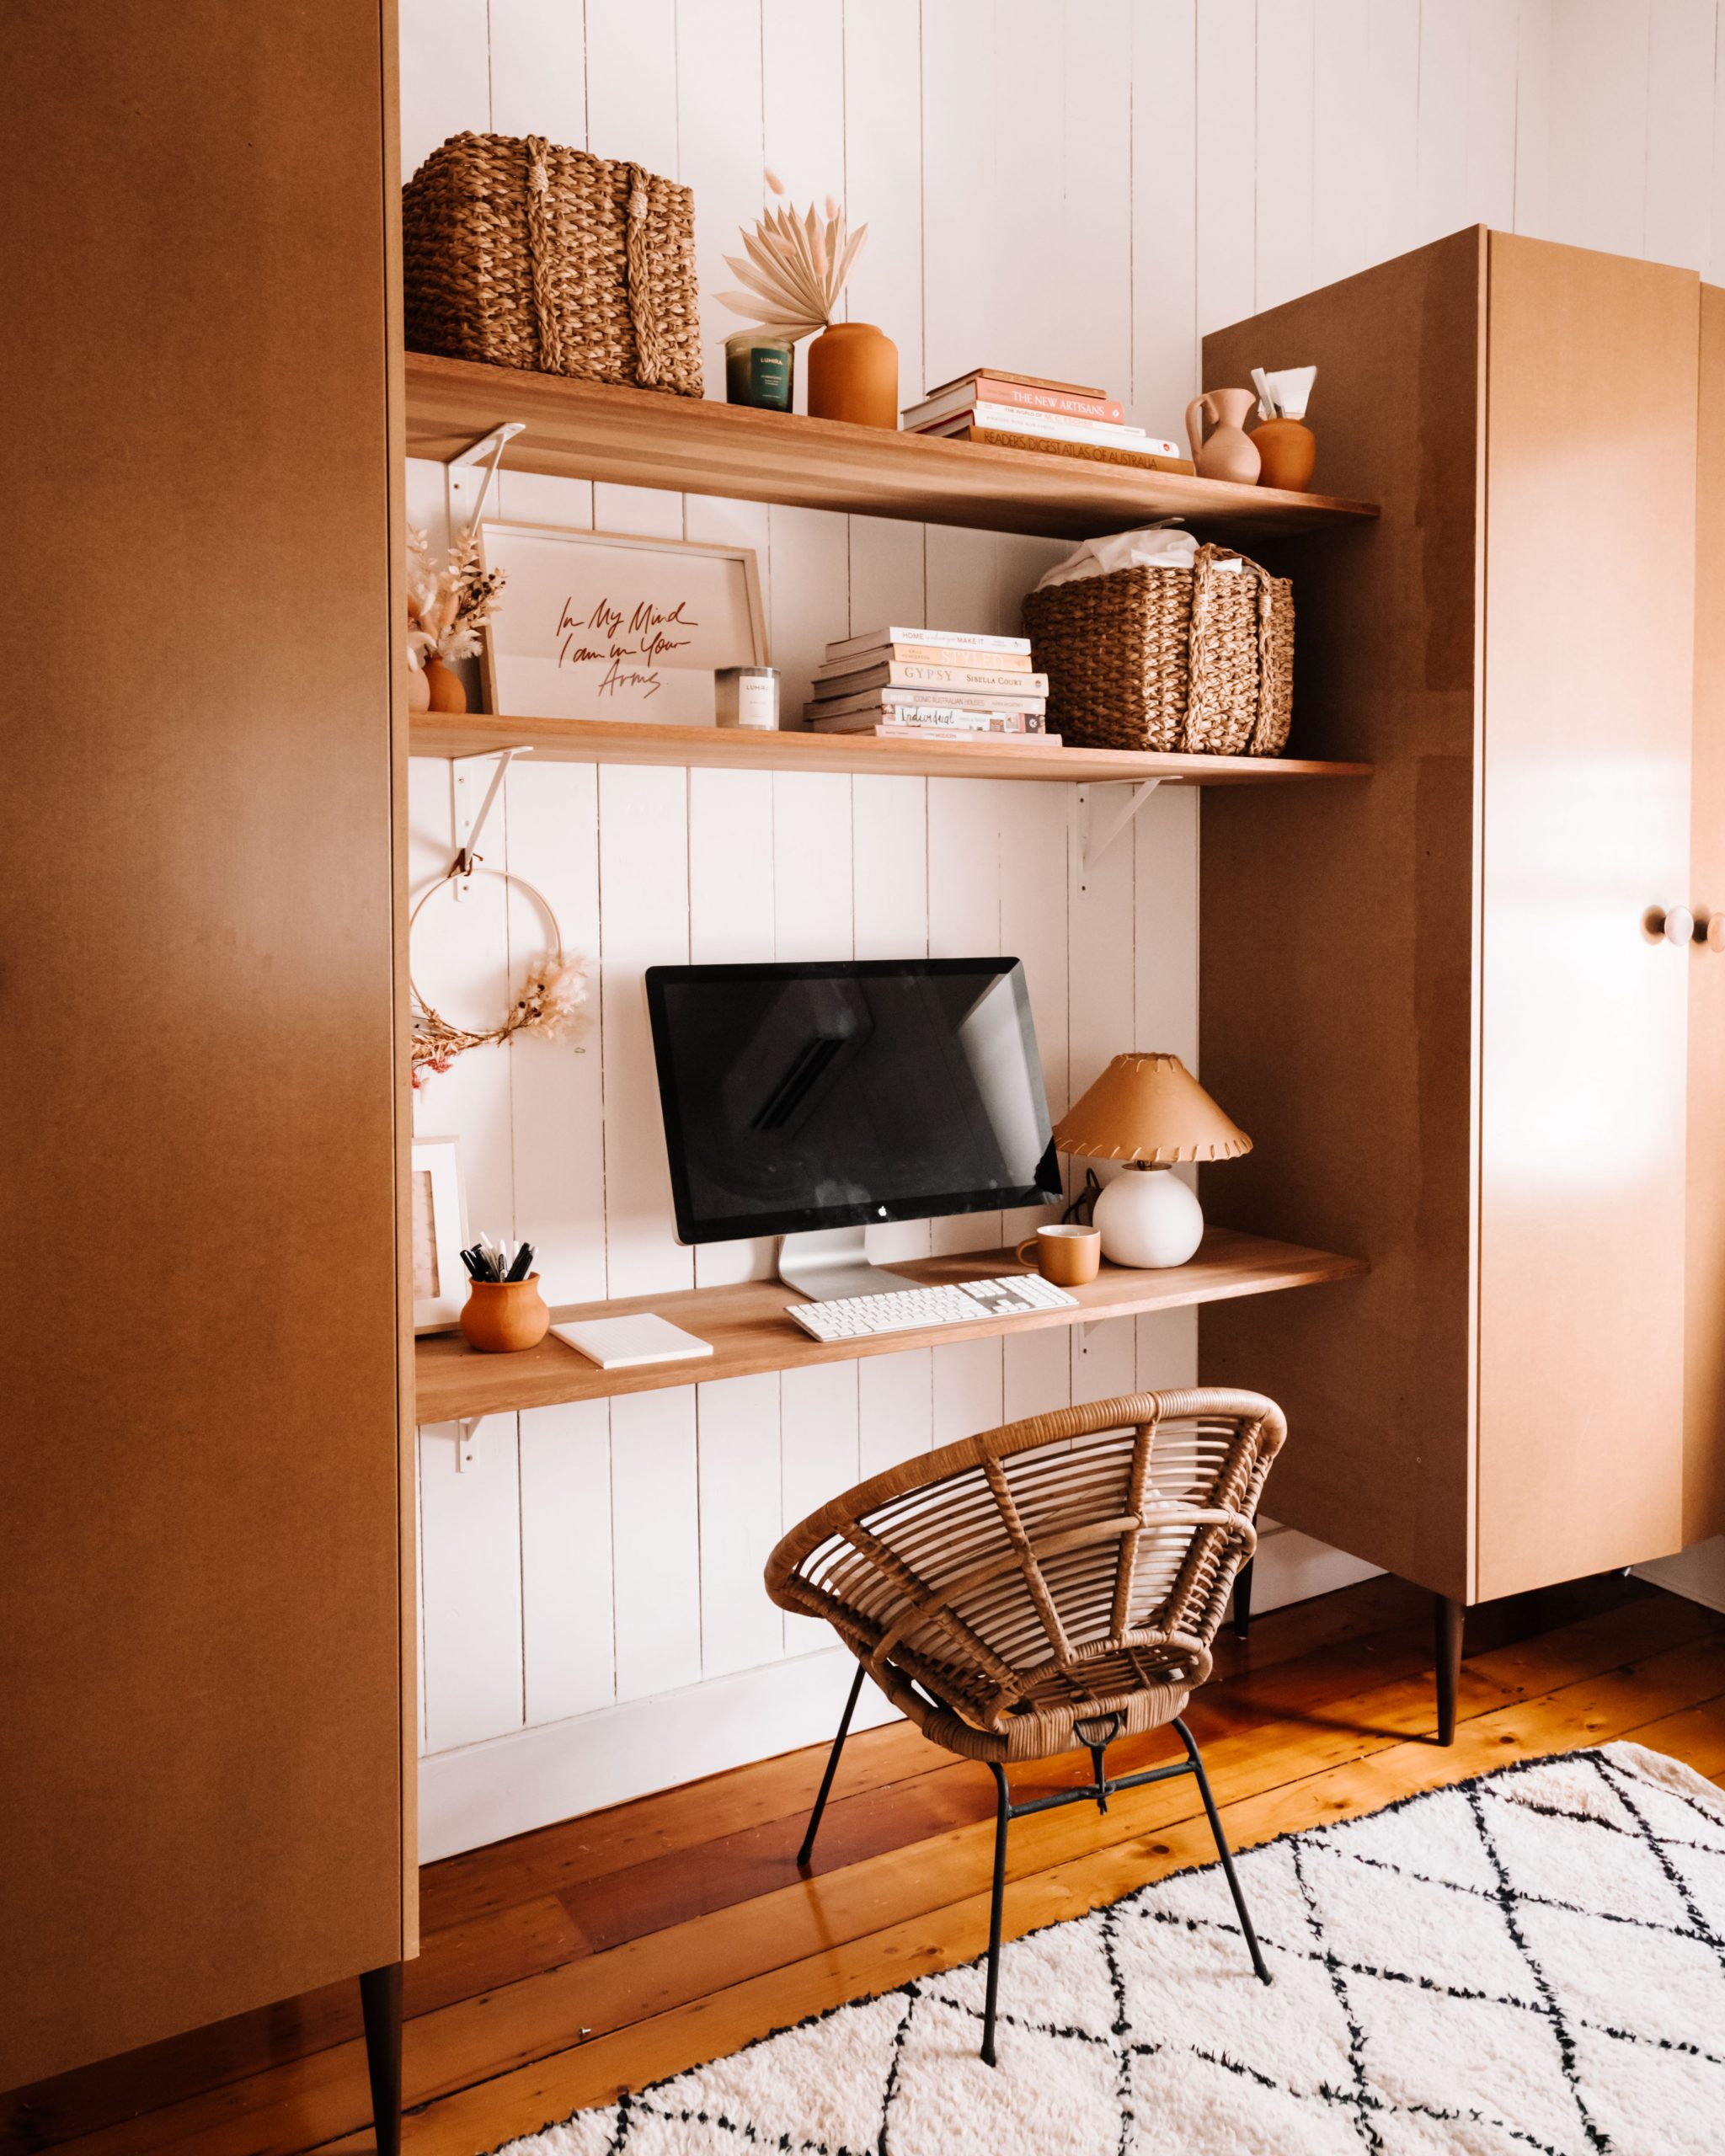
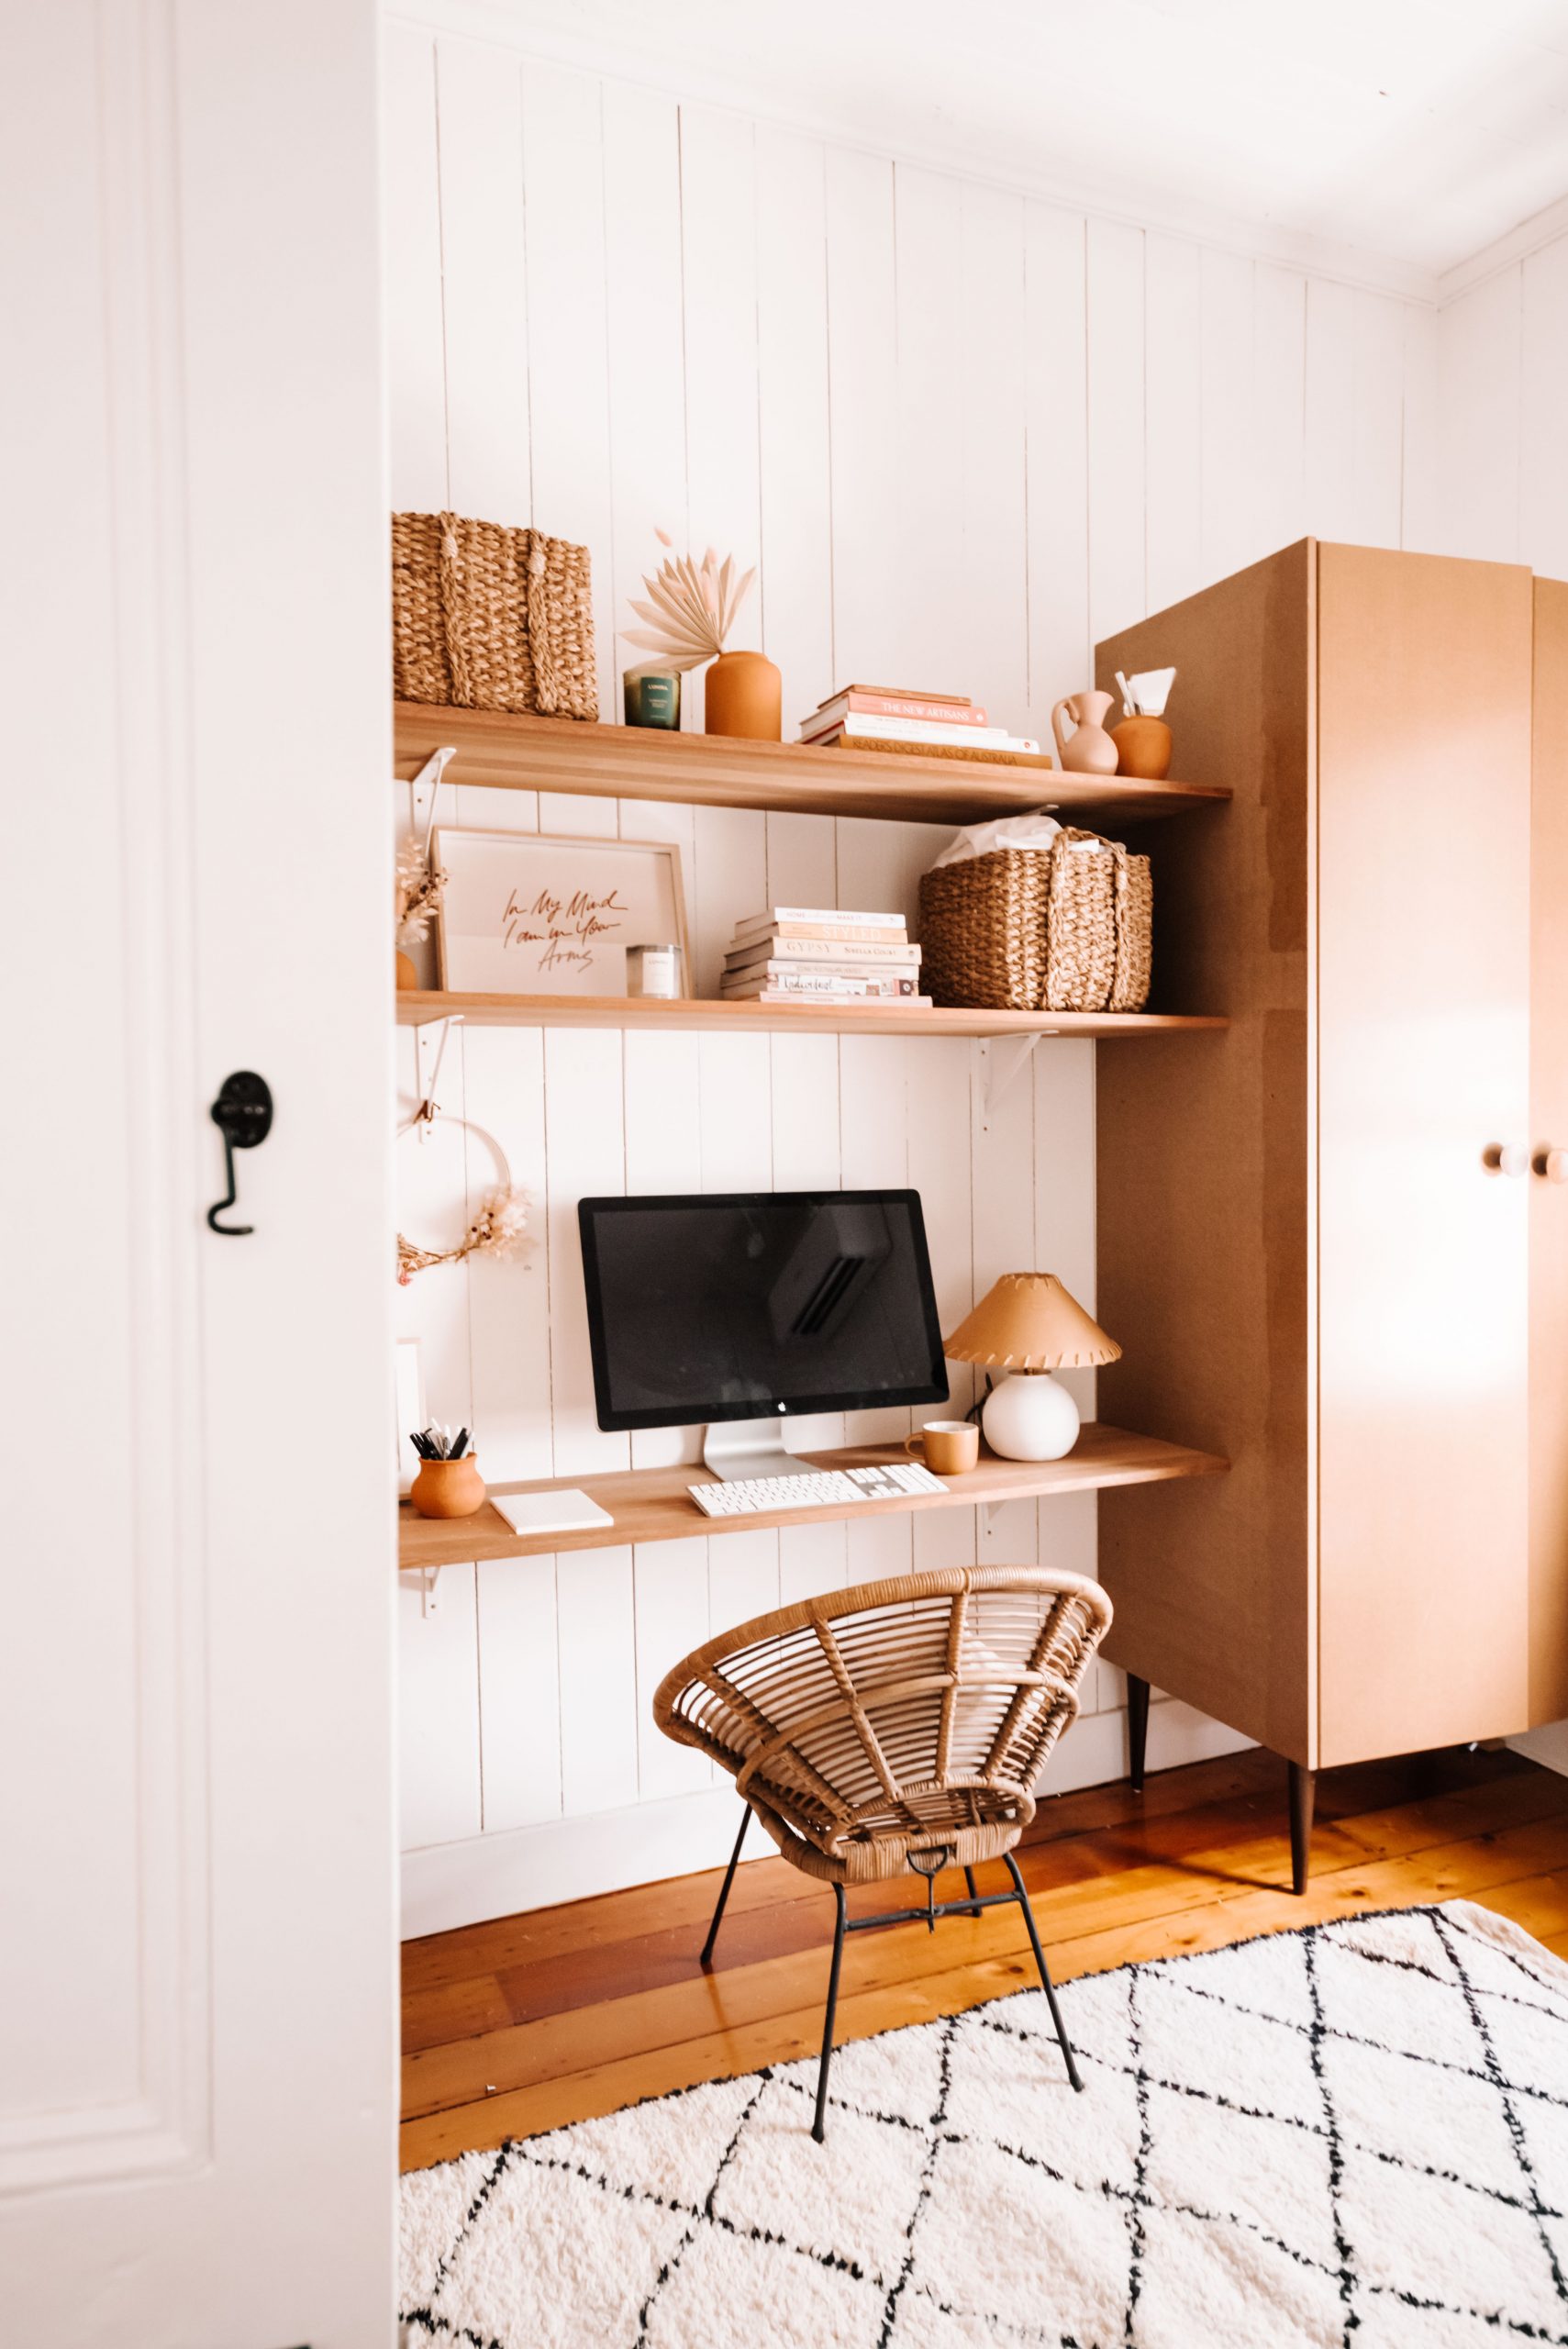
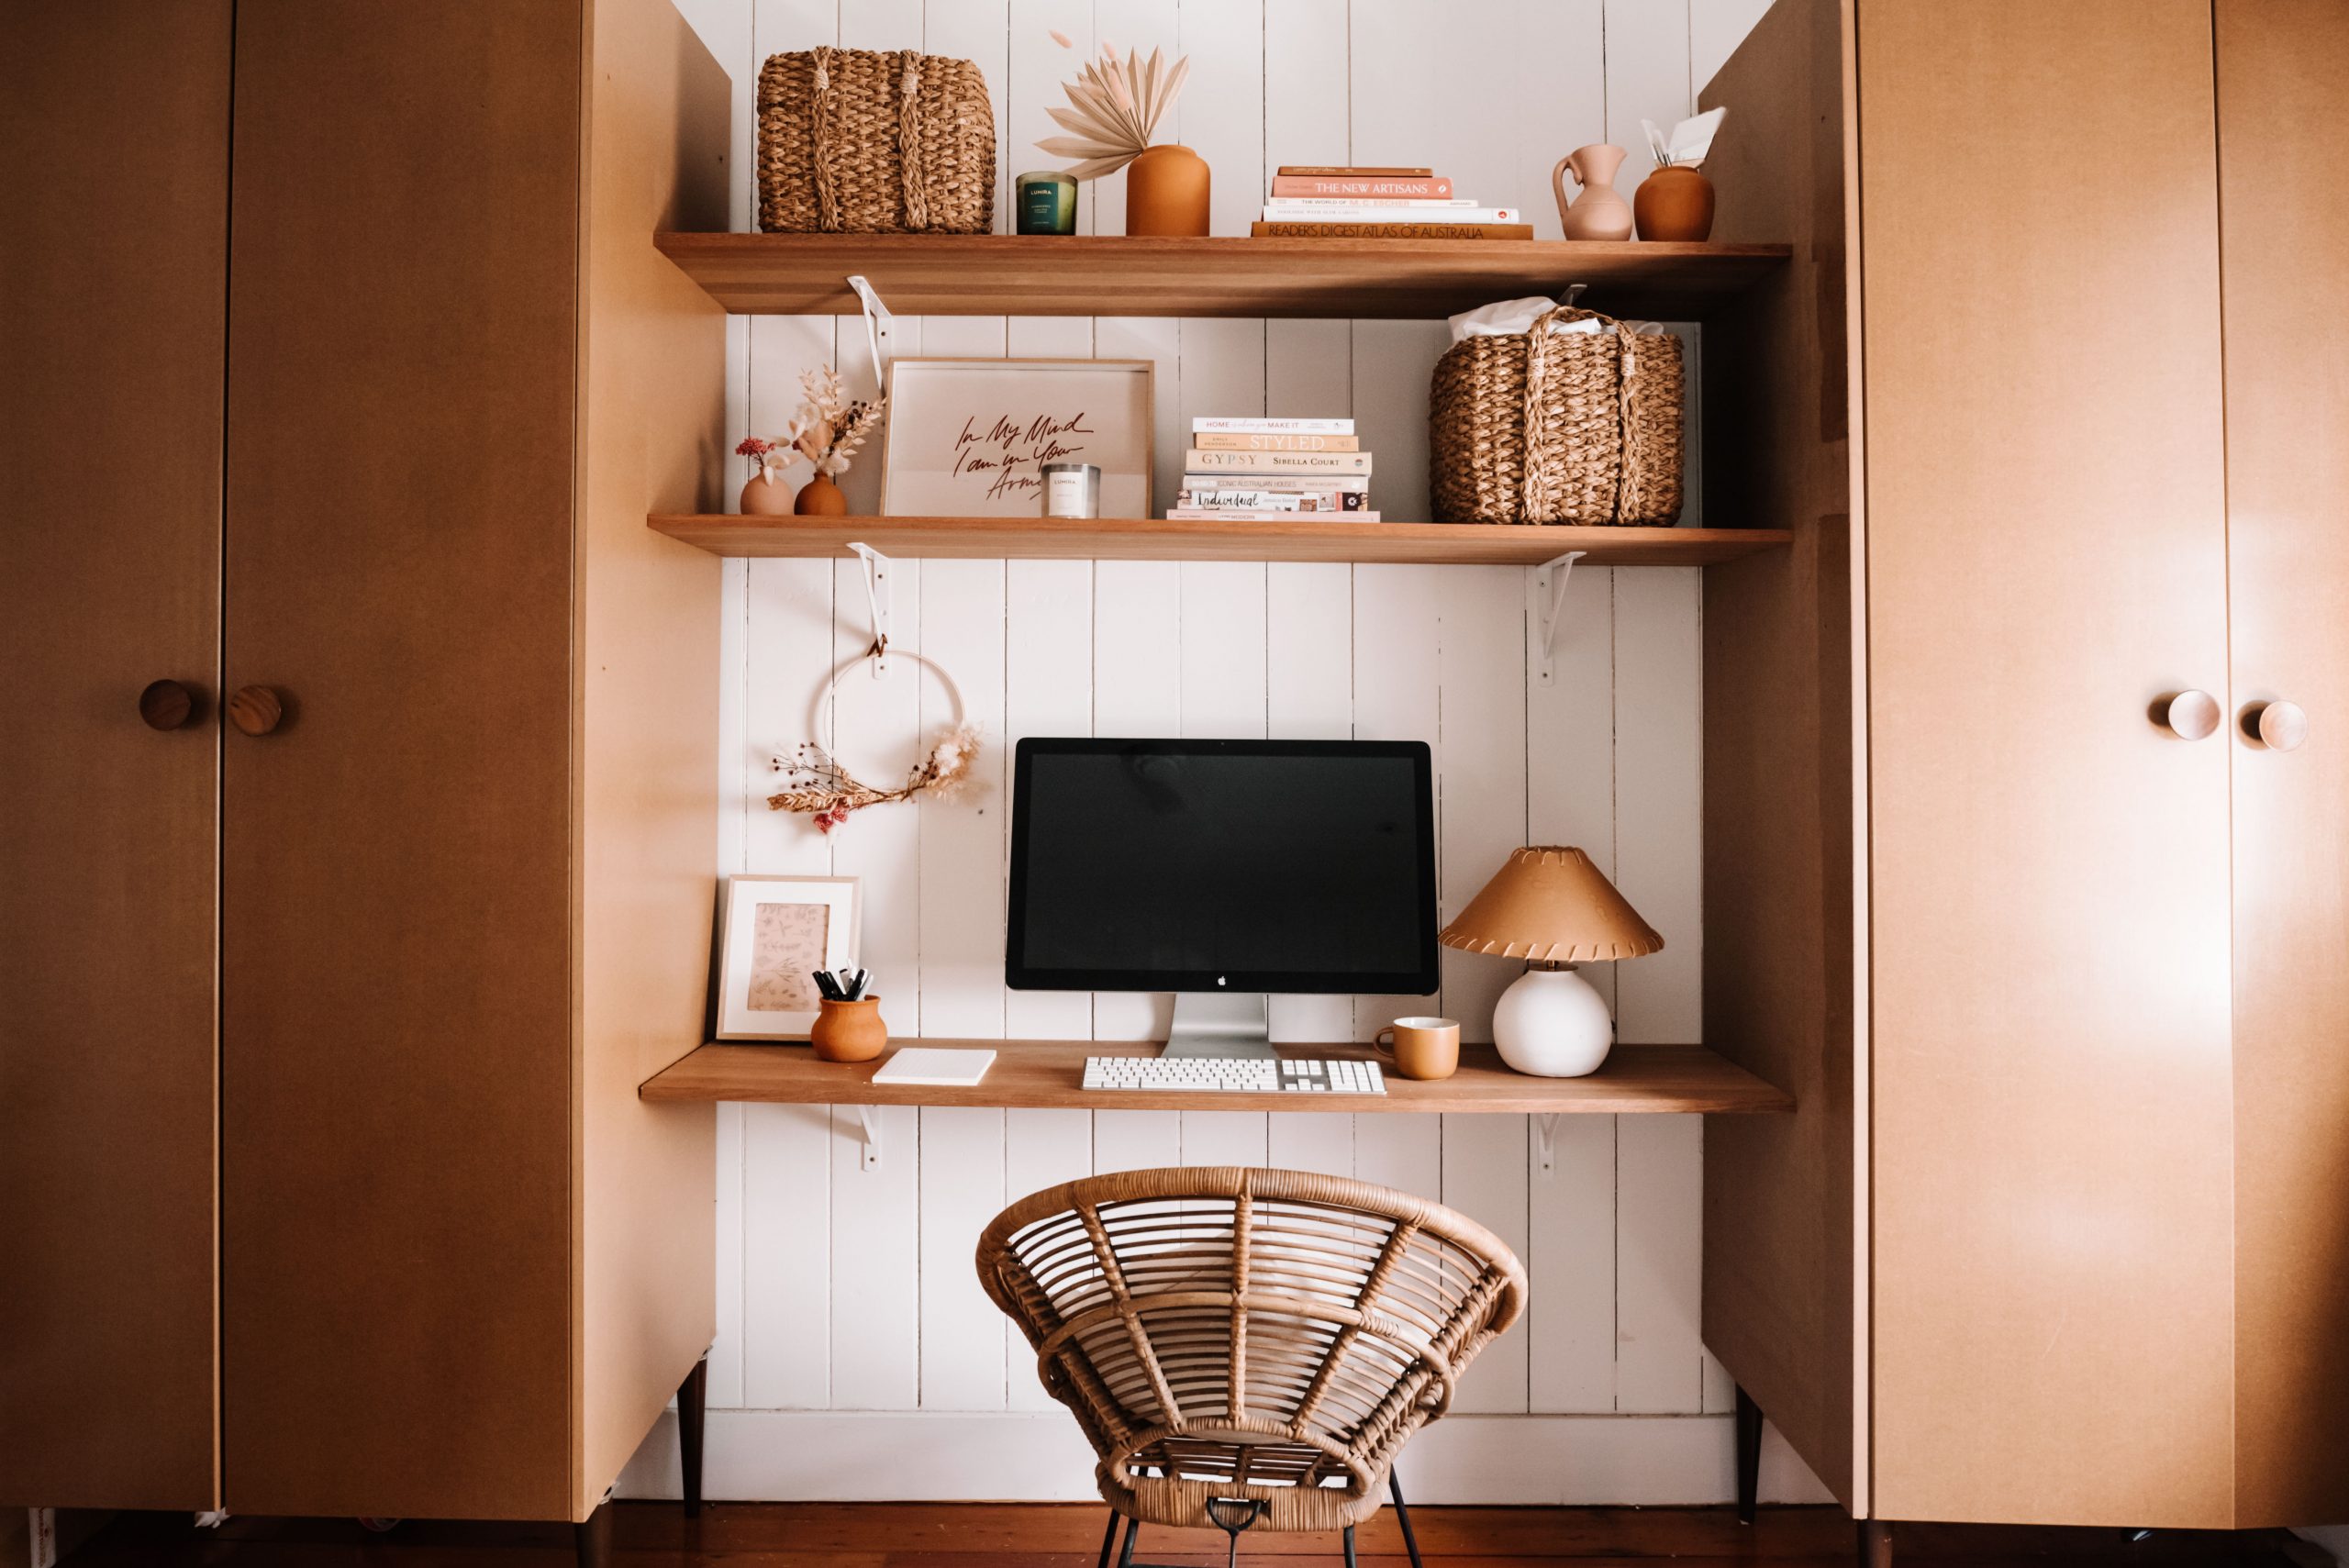
- After
I shopped for this project at Bunnings in early March (pre social distancing) but the good thing about it is that you may have the things you need around your house, either lying around unused or perhaps as something can can be repurposed like we did. If you need any materials delivery is a good option too!
Materials
For this project we separated the shelves to create a nook that we then built in. You don’t necessarily need these two cupboard units but I like that they provide lots of storage so the shelves and desk can be more organised. Any nook can be built in using shelves and a desk to create this sort of space, so its worth looking around your space to see what you can tweak or repurpose.
- Three planks of wood, cut to fit your nook or space and at least 40cm wide (16 inches) wide. We used these.
- 2 or 3 L Brackets per shelf
- Screws
- Drill and drill bits
- Our existing Kaboodle wardrobes that we hacked with mid century legs and doorknobs
How to
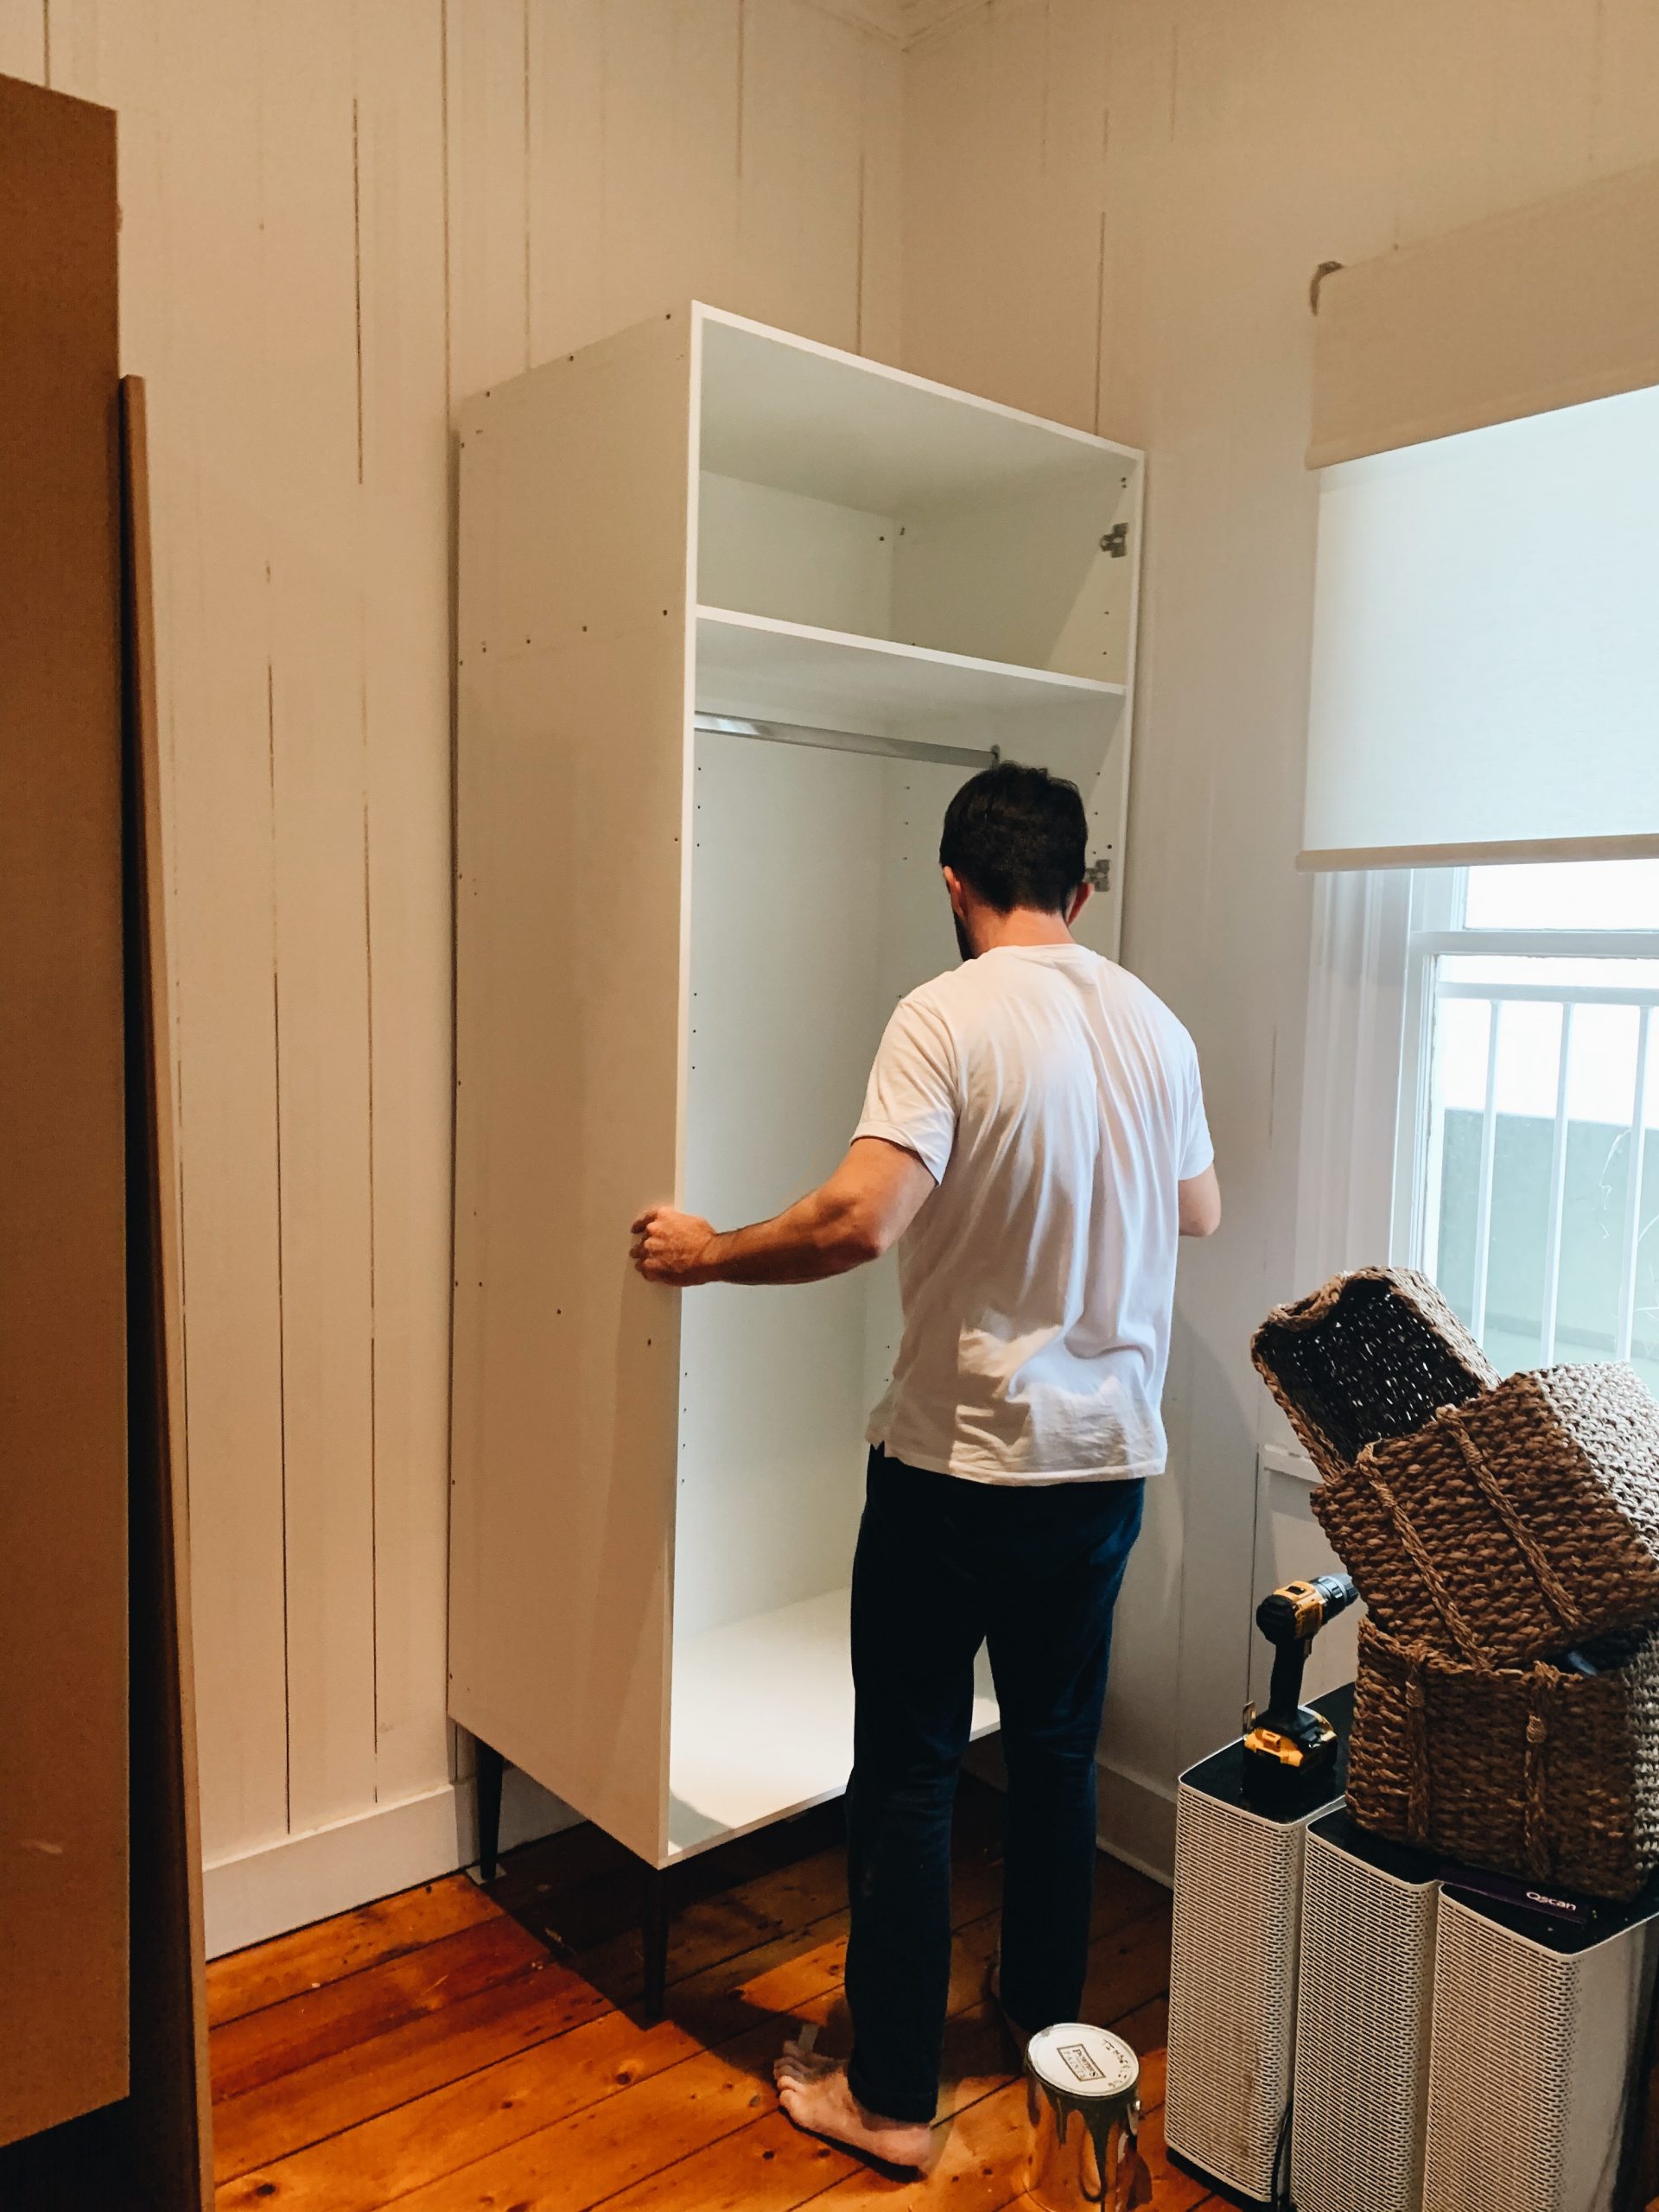
- For our project we first had to go about repurposing and rearranging the cupboards so they were separated and had a nook in the middle for the shelves and desk. To do this, we removed one unit, and then put one of the units on the other side of the wall in the corner. We then added side panels so they looked really nicely finished.
- Then it was time to do the shelves and desk! I had carefully measured the wood and had it cut to size (you can cut it yourself) so that it fit perfecting the nook space.
- We measured where we wanted the desk and shelves to sit. To avoid hitting your head, do two shelves up higher than where you will sit. The desk we put at 75cm (30in) which is the ideal desk height.
- To put the shelves in, we added the brackets, then screwed the shelves on top.
- Moving the cupboard over
- Adding end panels to the two remaining cupboards.
- Adding the L brackets at the desk height.
- Adding the additional two shelves.
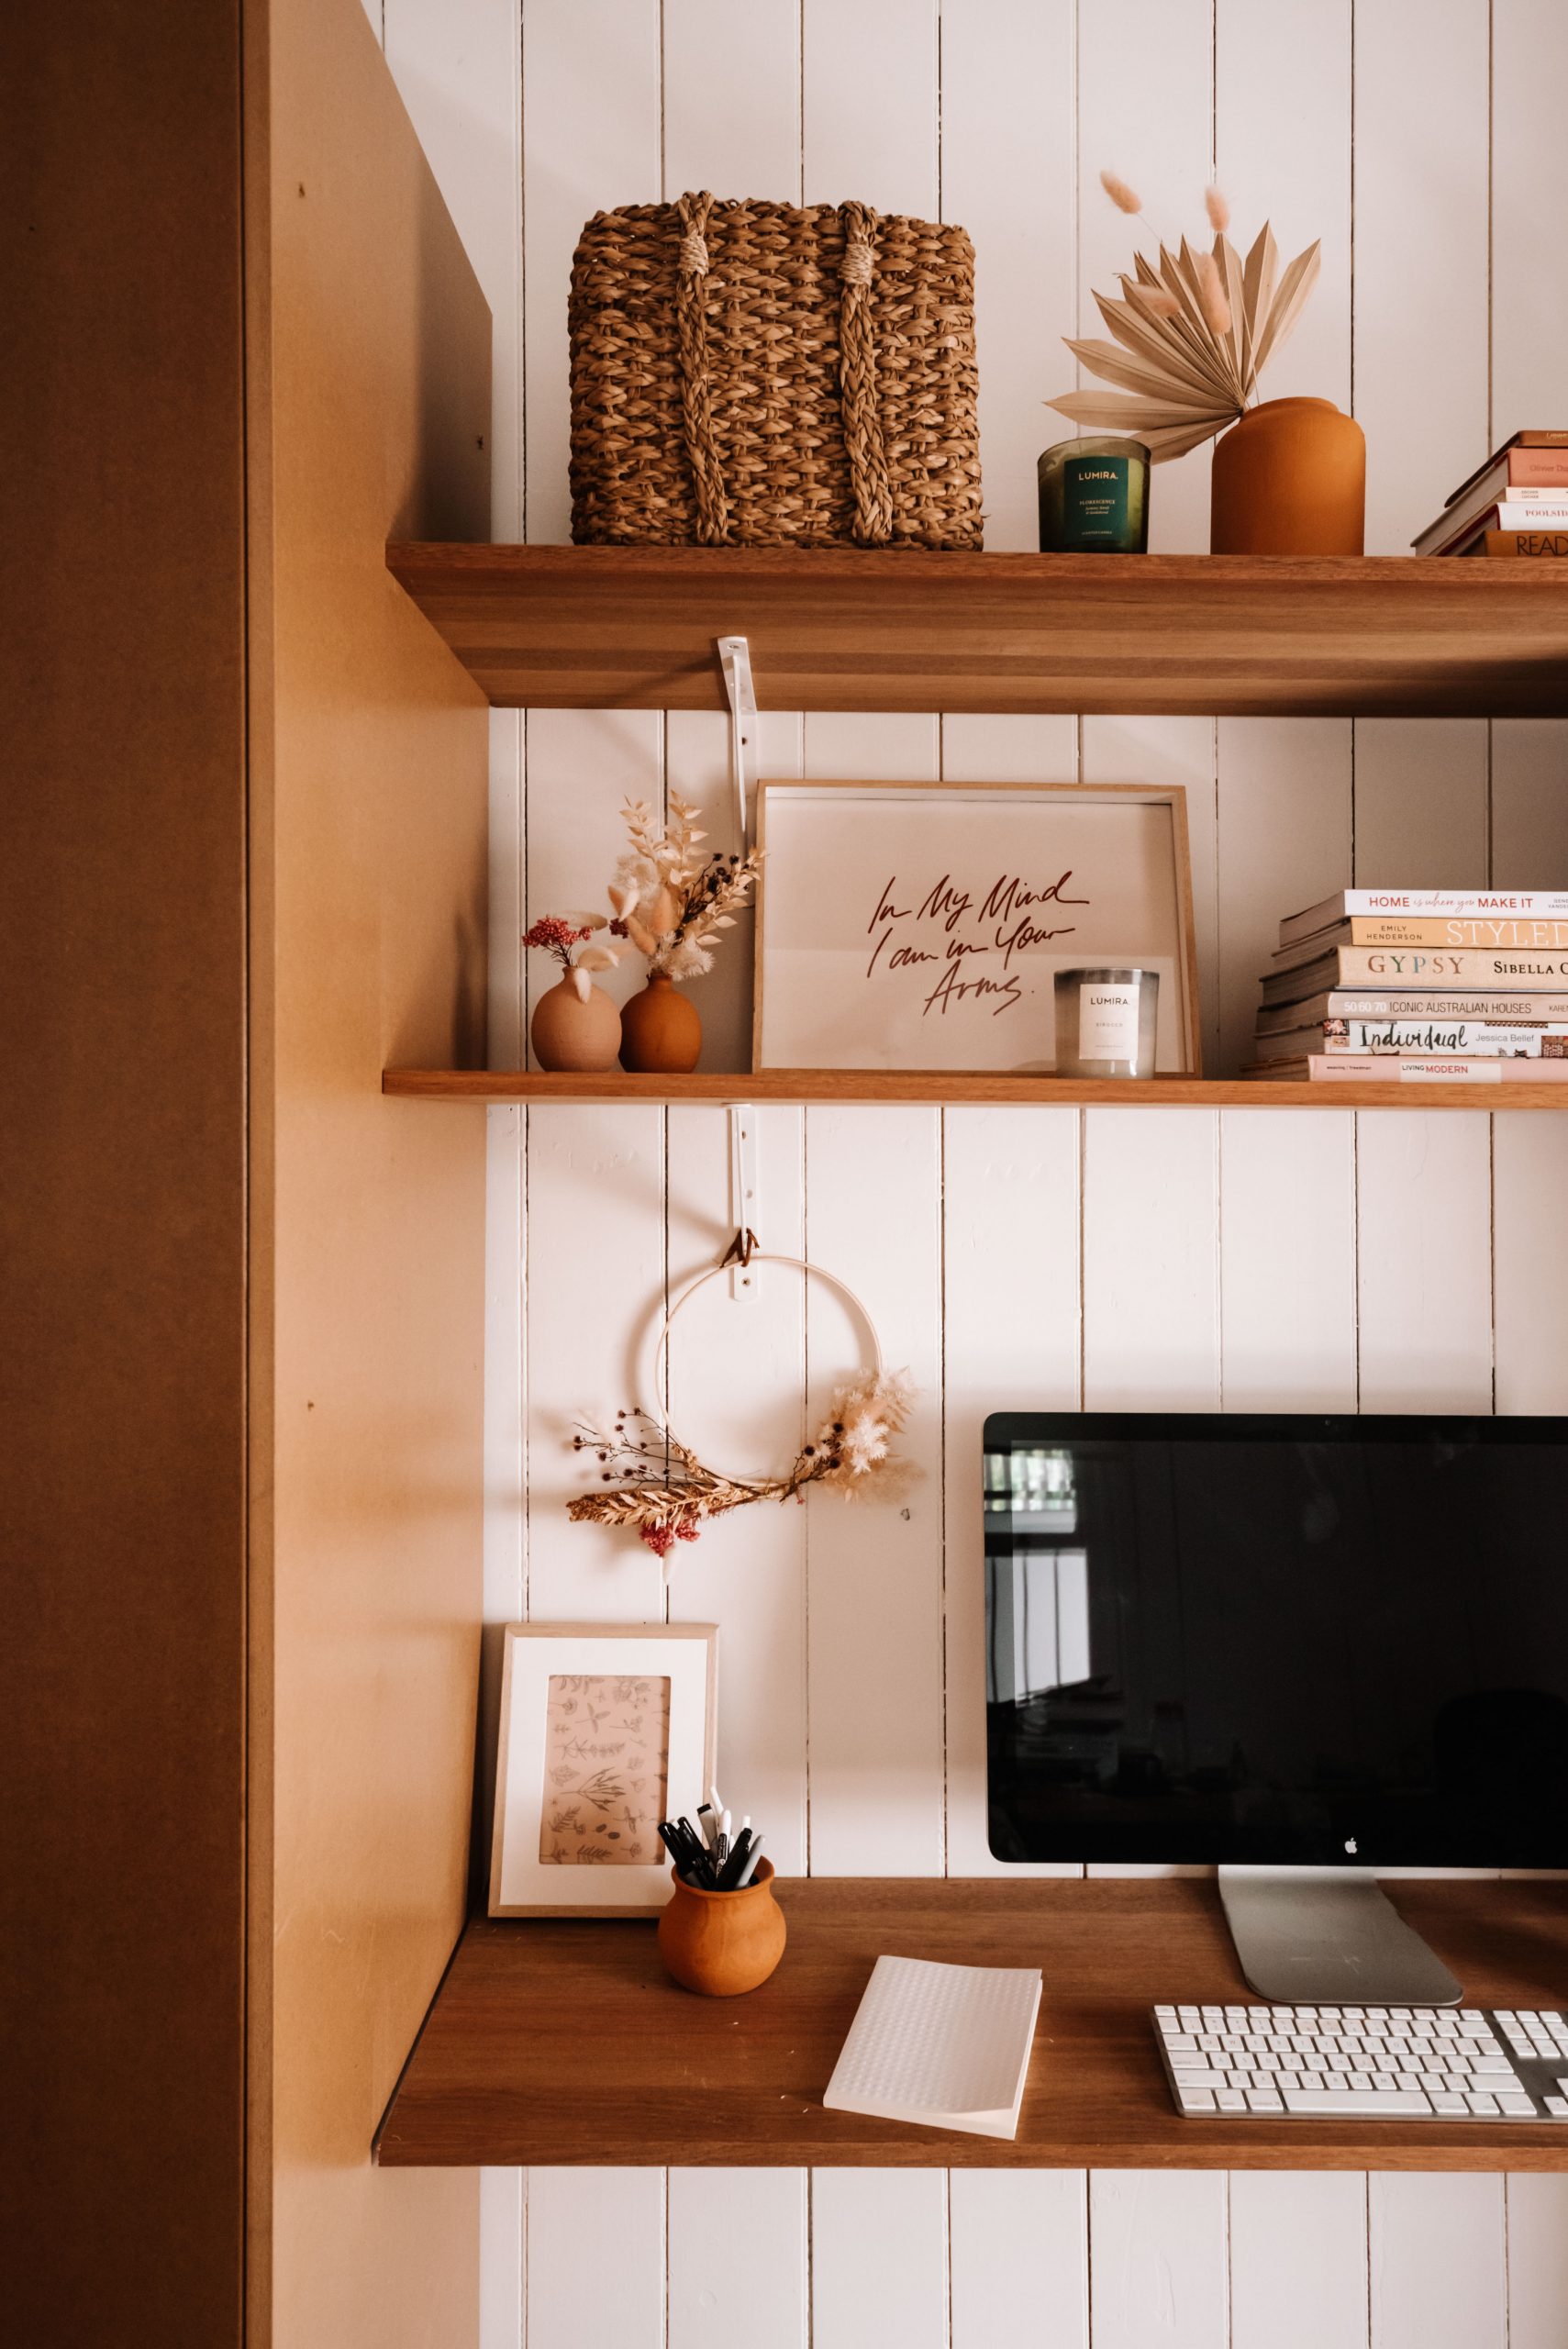
Then I set up the desk! Ben ran the cables using a cable basket to the power which is on the righthand side of the room. Then I organised the cupboards with all my craft supplies. Also, just so you don’t worry too much, I also have an Aeron chair which is what I use from day to day but this one was much prettier (and wayyy more expensive gah).
Voila
In this space:
Rug from Etsy, Chair is vintage (I use a different one for my work day), DIY Vase lamp, DIY terracotta pots, DIY Chalk Paint pots, Jasmine Dowling Print, West Elm Baskets, West Elm Mug, DIY dried flower wreath, Lumira candle.


