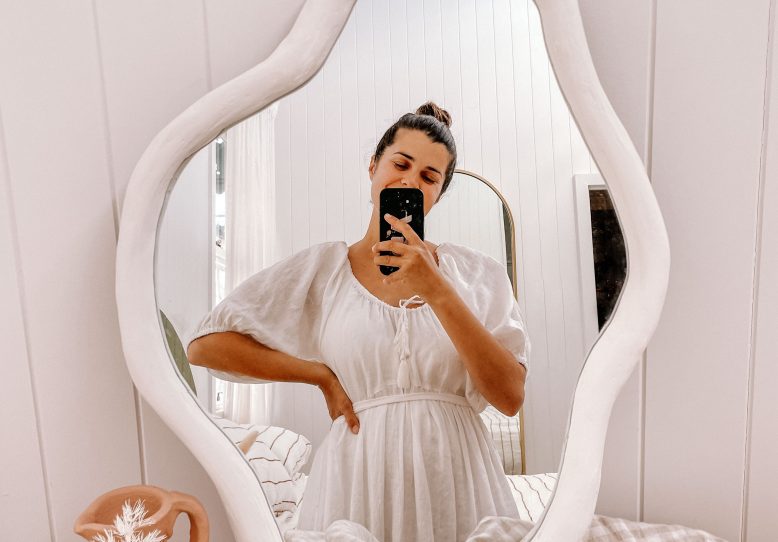
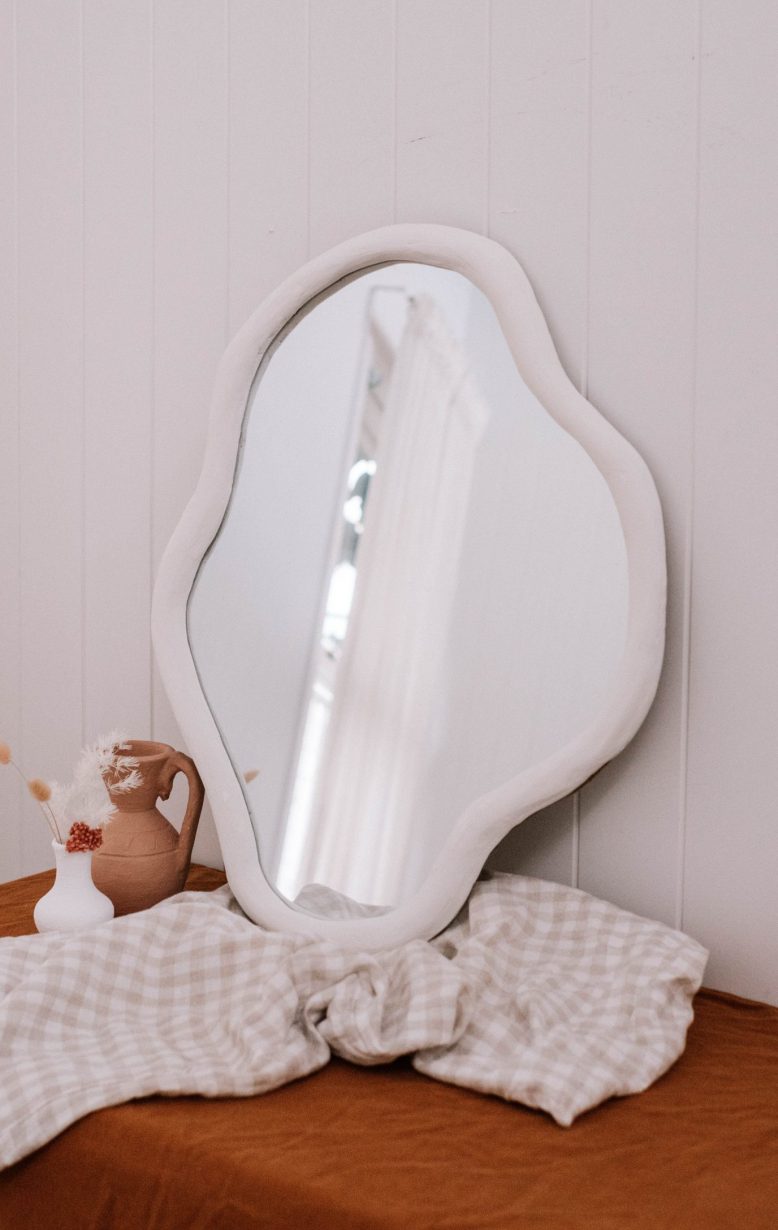
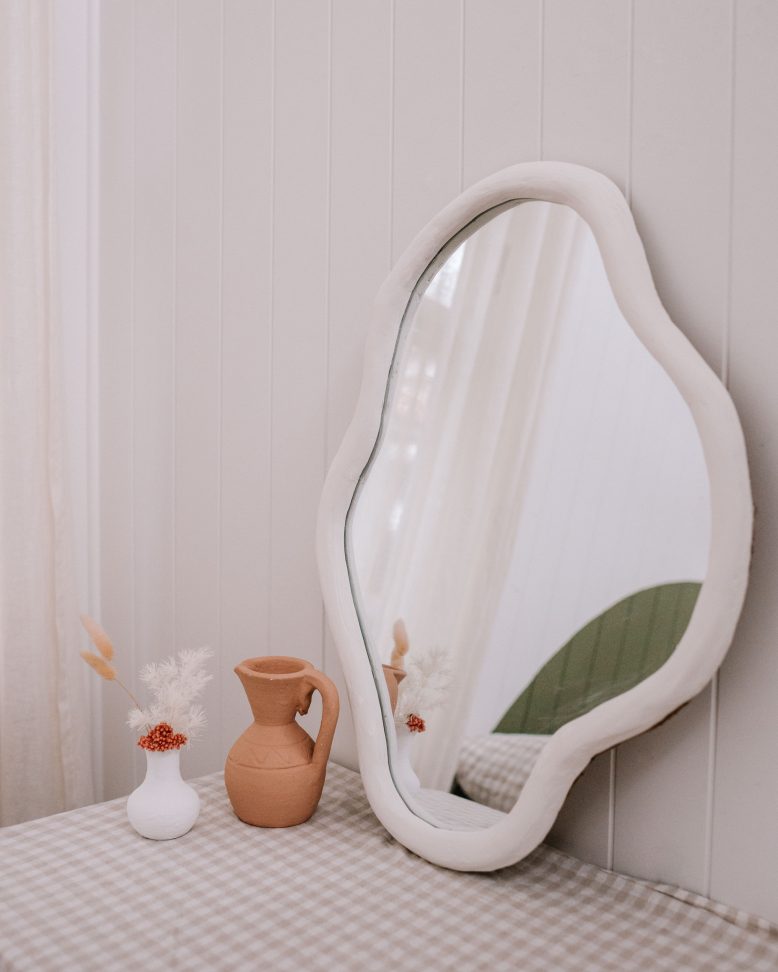
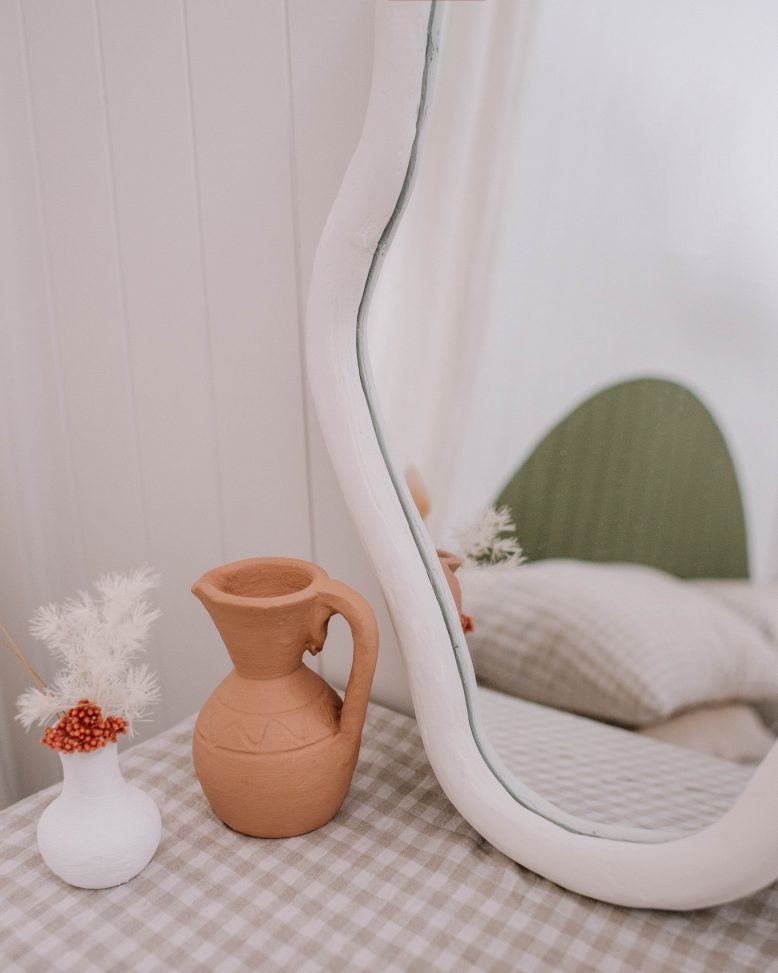
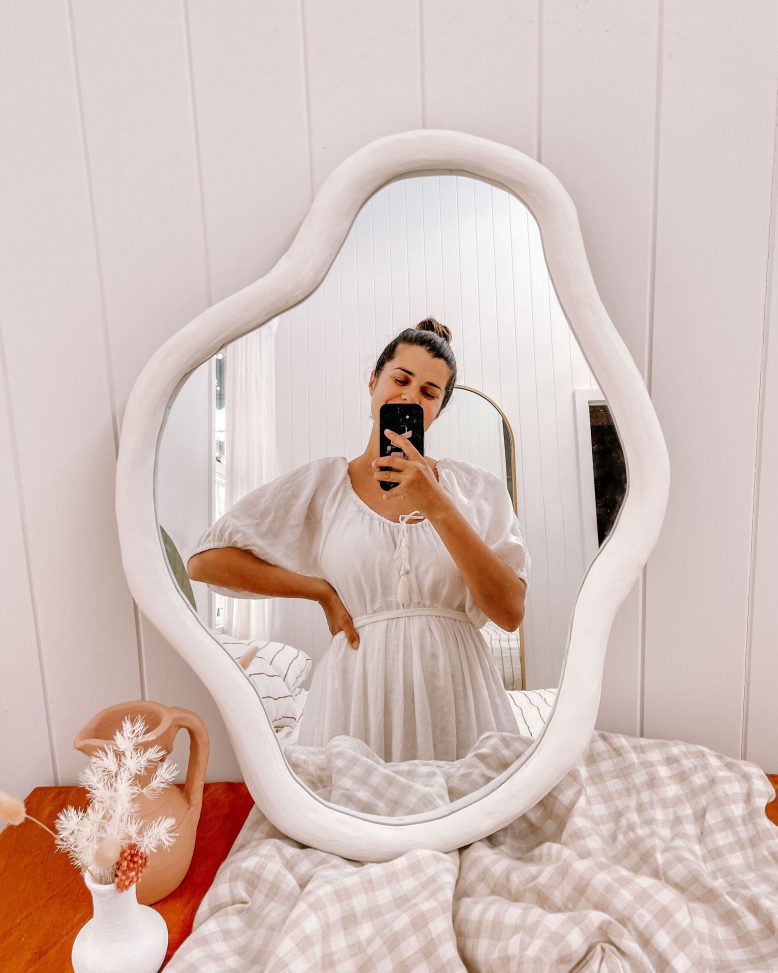
When a super affordable mirror turns into a show-stopper, you can’t help but get excited.
I just knew I needed to turn this $24 mirror into something more interesting. But what? I found some fun inspo pics and decided I needed to attempt some glass cutting to turn this simple mirror into a custom piece of art. I wanted something really organic – a pebble, a pond, a puddle, whatever you want to call it, I knew it was going to be a challenge but when you’re in lockdown a challenge sounds kind of perfect.
you need
- A simple mirror – I used this one from Bunnings
- Sharpie
- Safety glasses and gloves
- Toyo Glass cutter
- Cardboard
- Airdried clay
- Multi Joint Compound
How to
1
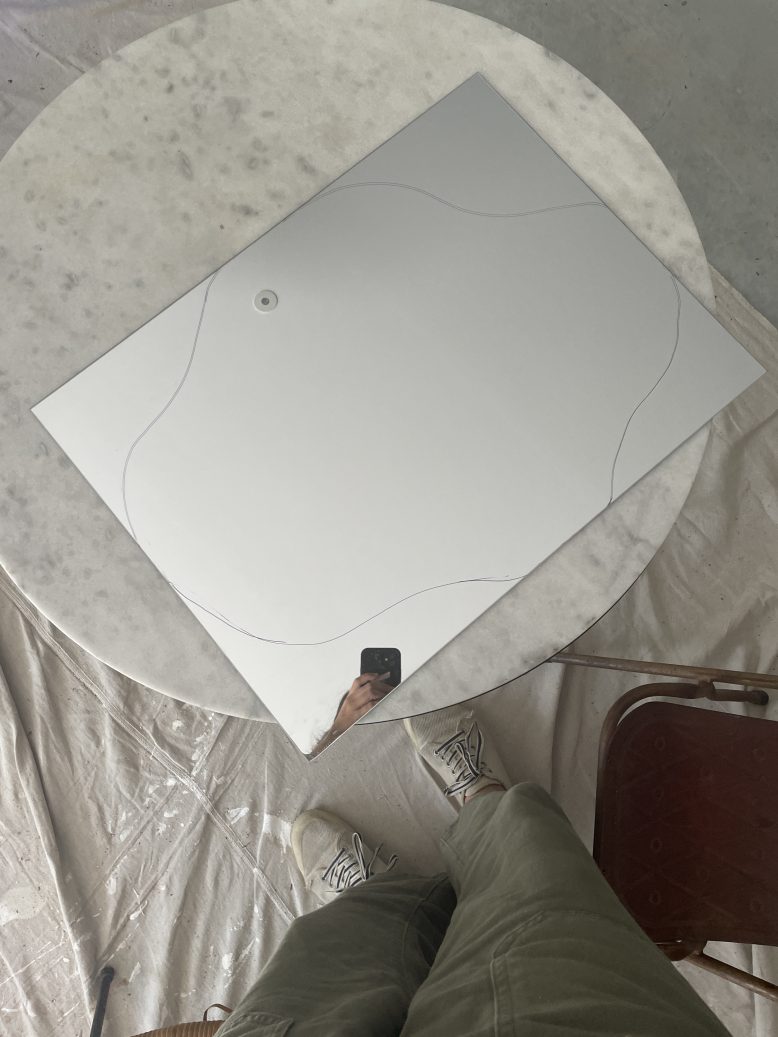
First, use a sharpie to draw an organic wavy shape on your mirror. I drew my shape right to the edge in some spots so there was a little less cutting to do.
2
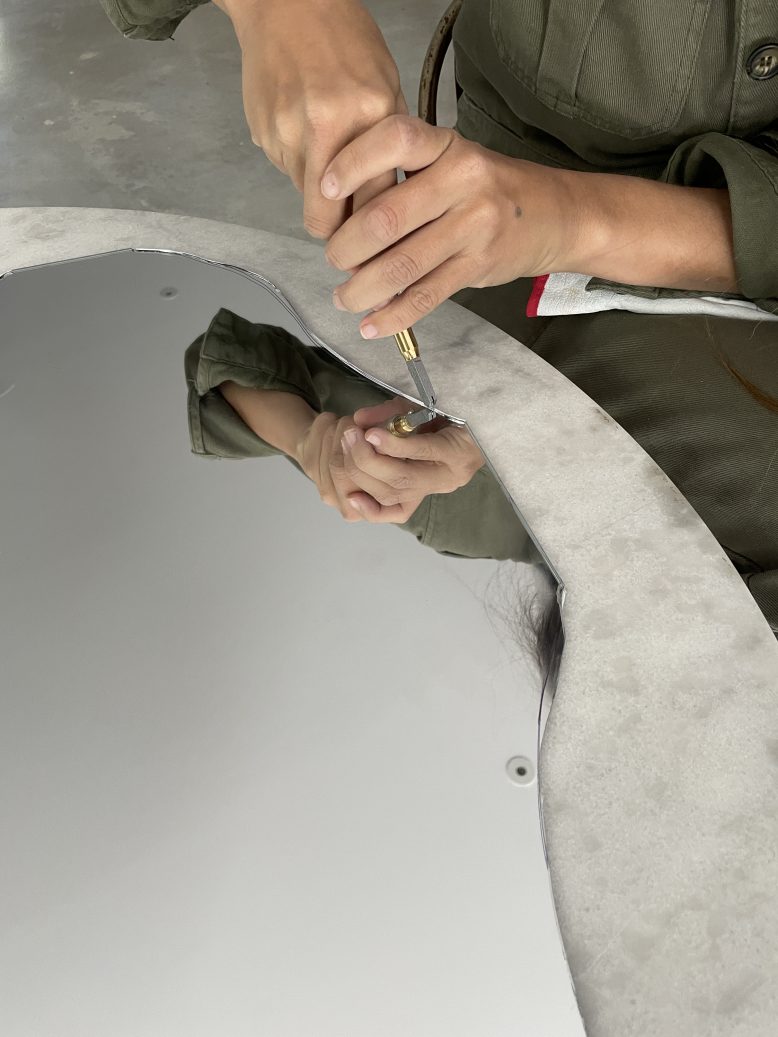
Follow your glass cutter along the sharpie line. You'll need to apply a bit of pressure and go slow!
3
Gently tap from underneath along the cut line until your corner piece snaps off in one piece
4
For the frame, I first created a cardboard backing for the mirror. Glue your mirror onto the front.
5
Then I cut a matching frame piece the same size as the front and covering the edges.
6
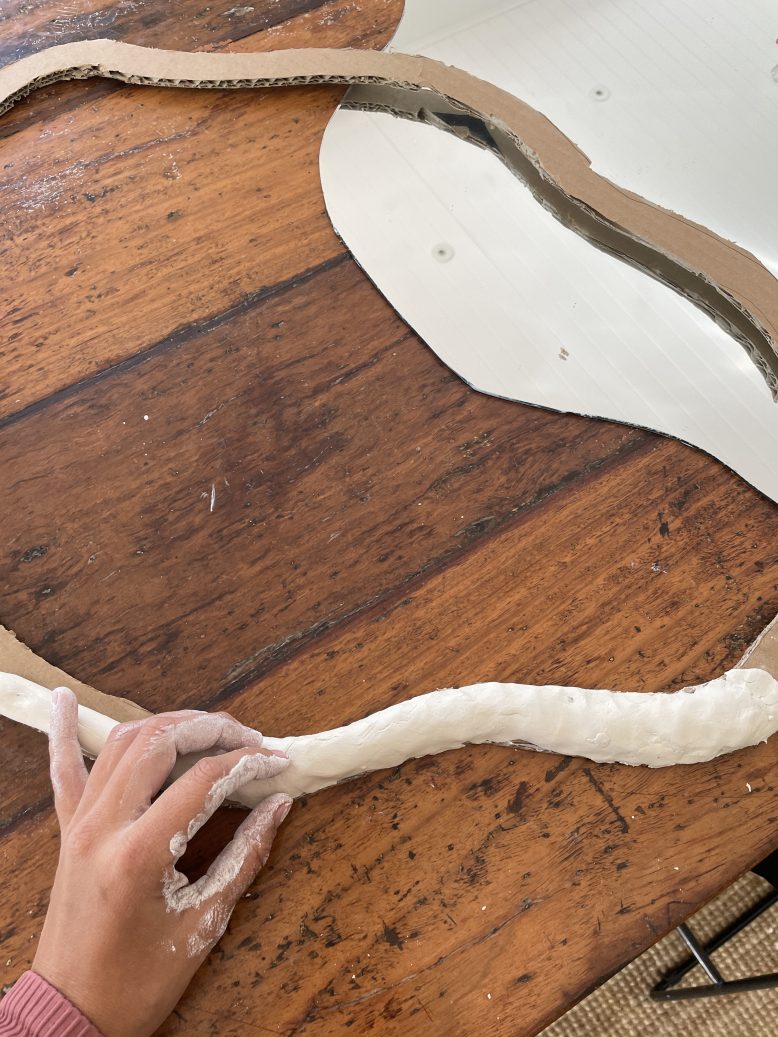
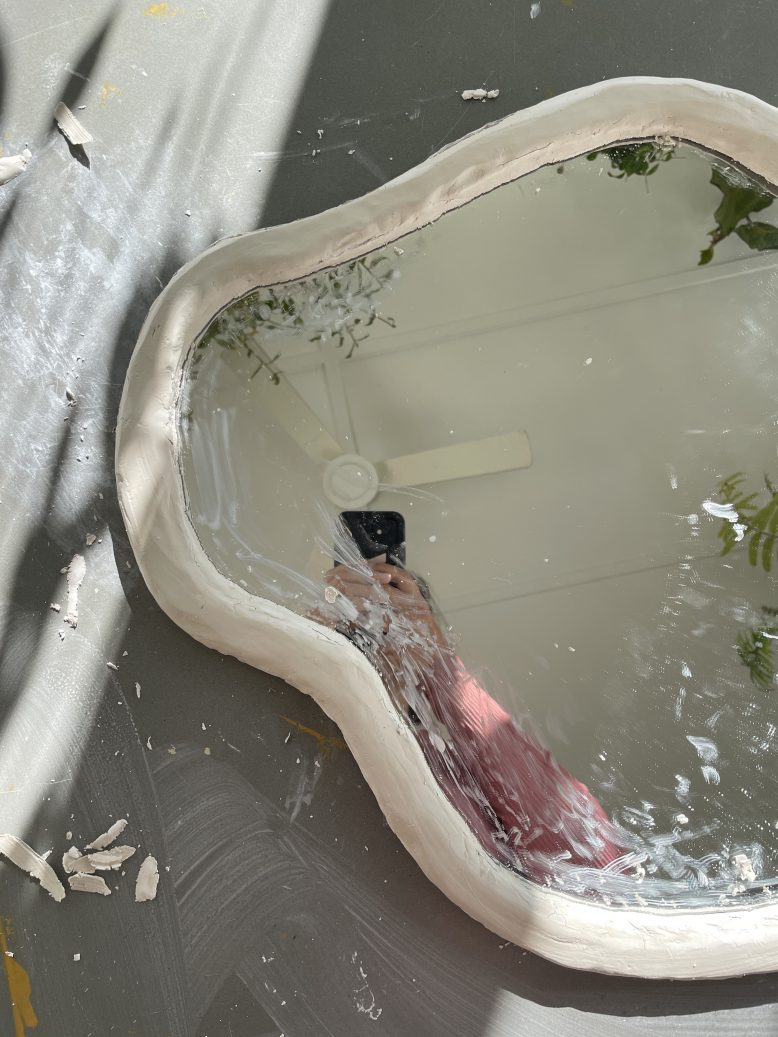
Roll the airdried clay out into long lengths and cover the cardboard frame with the clay. Make sure to round it all out for a nice finish
7
Once the clay has dried, make sure there a no cracks. If there are, glue them back together using Selley's Hold Up.
8
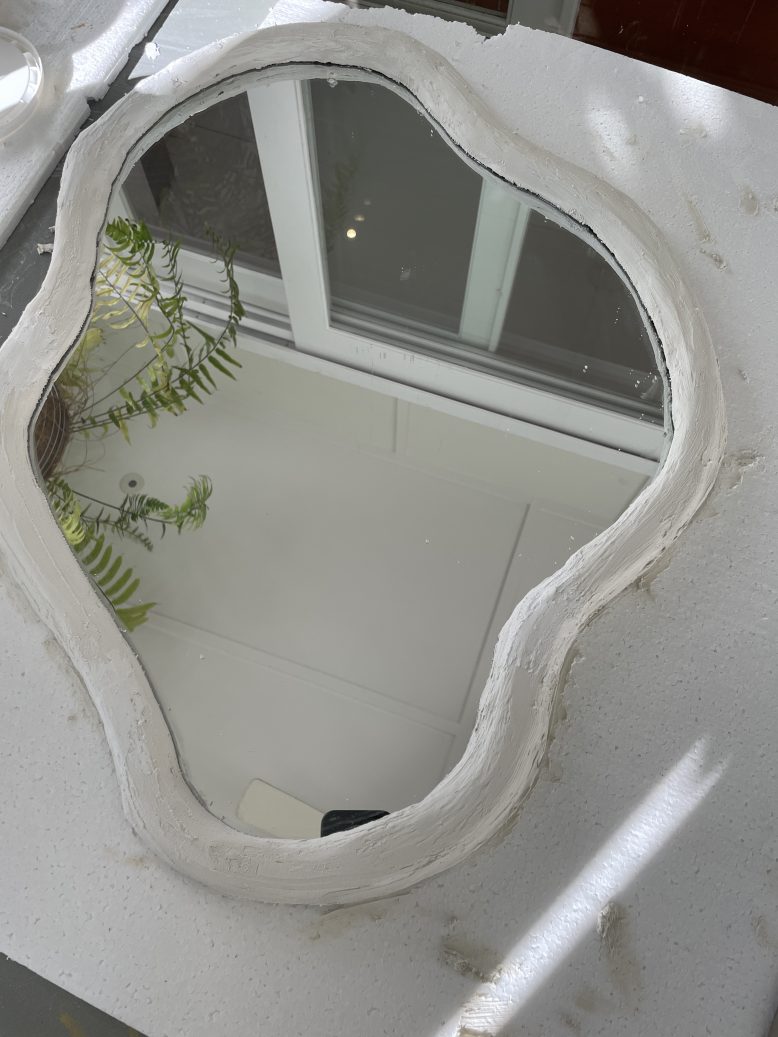
Sand back the clay little to make it smooth, then add a layer of multi joint compound, sand and repeat until you feel you have the finish you're after. I also plastered the back of the frame to finish it off. Add glue along the back of the frame and attach your mirror. Let dry completely.


