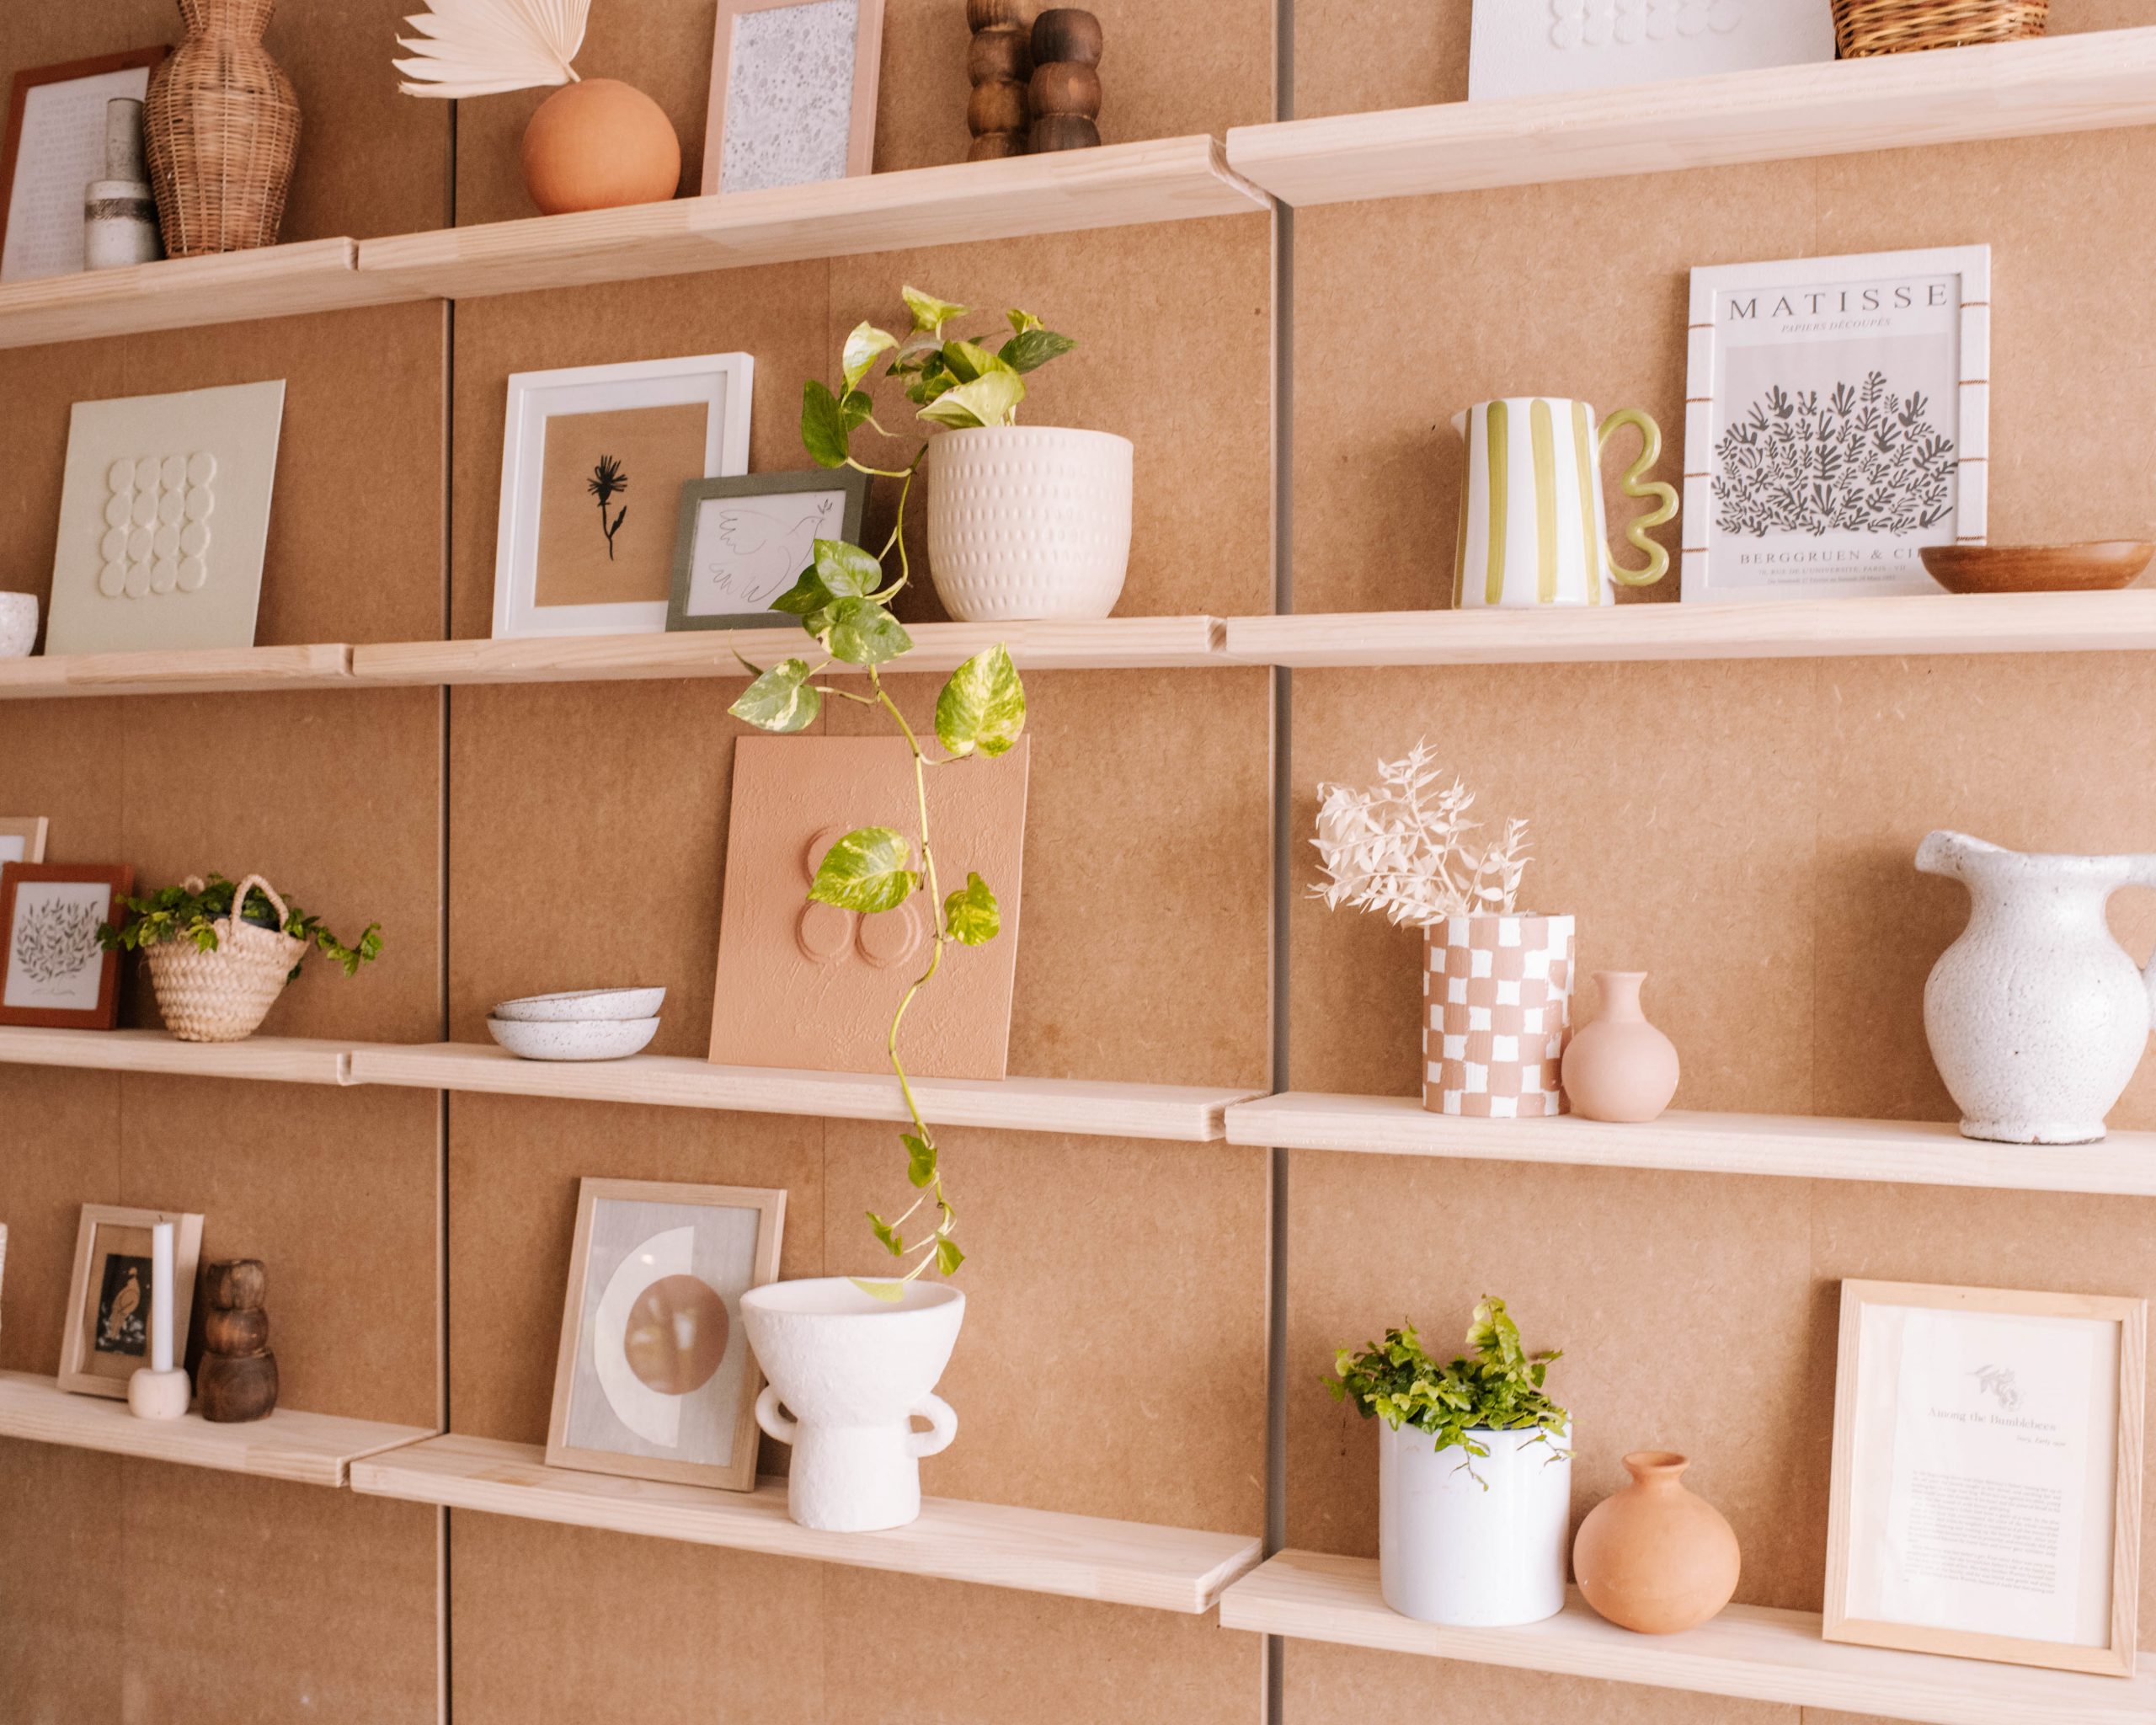
I recently built these open shelves for the studio and I’ve been in love with them ever since!
I’ve been wanting to create an open shelving space as a feature in the studio, but I wanted to make sure to still utilize the space into something practical and functional, and something with adaptability!
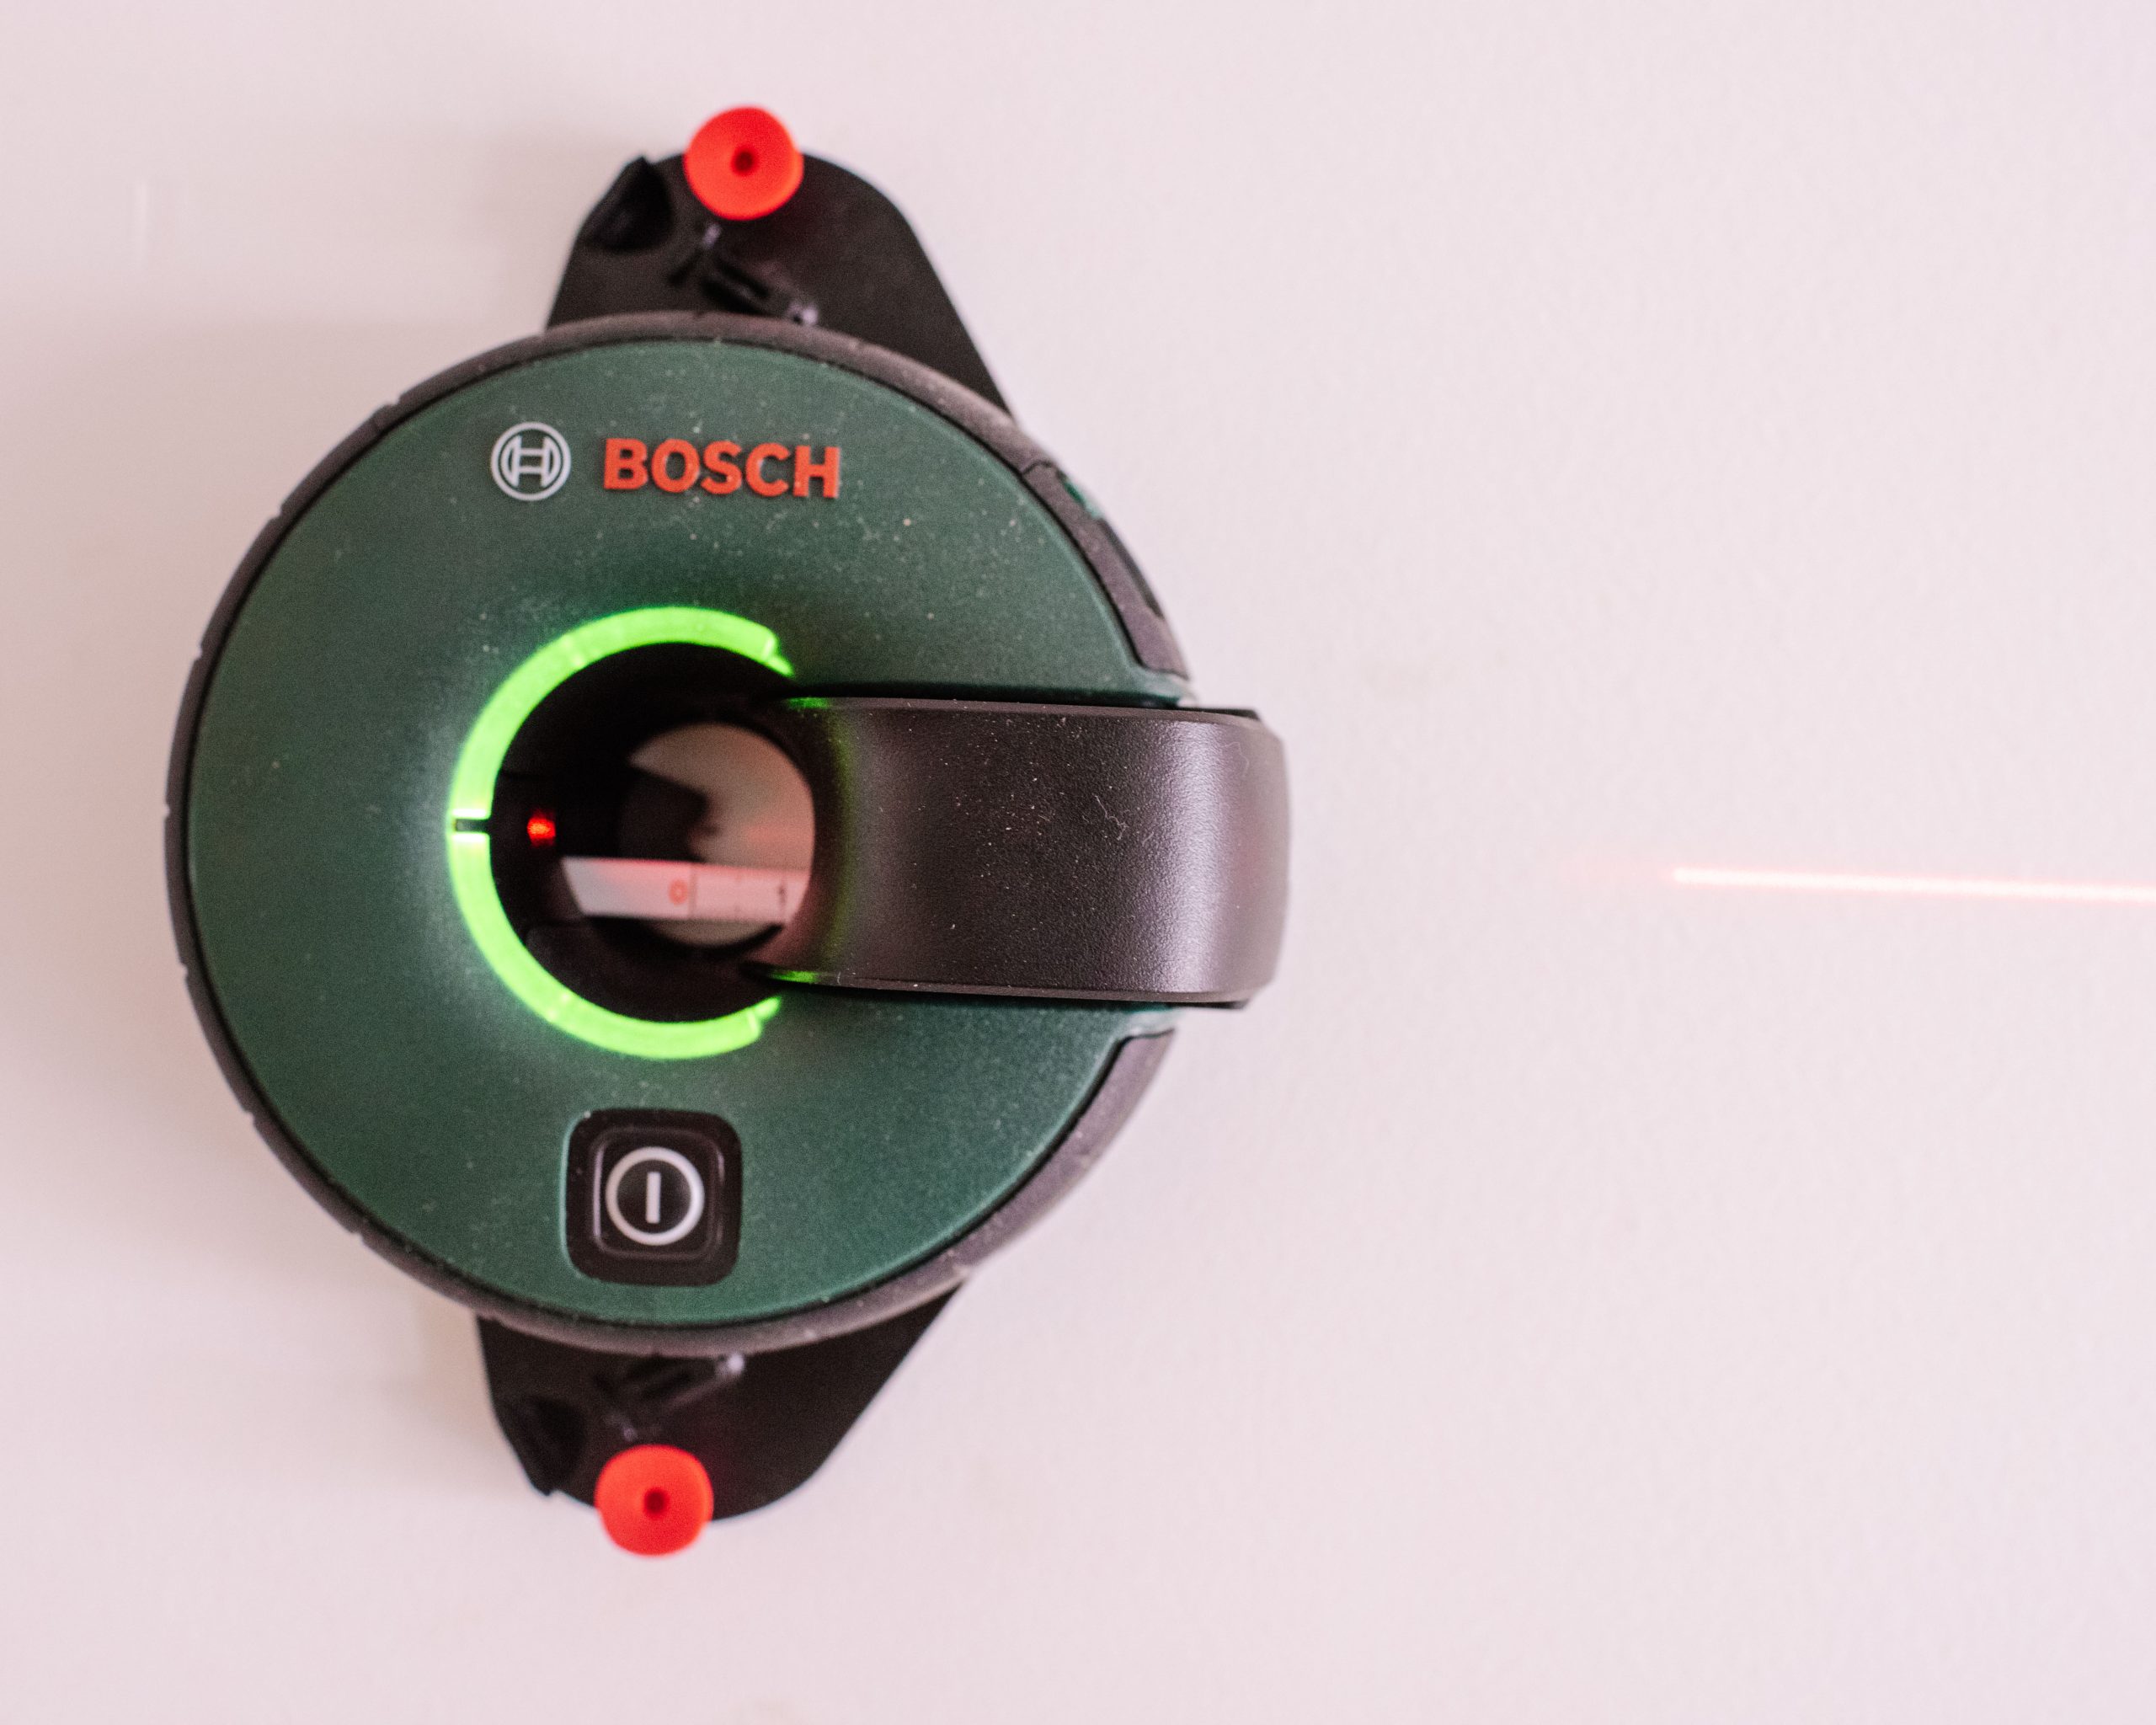
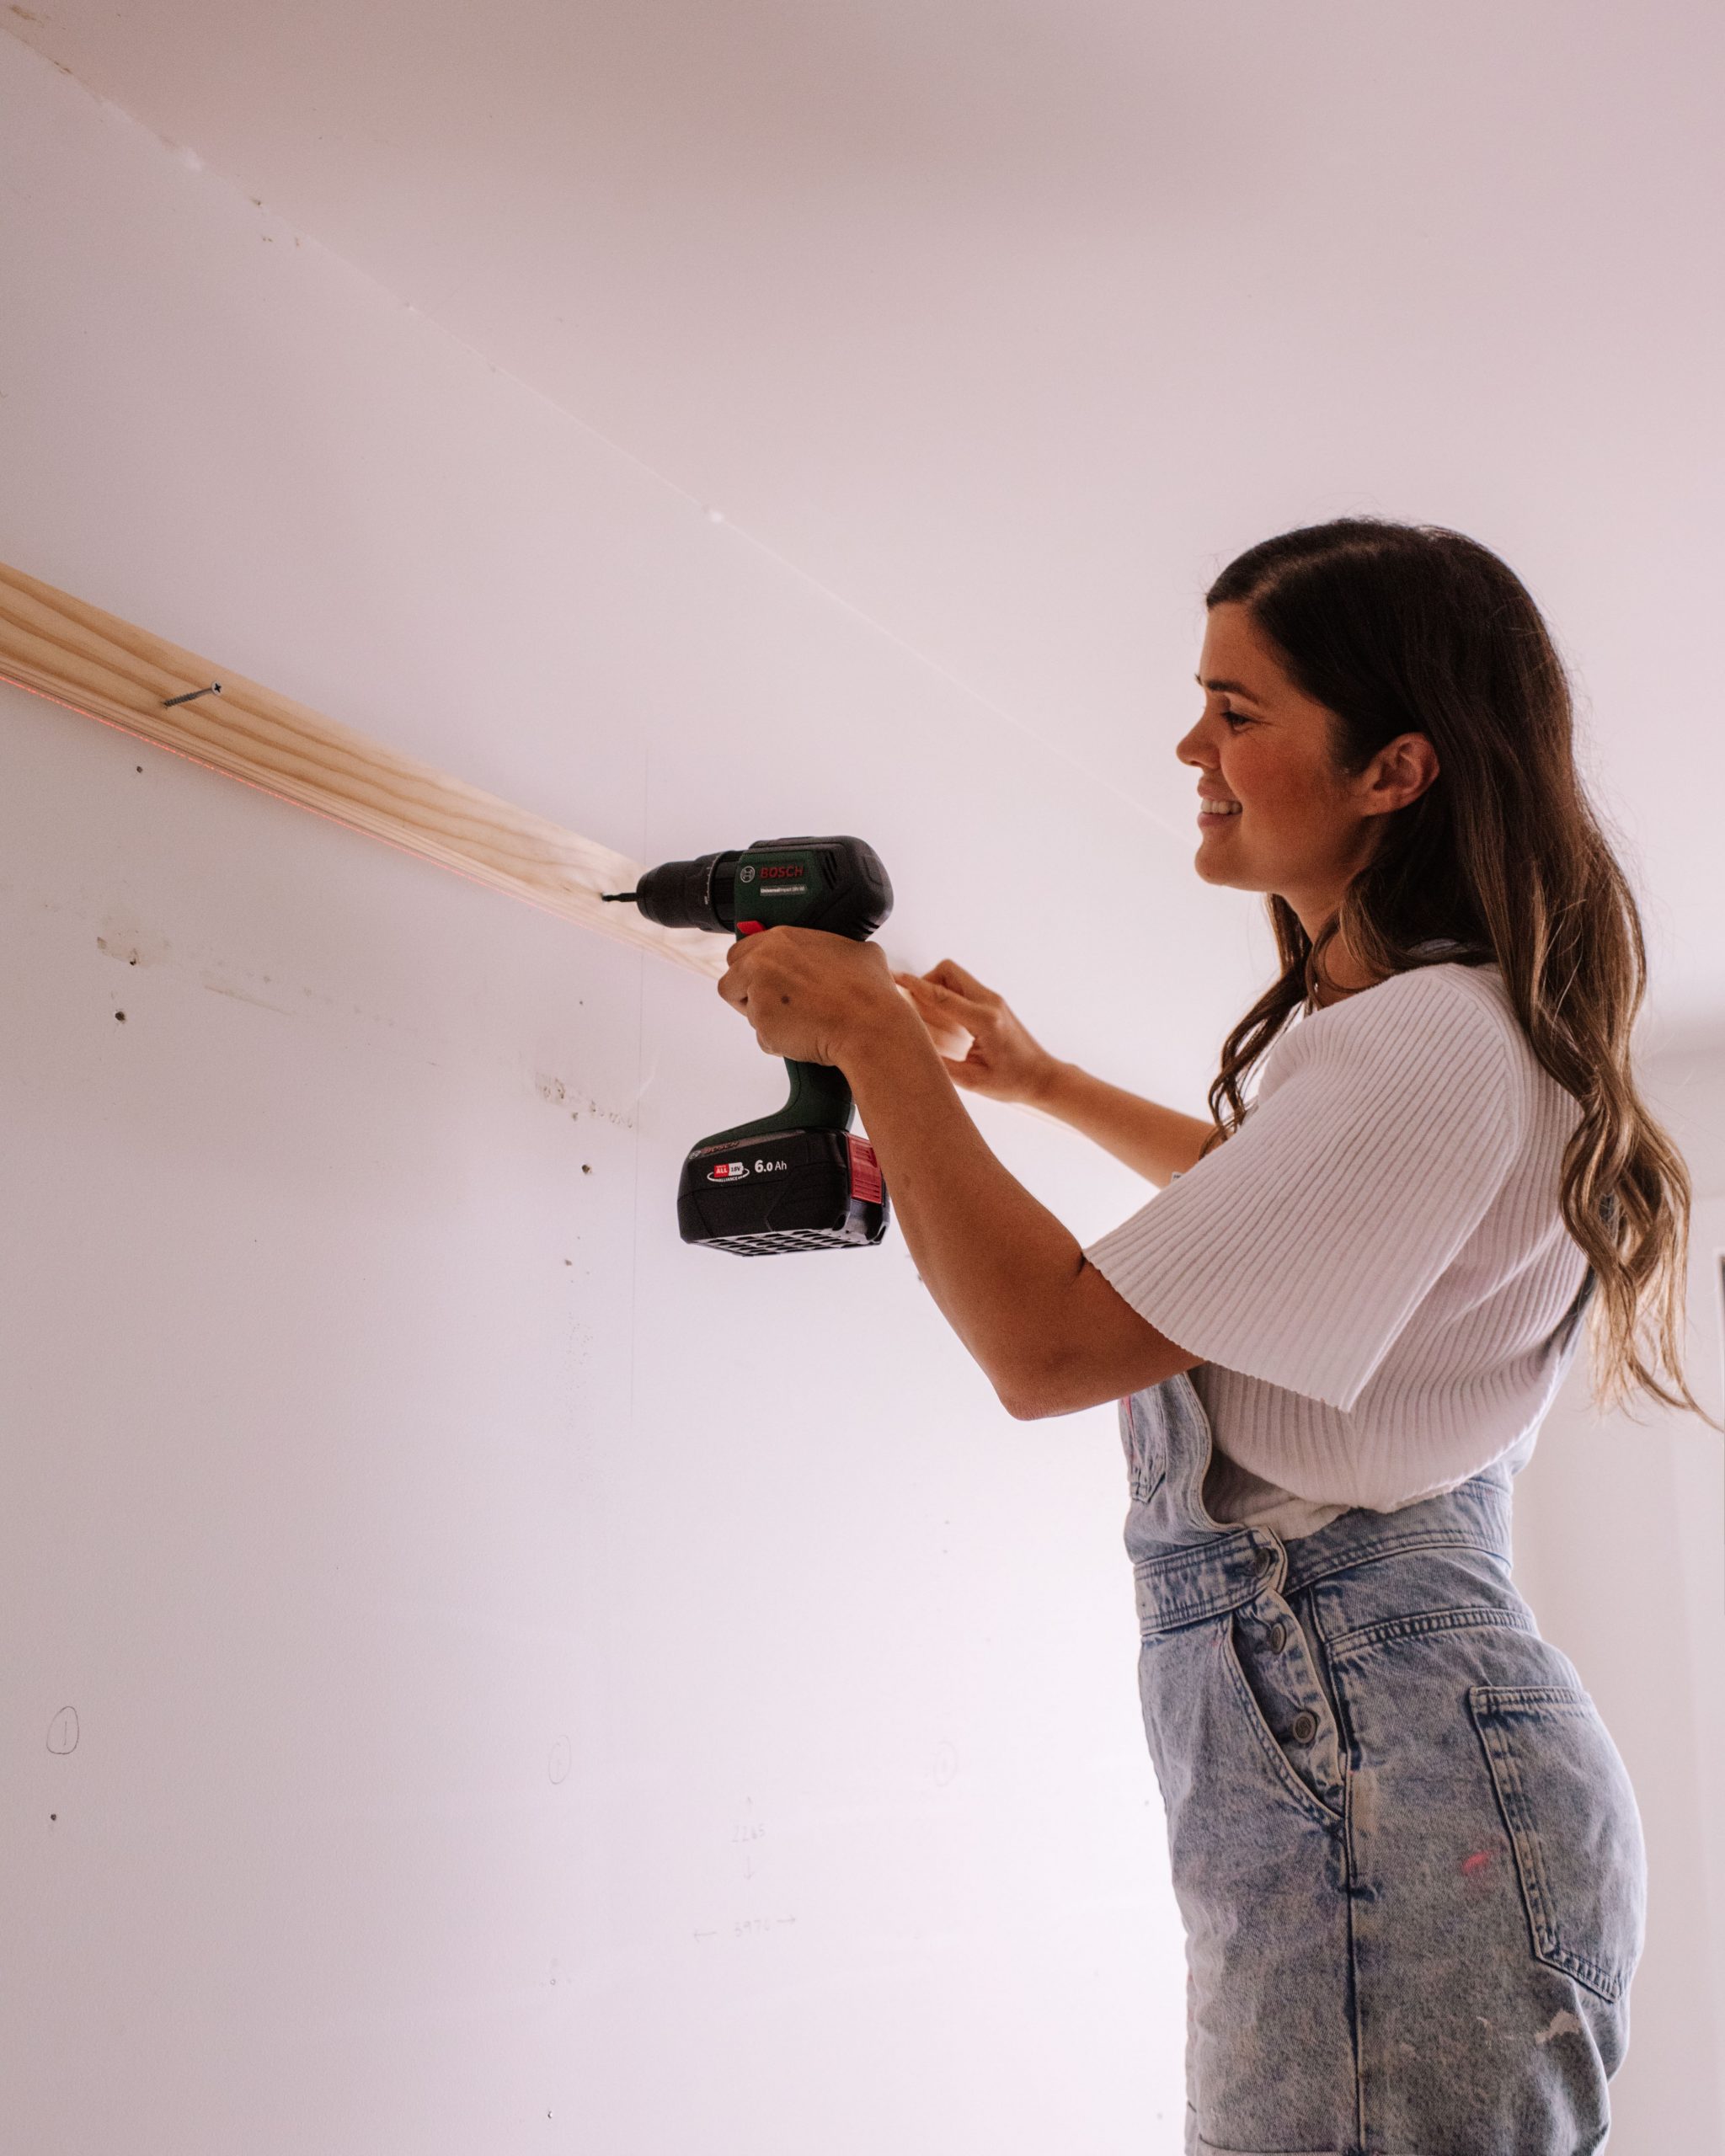
Like with any shelf, it was very important that these were properly measured and aligned. So in order to get the best results, I turned to Bosch’s Atino Line Laser. This little tool was super helpful and without it, I would probably still be in the studio trying to put these up!
MATERIALS YOU’LL NEED For Building Open Shelves
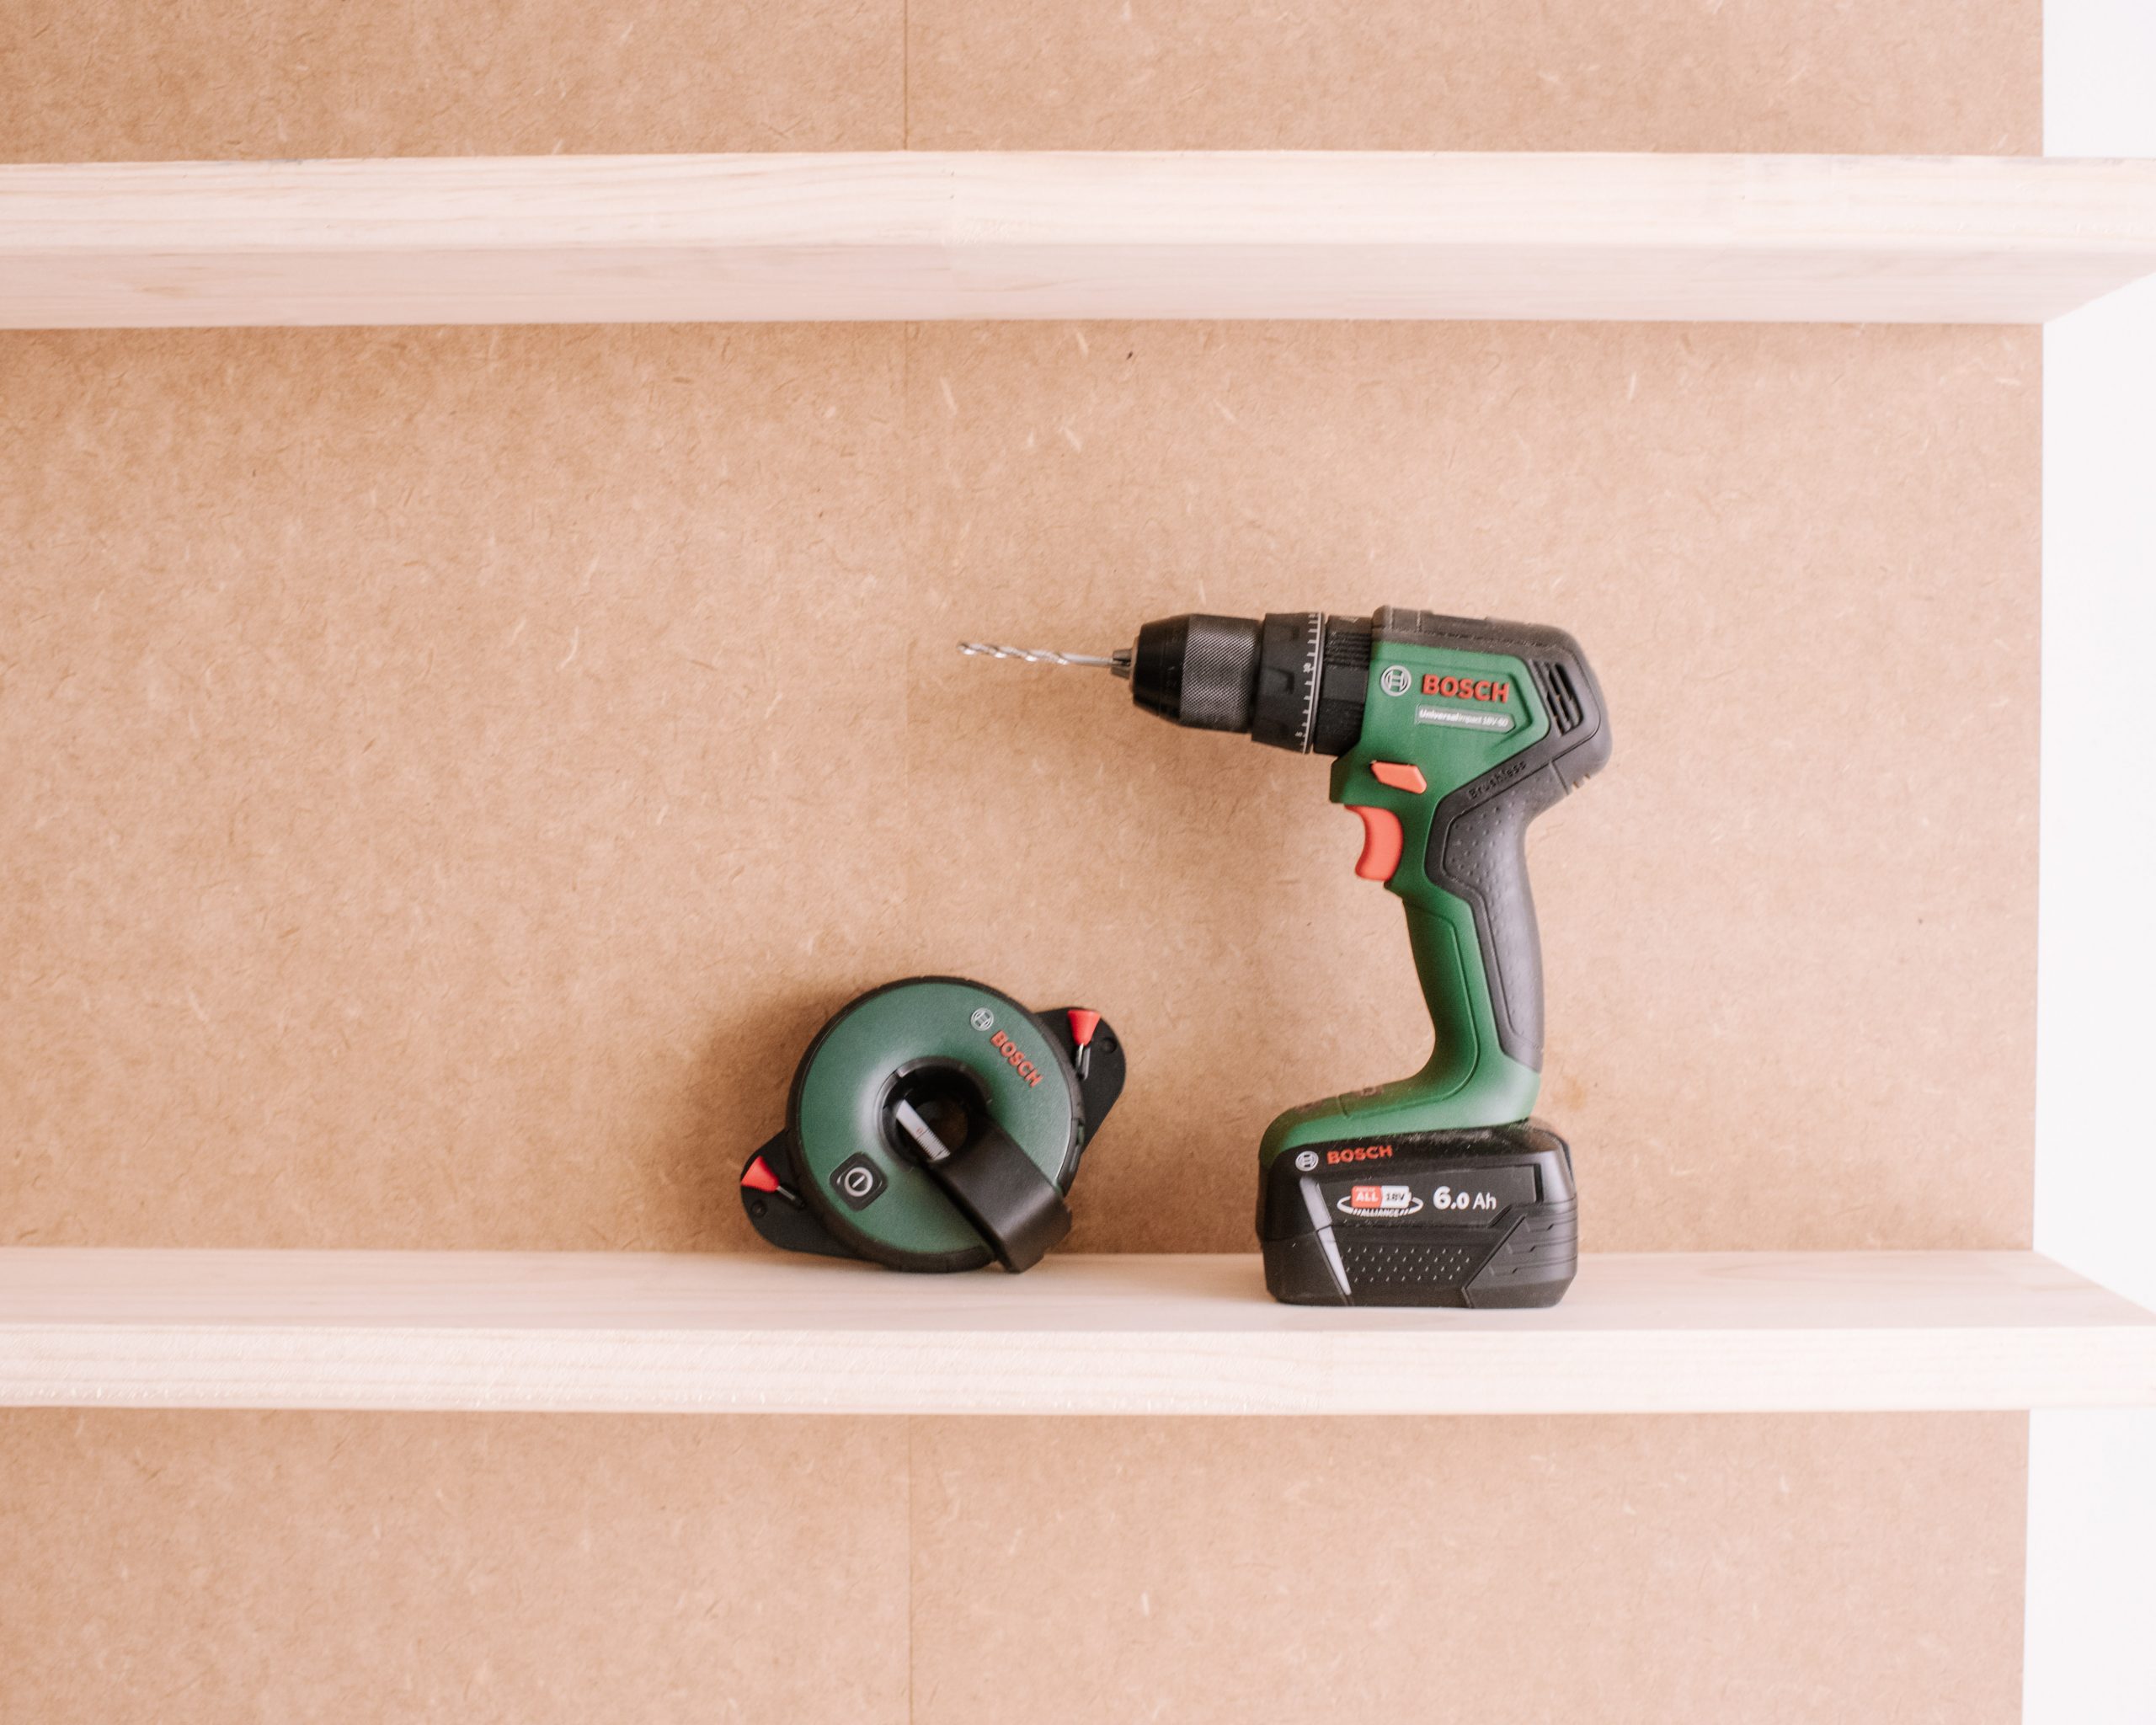
- Bosch Atino Line Laser
- Bosch Drill
- 6m of 90mm X 12mm dressed pine
- 11m of 30mm X 150mm dressed pine
- 6qty of 2400mm x 450mm x 12mm MDF
- 24qty 150mm Batten Screws
- 10qty 50mm Wood Screws
ABOUT THE ATINO LINE LASER
The Atino Line Laser is an all-in-on line laser with an integrated measuring tape to help you hang your favorite pieces with confidence (or in my case build shelves)! One of my favorite things about this tool is that the gel pad and pins allow you to attach the Atino Line Laser to whatever surface you’re working on, making it so much easier to perfect the alignments!
HOW TO BUILD OPEN SHELVES USING THE ATINO LINE LASER
I learnt so much on this project, namely because when we originally started we were going to put these up using floating brackets, but found them so tricky to use! In a fit of brilliance, Ben asked me if maybe I wanted to use a split batten system, and I realized that was such a great idea. Honestly, genius! Here’s how we settled on the process.
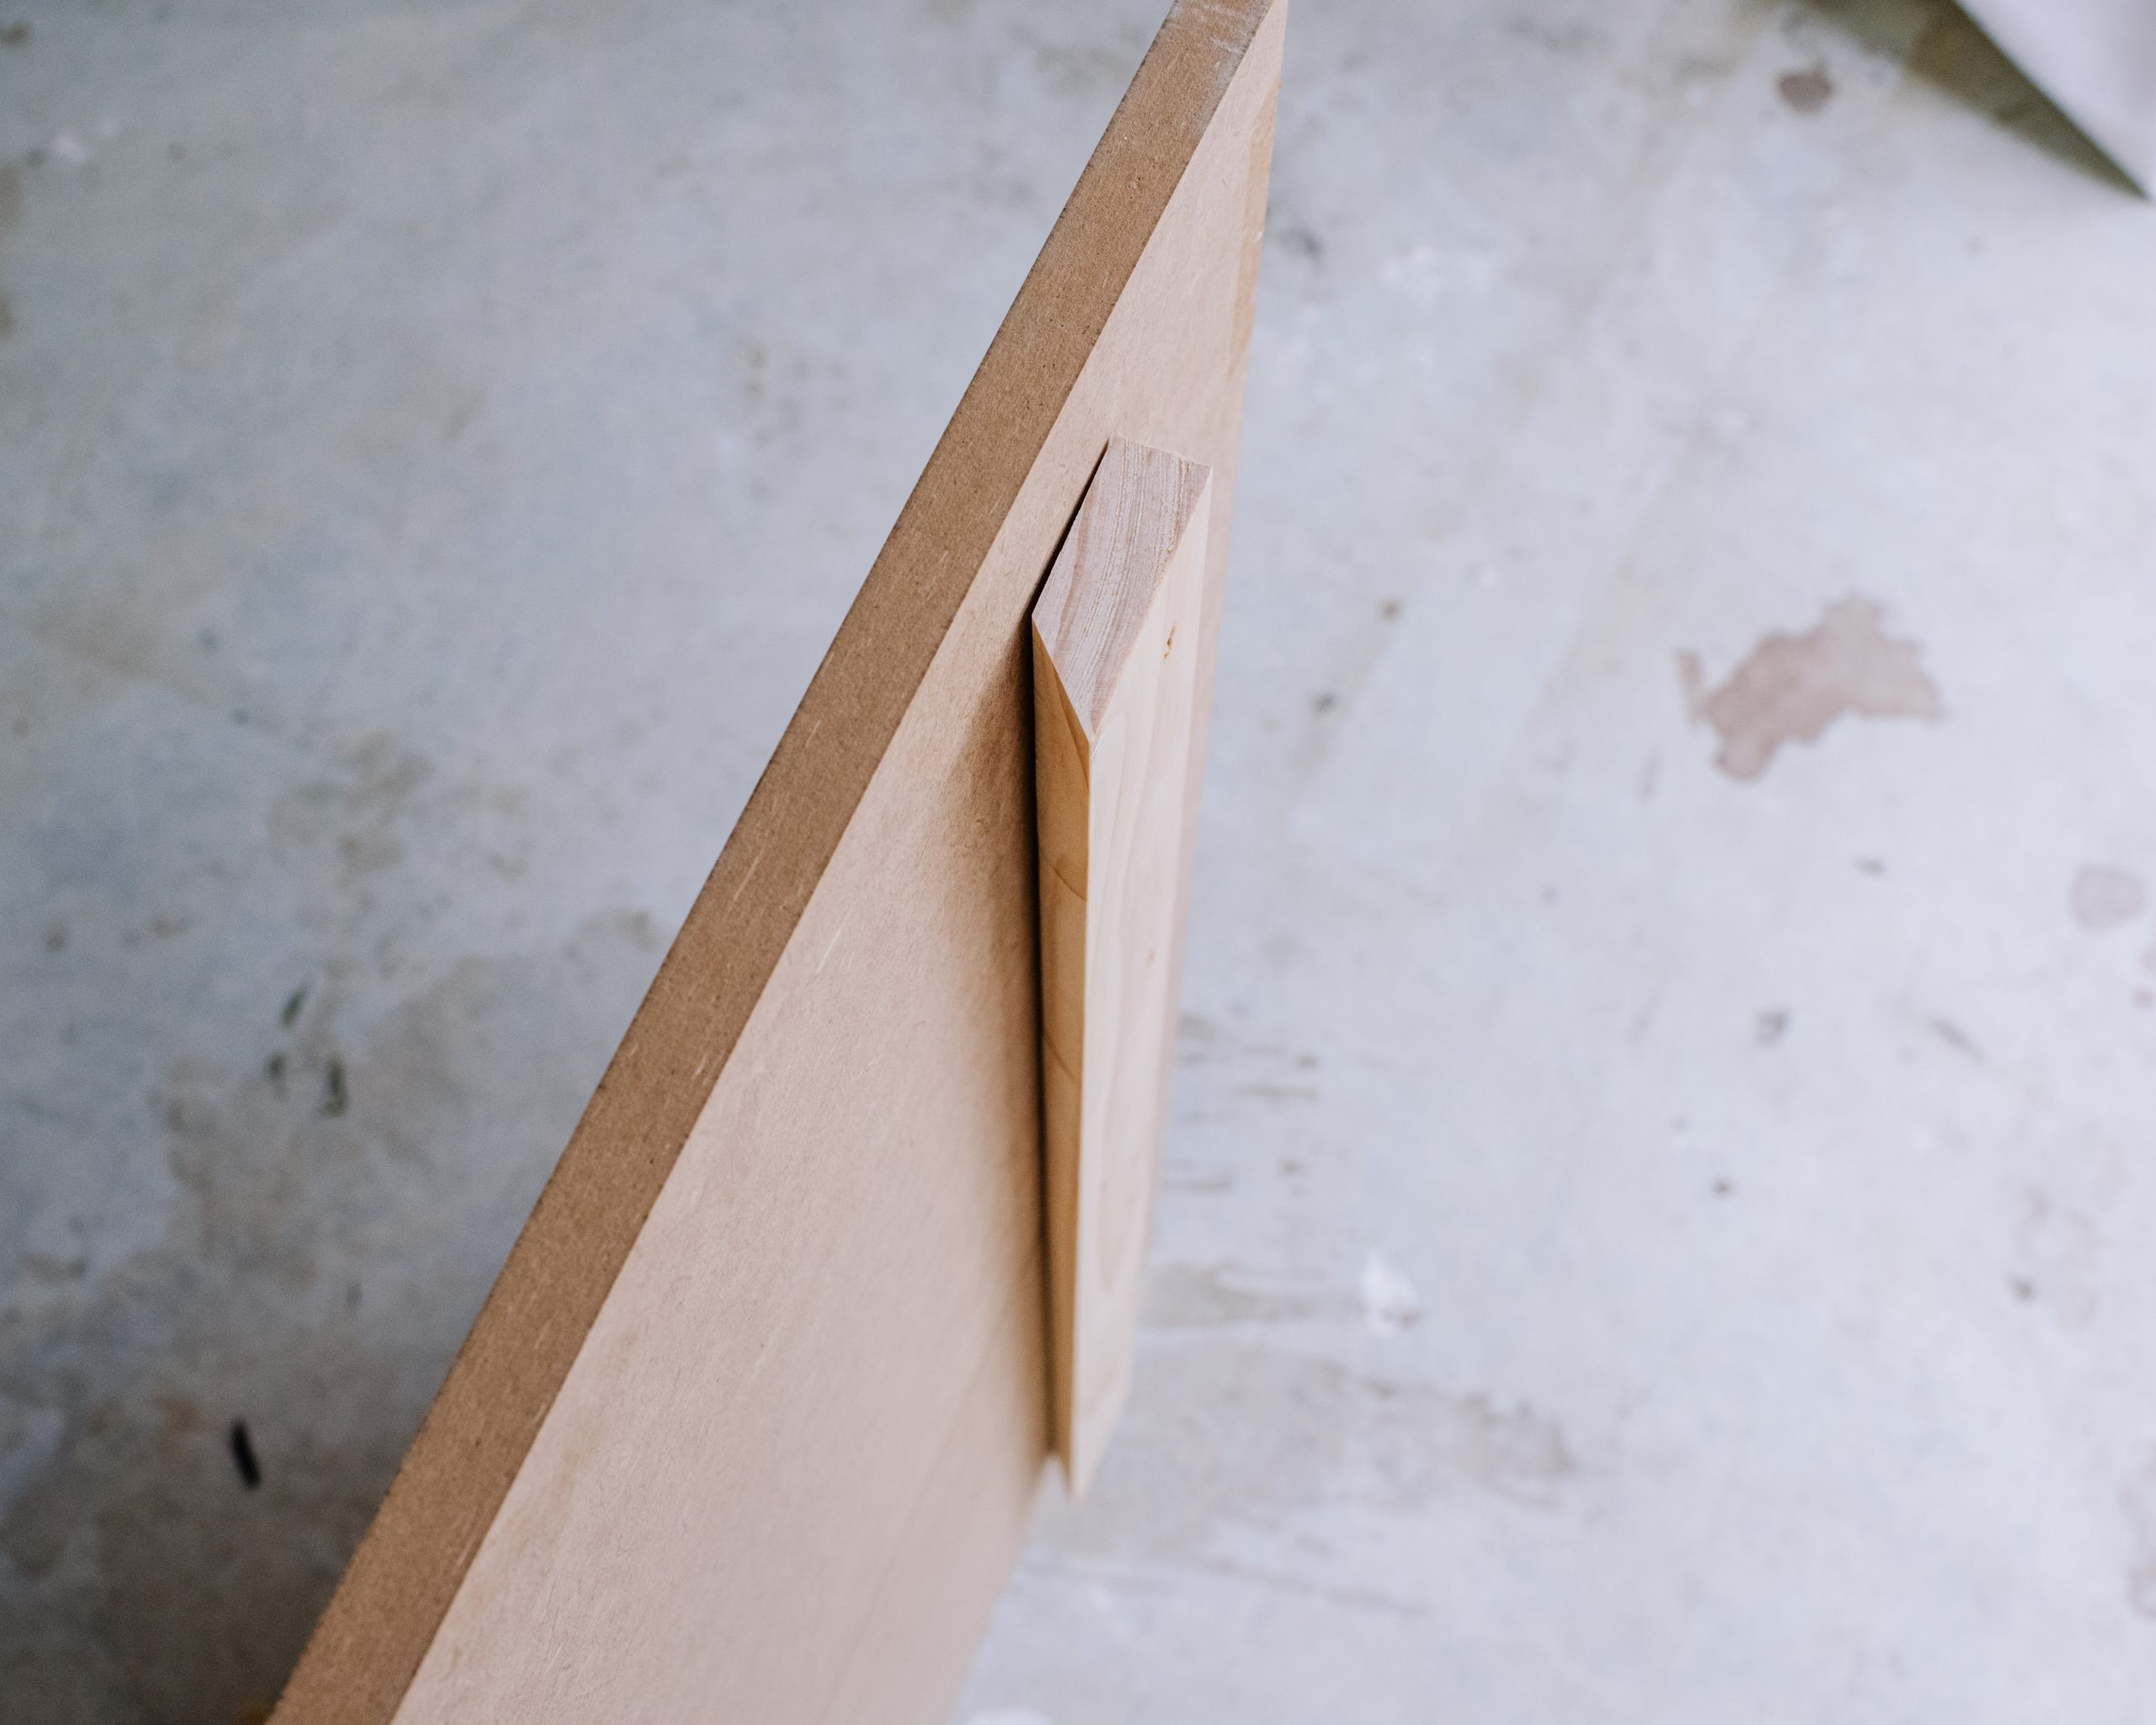
- Make split battens by cutting the 90mm wide pine to 2 x 2700mm lengths. Then cut one of these pieces on a 45 degree angle lengthways.
- Cut one of these split lengths into 3 x 900mm pieces
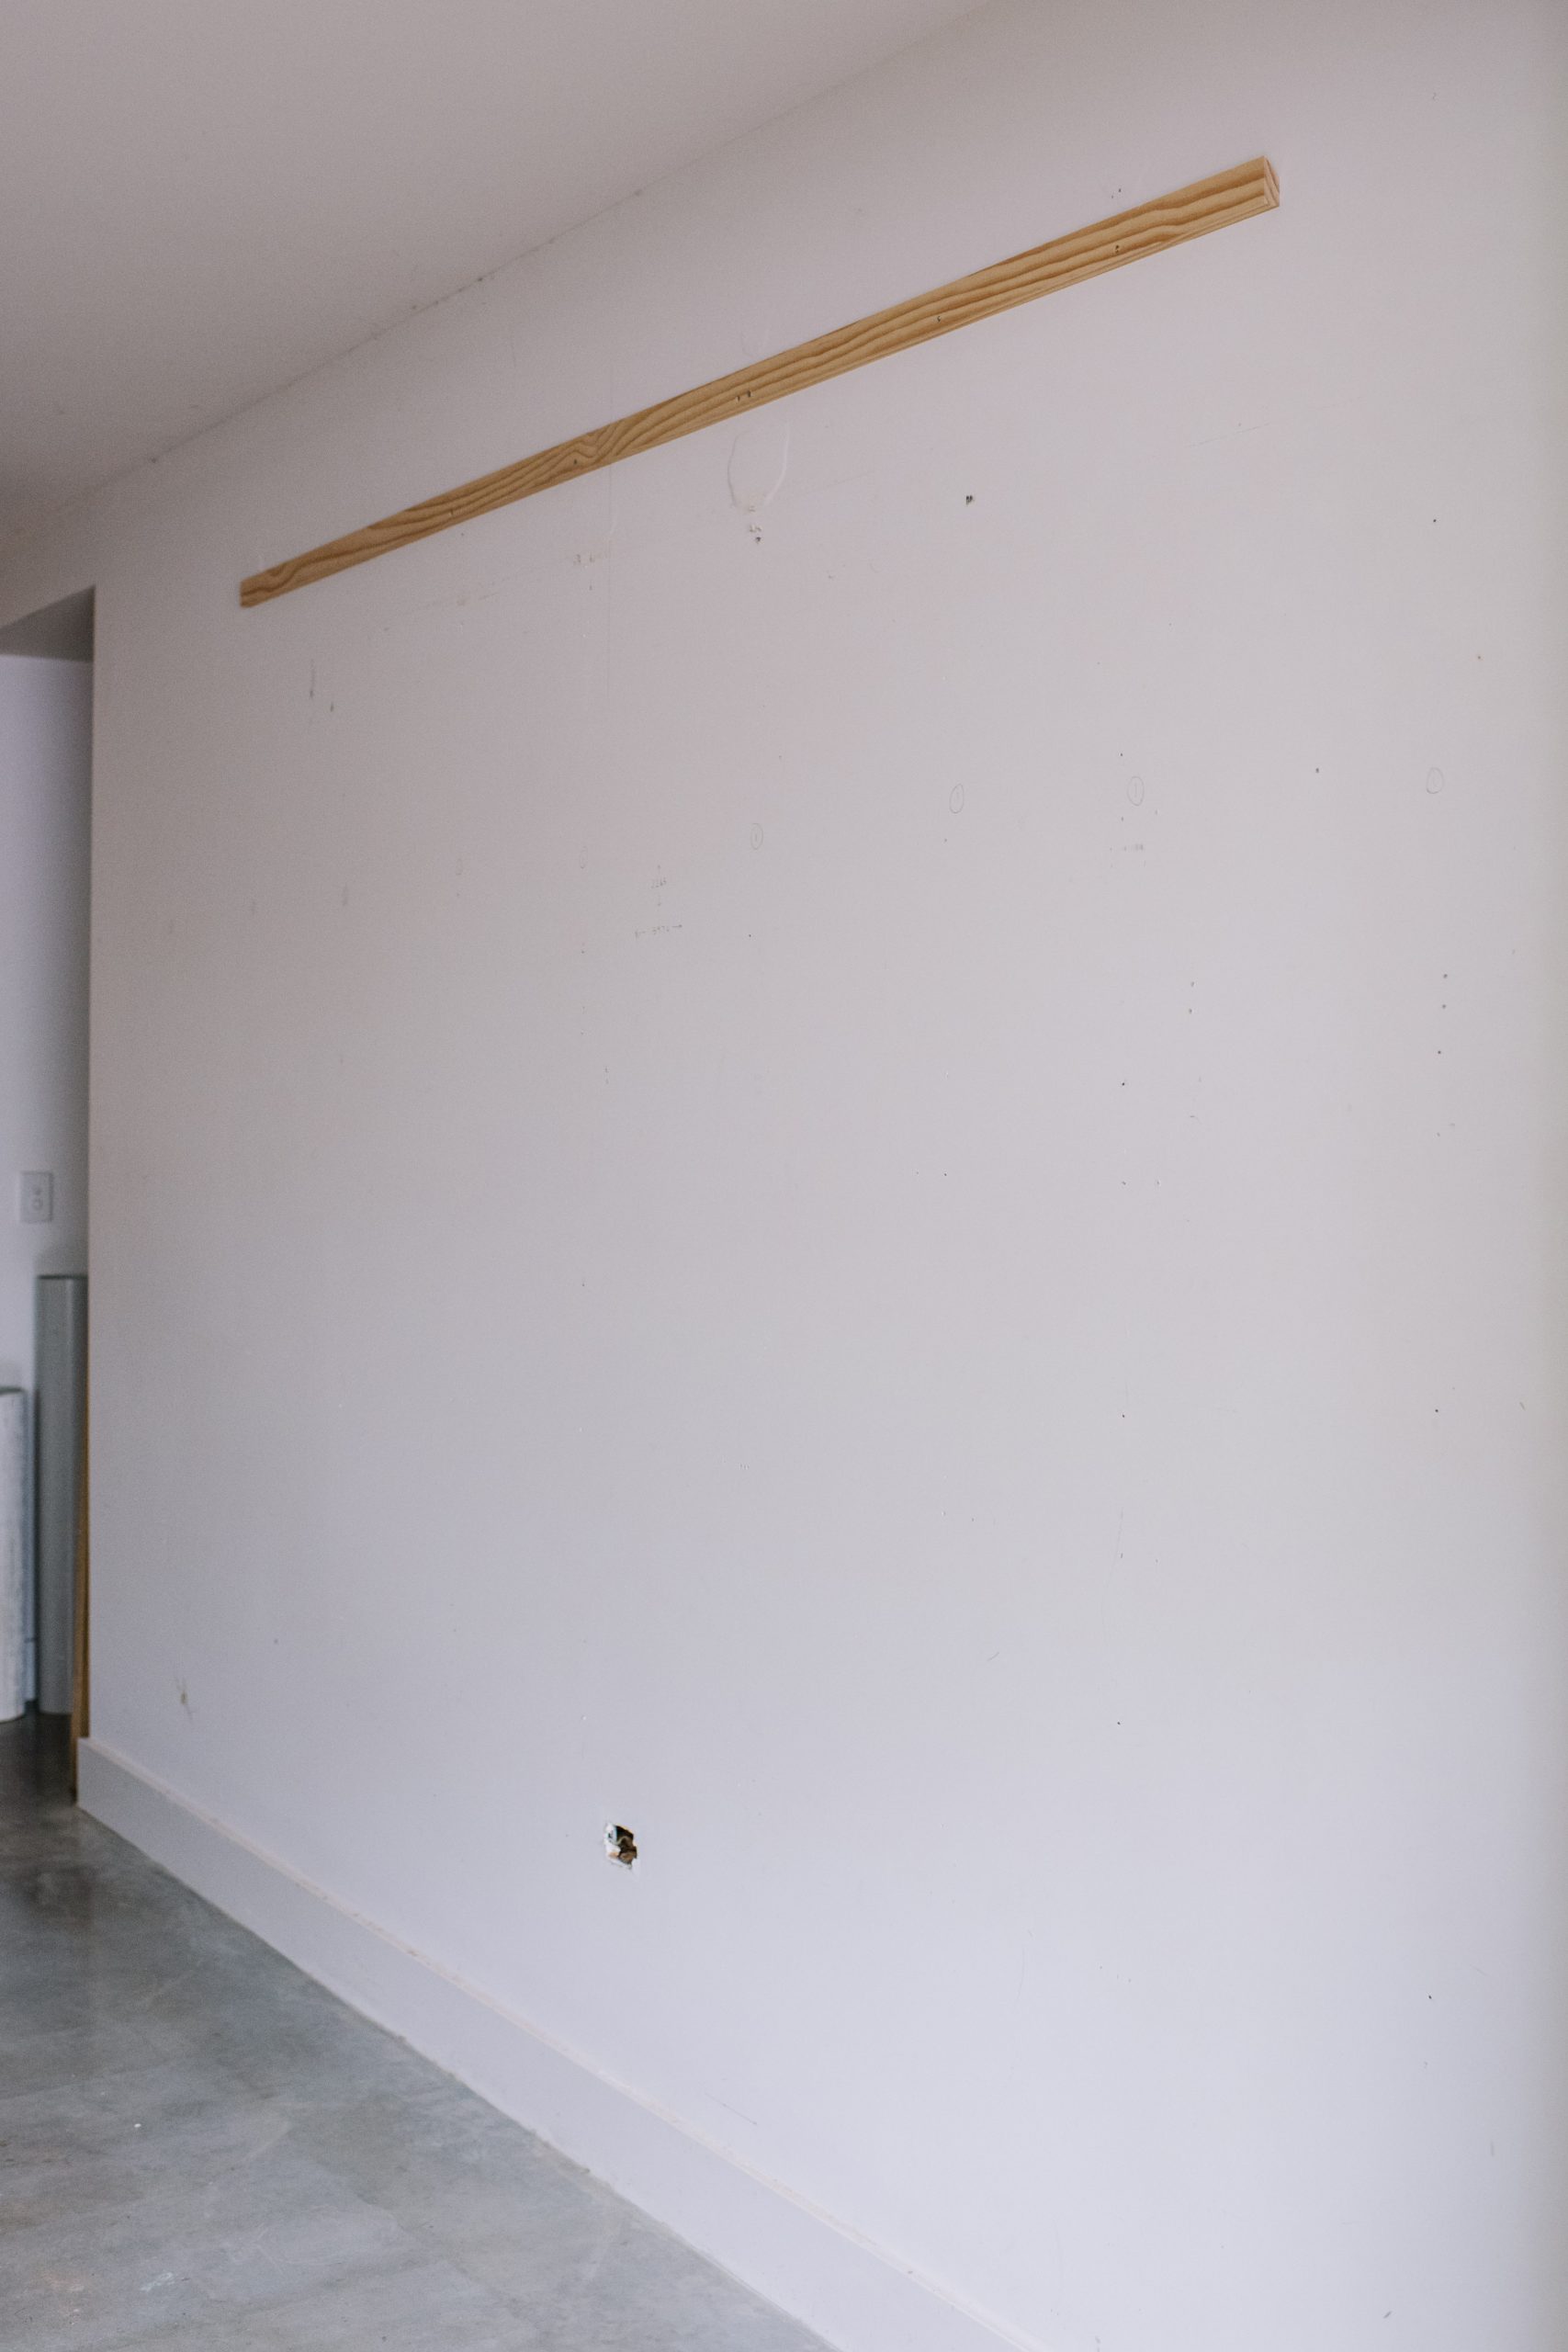
- Screw the 2700mm length to your wall making sure you locate and anchor to the studs (if a plasterboard wall) or use wall plugs (if a masonry wall). Make sure the split batten is level. We used the Bosch Atino line laser to check that it was level.
- Cut MDF to suit your height. We cut ours to 2200mm
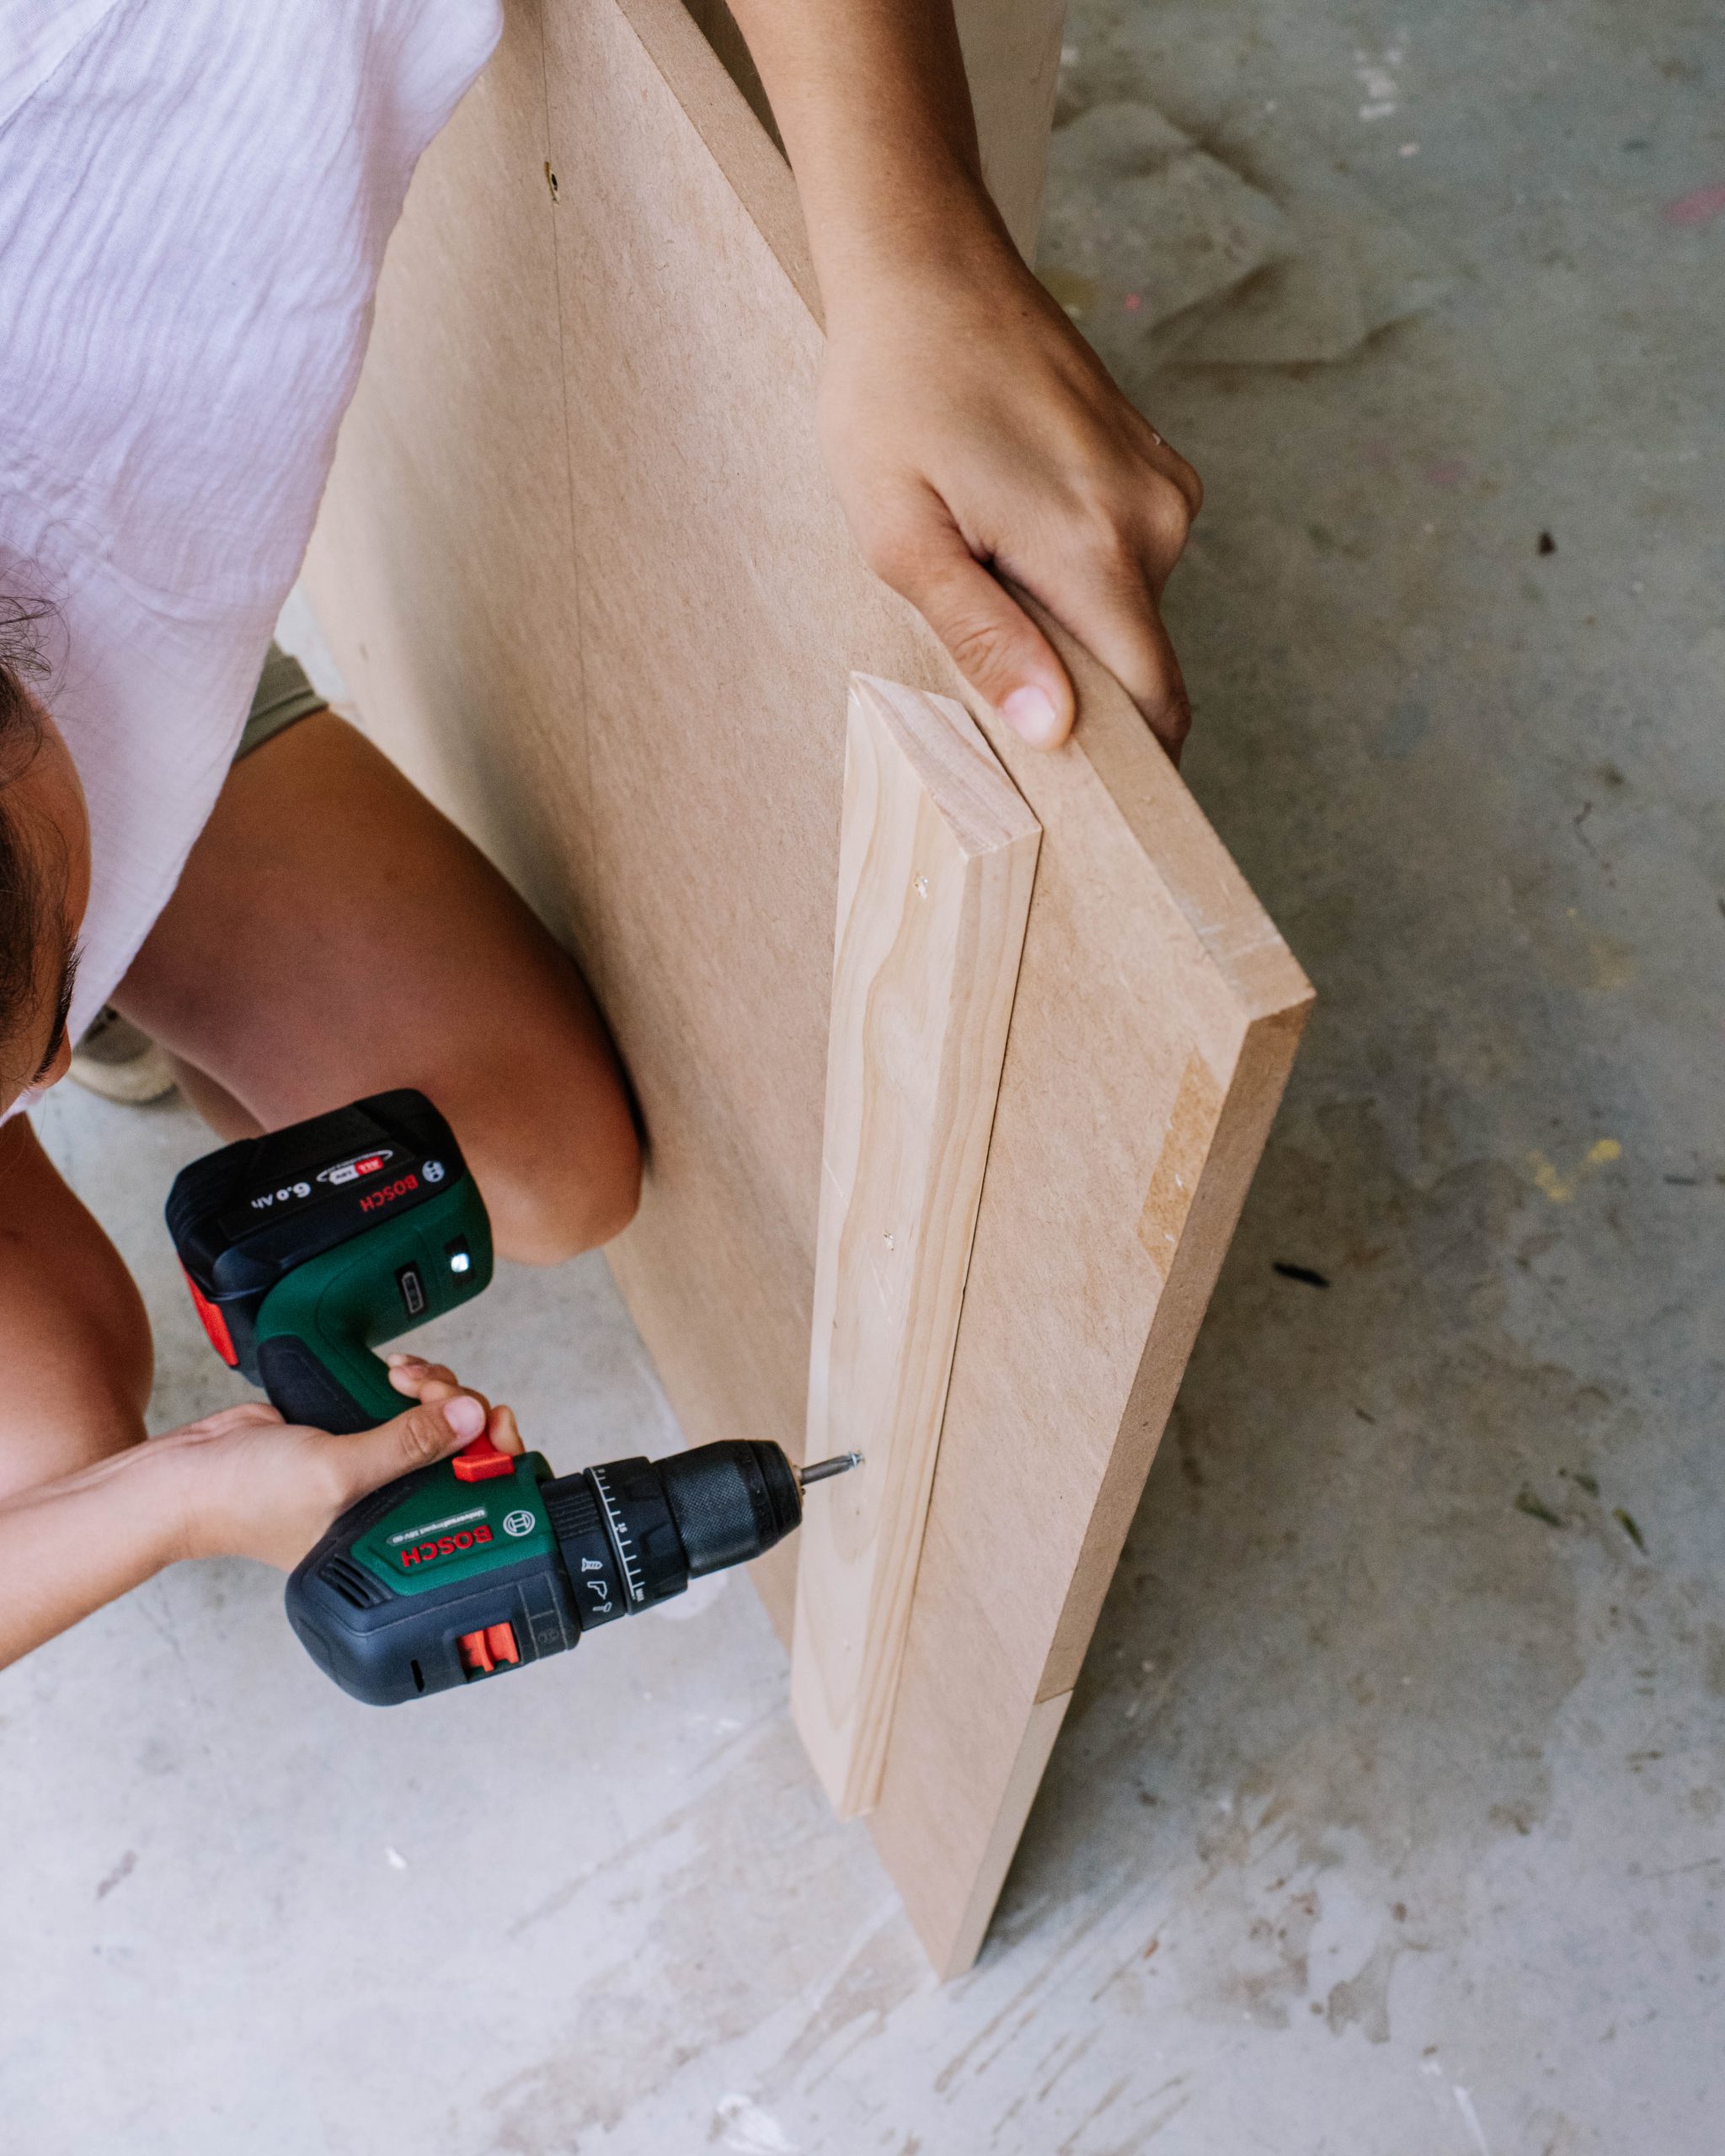
- Screw half of the split batten to the back of two sheets of MDF 200mm from the top, making sure to orientate it so that it will grab onto the other half when mounted on the wall.
- Then screw a length of 90mm pine 200mm from the bottom edge of the MDF to make the spacer.
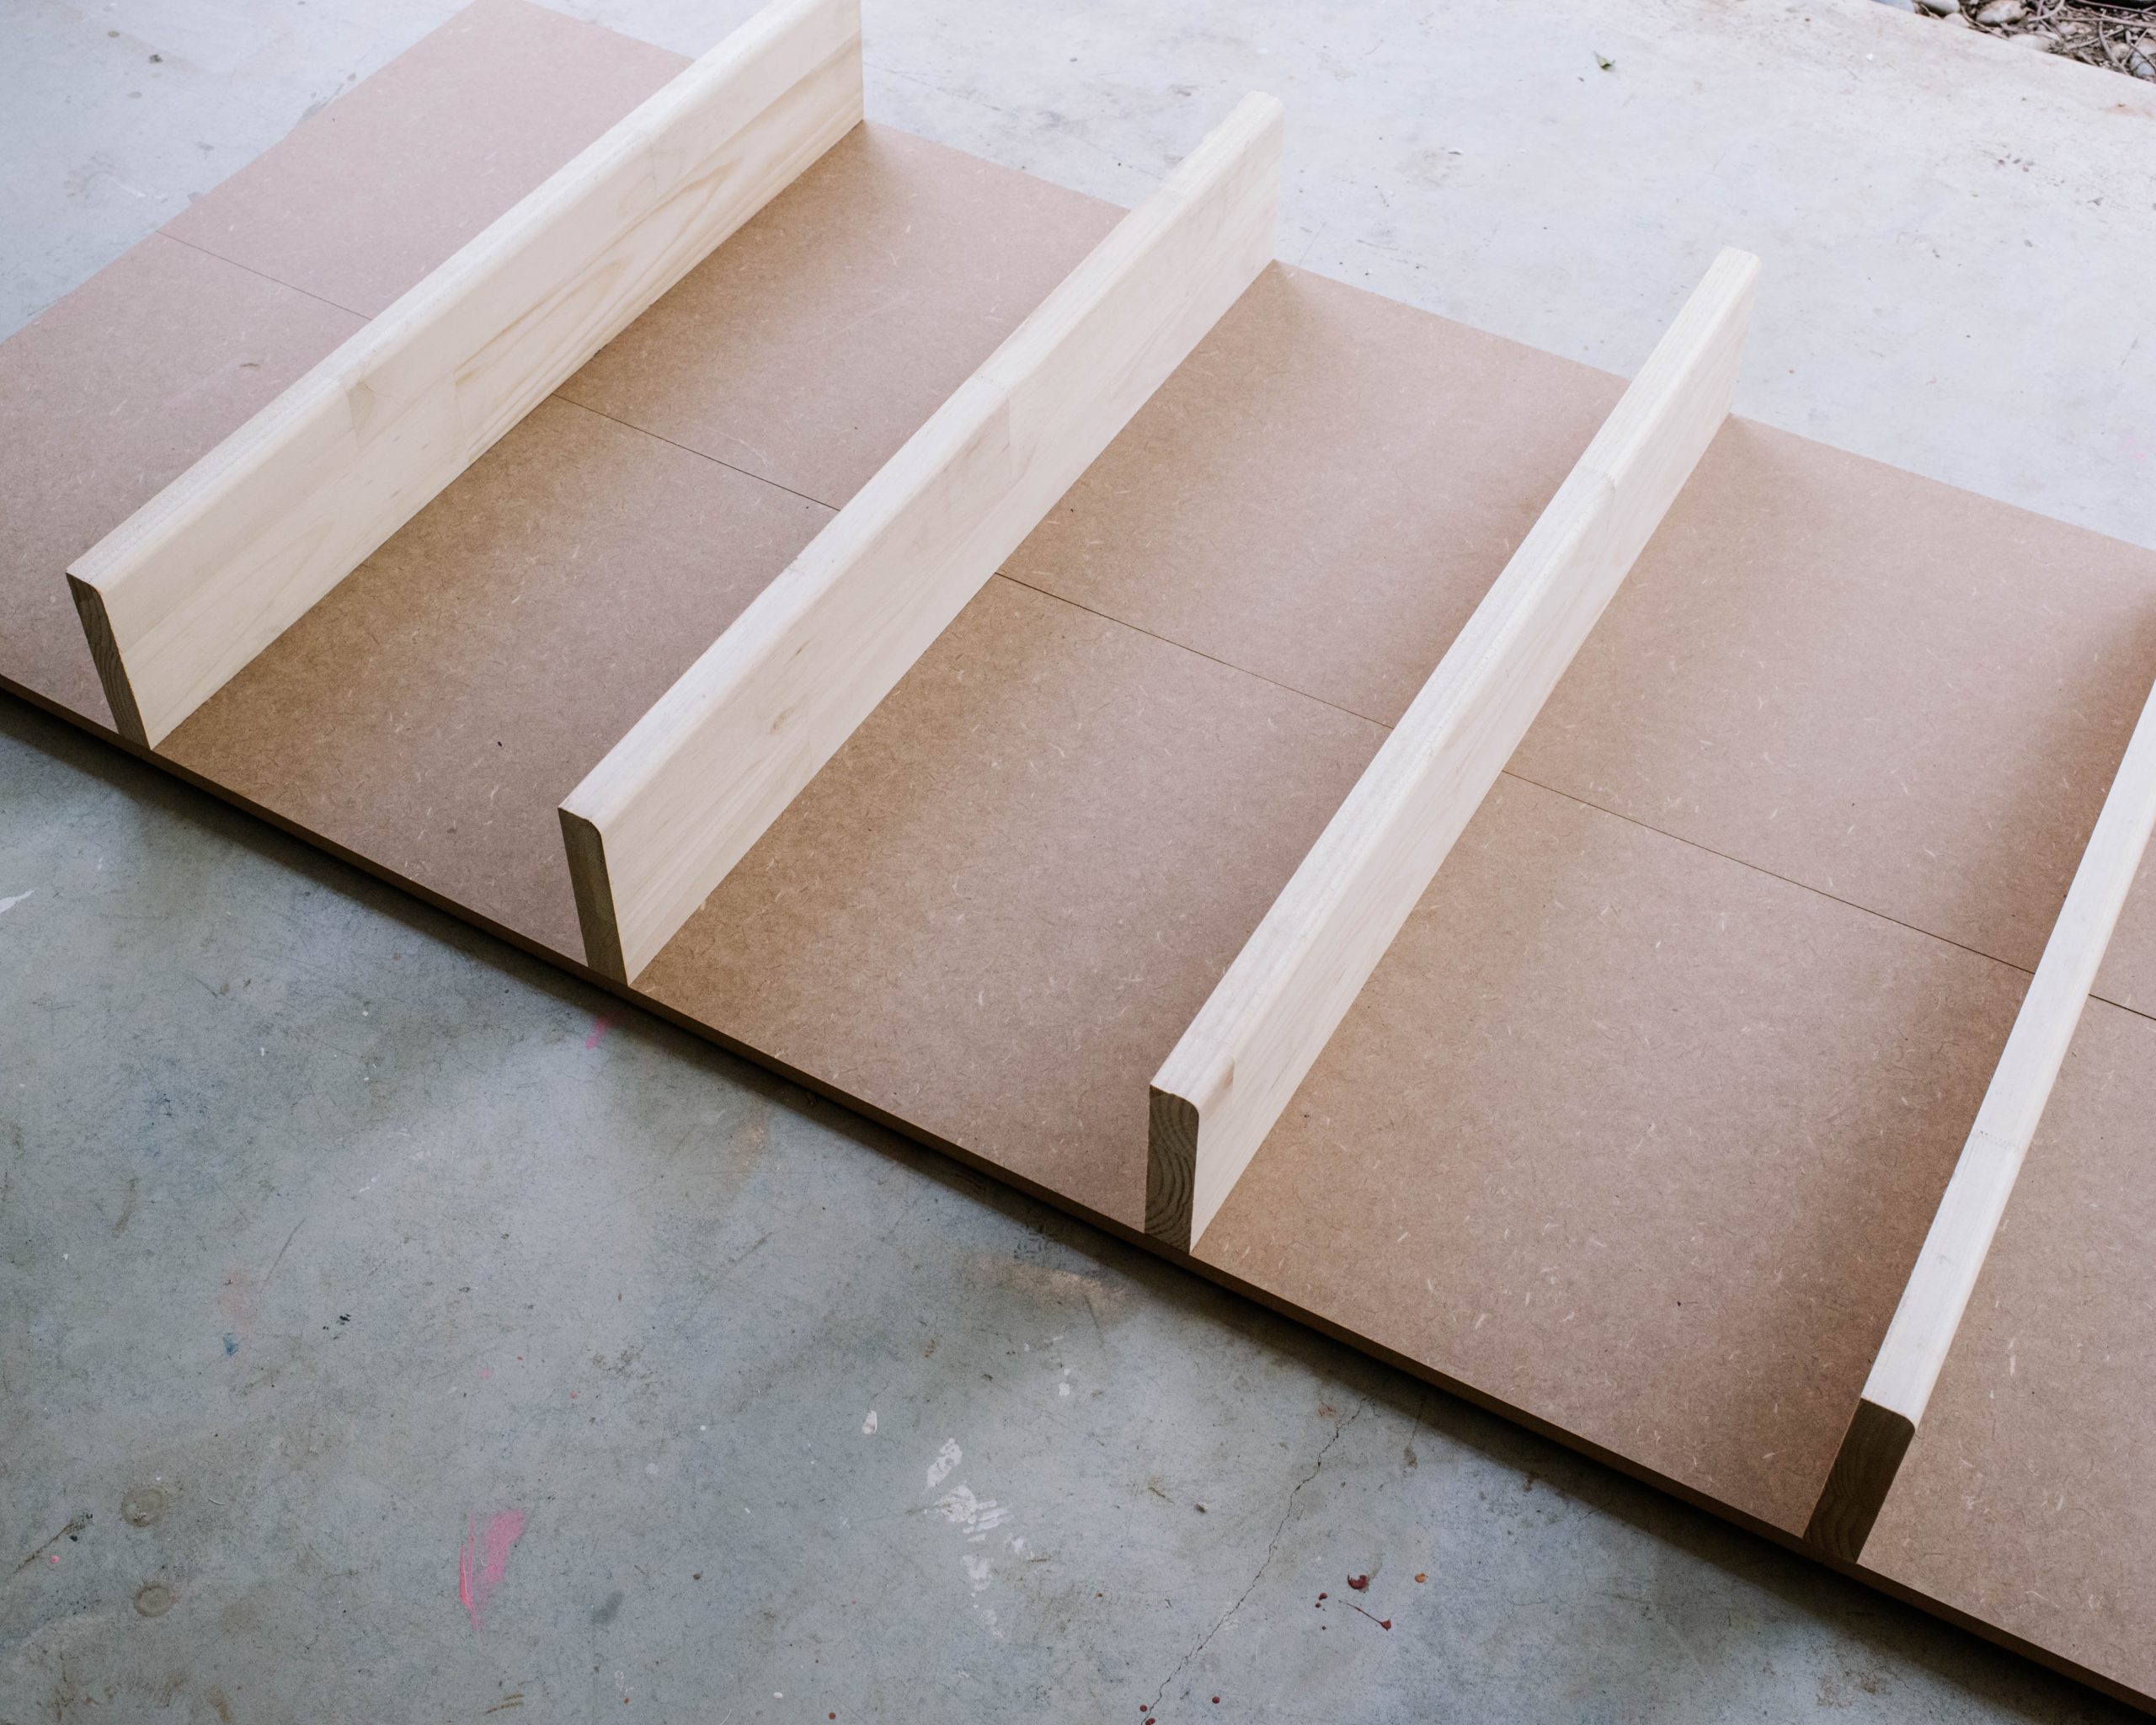
- To make the shelves cut 12 x 900mm lengths of the 150mm dressed timber.
- Mark out the position of the shelves on the back of the MDF sheets. We made ours 405mm to suit the 2200mm height.
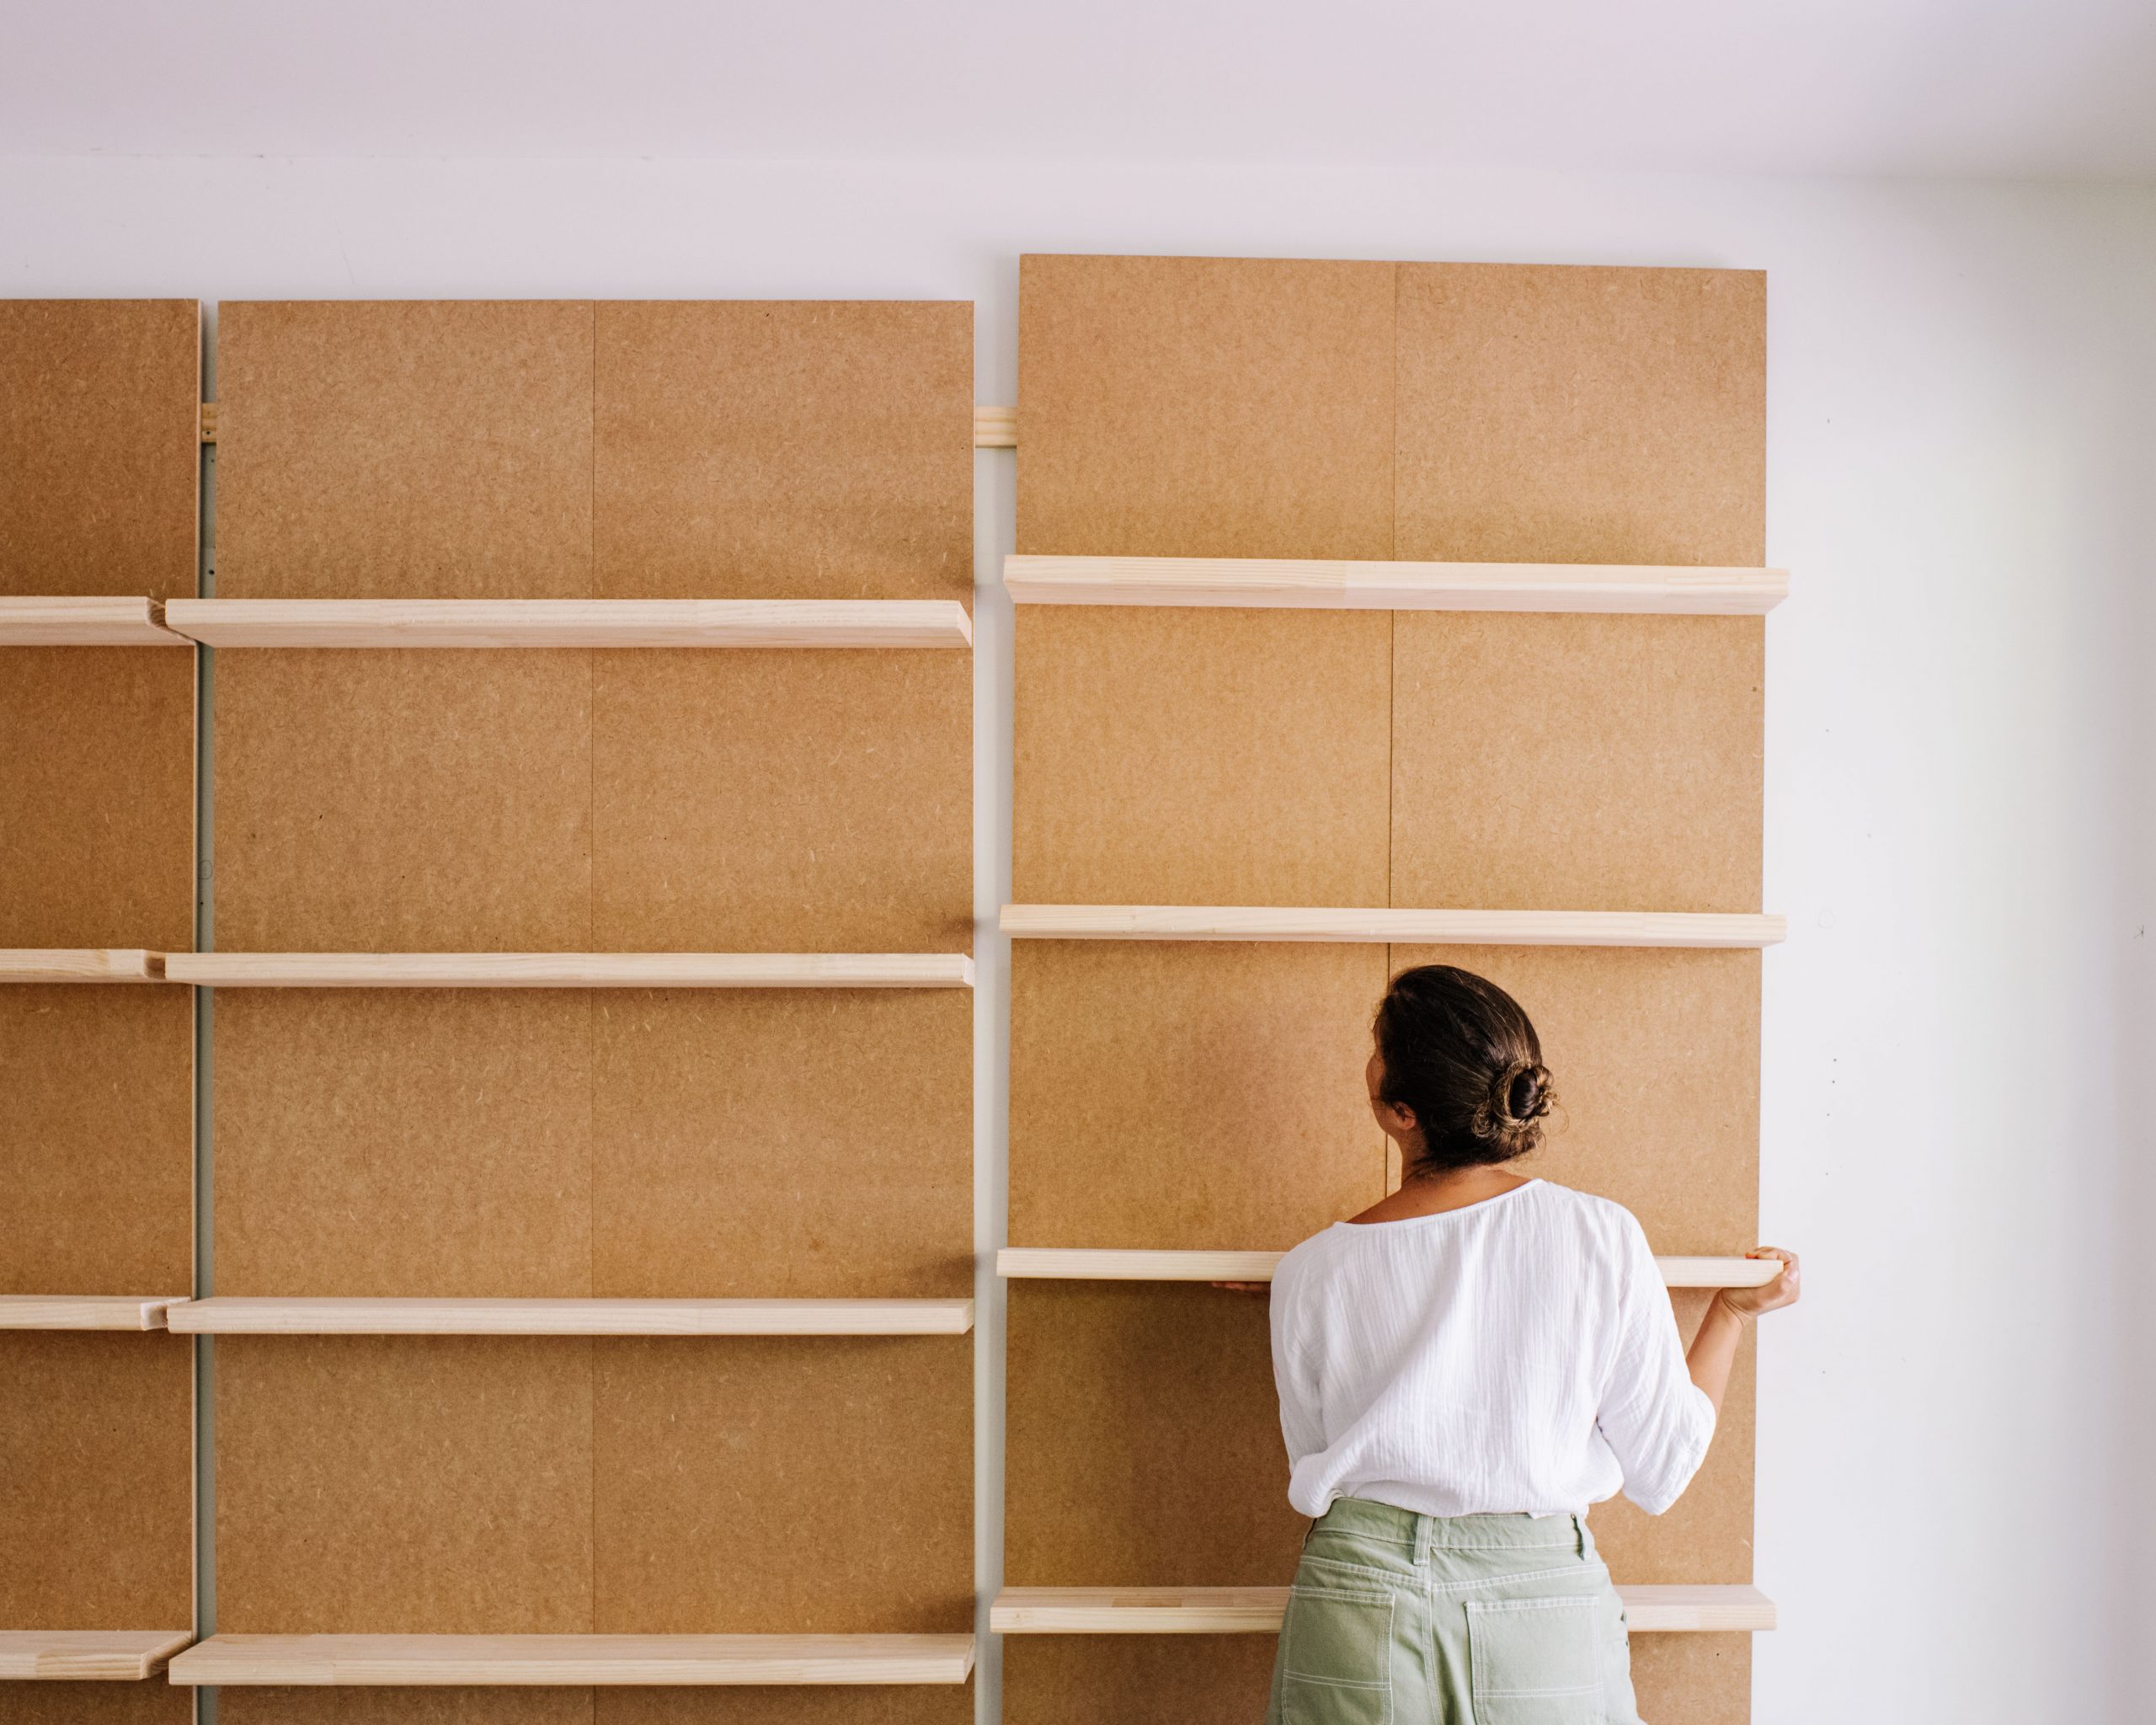
- Use the batten screws to fix the shelves to the MDF double checking the dimensions as you go to make sure it’s level. We used 2 batten screws for each shelf.
- With help lift your completed shelf section up and hang on the batten fixed to the wall.
Ta-da! I’m so happy with how these turned out and it feels so good to check this project off my list. Now I have this beautiful background AND somewhere to store all my bits and pieces (aka my vase collection lol).
This post is in collaboration with Bosch.


