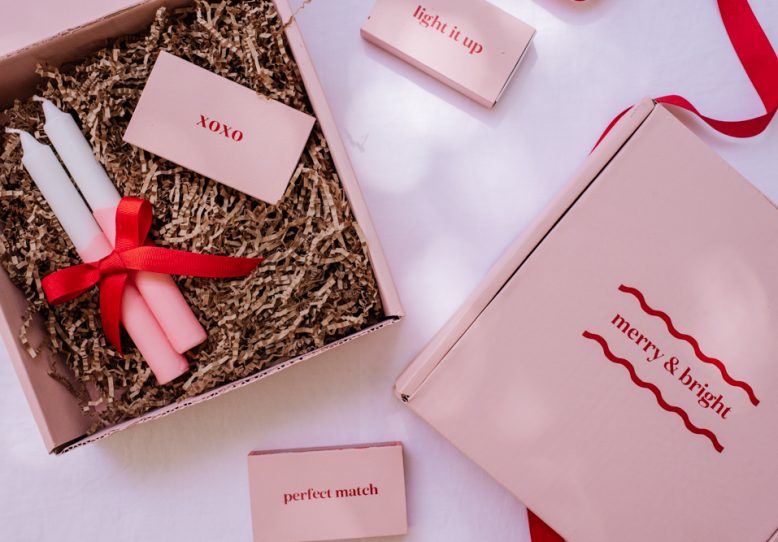
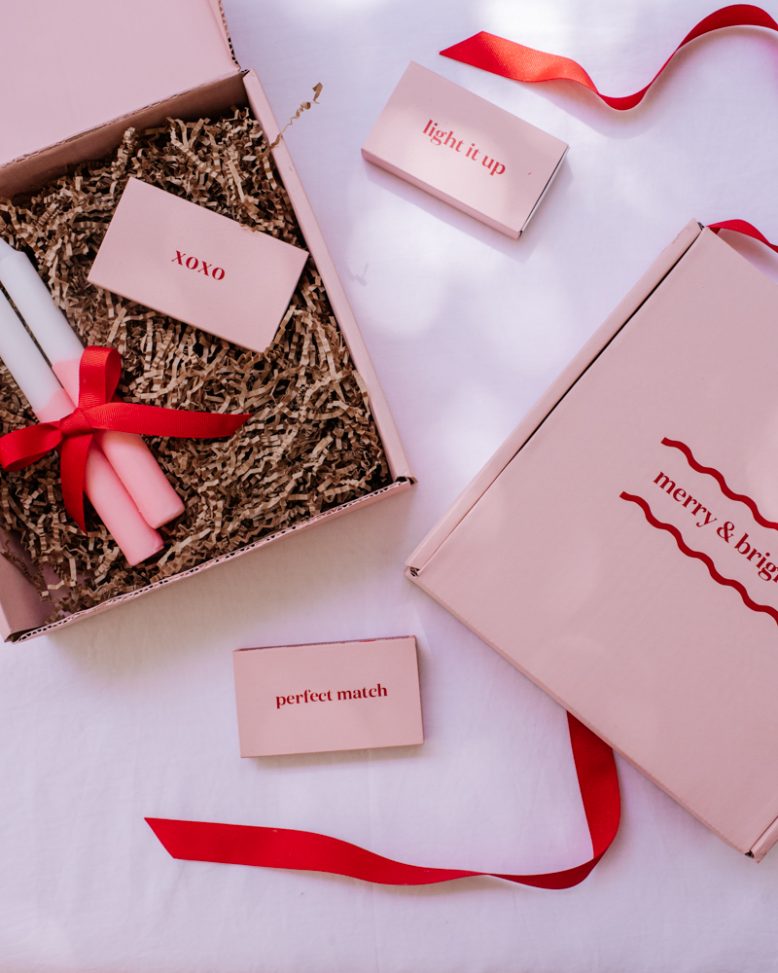
If you’re looking for a really simple gift to give this year for Christmas, then I’d recommend trying these customized candle gift boxes.
I feel like a candle is such a go-to gift for so many people, so this Christmas I wanted to give the classic candle gift a bit of a glow up. With my trusty Cricut! This is such an easy project that took me less than an hour to do but still feels really personalized and special. Even better, each box cost around $10 in materials to make, which makes them perfect for bulk gifting.
What You Need To Make Personalised Candle Gift Boxes
- Cricut Maker 3 Machine (The Cricut Joy can also do this project)
- Cricut Weeding Tools
- Cricut Smart Vinyl in red
- Cricut Stencil Material
- Plain Taper Candles
- Matches in large boxes
- Recycled boxes (This is for the finished pieces to go into)
- Shredded paper
- Acrylic water based paint
- Painters tape
How To Create Or Choose A Design
A key part of this project is working out what design you want to cut. This is the part where you can tailor whatever you create to your personal aesthetic or the aesthetic of the person you’re planning to gift it to! Using Cricut’s Design Space app, which you can use on your smartphone, tablet, laptop or desktop, you can either import your own design or choose from the literal thousands of projects or images that are on there to use.
Personally, what I like to do is browse and save projects I like that are on the app, and then use the customize function to tweak them to look exactly how I like. Your final project will be determined by the material you choose to load into the machine, so you’re just really looking for shapes and styles you want to pair with the materials you have. For example, for this project, I wanted to go with a festive but fun look so chose a font that gave that feeling. I used ‘Caslon Black’ for this project, you can access the design here.
How To Make Customized Candle Kits
1
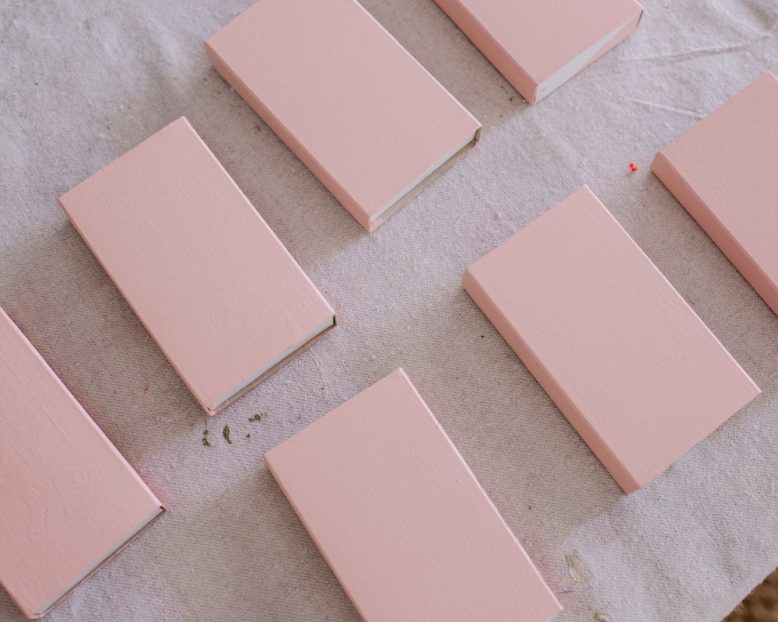
The first thing to do is paint the match boxes and recycled cardboard box, I used painters tape to cover over the matchbox striker. I used water based acrylic paint for this and did two coats.
2
Next it’s time to cut out the designs. Start by selecting and setting up your design in the Design Space app. I made sure to fit as many words into the space as possible to reduce any vinyl waste. Load your Smart Vinyl material into the machine, and press go on your app. This SmartVinyl is great because you don’t need a cutting mat. Wait while your machine cuts out the design. Unload your material from the Cricut and you will be able to see the Cricut has cut out the design.
3
Using your weeding tool, weed your design to remove all the negative space. I kept to one side all the vinyl that I removed so that I could use it later. Using your Transfer Tape, carefully cover your design and use the scraping tool to make sure it is perfectly bonded with no air bubbles. Remove the white backing from your Transfer Tape. This can be a little tricky depending on how intricate your design is, so take it slowly.
4
Press the design and Transfer Tape onto the match box. Use the lines on your Transfer Tape to make sure the vinyl is in line. Use your scraper for a seamless bond on the box. If any small bubbles get caught under the vinyl, I found you can carefully move them to the edges.
5
Carefully remove the transfer tape from your design, leaving the design on the boxes. Repeat this process with any other shapes or words you want to add. I reused my Transfer Tape a few times! You can also use this same method to customize a cover for the recycled box we'll use as the gift box.
Making the Dipped Candles
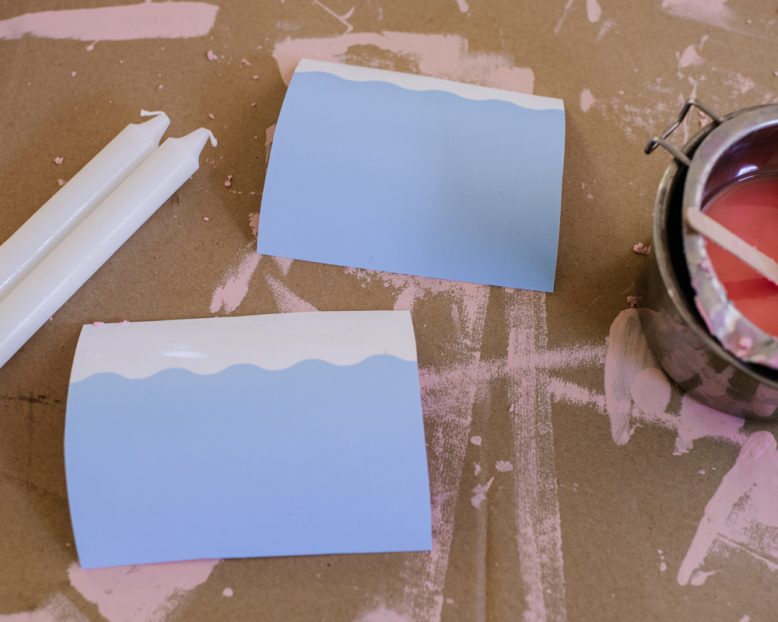
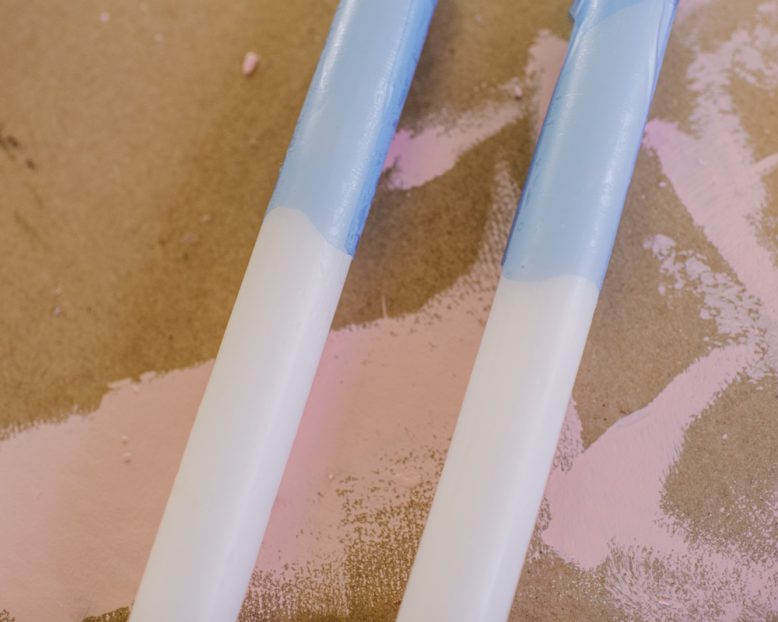
I was originally going to just add in simple taper candles tied with a ribbon into the kit, but last minute I realized I could personalize the ones I had! I used Stencil material to dip the candles and give them a wave design, but you could do any design you like.
Materials
- Simple long candles
- Candle wax
- Candle dye or crayons
- Cricut Stencil Material
- Cricut Maker 3 or Joy
- Box and alfoil
How to
- Start by heating your wax, I have a small double boiler that I use to do this. I then added in the candle dye to give the wax a pink.
- I then used the Design Space app to create a wave stencil, and cut it on my Maker 3 machine.
- I applied the stencil to the top half of my candles, making sure to seal the edges down well, and leaving a little extra stencil material at the end to hold the candle with.
- I lined a small box with alfoil and sat it on one side to create a trough, then I poured the wax in and let it cool until it wasn’t too hot.
- Once the wax had started to cool, I inserted the candle and rolled it in the wax. Once completely covered I took it out and stood it up. You can do a second dip if you want a thicker coat.
- After 2 minutes, I carefully removed the tape and wax, taking care to avoid handling the dipped section
Voila!
I think this would be the perfect gift for a teacher or a game of Stealing Santa!
This project is in collaboration with Cricut.


