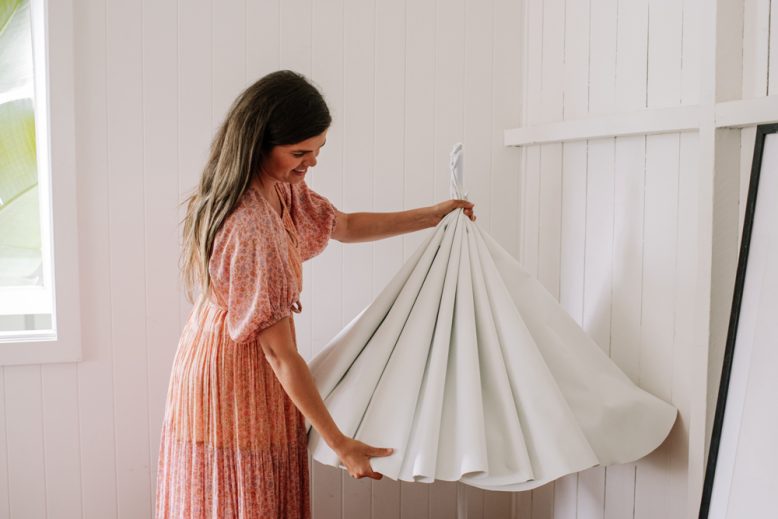
I love creating alternative Christmas trees. Branches, bamboo screens and much more – nothing is off limits or too unexpected when it comes to creating something festive.
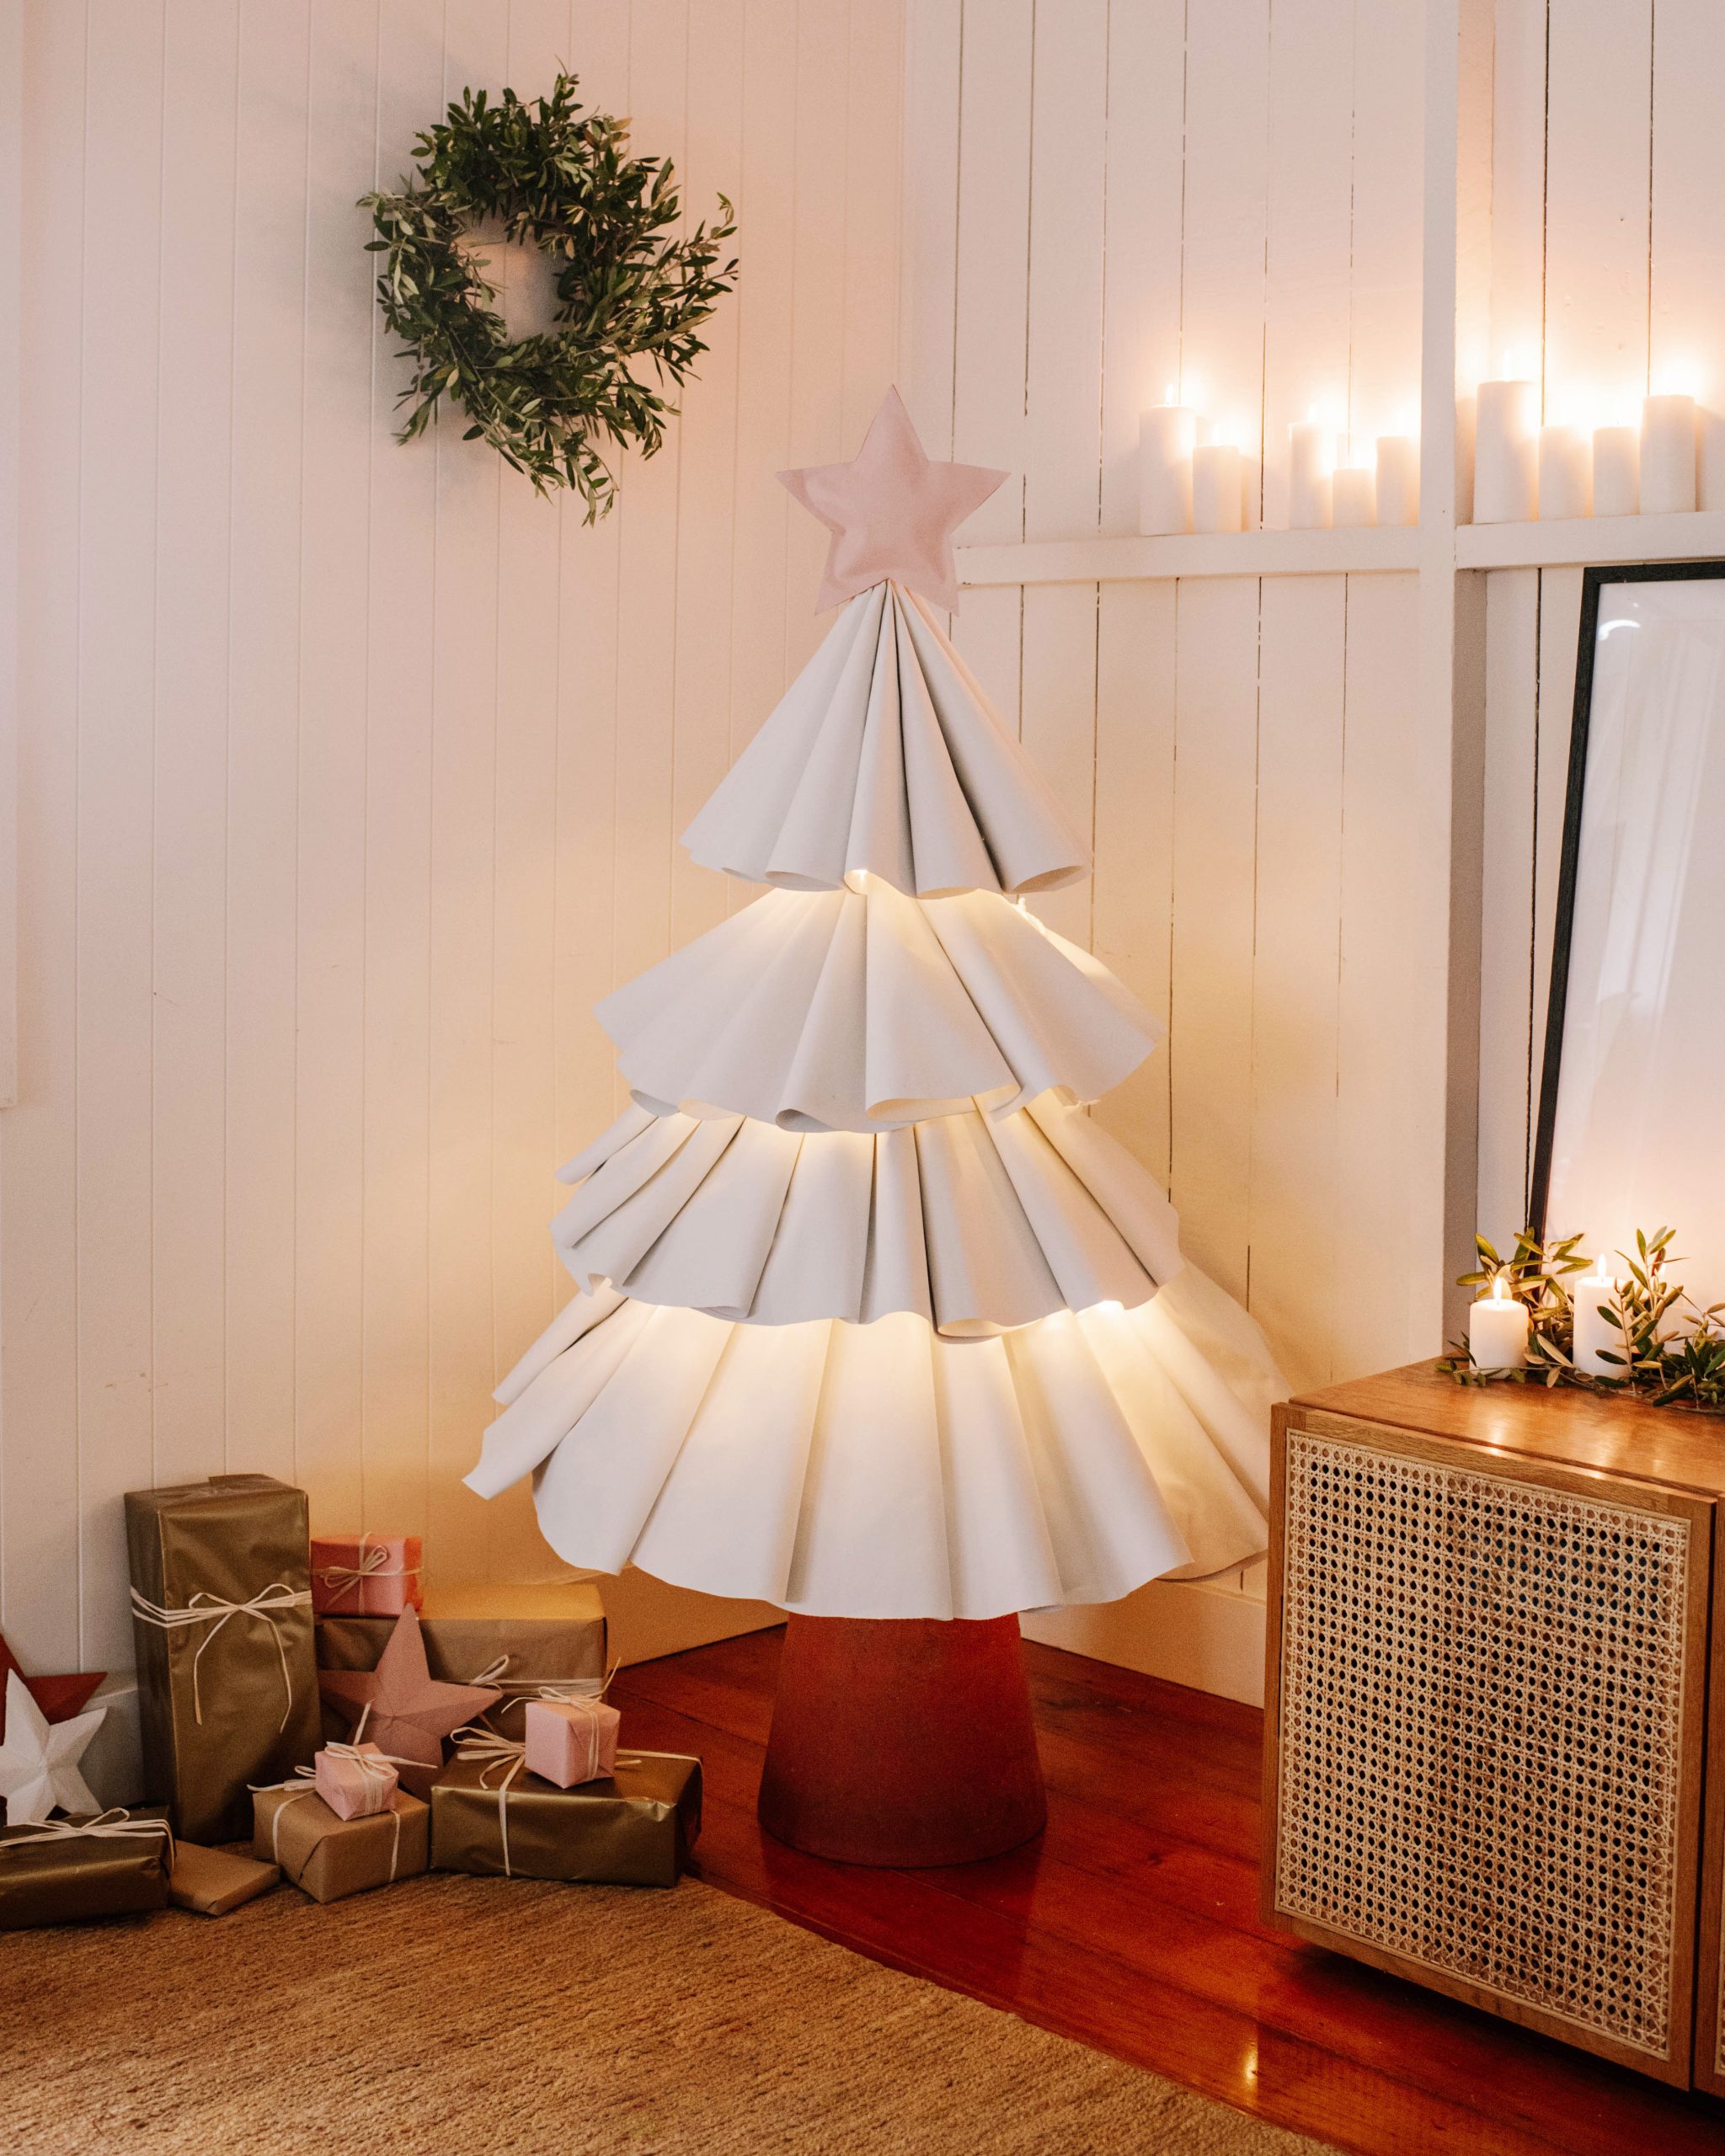
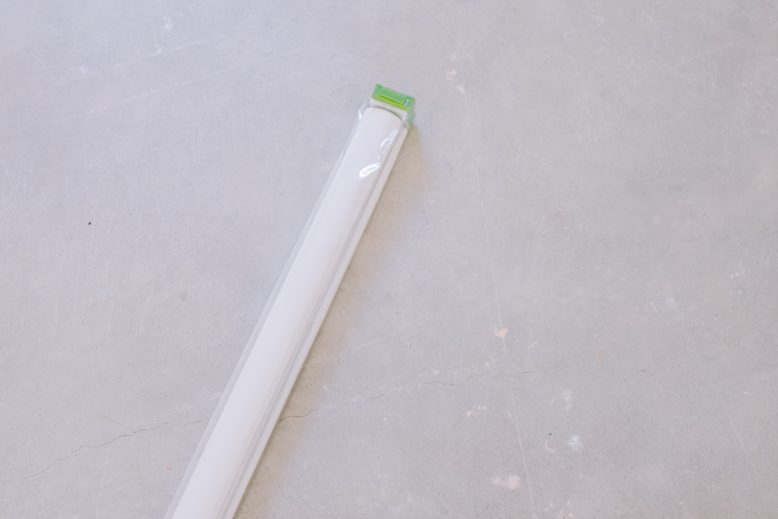
For this one, I stepped up the wild and wacky ideas… Inspired by a beautifully wavy tree in a designer window display, I combined a few ideas I’d used previously (making a fluted lampshade and last year’s table display) and stalked the aisles of Bunnings until I found something that would work… Namely two $27 roller blinds, from which I used the fabric and the steel rod (and an old plant pot) to create this! A sculptural fluted Christmas tree.
Materials You’ll Need
- Roller Blinds From Bunnings x 2
- Scissors
- Cardboard
- Metal Wire
- Garden Pot
- Hot Glue Gun
- Hot Glue Sticks
- Rope
How To Make A Fluted Christmas Tree
1
To start, you’ll need to create 4 separate templates out of cardboard for each layer of your tree. The shape I ended up with kind of looks like a big piece of pizza.
2
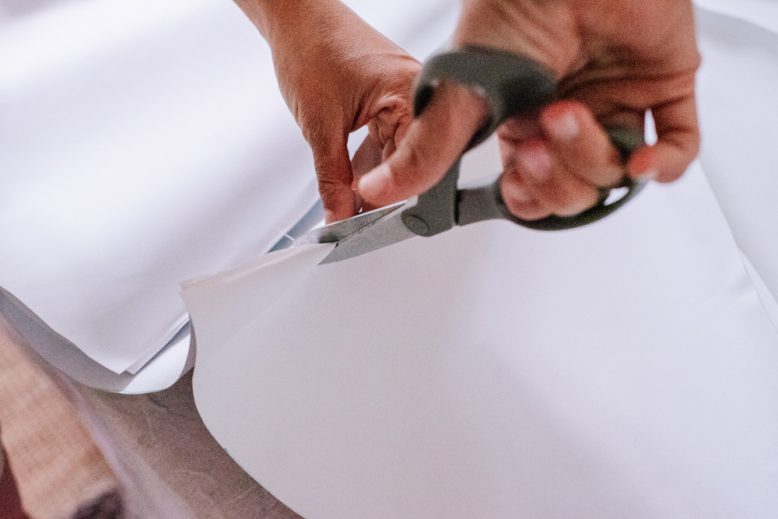
Using my template and a marker, I traced these shapes over and over onto the roller blind and cut them out. I ended up with 12 panels for each layer. So that’s 48 panels all up!
3
Once I had everything cut out and my hot glue gun had heated up I glued each panel together, along the edge on the right side, starting with the top layer and working my way down. I determined which side of the blind was going to be on the outside and placed one piece on top of another, right sides together.
4
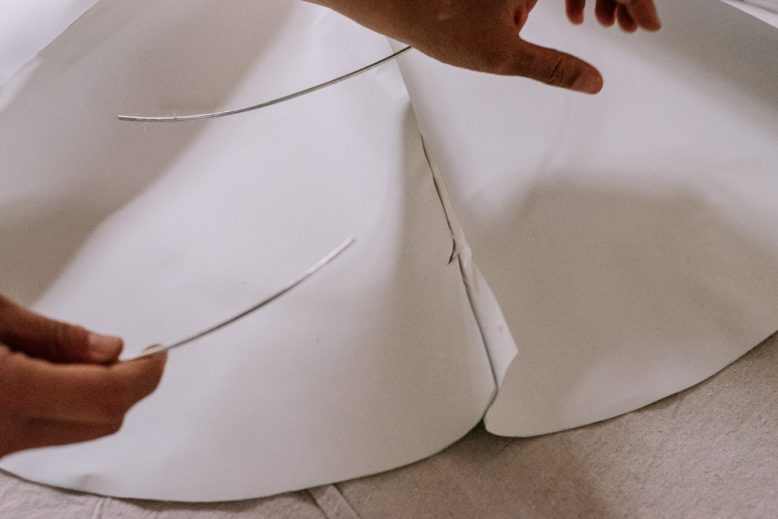
Then simply glue the last two panels of that layer together to create a full circle. Now do this 3 more times for the rest of your tree layers. Don’t be worried if your layers are looking a little funny at this point. They still need the wire on the inside to keep them held up right! To do this, I made little slits where each panel meets and threaded the wire through each one until it connected back at the start. I attached the two pieces together with electrical tape so it stayed in place.
5
Next I created the base of the tree using one of the poles that came with the roller blinds and popped it into the drainage hole of an upside down garden pot.
7
I used rope to tie on the layers onto the pole. I then added all four layers. When I got to the final layer I tucked it into the top of the pole, and then added a star which I glued onto a stick and slid into the pole.
Voila
Honestly I was so unsure how this would turn out but I really like it. I love that with a tree like this you can easily take it apart and store it for next year.
This project is in collaboration with Bunnings.


